Cooking a thanksgiving turkey is no joke. Not only is the turkey the main attraction on Thanksgiving, but I am pretty sure that this is without a doubt the largest piece of meat that I have ever been tasked with cooking. To be completely honest, this is actually the one item on my menu that I almost had catered. I know I know, how could I do that?? Well, due to major space constraints in my home and primarily in my kitchen, plus the addition of house guests, there was really no room to brine the turkey (an essential technique that I will discuss in this post).
However, as luck might have it, I ended up finding a pre-brined turkey for sale through Williams Sonoma, while shopping their friends and family sale. Not only is the turkey 20% off and comes pre-brined, but it is shipped to your doorstep with a guaranteed arrival on Thanksgiving Eve! Thus, solving every single one of my issues with cooking the turkey at home. So now I will be cooking the turkey for thanksgiving and below my plan of attack complete with all necessary turkey cooking tools and how-to video guides from the experts.
How much turkey?
Before deciding if you are even going to cook the turkey yourself or buy it pre-made, you need to know what size bird you are looking to purchase. The Kitchen recommends roughly one pound per person (see here). Personally, I like to have leftover turkey for soups and sandwiches the next day, so I will most likely be purchasing a bird that is between 15-18lbs.
Brining Your Turkey
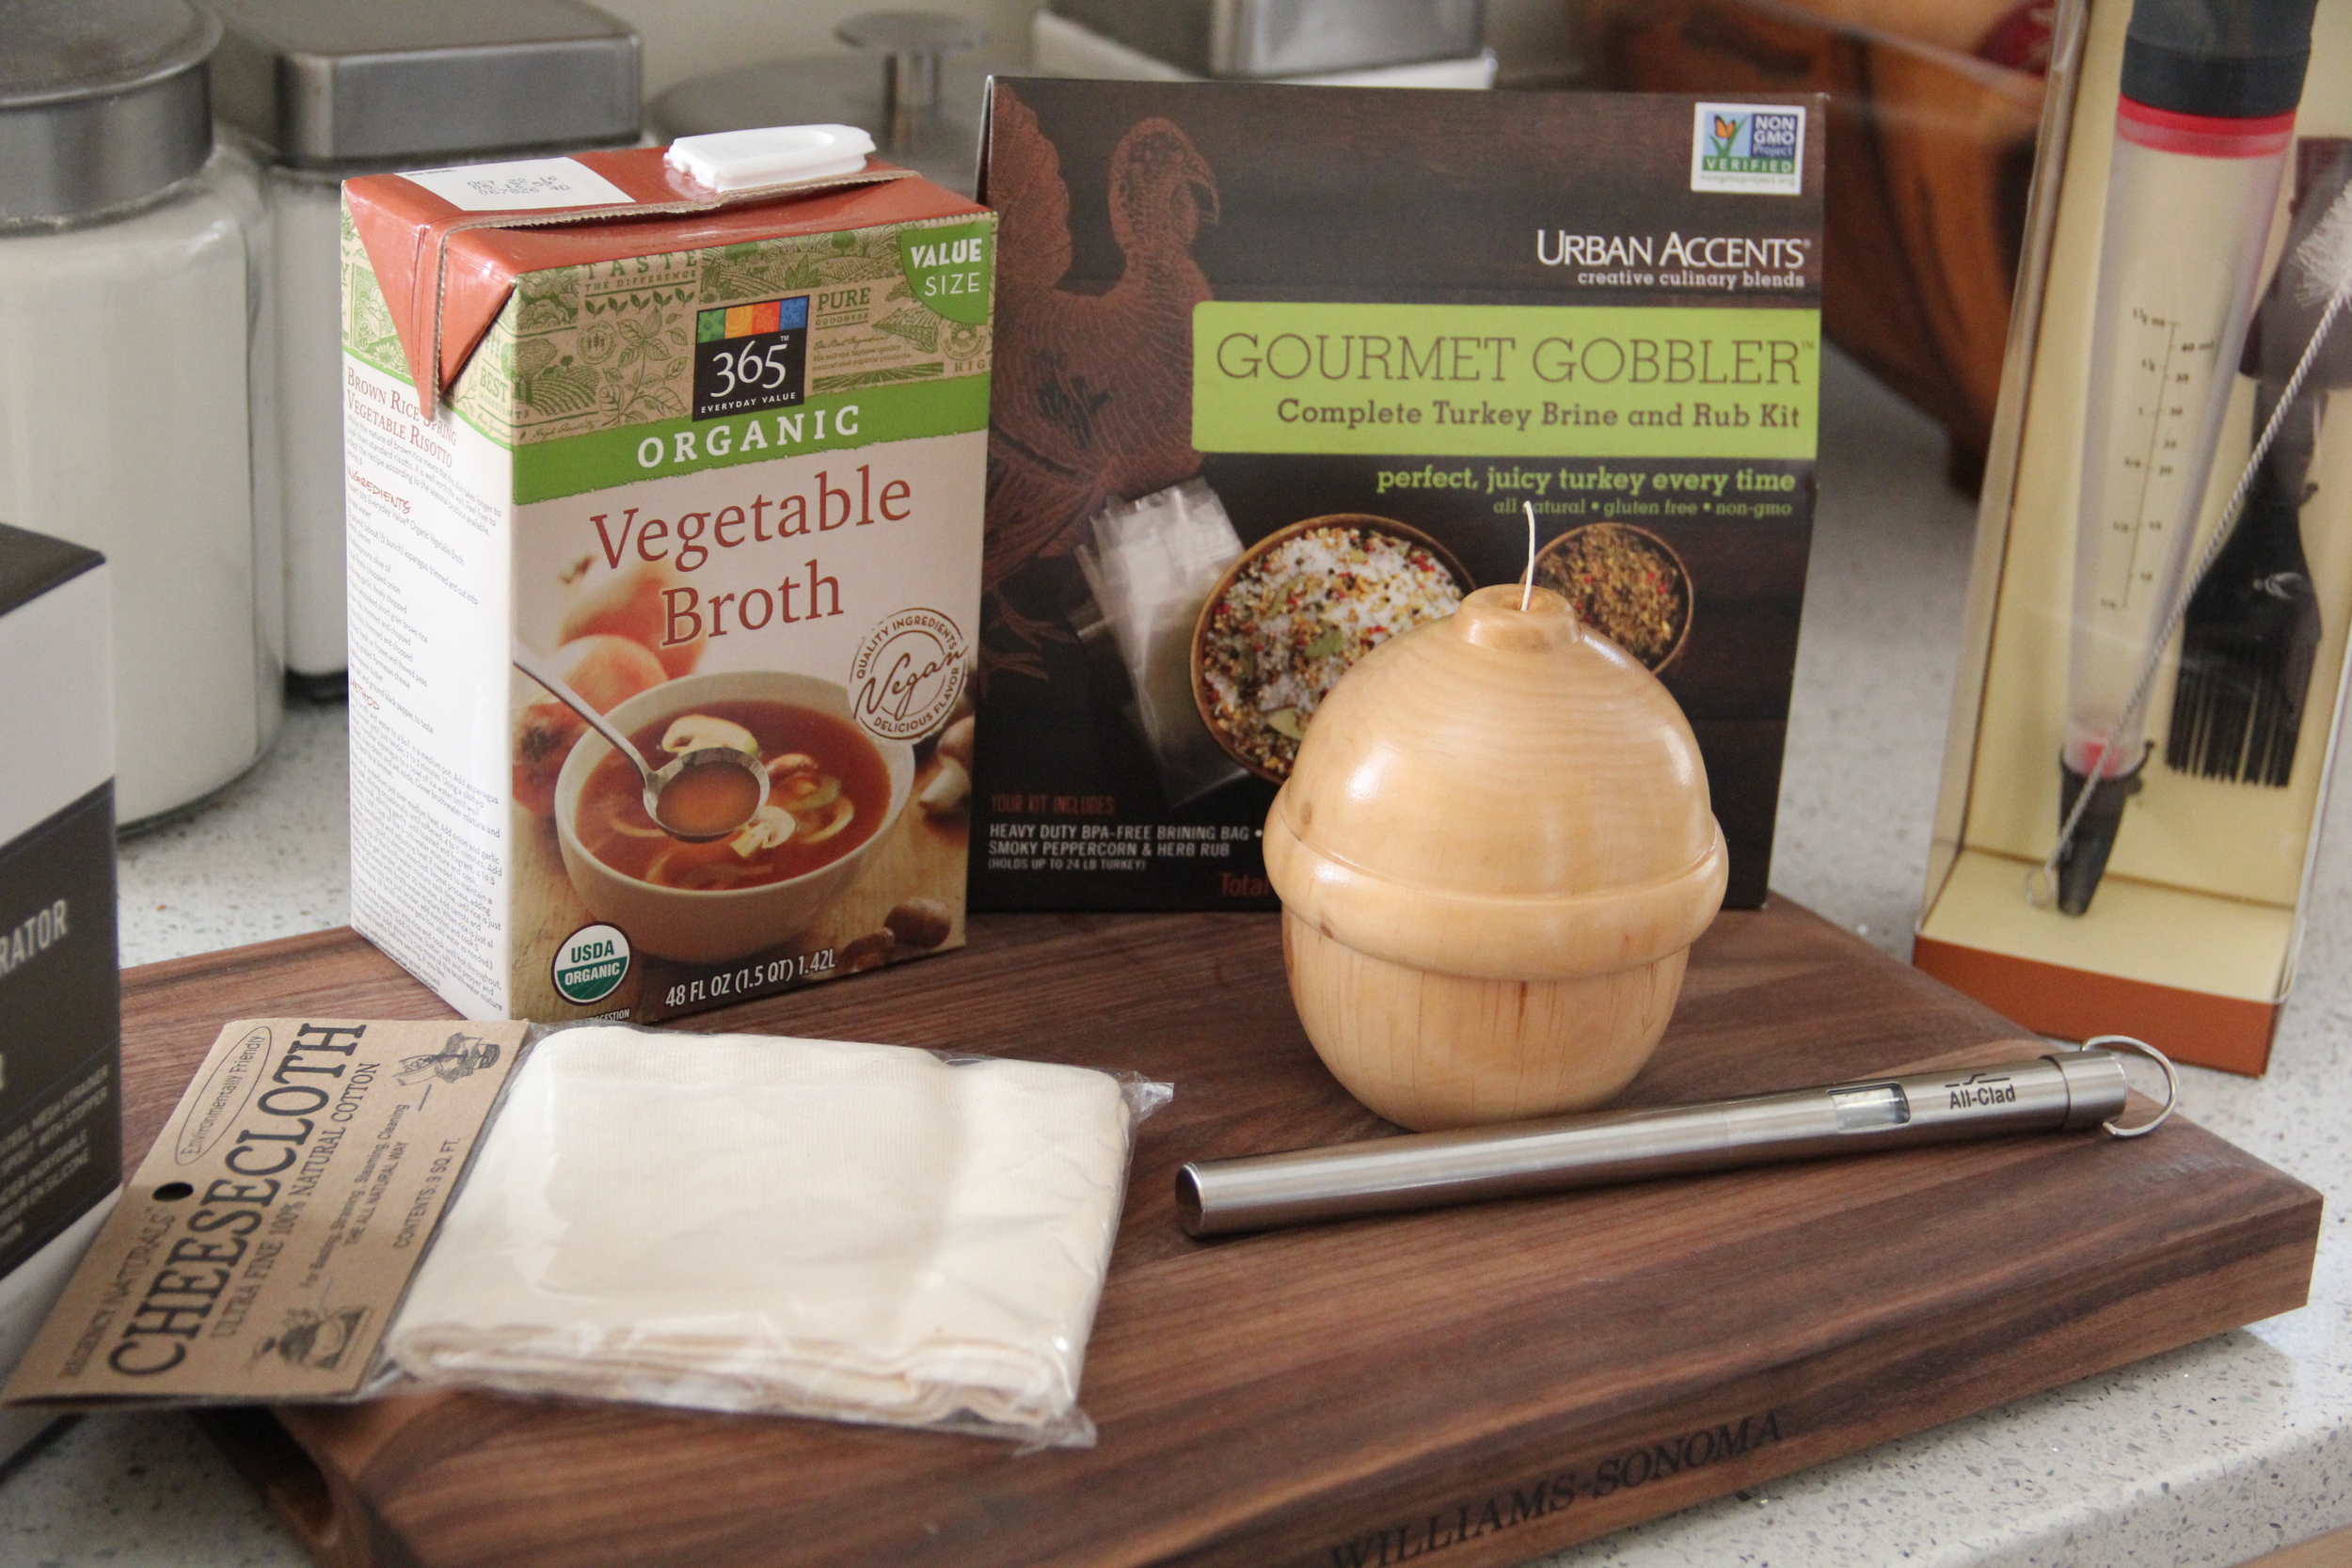
This is a technique that I highly recommend for anyone planning to cook their own turkey. Brining is the process of soaking your meat in salt infused water to increase it's juiciness and enhance the overall flavor. A basic brine is simply salt and water. Brining a turkey on the other hand, consists of soaking the bird overnight in a brine made of water, salt, sugar, spices, herbs and citrus. You can make your own brine (recipe here) or use a store bought brine. Below are the essentials needed for brining your turkey.
Here is what you will need to brine:
- Brining Blend (Option 1 or Option 2)
- Brining Bags
- Alternative Option: Urban Accents Brining Kit
- Large Cooler
- If you don't have ample fridge space for storing your brining turkey overnight, using a large cooler is a great alternative.
Prepping your Turkey for the Oven
- First thing is first, preheat your oven to 400 degrees fahrenheit and move your oven rack to the bottom tier.
- Take your turkey out of the fridge or cooler to begin the process of brining it up to near room temperature. *Placing a cold turkey directly into the oven will cause it to cook unevenly. You want to have your bird as close to room temperature as possible by the time you go to place it in the oven.
- Chop up an array of aromatic vegetables and herbs to create a mirepoix bed to cover the floor of the roasting pan. I plan on using Celery (with leaves), Carrots, Onions, Fennel, Thyme, Rosemary and Garlic (very similar to roasting a chicken). Toss contents in 2-3Tbs of Olive Oil and place roasting rack on top of the mirepoix bed.
- Take your turkey out of the brining bag, rinse off the brine under cool water and pat dry with paper towels.
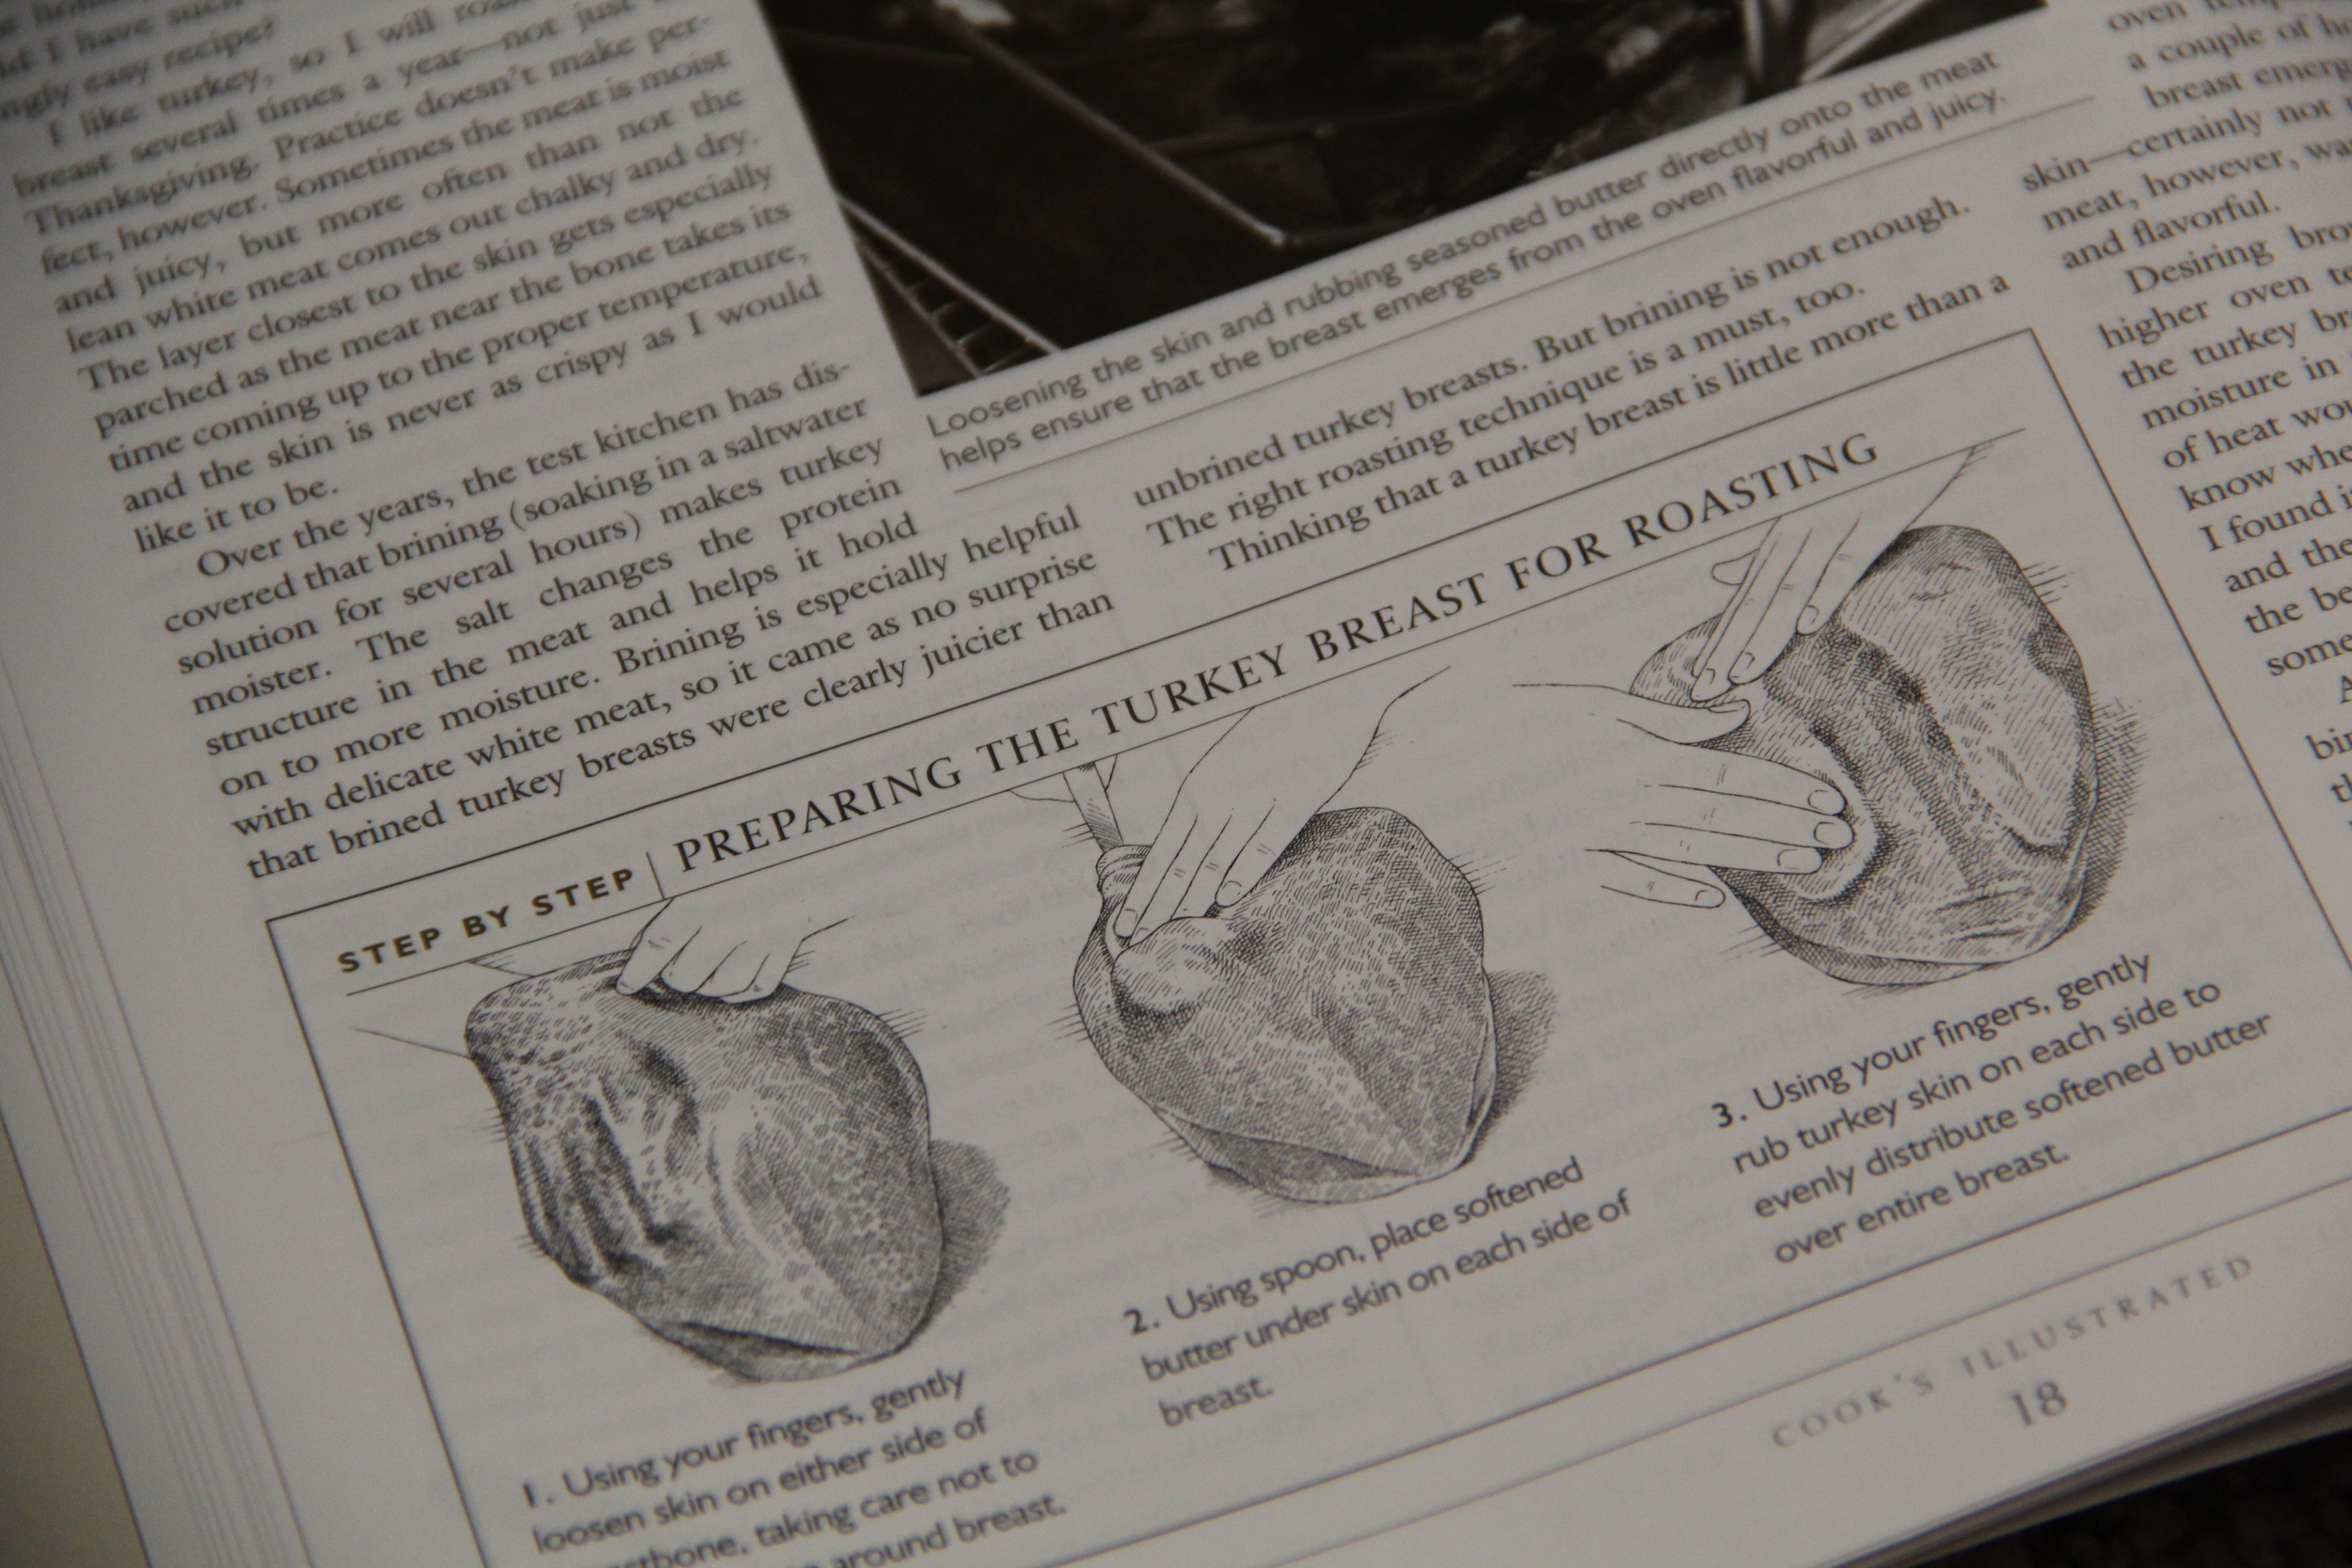
- Gently with your fingers, slide your hands under the breast skin of the bird to detach the skin from the meat.
- Using room temperature unsalted butter, spread 4-6 TBS of butter in between the skin and the meat of the breasts. *See image below for reference from the Cook's Illustrated All-Time Best Thanksgiving Recipes.
- Generously salt and pepper the interior cavity of the bird
- I am not a fan of filling the turkey cavity with stuffing (bacteria/salmonella risk…no thanks!). Rather, I prefer to stuff the turkey with an array of aromatics: Lemon halves, heads of garlic cut in half, a Simon and Garfunkel Bouquet Garni (*Parsley, Sage, Rosemary and Thyme)
- For the exterior of the bird, there are a million ways to bring on the flavor. Right now I am torn between a traditional rub of salt, pepper and butter and a new technique I have discovered known as "Lacquering."
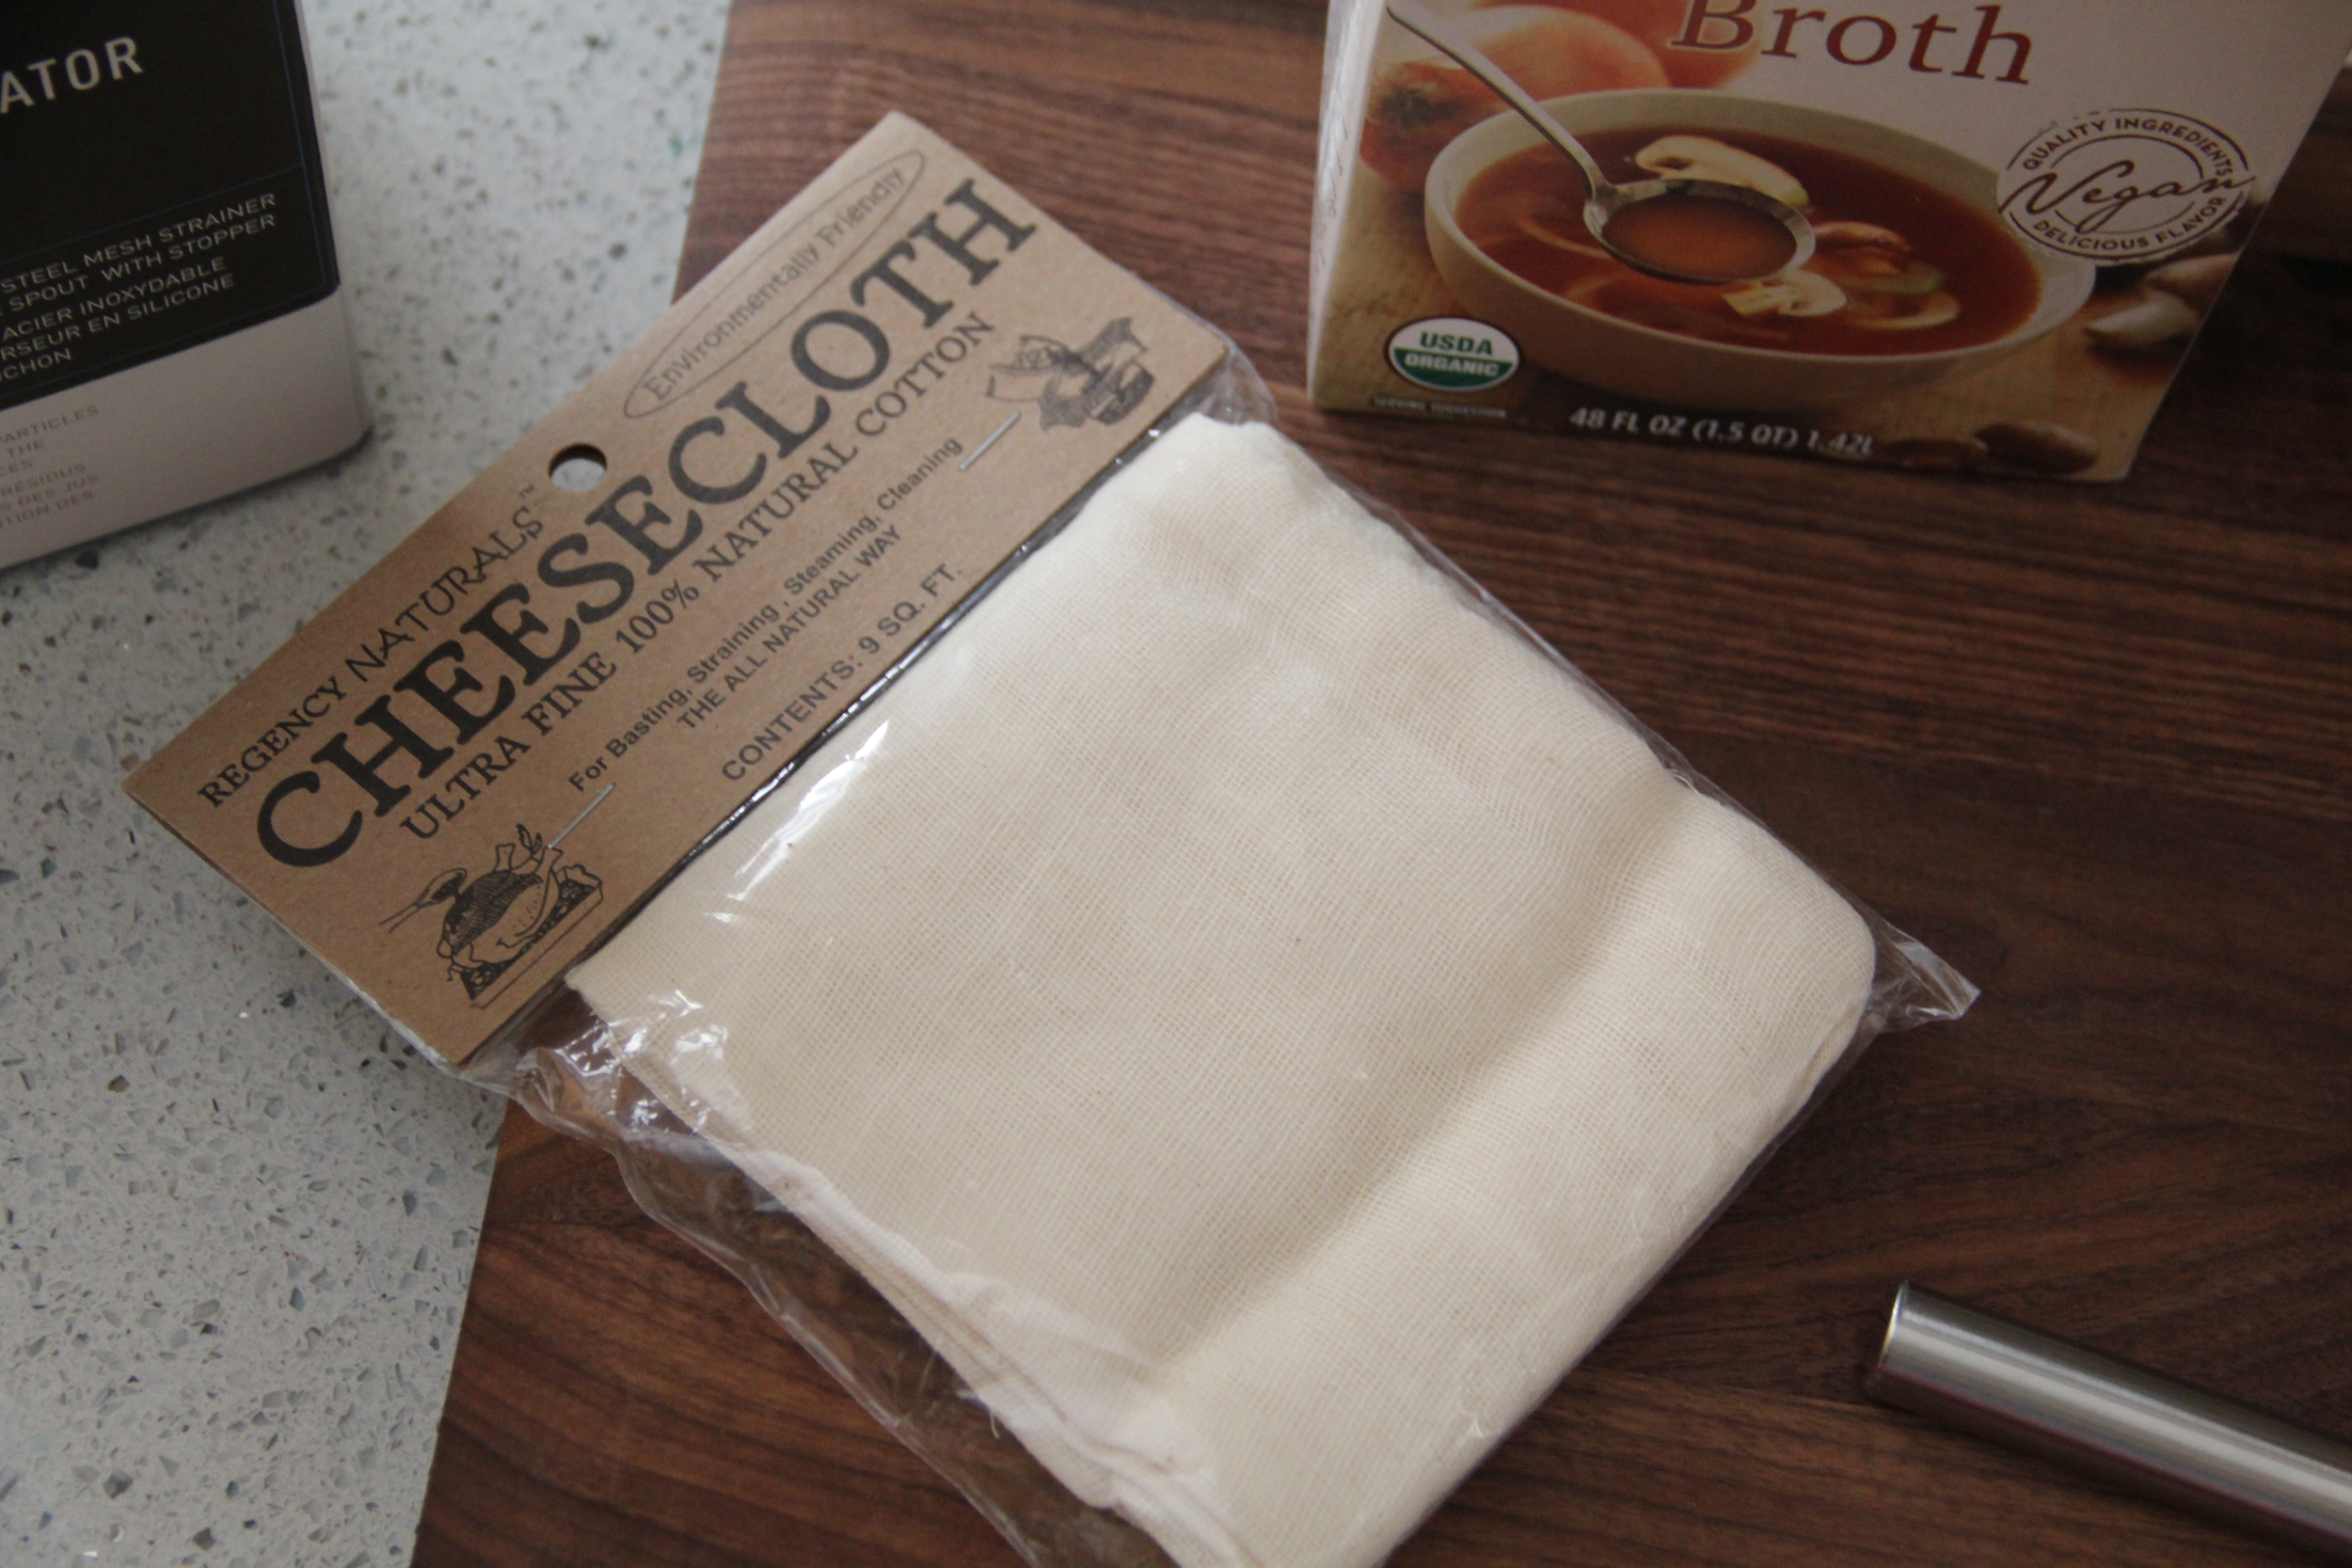
- If I end up going with a classic rub for the outside, I will be using this cheesecloth technique (soaked in butter and white wine) ala Martha Stewart to keep the bird hydrated throughout the cooking process.
- Once your bird is seasoned, its time to truss it using your kitchen twine. See this video for reference.
- Once your bird has been trussed, transfer to your roasting rack in your roasting pan
- Add about a cup of stock to the pan just to get the flavors/moisture rolling
- Place the bird in the oven at 400 degrees for about 30 minutes, then reduce the heat to 325 degrees fahrenheit and continue to cook until your bird reaches an internal temperature of 180 degrees fahrenheit. *Allow roughly 13-15 minutes per pound.
- Once the bird is done, it is critical that you allow time for it to rest (gently covered in aluminum foil) prior to carving. Carving up the bird immediately after it comes out of the oven will cause all of the juices to escape and your bird will be dry.
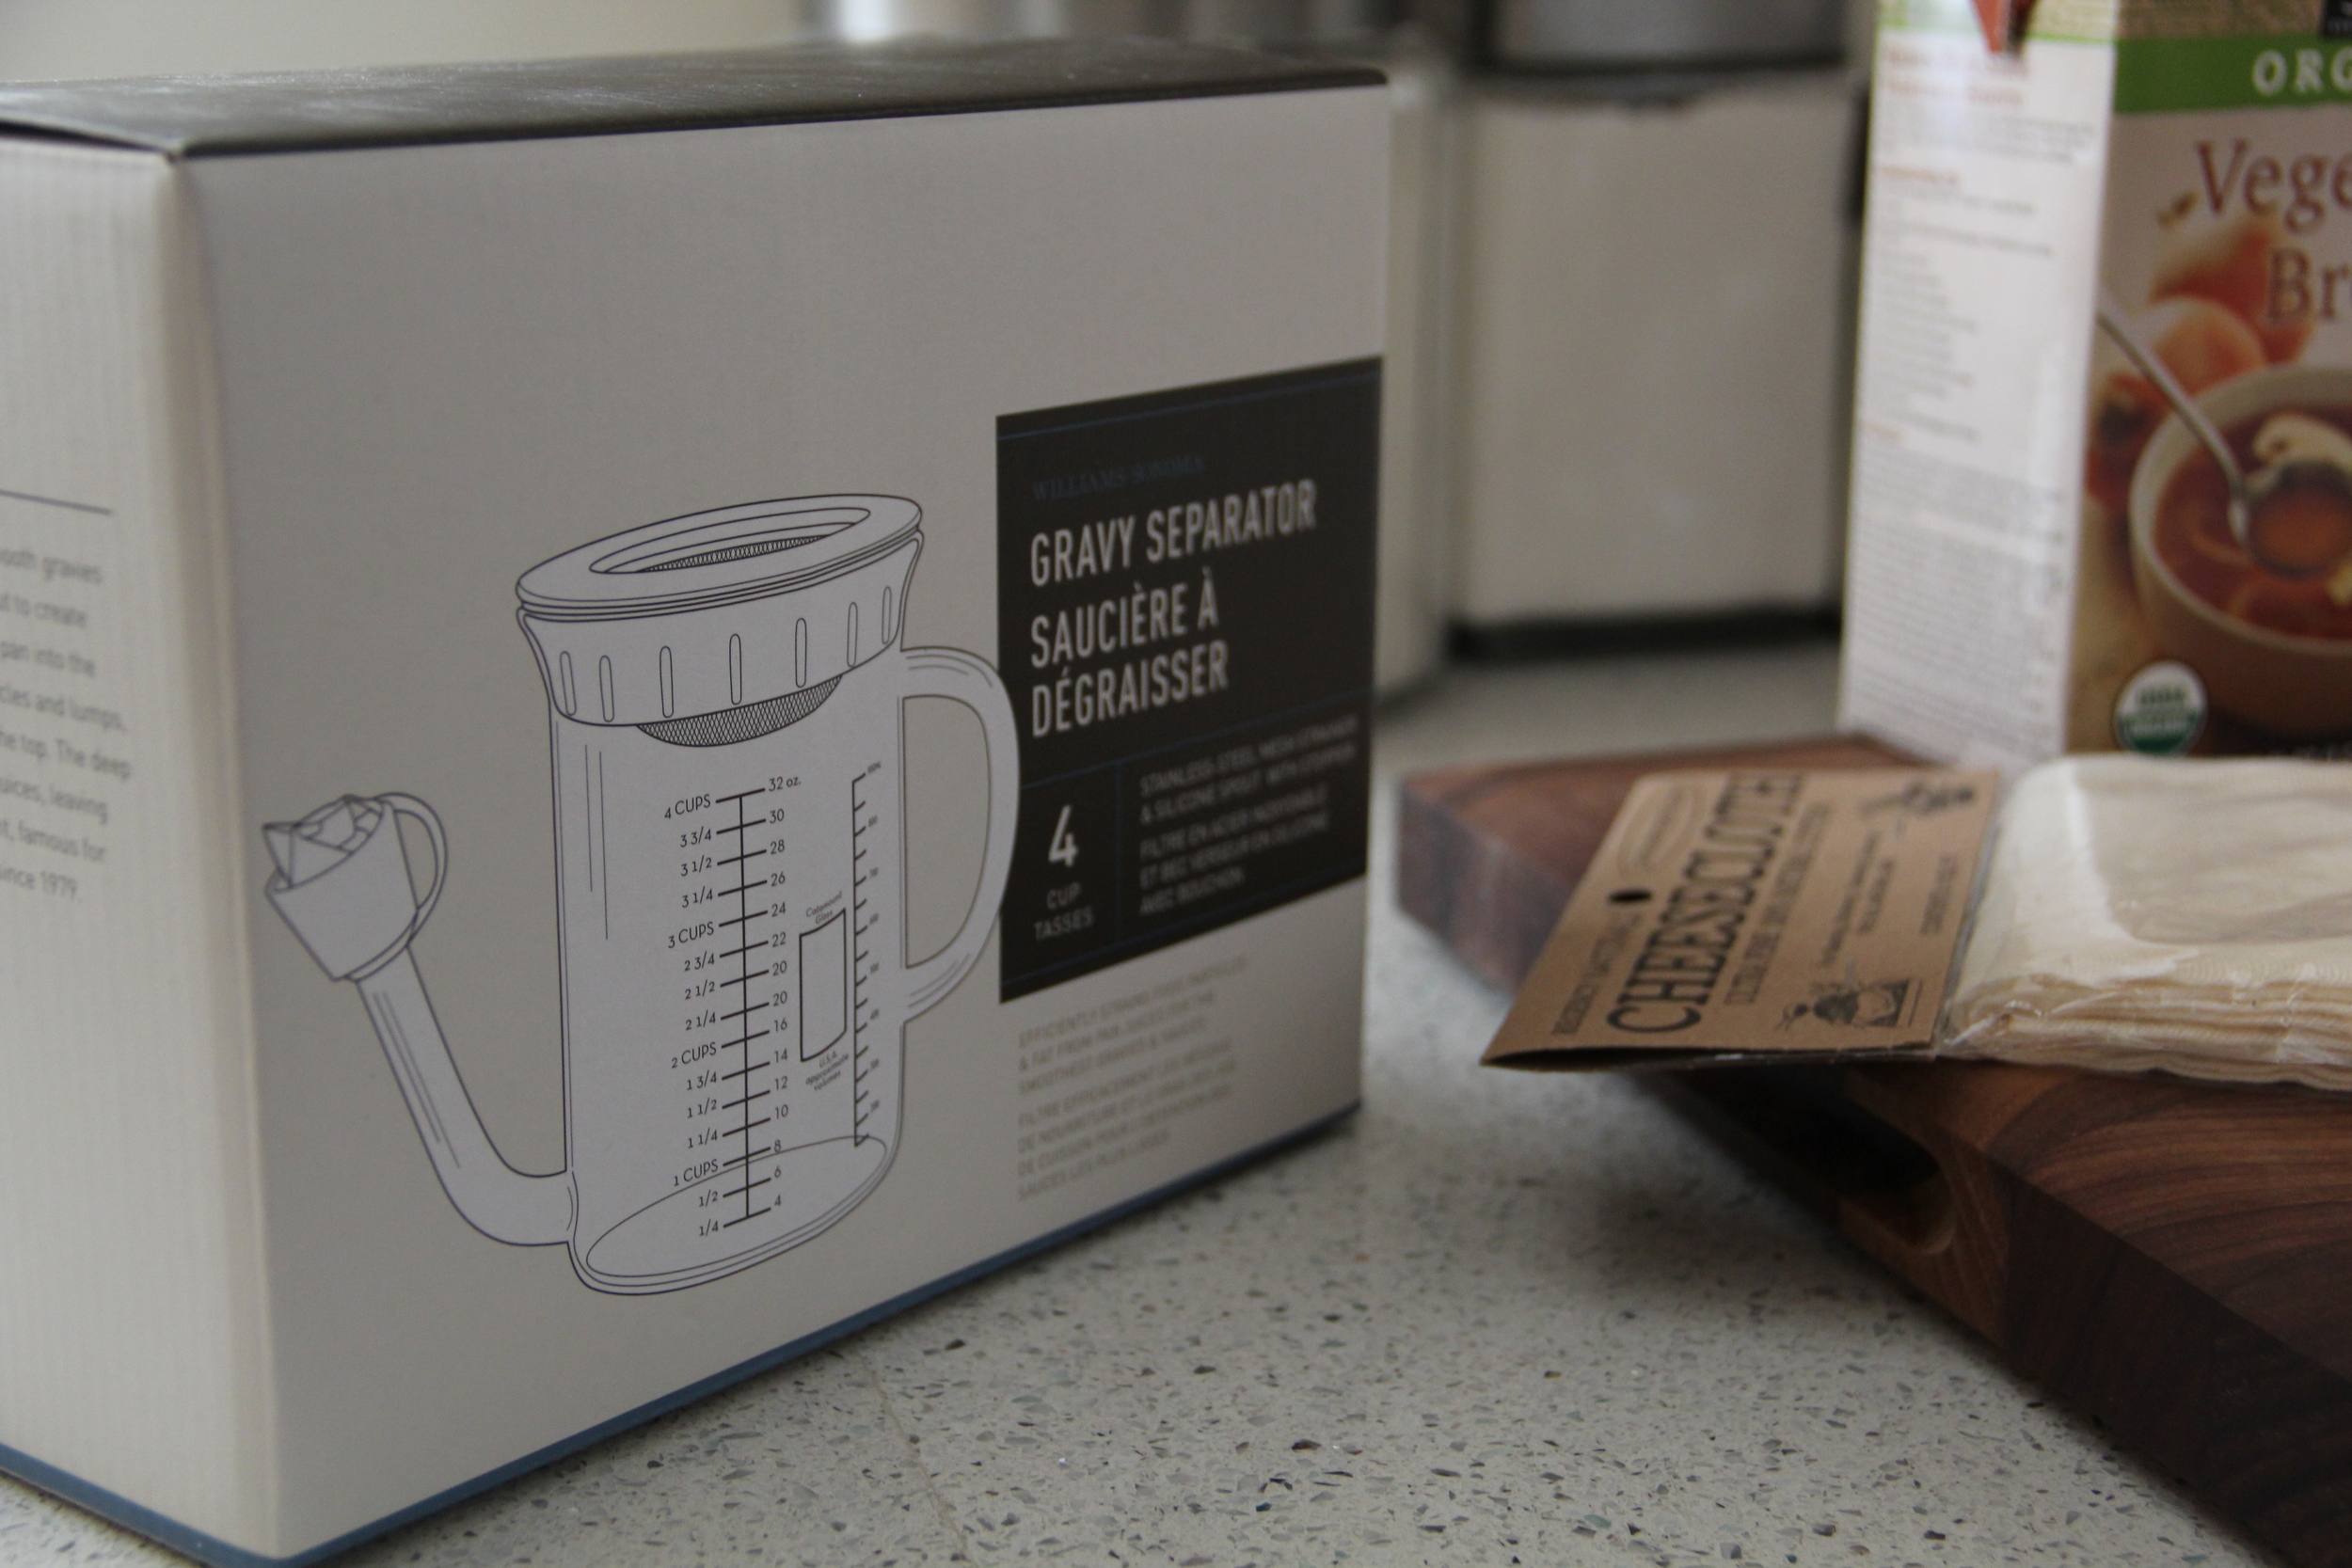
- While you are letting your bird rest, you can extract the pan drippings using a fat separator to make the gravy. Love this recipe for gravy. Sherry is must for any gravy recipe I am making. It really takes gravy to another level!
Turkey Tools
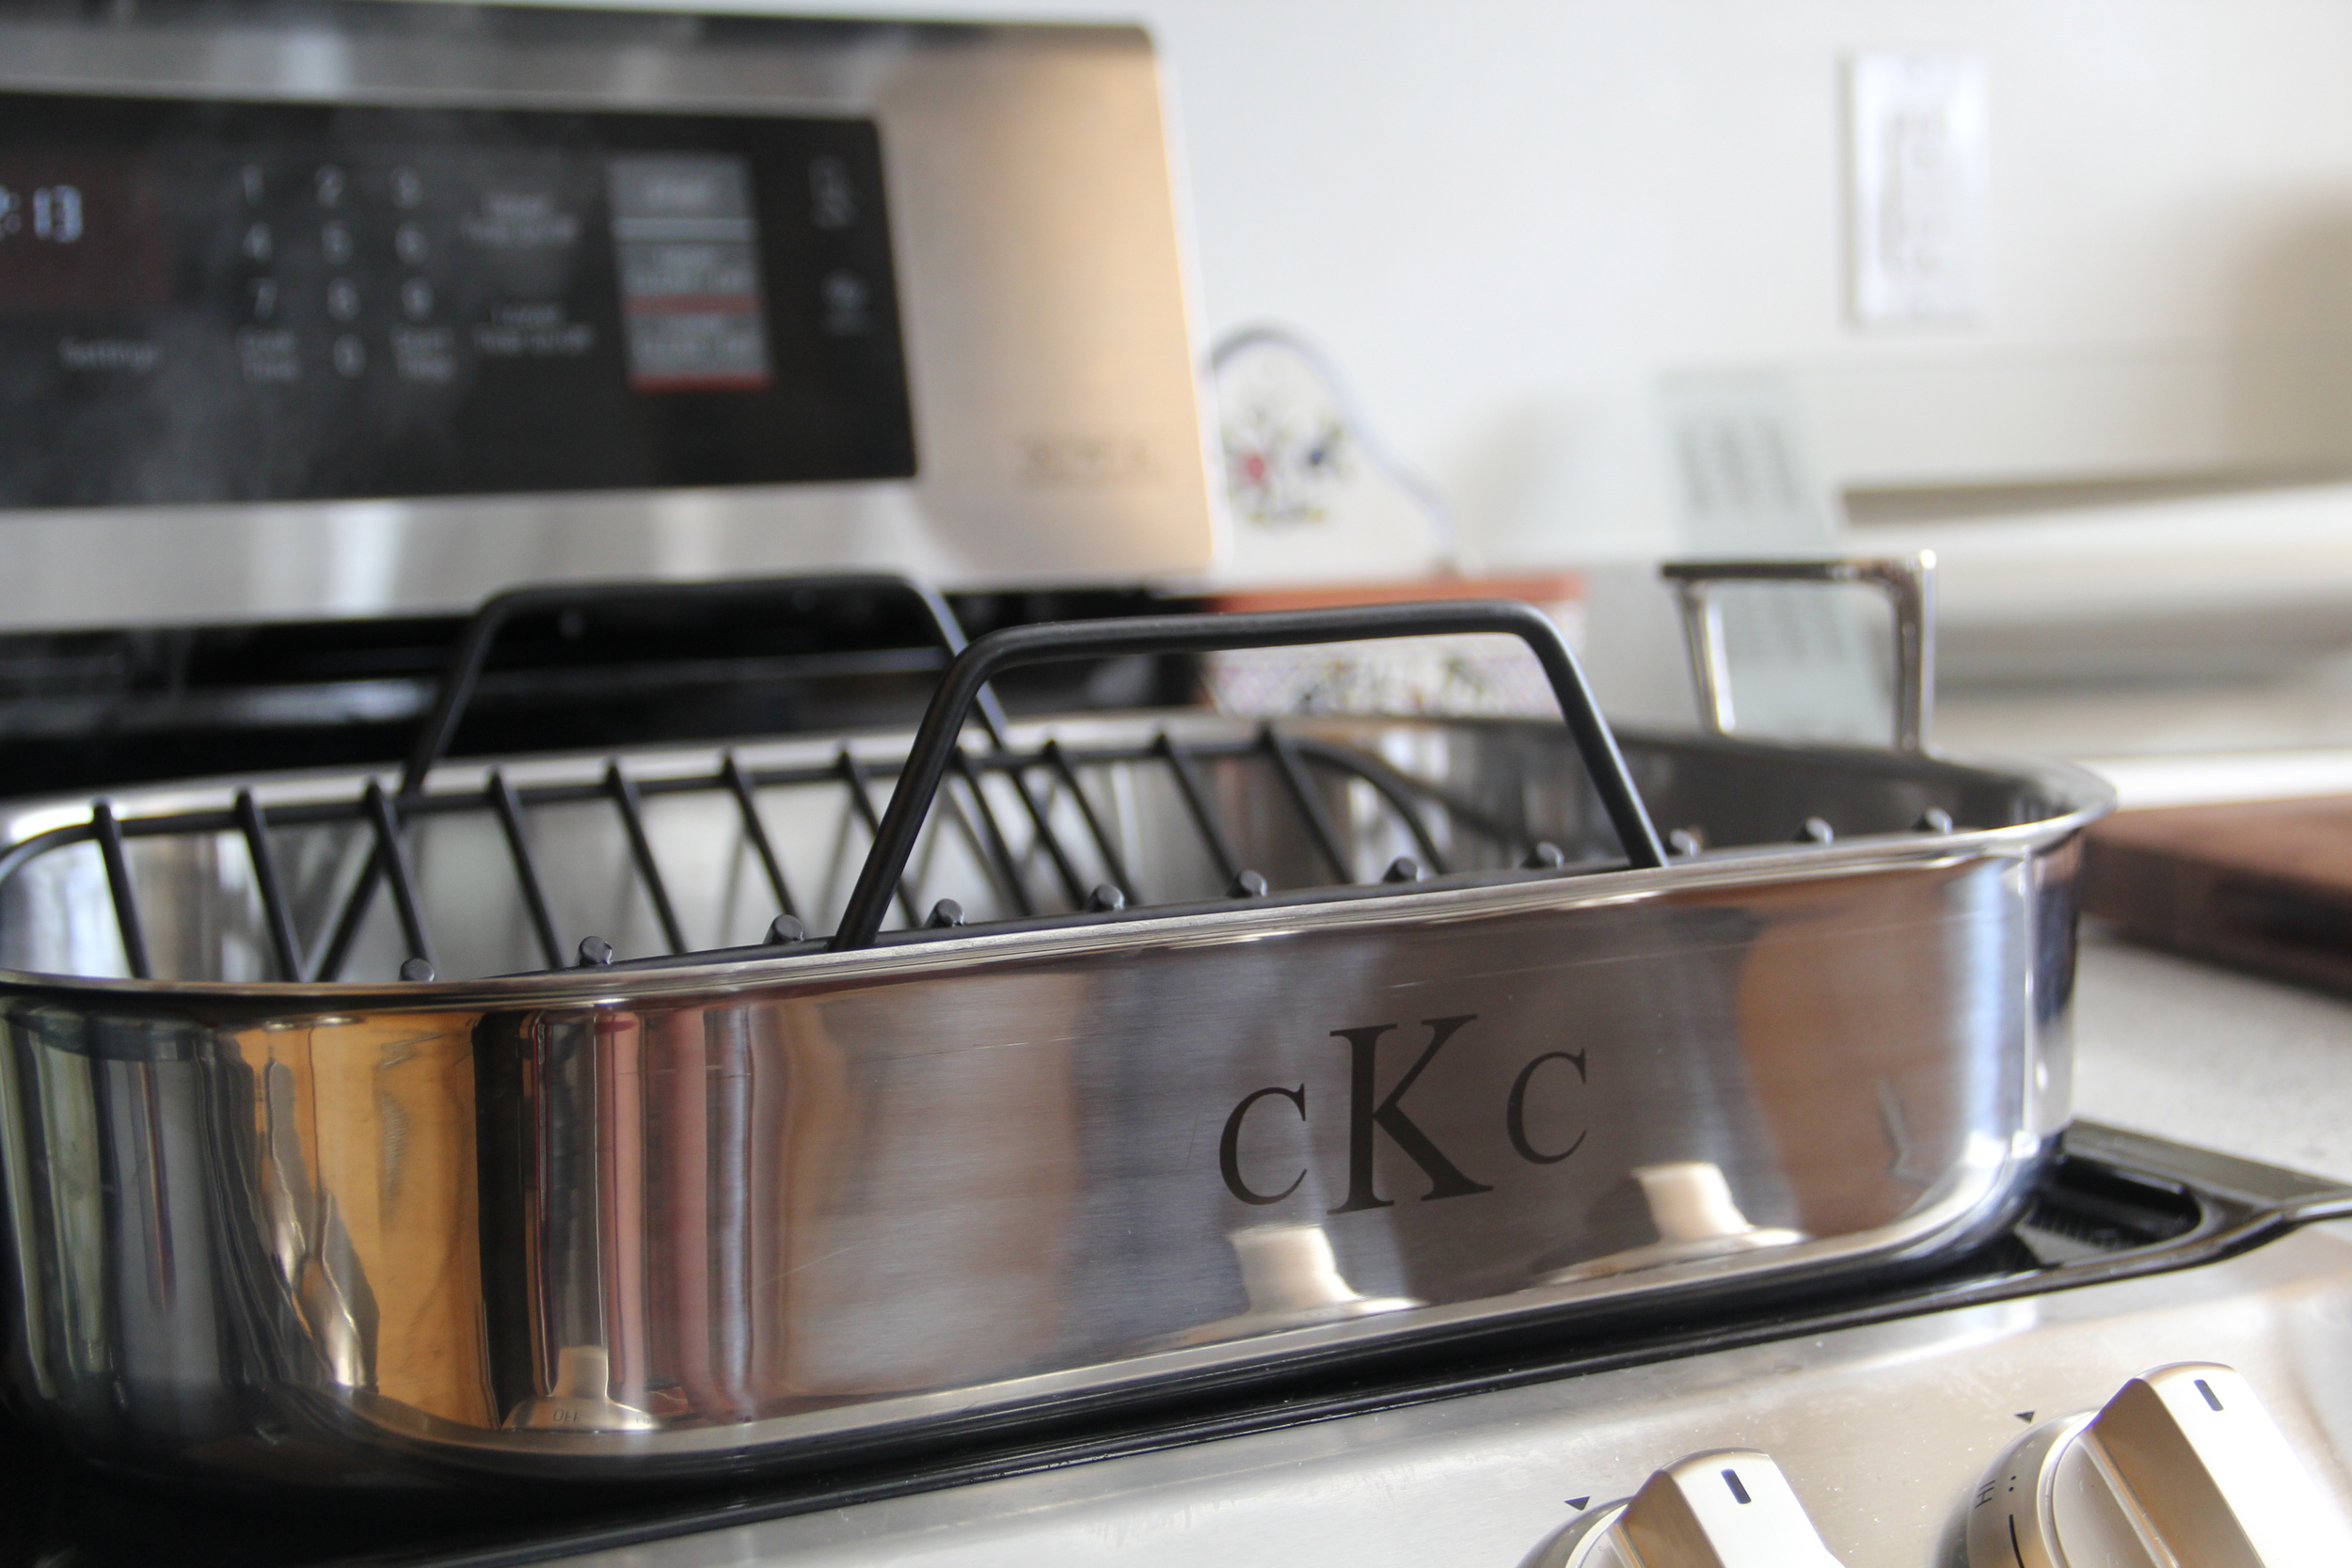
- Roasting Pan with Roasting Rack
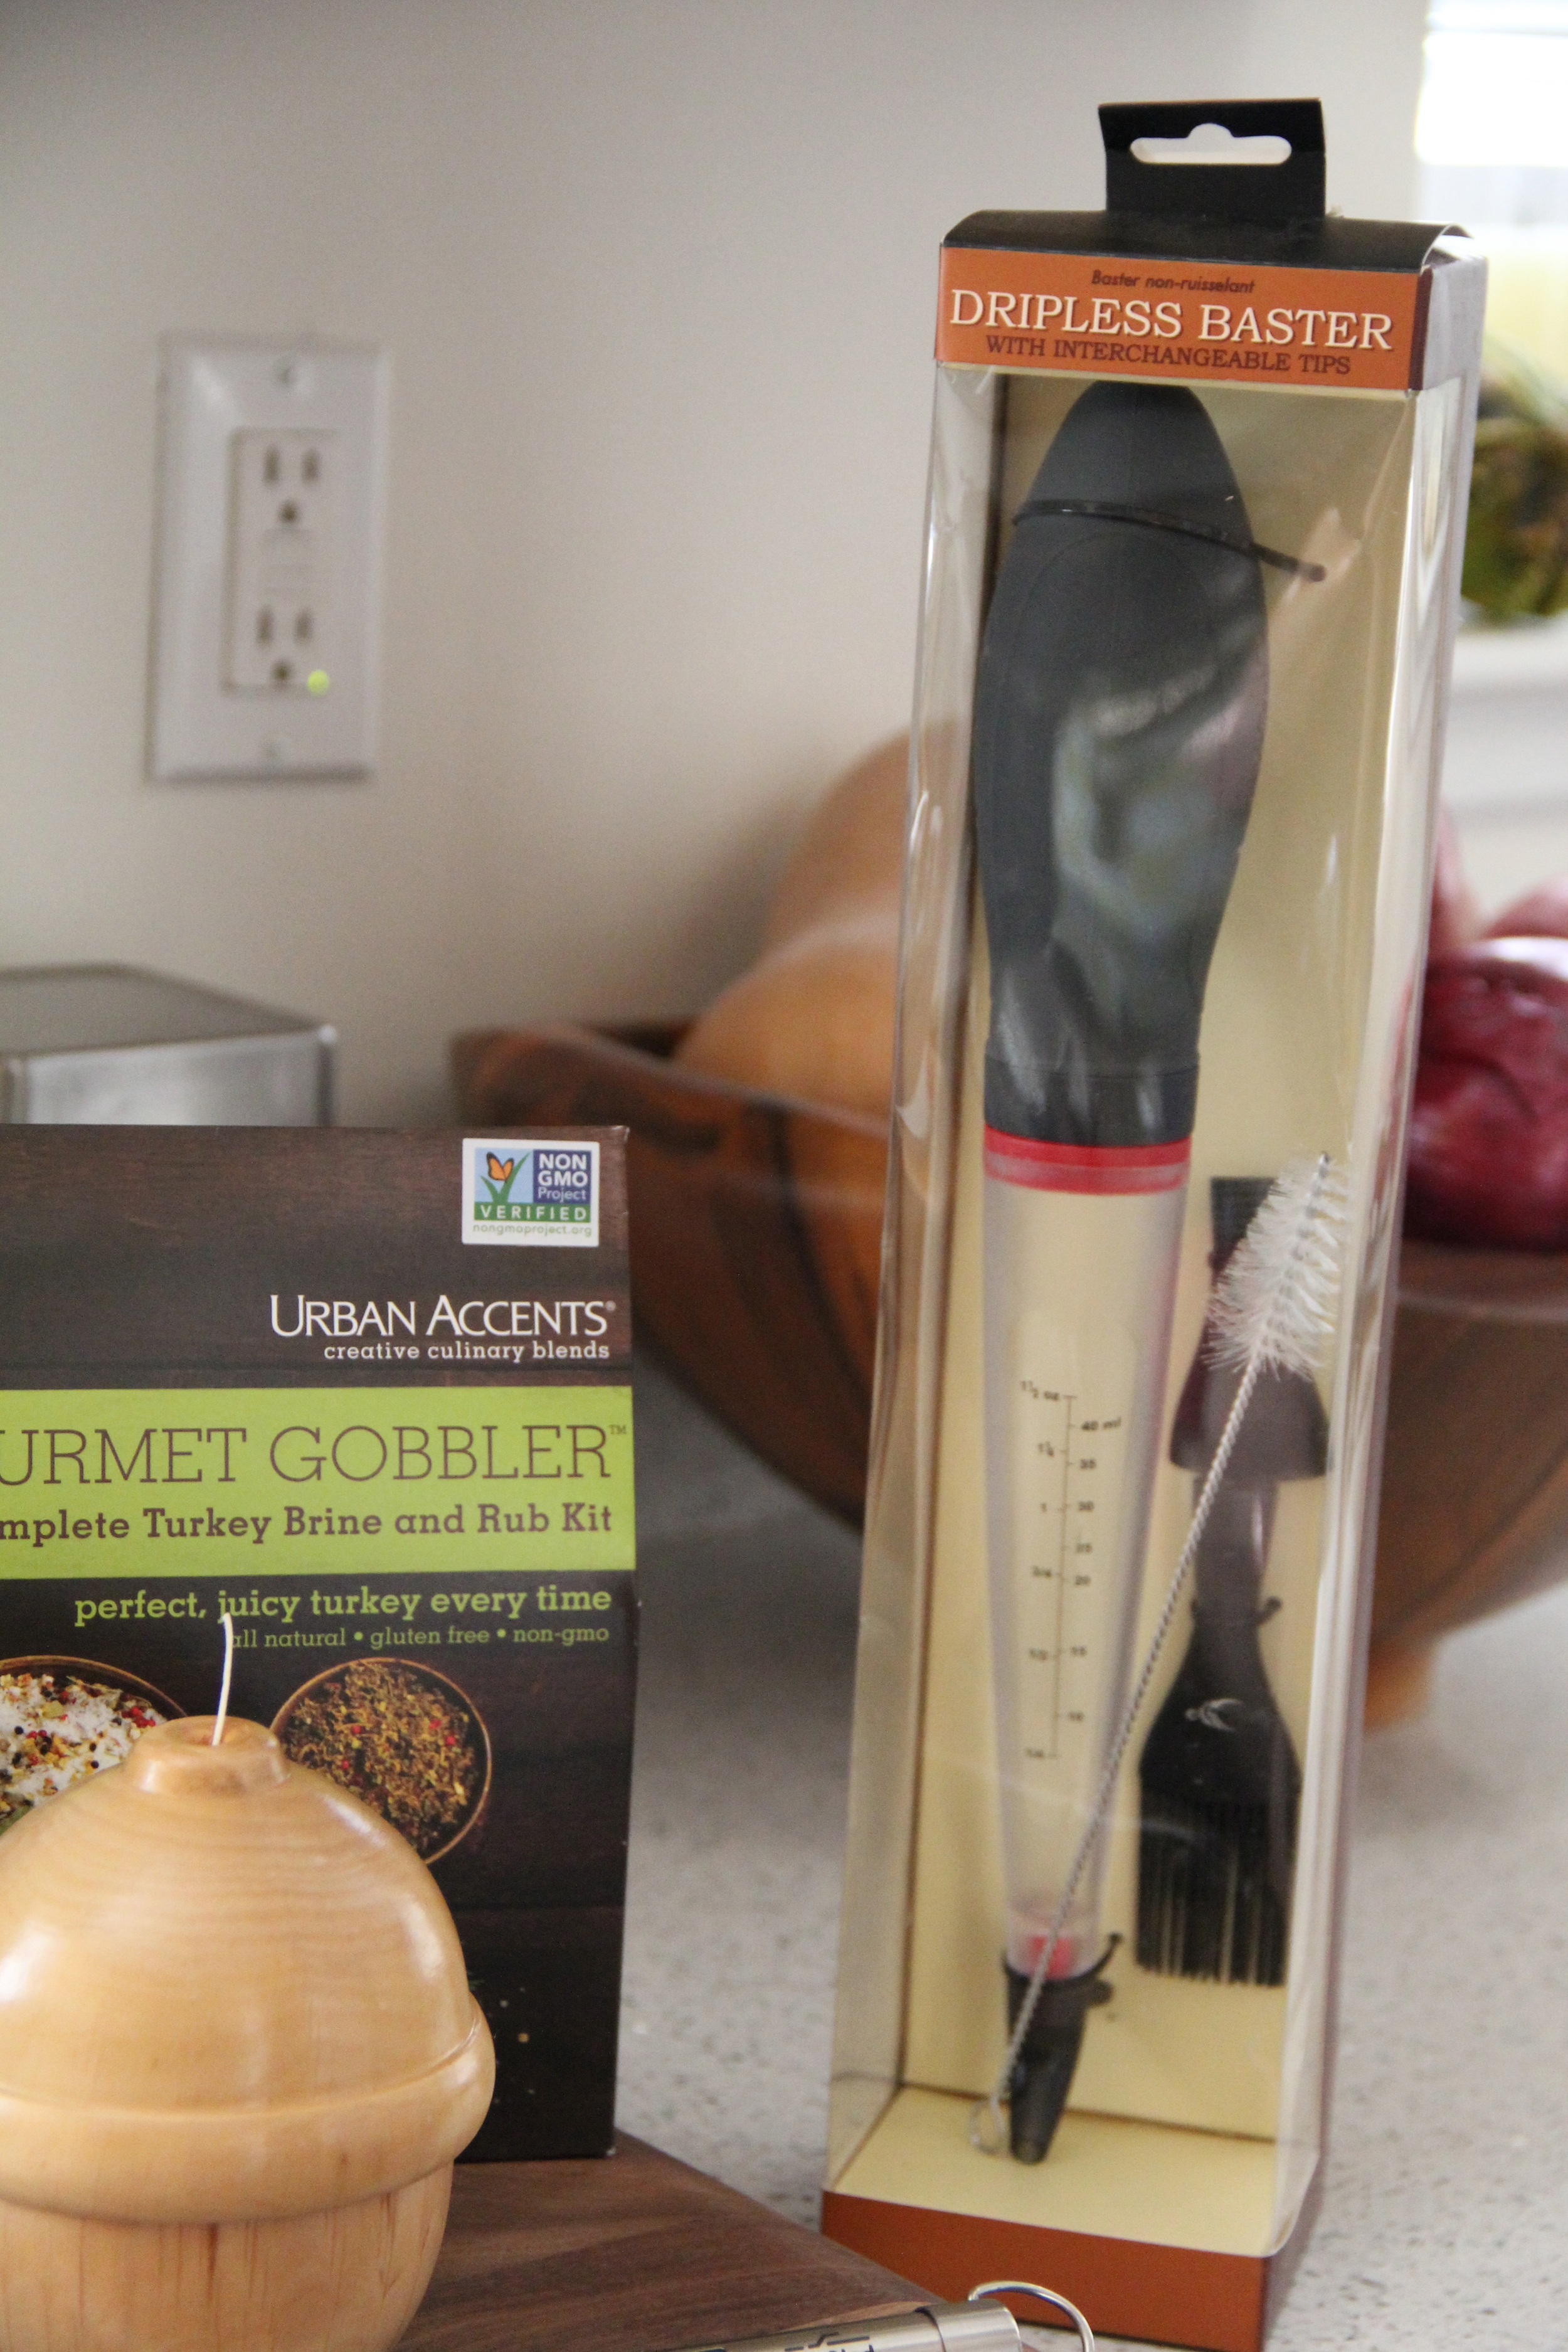
- Basting Tool
- Cheese Cloth
- Kitchen Twine
- Carving Board
- Fat Separator
- Large High Quality Chefs Knife
- *Note- A carving set is a "nice" to have not a "need" to have. A fork and good quality chef's knife will get the carving job done just fine.
While I think that I am pretty well equipped to cook this bird (especially since I will have my mom here - thank goodness!), I am always open to any ideas and tips you all might have/want to share for cooking the perfect Thanksgiving turkey. Please leave a comment or email me as I would absolutely love to hear from you! Stay tuned for part 2 of Thanksgiving Day prep coming to the blog next week! Have a great weekend everyone!

