Hosting a cocktail party requires a variety of entertaining accessories. While it is a fact that certain accessories are needed to entertain comfortably, the degree to which you choose to expand that entertaining equipment collection is entirely up to you.


I am sure that there will be many posts in my future where I talk about all of the different types of entertaining equipment available, but for this post I wanted to keep it to the basic essentials for hosting a small and simple cocktail party at home.
Entertaining Accessories
- Drinkware- I would suggest at least 6 Red Wine Glasses, 6 White Wine Glasses and 6 High Ball Glasses. The world of drink ware can get pretty extensive, but I find that these three glassware types are the staples and most utilized in my cabinets.

Red Wine Glasses from World Market are paired with the Orange Zebra Caspari Cocktail Napkins
- Coasters- Love coasters and a definite must when hosting a cocktail party. You don't want to be the victim of water-rings (very tragic). For coaster inspiration, check out my post on Coffee Table Decor Ideas. I have a section in this post devoted to coasters I love, have and/or wish I had.
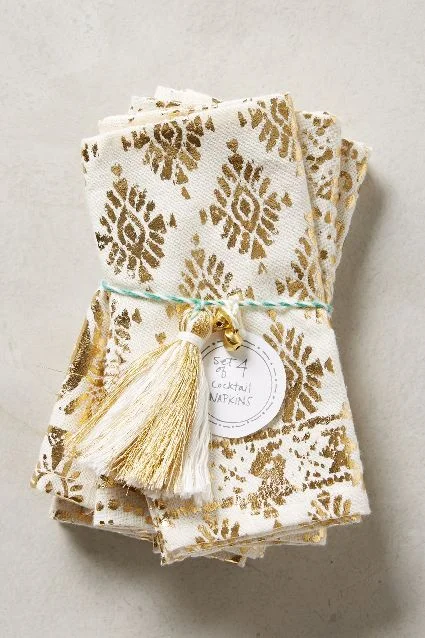
- Cocktail Napkins- Cloth and paper are both great. Cloth cocktail napkins are lovely and it does provide a more traditional service setting. They are also reusable, which gives them the eco-friendly thumbs up. The only down side is the laundering (and ironing...they are not nearly as charming when wrinkled, so yes, they need to be pressed). Paper is more practical if you are not going to use appetizer plates because it gives your guests a place to rest their food and of course clean up is a cinch (just toss those used paper cocktail napkins right in the trash)!
- A few favorites: Shop Lettermade Original Greek Key Cocktail Napkins, Crate & Barrel Linen Ocean Cocktail Napkins, Arbor Floret Cocktail Napkins, Boutross Imports Hemstitch Linen Cocktail Napkins, Caspari Orange Zebras Paper Cocktail Napkins, Silver Lattice Airlaid Non Woven Paper Cocktail Napkins, October Hill Lucy Boxed Cocktail Napkins, Kate Spade Gold Dot Confetti Napkins


- Nut Dishes- As you may have read in my post on Cocktail Party Preparedness-Food & Beverage, nuts are a cocktail party staple. So it seems only fitting to include a few favorite dishes that I love to use when serving these delicious nibbles. There are many different types of nut dishes available, but some of my favorites include the small nut bowls that can also be used for dips, the nut bowls with dividers and then there are the artistic party nut bowls that are just plain fun to have!


- Serving Platter- One universal serving platter for your hot hors d'oeuvres and one universal serving bowl will be sufficient. If you are going to stick with this minimalist approach (which is totally fine and more power to you) I would suggest going with a white platter and either a clear glass or white porcelain bowl. Keeping the colors fairly neutral will make these pieces great to use any time of year.
- A few favorite platters and bowls: CB2 Platform Platter, Jars Cantine Oval Platter, CB2 Narrow Rectangular Platter, Sur La Table Rectangular Slate Platter, Sur La Table Blanc Serving Platters (Set of 3), CB2 Vortex Serving Bowls, Pottery Barn Great White Coupe Serve Bowl, Jars Cantine Serving Bowl, Luigi Bormioli Crescendo Serving Bowl, Juliska Berry & Thread Round Serving Bowl


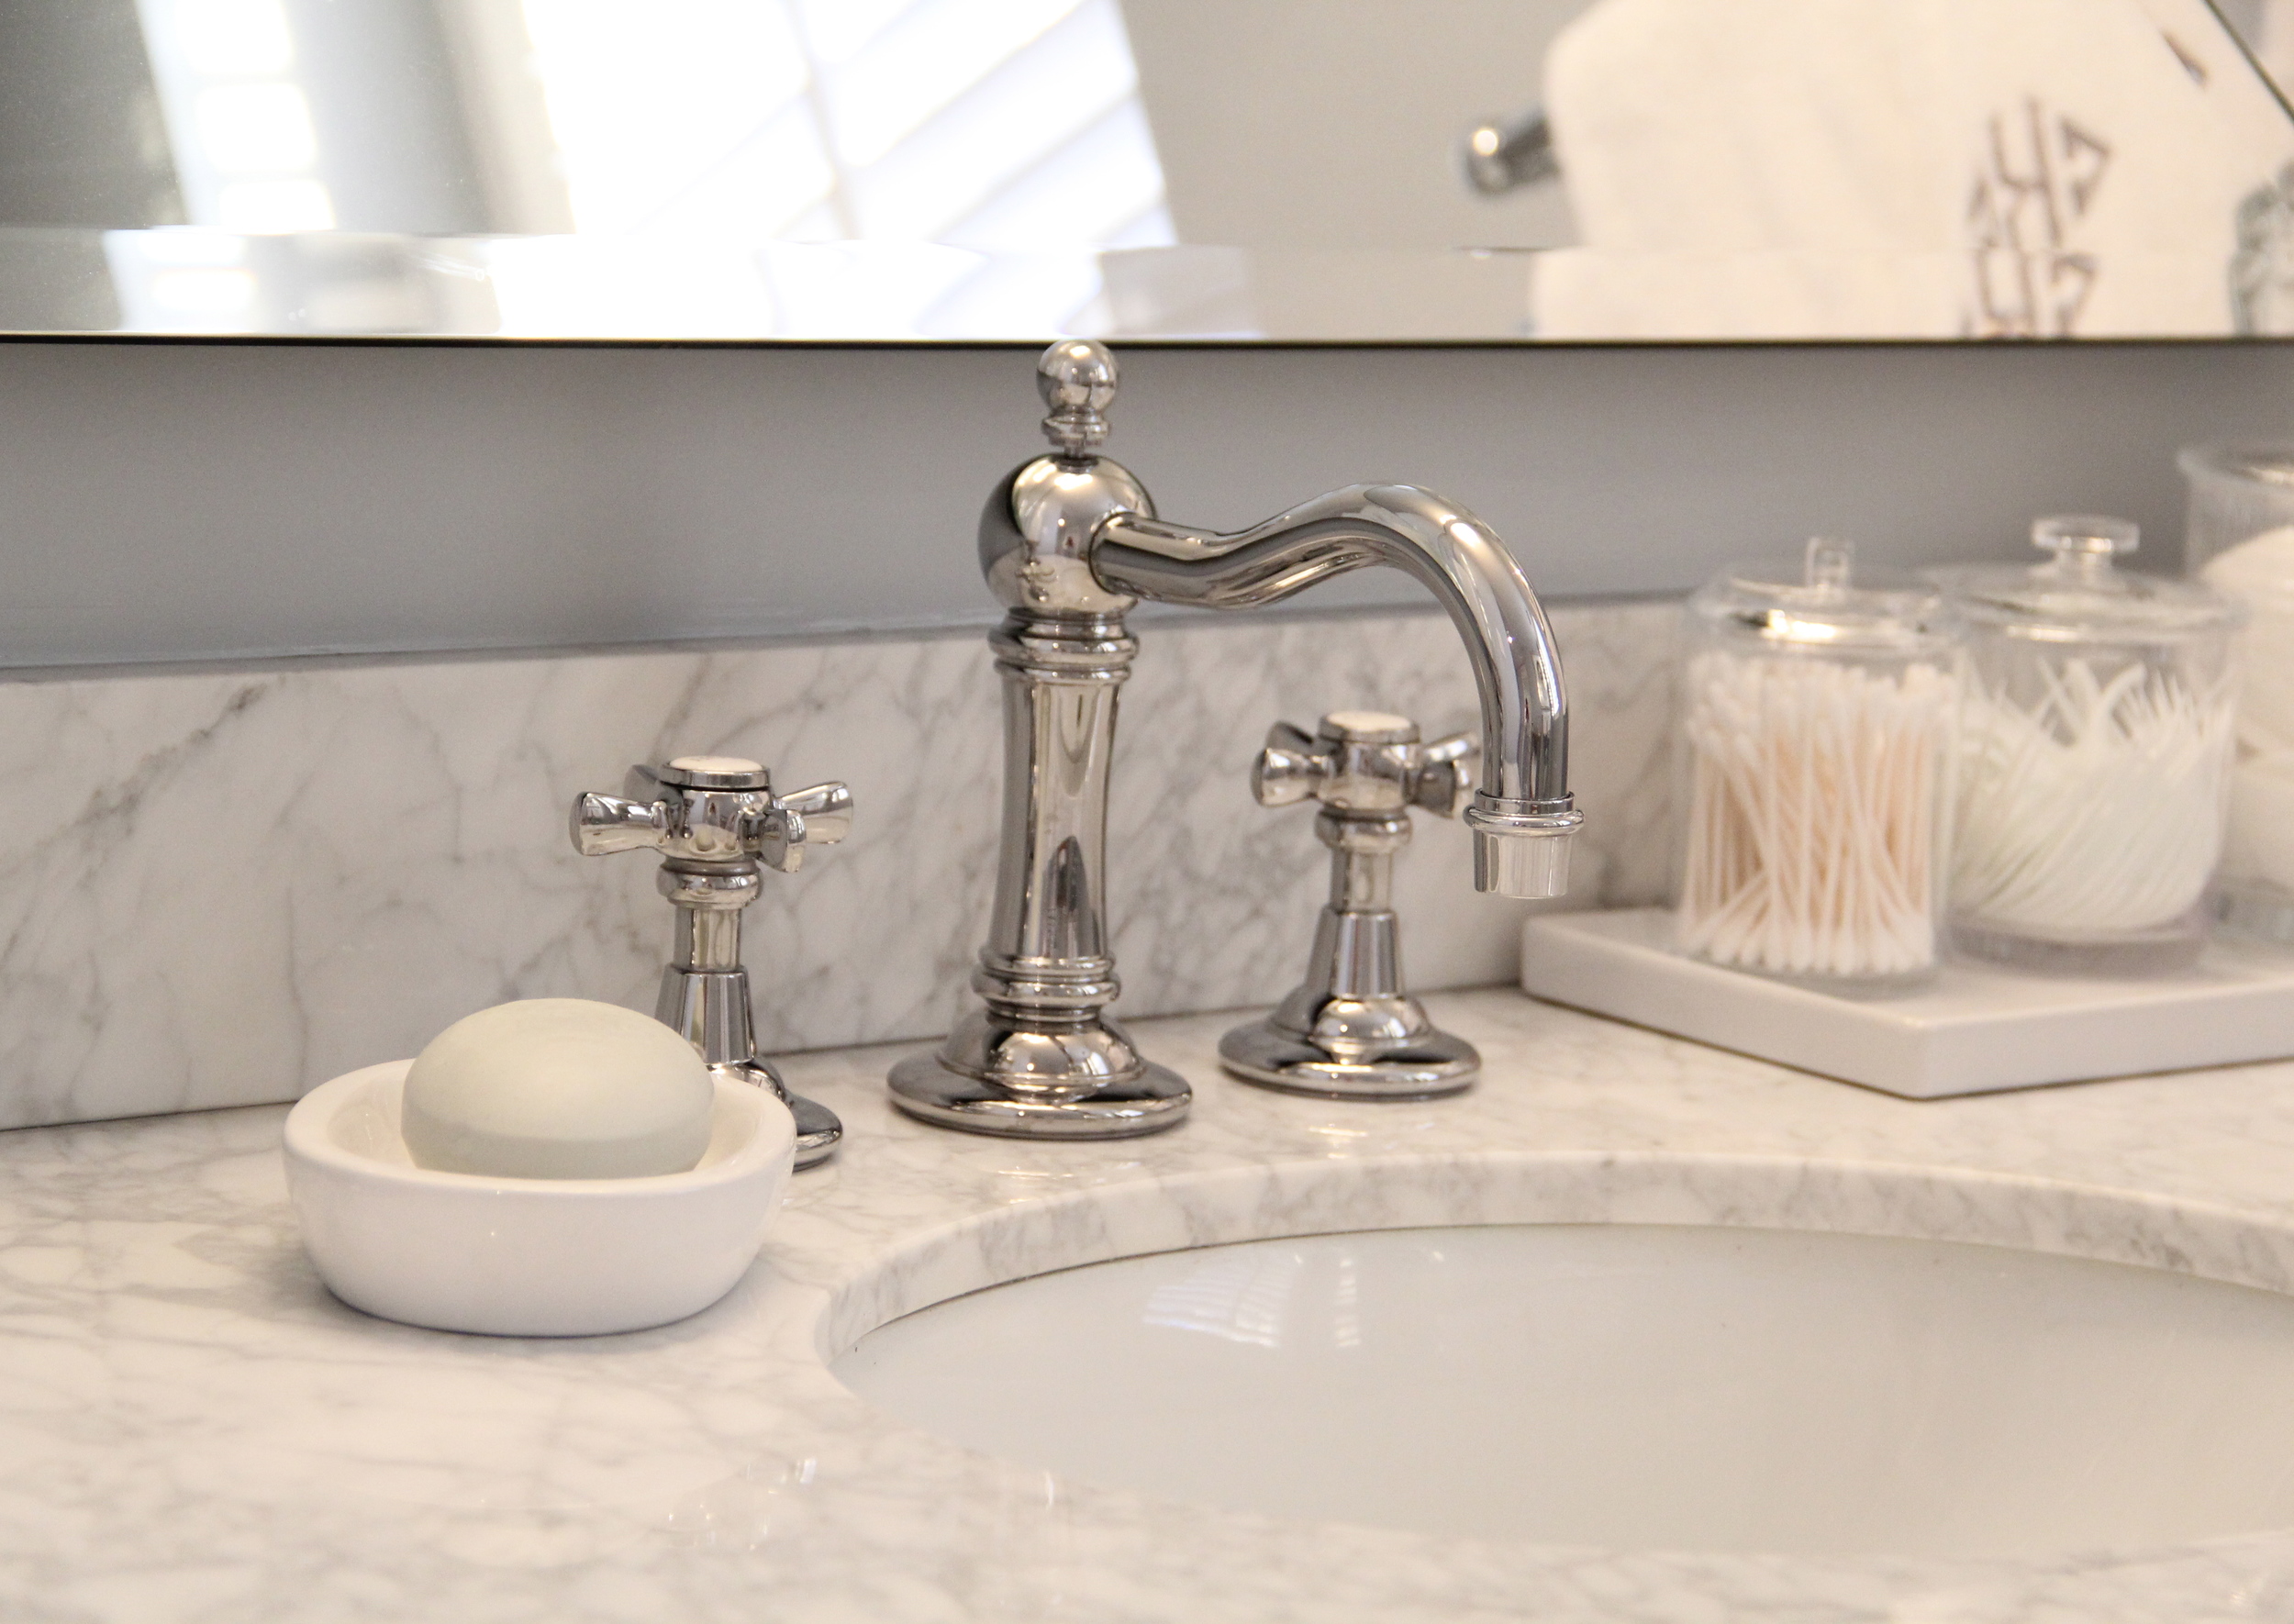
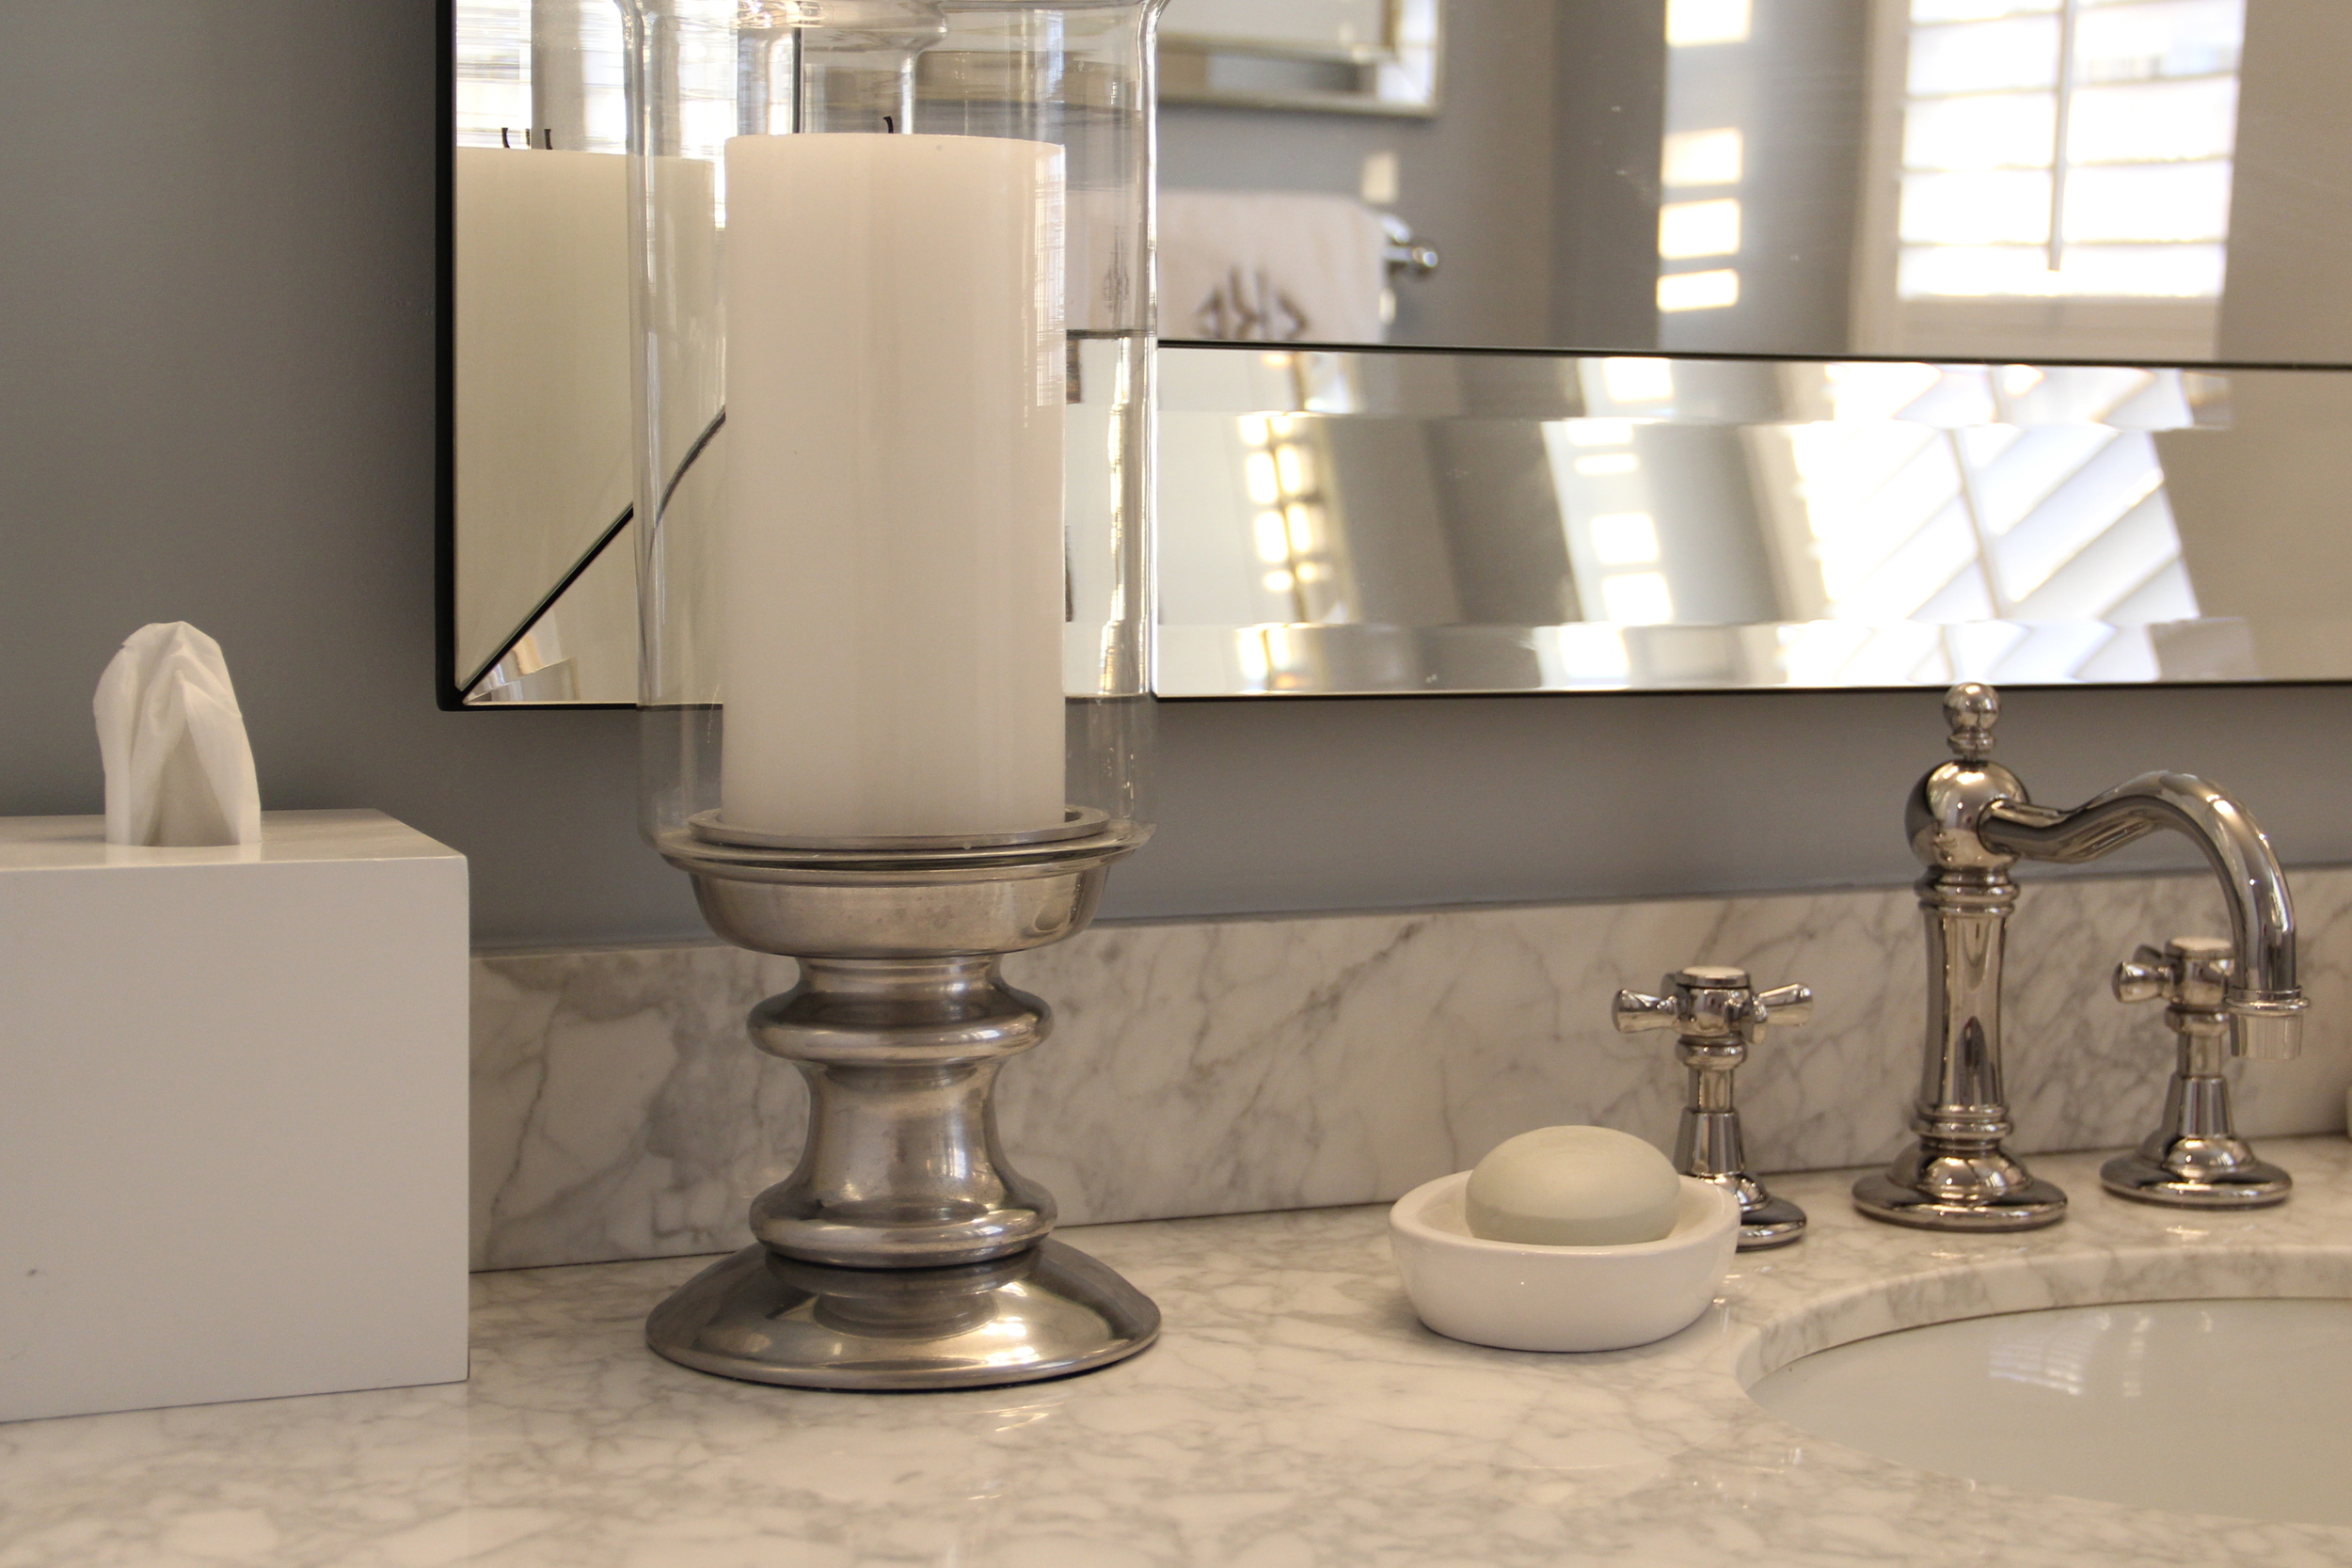
- Candles - See my post on Coffee Table Candles for ideas on different types of candle lighting that you could use to create a lovely ambiance at your next party.
- Music- Music in the background is a must for any party I host. To me, there is nothing worse than a party without music (totally makes the party feel sterile). Party music doesn't have to be an expensive addition. Spotify and Pandora are great apps for finding songs and playlists that you can download right to your phone. If you have a sound system in your living room already then thats perfect! If you don't, I would definitely suggest getting a bluetooth speaker. They are inexpensive, produce great sound and can connect to your phone's playlists. I actually gave this Triple C Bluetooth Speaker as a gift recently and it was a huge hit!

These are my foundations for hosting any cocktail party in my home. While nothing is required, I strongly encourage you to consider these different aspects before hosting your next party. The right entertaining equipment will make hosting easier and more comfortable for both you and your guests.