On Saturday I decided to reward myself post-workout with a trip to Home Goods (love that store!). While perusing the aisles I came across a fabulous selection of ginger jars. As you may have noticed from previous posts, my Instagram account and my Pinterest "Chinoiserie Chic" board, I have a bit of an affinity for ginger jars. Naturally I couldn't pass up the opportunity to add yet another lovely ginger jar to my collection (especially when this one was only $14.99!).
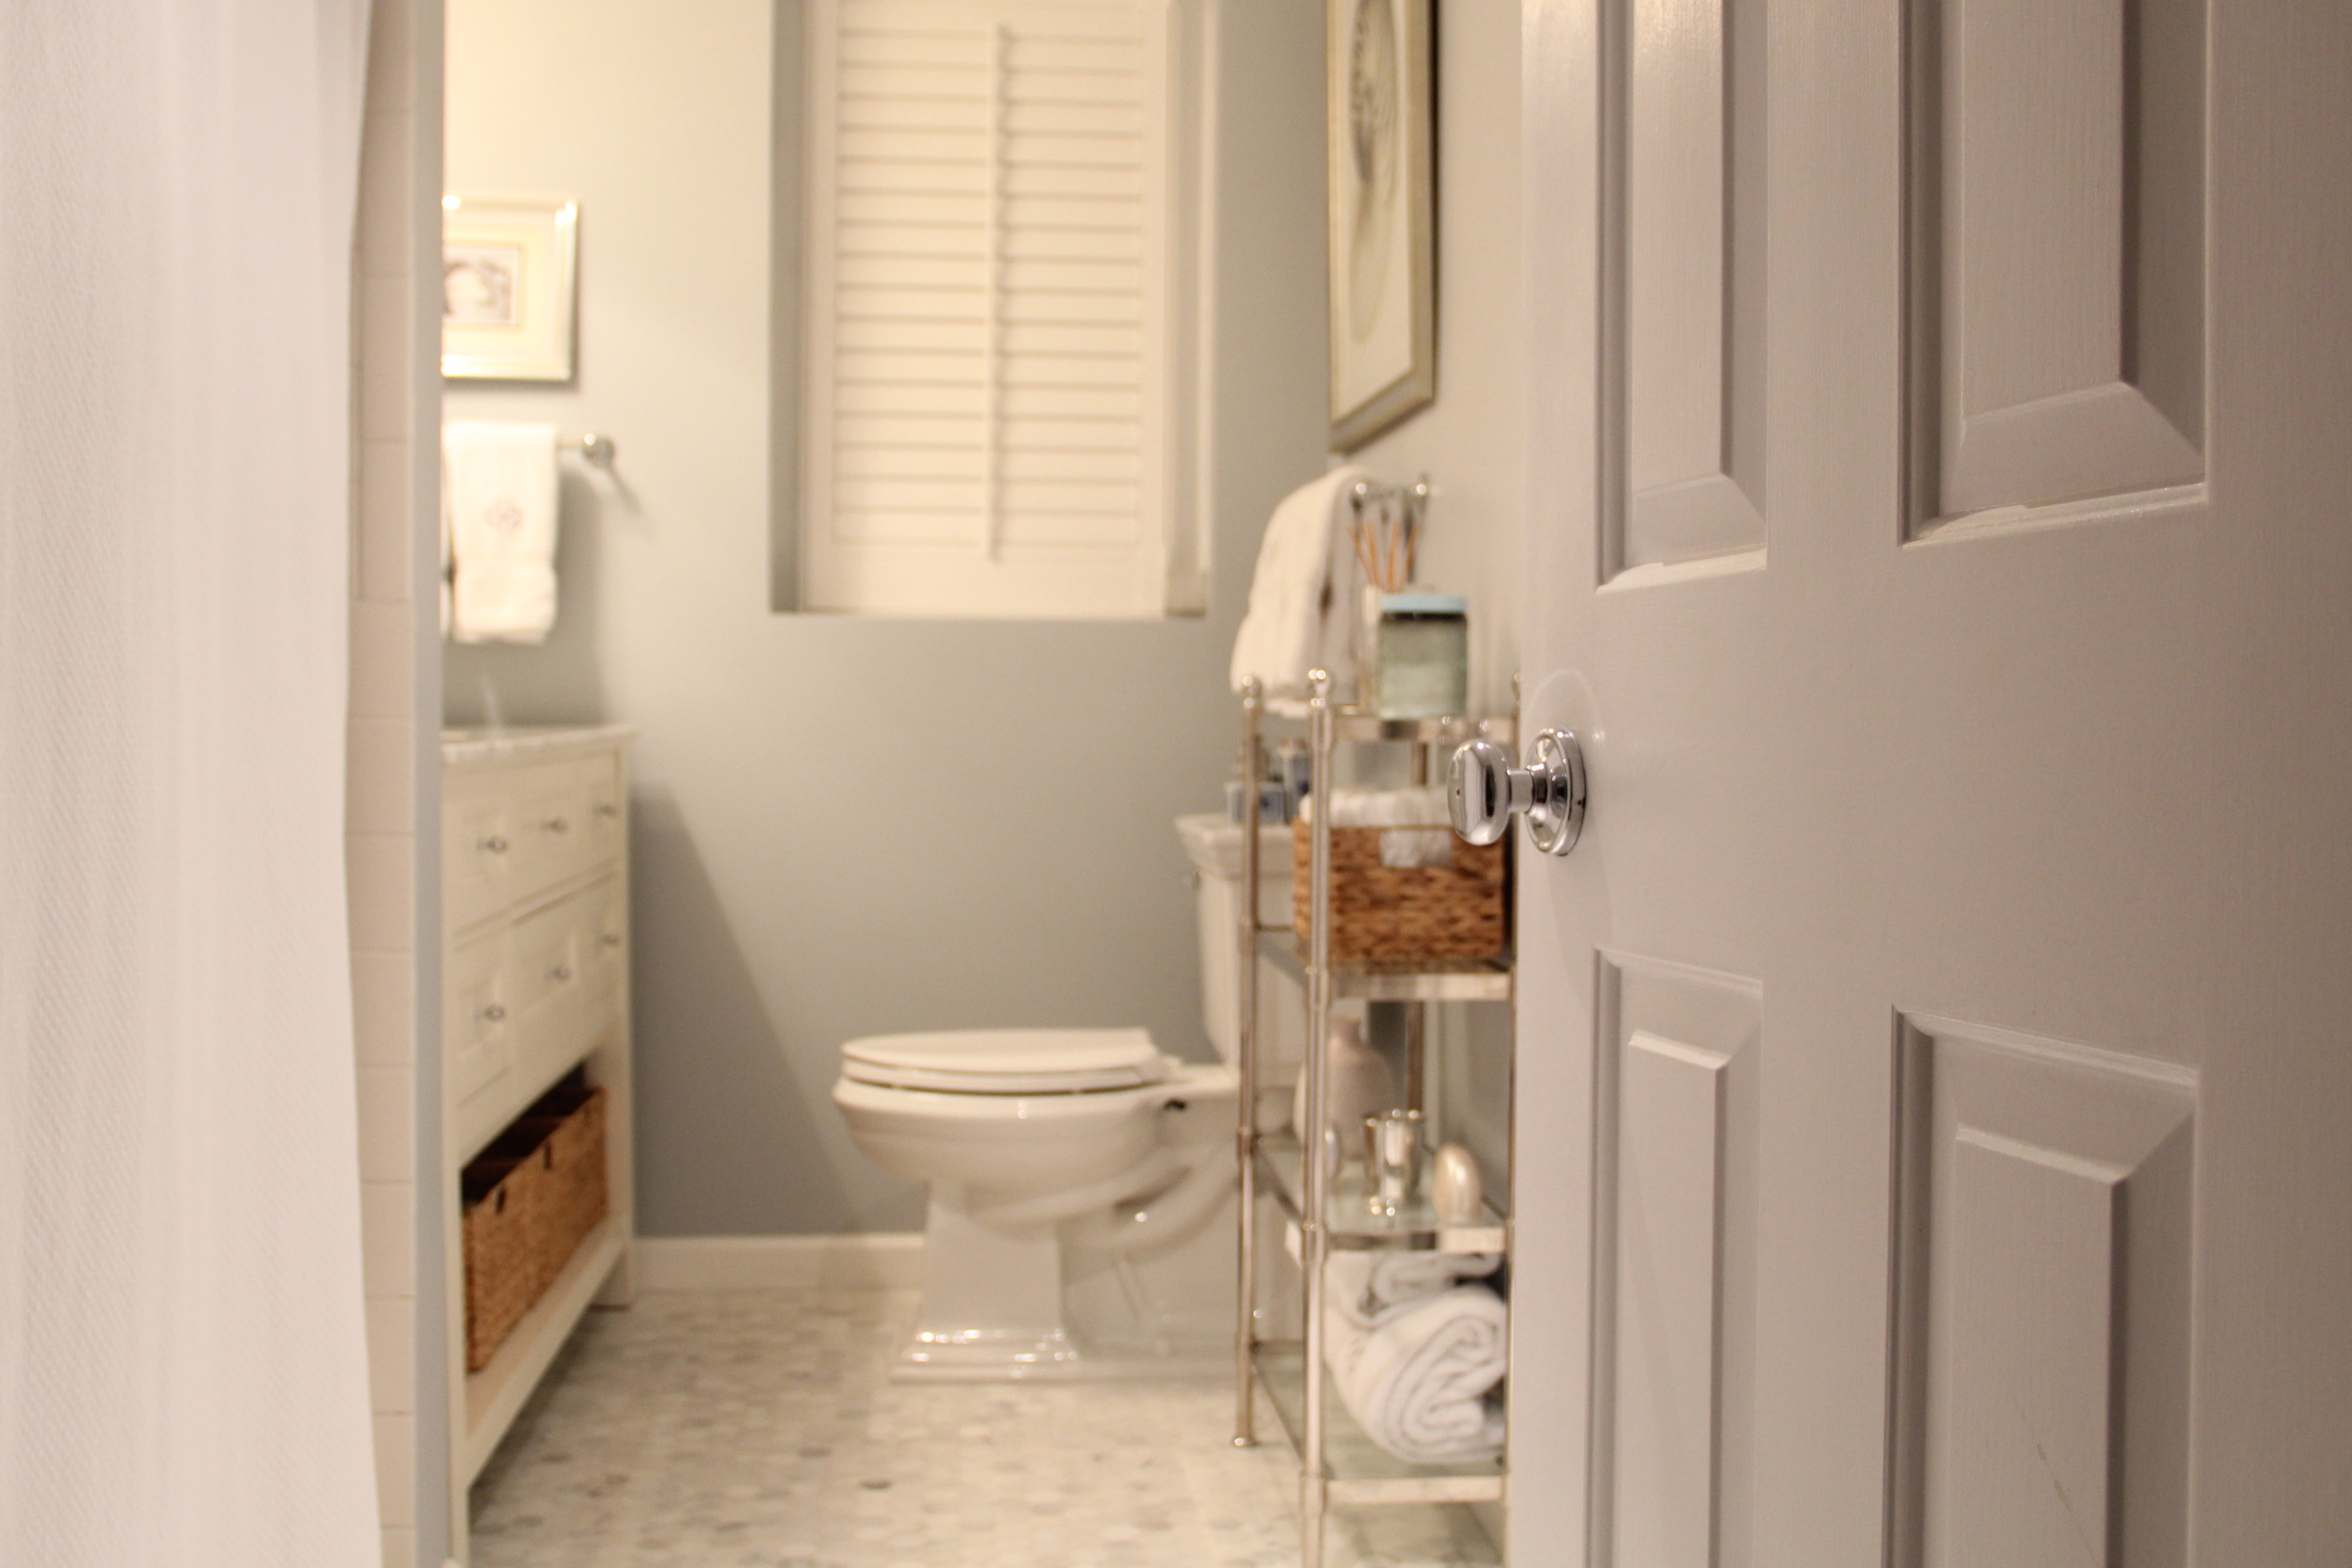
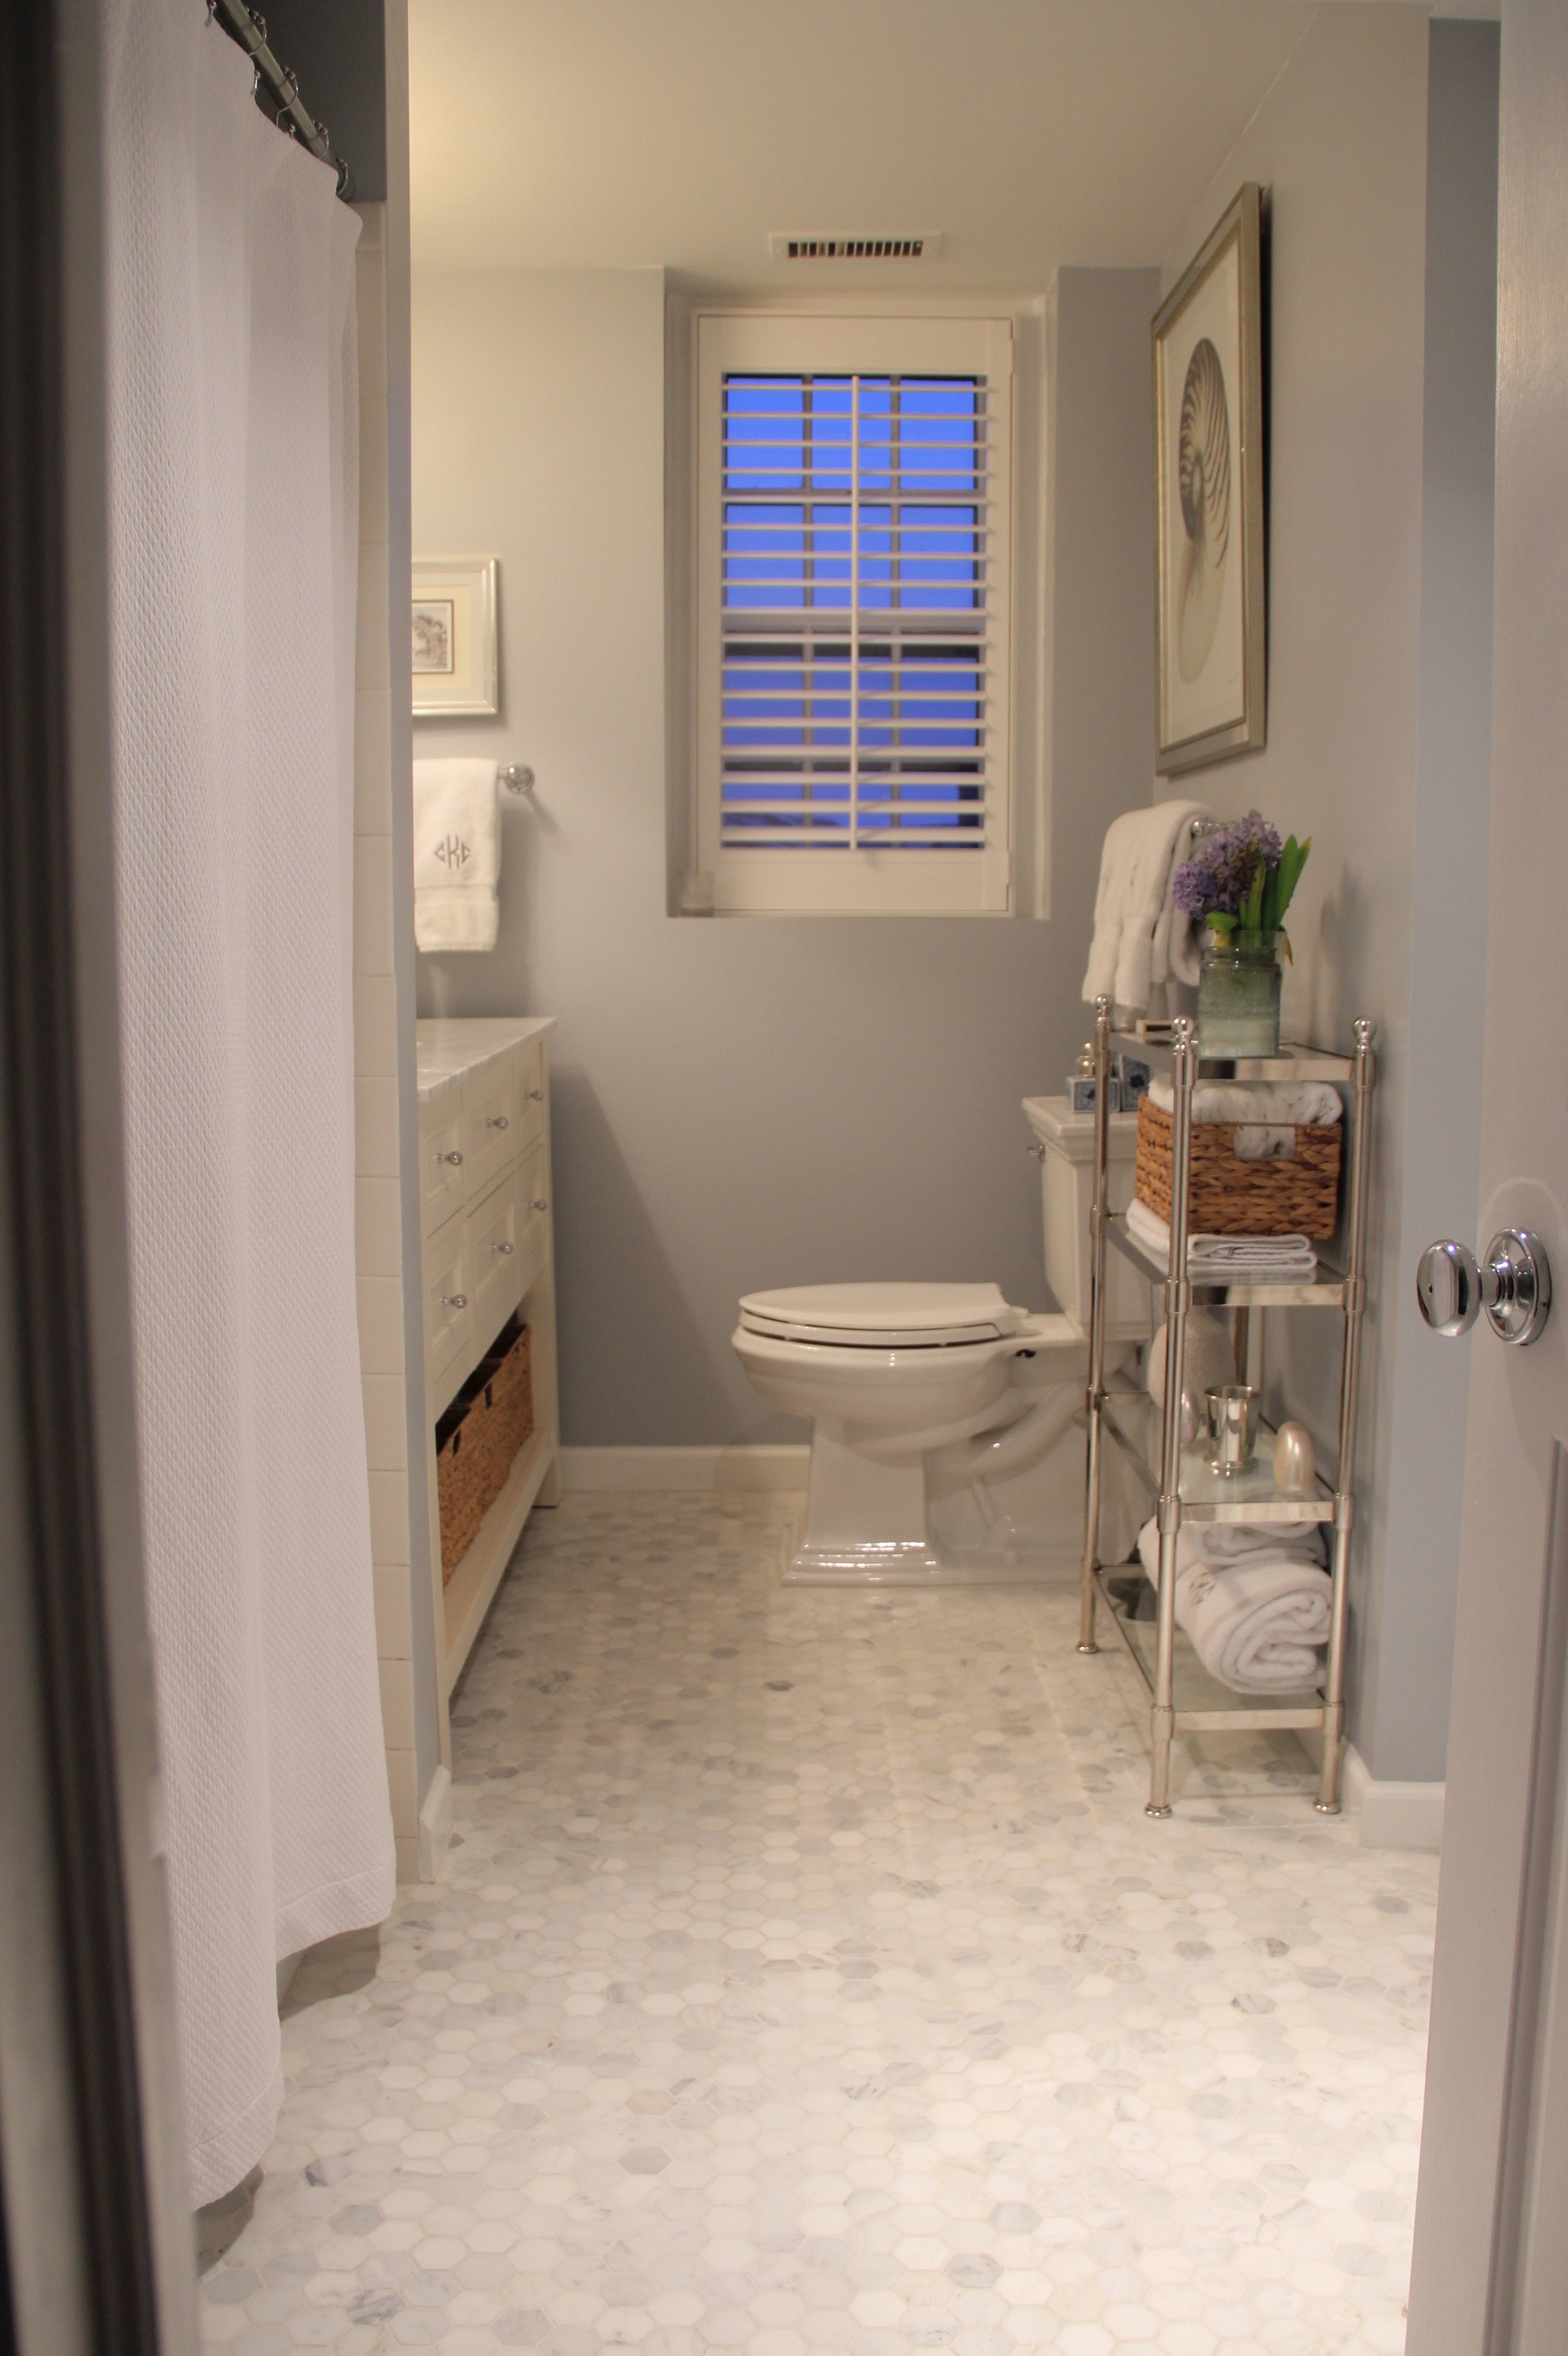
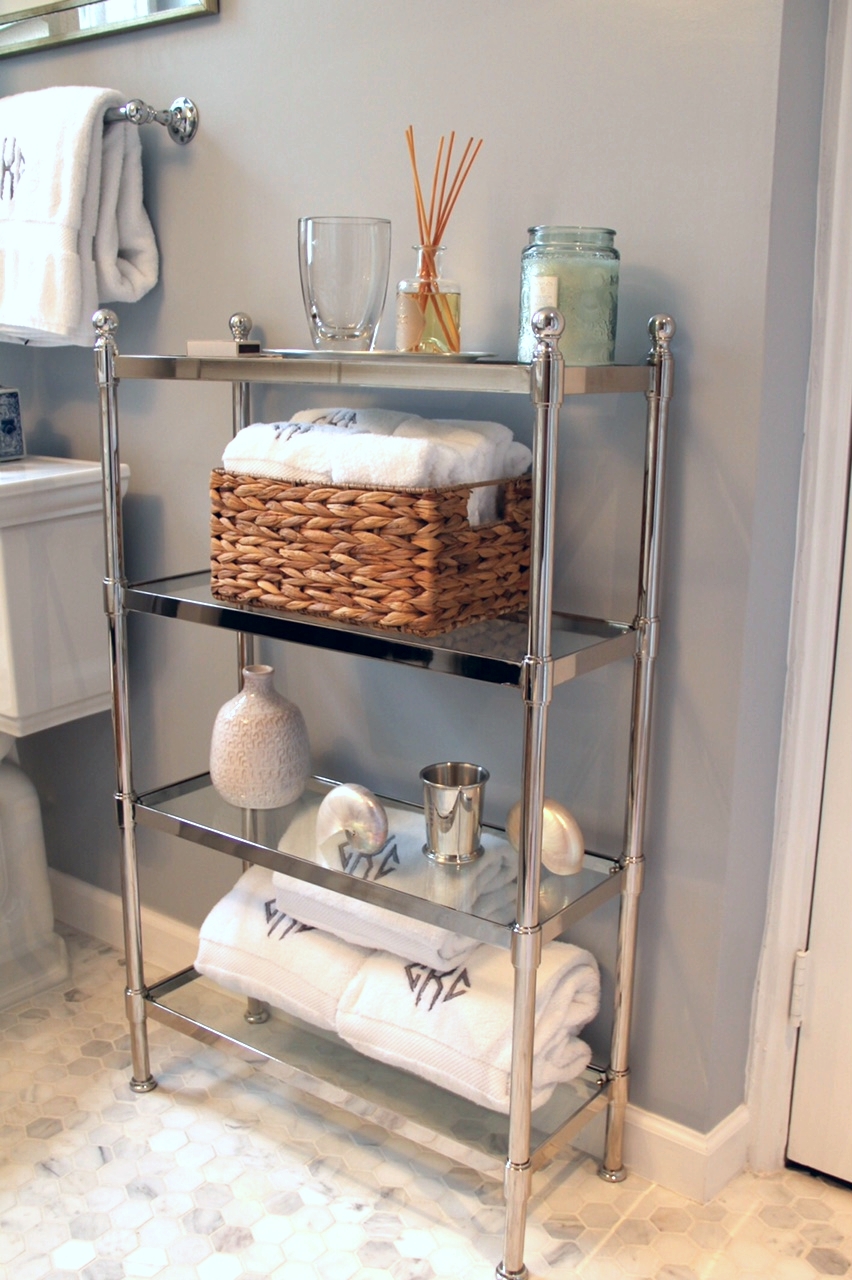
When I got home, I knew that the best place for the new ginger jar would be on my bathroom etagere from Pottery Barn. I don't know if this has ever happened to you, but typically when I change one thing in a space, it cascades into having to modify the surrounding area as well. Luckily I didn't have to revise the entire look of my shelf and I am absolutely loving the updated look of my bathroom "shelfies!" For today's post, I wanted to walk you through my design/re-design process for creating a space that is both functional and decorative in your bathroom.

Function
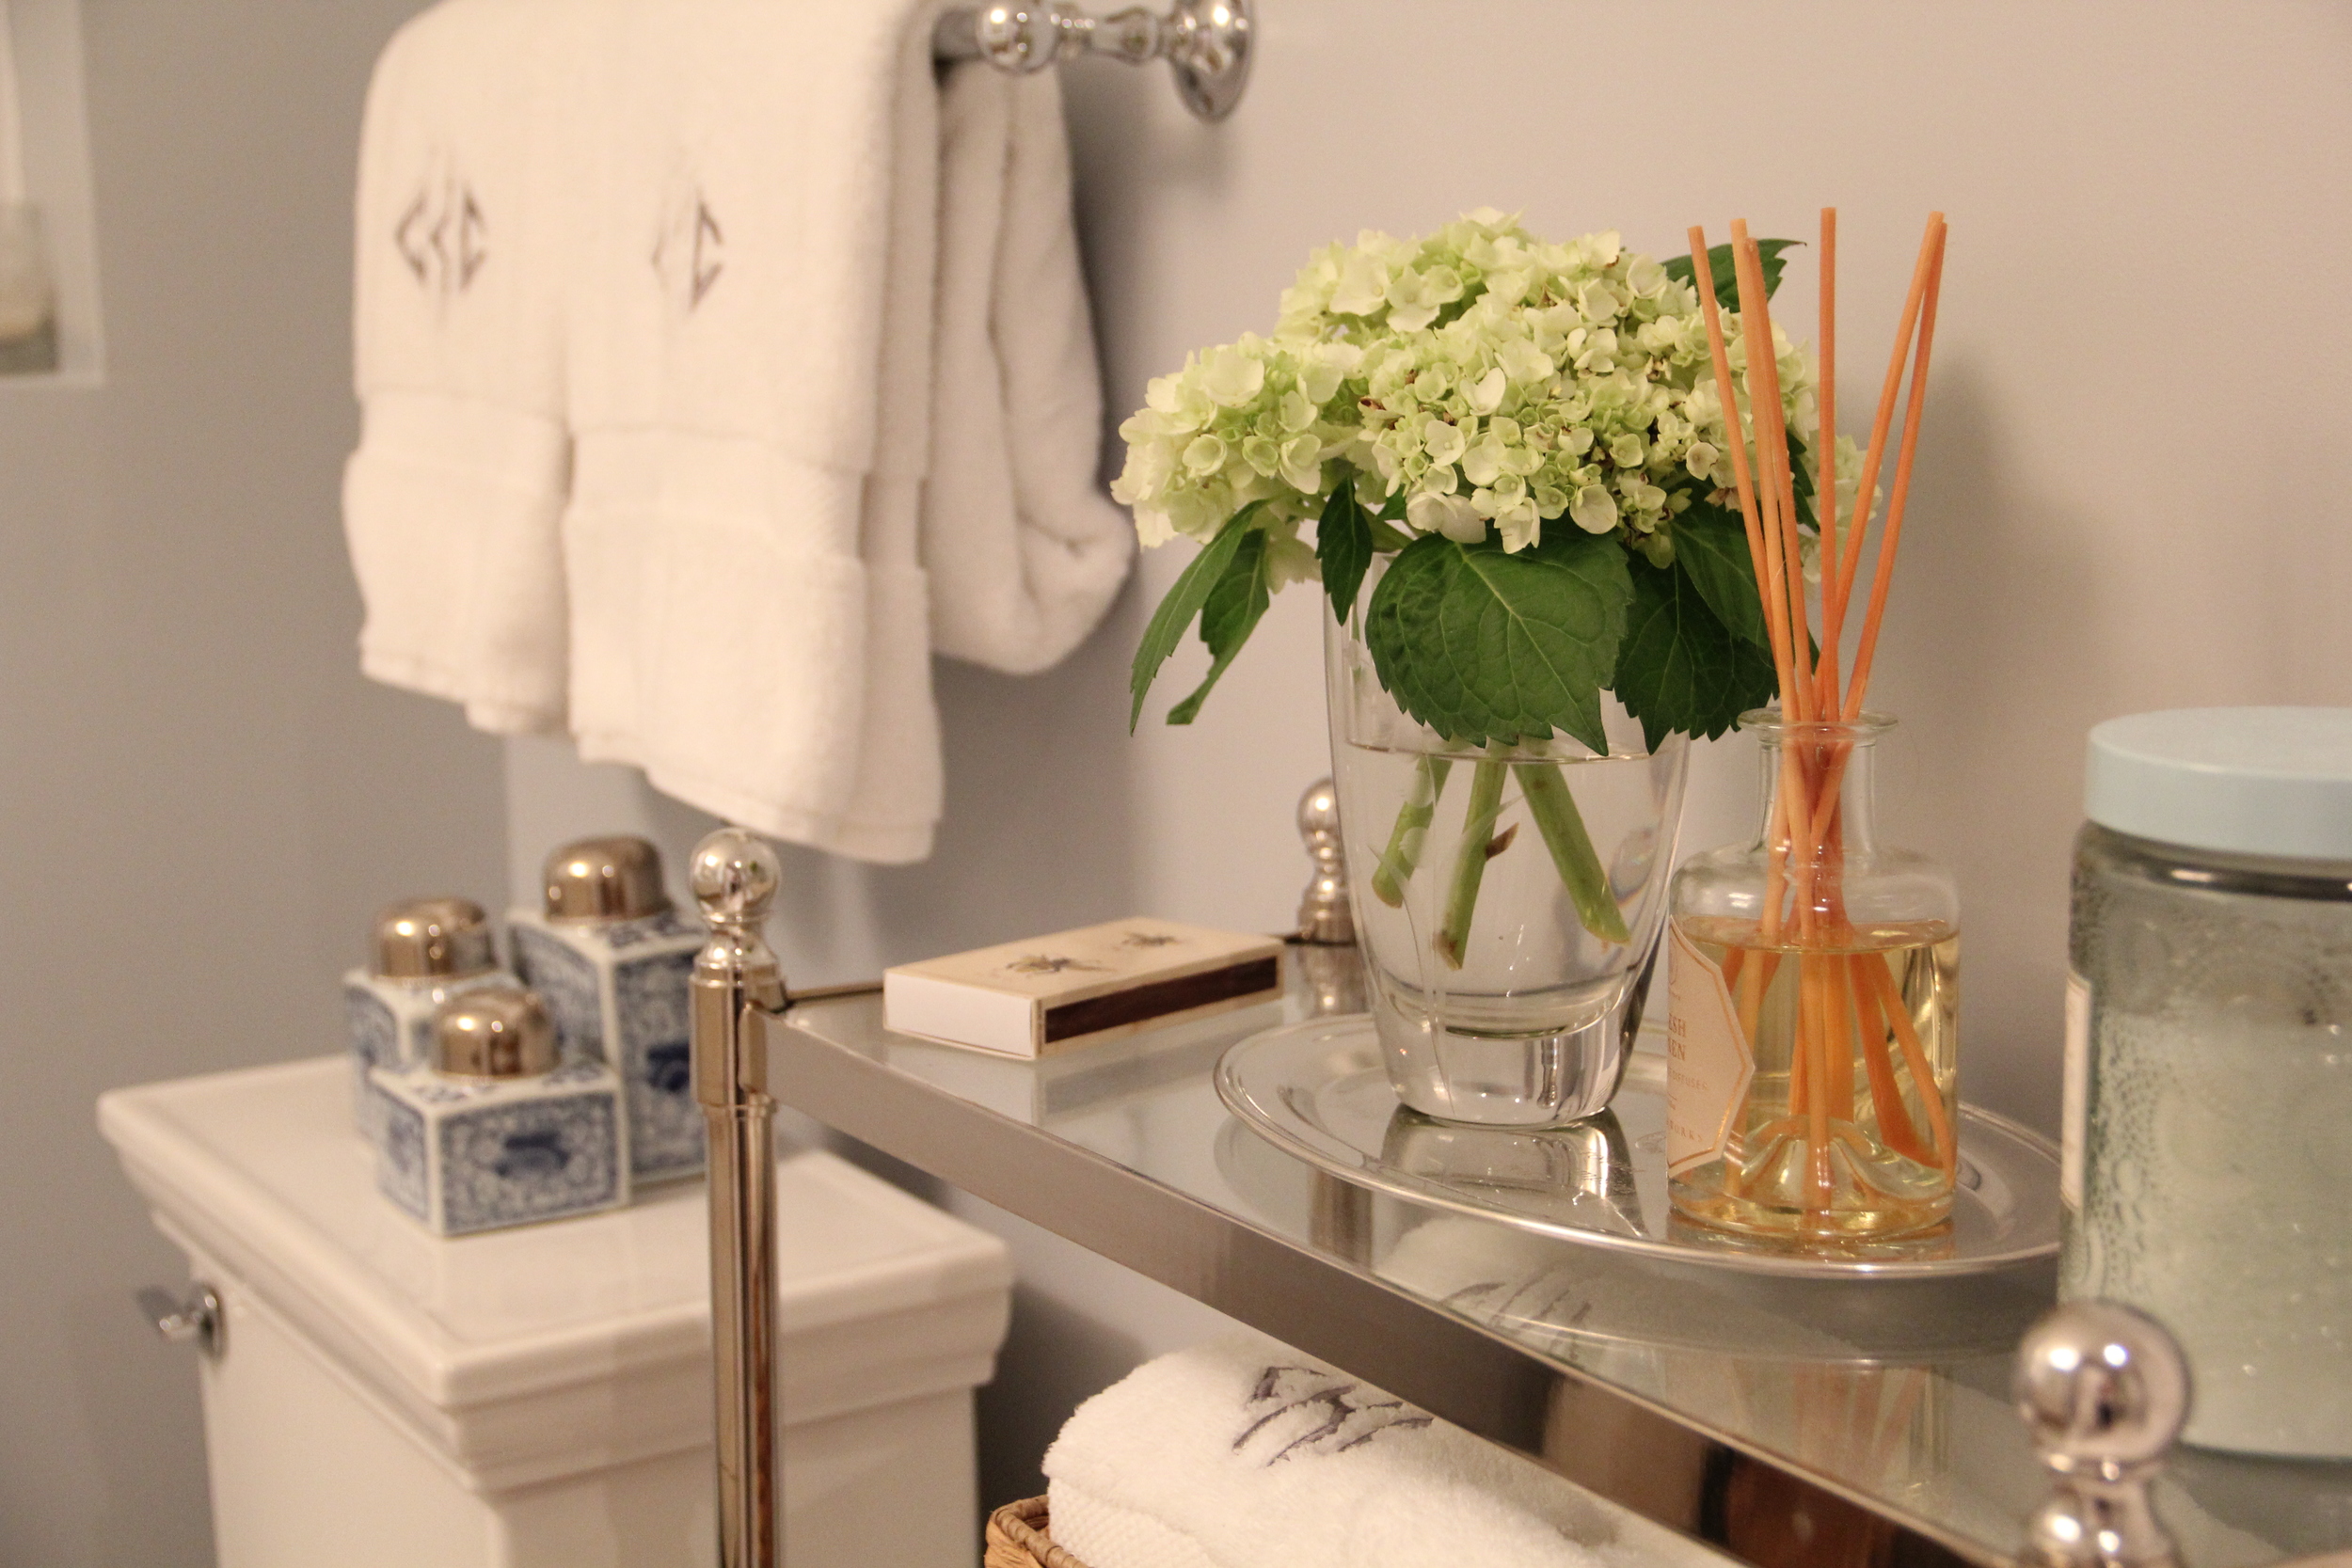
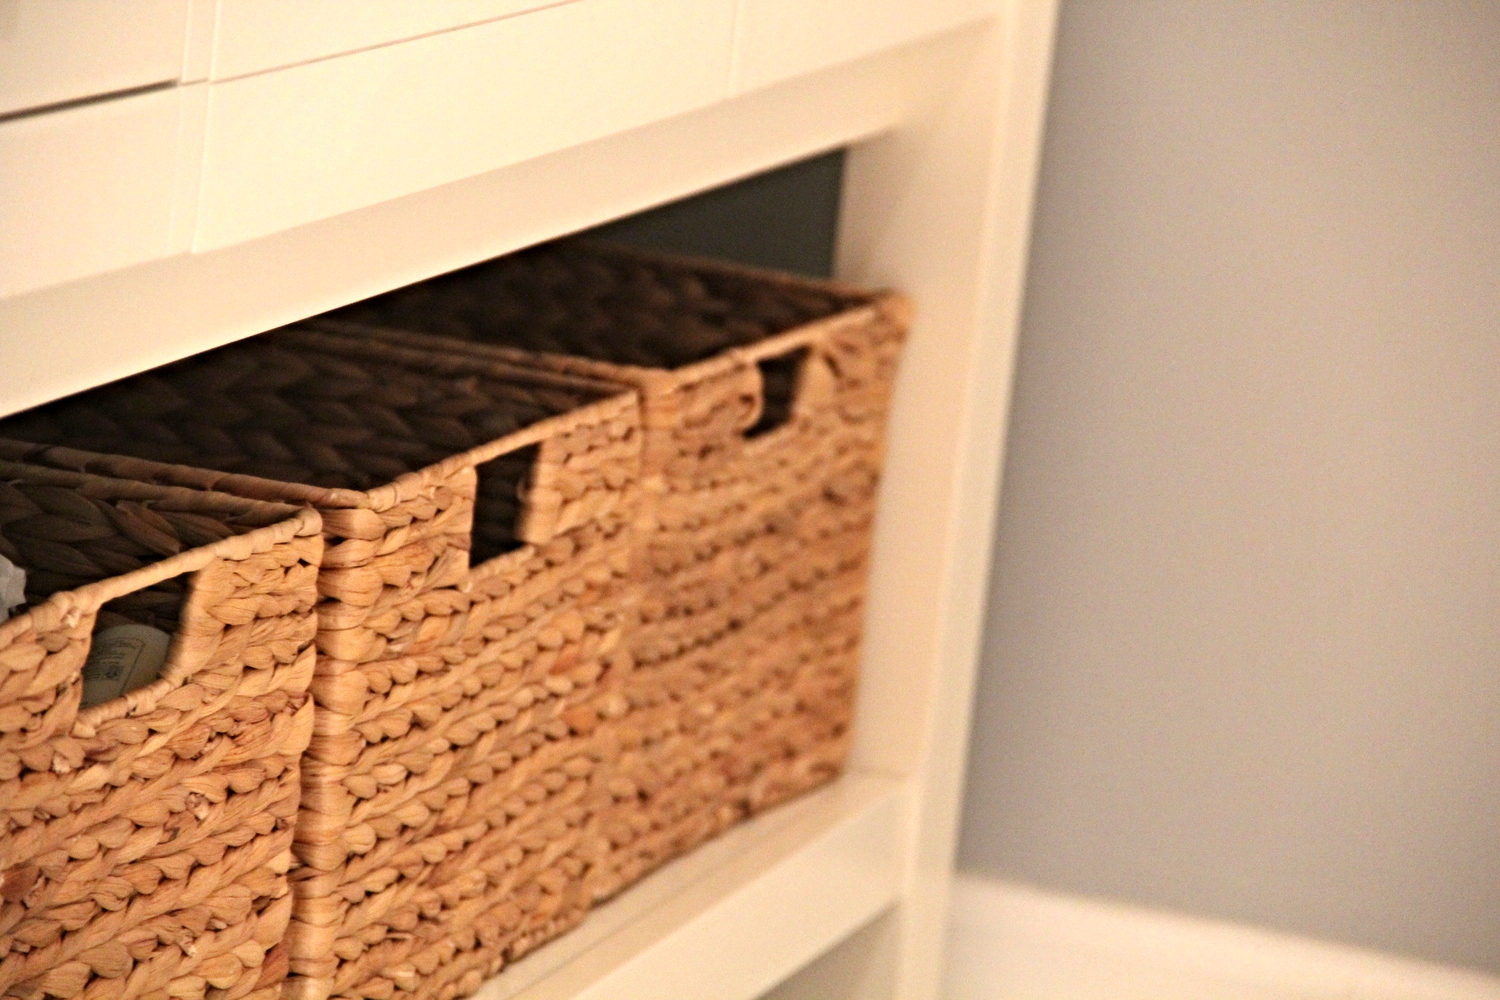
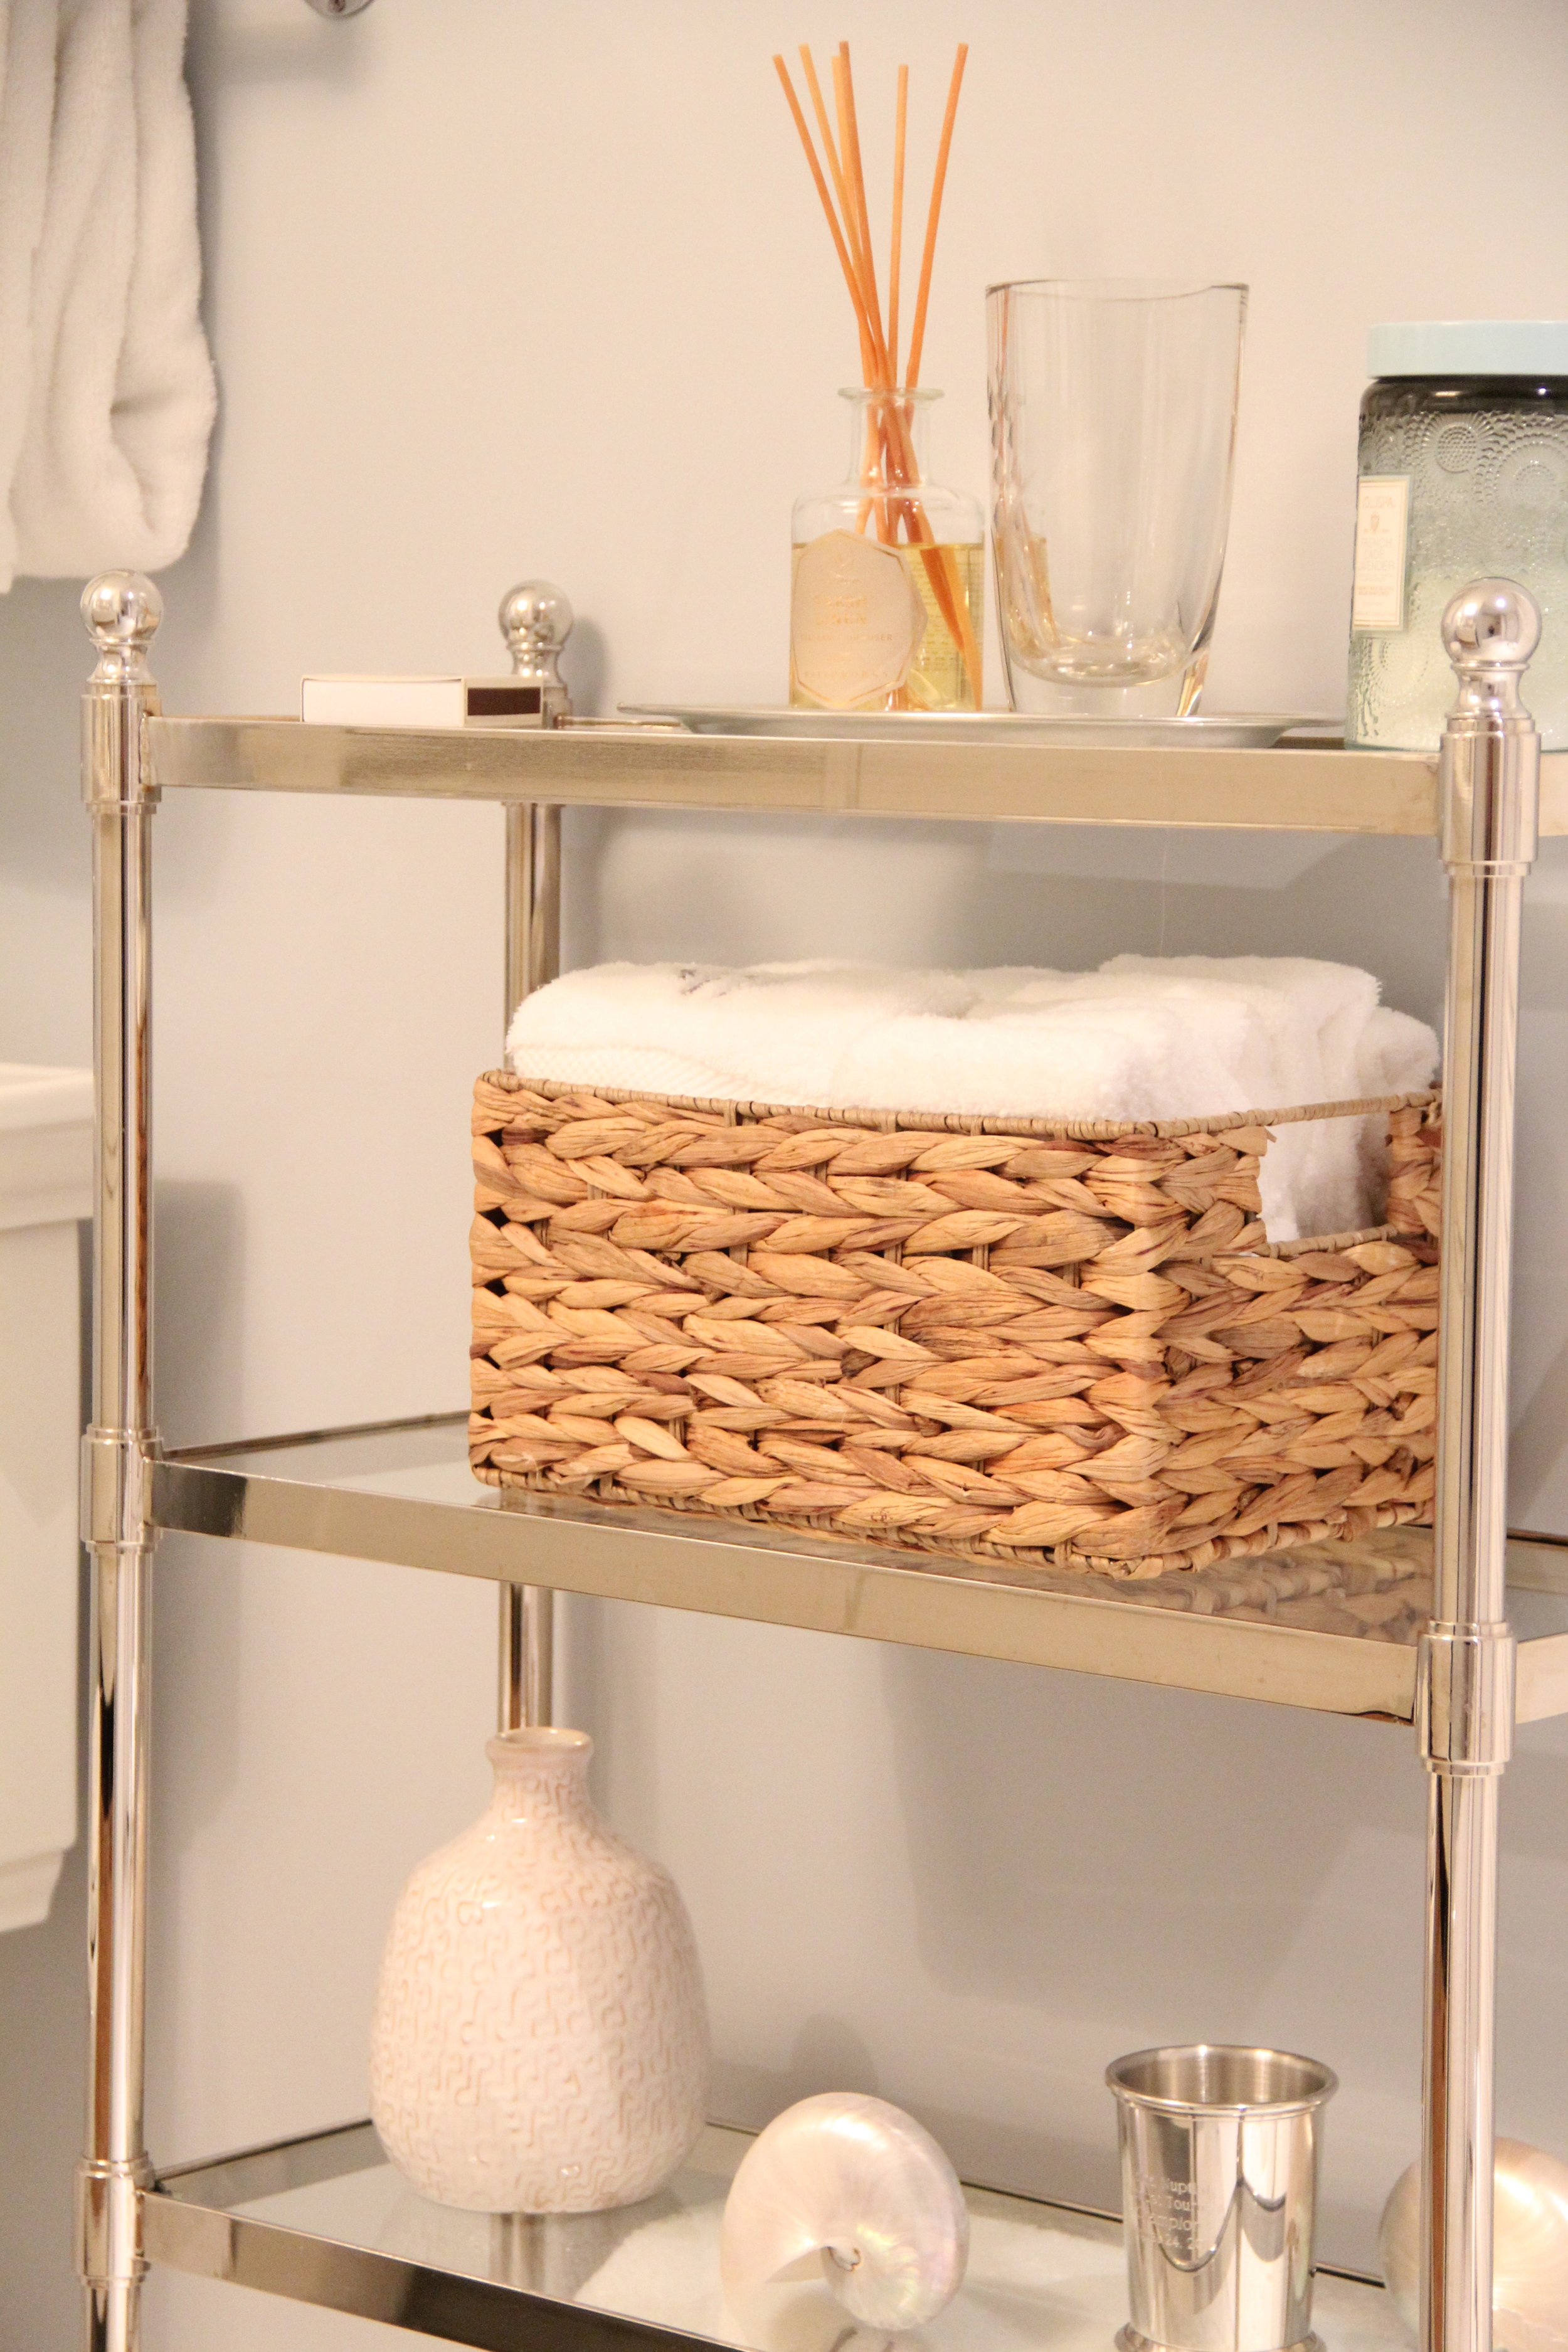
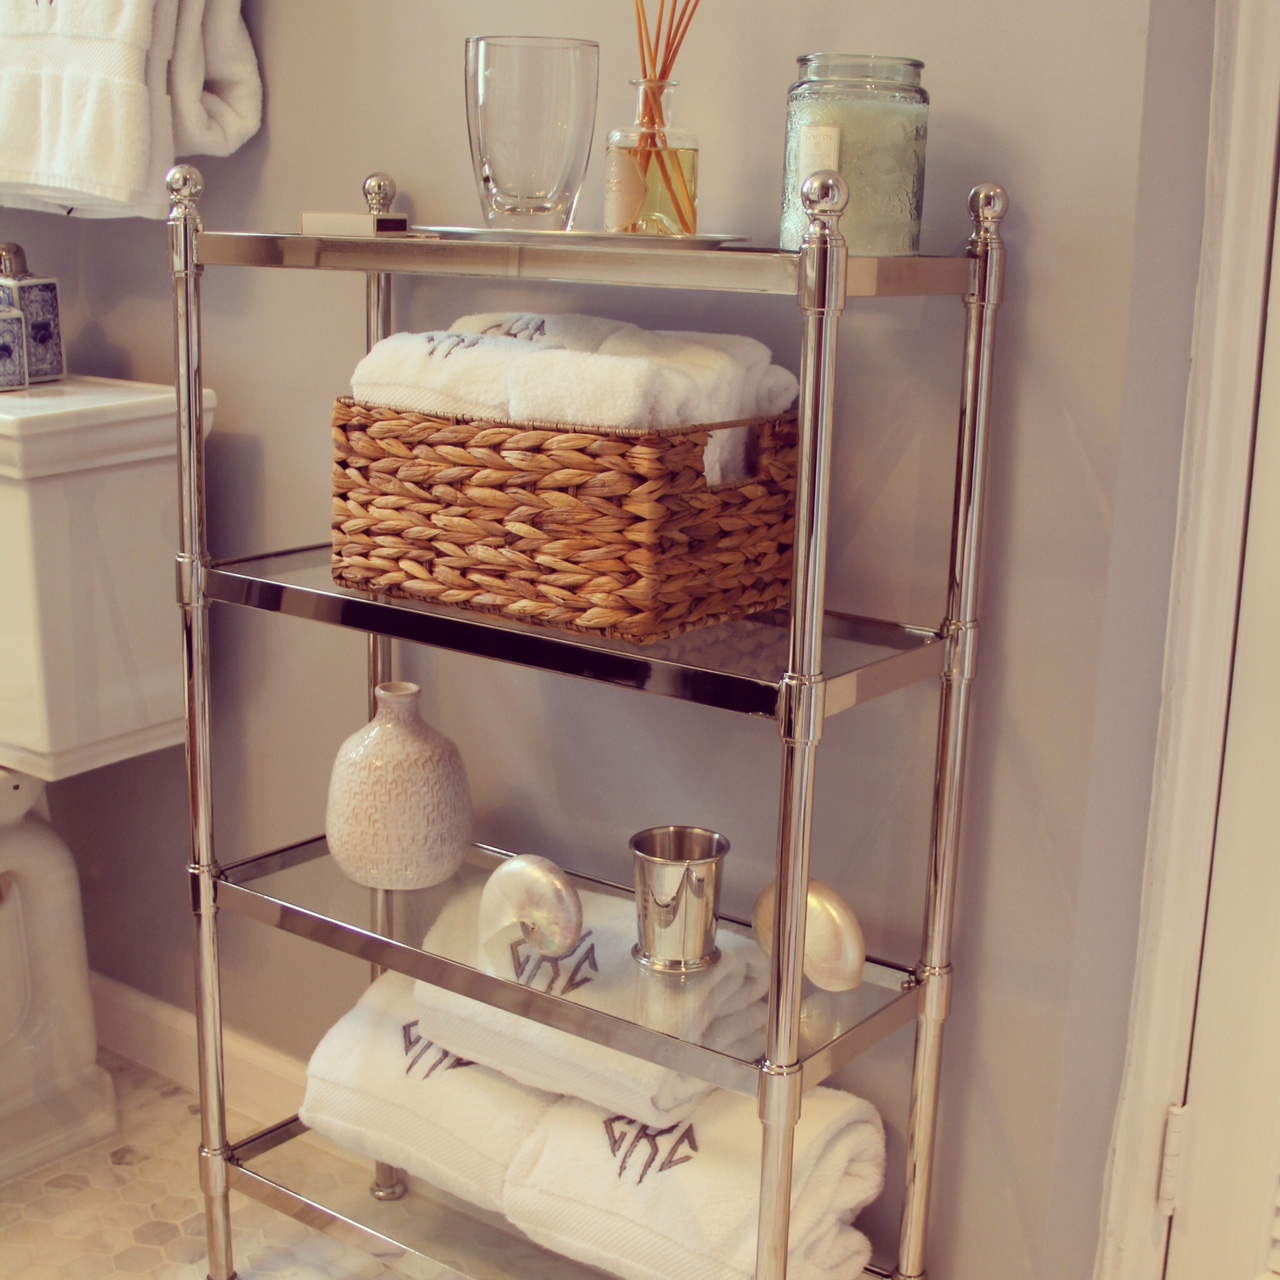
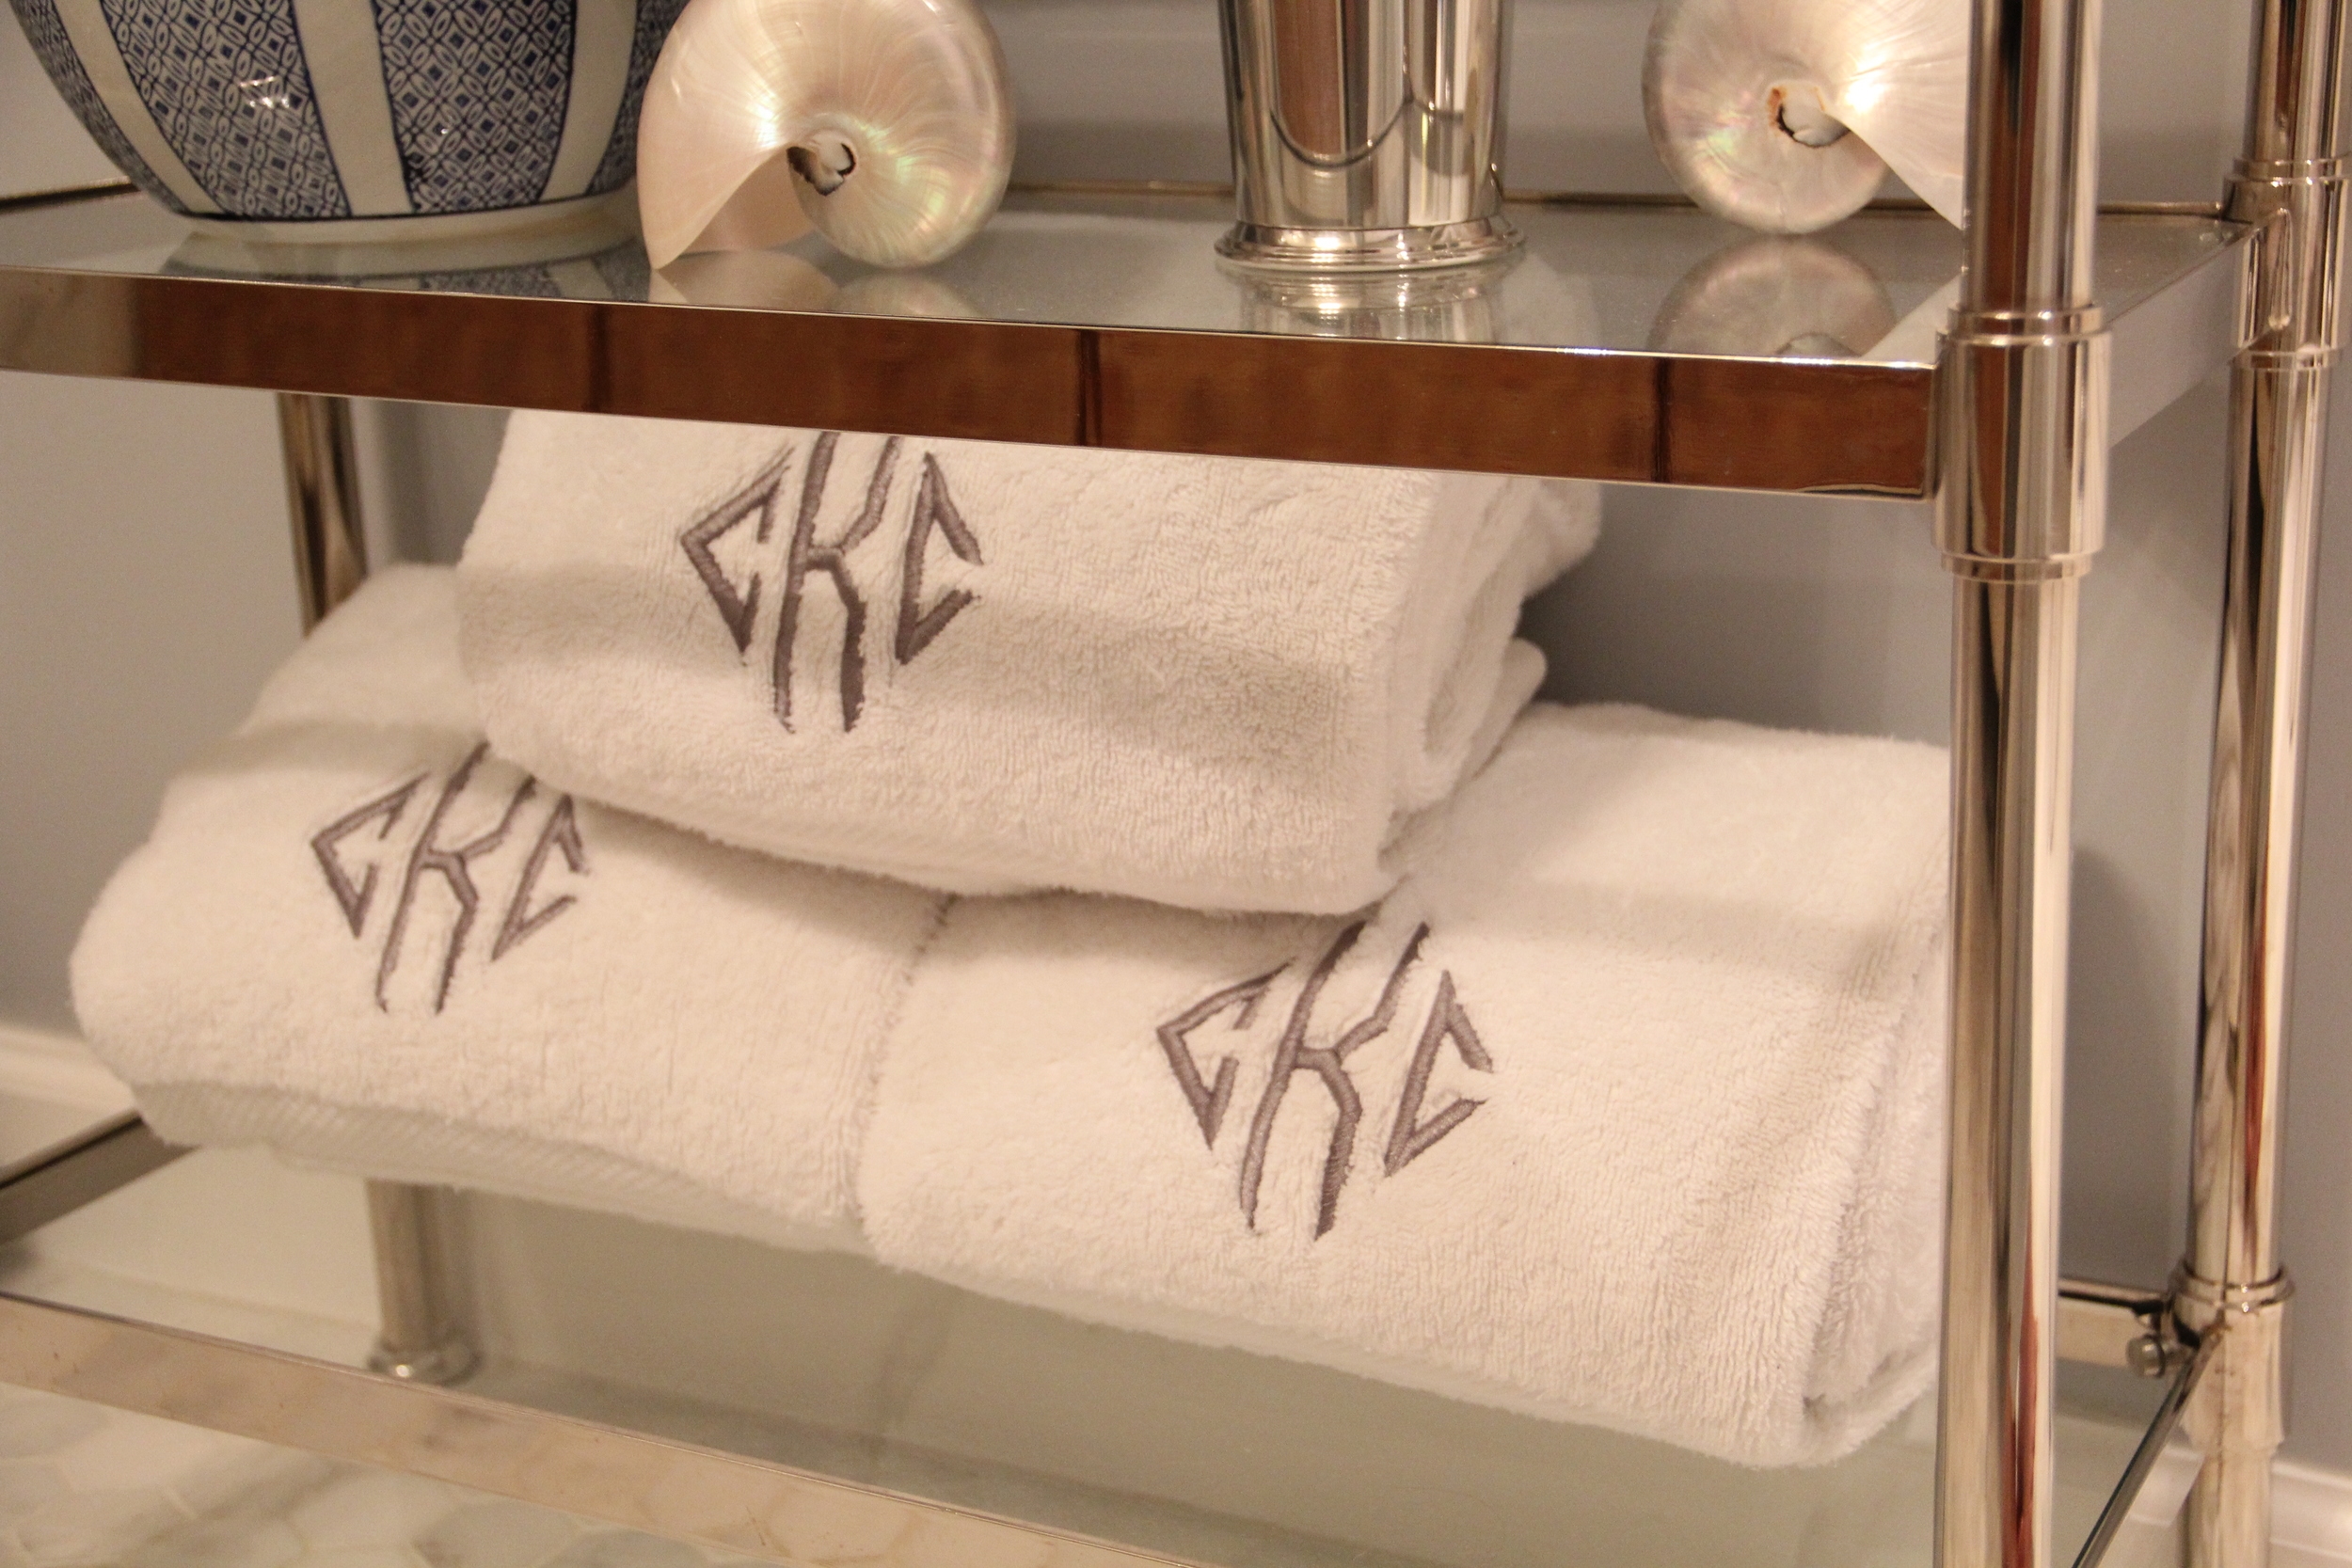
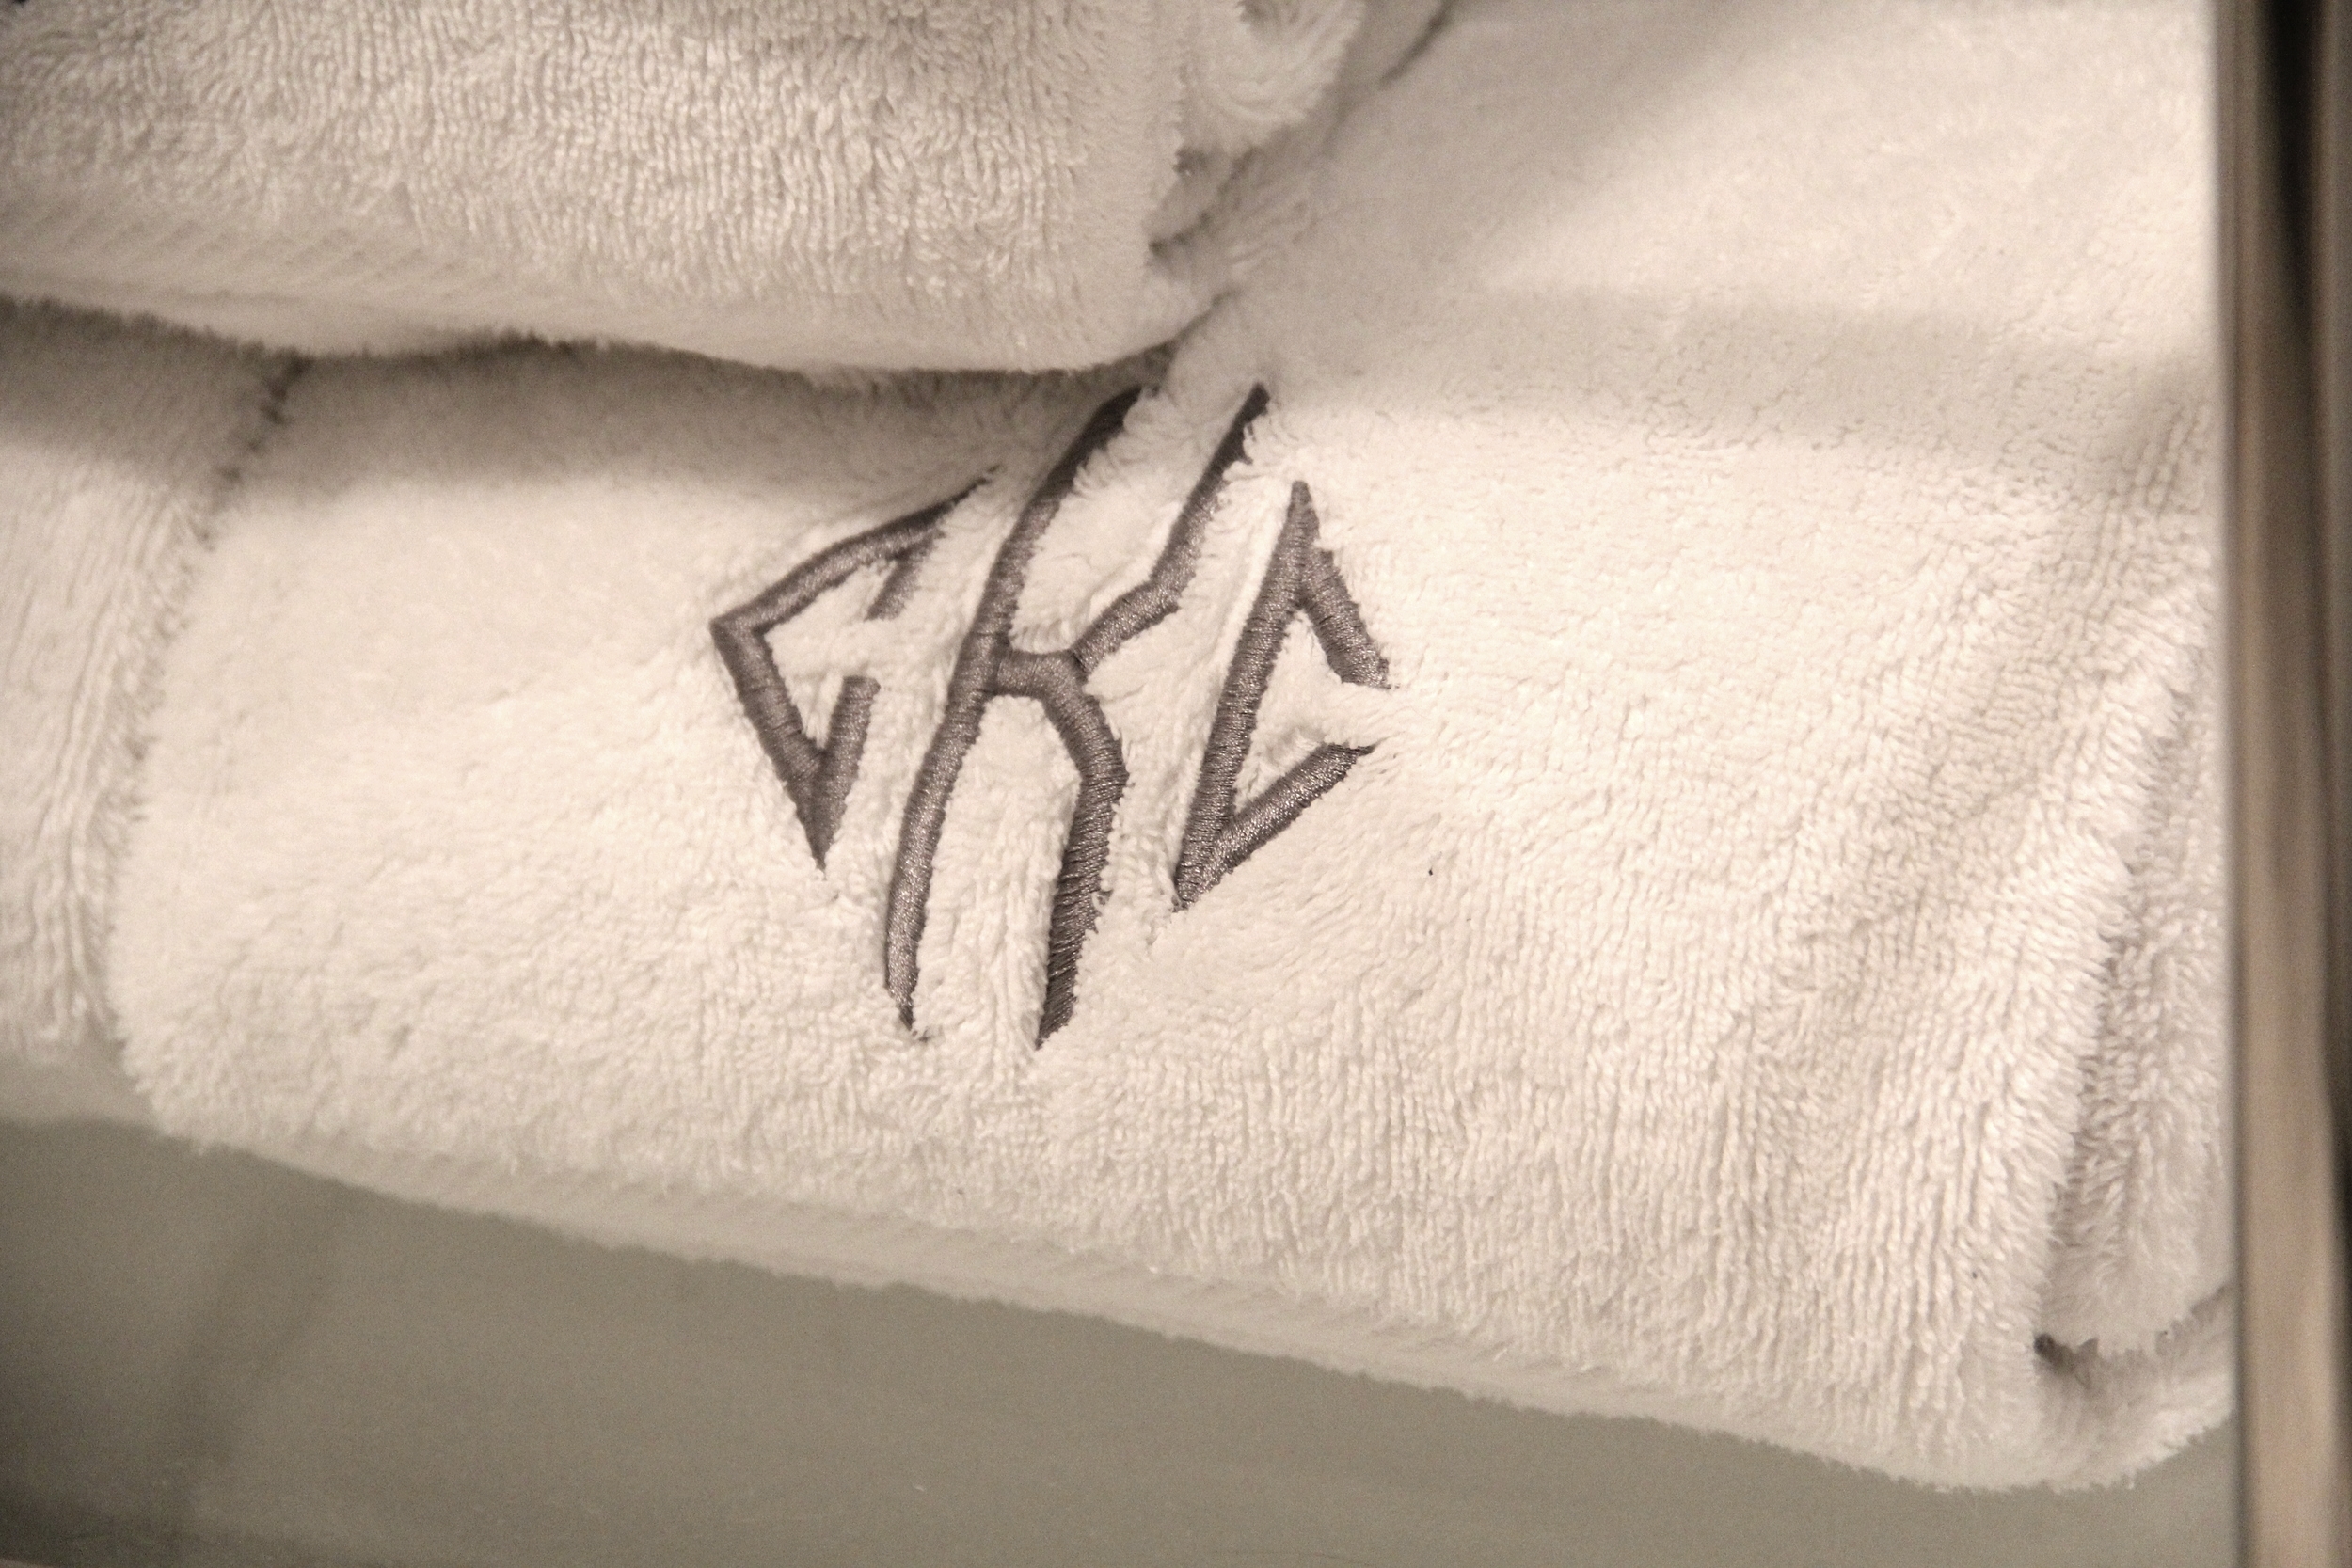
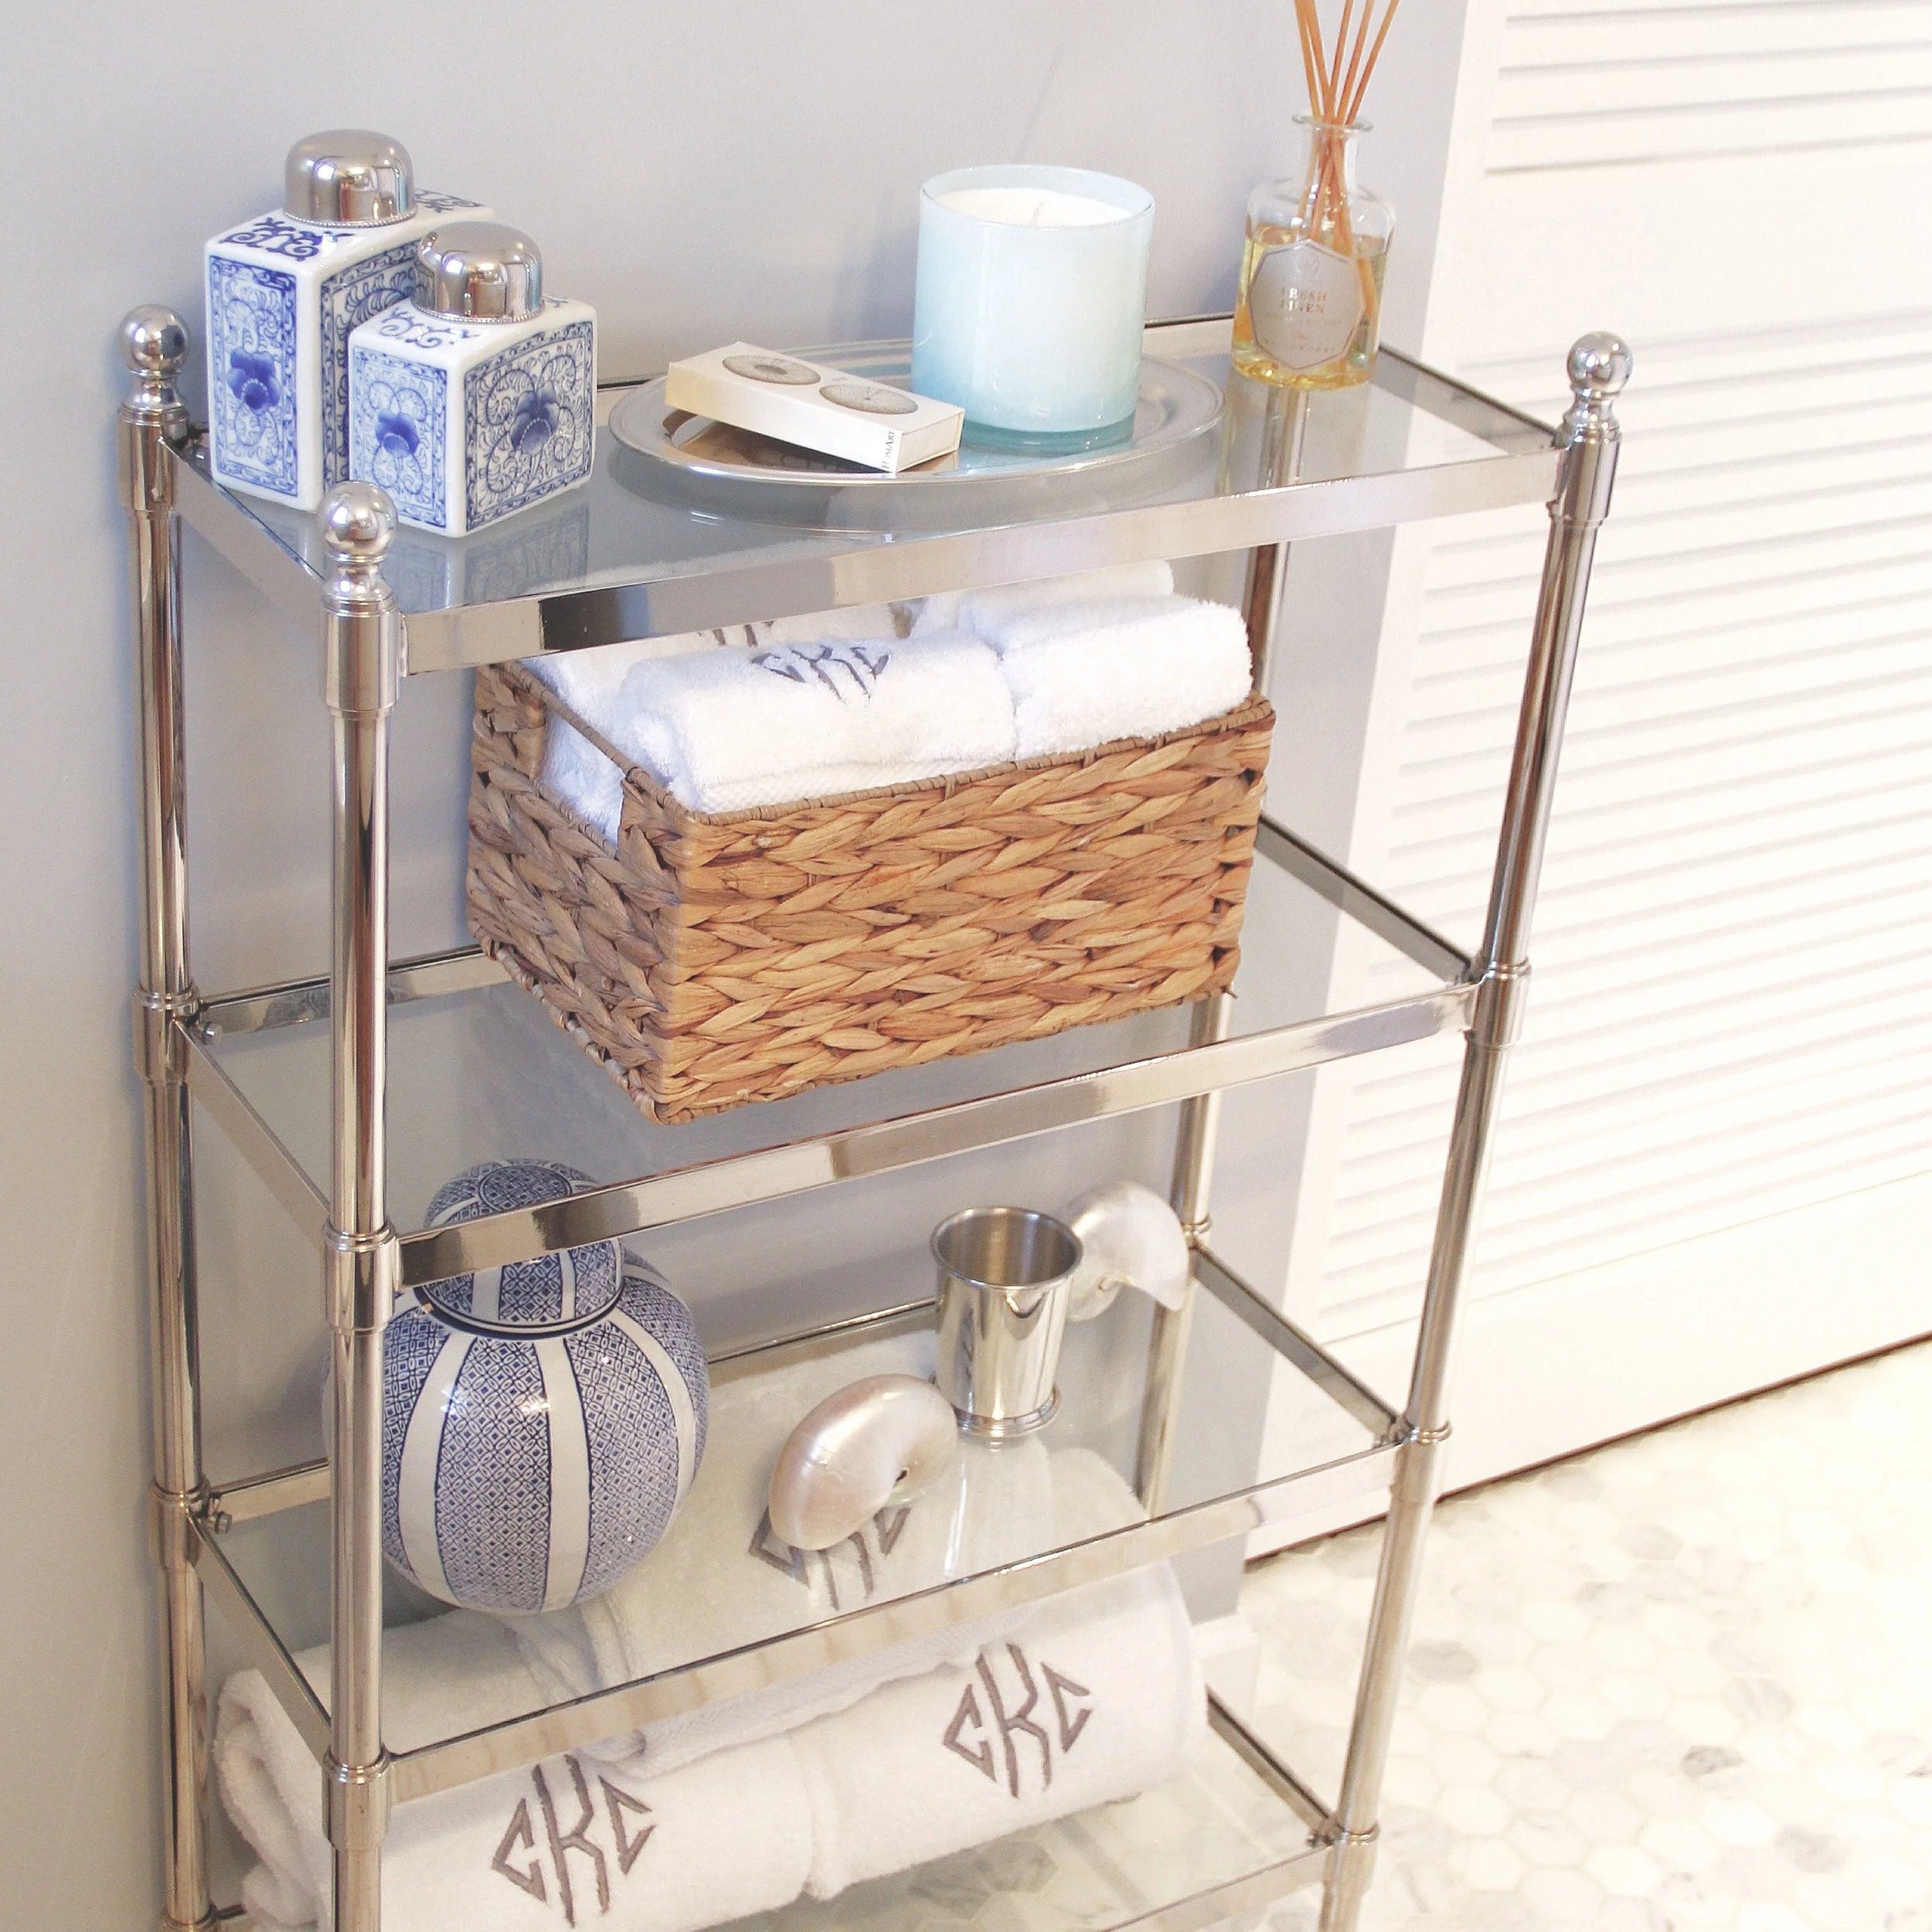
When it came to decorating/re-decorating my bathroom shelves, my ultimate goal was to strike a balance between pretty and practical. As you may have read in my previous post (here), I have found this etagere to be a perfect place to store all of my extra towels. At the bottom I have rolled my three large bath towels. Since my towels are the bulkiest items on this etagere, I have placed them on the bottom tier so that they wouldn't overpower/distract from the other shelves. I then filled my smaller hyacinth basket with the remaining extra towels (hand towels and wash cloths), and placed the basket in between the two decorative shelves to help break up the space.
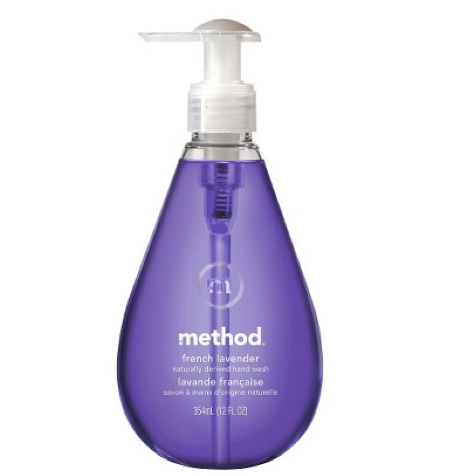
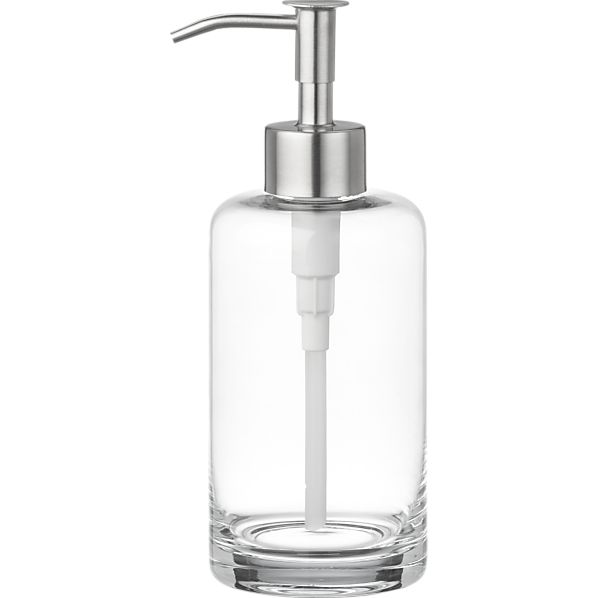
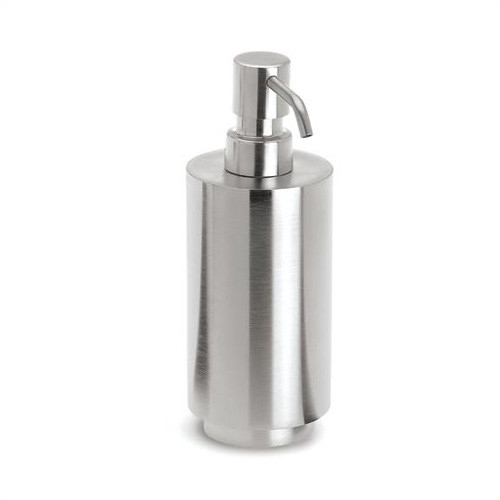
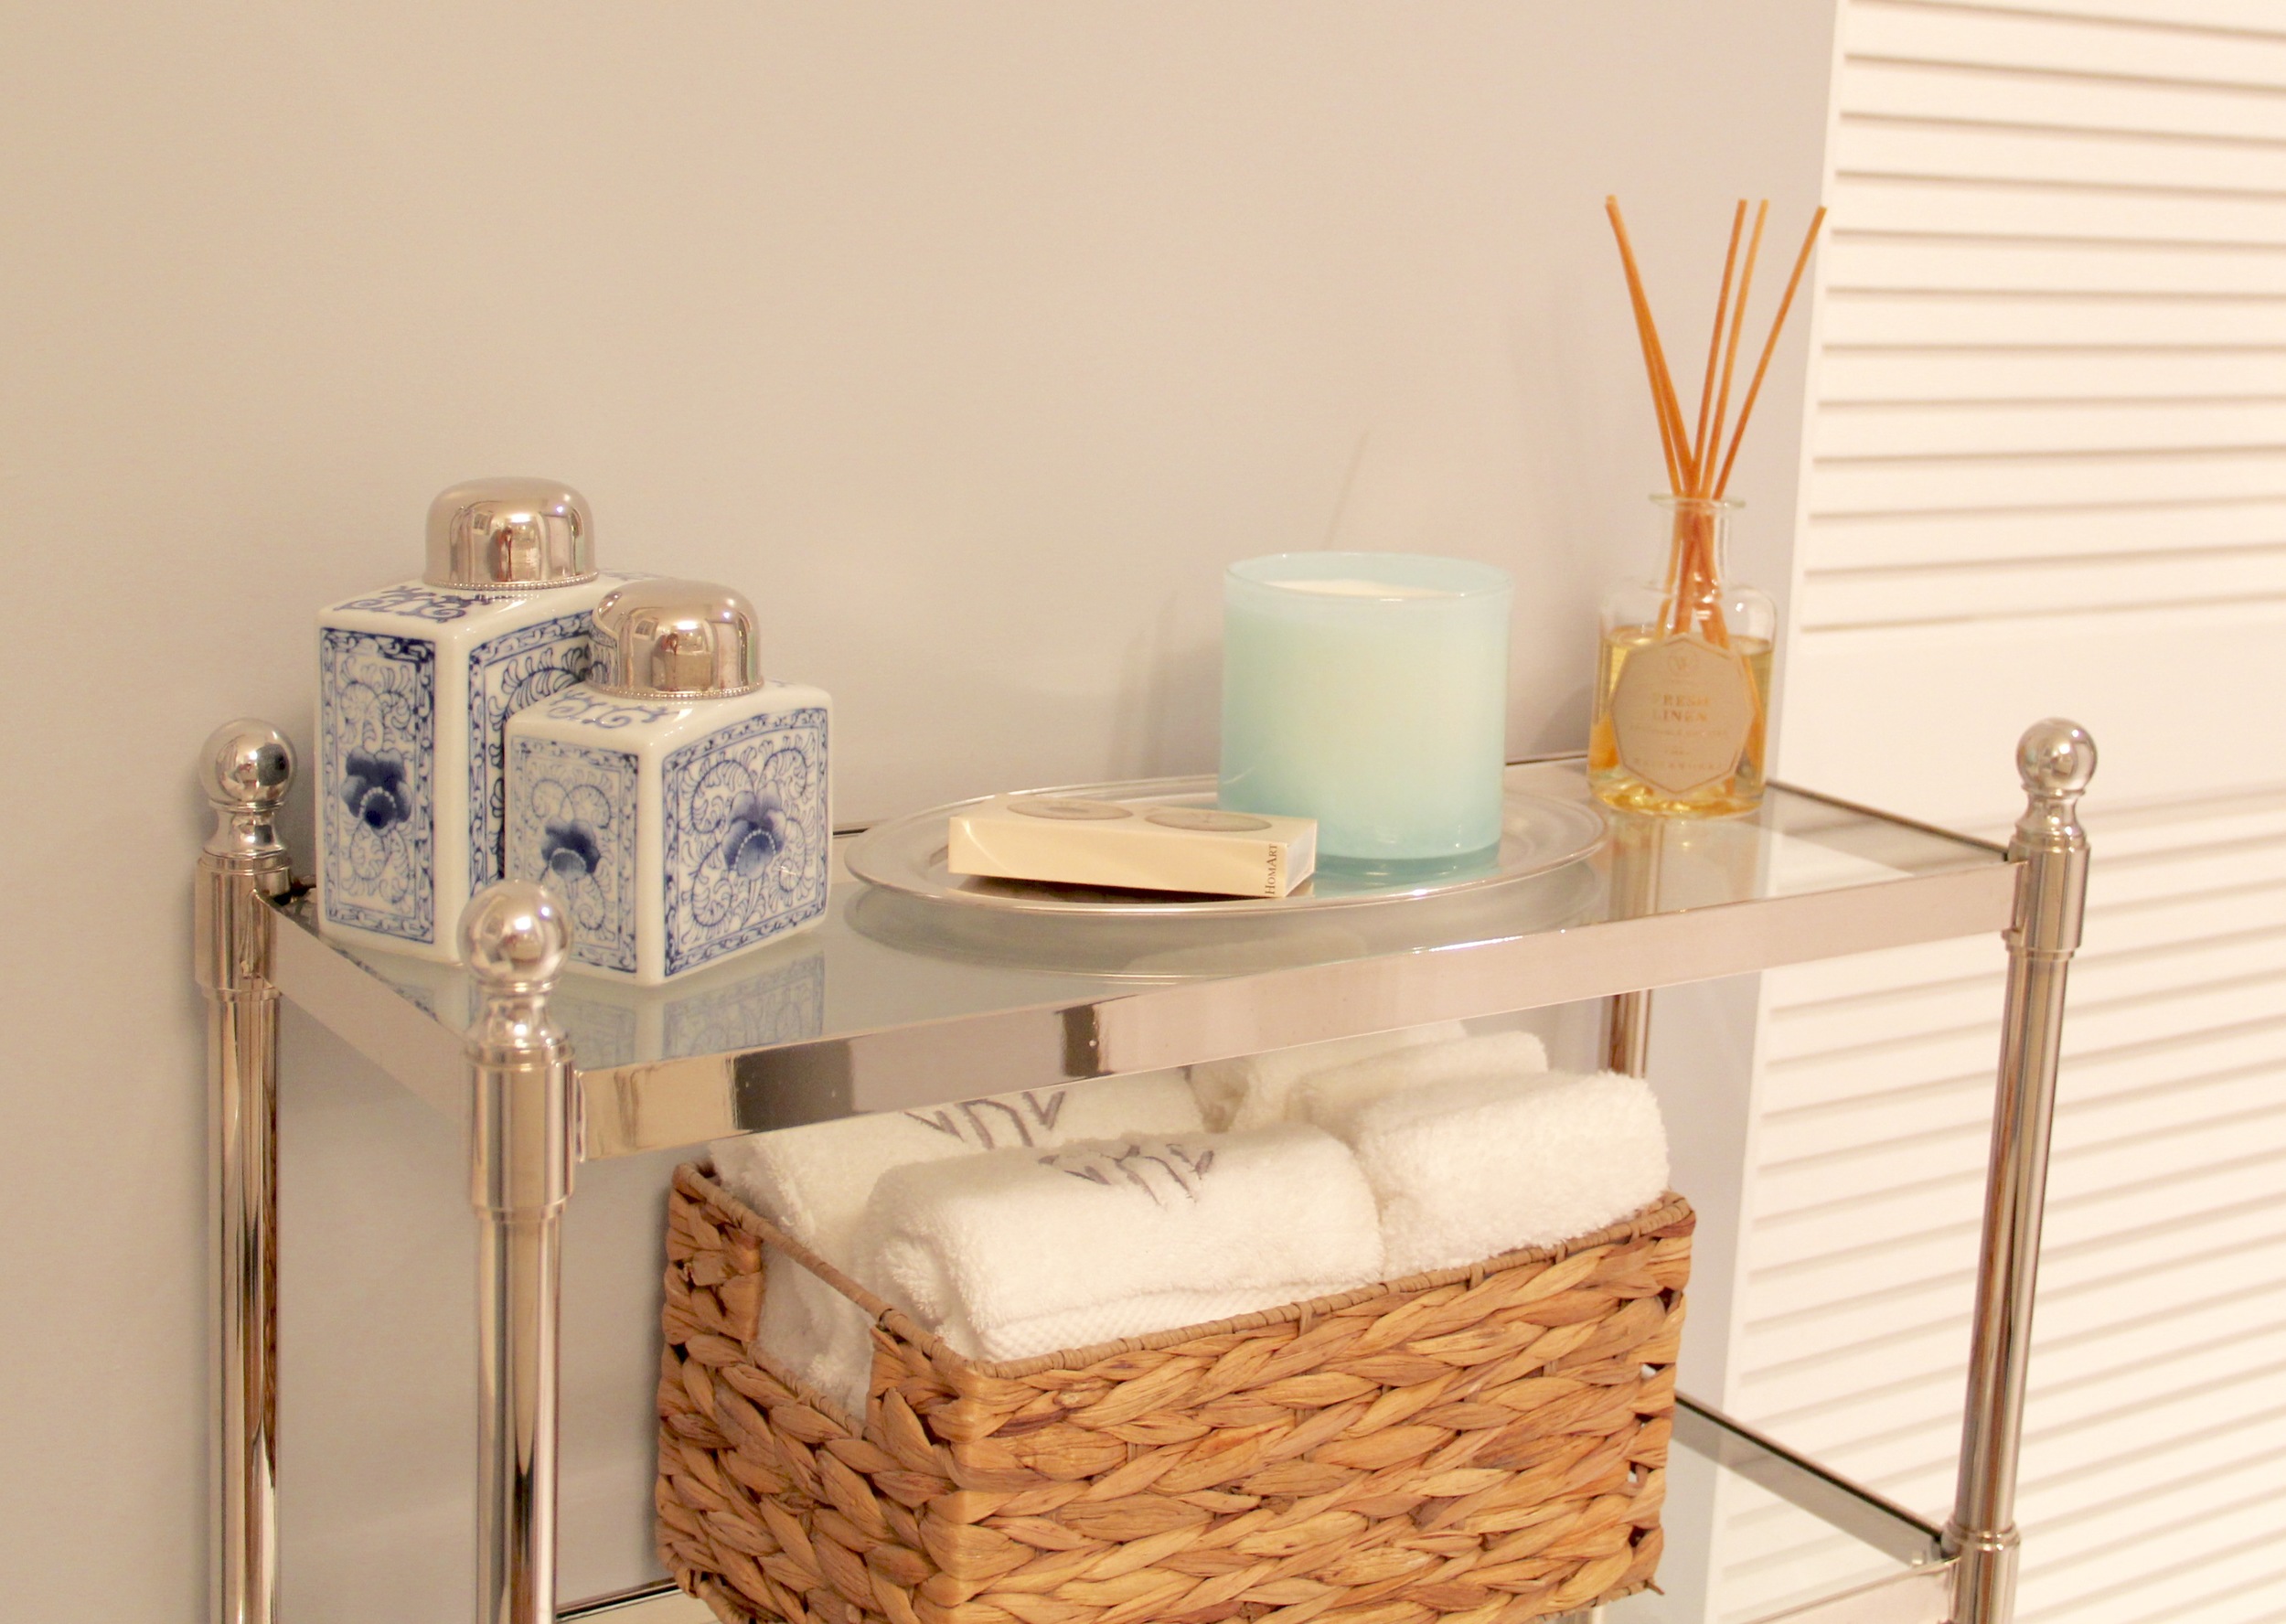
In addition to using this space to store extra towels, I also felt that another practical use would be to store/display an array of bathroom friendly fragrances (this is the bathroom after all!). The most practical shelf for my LAFCO Marine Candle, Water Works Diffuser and book of matches was the top, since there is both ample airspace and easy access.

Decor
In addition to creating a functional space, I also wanted my etagere to be aesthetically pleasing. With the addition of my new ginger jar, I decided to keep the remainder of the third shelf fairly simple. I opted for a pair of decorative nautilus shells (similar here), which tied in beautifully to the framed artwork on the wall. In addition, I added a small pewter trophy cup I had on hand (similar here) to break up the pair of shells and on occasion, also be used to hold fresh flowers.
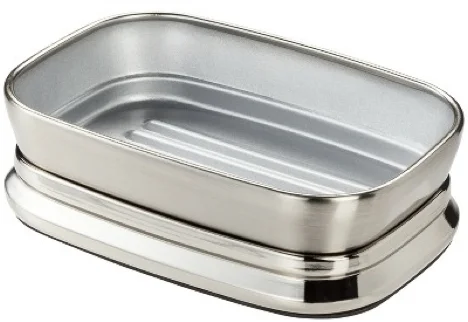
Along with the assortment of fragrance offerings on the top shelf, I chose to include two of my Two's Company Canton Tea Jars, opposite the diffuser and catty-cornered. The jars created a cohesive look with my new larger ginger jar and the silver tops blended in beautifully with the sea of polished chrome throughout my bathroom. To finish off the look on my top shelf, I accented the candle and matches with a beautiful oval dish. The addition of this dish also helped to corral the matches and candle, since they are meant to be paired together.


I absolutely love the way my bathroom shelfie revamp turned out. The shelf is functional, aesthetically pleasing and finally has that pop of color it had been lacking. As you will see from my sourcing of the various items on these shelves, I have incorporated a mix of both high-end and affordable pieces. My goal with decorating is always to create unique spaces that don't look like they came straight out of a catalogue. Even though this space is decorated with a collection of pieces from a variety of places, I have kept the within the same color family so the decor looks unique but also like it's all meant to go together. If you have any questions about designing your own bathroom shelfie or any other aspect related to the home, please don't hesitate to send me an email at redefiningdomestics@gmail.com.