• Welcome
  • Entertain
  • Decorate
  • Food & Drink
  • About
  • Contact
Menu

Redefining Domestics

Street Address
Washington, DC
Phone Number

Practical applications for turning your house into a home.   

Redefining Domestics

  • Welcome
  • Entertain
  • Decorate
  • Food & Drink
  • About
  • Contact

DIY Pumpkin Votives

October 14, 2015 Callie Cagney
IMG_0775.JPG

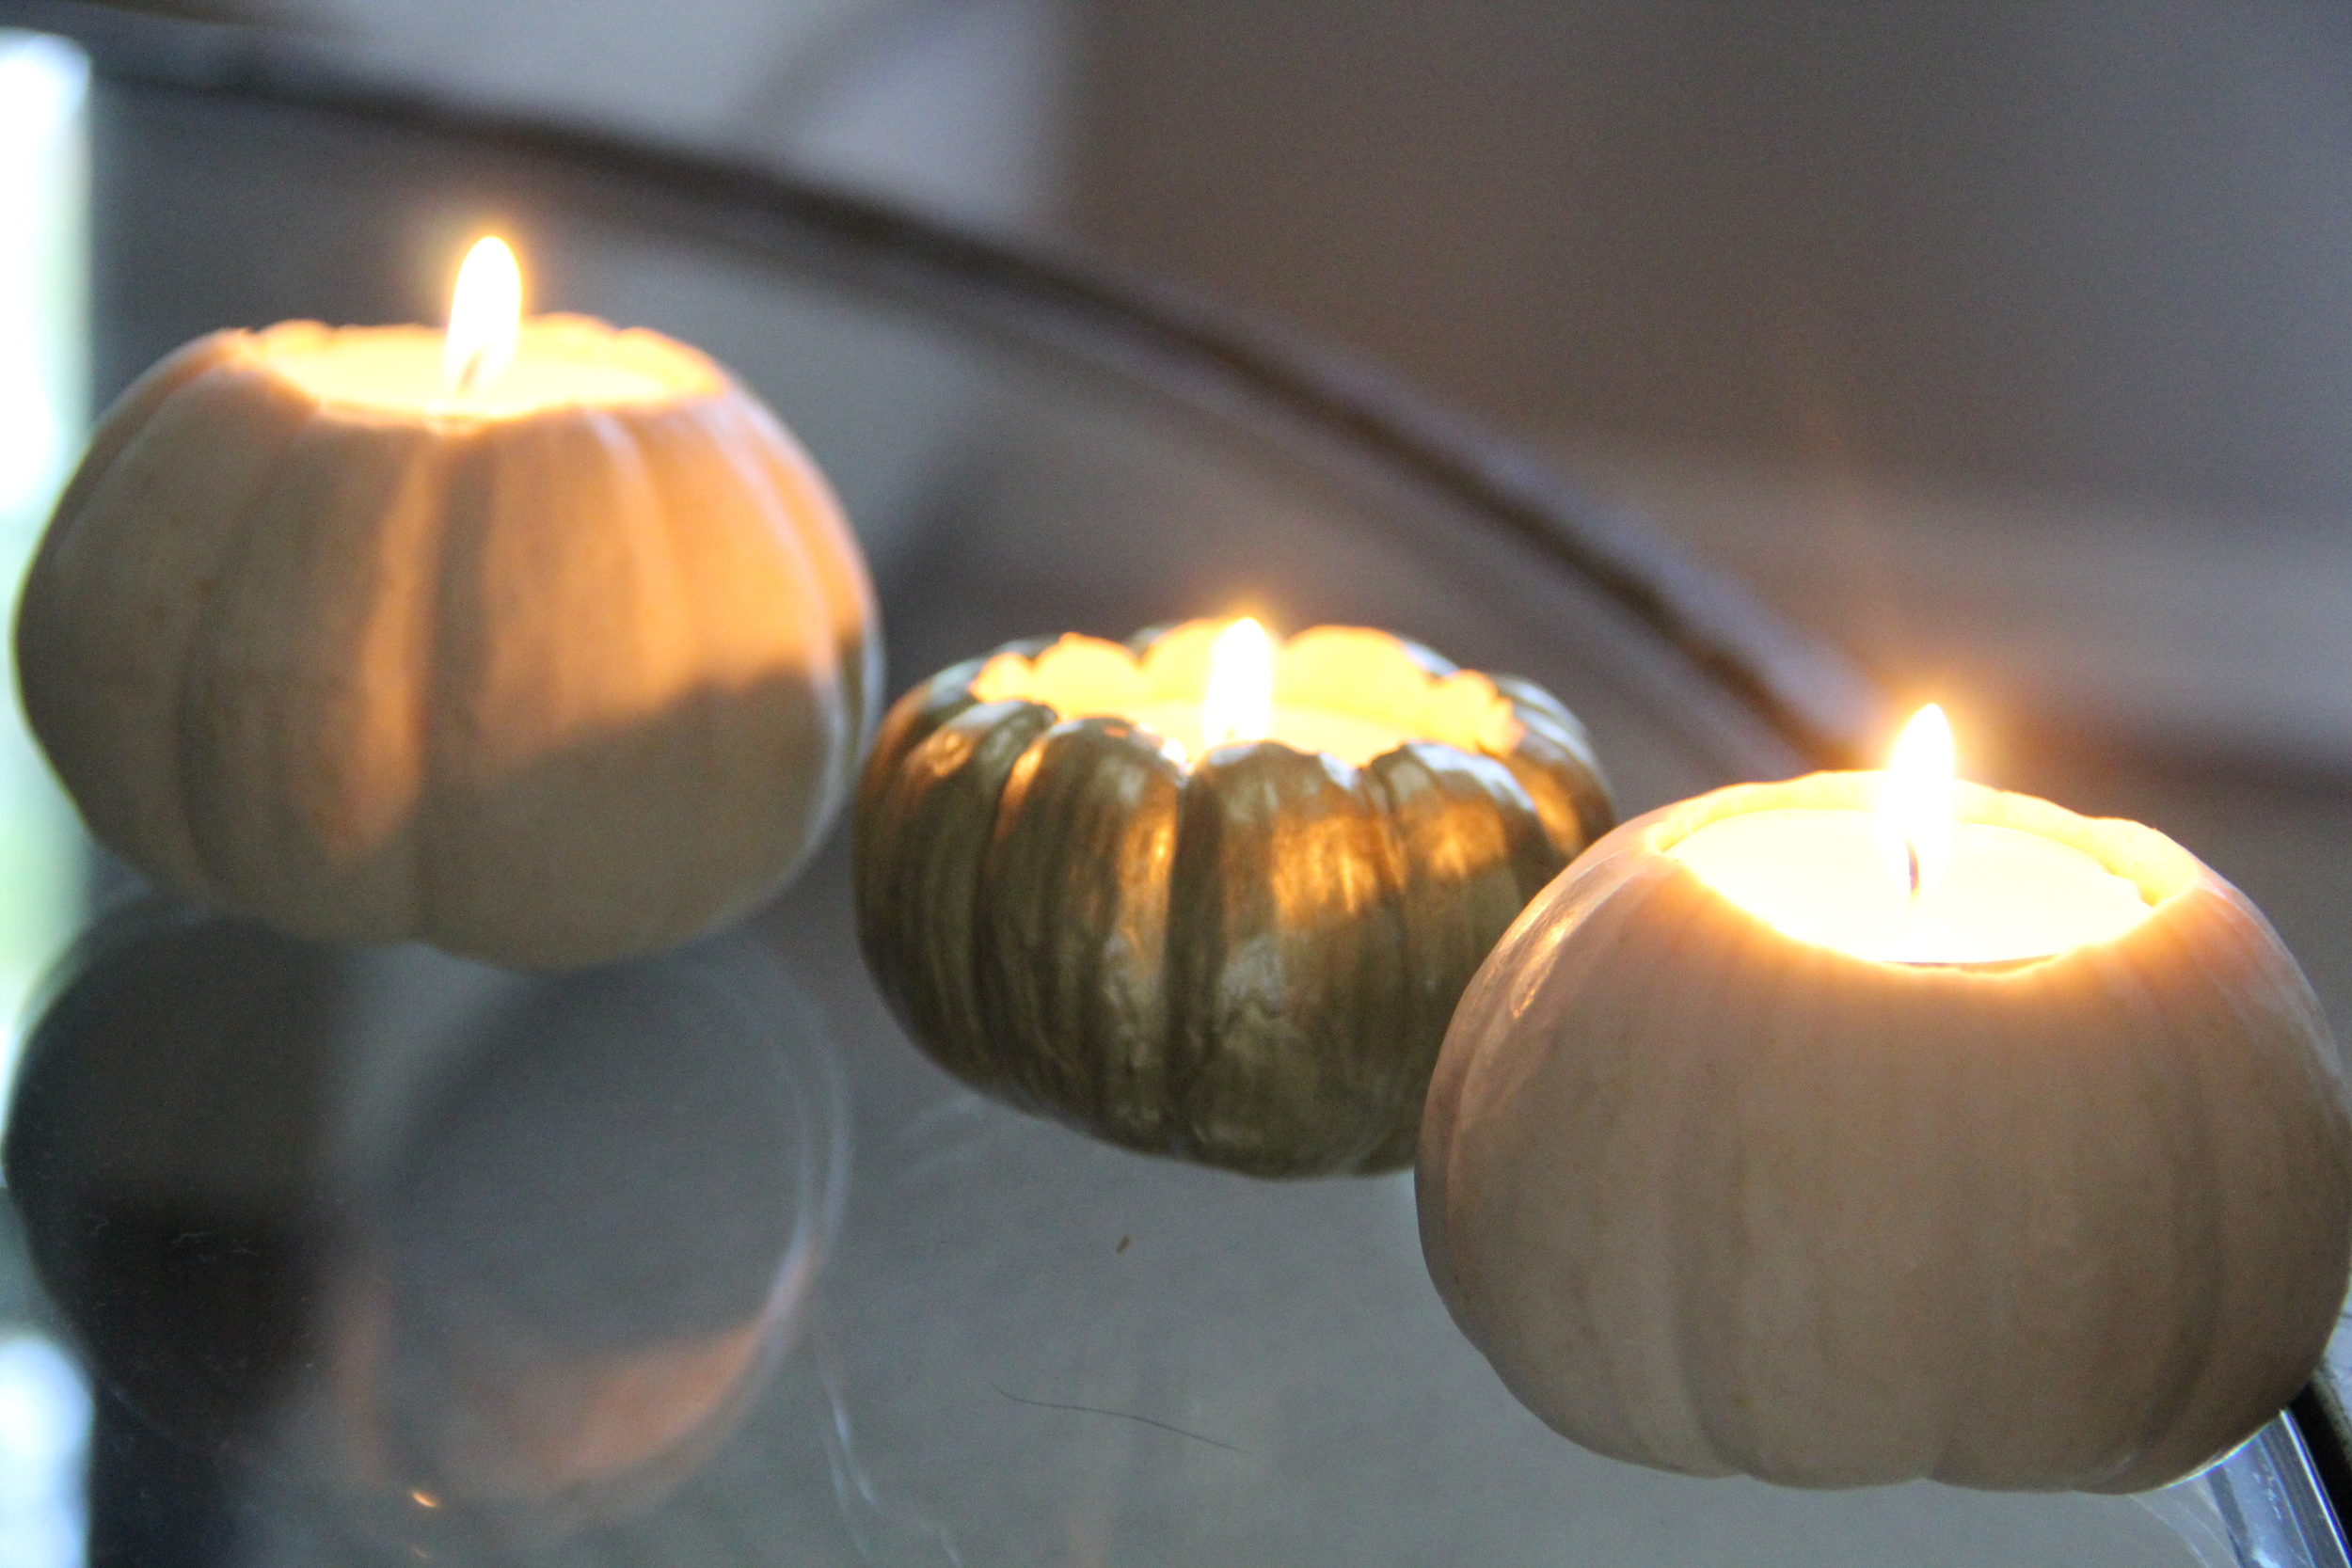
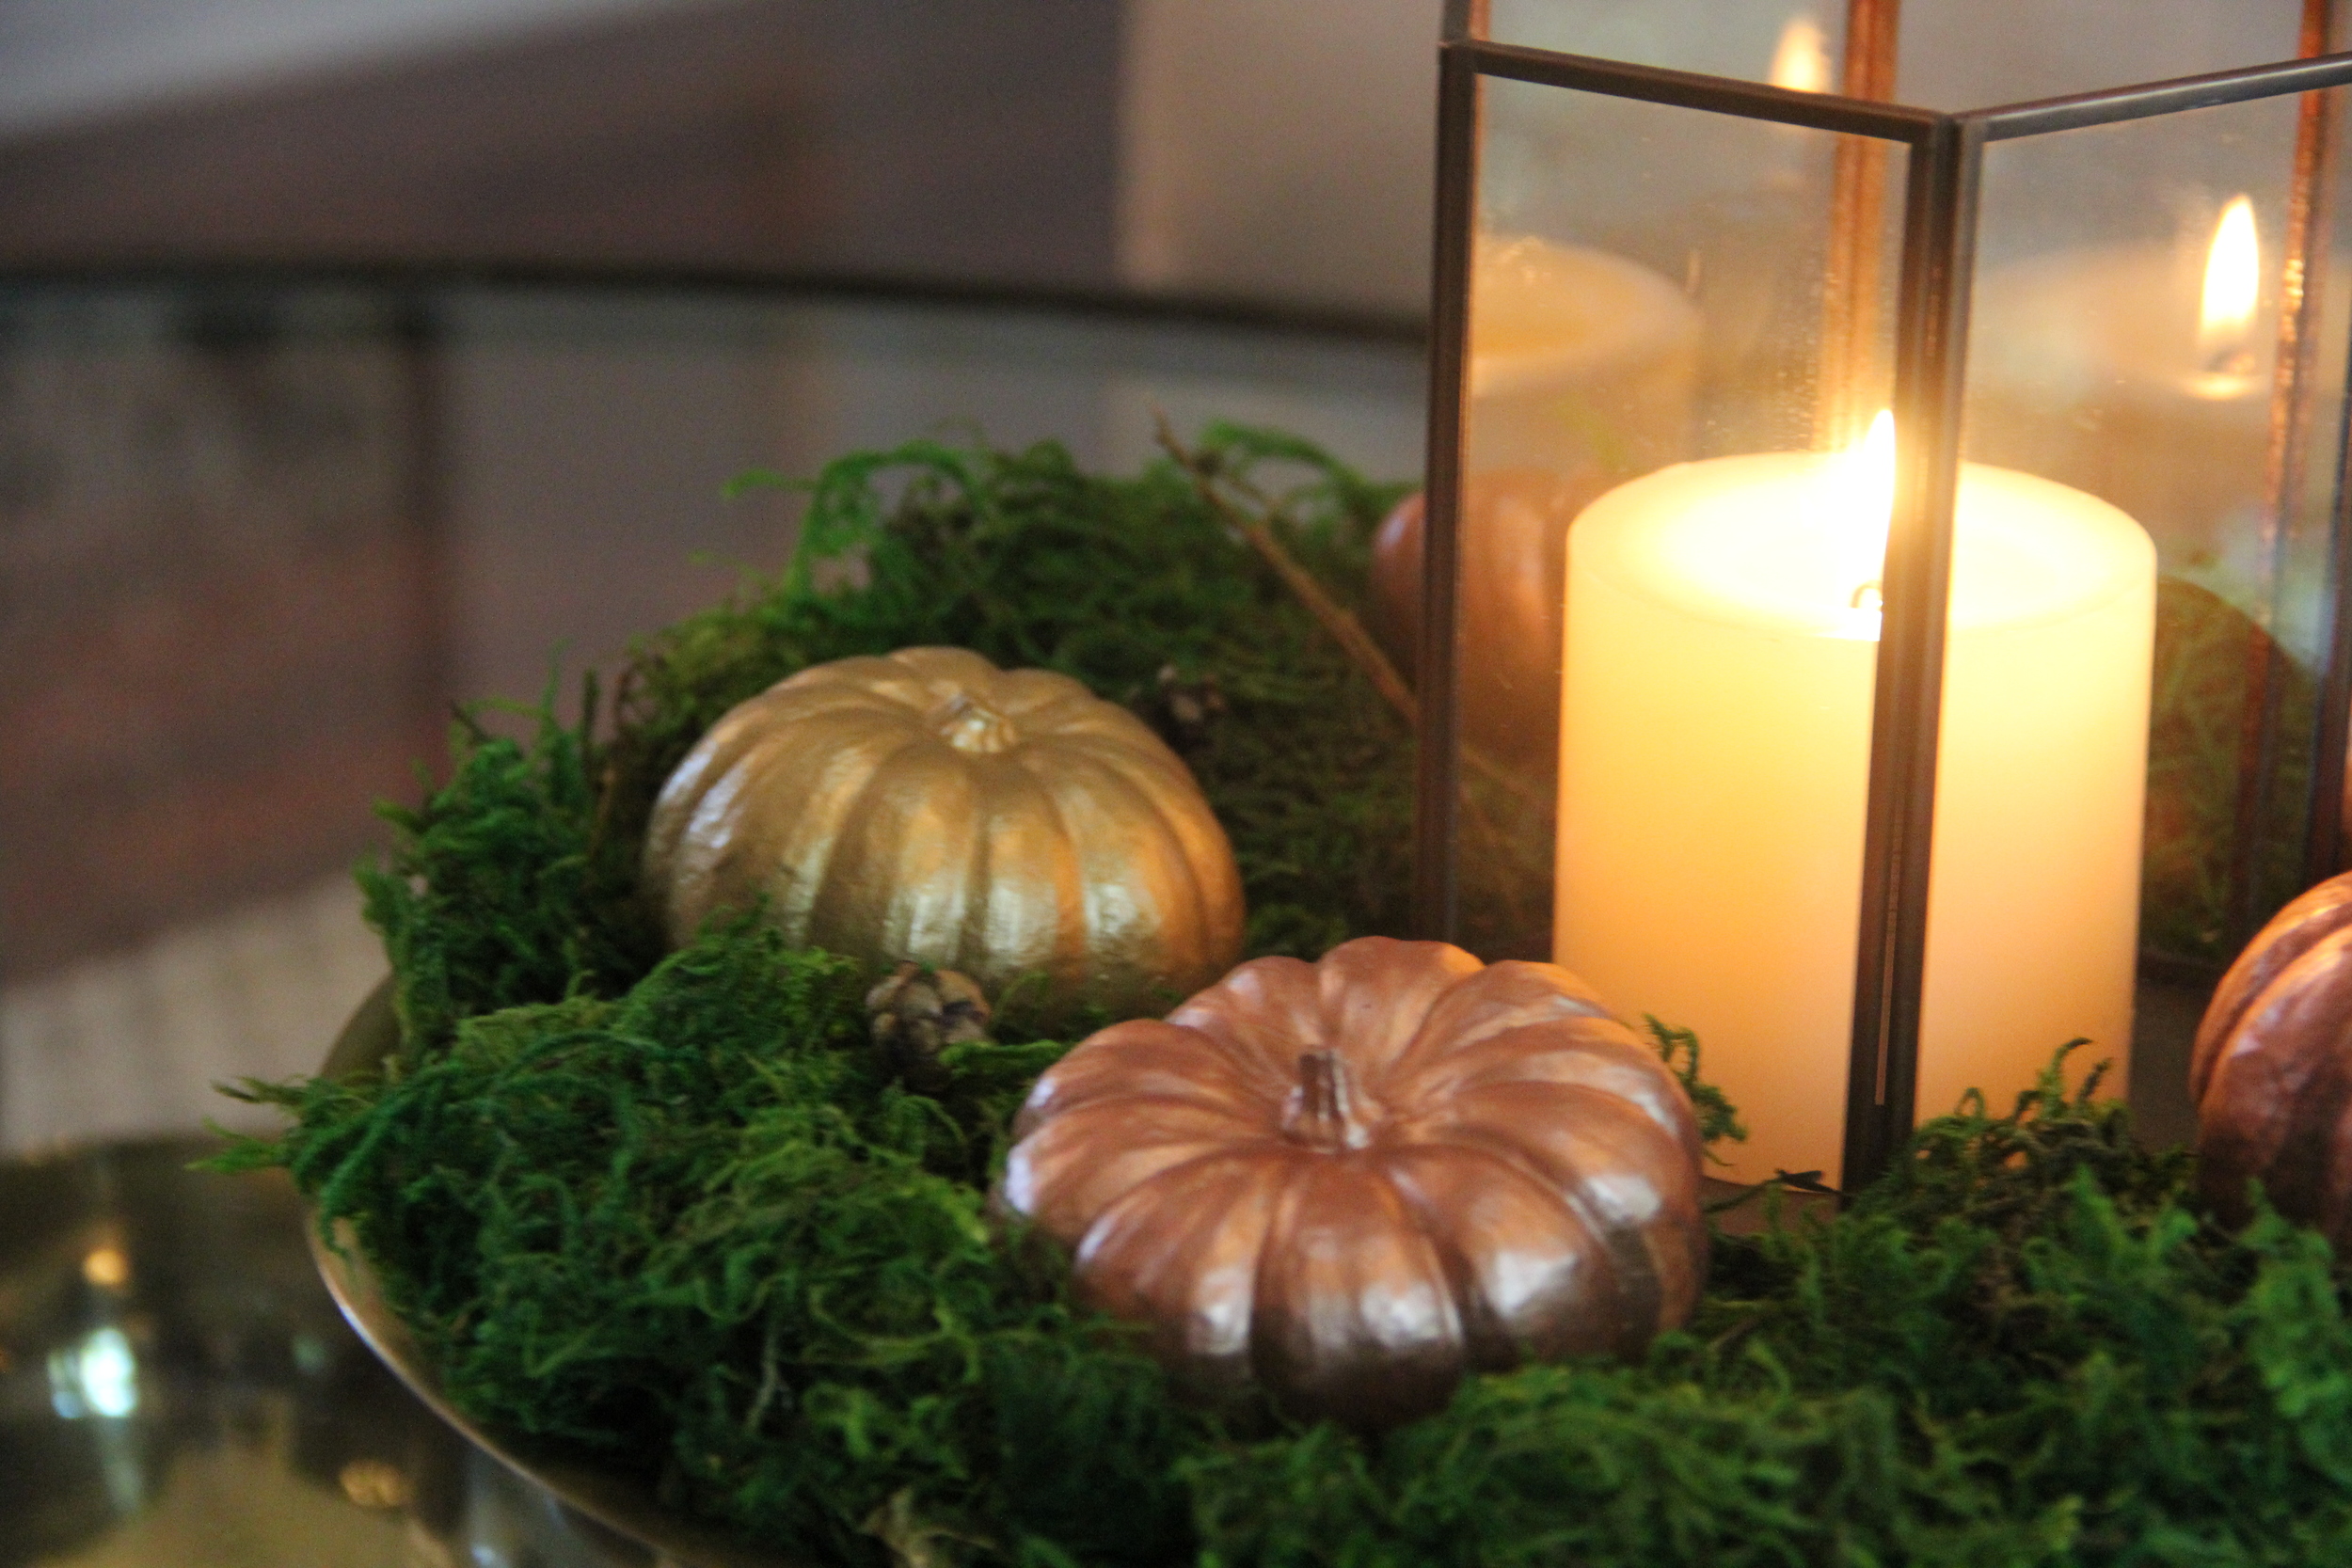
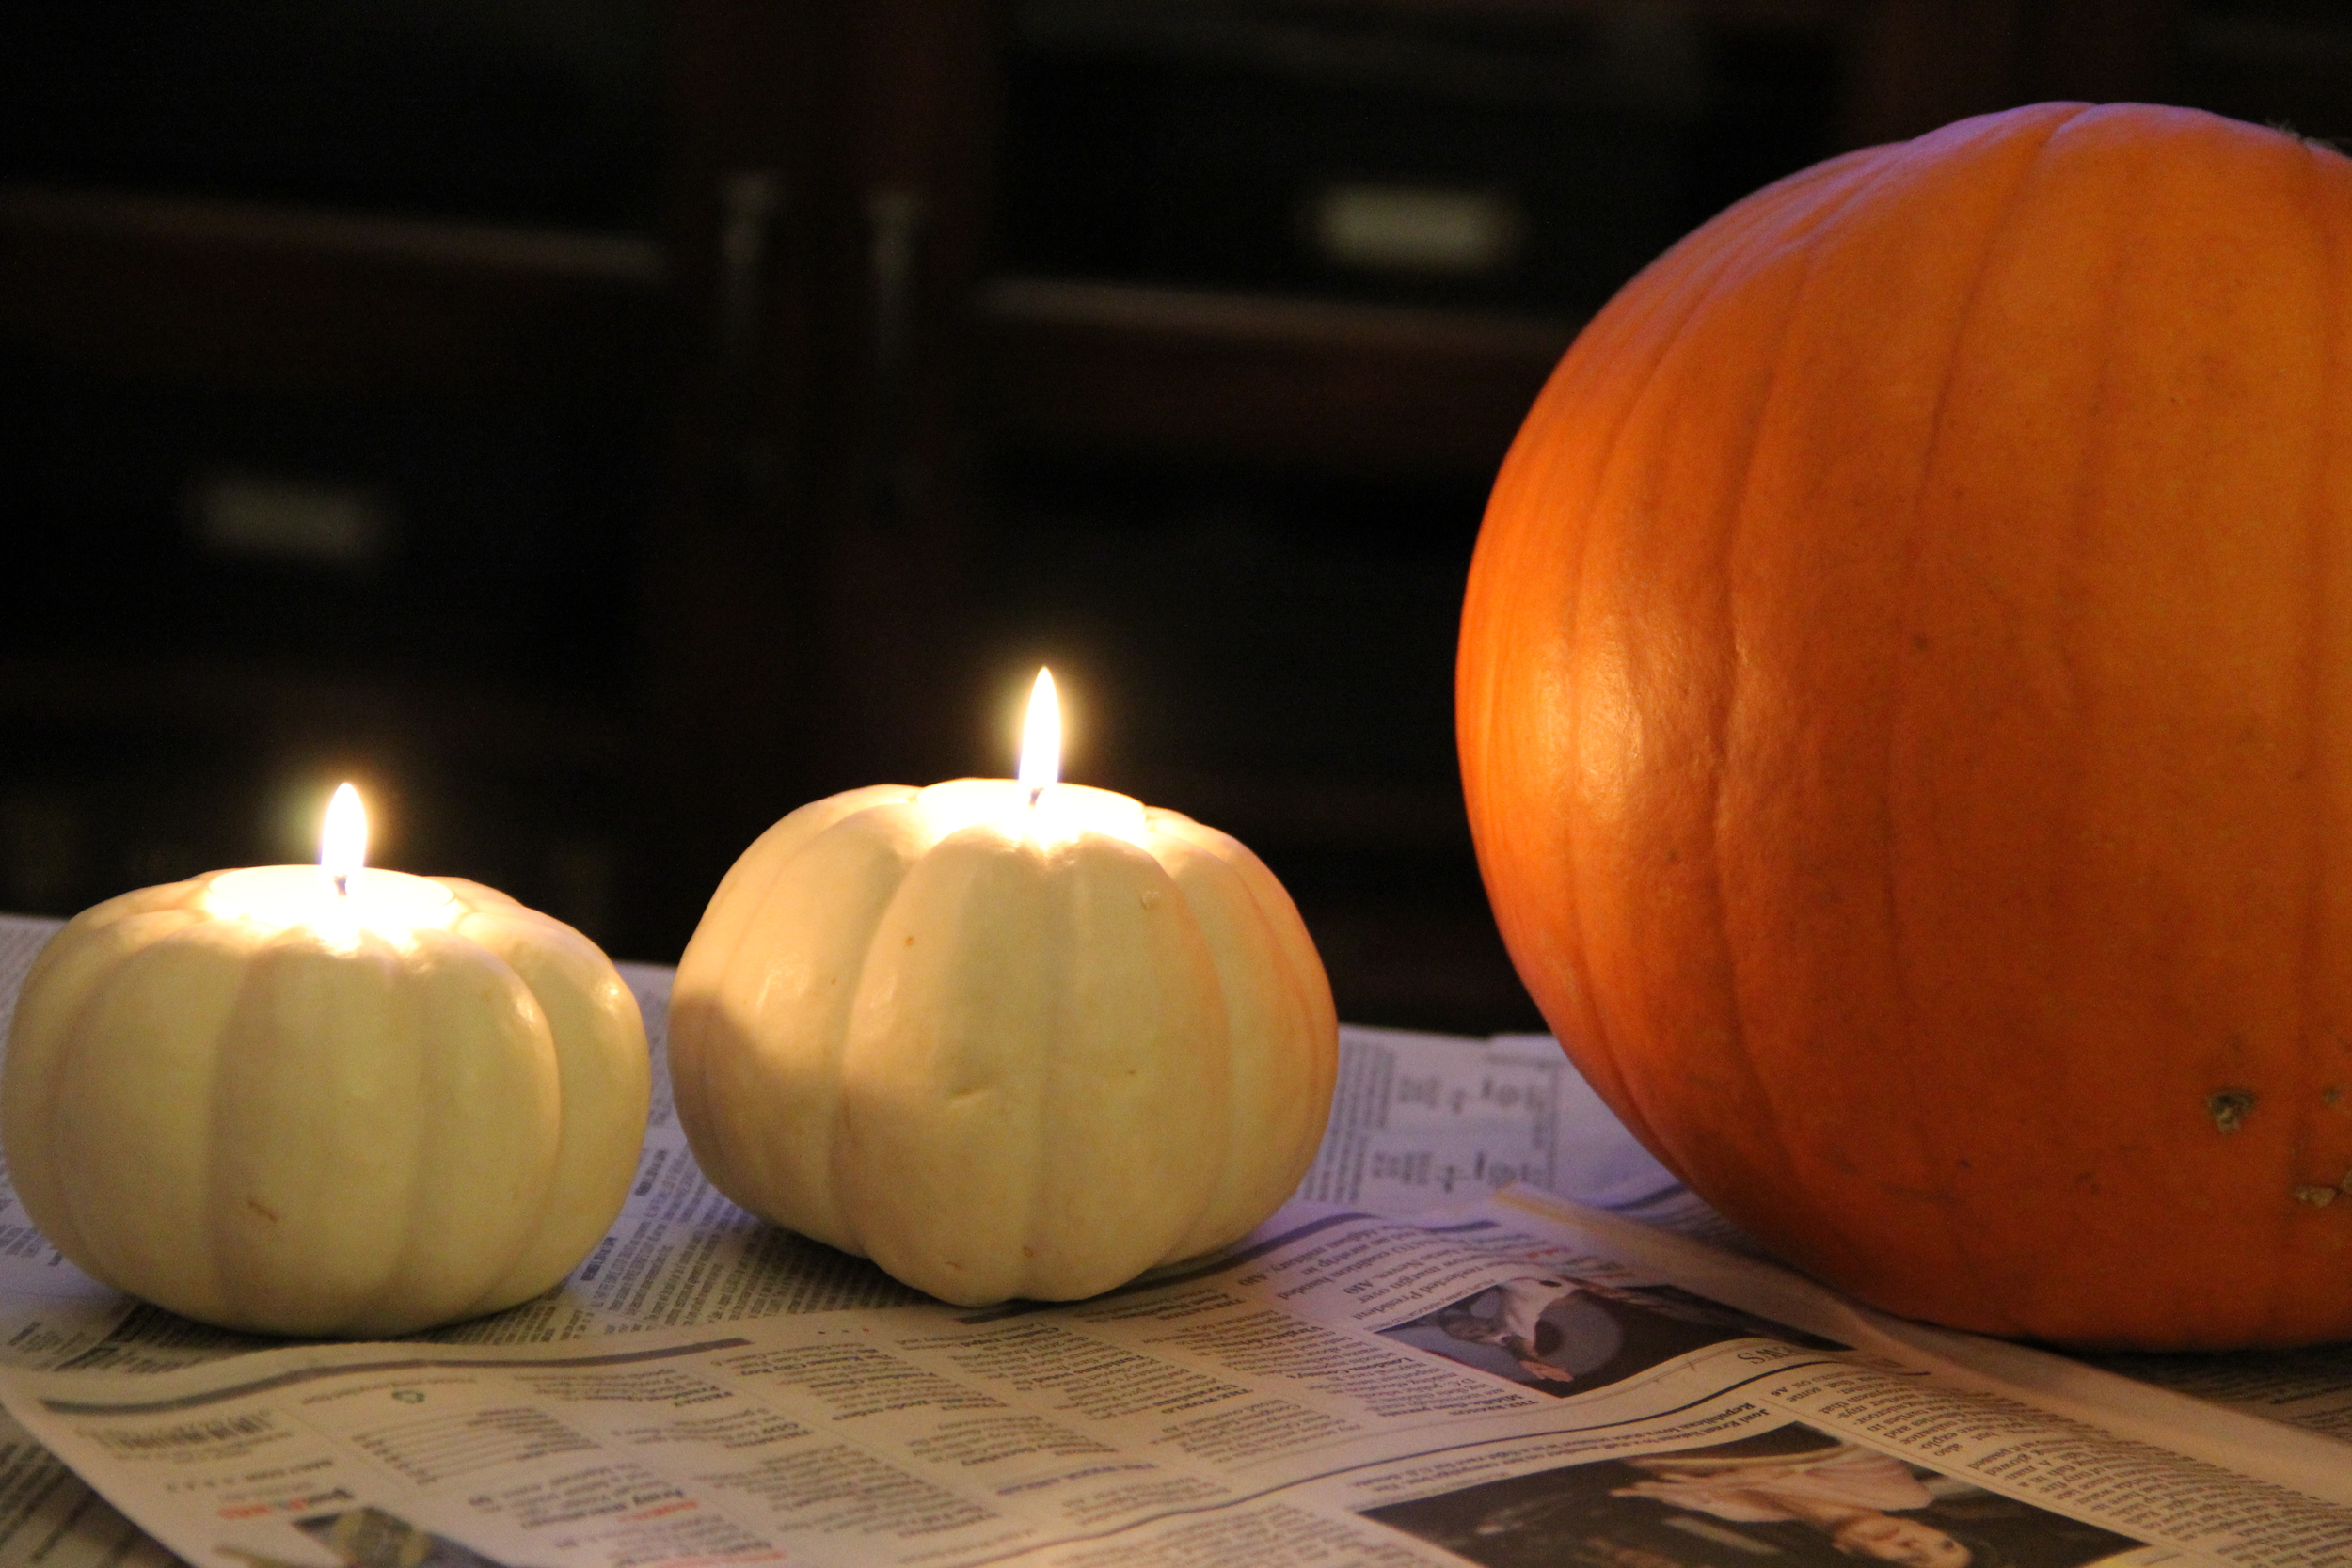
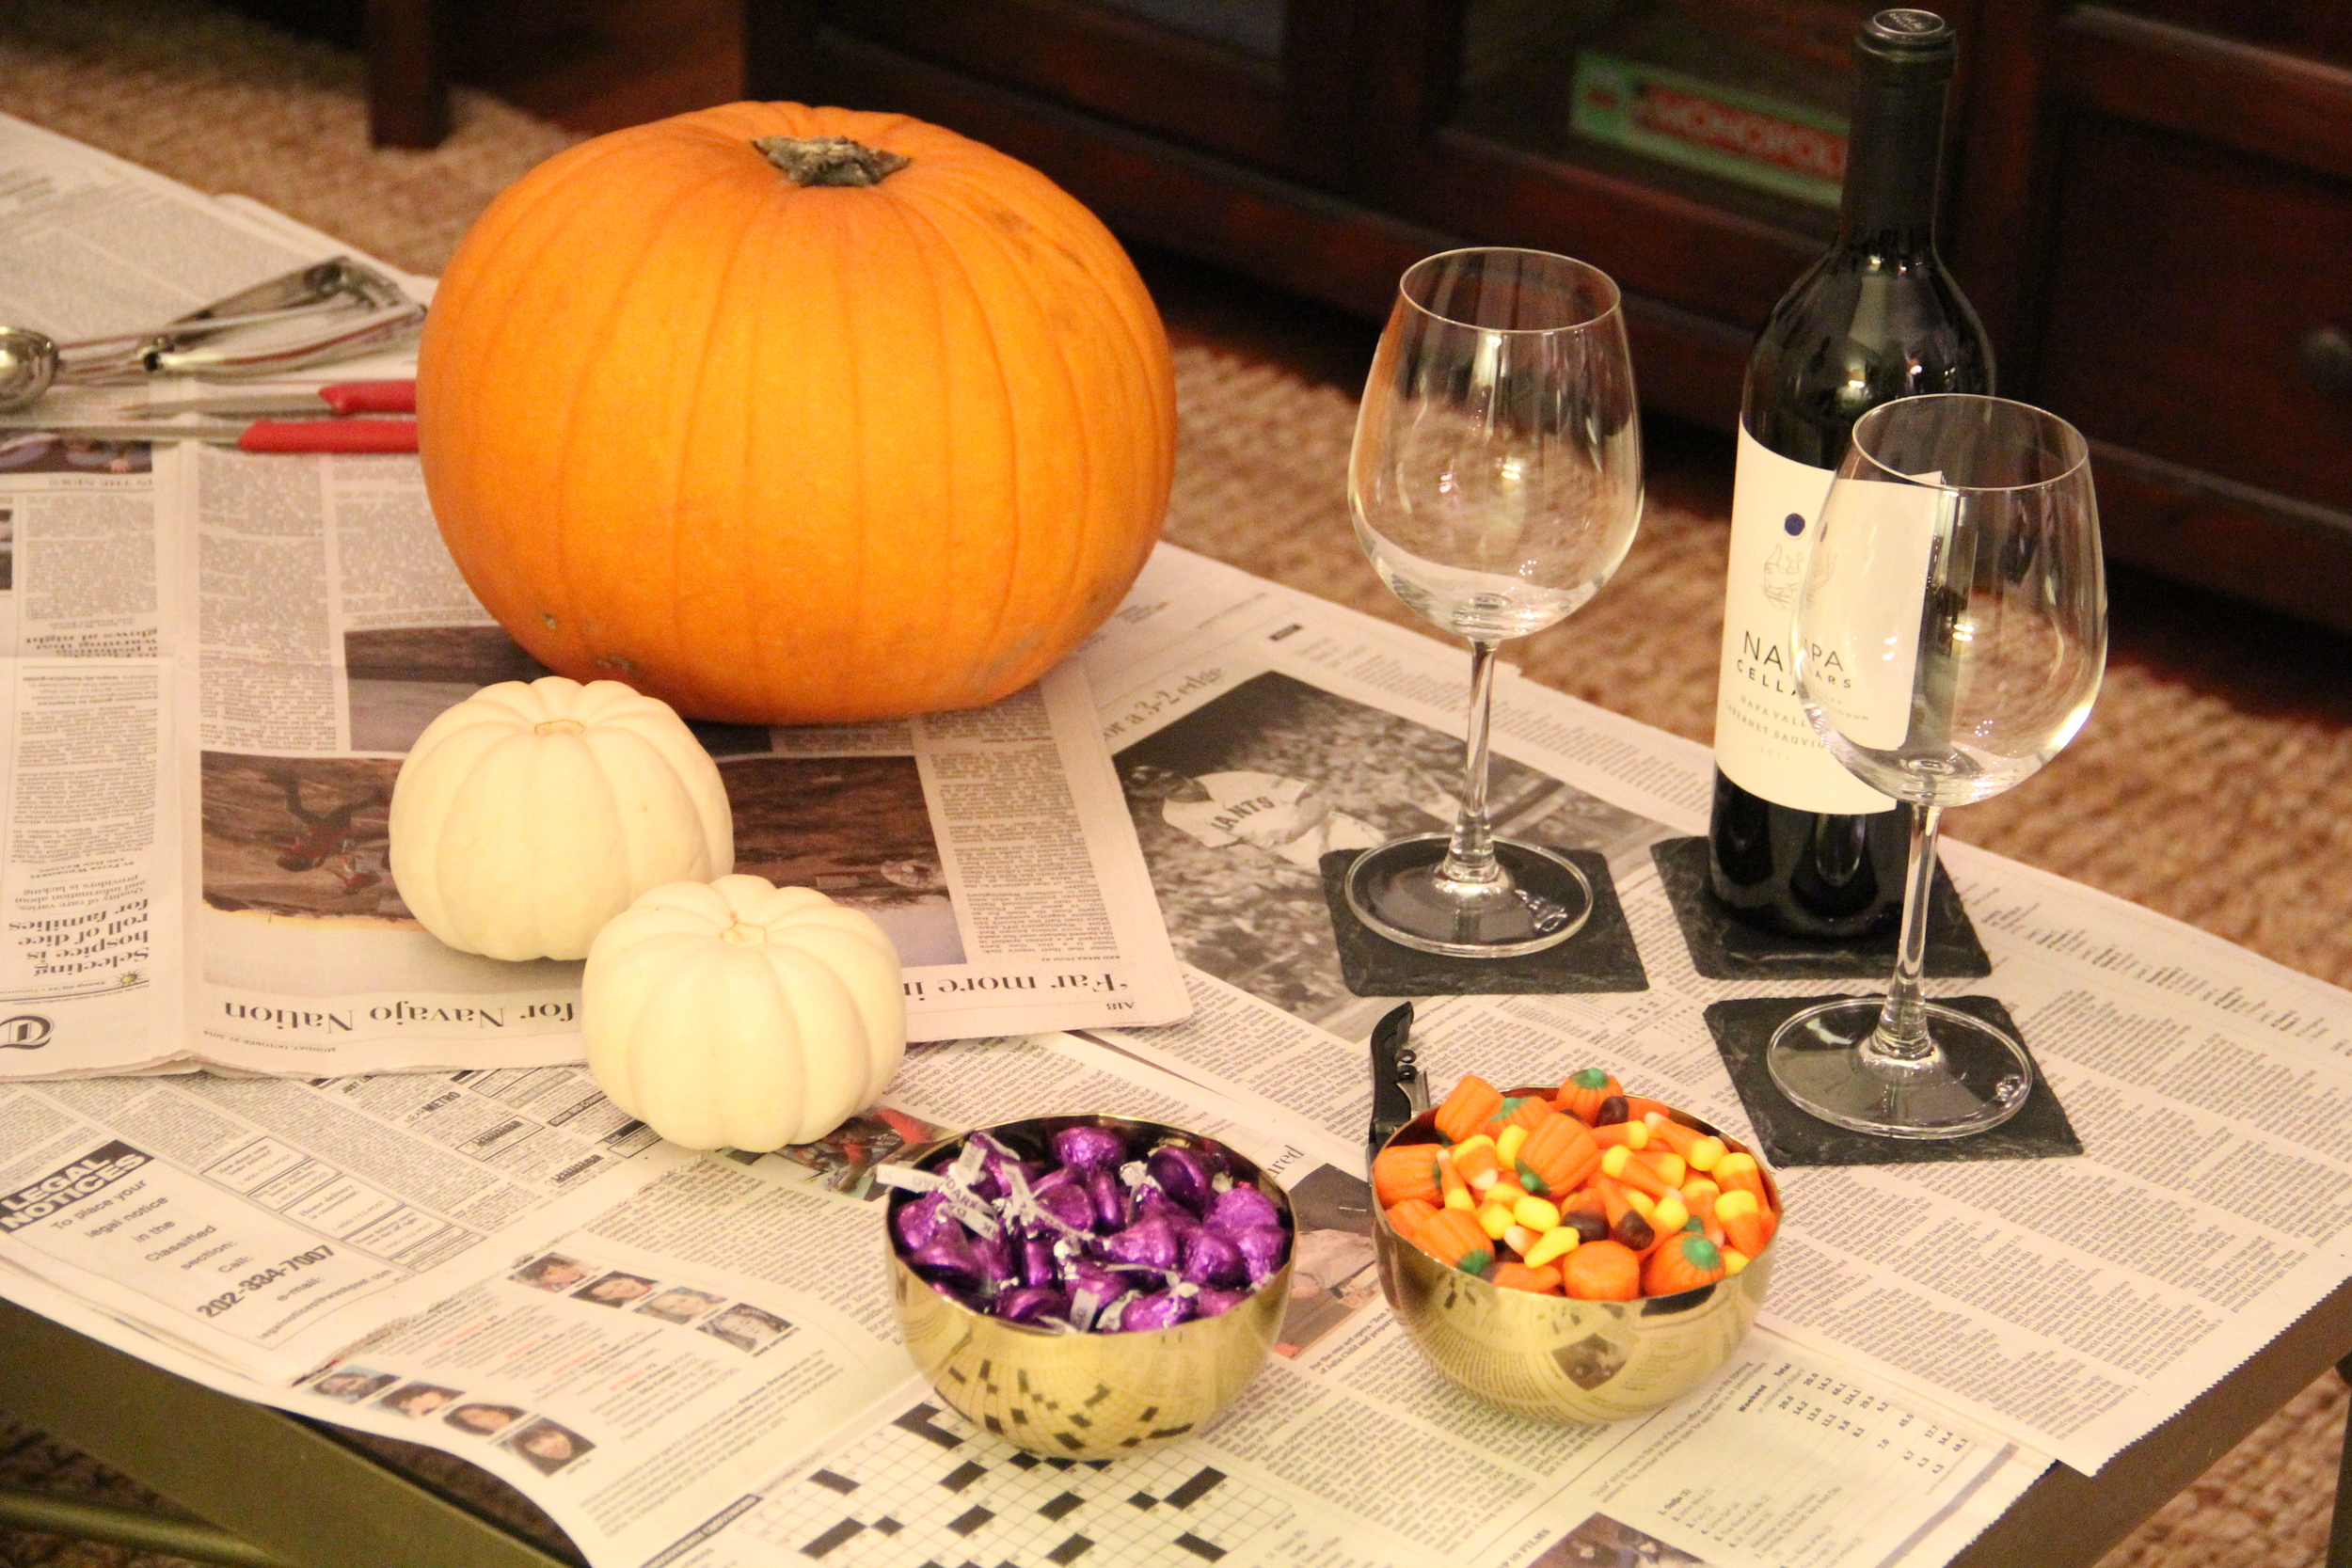
Last year my husband and I decided that it would be fun to carve pumpkins together for a date night.  So I set up a carving station on our coffee table complete with wine and a small selection of hors d'oeuvres (aka Halloween candy).  Long story short, our results are pictured above.  I found a cute way to make festive votives from mini pumpkins and my husband seemed to be more interested in the Halloween candy than carving, so his pumpkin remained untouched.

Date Night Pumpkin Carving.JPG

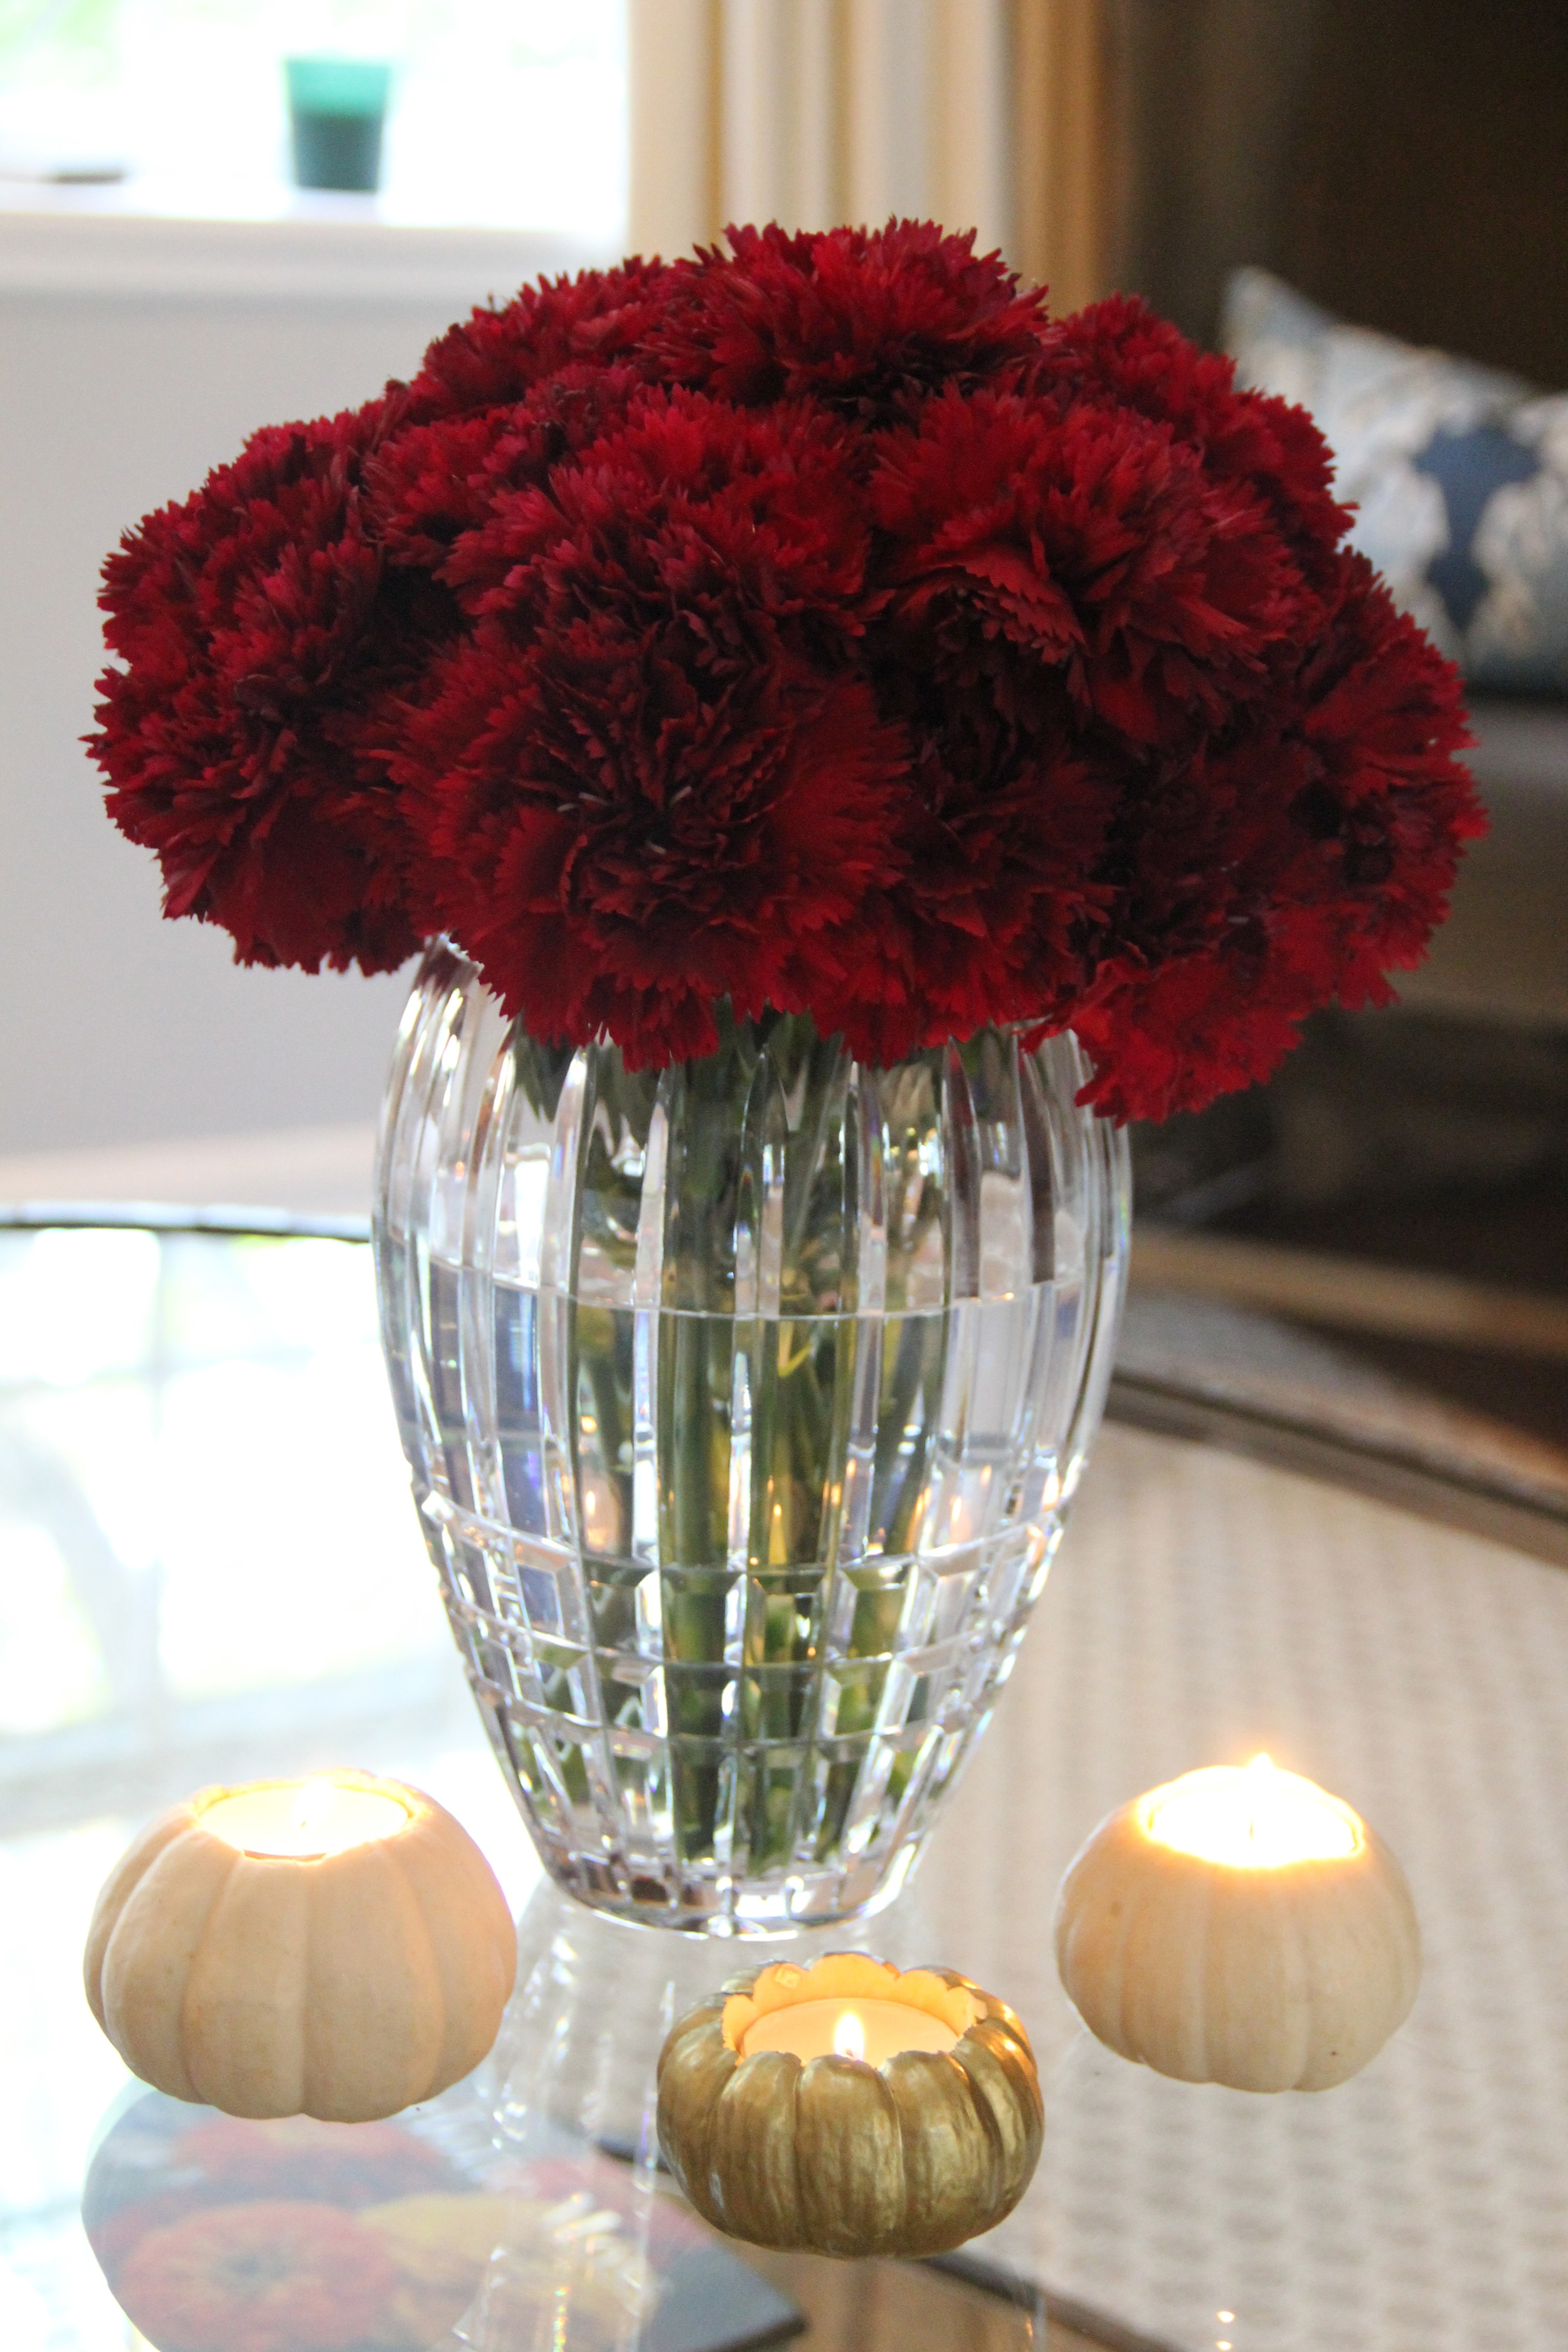
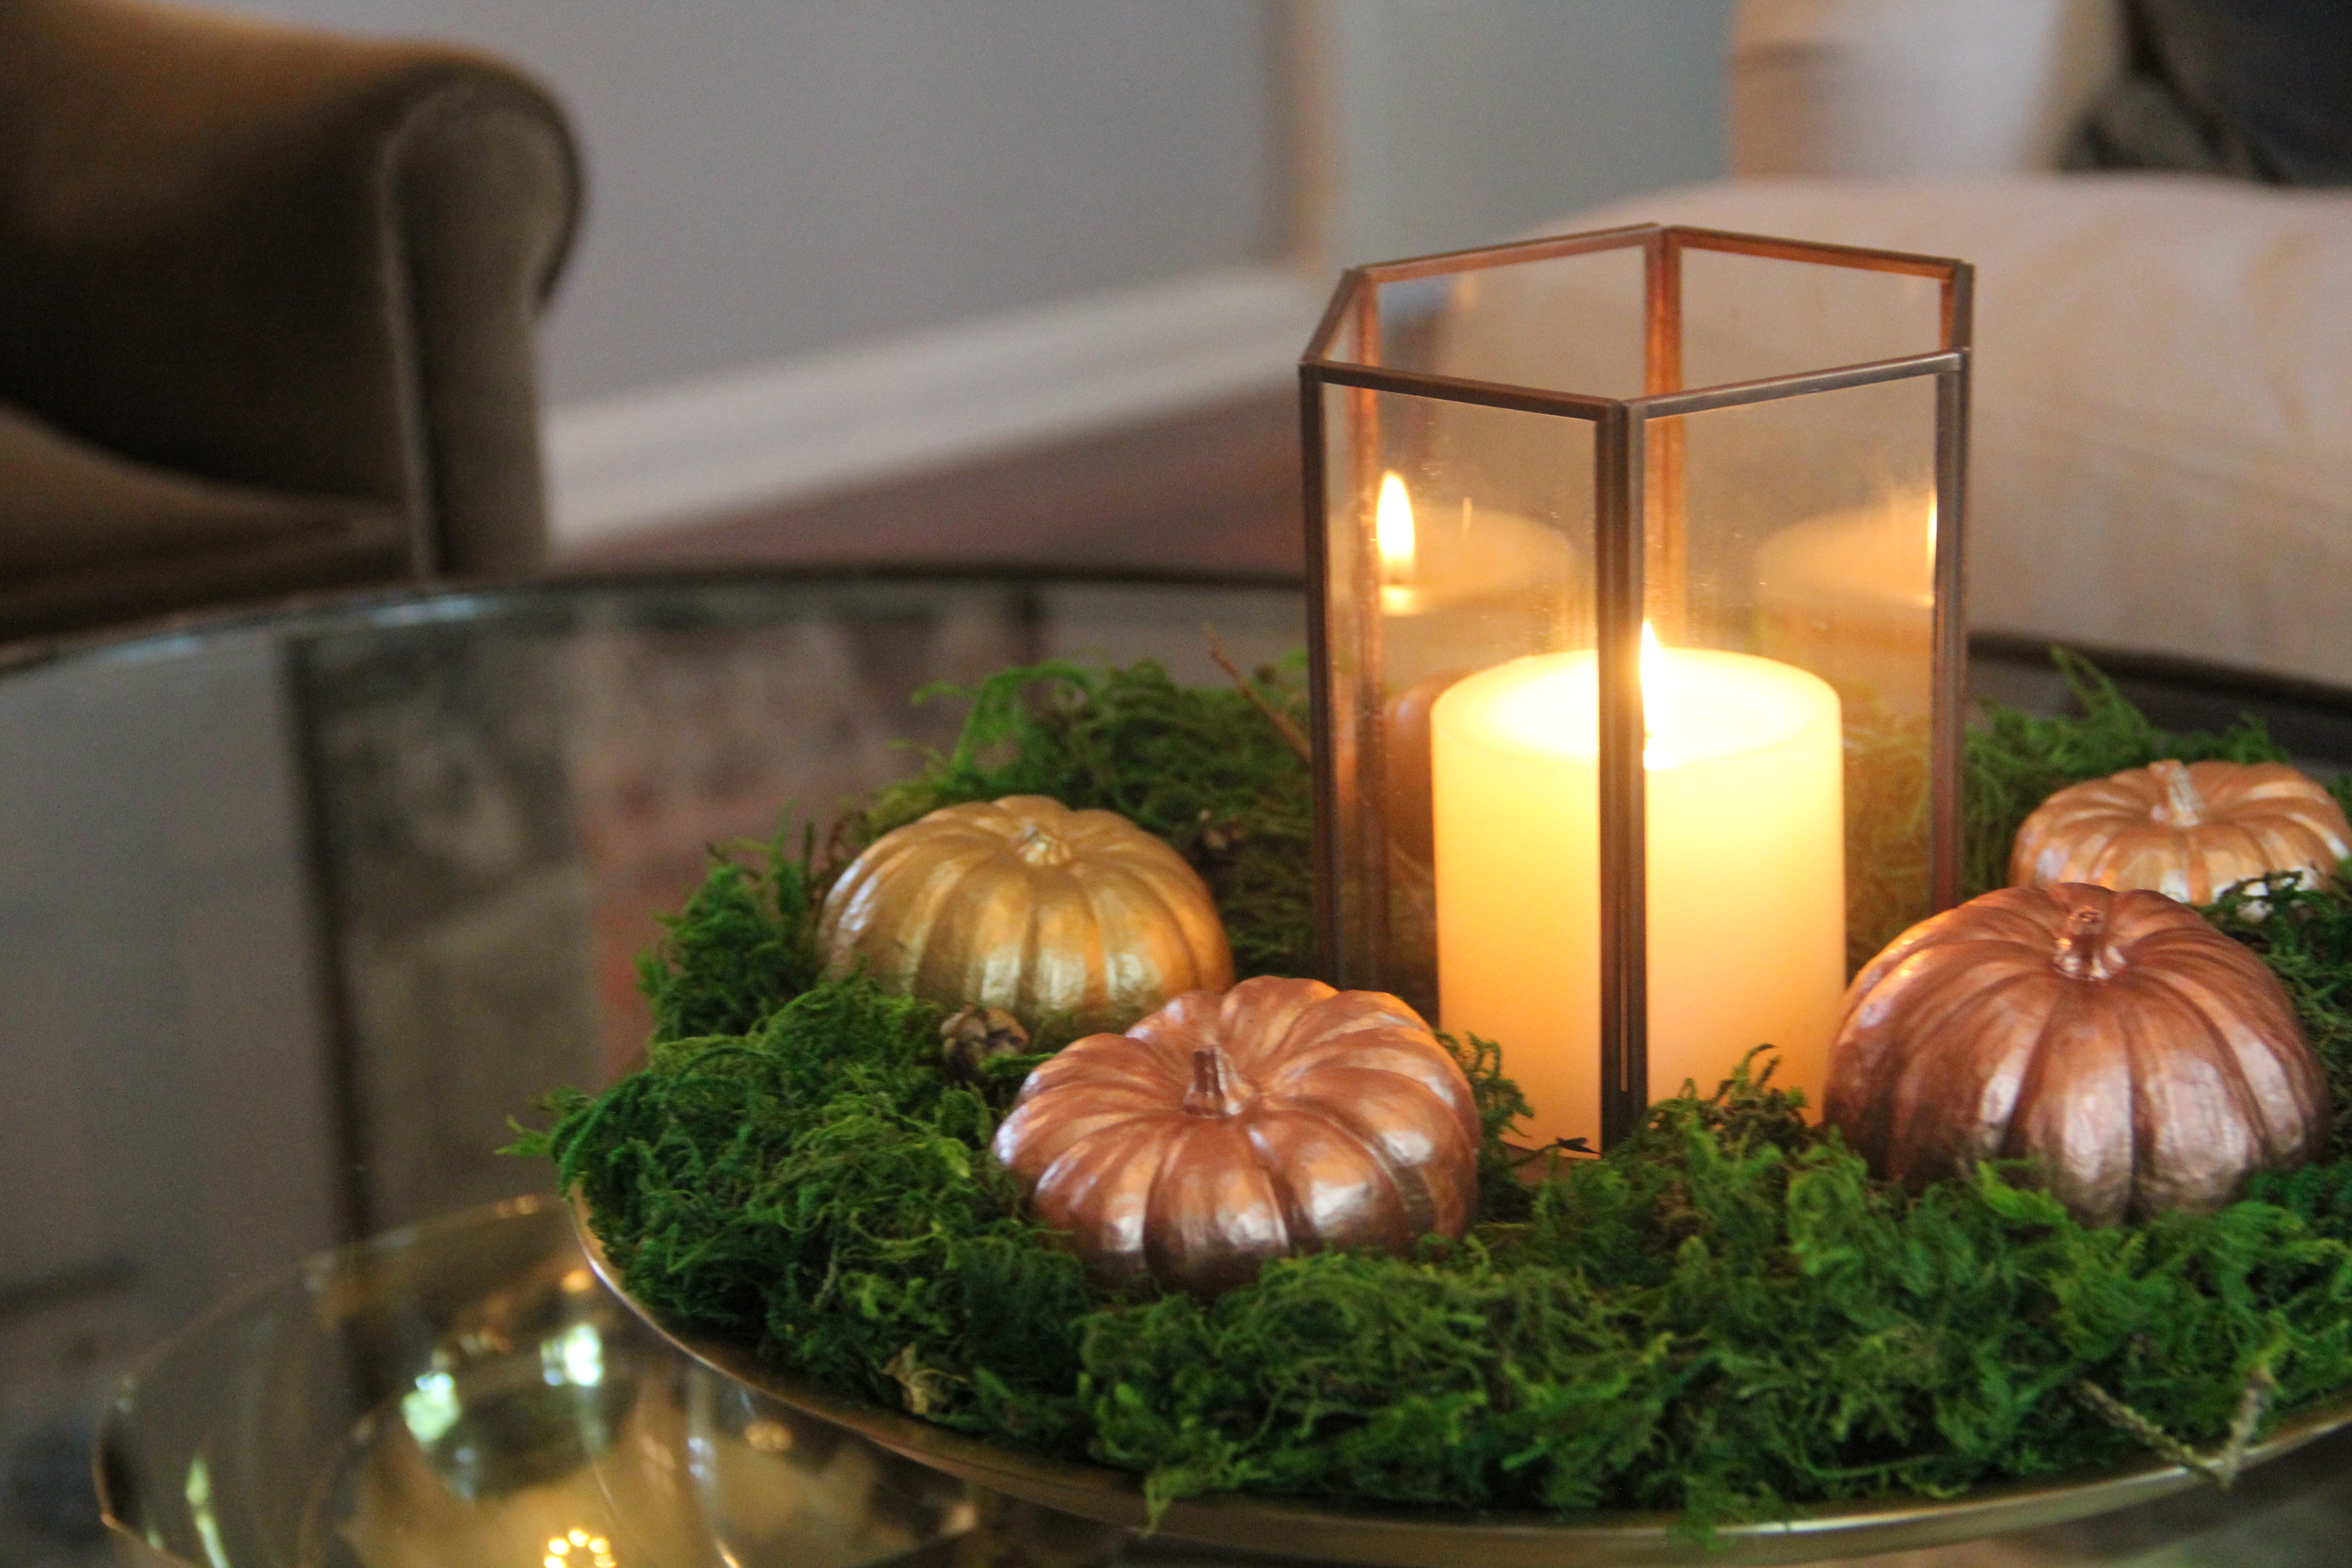
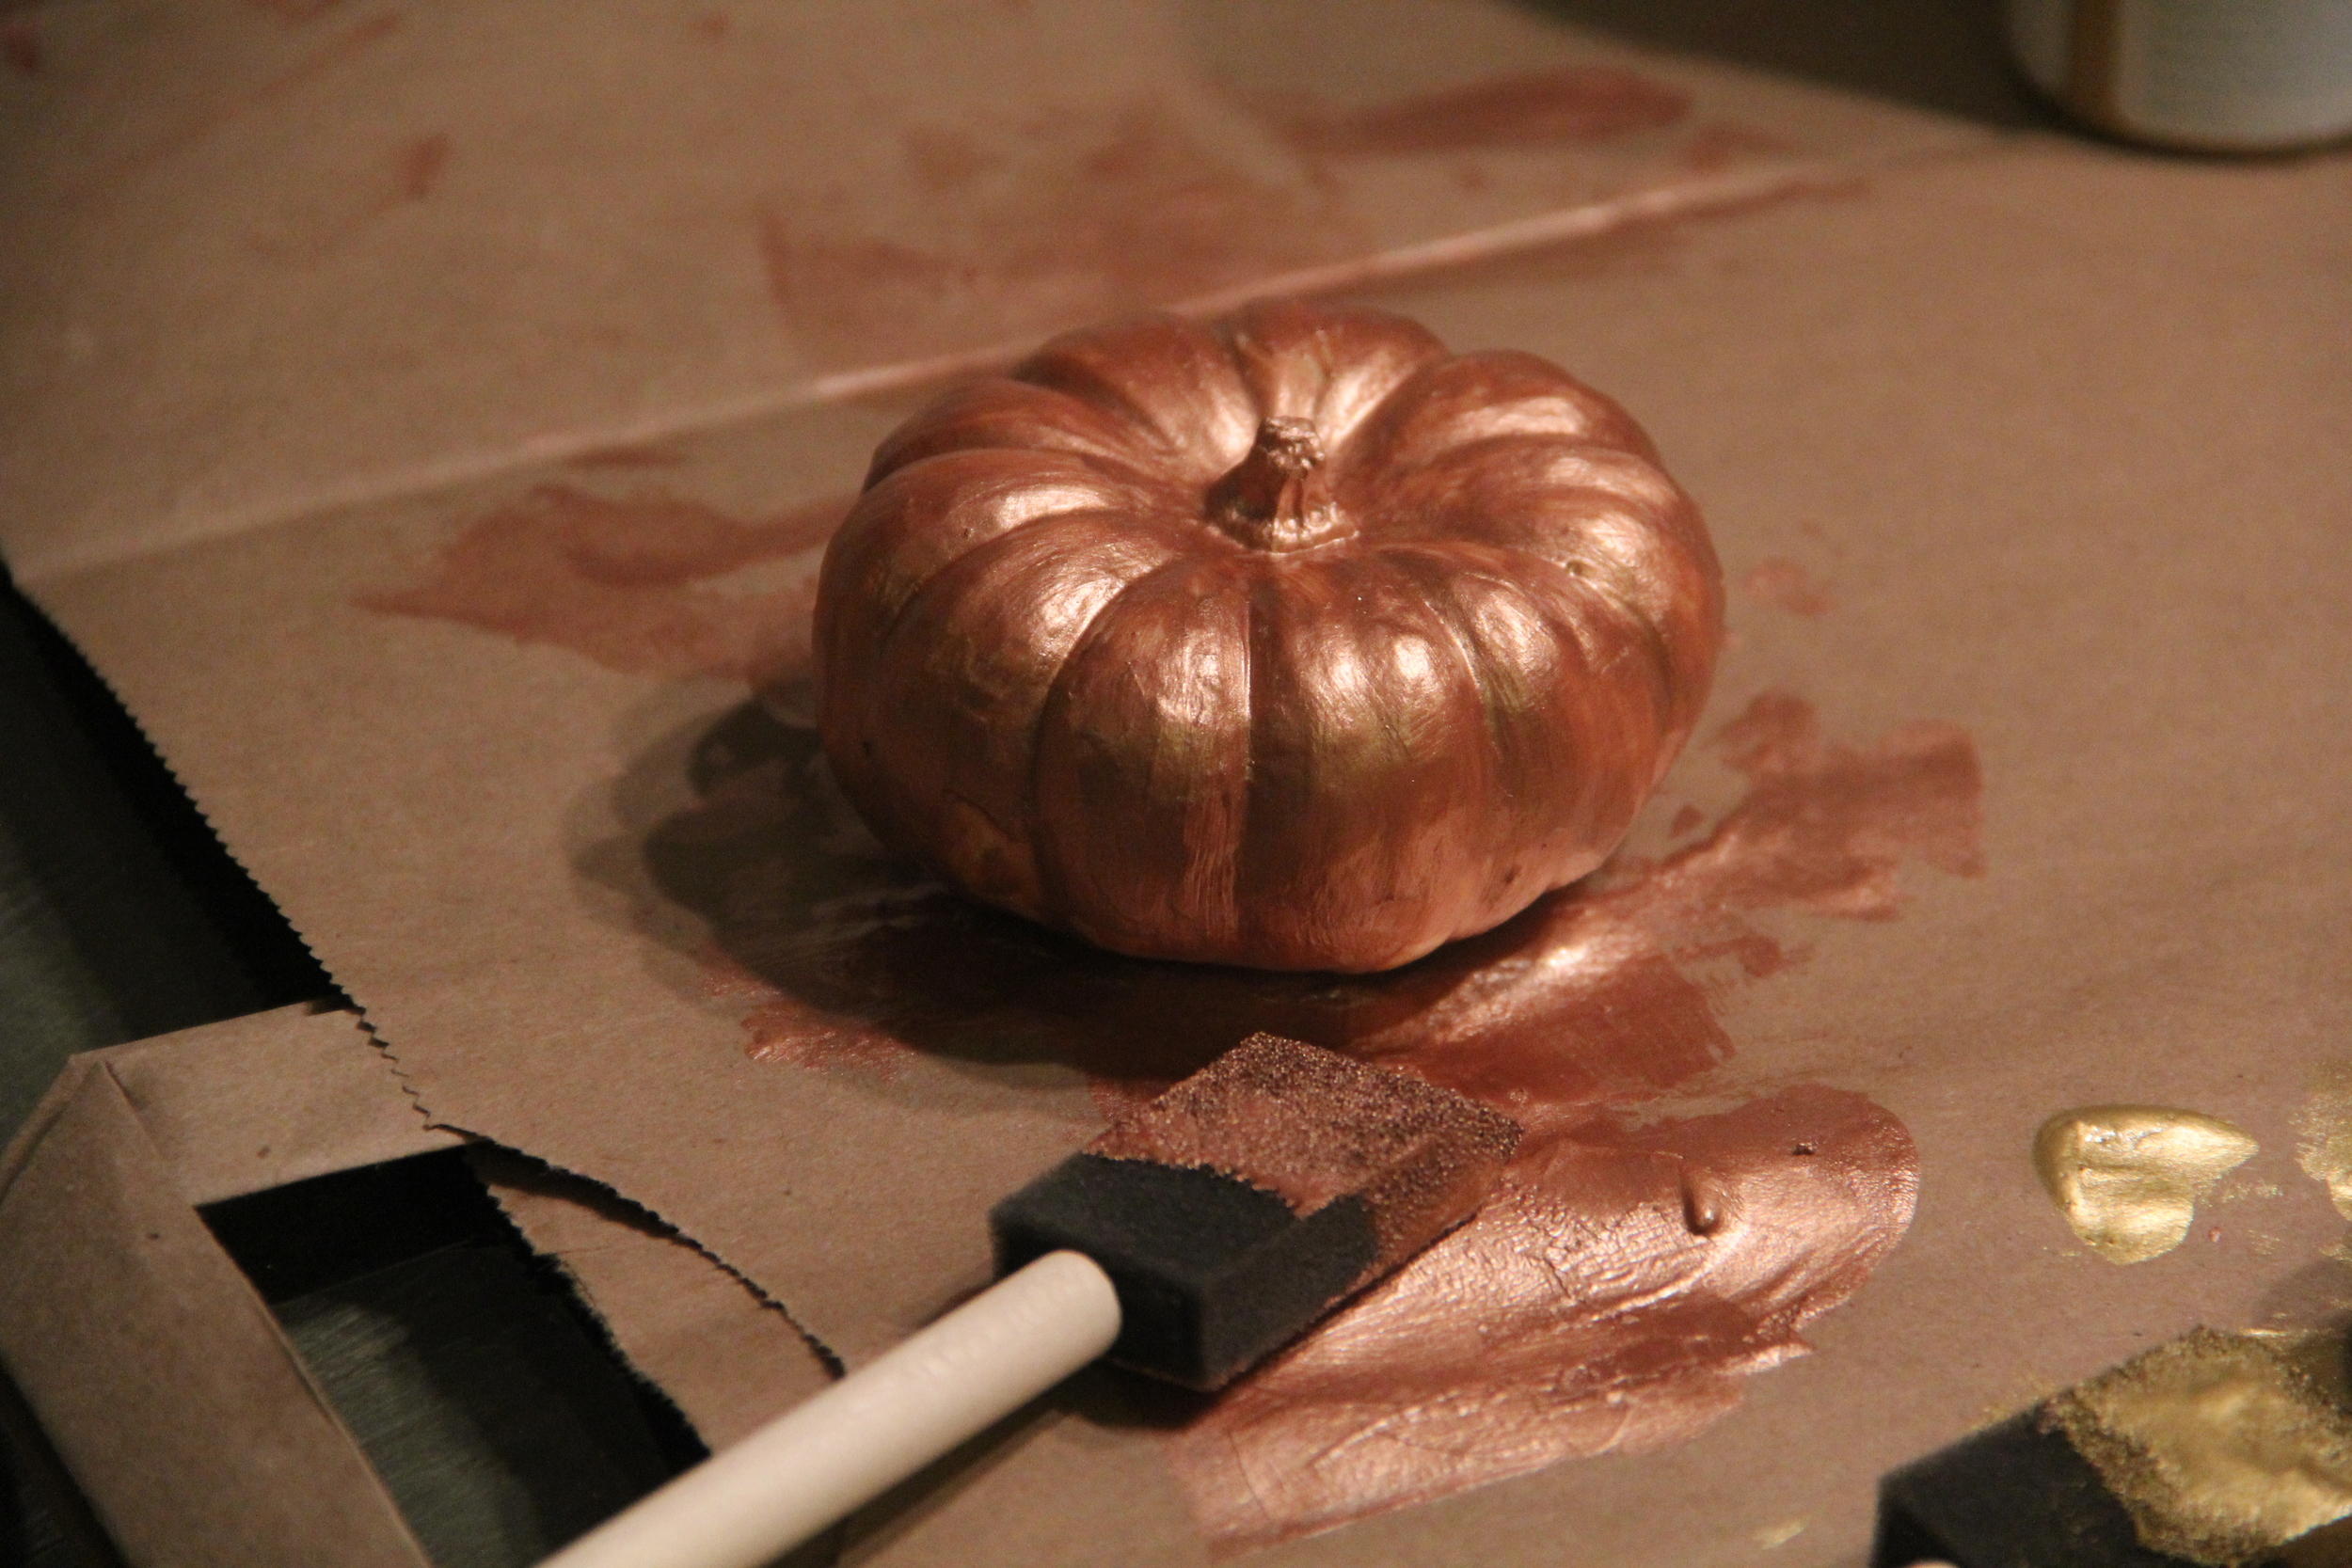
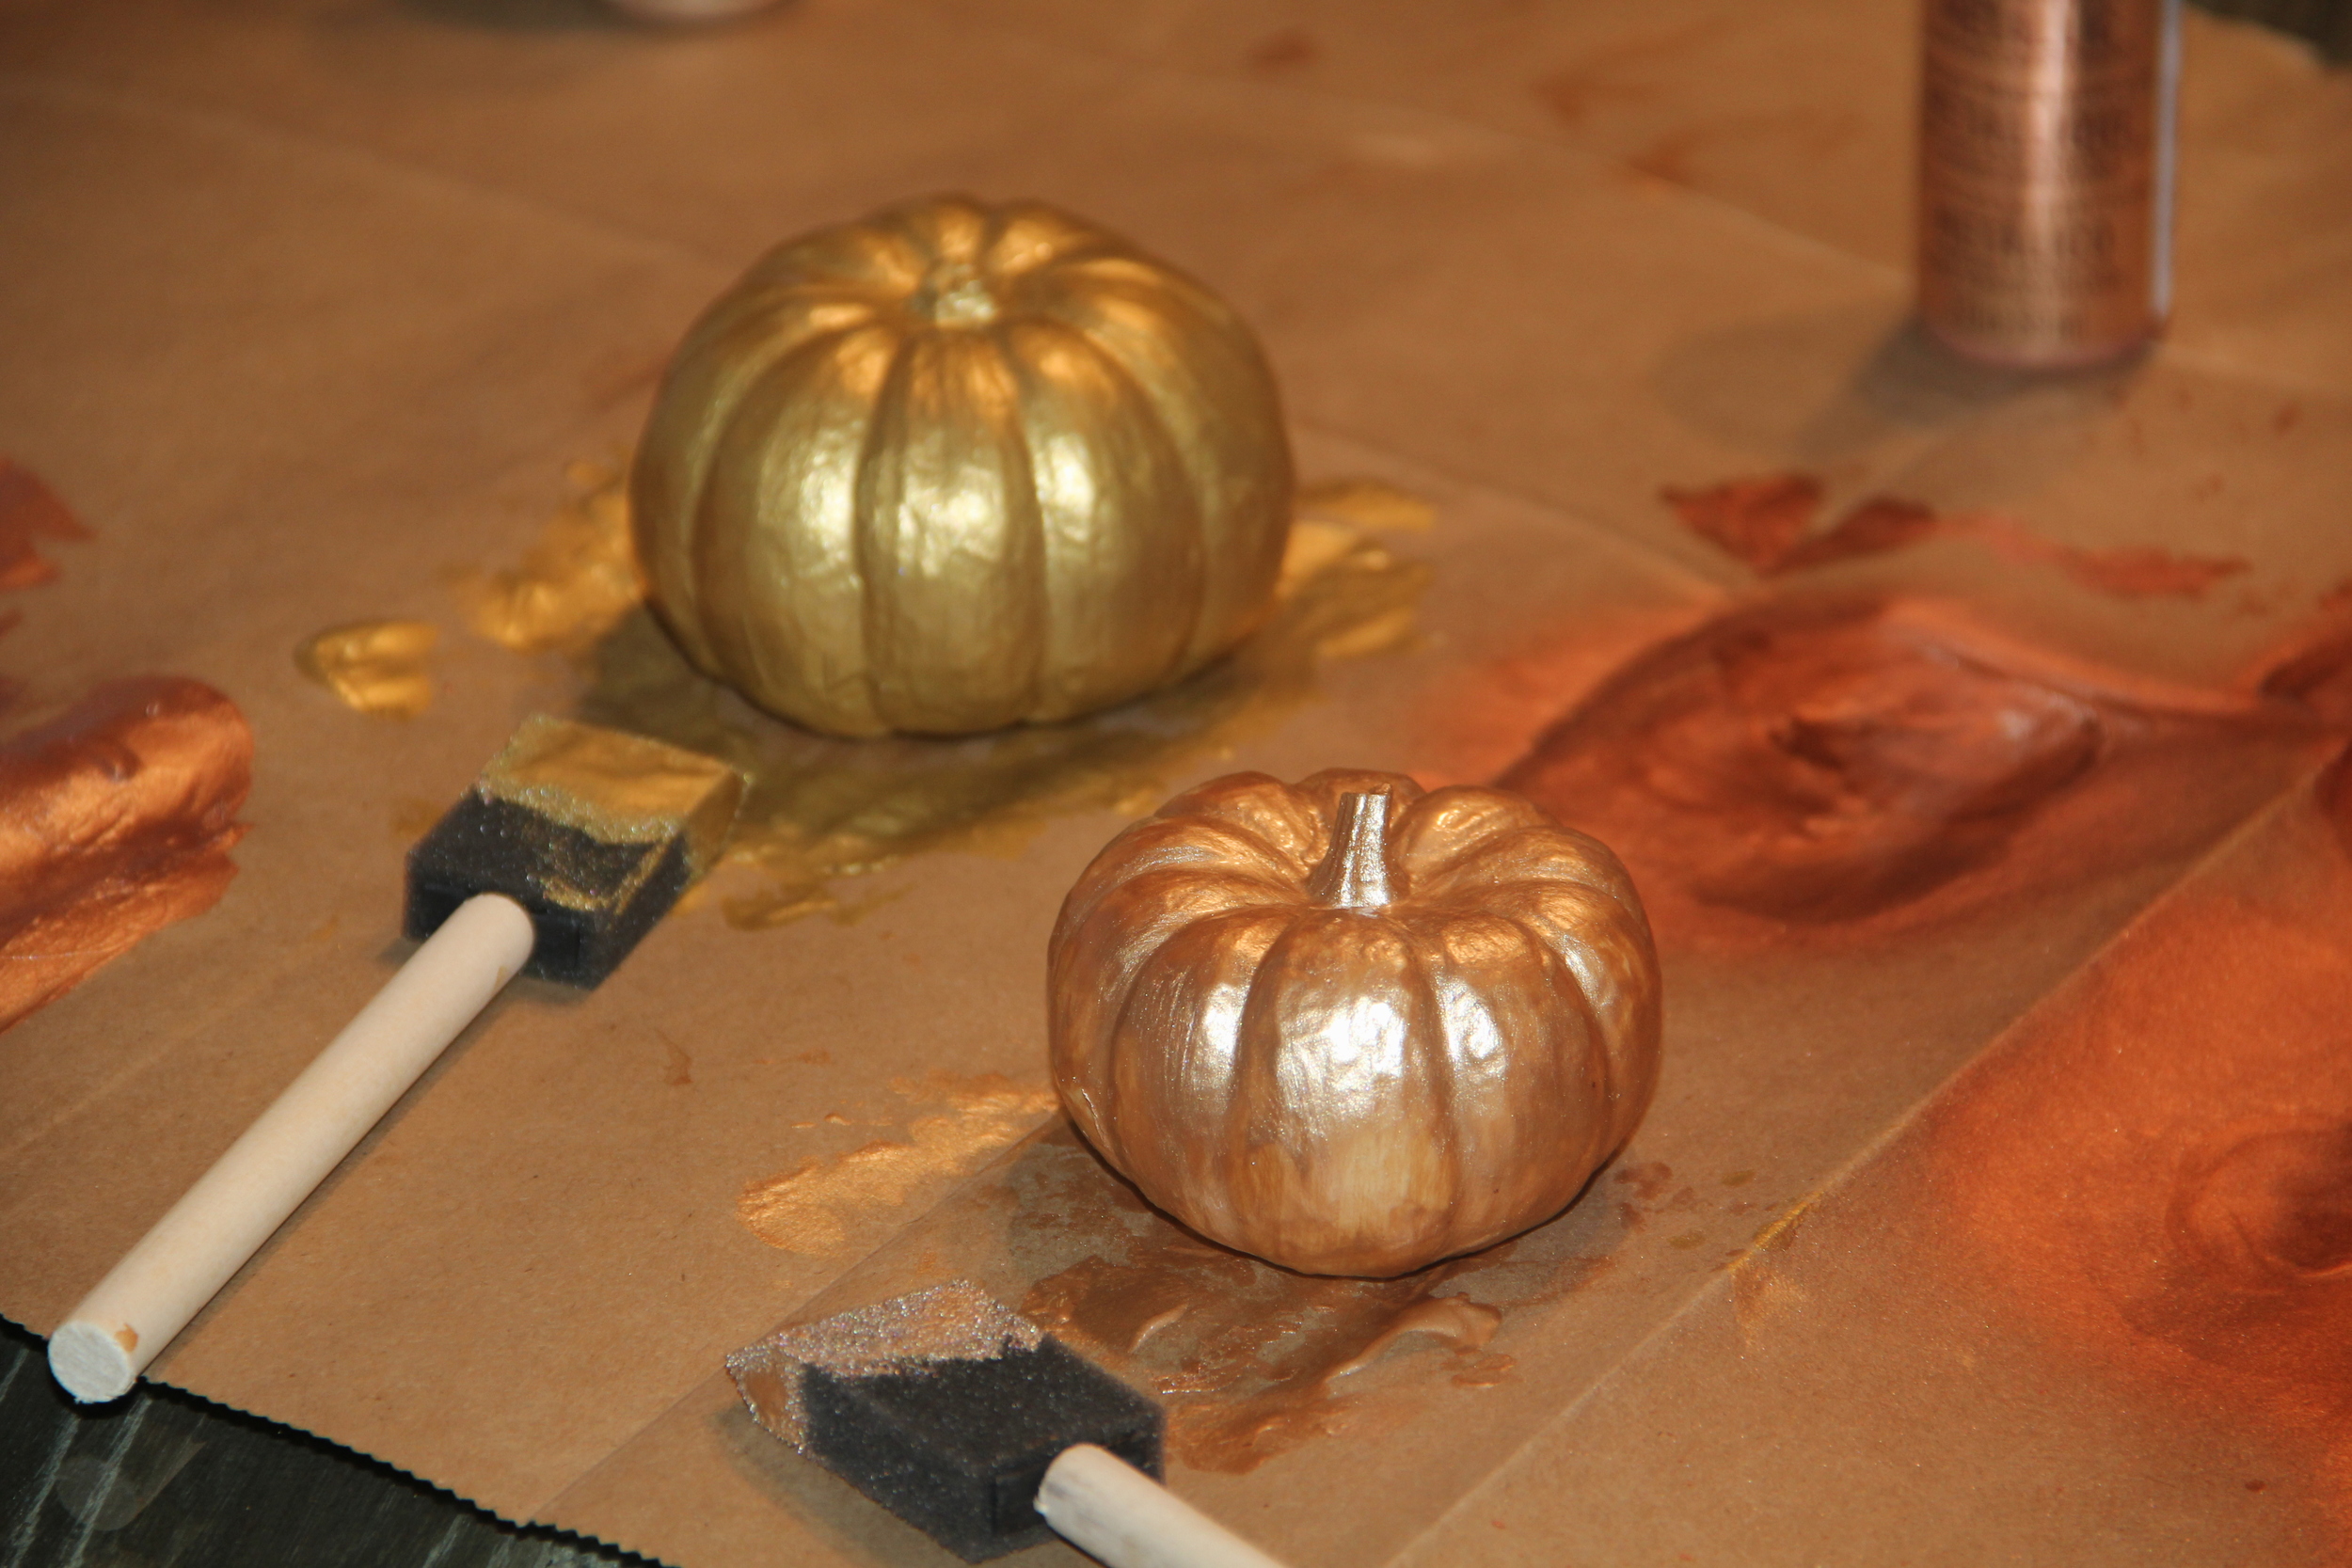
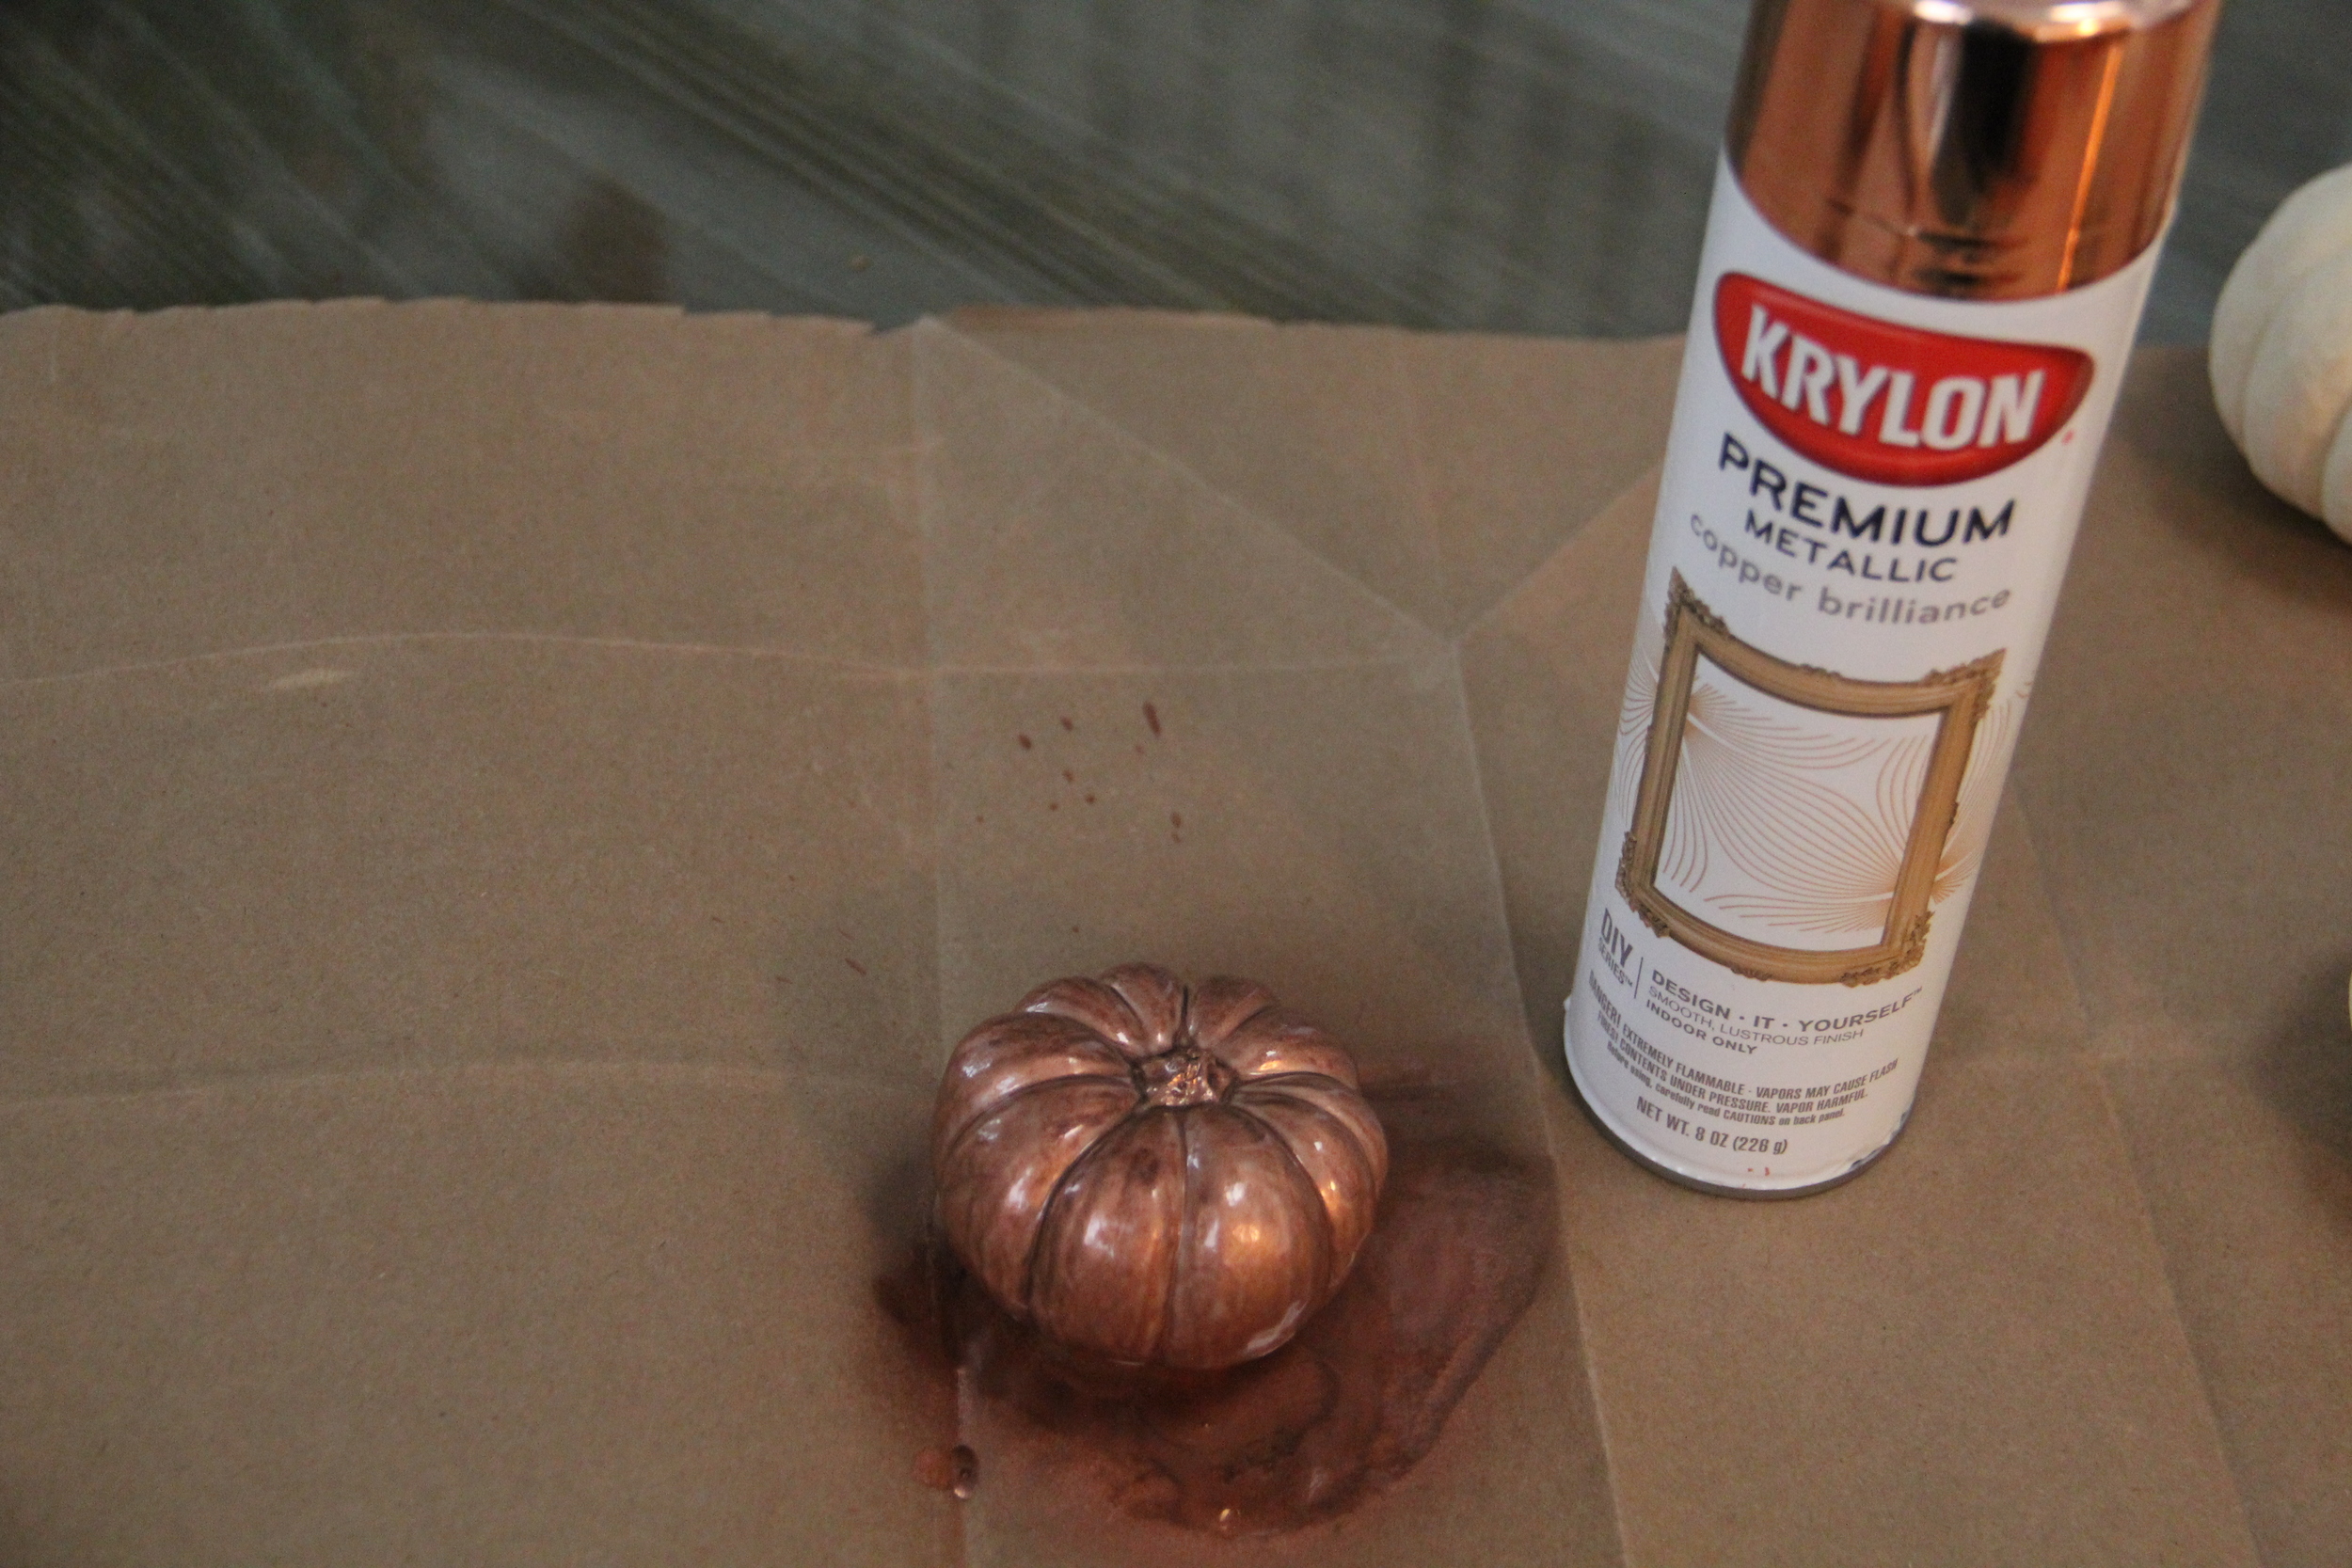
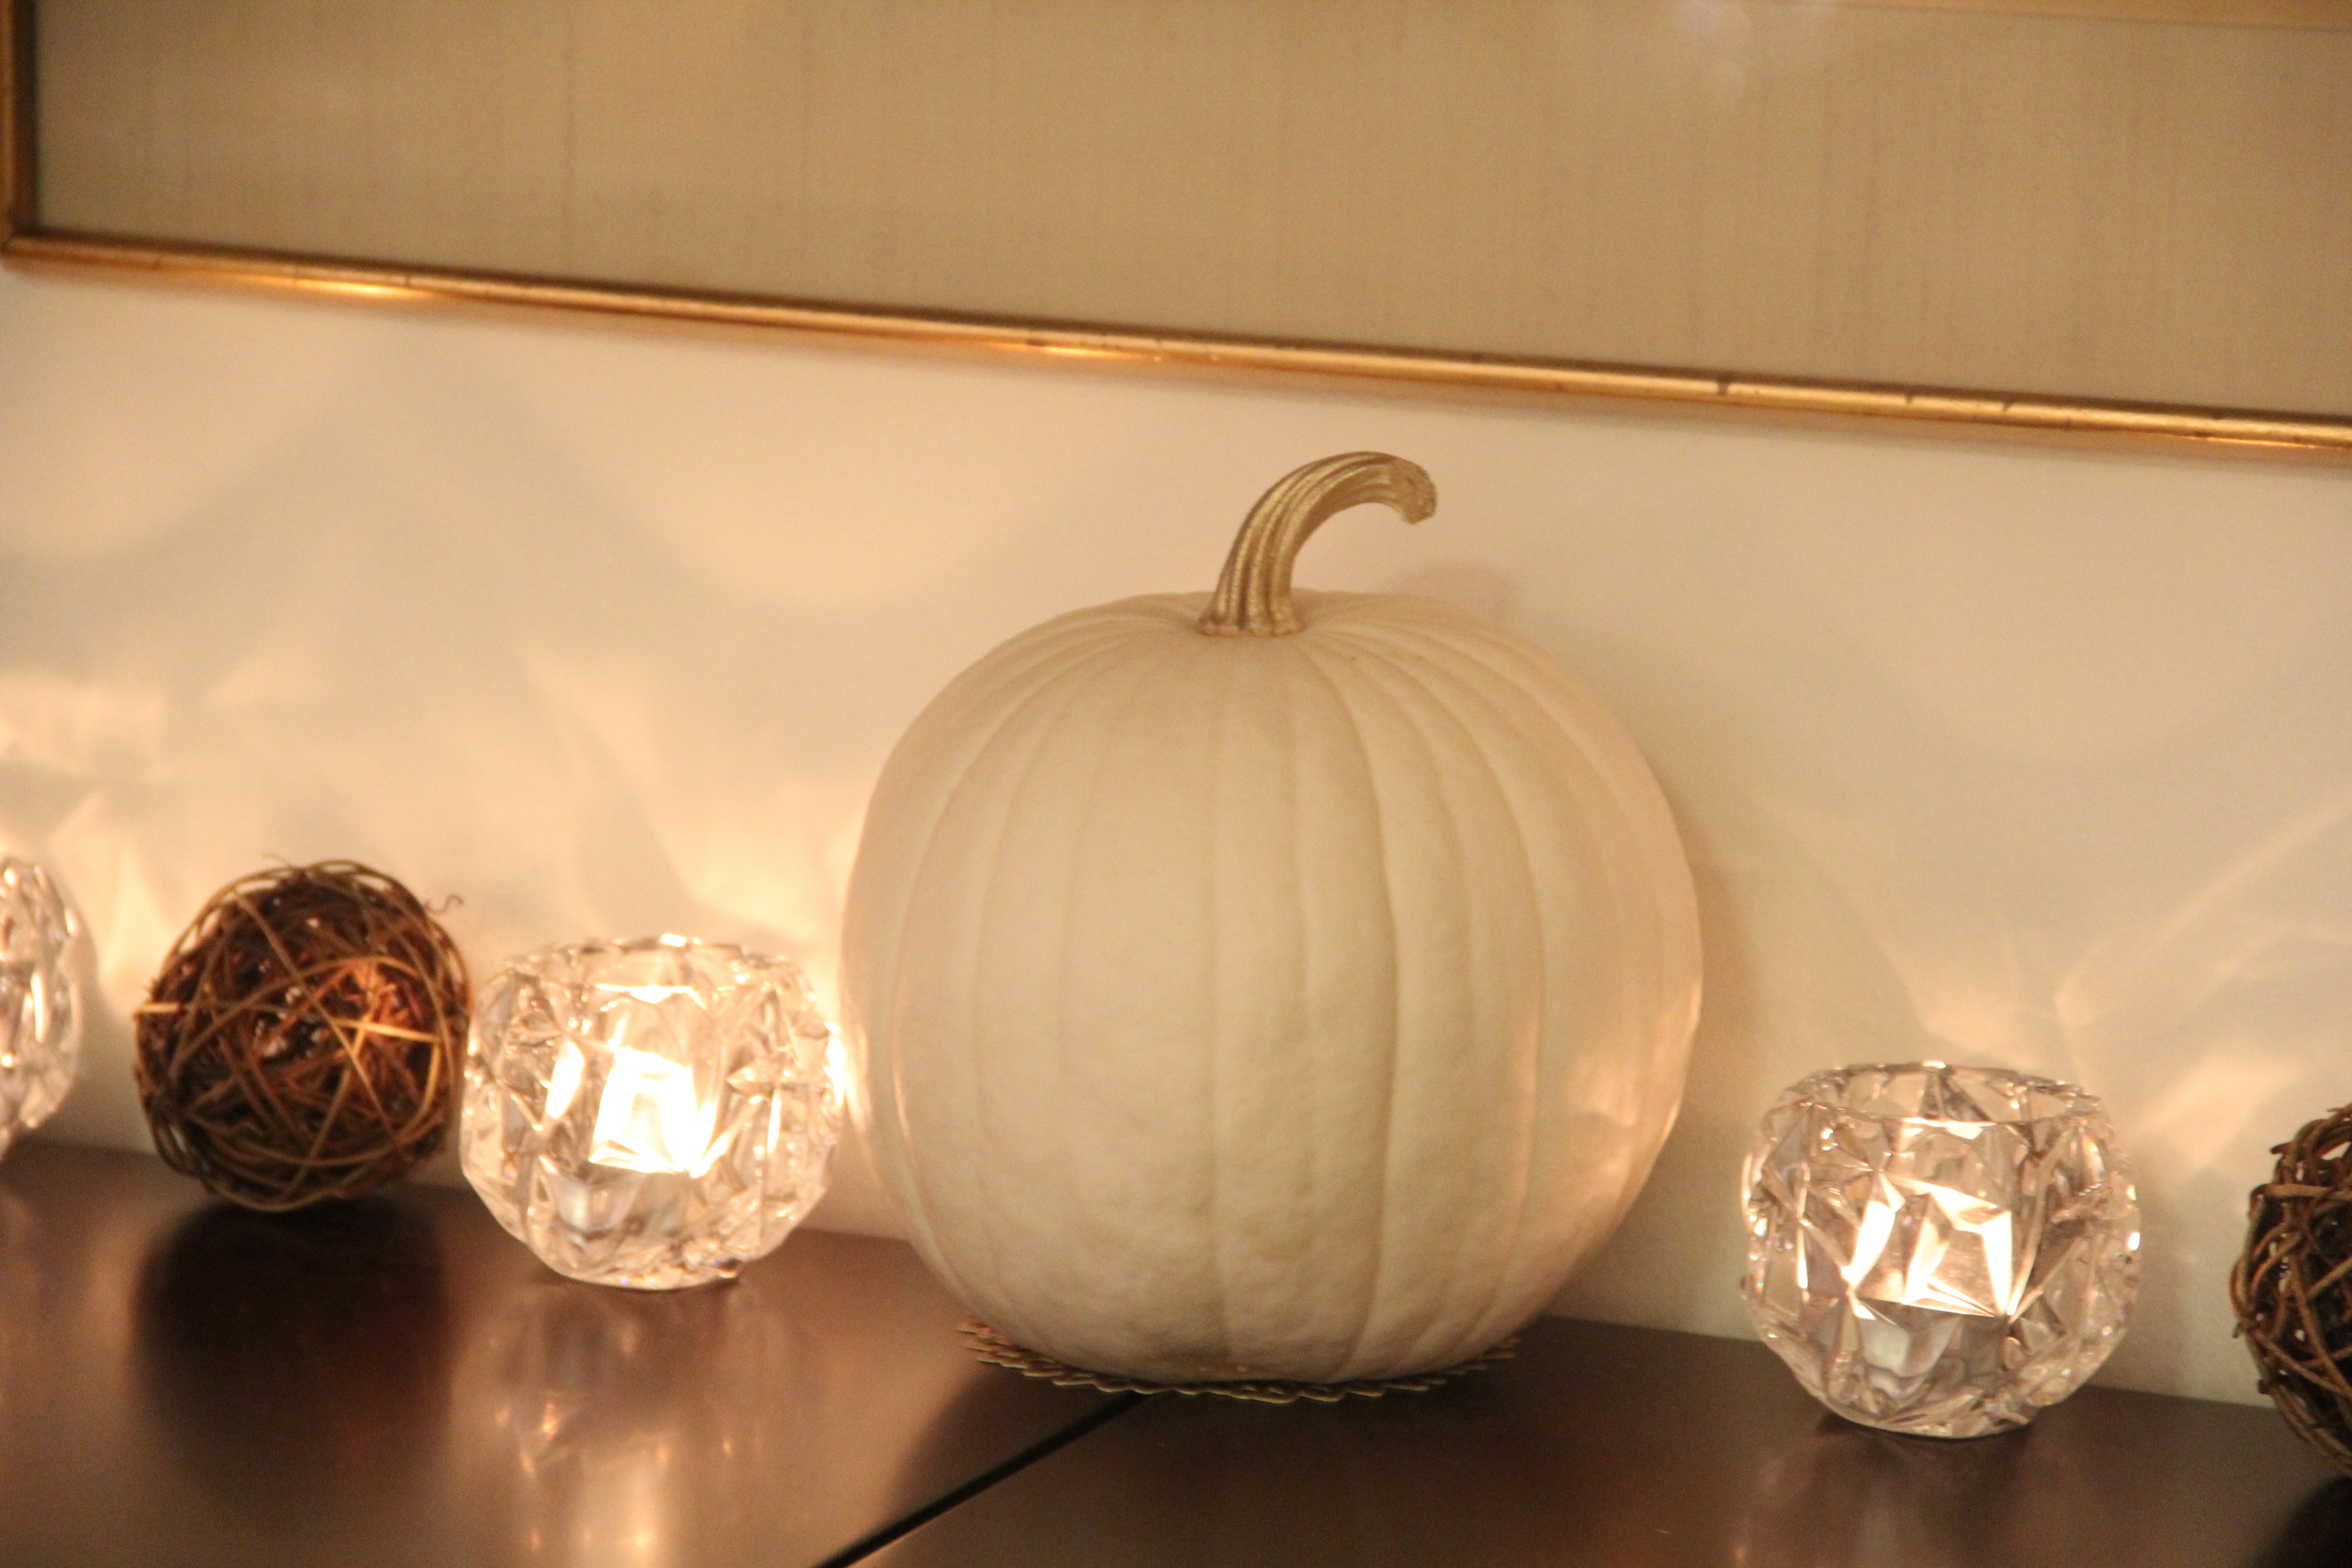
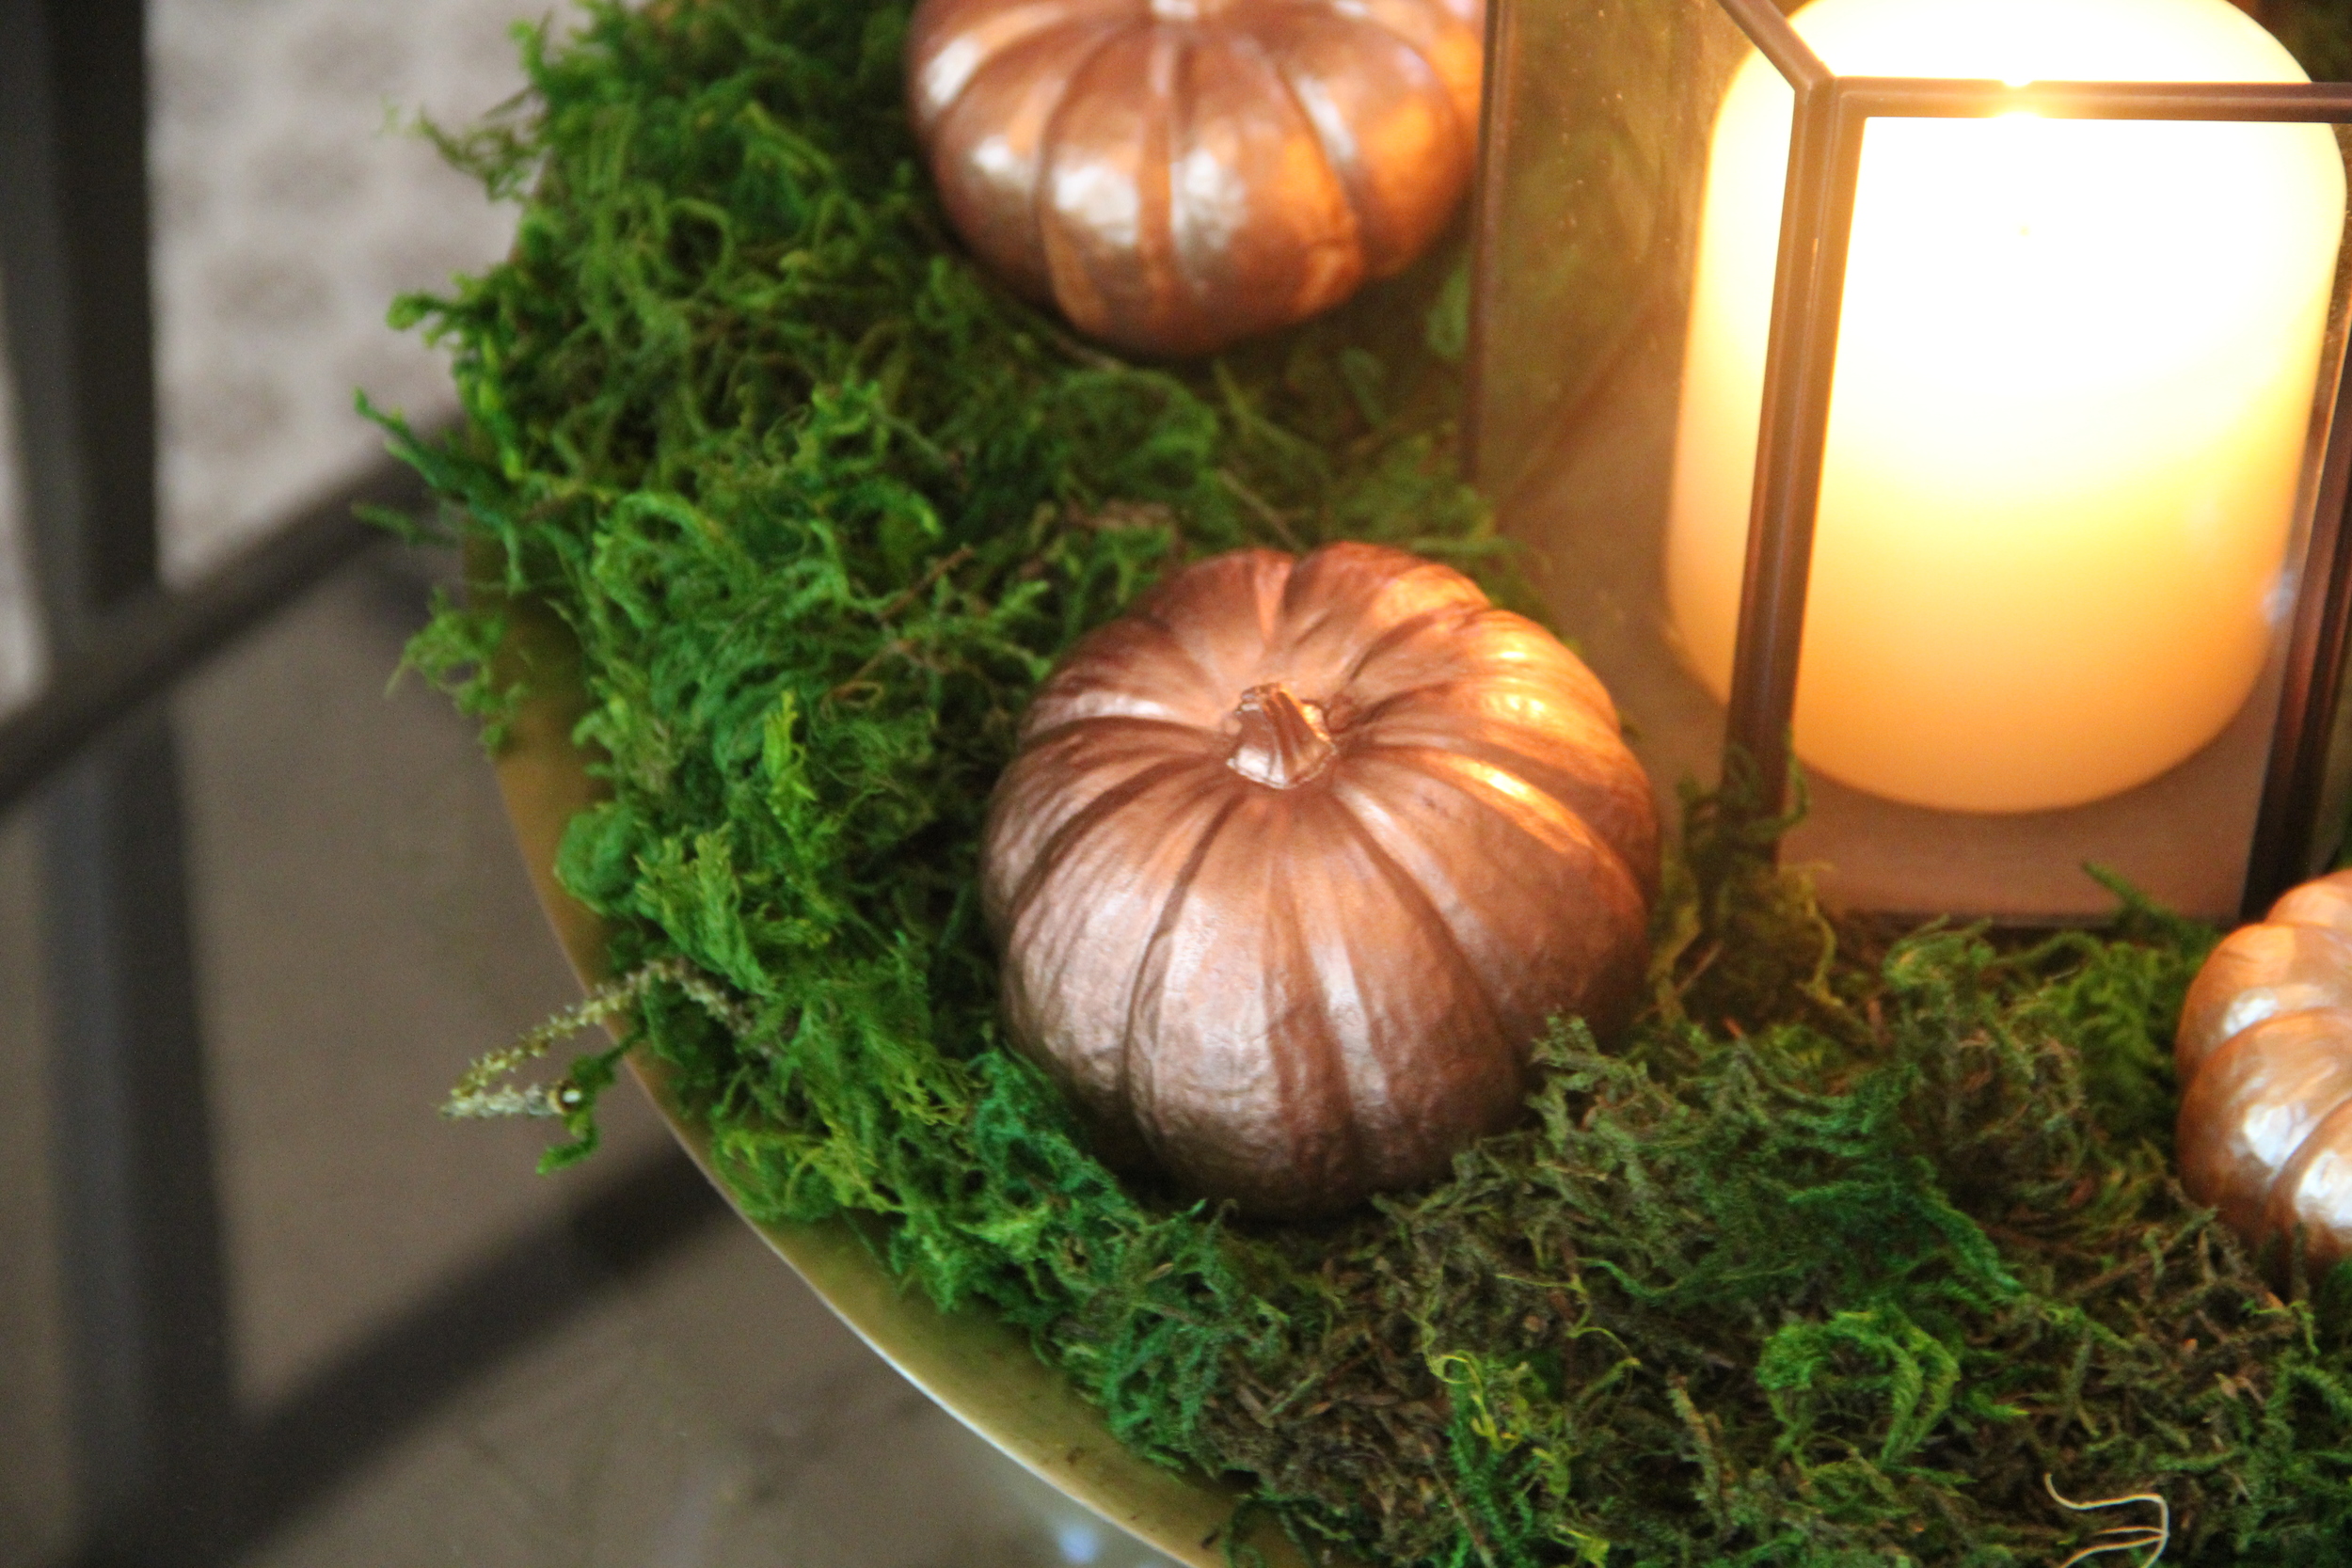
Creating pumpkin votives would have to be one of my favorite ways to carve a pumpkin because they are easy to make and very inexpensive. Whether you choose to use Glam Pumpkins or "Au Natural," the end result is really quite pretty and makes for a unique way to decorate your home and even your dining table for the Fall season. 
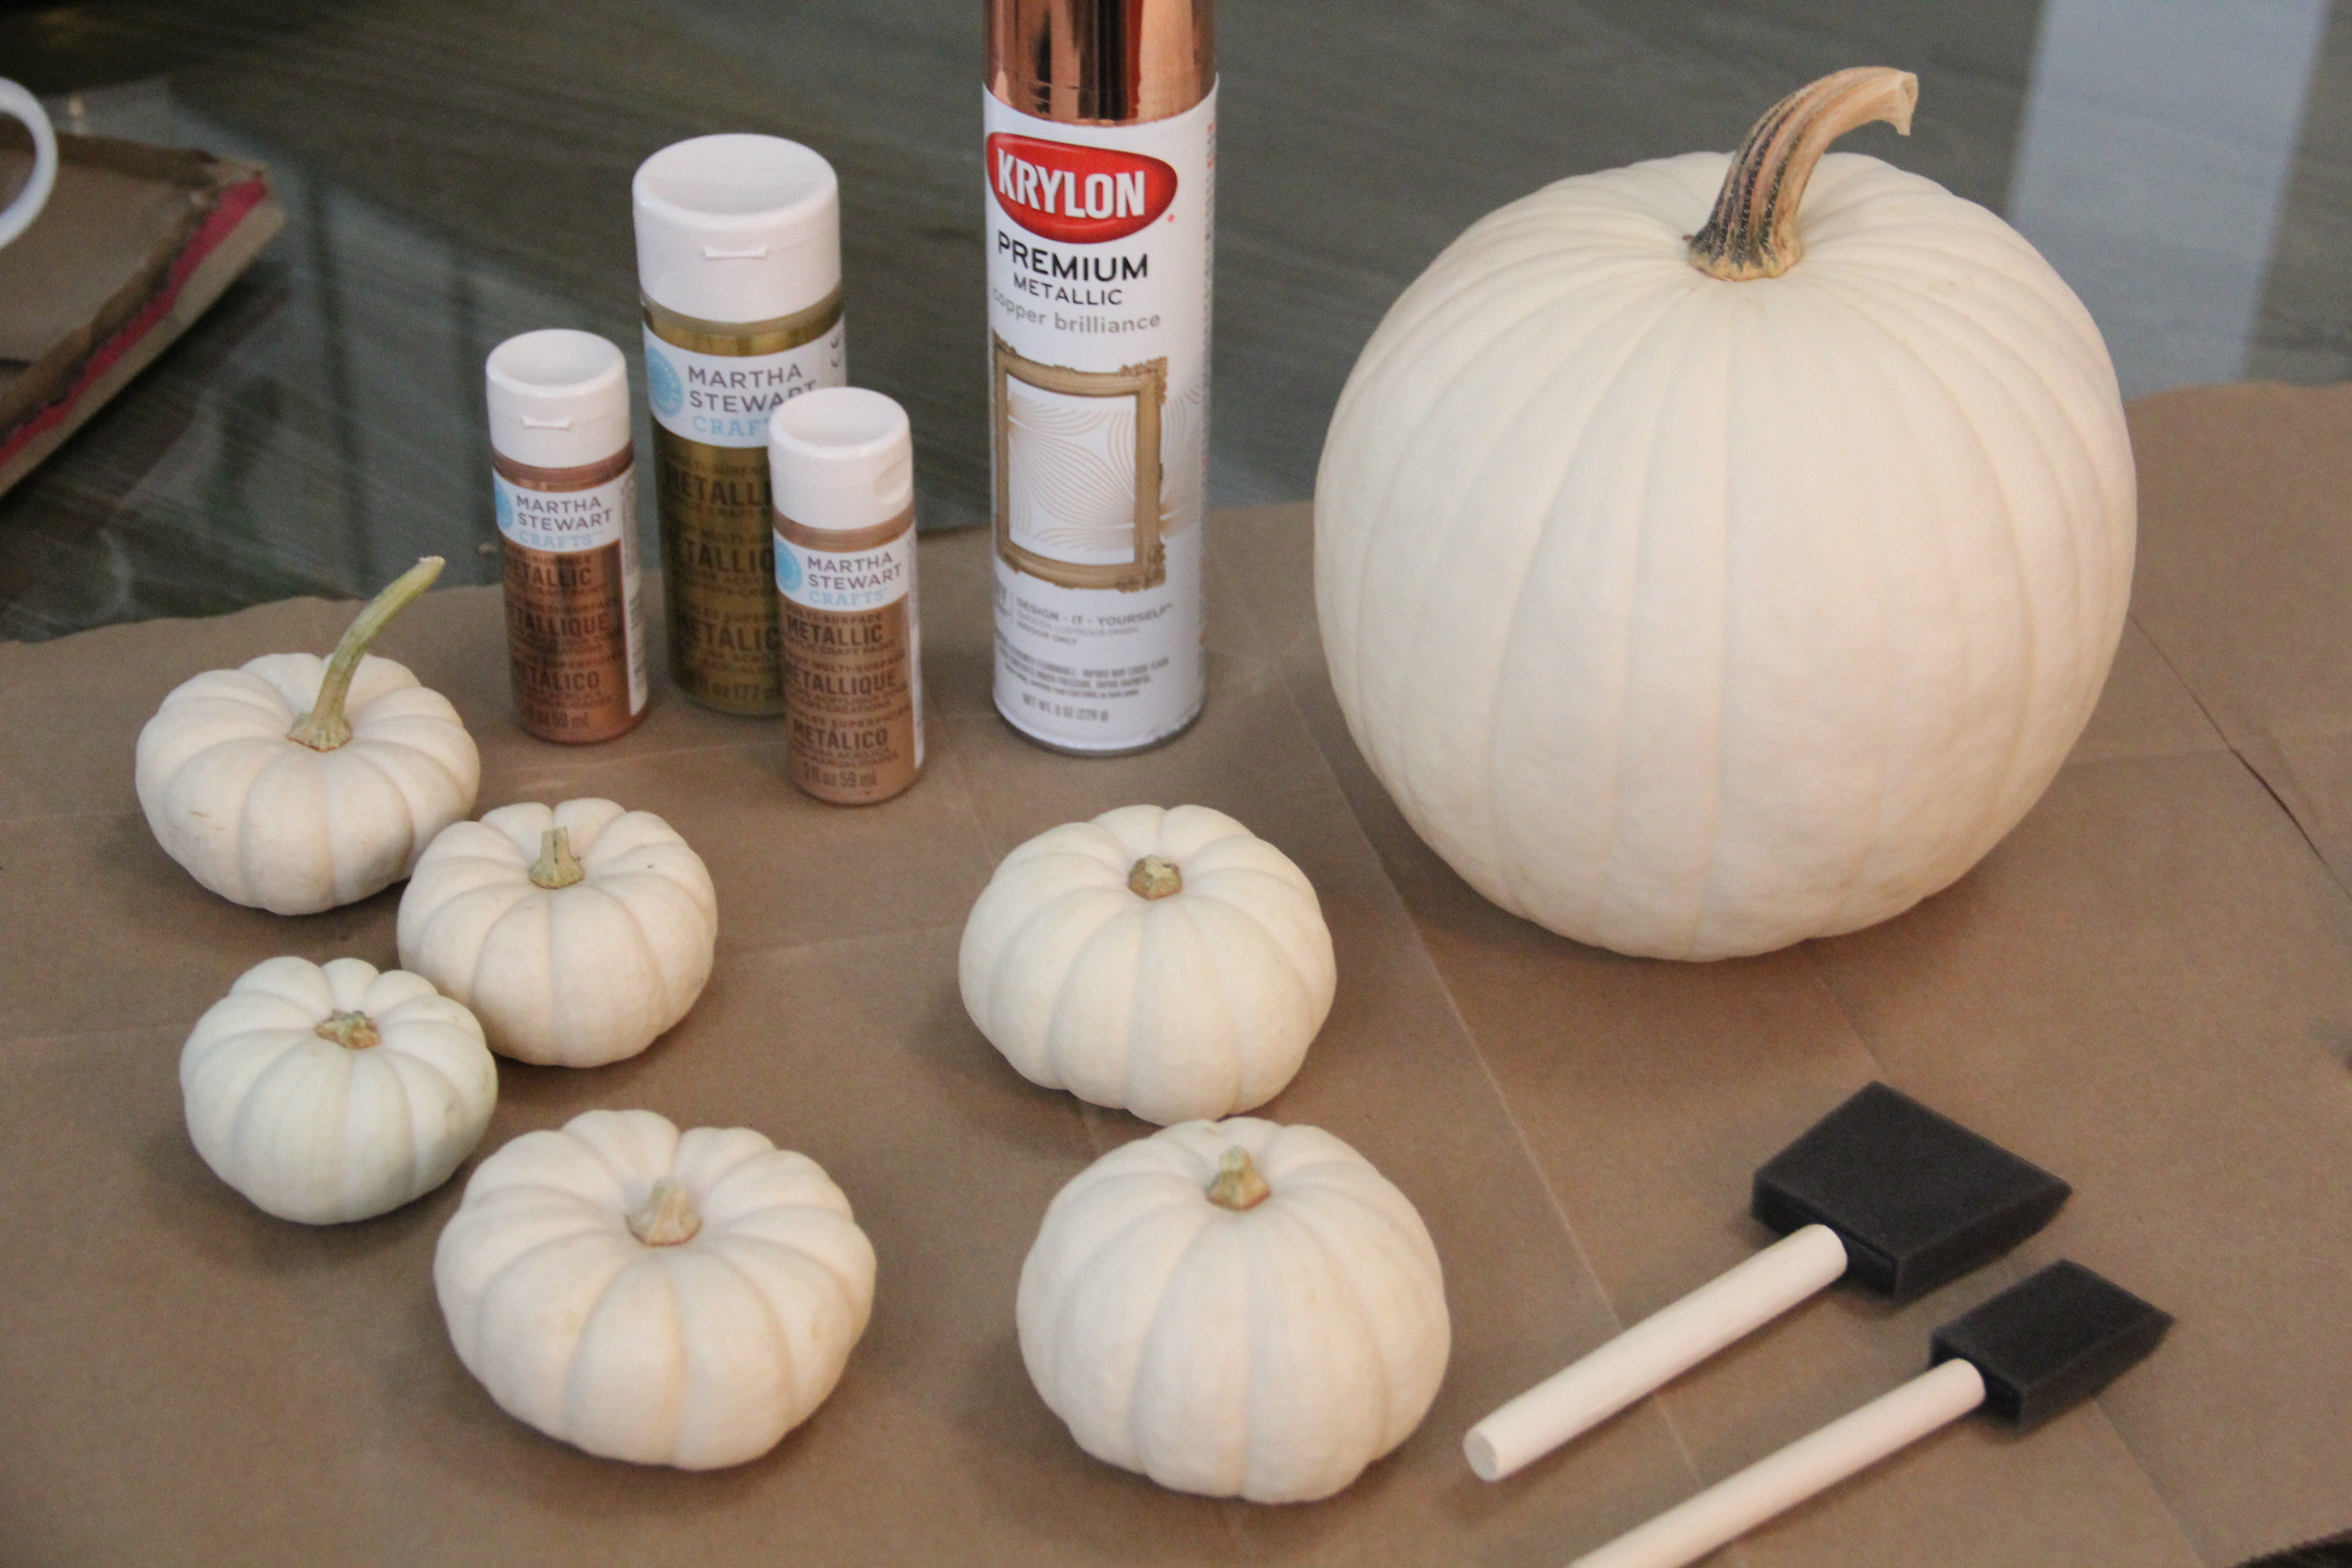
IMG_1635.JPG
Drill.JPG

What you will need:

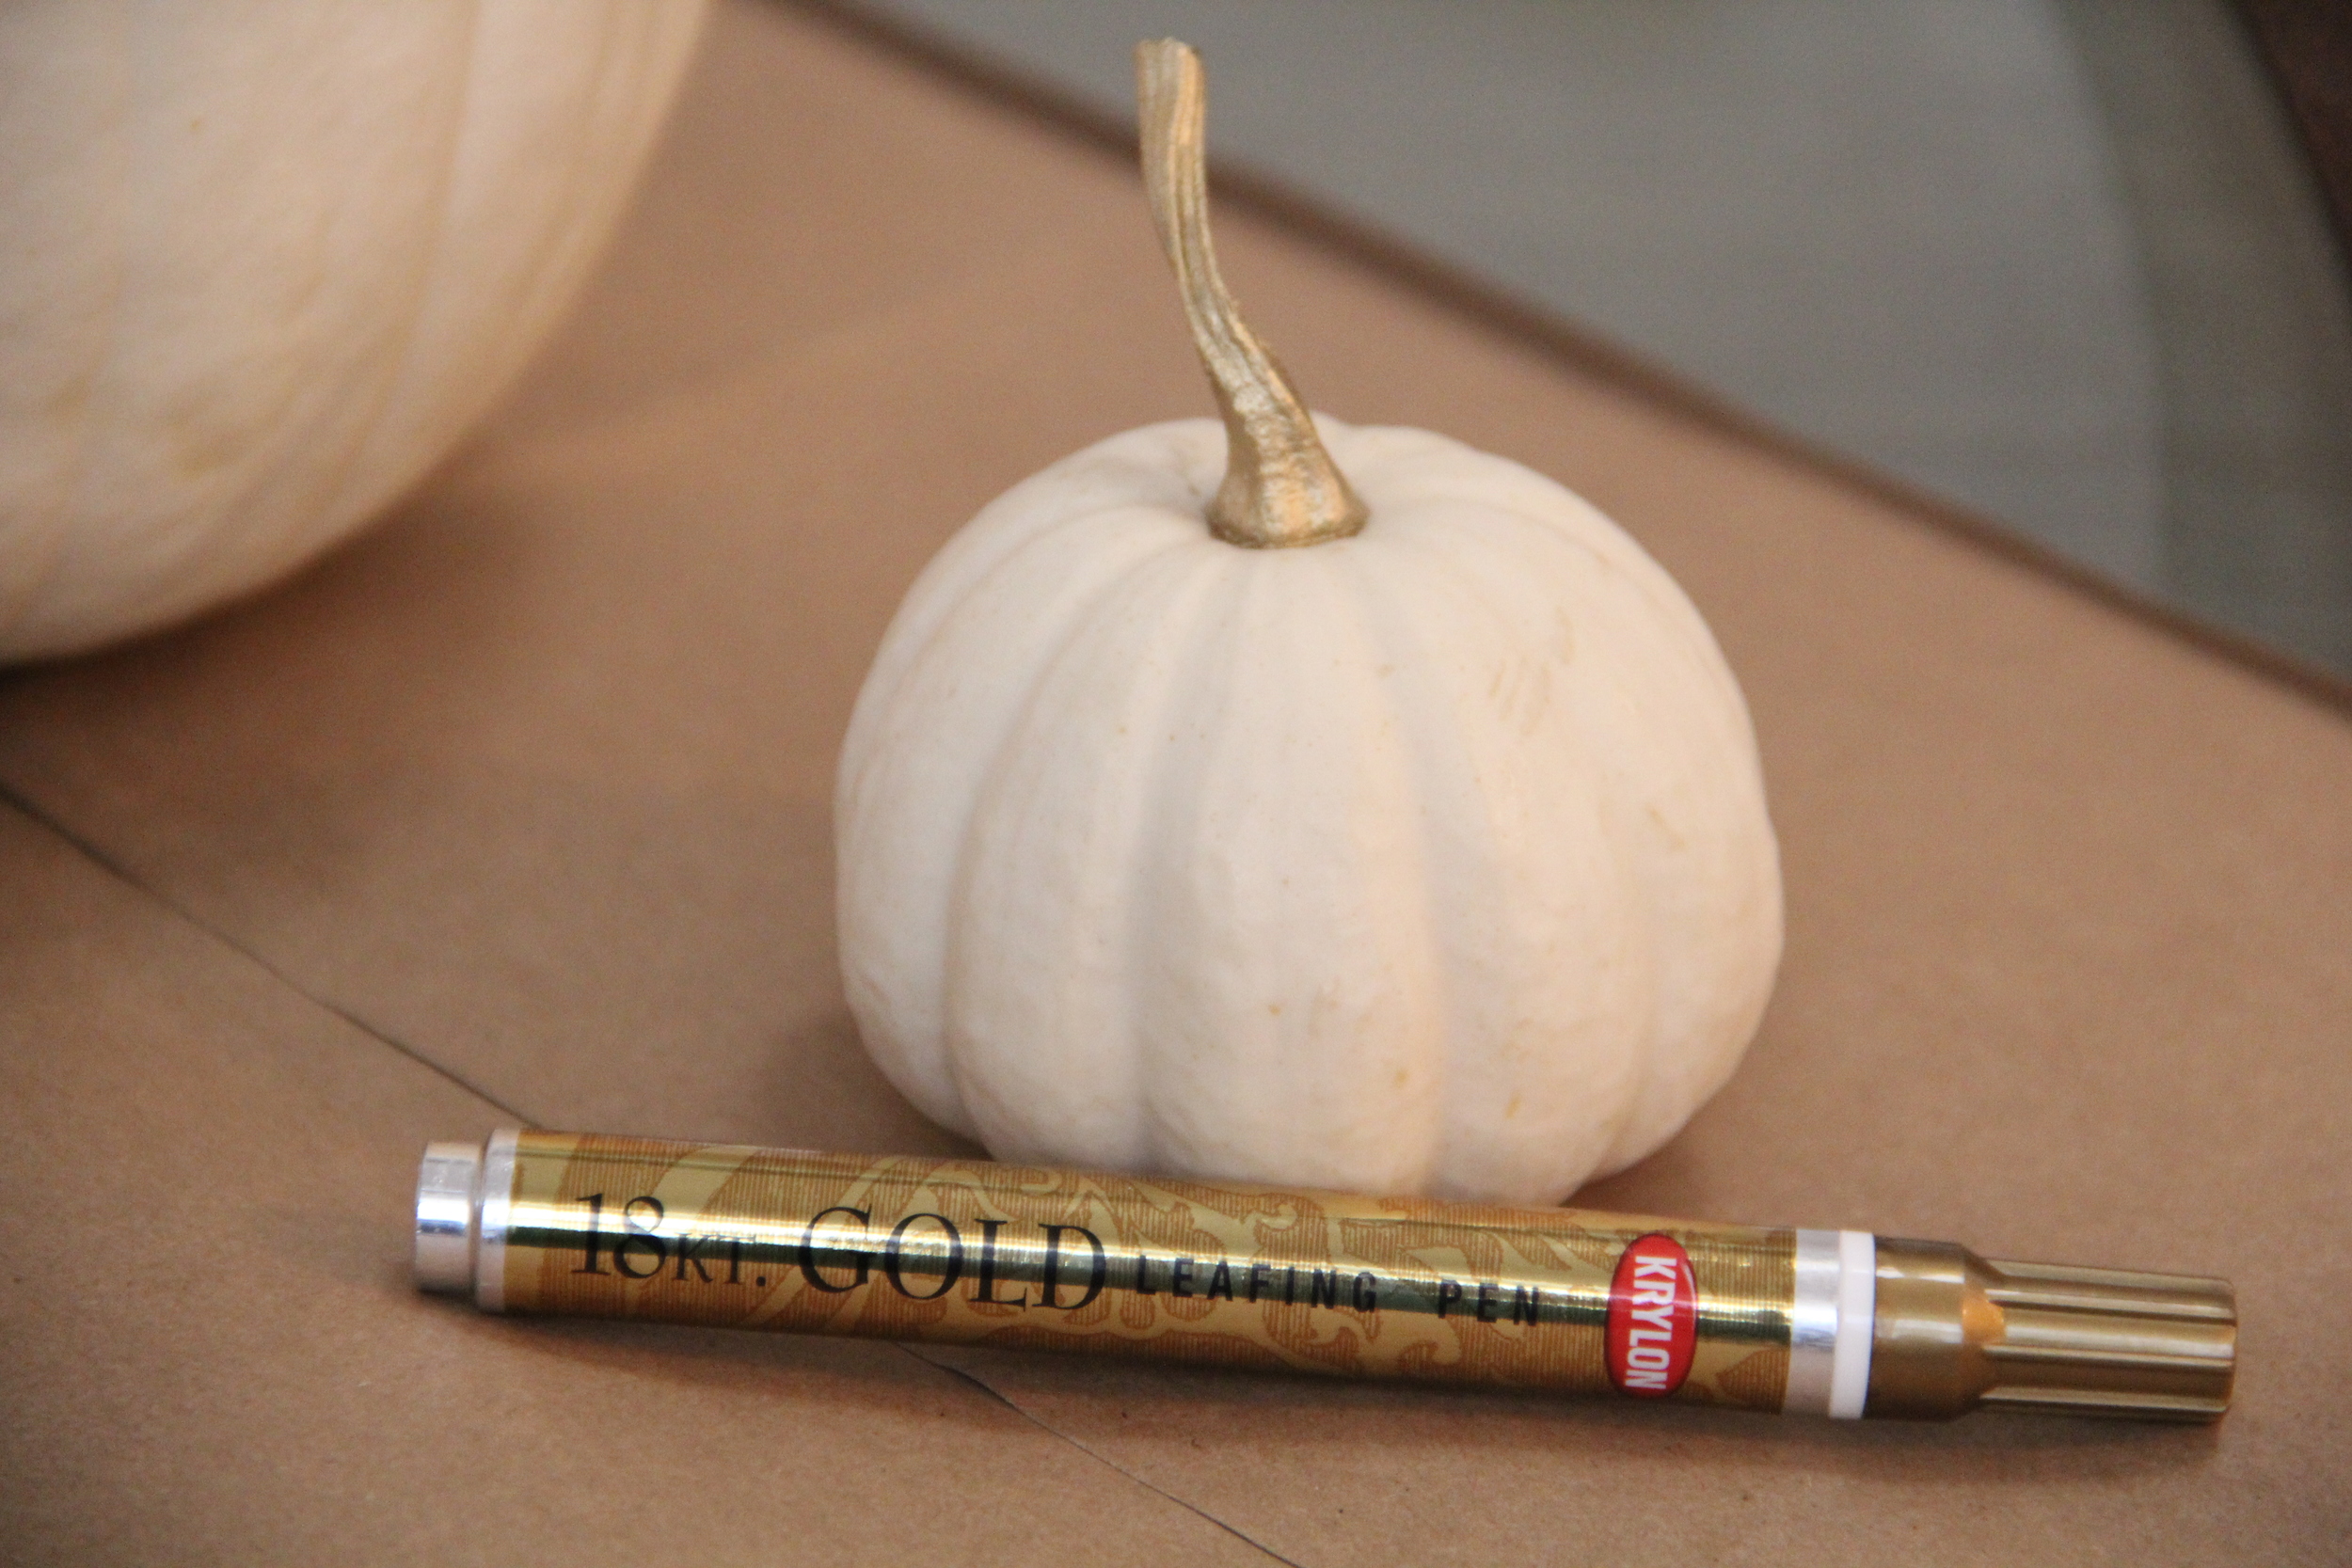
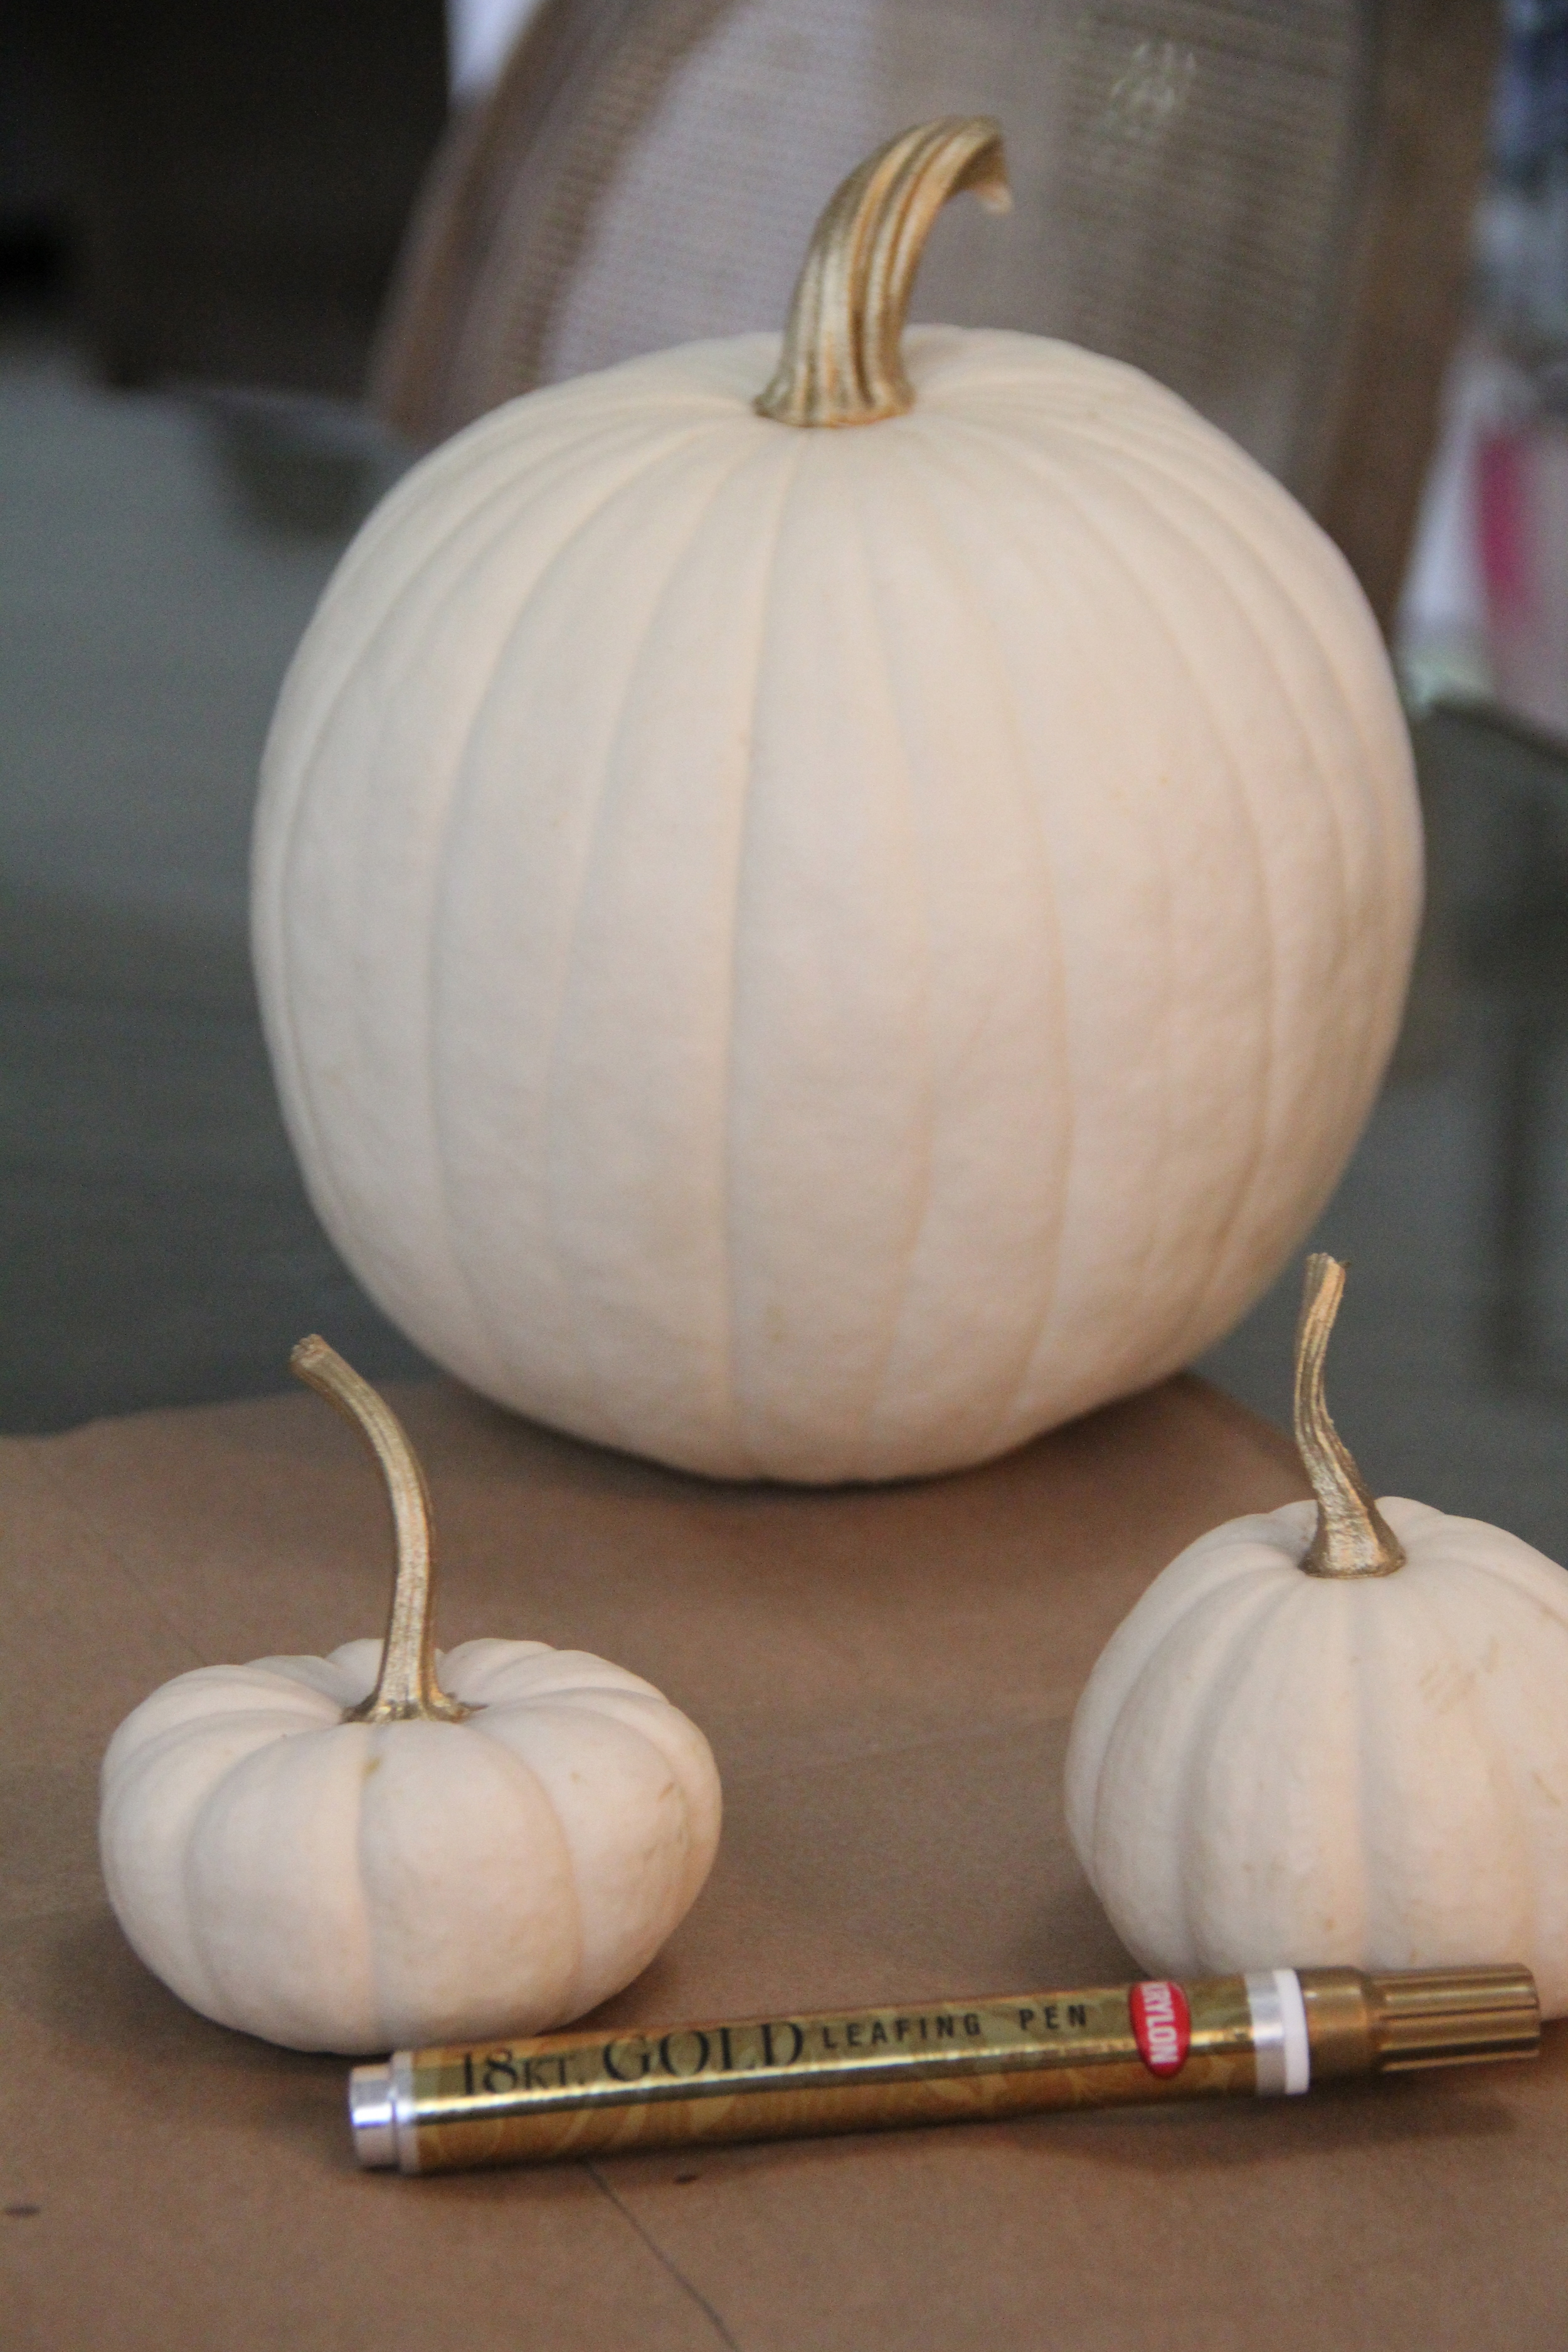
  • Mini Pumpkins (preferably without stems- Trader Joe's has mini pumpkins for sale at 69cents a piece!)
  • Tea Lights- Love these 6hr Tea Lights from World Market
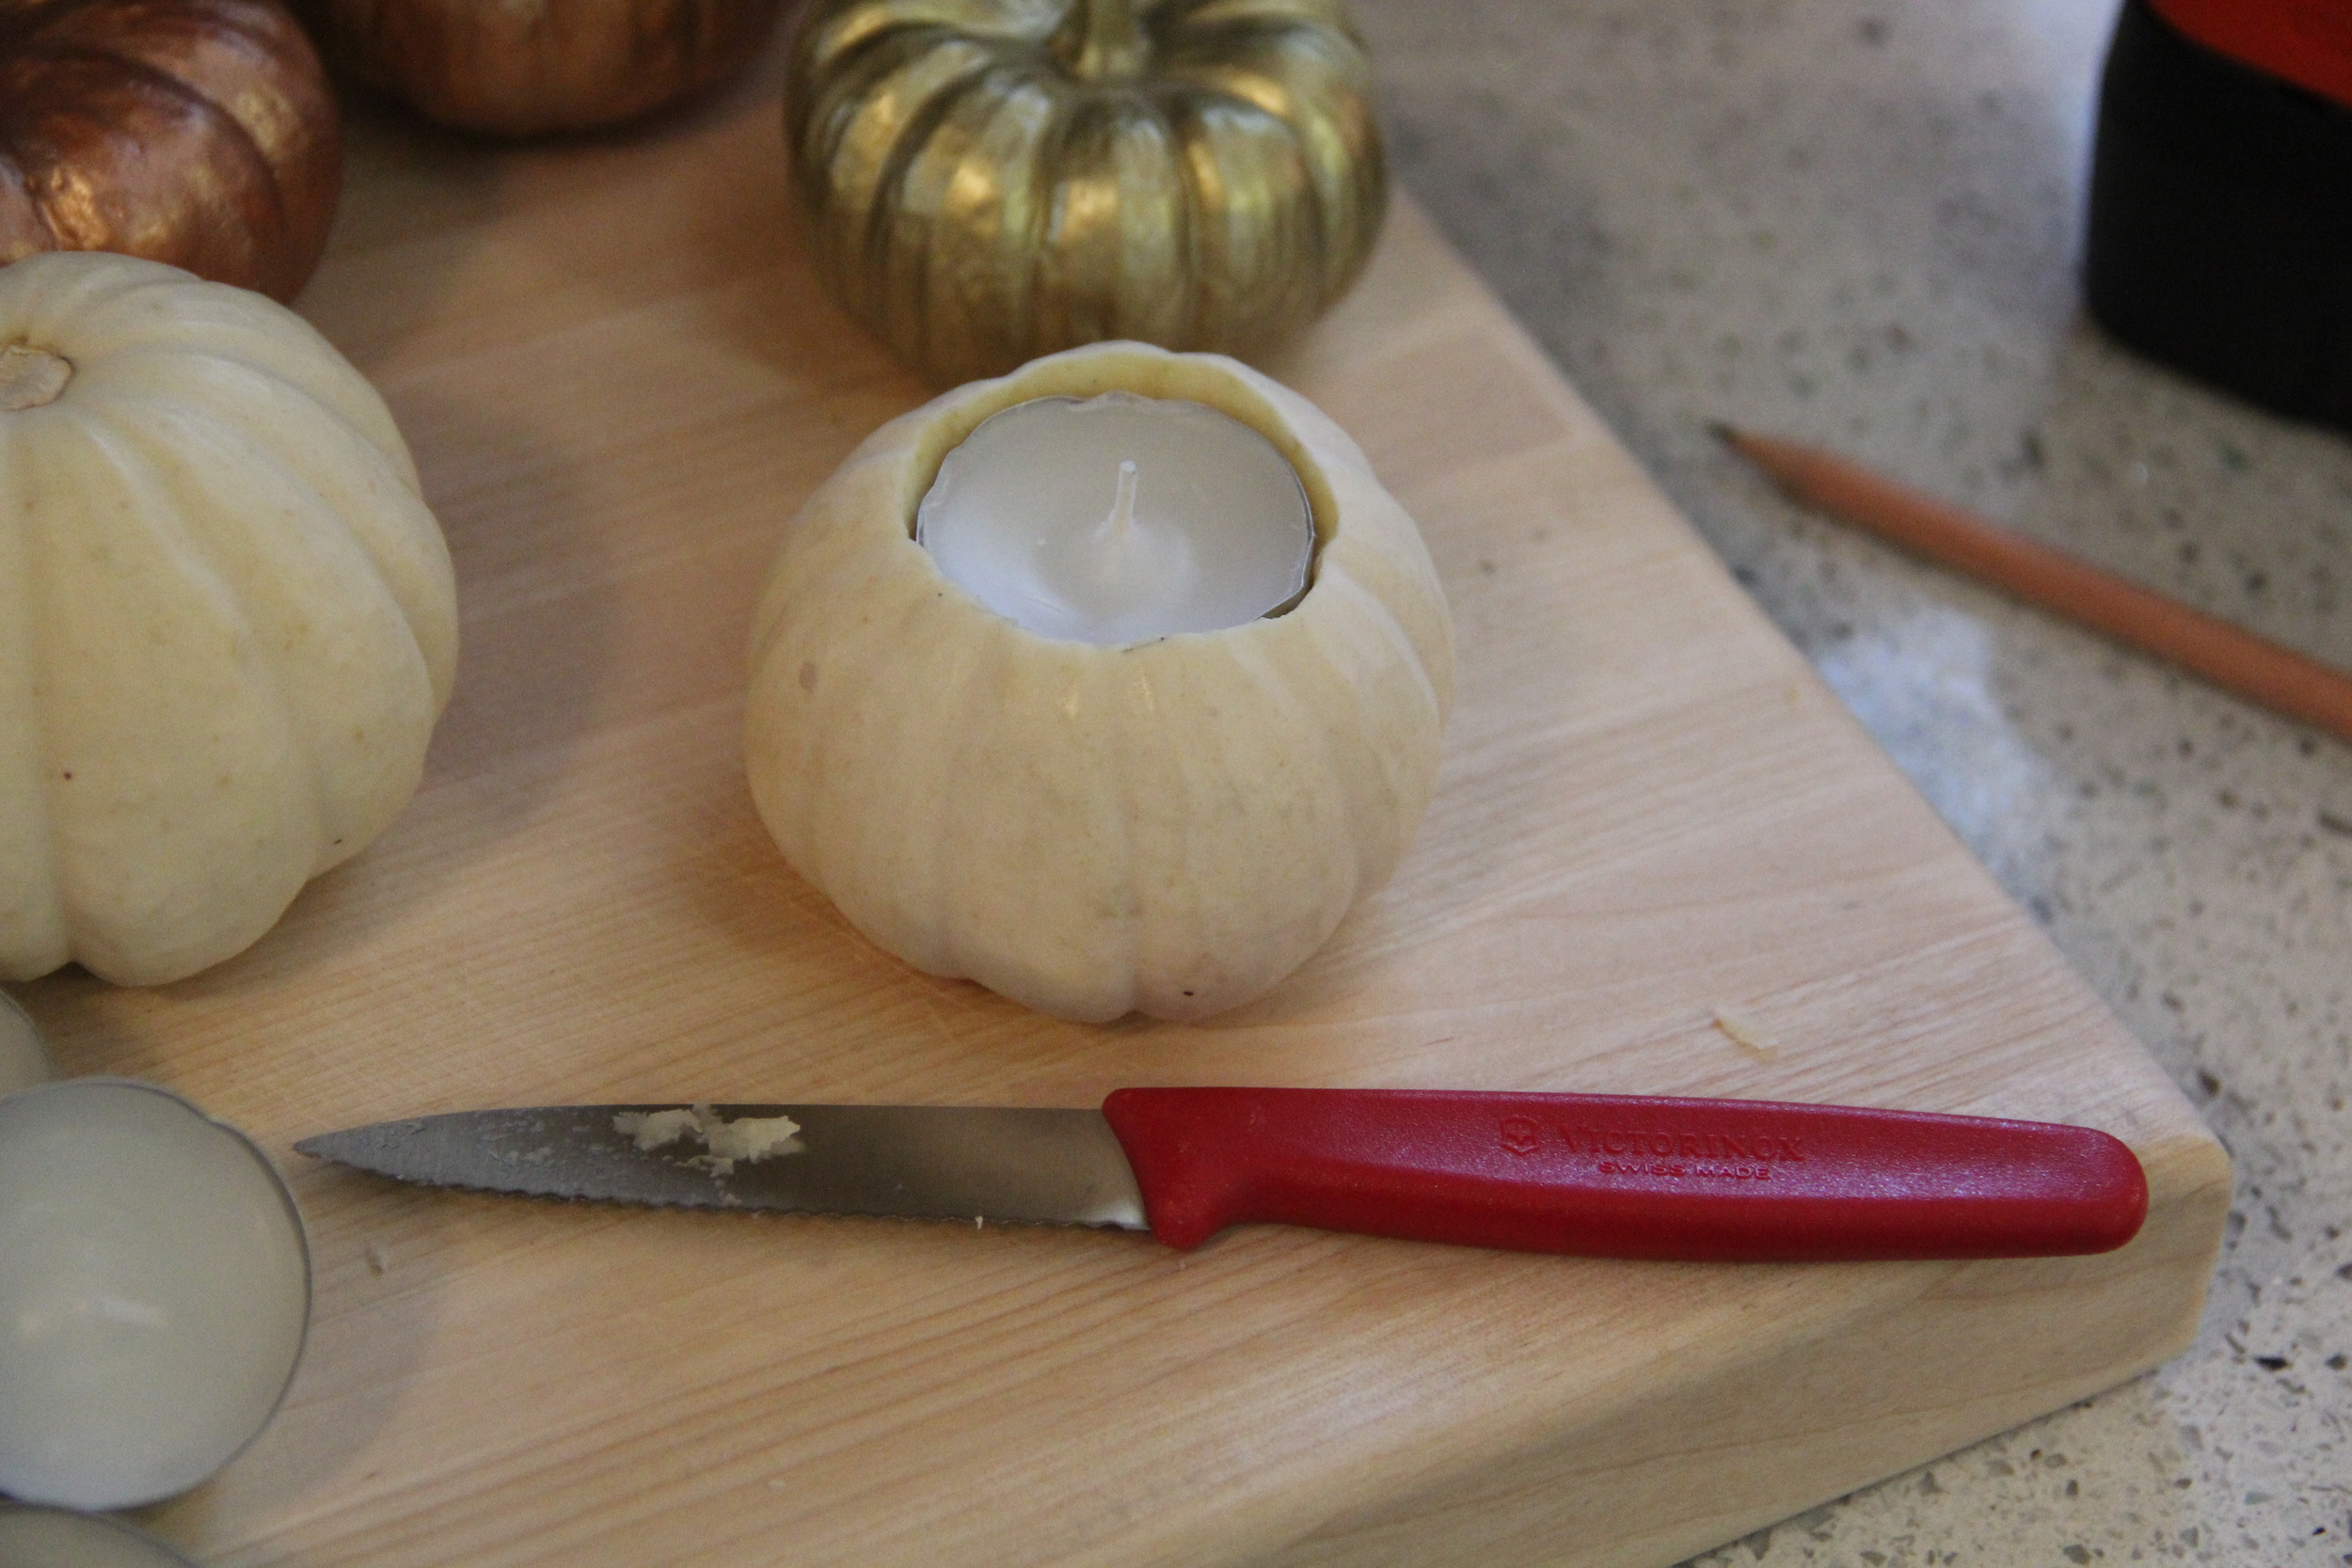
  • Carving Knife (Personally, I am a fan of my Victorinox knife)
    • *I tried using the 1.5" fitted drill bit (as suggested by Pinterest), but found that it was difficult to use and significantly messier than just using a simple carving knife.
  • Pencil or thin marker
IMG_1639.JPG
IMG_1644.JPG
IMG_1645.JPG
IMG_1647.JPG

Instructions:

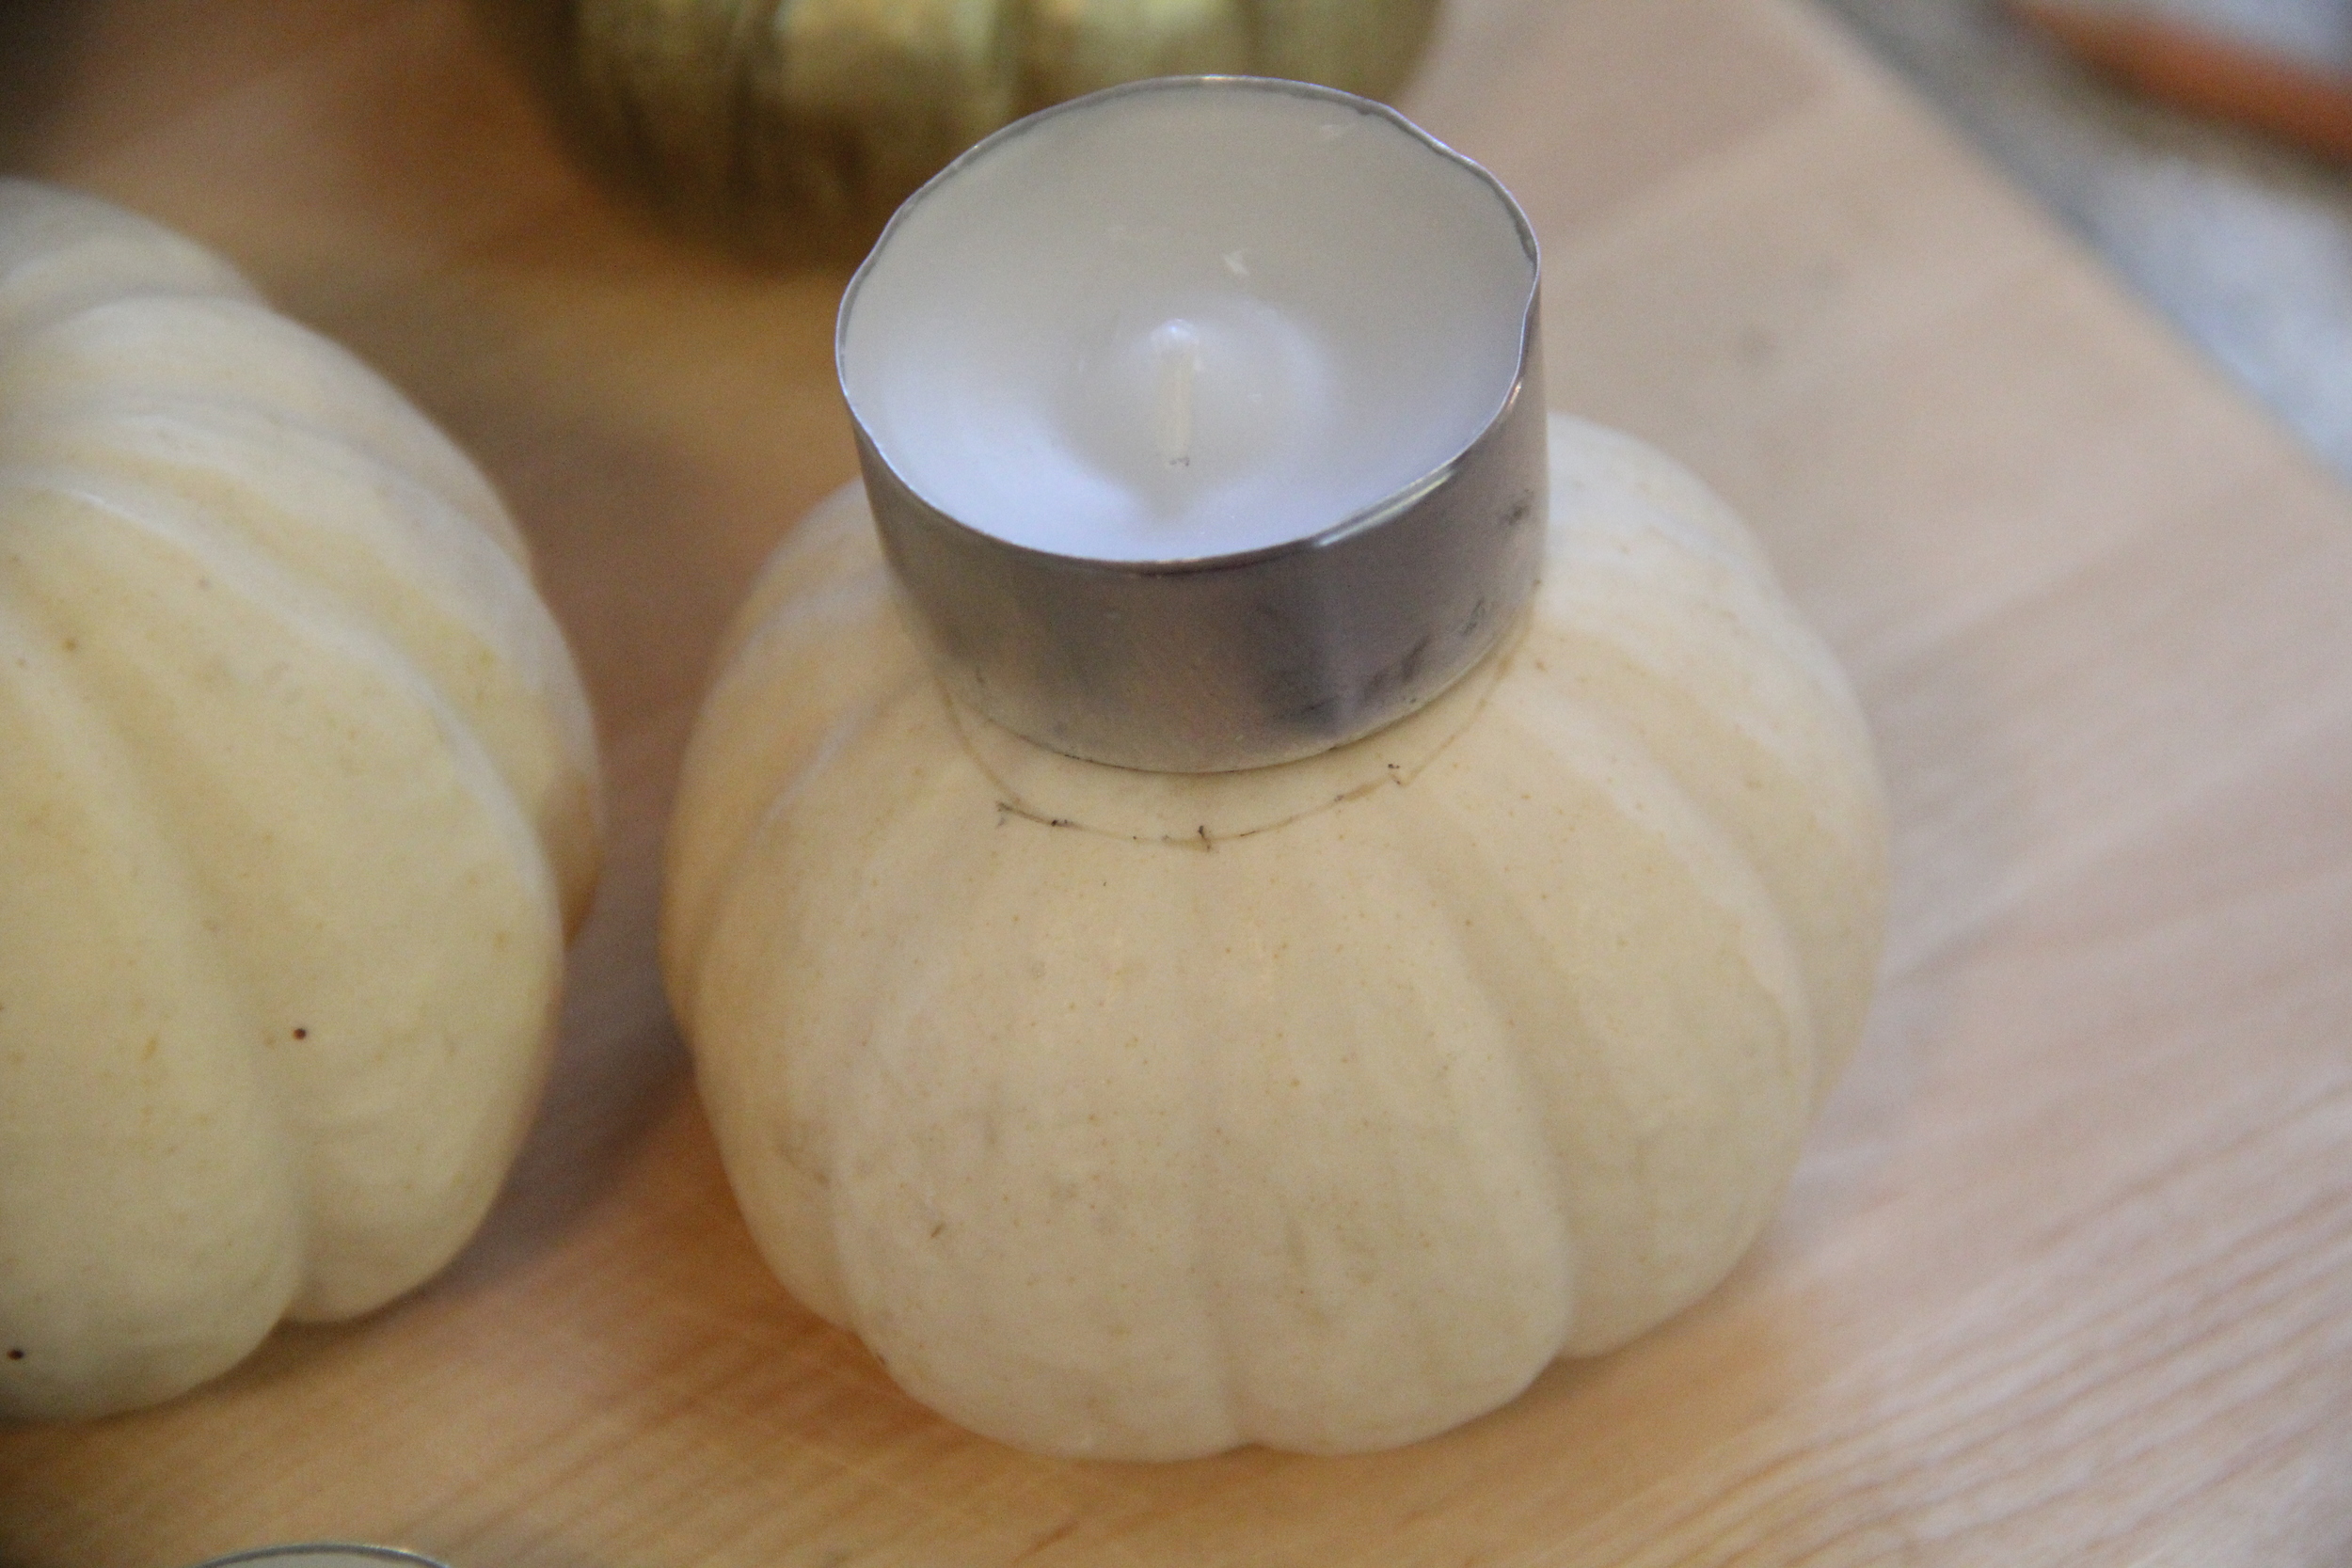
  1. Trace a 1.5" circle on the top center of the pumpkin (**Be sure to press down hard if using a pencil)
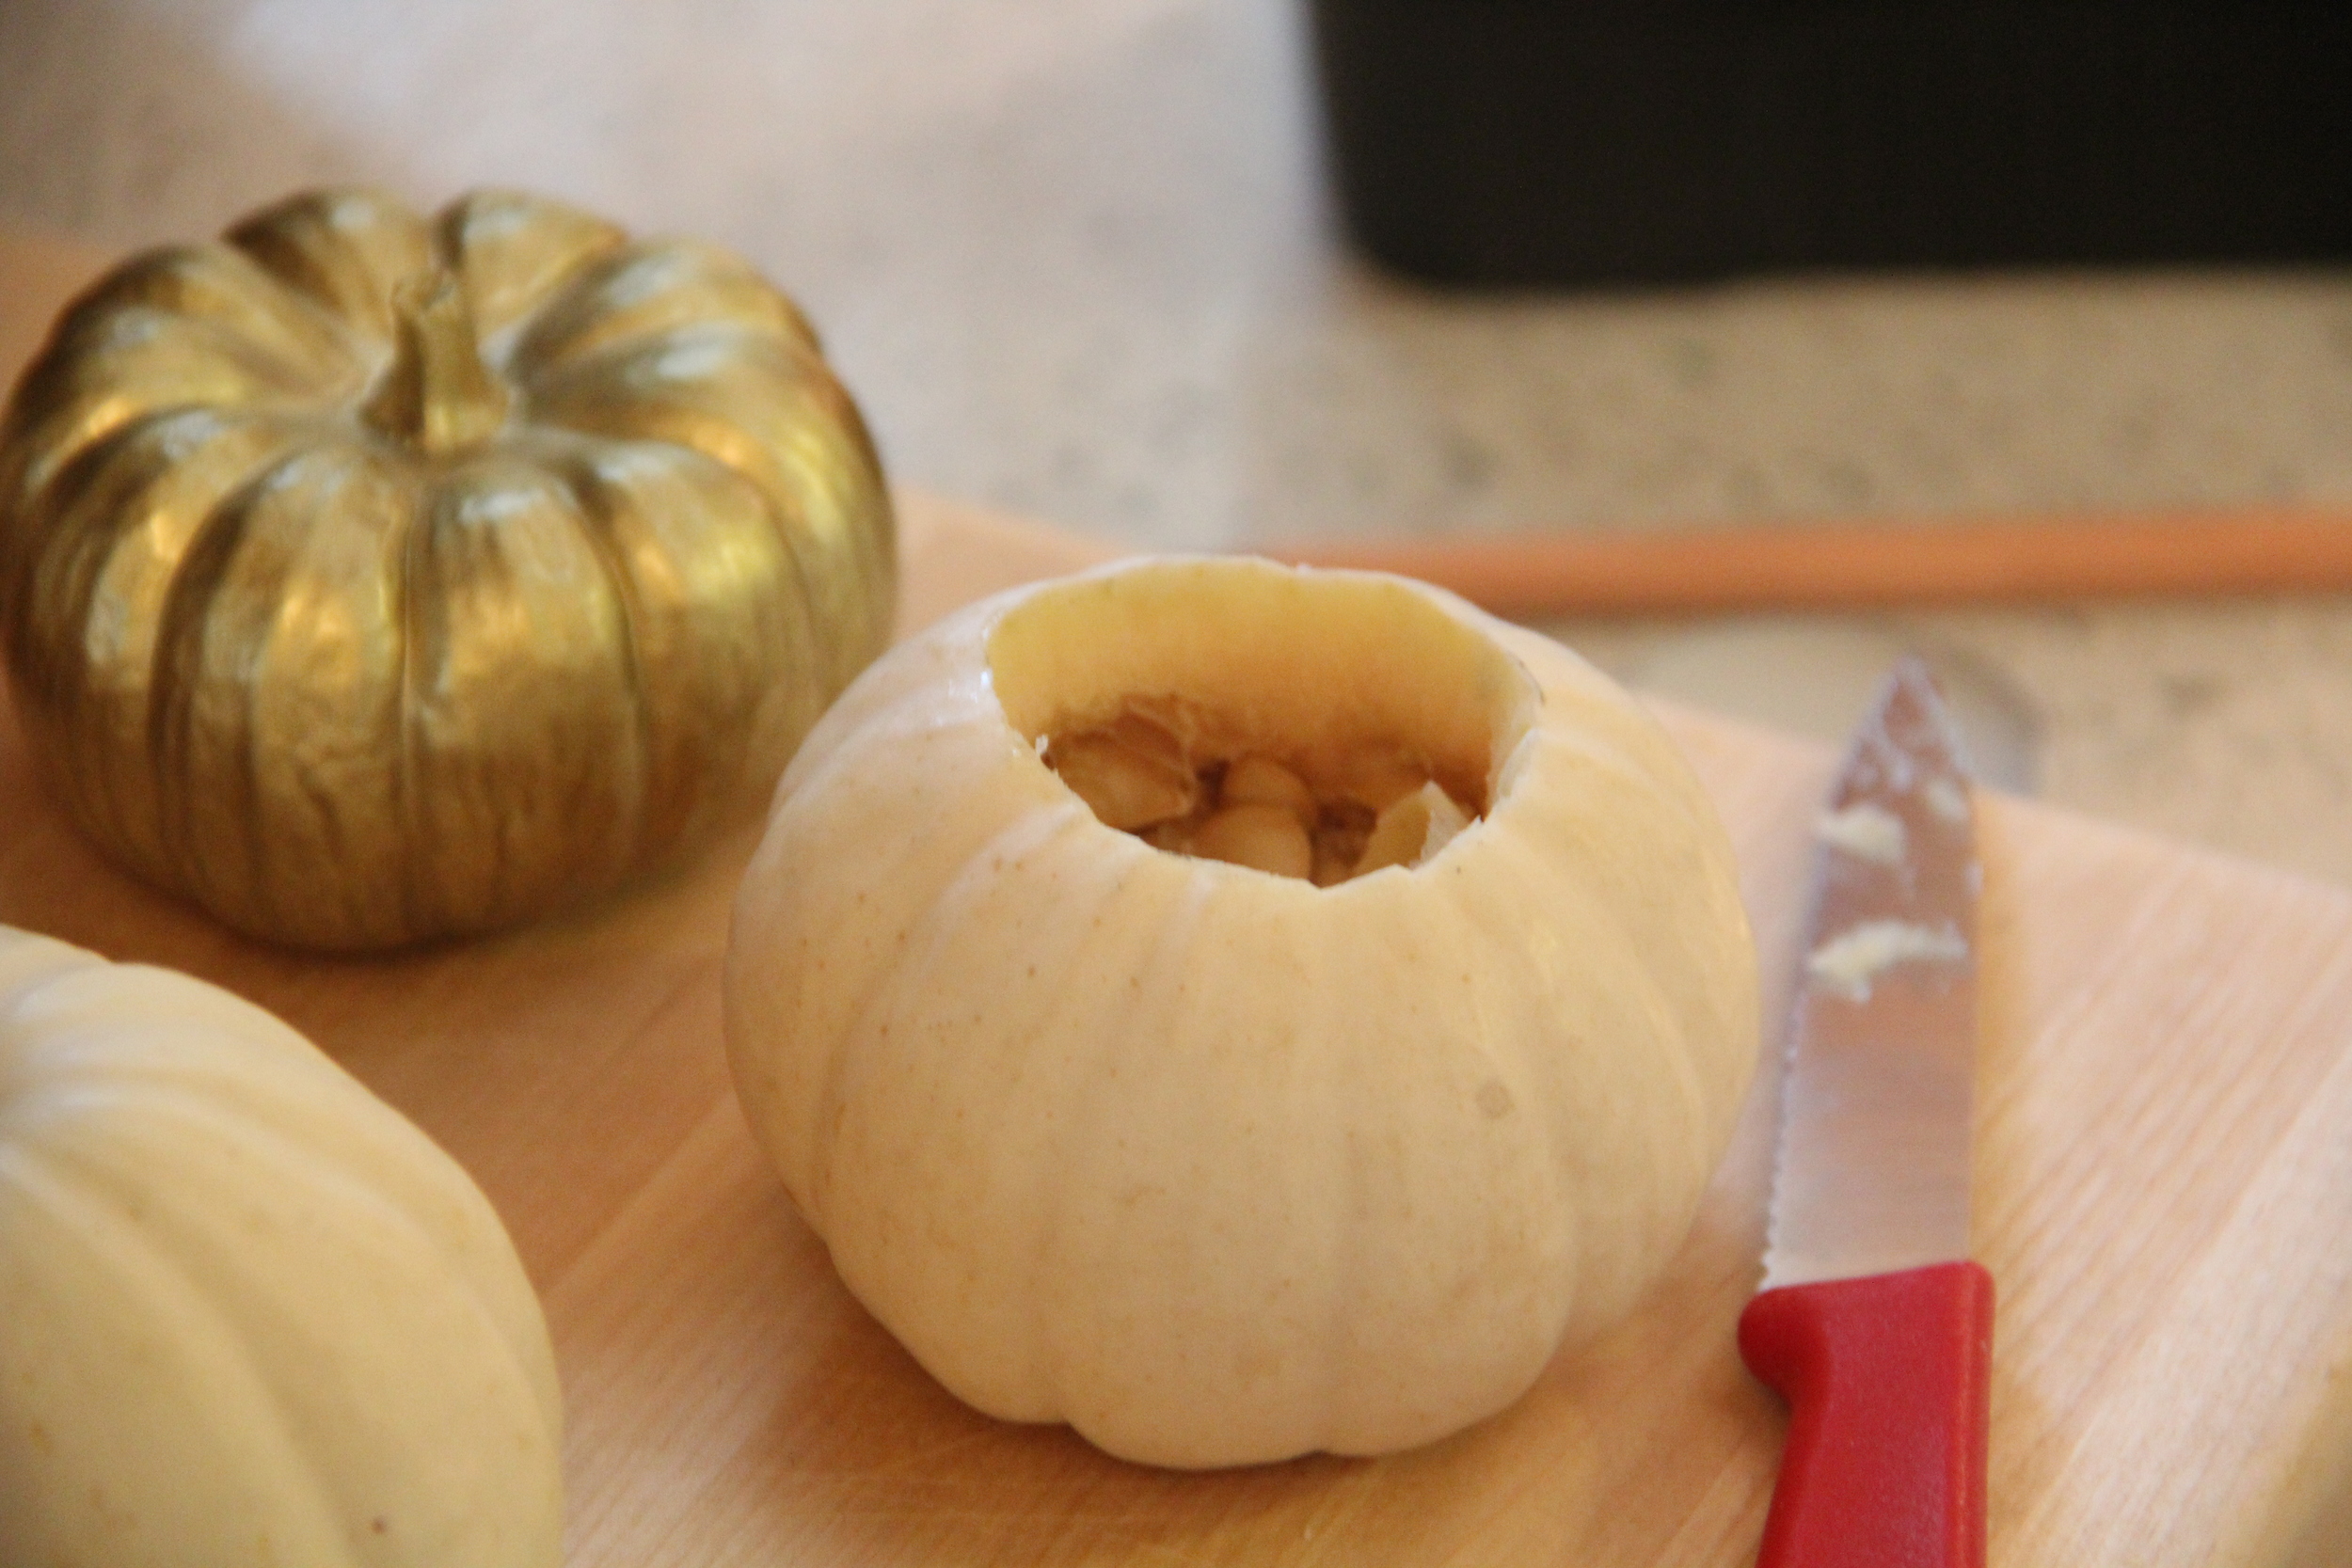
  2. Using a sharp knife, cut along the traced circle
  3. Remove the cutout pieces of pumpkin shell (hollowing out the pumpkin isn't necessary since you will be filling the hole with a votive candle)
  4. Insert Votive into 1.5" cutout hole
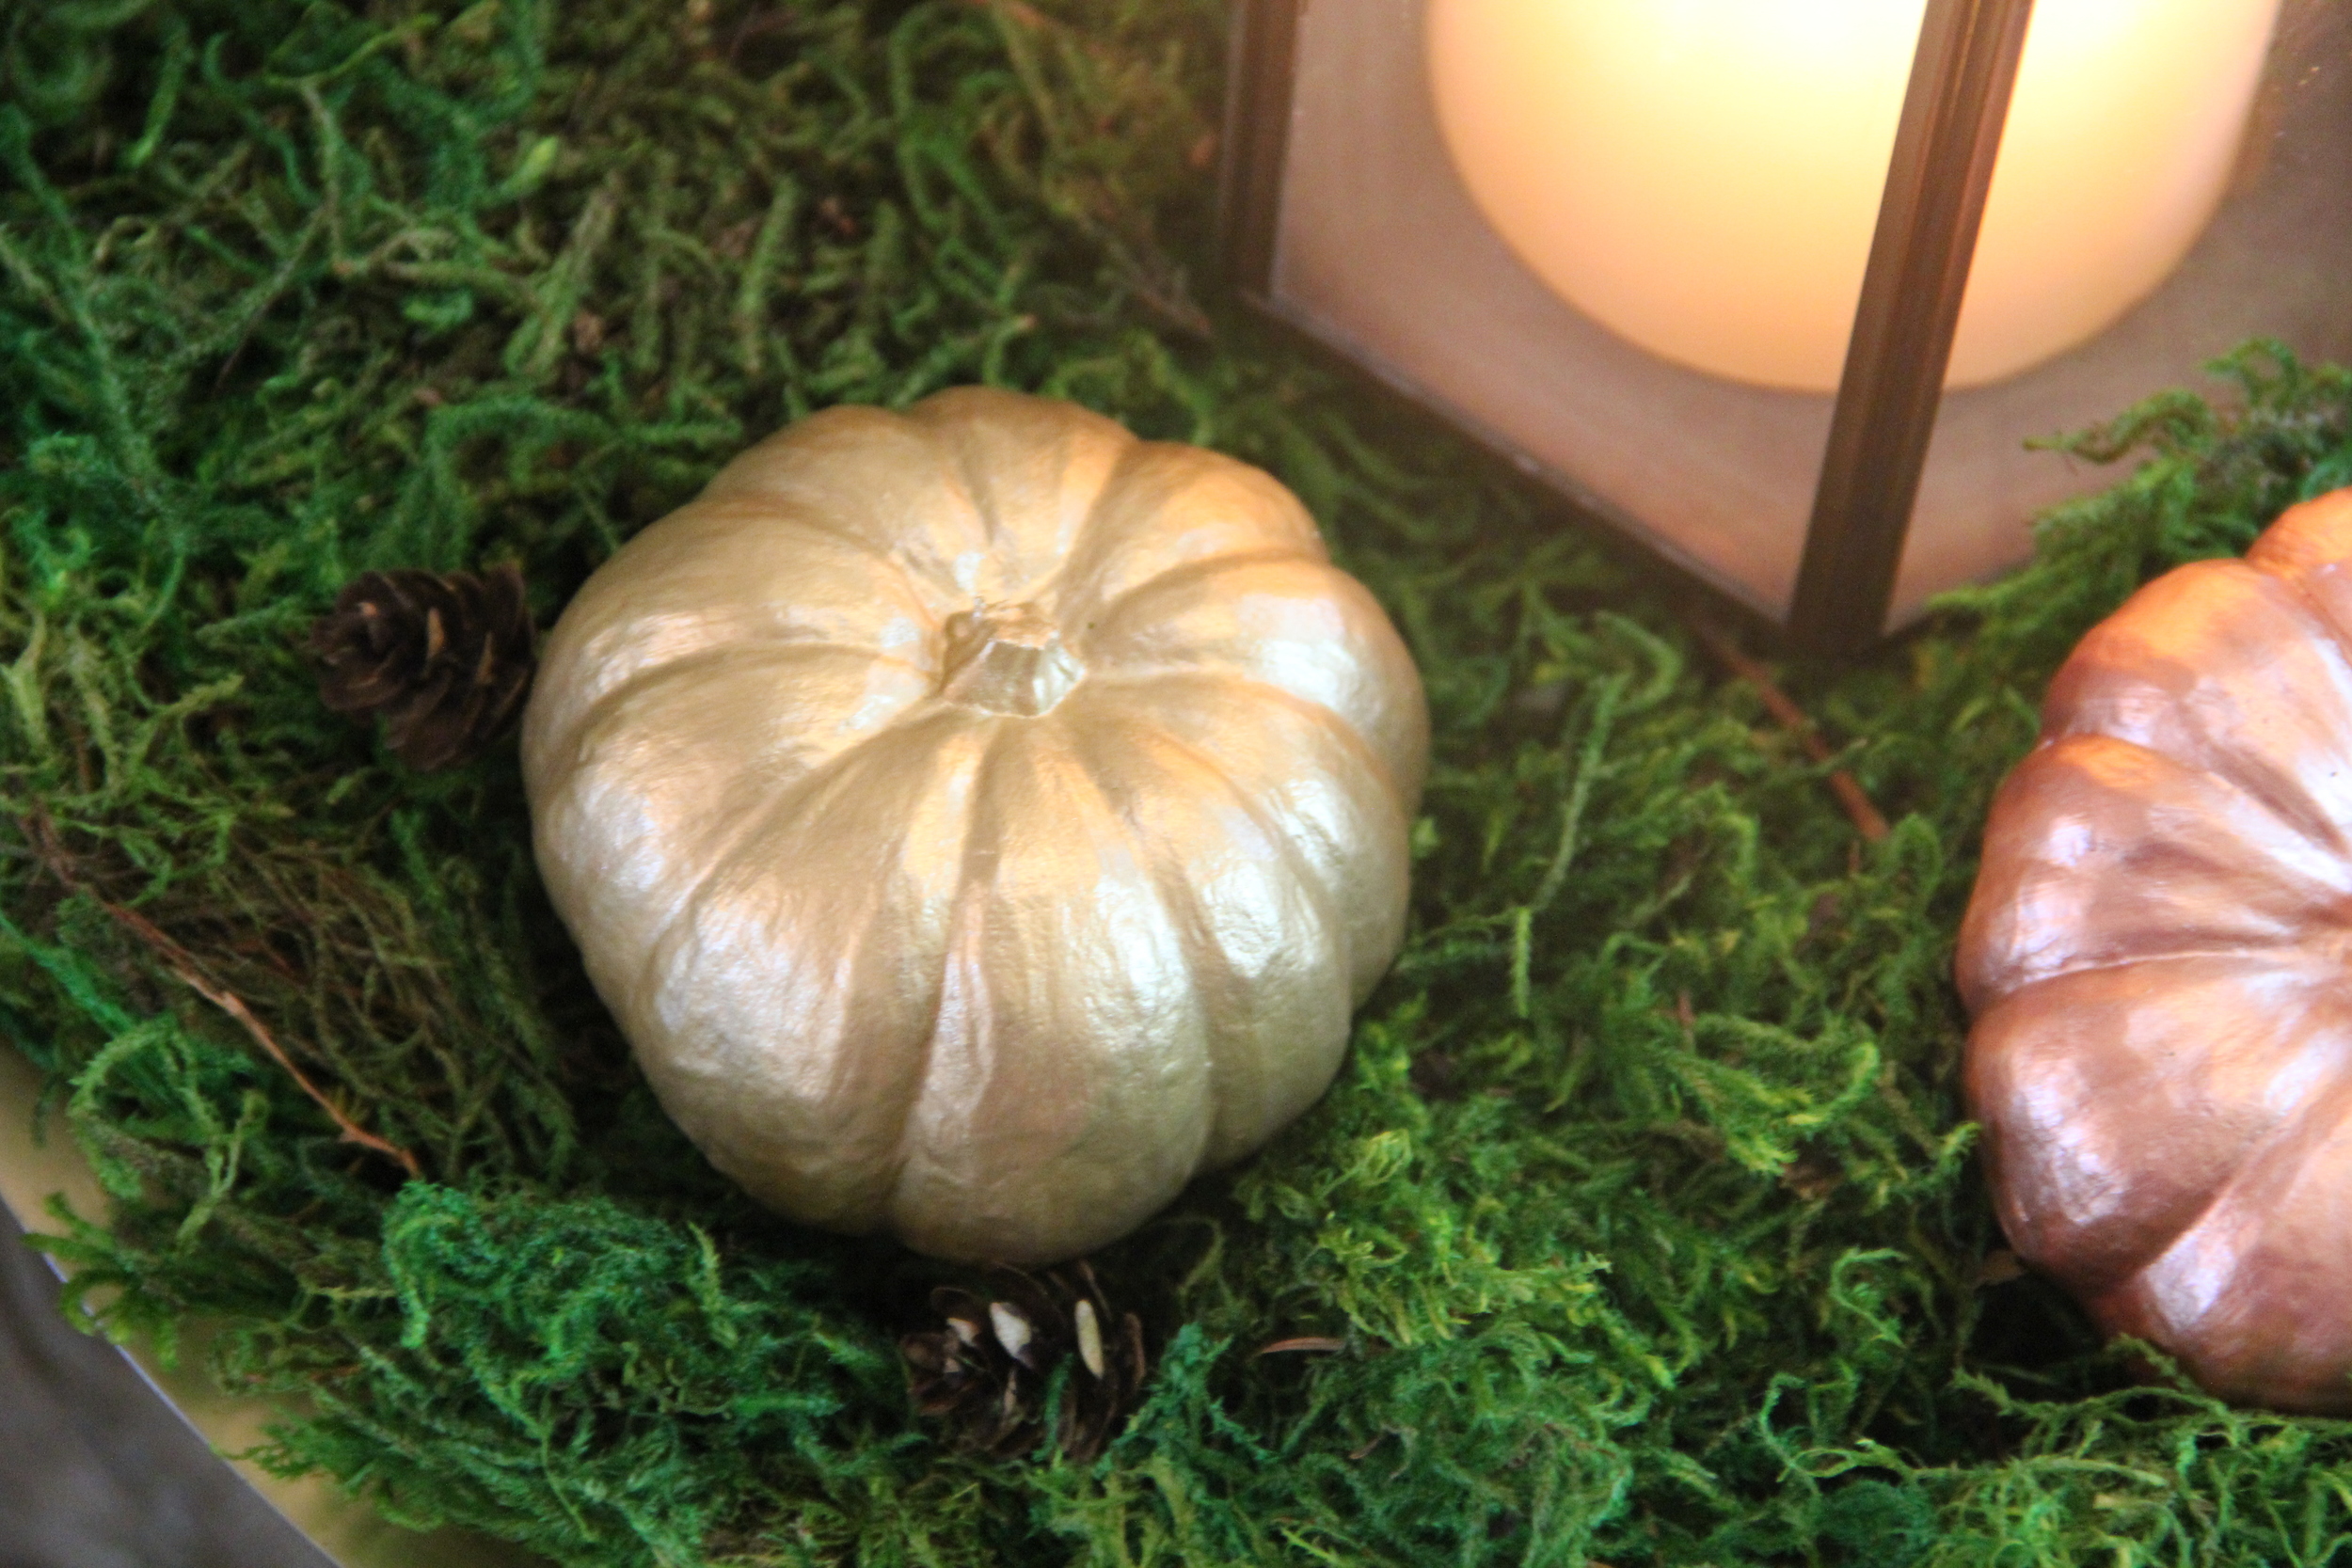
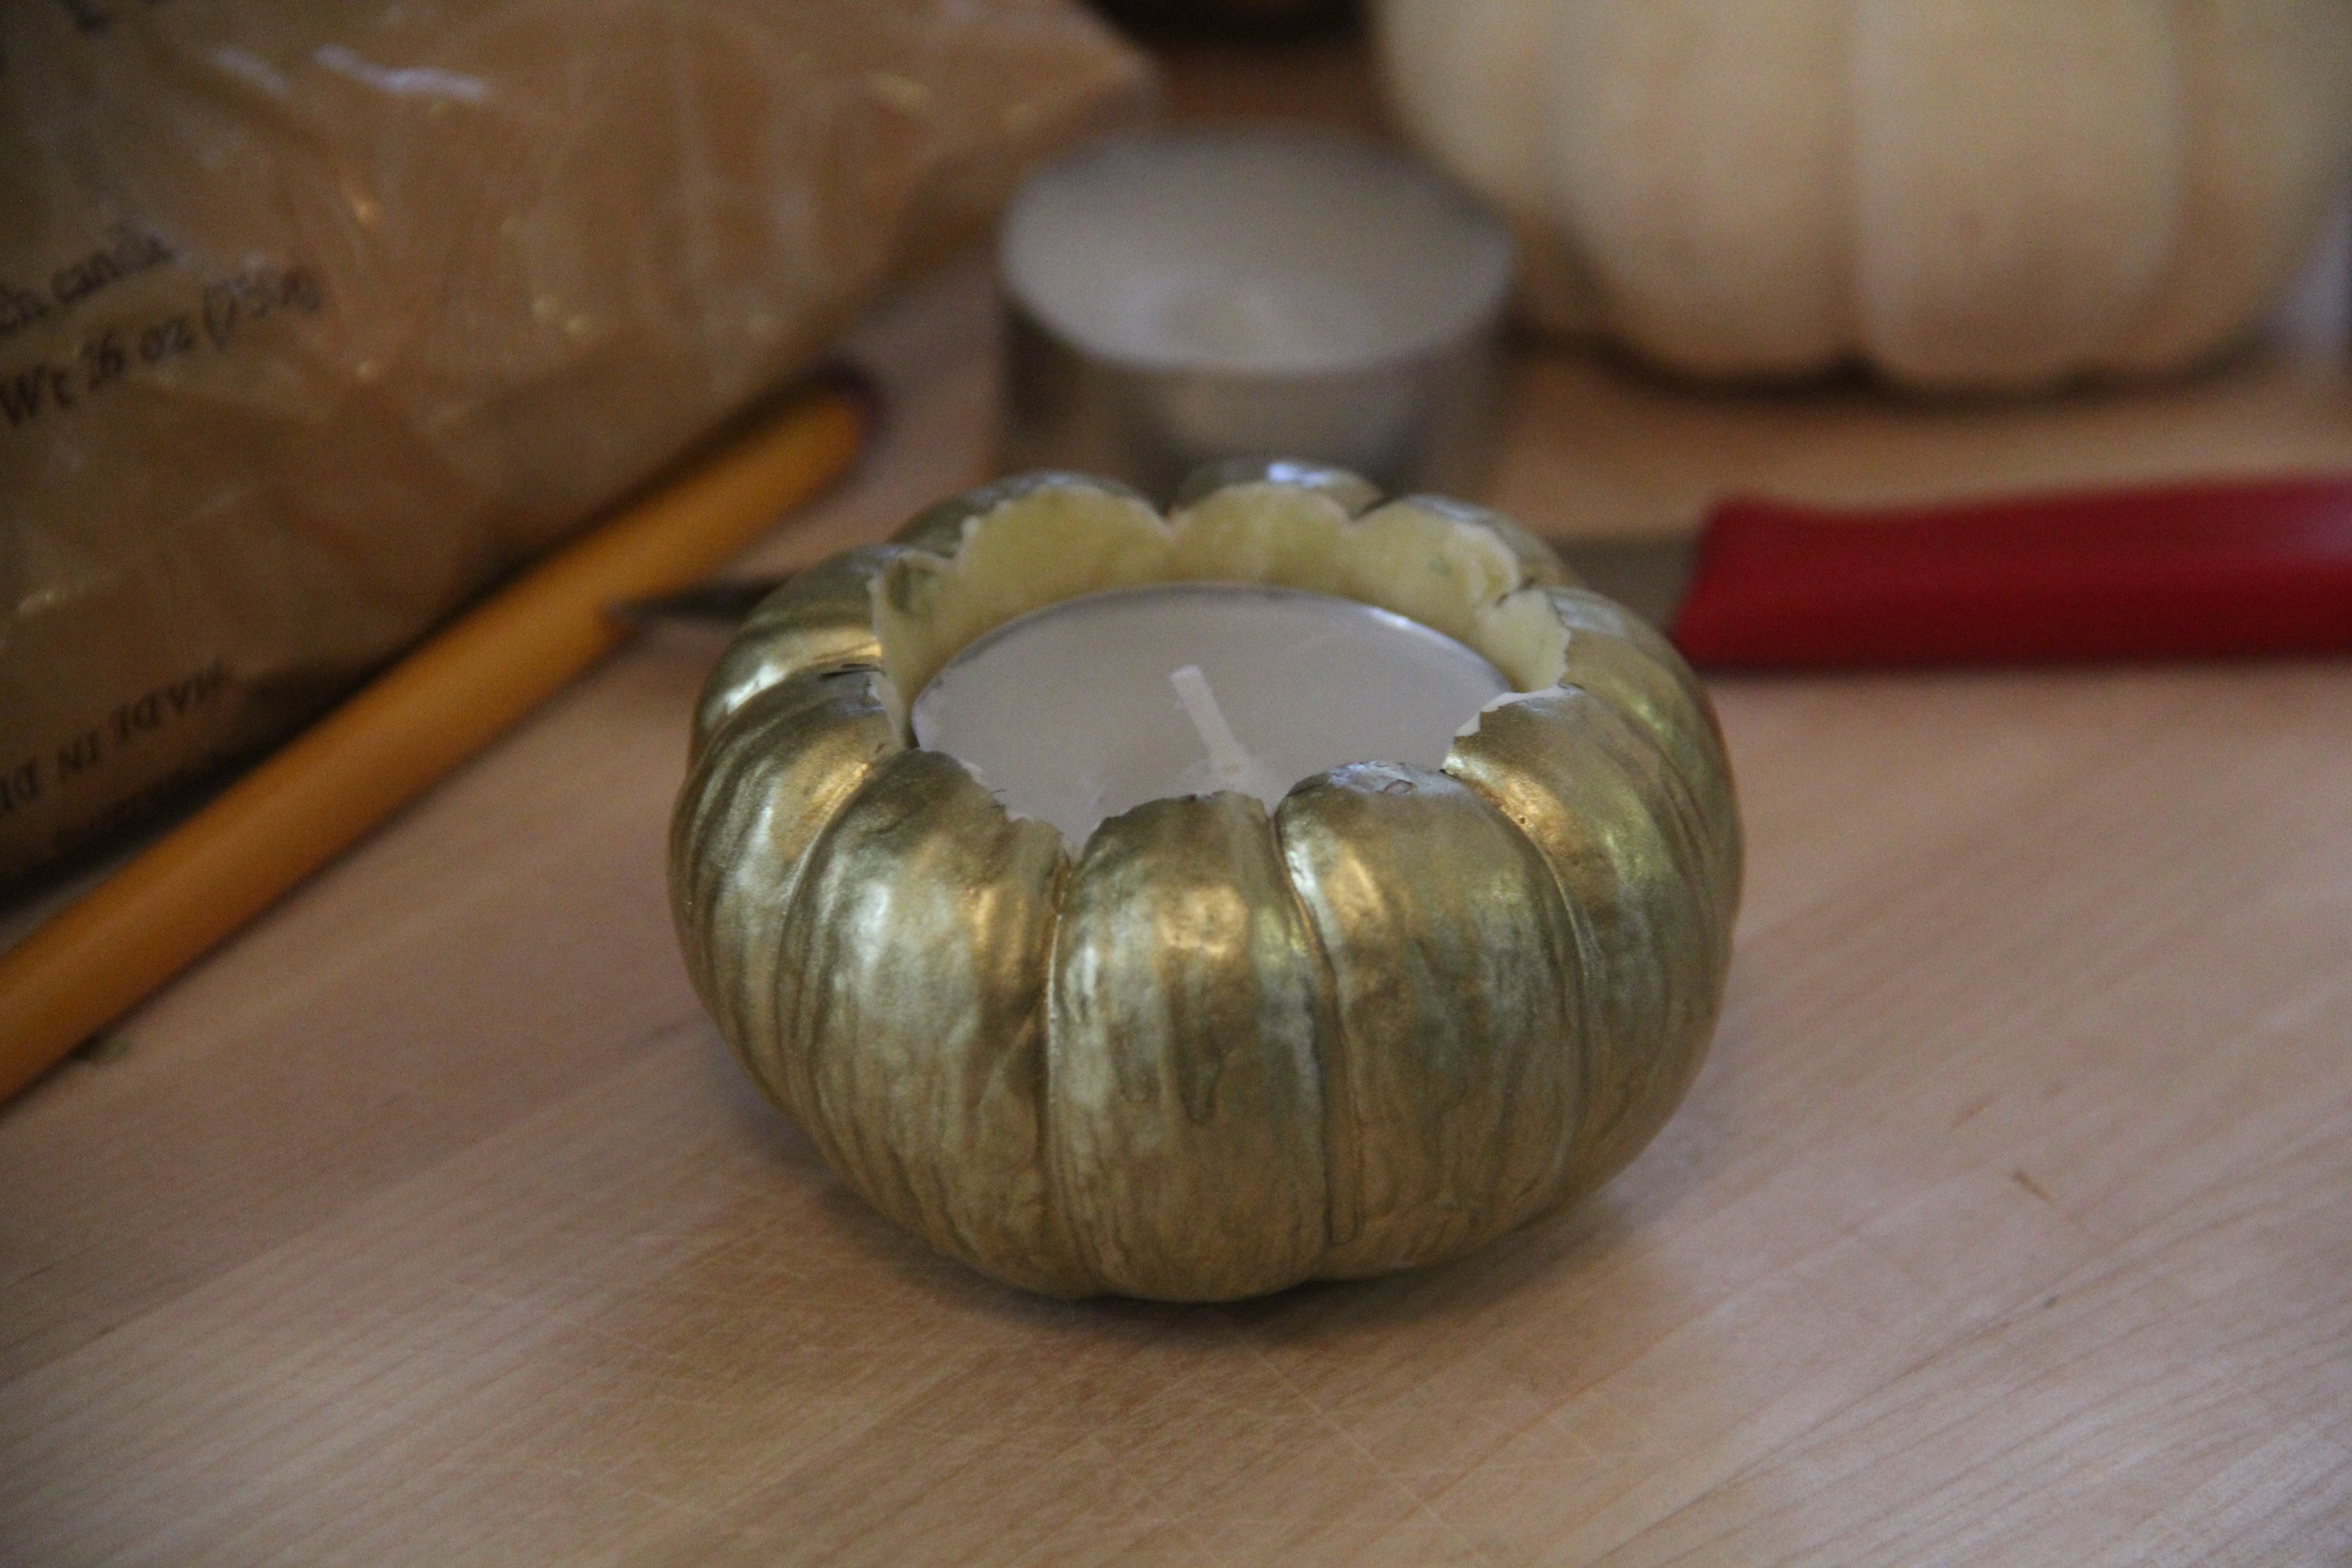
  5. If you decide to use glam pumpkins, the paint will crack during the cutting process.  I would recommend touching up the edges with additional paint before inserting the tea lights.
  6. Refrigerate until ready to use.  **These pumpkin votives can last for months if kept in the refrigerator in between uses**
IMG_1651.JPG
IMG_1658.jpg
IMG_0941.JPG
In Decorate Tags Votives, Candles, World Market, DIY, Pumpkins, Fall Decorations, Victorinox
Comment

Glamming Up My Pumpkins

October 5, 2015 Callie Cagney
Metallic Pumpkin Centerpiece.JPG
IMG_1404.JPG

For some reason, the Fall and Holiday Seasons always have me in the mood to be extra crafty.  I think it's primarily because I will get specific decor visions in my head for how I want to decorate the house for Fall, Halloween, Thanksgiving or Christmas, but then I can never find those specific items I need to achieve that exact vision.  So of course this translates to spending an obscene amount of time perusing the aisles of Michaels.  (*FYI- if you have yet to visit a Michaels, get ready.  Every aisle is chock full of the most fabulous craft items for anything from baking to painting and they even have a fabulous framing section.)  

IMG_1287.JPG

Anyway, the most recent DIY project I have been working on is "glamming up"my pumpkins.  Last year I went for a more natural/organic Fall decor look with lots of browns, whites and greens.  This year I wanted to create a slightly more glitzed/glam look by incorporating an array of metallic colors into my decor starting with my pumpkins.  Here is what I used to create these lustrous gems:

IMG_1305.JPG
IMG_1354.JPG
IMG_1326.JPG
Krylon Copper Brilliance.JPG
  • White Pumpkins (Stems and Stemless in an array of sizes)- Trader Joes has a great selection of pumpkins at very competitive prices. 
  • Foam Brushes- If using the Martha Stewart Craft Paints, these brushes are great for application. 
  • Paper Grocery Bag or Newspaper
  • Krylon Leafing Pens- for painting pumpkin stems quickly and with excellent precision. 
  • Krylon Premium Metallic Spray Paint- This is the quickest and easiest method for painting and drying your pumpkins.  Only drawback is that this spray paint has a potent smell, so you need to apply this paint either outside or in a well ventilated space. 
  • Martha Stewart Crafts Multi-Surface Metallic Acrylic Craft Paint- Non-toxic/no smell alternative, but requires a little more work painting multiple coats on each pumpkin with an hour of drying time in between each coat. For my pumpkins, I used Gold, Rose Gold and Rose Copper. 
IMG_1285.JPG
IMG_1314.jpg

If I am going to be honest, the Krylon products are my favorite because they make pumpkin painting super easy and very quick.  The Martha Stewart paints work just as well and are definitely easier on the nose, but painting the pumpkins was more of a process.  With that said, I am totally in love with my newly glammed pumpkins.  The array of metallic tones is very reminiscent of the fall foliage and I have been having so much fun trying to figure out where to place these lovely little gourds throughout my home. Taking matters into my own hands and creating the exact pumpkins I had envisioned for my Fall Decor was totally worth it!

IMG_1351.JPG
IMG_1392.JPG
IMG_1404.JPG
IMG_1377.JPG
In Decorate Tags Martha Stewart, Michaels, Arts and Crafts, Krylon, DIY
Comment

Dining Room Design

September 16, 2015 Callie Cagney
Dining Room Design - Redefining Domestics.JPG

Thinking about decor topics for the blog recently made me realize that there was one glaring area I had yet to cover....the dining room!  It's funny because I have posted endless tablescapes and party ideas, but never took the time to talk about the basics for designing this space.  Surprisingly there are quite a few aspects to consider when designing a dining room.  Below I have compiled a list of what I would consider to be the most important aspects for creating both a functional and comfortable dining space.  

Restoration Hardware Chandelier.JPG

Lighting

  • Measurements- A dining room light should be no more than 12 inches less than the width of your table.  In addition, it should sit approximately 30 inches above your table for a standard 8 ft ceiling.  If your ceiling is higher, the rule is generally to raise the lighting fixture 1 inch for every additional 3 feet of ceiling height.  If you haven't bought furniture for your dining room yet, the easiest way to figure out the appropriate chandelier size according to Ballard Designs, is to add the dimensions of the room together (e.g. a 10'x14' room = 24" chandelier diameter).  For those of you who are curious, here is a link to the lighting fixture I chose for my dining room.  
  • Dimmer- dining is all about ambiance and a big part/the most important (in my opinion) is lighting!  I highly recommend putting your dining room lighting on a dimmer switch, so that you have the ability to create a softly lit setting instead of being forced to choose between the intense on and off lighting.  Dimmers are relatively inexpensive and easy to install (*According to Home Depot, you can install a dimmer switch in 45 minutes).  
IMG_5235.JPG

Table

  • Shape & Size- When buying a dining room table it is important to consider the table size your room can accommodate.  According to the Martha Stewart Homekeeping Handbook, you should allow for approximately 36 inches of space between a chair and a sideboard, and 42 inches of space behind a chair that is in a high traffic path.  Keeping these measurements in mind and the number of potential guests you would like to be able to seat at your table, should give you a very good idea of the table size you can accommodate in your space. (**Full disclosure- I bought our table with our future house and not our current condo in mind, so I am currently not abiding by Martha's Rule.)
  • Table Orientation- Since I am in charge of hosting parties in our house, it is important to have our table positioned so that my assigned seat is closest to the kitchen.  Right now we have a round table, so the seating orientation isn't important since every seat is the same, and I just take the chair with the closest kitchen proximity.  However, when we move into our forever home, our current table will be moved into our kitchen and we will have a rectangular table in the dining room, so the end seat will have to be positioned in a manner that makes getting up and down from the table fairly easy.  
  • A few additional considerations:
    • Pedestal vs. Legs- I am a fan of a pedestal table, because it provides guests with additional leg room and allows for greater flexibility with when it comes to creating additional seating.
    • Purchasing a Table with a Leaf- Our current table is a fixed size, because as I mentioned it will eventually be our kitchen table.  Purchasing a dining table with a leaf is a great idea when possible because it allows for you to create an intimate setting regardless of the number of guests.  Hosting 4 people at a table meant for 12 can make dialogue a little strenuous.  Having the ability to collapse your table down to a comfortable square or small rectangular shape will keep the table comfortable and intimate.  
    • Chair Size- One thing you will notice when purchasing a dining table is that the maximum number of seats a table accommodates varies depending on the size of your chairs.  Chairs with arms take up more space and the same goes for chairs with upholstered seats.  Because I opted for more plush dining chairs, my table is maxed out at 6 seats.  Had I opted for more minimalistic wooden chairs, I could have probably accommodated 8 seats.  
  • Glass Top- This is something that I totally would have never considered had it not been for my sister.  Back when we were shopping for our dining table, I had FaceTimed my sister to see what table she had selected.  While showing me her table she pointed out her glass top and said that it was an absolute must have.  Not only does the glass top dress up the table, but most importantly it protects it!  Ring marks, spills, candle wax, you name it- not a problem thanks to my glass top!  I ordered my glass table top from a local glass and mirror company and it has been one of the best investments I have made to date and something I highly recommend for any dining table. 
Dining Room Table Glass Top.jpg

Decor

  • Flooring- I have an open loft floor plan, so I opted not to have a dining room rug because I felt that a rug would break up the space, making my dining area appear smaller.  However, if your dining room space is in need of a rug, I recommend referencing this Ballard Designs Rug Buying Guide.  You want to make sure that you buy a rug thats big enough to accommodate your guests pushing their chairs back and not feeling like they are going to fall off the rug ledge.  This guide is a great reference for determining the appropriate rug size for your space.   
  • Additional Furniture- There are two pieces of furniture beyond the table and chairs that I would consider to be dining room worthy, the side board/china cabinet and the bar cart.
    • Side Board/China Cabinet- having a piece of furniture in your dining room that you can use to hold glassware, dinnerware, flatware and linens is extremely practical and very convenient.  In addition to the storage, a sideboard can be great for setting up a buffet in the dining room.  In our apartment, we have placed our Torrens Bar Cabinet under the staircase for easy access to our stemware (this piece has some seriously impressive storage capacity) and it also makes for a fabulous buffet table.  
    • Bar Cart- this is a piece that I have on my wish list at the moment because I think it is so practical (and chic) to have in a dining room.  Whether you are serving dessert, coffee, after dinner drinks or even for water and wine during the meal, a bar cart is an extremely helpful piece of furniture to have for both service and storage.  Stay tuned for a future post on bar cart styling!
  • Keep it Minimal- Personally I believe that less is more in a dining room when it comes to decor.  Reason being, this is a room where food is served.  Food in itself is a very busy and distracting thing, so why create additional stimuli overload by adding all sorts of crazy wall decor and tchotchke displays??  Similar to the concept of "food looks best when served on a white plate," I also believe it is enjoyed best in a room served with minimal decor.  A plate is meant for eating just like a sideboard top and bar cart are meant for serving.  Refrain from cluttering those spaces with unnecessary knick knacks.  
Pottery Barn Side Board Home Bar.JPG

Today's post definitely dug into the nitty gritty of dining room design, and it wasn't until we moved into this house (and actually had a dining space) that I realized how important all of these details are for creating a functional and comfortable space.  This post is a collection of the best tips I have picked up throughout my dining room design journey.  I love the way our dining space is coming together and am looking forward to putting the last few finishing touches on this room (like our future bar cart!).  More to come, so stay tuned!

Dining Room Designing - Redefining Domestics.JPG
In Decorate Tags Restoration Hardware, Dining Chairs, Dining Table, Lighting
1 Comment

Giving My Living Room a Mini Make-Over

September 7, 2015 Callie Cagney
New Living Room 1.JPG

For today's post I wanted to share a glimpse of my latest home decor updates.  We have been in our home for about a  year and a half now and it was really at the one year mark that I finally started to feel reinvigorated to begin the fine tuning process with our living room home decor.  As I have mentioned in previous posts, when we initially purchased our condo there were the immediate needs that had to be addressed like the bathroom renovation, painting, replacing appliances and window treatments.   

Around the start of early spring, it was actually our dog Dolly who decided to kick off the second round of decorating by destroying our living room rug with a series of accidents that weren't really her fault (I'm going to stop there with describing, but hopefully you get the gist…).  The biggest lesson learned thanks to Dolly: Even though they are significantly less expensive than wool rugs, avoid purchasing jute or sisal rugs if you own pets or have children.  One false move (aka stain) and the rug is done.   

Finished Living Room.jpg

Replacing the living room rug was all the inspiration I needed to feel reinvigorated to kick off this mini project.The second round of home decorating was focused on fine-tuning the living room, primarily adjusting the furnishings to better fit the space.  After an almost 7-month long revamp, my living room is finally coming together and looking like everything was meant for the space. 

Scale

Old.jpg
Move In 1.jpg
Move In 2.jpg
New Living Room 2.jpg

My living room decor has been evolving ever since my husband and I first moved in together.  Our first place together was small and had low ceilings.  Even though we were beginning to purchase furniture together, we made an effort to avoid purchasing furniture to fit our first place.  Reason being, it was temporary and our nice new furniture pieces were permanent, so our new furniture would need to work in our next house.  At the time of our move, we had simply transferred the furniture from our old living room to our new living room.  While certain pieces like our couch, bookshelf and media center fit in the living room perfectly, our pair of blue professor's chairs were too small for a room with such tall ceilings.  

Swapping out the chairs for a larger/taller pair was necessary to fit the scale of the room.  When shopping for the chairs, I knew that I wanted the chairs to be a little less predictable, so I opted for a winged-back chair in the corner for a little height and then a larger club chair on one end of the coffee table.  To tie the chairs together, I had them upholstered in the same mocha vintage velvet fabric.  The new chairs fit the space beautifully and luckily we have been able to re-home the little blue chairs in our bedroom and loft.  

Function & Comfort

In addition to designing a room that's proportional to the space, it's important to make sure that the furnishings are both comfortable and functional.  The first issue I needed to tackle was the rug.  Our living room is a high traffic area and we have a dog.  When we first moved in we opted for a chunky jute rug because it fit the space, was neutral in color and cost $199 for an 8x10.  While at the time it did the trick, it was a temporary solution.  

When the time came to replace it (exactly 1 year after we bought it…thanks Dolls!), I knew I needed to find a rug that was comfortable, durable, neutral in color and easy to clean.  I ended up finding our rug on final sale at Restoration Hardware, which was a little scary since I only had pictures to go off of and wouldn't be able to return it.  Luckily it turned out great and it is the perfect foundation for this space.  

Living Room No Shells.jpg
Before Coffee Table.JPG
New Coffee Table.JPG

The second function/comfort component of this living room re-do that needed to be addressed was the coffee table.  Our original coffee table was a piece that I had inherited from my parents and painted gold to match the decor in our first house.  When we moved, the length of our new living room was slightly smaller and so it immediately became apparent that the coffee table was too large for the space.   

We entertain frequently in our living room, so it was important to find a table that would still have a substantial surface area, but would afford additional leg room for those guests seated on either end of the coffee table.  After a long search we ended up purchasing the Clairemont Oval Coffee Table from Crate & Barrel.  I love the unique oval shape, sophisticated mirrored shelf that provides additional storage and the fact that it is 6 inches shorter than our old table, giving guests plenty of leg room.  

Finishing Touches

My sister has always had an eye for home decor aesthetics.  When she was first decorating her NYC loft with her husband, I remember talking to her throughout her decorating process trying to gain any insights on decorating and how to put a room together.  The one phone call I specifically remember was when she told me that she was on a hunt for tchotchkes, "because finishing off a room's decor aesthetic is all about the knick knacks."  It was a slightly funny way of saying it, but boy was she right!  Sure, there's a lot of thought that goes into picking out fabrics and furniture pieces for a space, but I have spent significantly more time arranging and rearranging my throw pillows, living room bookshelf and coffee table decor.   All of these little items are essential pieces for bringing any space together and it takes time to get everything situated in a way that finally works. 

Finished Living Room 2.jpg

I am not sure if I am happier about the way the room turned out or the fact that I am finally done with this project.  It was certainly a great experience with plenty of lessons learned, but the best part is definitely the fact that I get to come home every day to this cozy and completed space.  Now it's time to get going on to the next project!  

If you have any questions regarding today's post, I would love to hear from you!  

In Decorate Tags Living Room, Pottery Barn, Restoration Hardware, Scale, Crate and Barrel
Comment

Packing Tips and Strategies

September 4, 2015 Callie Cagney
IMG_9924.JPG

Labor Day weekend is finally here, which means the end of summer and end of wearing white jeans and shorts.  Aside from this being the last weekend to wear white, Labor Day weekend also means traveling for many. While travel is full of fun new adventures, it also means that there will inevitably be some degree of packing involved to prep for the upcoming trip.  For those of you who know me well and/or have ever traveled with me, you are fully aware that packing has never been a strength of mine.  What I really mean is that I have the world's worst case of "Over-Packers Disease."  If it isn't glued down to the floor, chances are that it is in my suitcase.  Options upon options, excessive amounts of accessories and I have been know to receive an overweight bag fee on occasion (not good!).  

IMG_1359.JPG
IMG_5798.JPG

The Struggle is Real- Images of our suitcase situation from our honeymoon and then my most recent overweight bag fee from my napa trip.   Don't worry, my husband didn't pay for that baggage fee--- my mess, my problem.  

In an effort to finally conquer this most unfortunate disorder, I have taken to Pinterest to try and understand the best ways to pack both strategically and minimally, so that I can once and for all be free from constantly carting around luggage that feels more like a body bag.   The packing tips I am sharing today may seem so simple, but they often go overlooked and really can make a huge difference in the overall size and weight of your luggage.  Below are the results from my search:

Check the Weather

Hunter Boots and Umbrella.jpg

Really simple step to do that I have not attempted to consider when packing until now.  Before your trip, check the weather forecast of your destination for the days that you plan to be there.  If you don't see a chance of rain, then you can save yourself the extra luggage space and leave your raincoat at home!  In addition, should your destination require sweaters, it is always helpful to know what type of sweaters you'll need to bring (ex. thick wool or thin cotton).  Being empowered with the right information can really help you to pair down on appropriate outerwear essentials.  

Consider Amenities at Your Destination

Blow Dryer.JPG

Whether you are going to stay at someone's house or a hotel, it is always a good idea to check on the amenities available at your destination.  The most obvious example of this is the hair dryer.  Talk about a big and bulky piece of equipment!  Most hotels come with hair dryers in the room and same goes for the majority of homes.  It is an easy item to exclude from your packing that will free up a sizable amount of space.   Other items to consider- toothpaste, soap, shampoo, shower cap, slippers.  

Use Travel Size

Travel Size Products.JPG

I don't know why, but for the longest time I had always thought that you could only travel with 3oz of Liquid TOTAL on an airplane.  So of course, my attitude was "what's the point in trying to size down the toiletry bottles?"  I will never be able to fit everything I need into 3 ounces, so might as well save the energy and just pack the whole thing.  

Recently I was informed (finally!) that it's actually 3oz per container and no limit on the number of containers.  Now THAT makes quite a difference (hello Callie!  Glad you are finally joining the party!).  Using travel size bottles decreases the overall weight of your bag, increases the amount of space available and lets be honest, who needs a full size bottle of anything for just a weekend!?!  Here is a link to a great set of travel containers.  In addition, most brands carry travel size quantities at stores like Target, CVS and even at your grocery store.  

3 Pairs of Shoes (MAX)

Shoes.JPG

In the past, I have been guilty of traveling with a shoe suitcase…yes, a whole suitcase just for my shoes!  Did I wear every pair?  Absolutely not.  At best, I maybe got around to wearing 3-4 pairs.  In all honesty, you really only need a maximum of three pairs of shoes.  Since I like to work out, sneakers are a must.  For the other two pairs I would suggest a pair of casual every day shoes and a pair of dress shoes.  The trick is to keep the casual and dress shoe choices neutral so that they can go with a variety of outfits.  If possible, I would also recommend traveling in your bulkiest pair of shoes in order to save additional space in your suitcase. 

Plastic Bags Prevent Wrinkling

Dress in Hanging Bag.jpg

My mom taught me this tip-- you can protect your clothes from wrinkling by placing plastic garment bags (ex. the free ones from the dry cleaner) over your article of clothing prior to folding and packing it.  I am not sure of the science behind why this works, but I can tell you from experience that it most certainly does work and has been a lifesaver for me.  Who wants to have to iron their clothes when they are on vacation!?!

Lay It All Out

Laying Out  Clothes.JPG
Suitcase Packing.JPG

Before you start packing your clothes into your suitcase, I highly recommend laying all of the items you intend to pack out on your bed.  This will give you a complete look at what you are deeming necessary for a trip.  I recently tried this approach and boy, did it help.  Instead of packing my usual 10 t-shirts for a weekend, I could see first hand that it was way too many and cut the number down to three.  In addition, to laying your clothes out prior to packing, I strongly encourage you to consider the drawer folding technique I discussed in this post, when you go to load your clothing into your suitcase.   This folding method will help you to maximize space and provide you with a view of your entire travel wardrobe.

Everlane Weekender.jpg

While I am certainly not anywhere near considering myself to be a master packer, I would say that these tips and strategies have helped me to improve my packing tremendously.  Take time to be thoughtful about what you are packing.  The worst thing you can do is to pack in a hurry.  Packing with haste will only lead to either overpacking or forgetting important items like socks or even make-up.  If you have any additional questions on packing or have any suggestions on how I can improve my own packing, I would love to hear from you!  Have a wonderful Labor Day Weekend everyone!

In Decorate Tags Organize, Packing, Travel, Everlane, Suitcase, Travel Products, Container Store
Comment
← Newer Posts Older Posts →

Subscribe to the Redefining Domestics Blog:

Thank you!

Categories:

  • Decorate (64)
  • Entertain (71)
  • Food and Drink (103)


Latest Posts by Category:

Featured
IMG_1993.JPG
Entertain
Pinterest Worthy Halloween DIYs
Entertain
Entertain
Featured
IMG_8787.jpg
Decorate
How to Hang a Lighting Fixture
Decorate
Decorate
Featured
IMG_1694.JPG
Food and Drink
A Healthy Recipe for Homemade Granola
Food and Drink
Food and Drink

Instagram 

http://instagram.com/calliecagney

View fullsize We are lucky to have you in our sphere Chris Kalna!❤️ #happyfathersday #girldad #cookiebaking #suttonbutton #lovethem
View fullsize National Puppy Day with my two toddlers❤️ #suttonbutton #jolene #nationalpuppyday #jojosbathtubfomo😂
View fullsize Bibbidi Bobbidi Boo, she’s 2! Happy Birthday Sweet Girl💙 #suttonbutton #halloween #cinderella #happybirthday #shestwo!
View fullsize Fourth of July Vacay is already off to a fun start❤️💙⛱ #fourthofjuly #mountains #thesetwo #ggccsummer2019
View fullsize This little girl turned 1 on Halloween! Sutton, you are pure joy! Happy Birthday sweet girl! #suttonbutton #happybirthday #halloweenbaby #birthdaycake #diy #beaufortbonnet
View fullsize Our first 4th of July as a trio❤️💙 #happyfourth #familyphoto #skr #suttonbutton #vacation #northcarolina
View fullsize First day of vacation with these two loves💙 #thecutest #vacation #july4th #mountains #sKr #suttonbutton #beachingit #waterbaby
View fullsize Happy First Father’s Day to this stud muffin! You bring a lot of joy and sports watching to our lives. The Ladies Kalna are lucky to have you!❤️ #Fathersday2018 #chrissums #sKr #socute #luckyus #moreusopenplease
View fullsize Girlfriends kicking off MDW together💕🐳🛁 #suttonandmadden #mdw #littlebesties #bathtime #toocute
View fullsize Baby’s first Christmas tree 🎄 #deckthehalls #sKr #christmastree #happysunday
View fullsize Baby sKr’s jammie game is on point🙌🏻❤️ #thingstodo #retailtherapy #stillpregnant #petiteplume #potterybarnkids #babyclothes #toocute #babygirl #pajamaparty
View fullsize My husband and I joke about Baby K’s “master suite.” Clearly we’re both struggling with a case of bedroom envy😂 #stillpregnant #babynursery #iviebaby #glitterguide #mypotterybarn #serenaandlily #babygirl #skr #projectnursery

Pinterest

http://www.pinterest.com/calliecagney/

Follow Callie Cagney's board Home Decorating on Pinterest.
Welcome RSS

© 2016 Redefining Domestics. All Rights Reserved.