• Welcome
  • Entertain
  • Decorate
  • Food & Drink
  • About
  • Contact
Menu

Redefining Domestics

Street Address
Washington, DC
Phone Number

Practical applications for turning your house into a home.   

Redefining Domestics

  • Welcome
  • Entertain
  • Decorate
  • Food & Drink
  • About
  • Contact

Hot Mulled Apple Cider

October 26, 2015 Callie Cagney
Hot Mulled Apple Cider 1.JPG

Today I wanted to share a simple entertaining idea/recipe that is perfect for Fall.  Whether you are hosting a tailgate or simply looking for a warm and cozy after dinner drink to enjoy with your guests, hot mulled apple cider never fails to be a crowd pleaser.  Below I have included a list of what you will need to make this delicious beverage alongside some of my favorite serving accessories. As the days grow shorter and the weather turns much colder, hot mulled apple cider is the perfect way to keep warm while enjoying time with close friends.  

Hot Mulled Apple Cider 2.JPG

For the Cider:

  • 1 Quart Apple Cider (Williams Sonoma or from your local grocery store)
  • Mulling Spices (my favorites include: Whole Foods and Williams Sonoma)
  • Tea Infuser (Large or Single) *Optional*
  • Cinnamon Sticks
  • Brandy or Gold Rum (for those age 21+)

*In a large pot, simmer 1 quart of apple cider over medium heat with 2Tbs of mulling spices for approximately 20minutes. Remove tea infuser (or pour cider through a sieve if spices were added loosely to cider while cooking).  Serve warm and garnished with a cinnamon stick, apple crisp and even an additional jigger of brandy or rum (for adults)! 

IMG_2104.JPG
IMG_2109.JPG

Cider Serving Essentials:

  • Gold Serving Tray (similar here)
  • CB2 Cantina Glass Mugs (Click here to see my photo featured on CB2.com's #myCB2!)
  • CB2 Marta Tasting Glasses for Additional Garnishes
  • Simple & Crisp, Apple Crisps
IMG_2703.JPG
IMG_9275.JPG
IMG_2708.JPG
In Food and Drink Tags Williams-Sonoma, Mulling Spices, Brandy, Simple & Crisp, Apple Cider, Cocktail, CB2
Comment

Sea Salted Caramel Apple Pie Recipe

October 23, 2015 Callie Cagney
Sea Salted Caramel Apple Pie.JPG

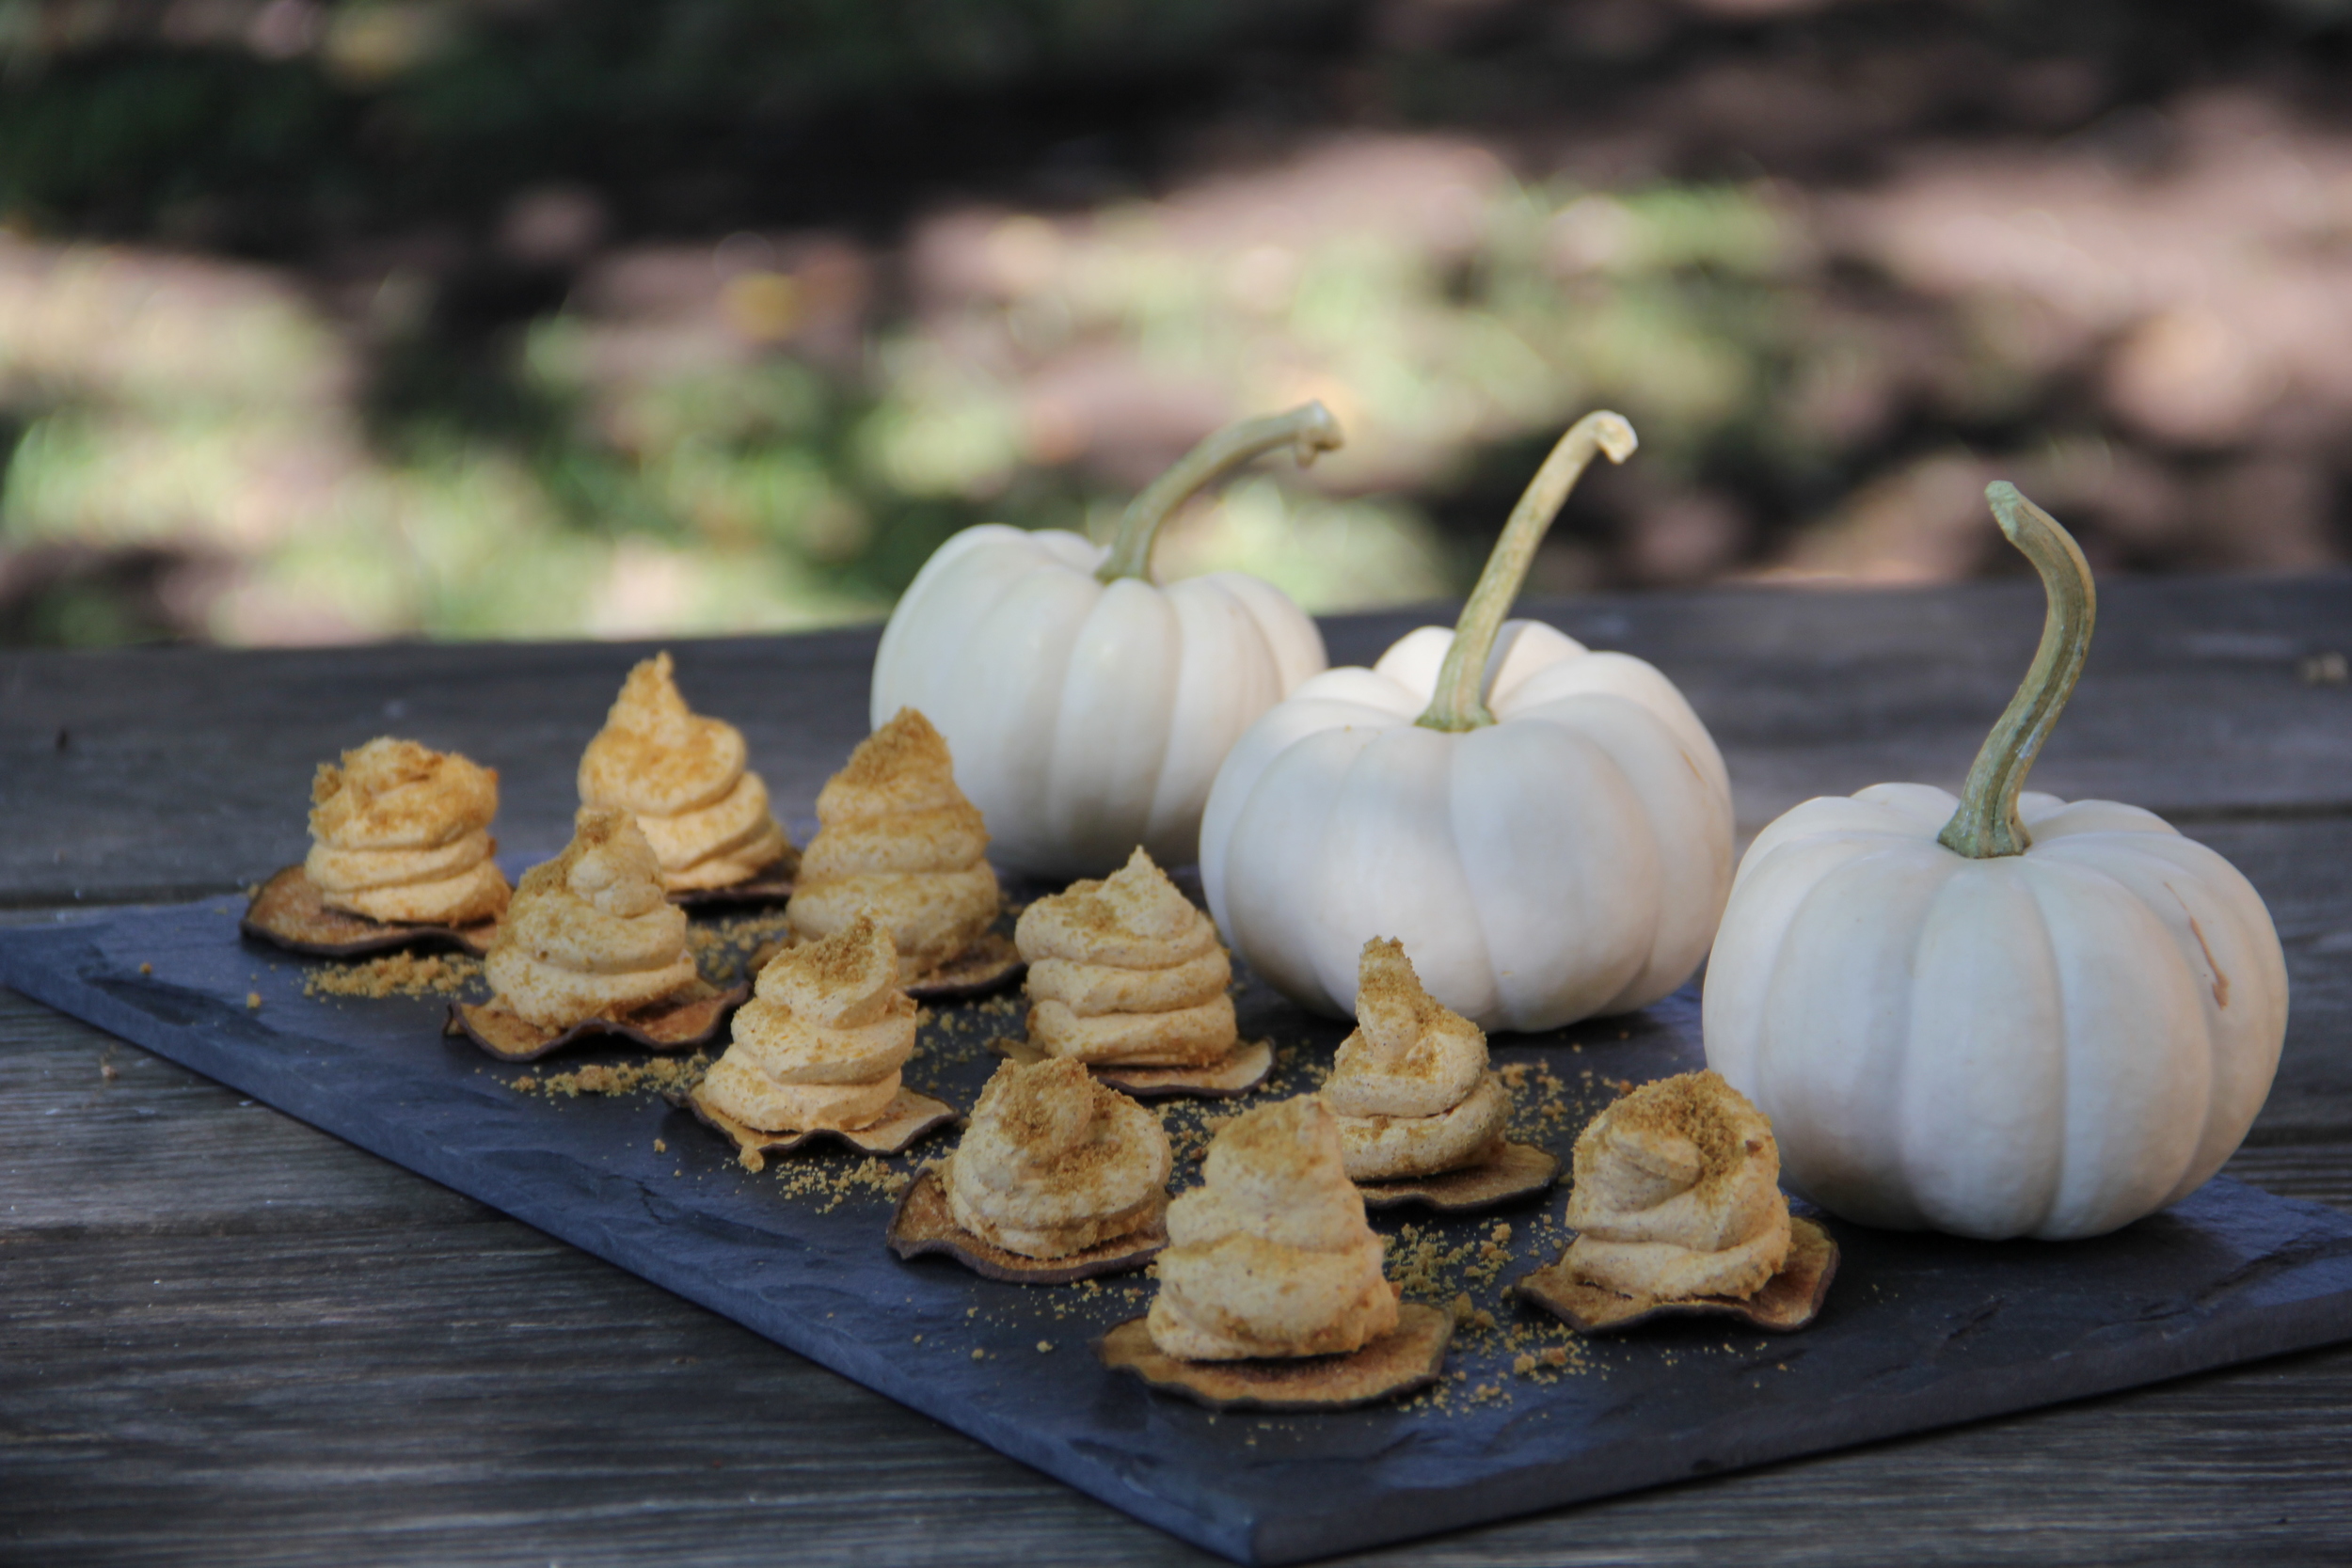
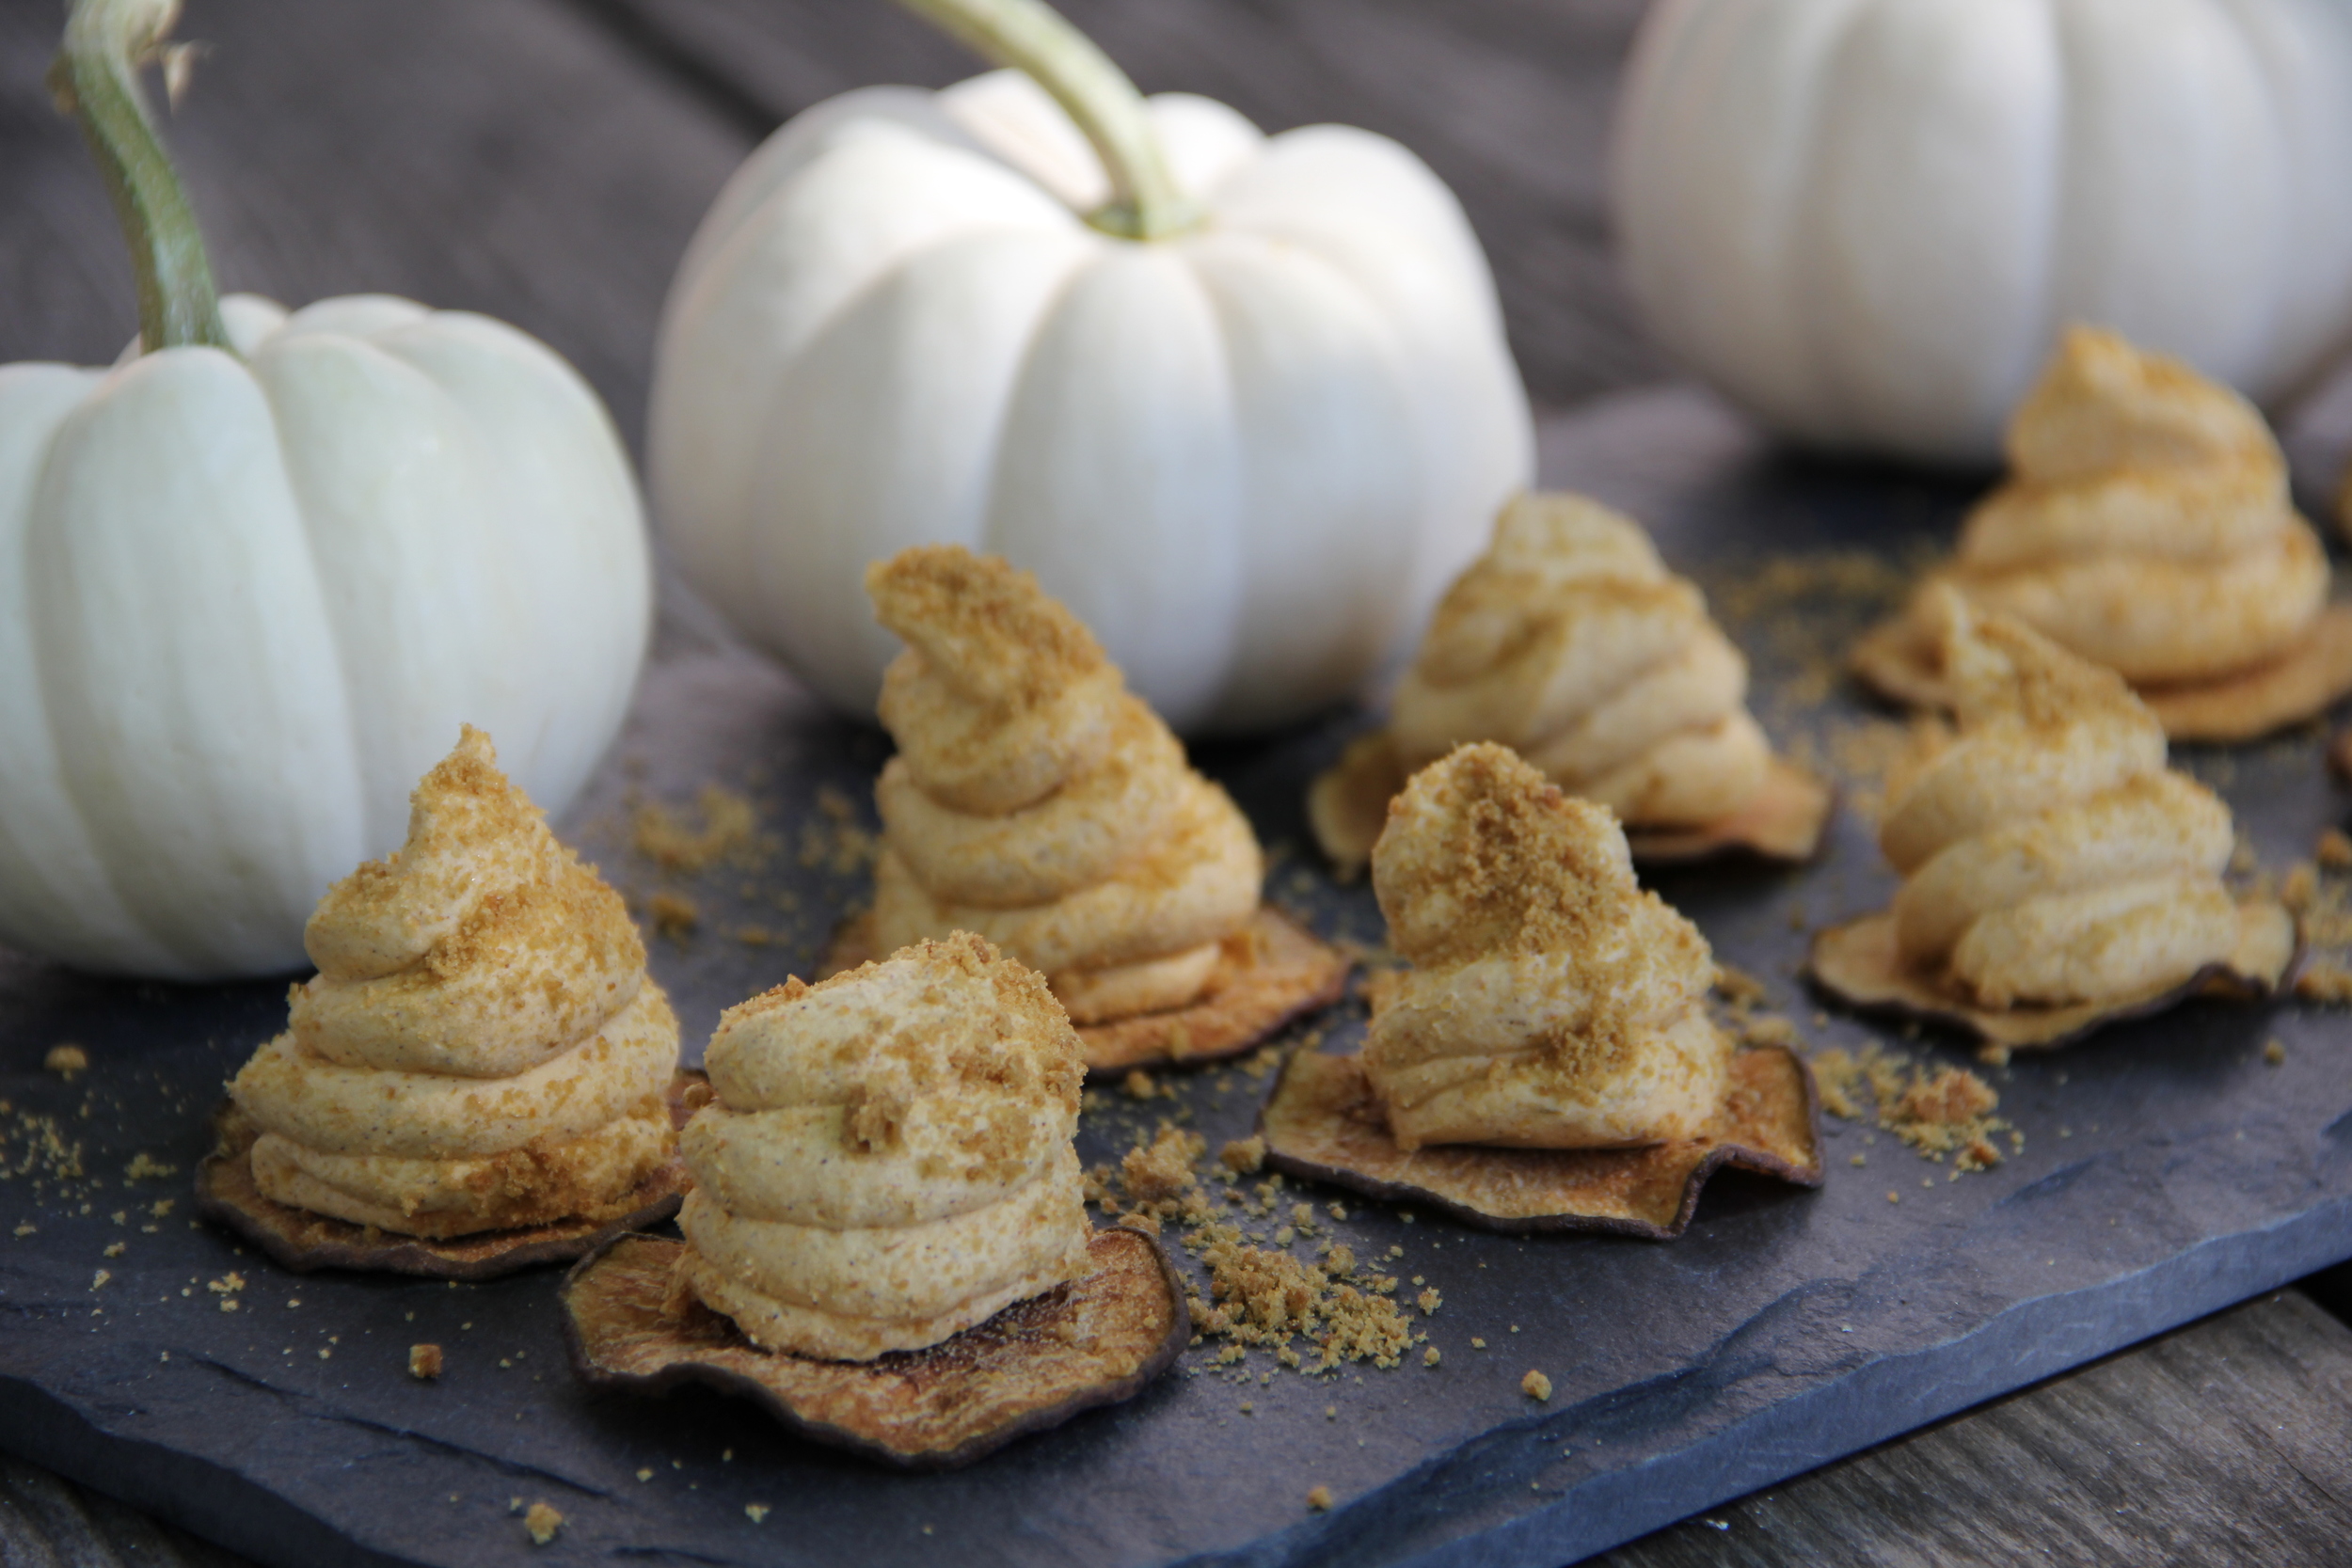
Now that we are in the heart of the Fall season, one question that I continue to be asked is "what apple pie recipe do I use?"  While I have posted numerous photos of my pies to my Instagram page and even written a post on my apple pie baking tips, the one thing I have still haven't done is share my favorite apple pie recipe.  My go-to apple pie recipe is actually a compilation of various recipes that I have pieced together to create what I think is a pretty exceptional apple pie.  Let me just say that making an apple pie from scratch is no joke, and you can expect the process from start to finish to take a little over 3 hours.  With that said, there really isn't anything better than a homemade apple pie.  Especially when apples are in peak season! This will be my third year making this recipe for Thanksgiving and it thrills me beyond to still receive requests for this pie on such a special occasion.  If you aren't afraid of a little kitchen time, this recipe is a must try!

Step 1: Apple Prep

  • 4 1/2lbs Granny Smith or Jonagold Apples, Cored, Peeled and Sliced Thin (1/4in thick)
  • Juice of 2 Lemons
  •  2 Tbs Granulated Sugar

Juice the lemons into a large mixing bowl, removing any seeds.  Dredge the prepped apple slices in the lemon juice.  Sprinkle sugar on top of lemon dredged apples.  Transfer apples to a colander placed over a bowl to soften slightly and release some of the juices 30min-2hrs.  (*I realize that is a large time range.  2hrs is optimal but 30minutes works fine for those under tighter time constraints).  Reference my apple pie baking tips post and/or this Alton Brown video to see the importance of draining your apples before baking.  

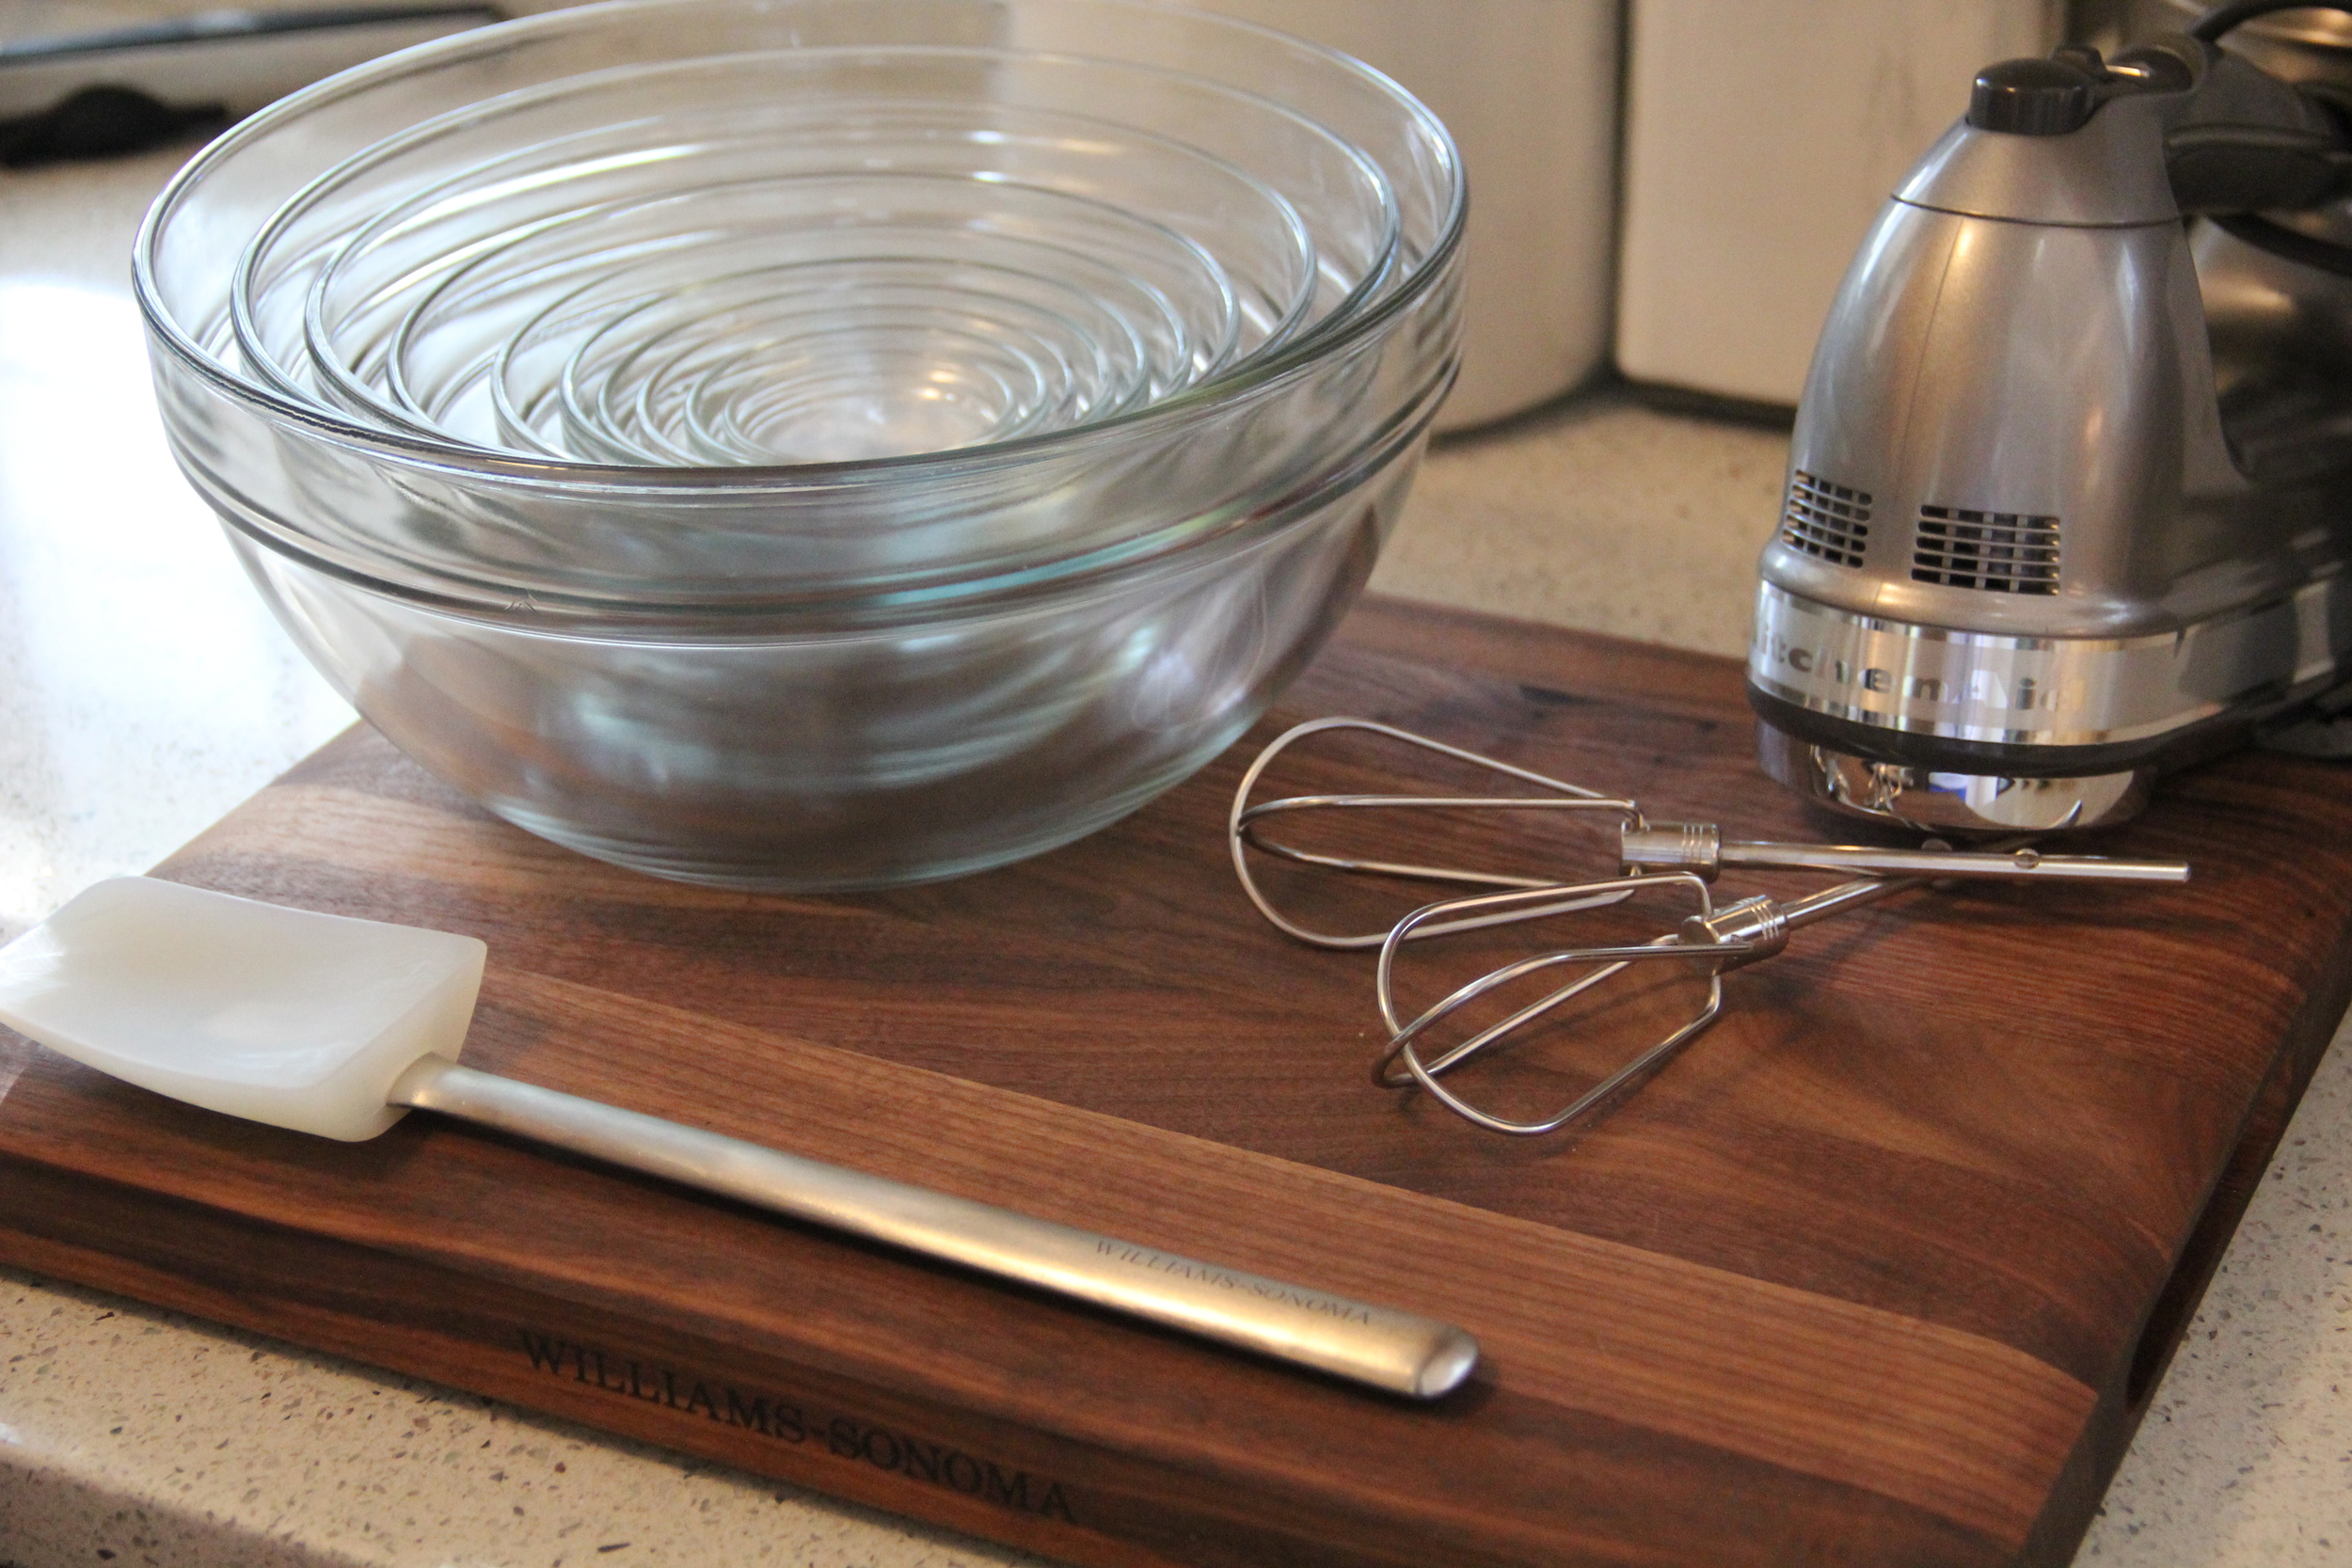
Step 2: Pie Crust Instructions

  1. For homemade (my preference), I use Ina Garten's Perfect Pie Crust Recipe
  2. For store bought, you really can't go wrong with Pillsbury Refrigerated Pie Crust

**Note- Homemade dough needs to be chilled for at least 30 minutes once it has been made.  While it doesn't require as much time as the apple draining, it is still wise to get this step taken care of earlier on in the baking process.  

Step 3: For the Caramel Sauce...

This portion of the recipe comes from a very famous pie company in Brooklyn, Four & Twenty Blackbirds.  They are famous for their Sea Salted Caramel Apple Pie.  The concept for this recipe and the actual caramel sauce recipe are both credited to this fabulous company.  Here is a link to the recipe for the caramel sauce.  For added convenience, I have also listed the ingredients for the caramel sauce below:

  • 1c Granulated Sugar
  • 1/4c Water
  • 1 Stick Unsalted Butter (or 1/4 cup)
  • 1/2c Heavy Whipping Cream

*Note- Once the caramel sauce is made, set aside until it is time to assemble the pie. 

Step 4: Apple Filling Dry Mixture

Once your apples have drained, toss them in a large bowl with the following dry ingredient mixture:

  • 2 Tbs All Purpose Flour
  • 1/3 c Granulated Sugar
  • 1/2 tsp Ground Cinnamon
  • 1/4 tsp Freshly Grated Nutmeg
  • 1/8 tsp Allspice
  • 1/4 tsp Kosher Salt

Step 5: Oven/Baking Prep

  1. Preheat oven to 400 degrees fahrenheit and move oven rack to the bottom third level
  2. Line a baking sheet with aluminum foil (baking sheet should have raised edges, like this one)
  3. Pull out an extra sheet of aluminum foil and place it to the side of your oven
  4. Make the egg wash
  5. Generously flour the surface you plan to use for rolling out your pie dough and flour your rolling pin as well.  

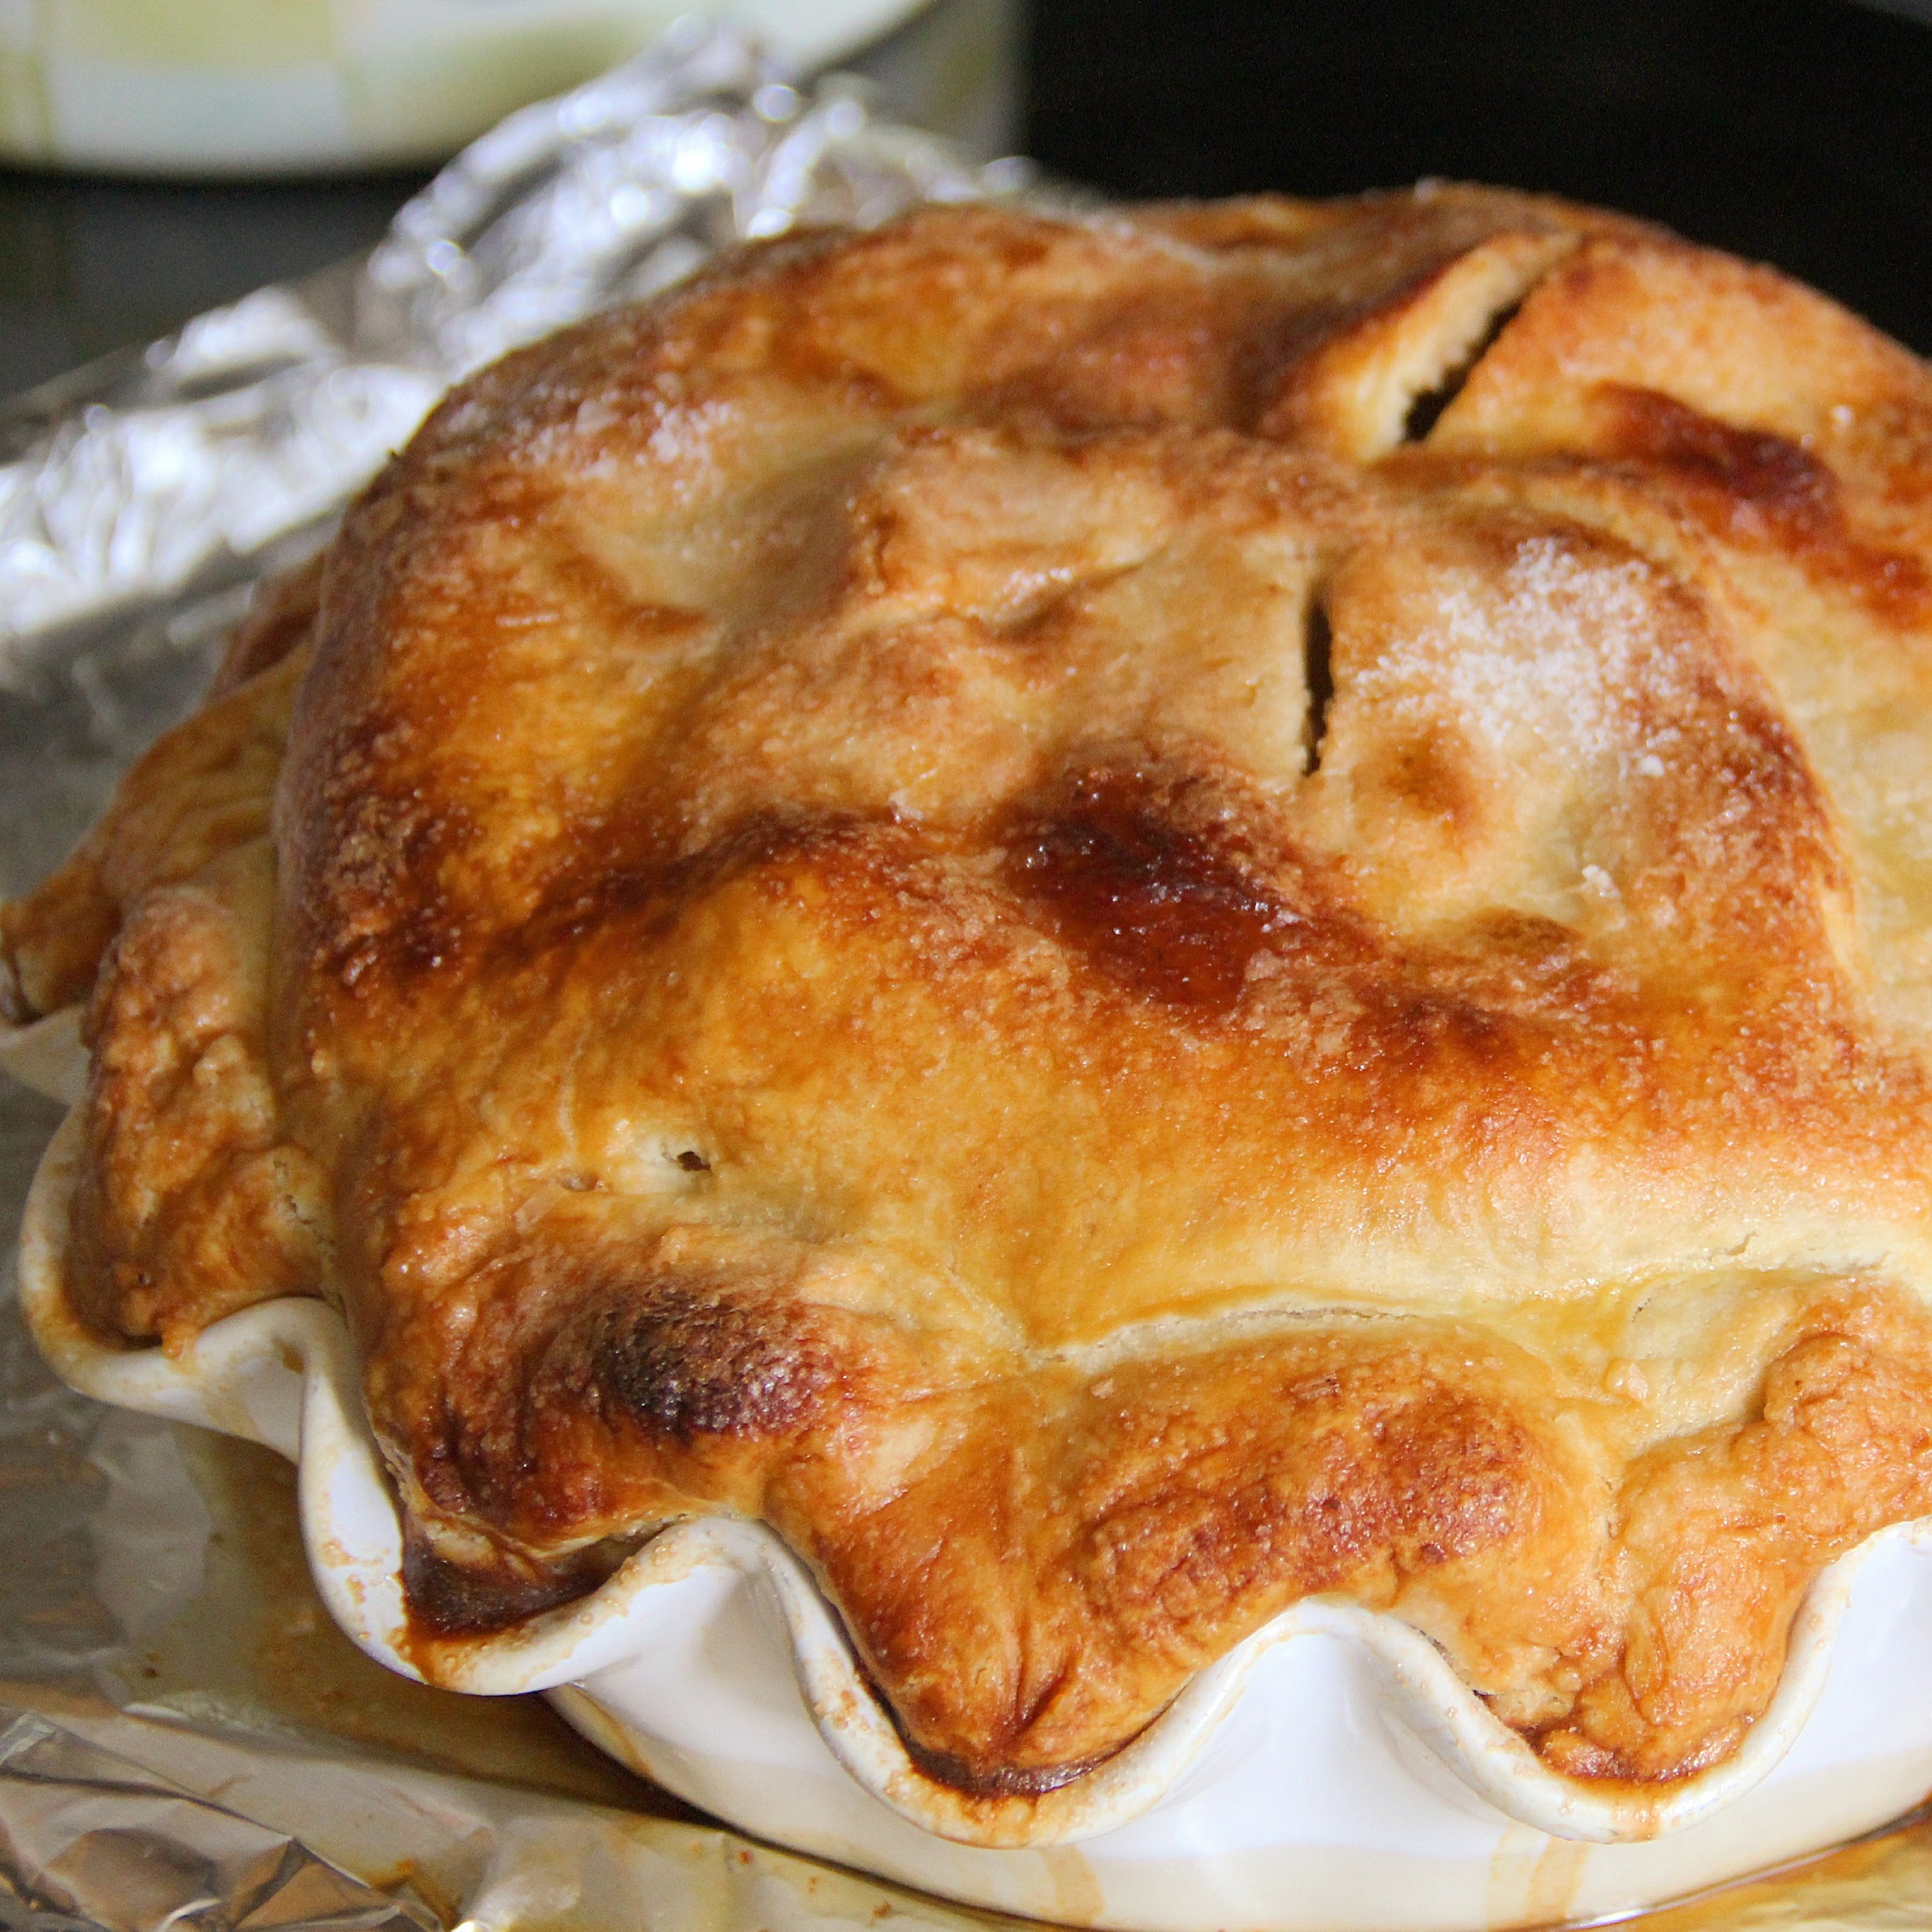
Step 6: Pie Assembly

  1. Cut your chilled pie crust dough in half, roll out one half and place the other half back in the fridge
  2. Transfer your rolled out crust to the pie dish
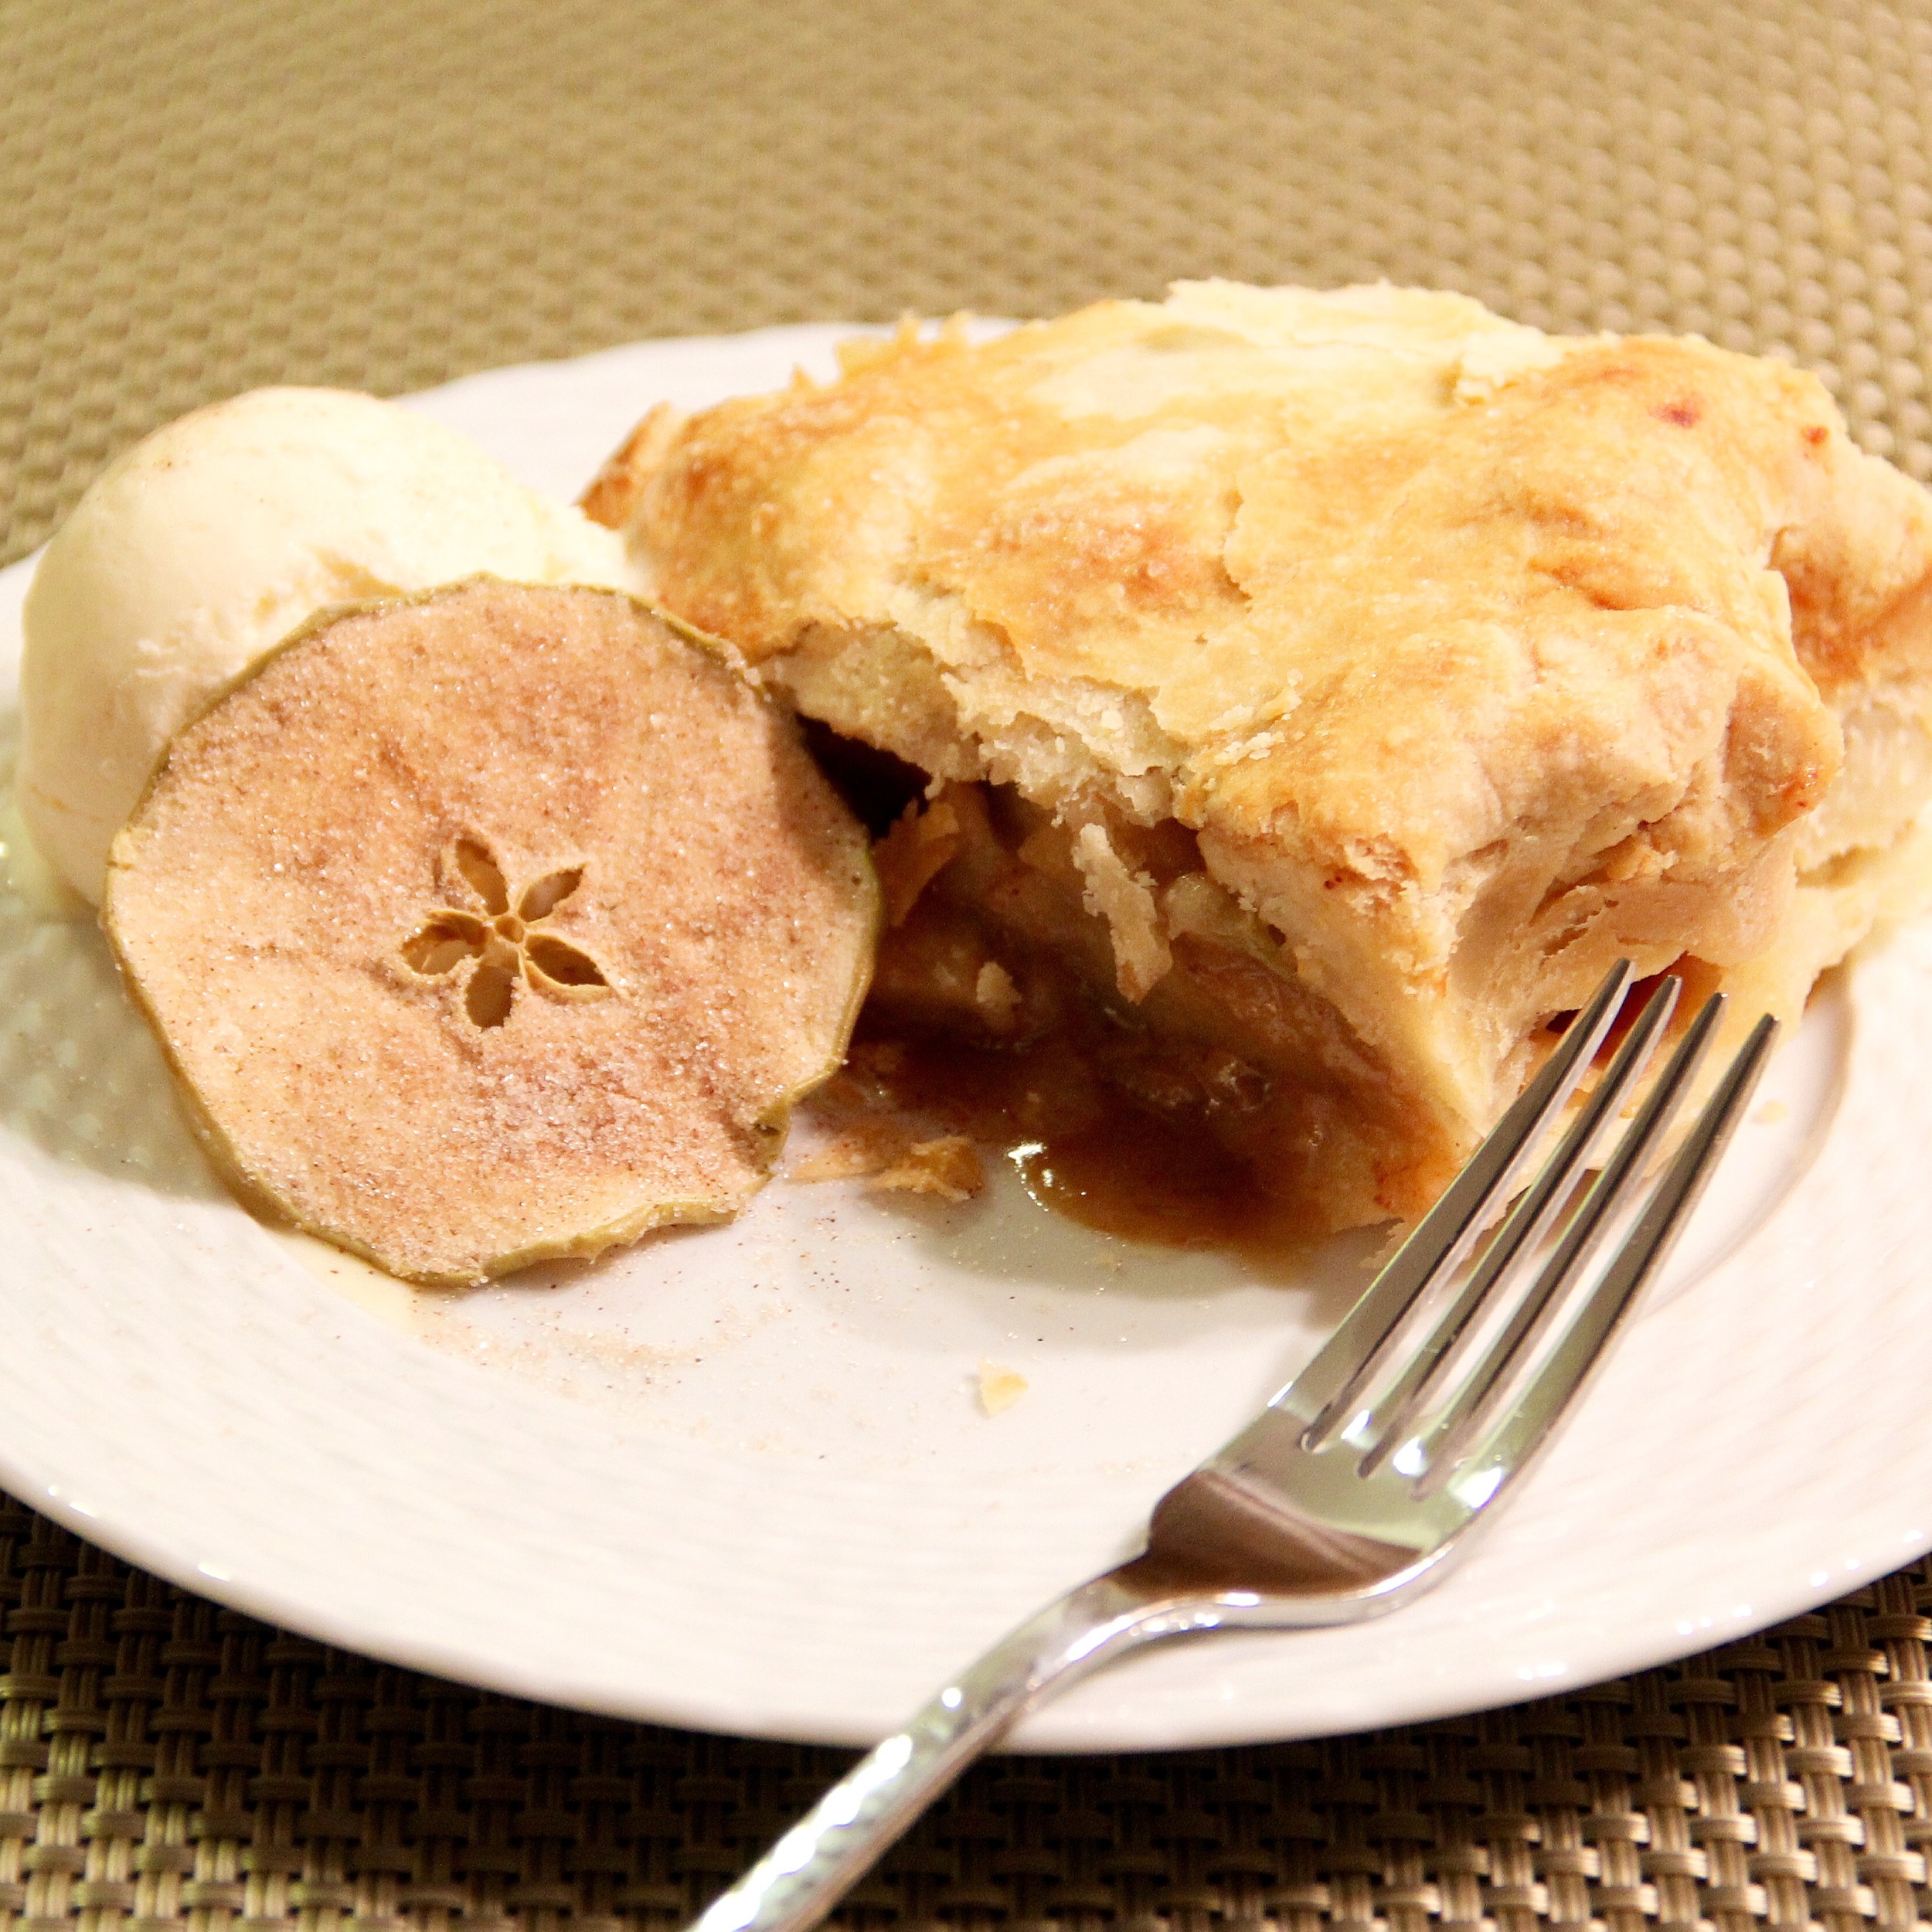
  3. Add half of the apple mixture to the pie dish, making sure to pack your apples tightly. 
  4. Pour half of the caramel mixture on top of the apples
  5. Lightly sprinkle about a 1/4tsp of Maldon or Flaked sea salt on top
  6. Layer the remaining apples on top, again remembering to pack them tightly
  7. Pour the remainder of the caramel sauce over the apples
  8. Sprinkle another 1/4tsp of flaked salt on top of the caramel
  9. Place small cubes of butter across the top of the pie (approximately 2Tbs total)
  10. Roll out the other half of the pie crust and then place on top of the pie to cover
  11. Crimp the pie edges and trim off any extra crust
  12. Using a pastry brush, gently brush the egg wash over the entire crust (including the crimped edges)
  13. Sprinkle about 1 Tbs of granulated sugar and 1/4tsp of sea salt on top of pie crust
  14. Use a pairing knife to cut approximate 5 vents in the top of the pie
  15. Place the pie dish on top of the lined baking sheet and then put everything into the oven
  16. Bake for 25-30min uncovered, then cover the pie loosely with foil, turn the heat down to 375 degrees fahrenheit and continue to bake for another 45-50 minutes 

*Note- you will know your pie is done when you are able to stick a knife or bamboo skewer through a vent at the top of the pie all the way down to the base of the pie without feeling any resistance.  In addition, pie juices will start to escape through the vents when the pie is done baking (not always but often).  

IMG_3989.JPG

In Food and Drink Tags Recipe, Ina Garten, Cuisinart, Emile Henry
Comment

Healthy Butternut Squash Soup

October 12, 2015 Callie Cagney
Healthy Butternut Squash Soup.jpg
Healthy Butterbut Squash 3.jpg

Over the weekend I had been on a serious hunt for white pumpkins in very specific size.  My primary resource for gourds has and continues to be Trader Joes, which I have been diligently visiting for the past few weeks (multiple times each week) hoping those pumpkins would come into stock.  In the process of regularly checking for pumpkins (which did end up coming in this past weekend- see my latest instagram post here), Trader Joe's gourd selection caught my eye.  Yes, they have a very robust and diverse selection, but what I found most exciting was that they were charging by the unit and not by the pound!  $1.99 per gourd regardless of size!!  If you have ever bought a butternut squash or spaghetti squash from a grocery store, you know how annoying it can be to see a price tag of sometimes $12 for a really large squash.  I mean come on!  Well of course I had to take advantage of this insanely great deal and ended up purchasing a number of different gourds (*Note-they can keep for up to 3 months if left unopened). 

Since we are only at the very beginning of soup season, I was going to hold off on sharing this recipe for a few more weeks, however in light of my recent findings at Trader Joes, I felt it was necessary to bump up the debut date for my Healthy Butternut Squash Soup recipe.  This recipe can be made to be vegan friendly, it's easy to make and full of both flavor and lots of vitamins.  There are a few equipment essentials that have made this recipe infinitely easier to make:

  • An Immersion Blender (regular blender works too, but an immersion blender is my recommendation)
  • A very sharp chef's knife for cutting up the squash (like this one- currently on sale!)
  • A good peeler (see my post here, for my favorite peeler)
  • A Dutch Oven (a big pot with lid works fine too)

All-in-all, this healthy soup is a must try recipe during the chilly fall and winter months.  

Butternut Squash Soup Ingredients.jpg
Shun Chef's Knife.jpg
Simply Organic Spices.jpg

Ingredients

  • 6c Vegetable Broth
  • 1c Water
  • 3 lbs Butternut Squash (Peeled and diced into 1" cubes)
  • 4 Stalks Celery (Diced)
  • 4 Carrots (Peeled and Diced)
  • 1 Medium Yellow Onion (Diced)
  • 3 Cloves of Garlic (Minced)
  • 1 Large Sweet Potato (Cooked, Peeled and Diced)
  • 1/2 tsp Ground Cinnamon
  • 1 1/2 tsp Ground Cumin
  • 1/4 tsp Fresh Ground Pepper
  • 2 tsp Salt (+ more as needed to taste)
  • 3 Tbs Olive Oil
  • 2 Dried Bay Leaves
  • Creme Fraiche (Garnish)
  • Fresh Thyme Leaves (Garnish)
Mire Poix.JPG
Bay Leafs Cooking.jpg
Raw Chopped Butternut Squashh.jpg
Breville Immersion Blender.jpg
Baked Sweet Potato.jpg
Vermont Creamery Creme Fraiche.jpg

Instructions

  1. Heat the Olive Oil on Medium high heat
  2. Add garlic and cook until it starts to brown (about 2 minutes)
  3. Add the diced onion, carrots and celery
  4. Sweat the mirepoix on medium high for approximately 10 minutes
  5. Add the vegetable stock, water and bay leafs to the pot and bring to a boil
  6. Then add the butternut squash, reduce the heat to a simmer, cover with lid and cook for approximately 20-25min until squash is fork tender
  7. Once squash is cooked through, turn off heat, remove bay leaves and with your immersion blender, blend contents until completely smooth
  8. Add cooked sweet potato pieces to soup and use immersion blender to incorporate sweet potato into the soup until smooth. (*The sweet potato will give the soup some additional body)
  9. Stir in Cinnamon, Cumin, Pepper and Salt.  (*Note- taste to see if more salt is needed and add accordingly)
  10. Garnish soup with Creme Fraiche and Fresh Thyme Leaves.  This soup is great to serve with toasted baguette slices.  
Crusty Toasted Baguette.jpg
Healthy Butternut Squash Soup 2.jpg
Butternut Squash Soup.JPG
In Food and Drink Tags Recipe, Butternut Squash, Soup, Healty, Le Creuset, Trader Joe's, Breville Immersion Blender
Comment

October Kitchen Tools

October 9, 2015 Callie Cagney
Redefining Domestics October Kitchen Tools Kitchen Aid and Williams Sonoma.JPG

Fall is all about baking delicious apple pies and cooking hearty soups, so this month I thought that it might be a good idea to share three of my favorite tools that certainly get a serious workout in my kitchen this season.  Today's list of tools are all multipurpose essentials for my kitchen and make my time spent preparing foods much easier.  All practical staples that I would highly recommend outfitting in your own kitchen.  

Kitchen Aid 9-Speed Hand Mixer

Kitchen Aid 9 Speed Hand Mixer.JPG
Kitchen Aid Hand Mixer.JPG
KitchenAid 9 Speed Hand Mixer.JPG

I was one of many who dreamed of the day when I would finally own a Kitchen Aid Stand Mixer.  Stand mixers (aka "The Work Horse") really are the ultimate kitchen accessory and very practical addition to any kitchen.  While I do agree that the Kitchen Aid Stand Mixer is a work horse (and work of art), they are not cheap.  Not everyone has  $300-$500 that they can easily spend on a stand mixer, nor does everyone have the countertop/storage space to accommodate such a prominent kitchen electric.  

My alternative solution?  The Kitchen Aid 9-Speed Hand Mixer.  Not only does this mixer come with all of the same standard attachments as a stand mixer (dough hooks, power beaters, whisk and even a liquid blender!), but it's also a fraction of the size and cost!  I have gone through my fair share of hand mixers from all of my cooking and baking over the years, but this Kitchen Aid hand mixer continues to stand the test of time.  This hand mixer is definitely a great alternative (or additional) mixing electric for any kitchen. 

10-Piece Glass Bowl Set

Williams Sonoma 10 Piece Mixing Bowls.JPG

Whenever I am cooking, baking or even displaying ingredients for a blog post, I always find myself pulling out my 10-piece glass bowl set to help get the job done.  I love this set of mixing bowls because there is a bowl size to fit every cooking/baking need, they are dishwasher safe, BPA Free and are beyond reasonably priced ($39.95!).  Heck, I have even used these bowls on occasion as serving pieces!  You really can never have too many bowls.  This fabulous set is definitely a great buy. 

Williams Sonoma Silicone Spatulas

Williams Sonoma Silicone Spatula.JPG
Williams Sonoma Silicone Metal Spatula.JPG

When we acquired our nice pots and pans, I quickly realized that the days of using metal cooking utensils were over.  In an effort to preserve the aesthetic of my cookware I made the switch over to wooden cooking utensils to avoid any potential scratching.  Using cooking wooden utensils was fine at first, but I quickly grew tired of the constant hand washing of each piece and never feeling like the utensils were actually clean.  Enter the Williams-Sonoma Silicone Spoonula with Stainless Steel Handle. Discovering this utensil (actually the entire line of silicone cooking utensils) was a breath of fresh air!  Not only can they be used for both cooking and baking, but they are also heat resistant up to 600 degrees fahrenheit and dishwasher safe!  I love having hygienic cooking tools that can be used for an array of purposes and are safe to use on both my cookware/bakeware. This line of stainless steel/silicone cooking utensils certainly fits the bill!


In Food and Drink Tags Williams-Sonoma, Kitchen Aid, Mixing Bowls, Spatula, Spoonula, Mixer
Comment

Pumpkin Puffs Recipe

October 7, 2015 Callie Cagney
Pumpkin Mousse Puffs.JPG

Today's recipe is a Fall favorite of mine and one that I have been looking forward to sharing with you all since last Fall when I first debuted a photo of these tasty treats on my Instagram page.  Why do I love this recipe? It's very easy to make, chock full of quintessential fall flavors, and the best part- it's a somewhat "skinny" recipe! By that I mean that it's not quite guilt-free, but certainly way less than say, a pie!   These pumpkin puffs are an instant crowd pleaser and definitely a treat worthy of serving at your next Fall dinner party.  

IMG_1414.JPG

Ingredients

  • 1-8oz Container Lite Cool Whip
  • 1 pkg Instant Vanilla Pudding Mix
  • 1-15oz can Pumpkin Puree 
  • 1/2 tsp Pumpkin Pie Spice
  • 1/4 tsp Cinnamon
  • Simple & Crisp, Dried Pear Crisps
  • Gingersnap Cookies (finely crushed)
IMG_1430.JPG
IMG_1434.JPG
IMG_1438.JPG

Instructions

  1. In a bowl, whisk together whipped cream, pudding mix, pumpkin puree, pumpkin pie spice and cinnamon
  2. Once combined, scoop contents into a gallon size ziplock freezer bag
  3. Squeeze pumpkin mixture to one corner of bag, then cut the tip of the bag (about 1/2in) with a pair of of scissors 
  4. Pipe swirls onto a baking sheet lined with parchment paper
  5. Once piped, place in freezer for approximately 1 hour to set
  6. When ready to serve, place a frozen swirl onto a Simple & Crisp Pear Crisp (or a Gingersnap Cookie) 
  7. Garnish with gingersnap cookie crumbs and serve at least 10 minutes after removing puffs from freezer so that the puffs have ample time to thaw 
Pumpkin Mousse Puffs 2.JPG
Pumpkin Mousse Puffs 3.JPG
In Food and Drink Tags Fall Entertaining, Recipe, Dessert, Simple & Crisp, Whipped Cream
Comment
← Newer Posts Older Posts →

Subscribe to the Redefining Domestics Blog:

Thank you!

Categories:

  • Decorate (64)
  • Entertain (71)
  • Food and Drink (103)


Latest Posts by Category:

Featured
IMG_1993.JPG
Entertain
Pinterest Worthy Halloween DIYs
Entertain
Entertain
Featured
IMG_8787.jpg
Decorate
How to Hang a Lighting Fixture
Decorate
Decorate
Featured
IMG_1694.JPG
Food and Drink
A Healthy Recipe for Homemade Granola
Food and Drink
Food and Drink

Instagram 

http://instagram.com/calliecagney

View fullsize We are lucky to have you in our sphere Chris Kalna!❤️ #happyfathersday #girldad #cookiebaking #suttonbutton #lovethem
View fullsize National Puppy Day with my two toddlers❤️ #suttonbutton #jolene #nationalpuppyday #jojosbathtubfomo😂
View fullsize Bibbidi Bobbidi Boo, she’s 2! Happy Birthday Sweet Girl💙 #suttonbutton #halloween #cinderella #happybirthday #shestwo!
View fullsize Fourth of July Vacay is already off to a fun start❤️💙⛱ #fourthofjuly #mountains #thesetwo #ggccsummer2019
View fullsize This little girl turned 1 on Halloween! Sutton, you are pure joy! Happy Birthday sweet girl! #suttonbutton #happybirthday #halloweenbaby #birthdaycake #diy #beaufortbonnet
View fullsize Our first 4th of July as a trio❤️💙 #happyfourth #familyphoto #skr #suttonbutton #vacation #northcarolina
View fullsize First day of vacation with these two loves💙 #thecutest #vacation #july4th #mountains #sKr #suttonbutton #beachingit #waterbaby
View fullsize Happy First Father’s Day to this stud muffin! You bring a lot of joy and sports watching to our lives. The Ladies Kalna are lucky to have you!❤️ #Fathersday2018 #chrissums #sKr #socute #luckyus #moreusopenplease
View fullsize Girlfriends kicking off MDW together💕🐳🛁 #suttonandmadden #mdw #littlebesties #bathtime #toocute
View fullsize Baby’s first Christmas tree 🎄 #deckthehalls #sKr #christmastree #happysunday
View fullsize Baby sKr’s jammie game is on point🙌🏻❤️ #thingstodo #retailtherapy #stillpregnant #petiteplume #potterybarnkids #babyclothes #toocute #babygirl #pajamaparty
View fullsize My husband and I joke about Baby K’s “master suite.” Clearly we’re both struggling with a case of bedroom envy😂 #stillpregnant #babynursery #iviebaby #glitterguide #mypotterybarn #serenaandlily #babygirl #skr #projectnursery

Pinterest

http://www.pinterest.com/calliecagney/

Follow Callie Cagney's board Home Decorating on Pinterest.
Welcome RSS

© 2016 Redefining Domestics. All Rights Reserved.