• Welcome
  • Entertain
  • Decorate
  • Food & Drink
  • About
  • Contact
Menu

Redefining Domestics

Street Address
Washington, DC
Phone Number

Practical applications for turning your house into a home.   

Redefining Domestics

  • Welcome
  • Entertain
  • Decorate
  • Food & Drink
  • About
  • Contact

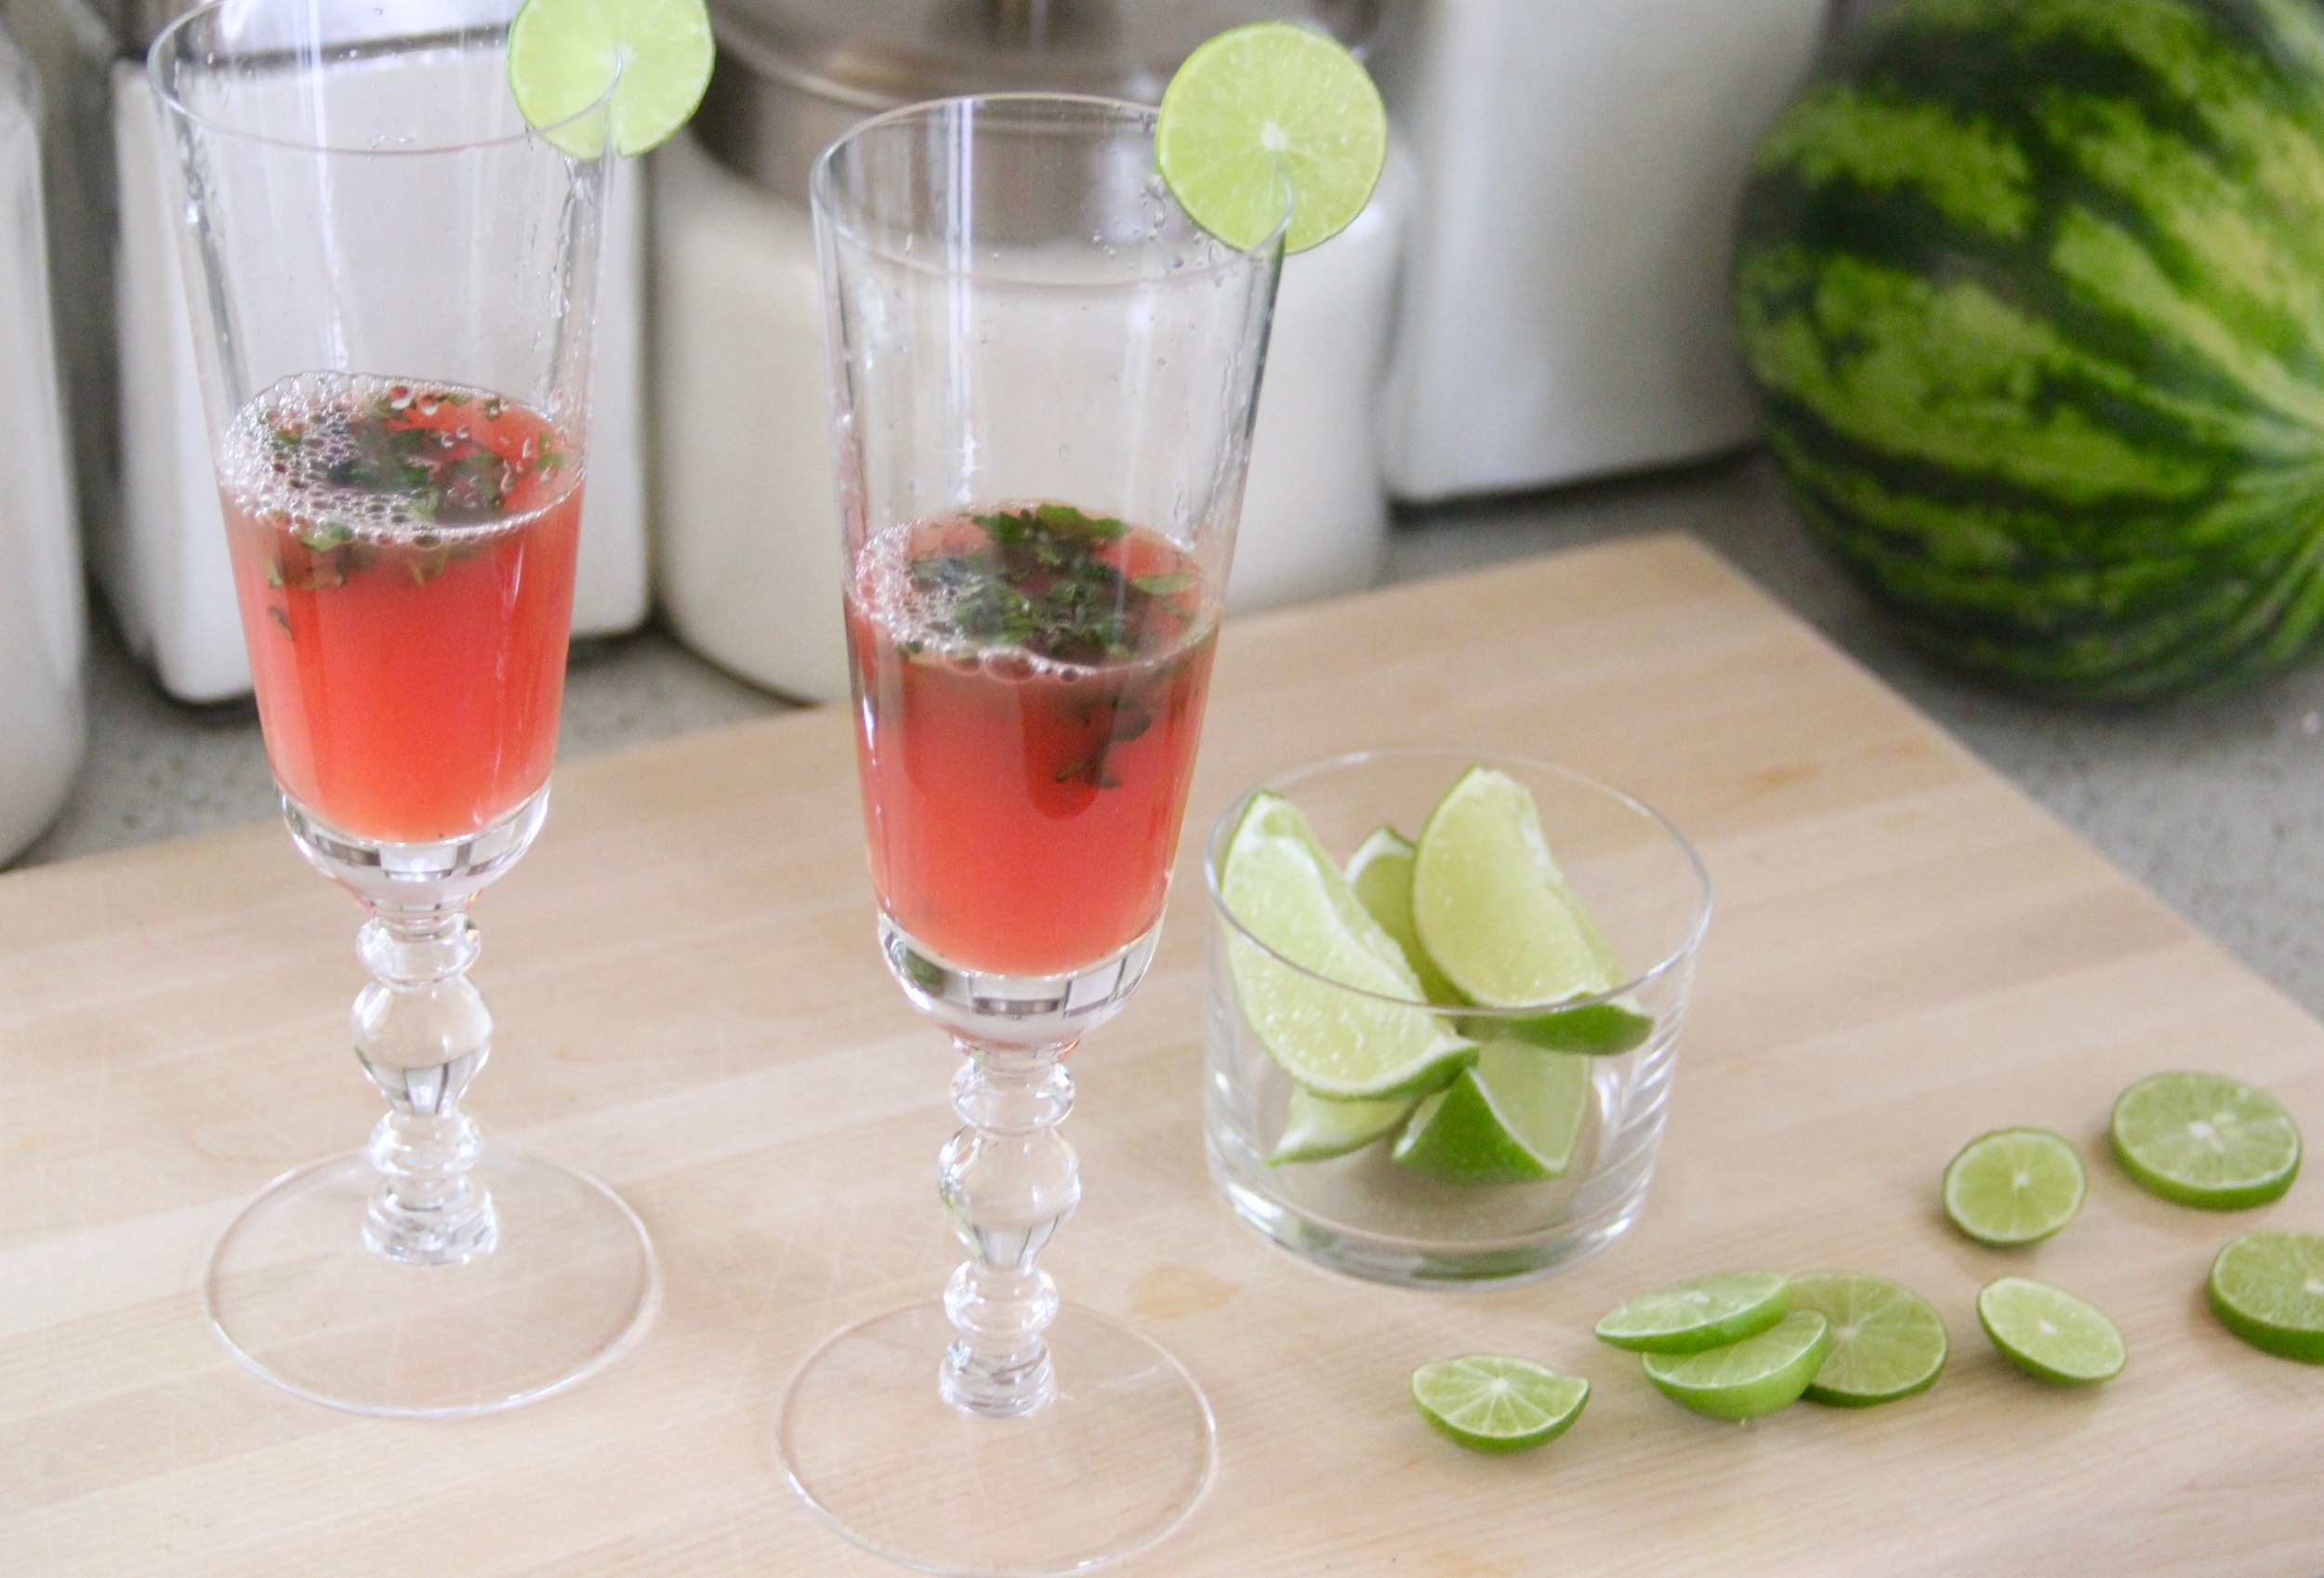
Watermelon Mimosa Recipe

May 10, 2016 Callie Cagney
Watermelon Mimosas 1.jpg

I have a fellow foodie friend at work, who I absolutely adore "talking shop" with and sharing recipe ideas.  We tell each other about different restaurants, cocktails and recipes we try, as well as share tips on cooking, baking, etc.  It really is so much fun having someone in the office who shares the same interest and I can learn from while taking that much needed mental break from staring at my computer for hours on end!

Last week during one of our chats, she mentioned this most delicious mimosa she had enjoyed at this fabulous farm to table restaurant in Baltimore, Woodberry Kitchen.  Totally intrigued by the idea of making a watermelon mimosa, I decided to give it try over the weekend.  Let me just say, it is an absolutely delicious cocktail idea! Naturally I felt compelled to share it with you all today.  I know I have posted quite a few cocktail recipes lately and I promise that I will ease up on my cocktail posts for a while, but this mimosa recipe just had to be shared.   Worthy of any brunch or summer picnic, watermelon mimosas are beyond fab!

Watermelon Mimosa Ingredients.jpg
Watermelon Ingredients 1.jpg

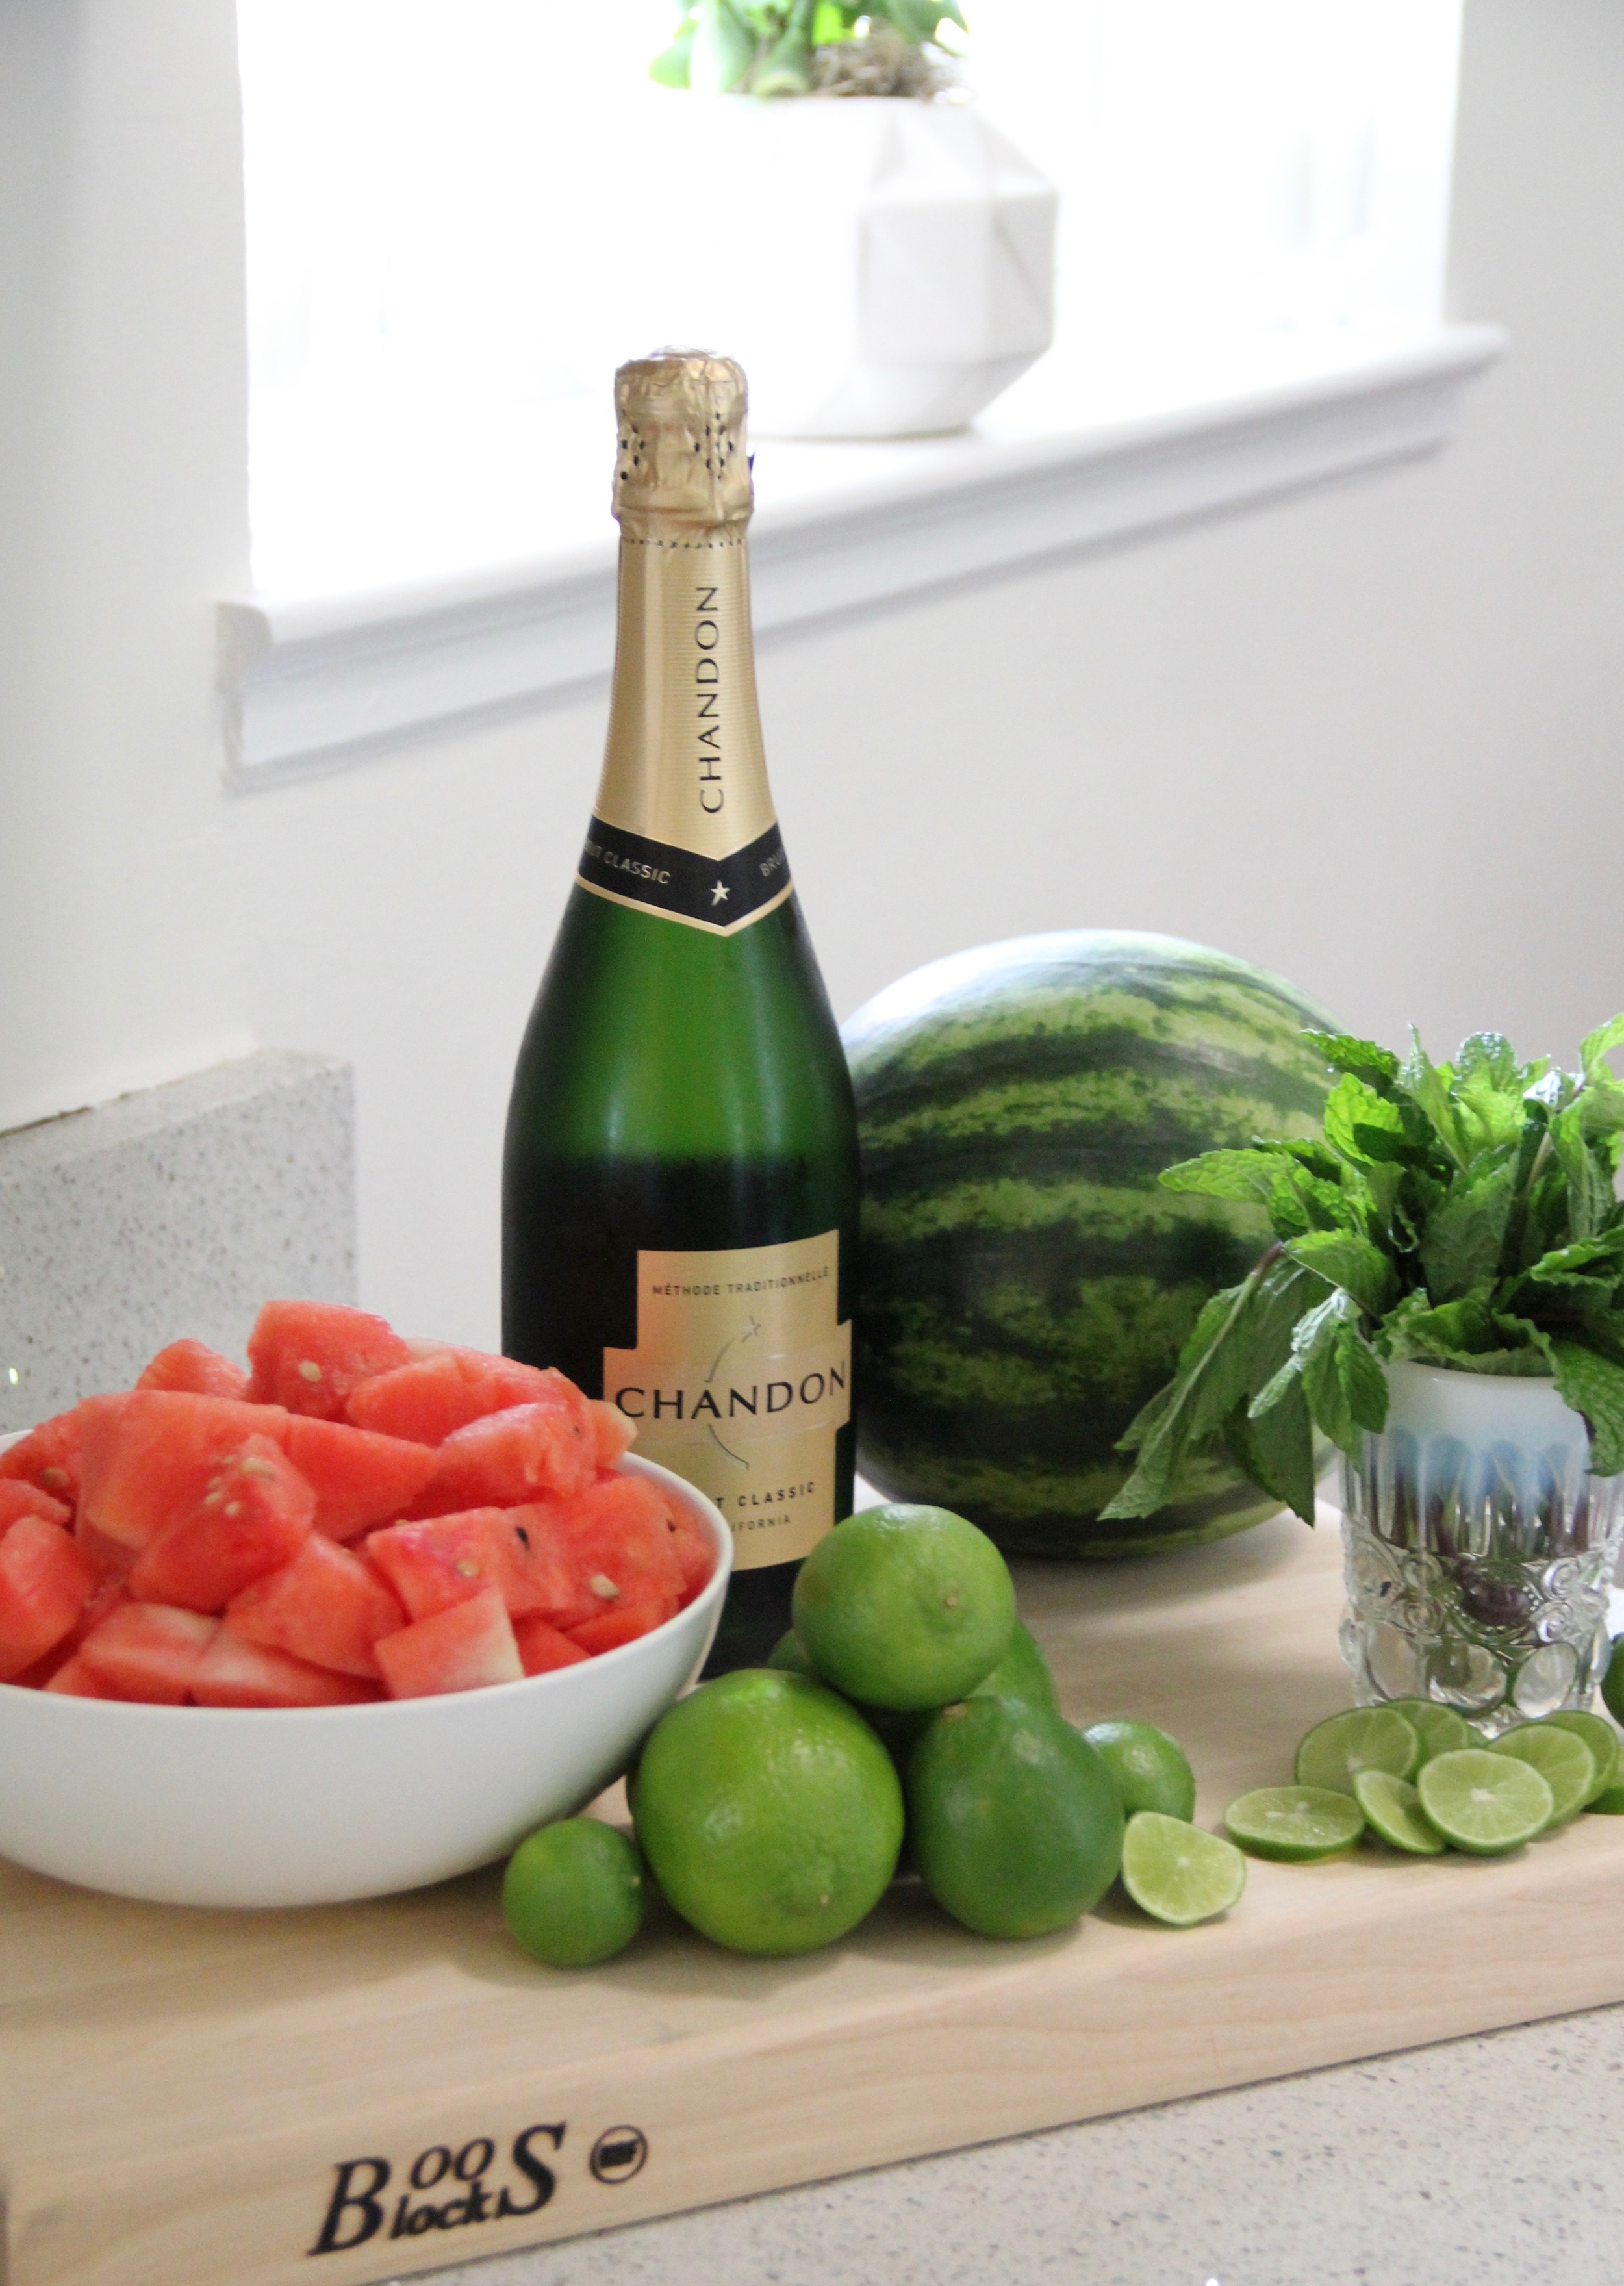
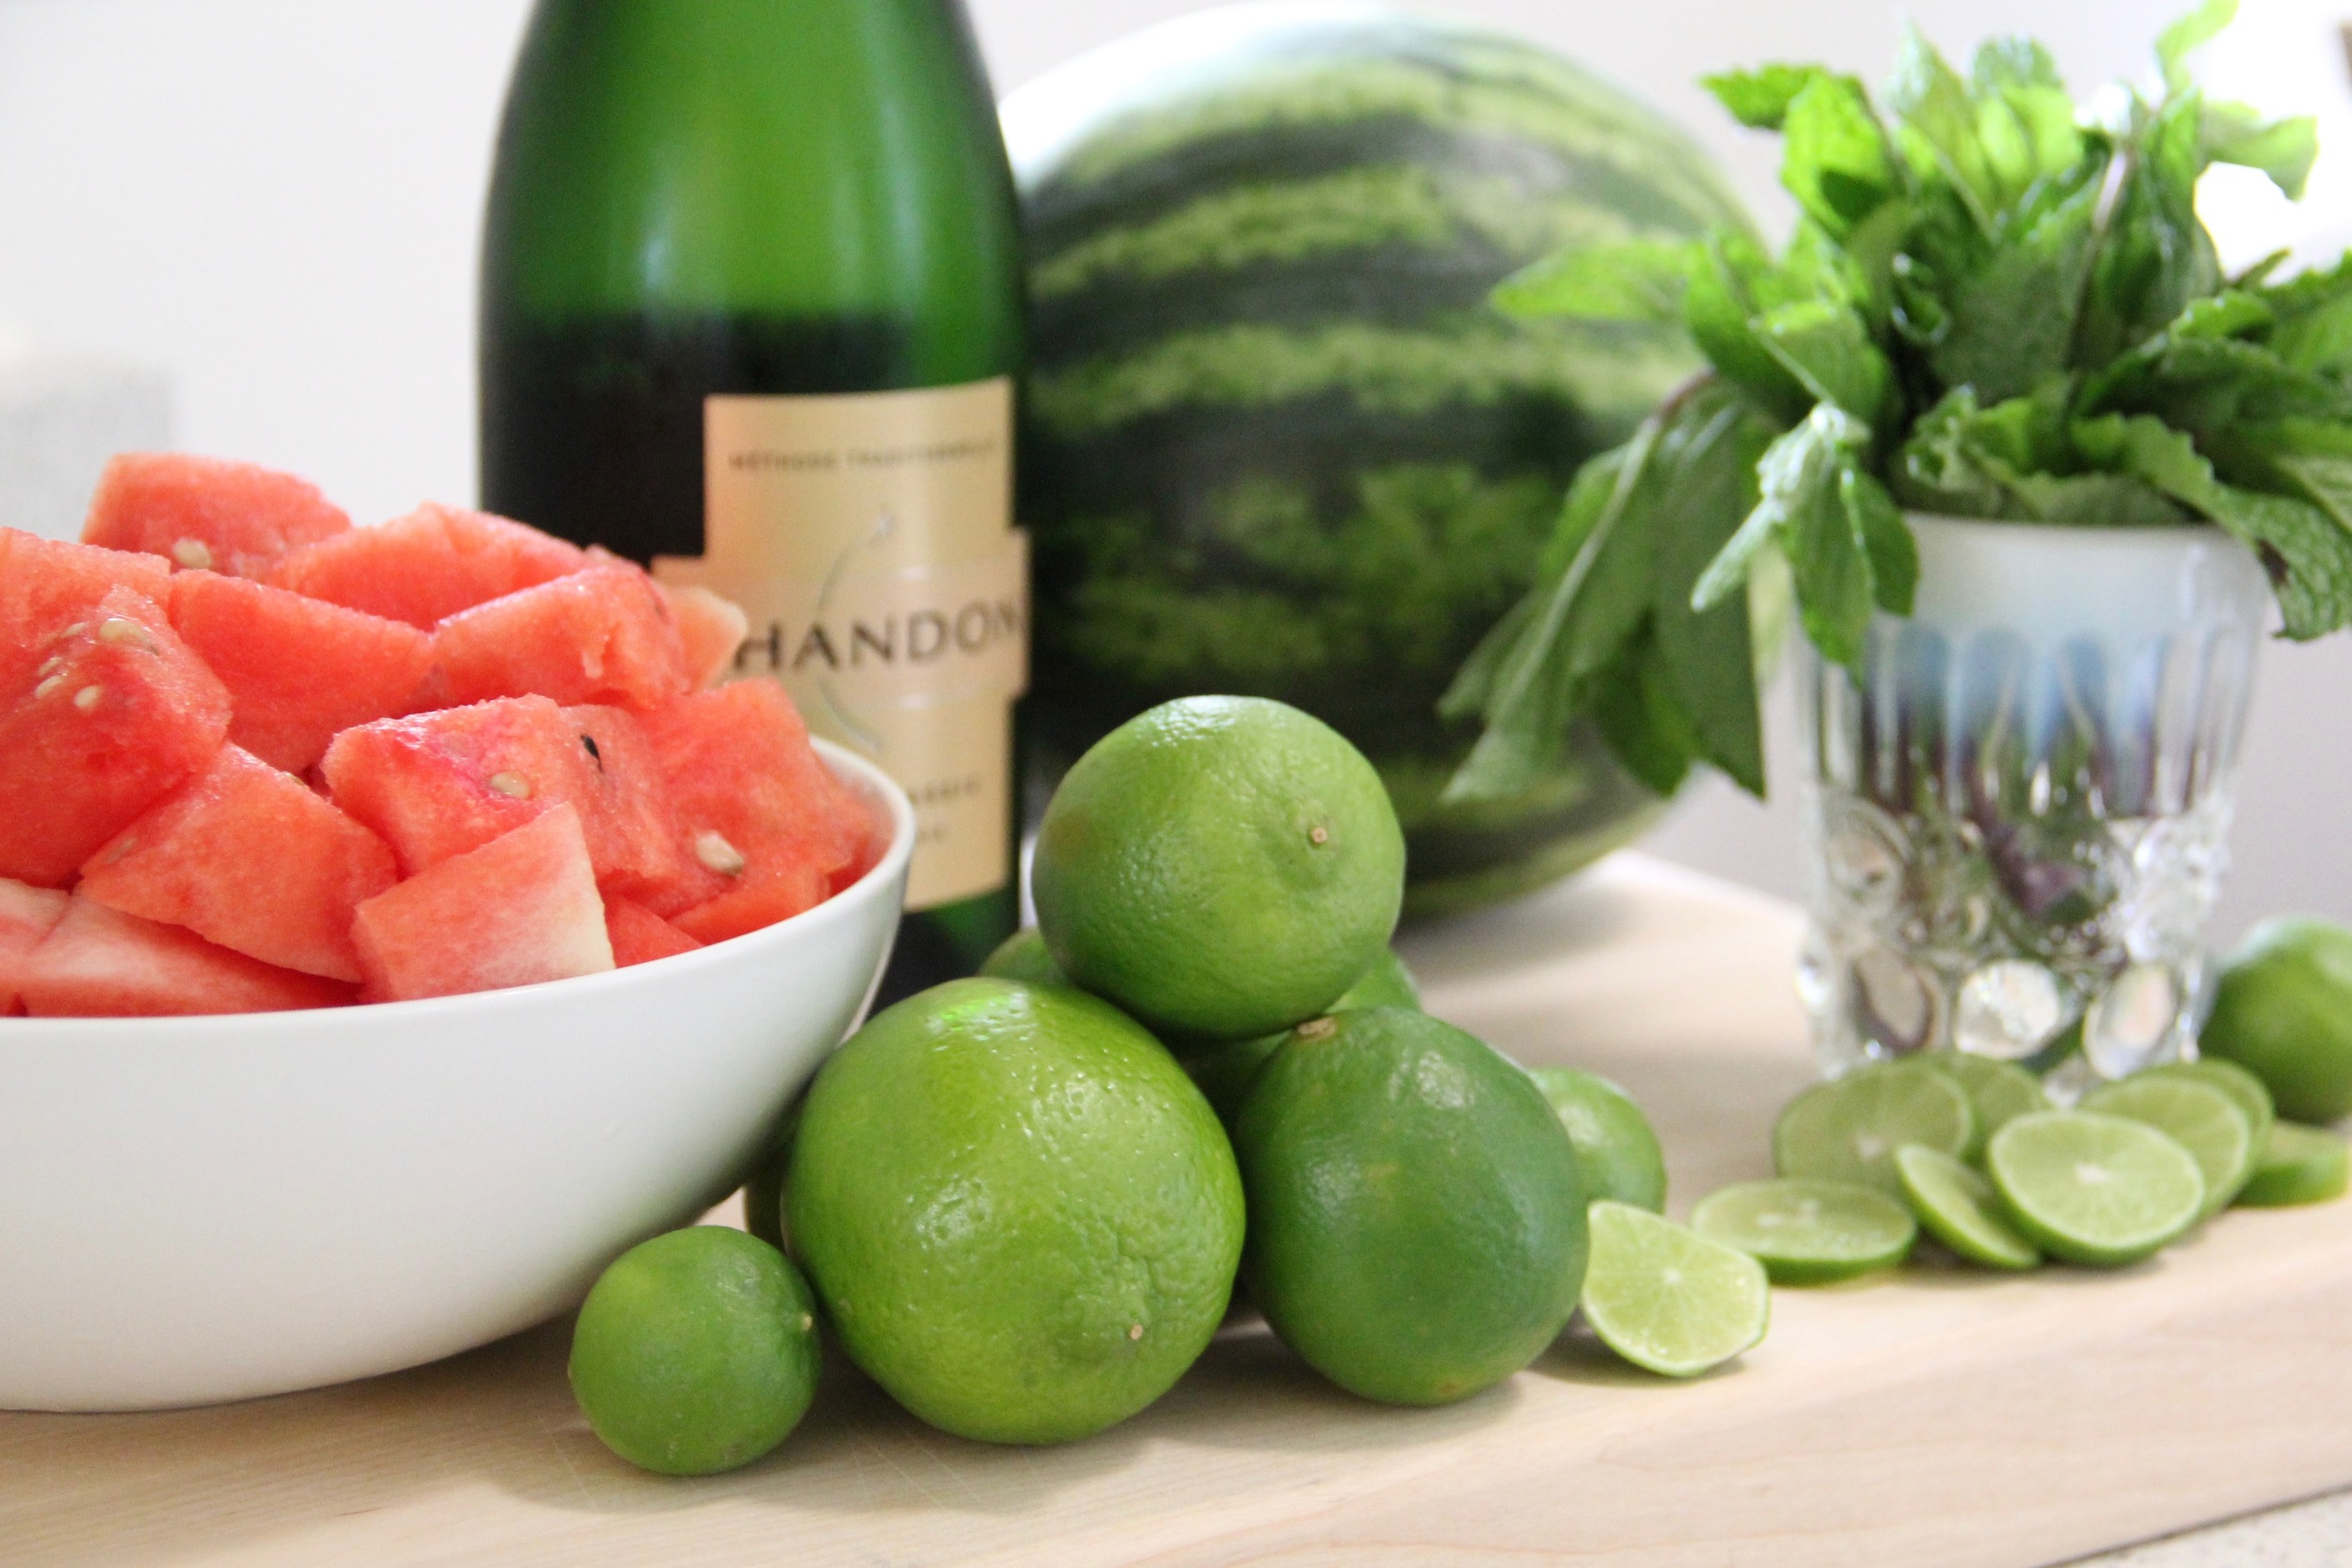
Ingredients

  • 1 Seedless Sugar Watermelon (i.e. a small watermelon)
  • 1 Bottle Sparkling Wine, Prosecco or Champagne (*I suggest using Chandon)
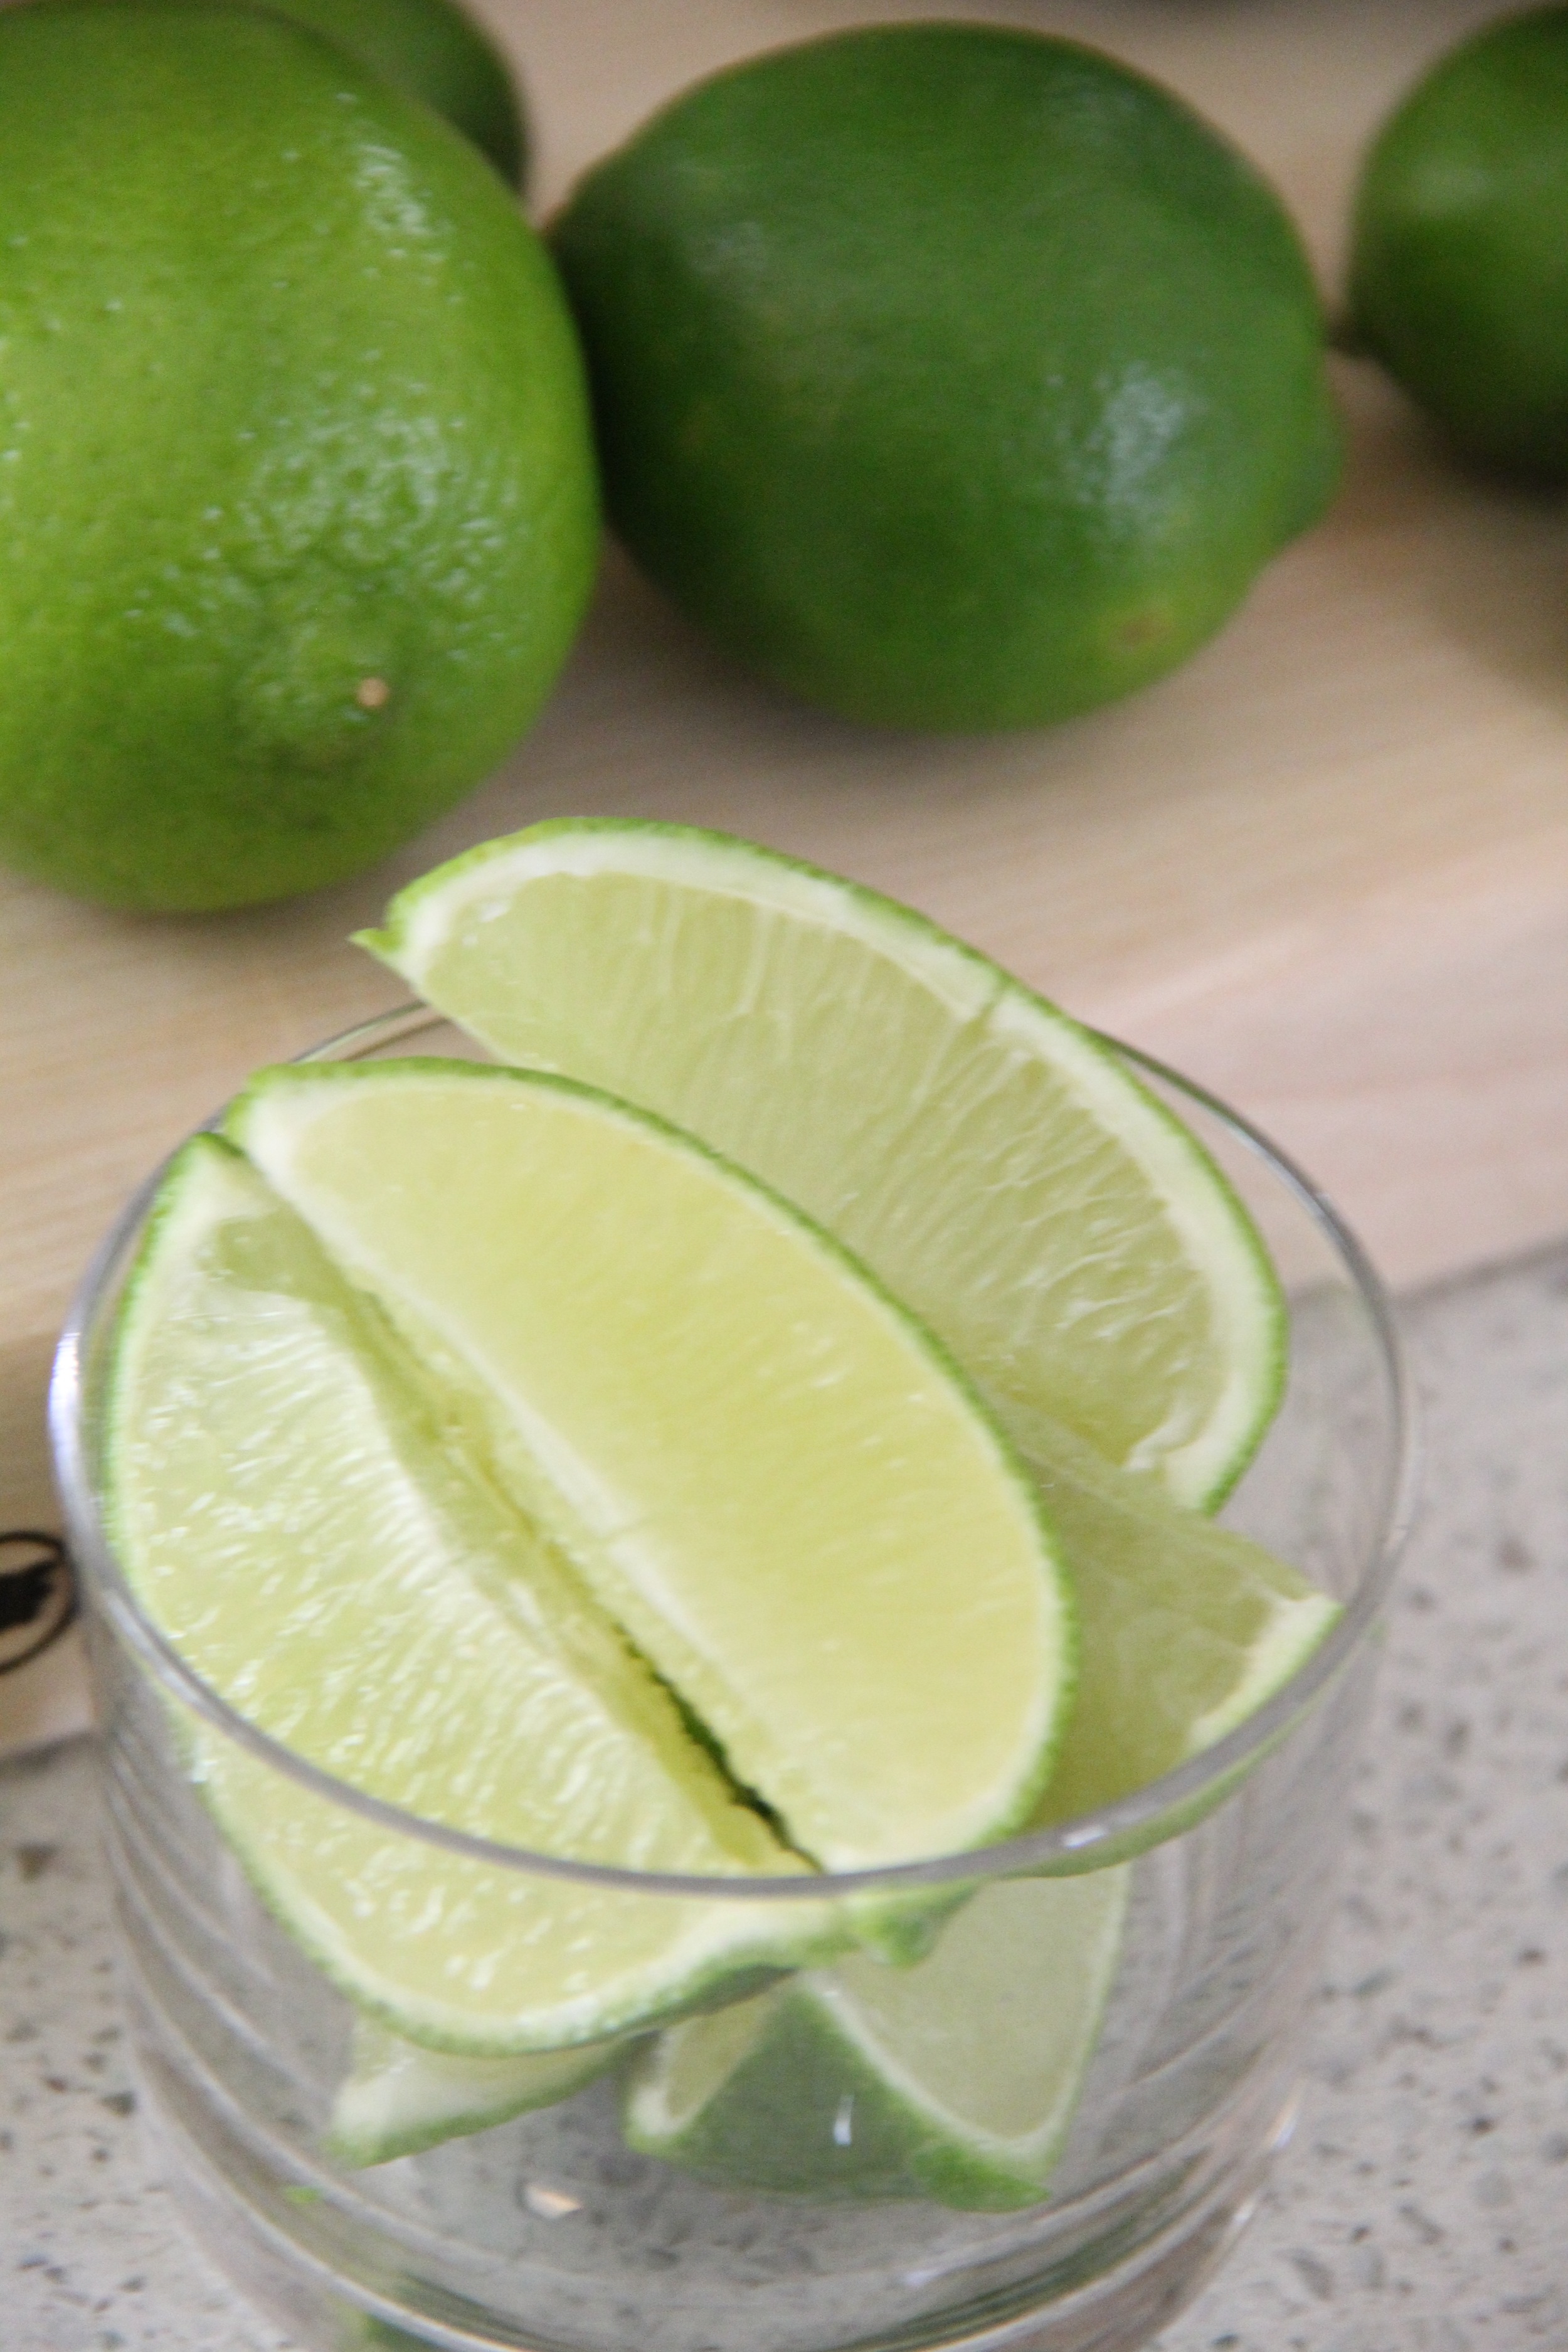
  • 1 Large Lime (cut into wedges)
  • 1-2 Key Limes (for garnish)
  • Fresh Mint Leaves
Watermelon Mimosa Step 1.jpg
Watermelon Mimosa Step 2.jpg
Watermelon Mimosa Step 3.jpg
Watermelon Mimosa Step 4.jpg
Watermelon Mimosa Step 6.jpg
Watermelon Mimosa Step 5.jpg
Watermelon Mimosa Step 7.jpg
Watermelon Mimosa Step 8.jpg

Instructions

  1. Cut up a seedless watermelon into 1 inch cubes (*Be sure to remove any remaining seeds from watermelon meat)
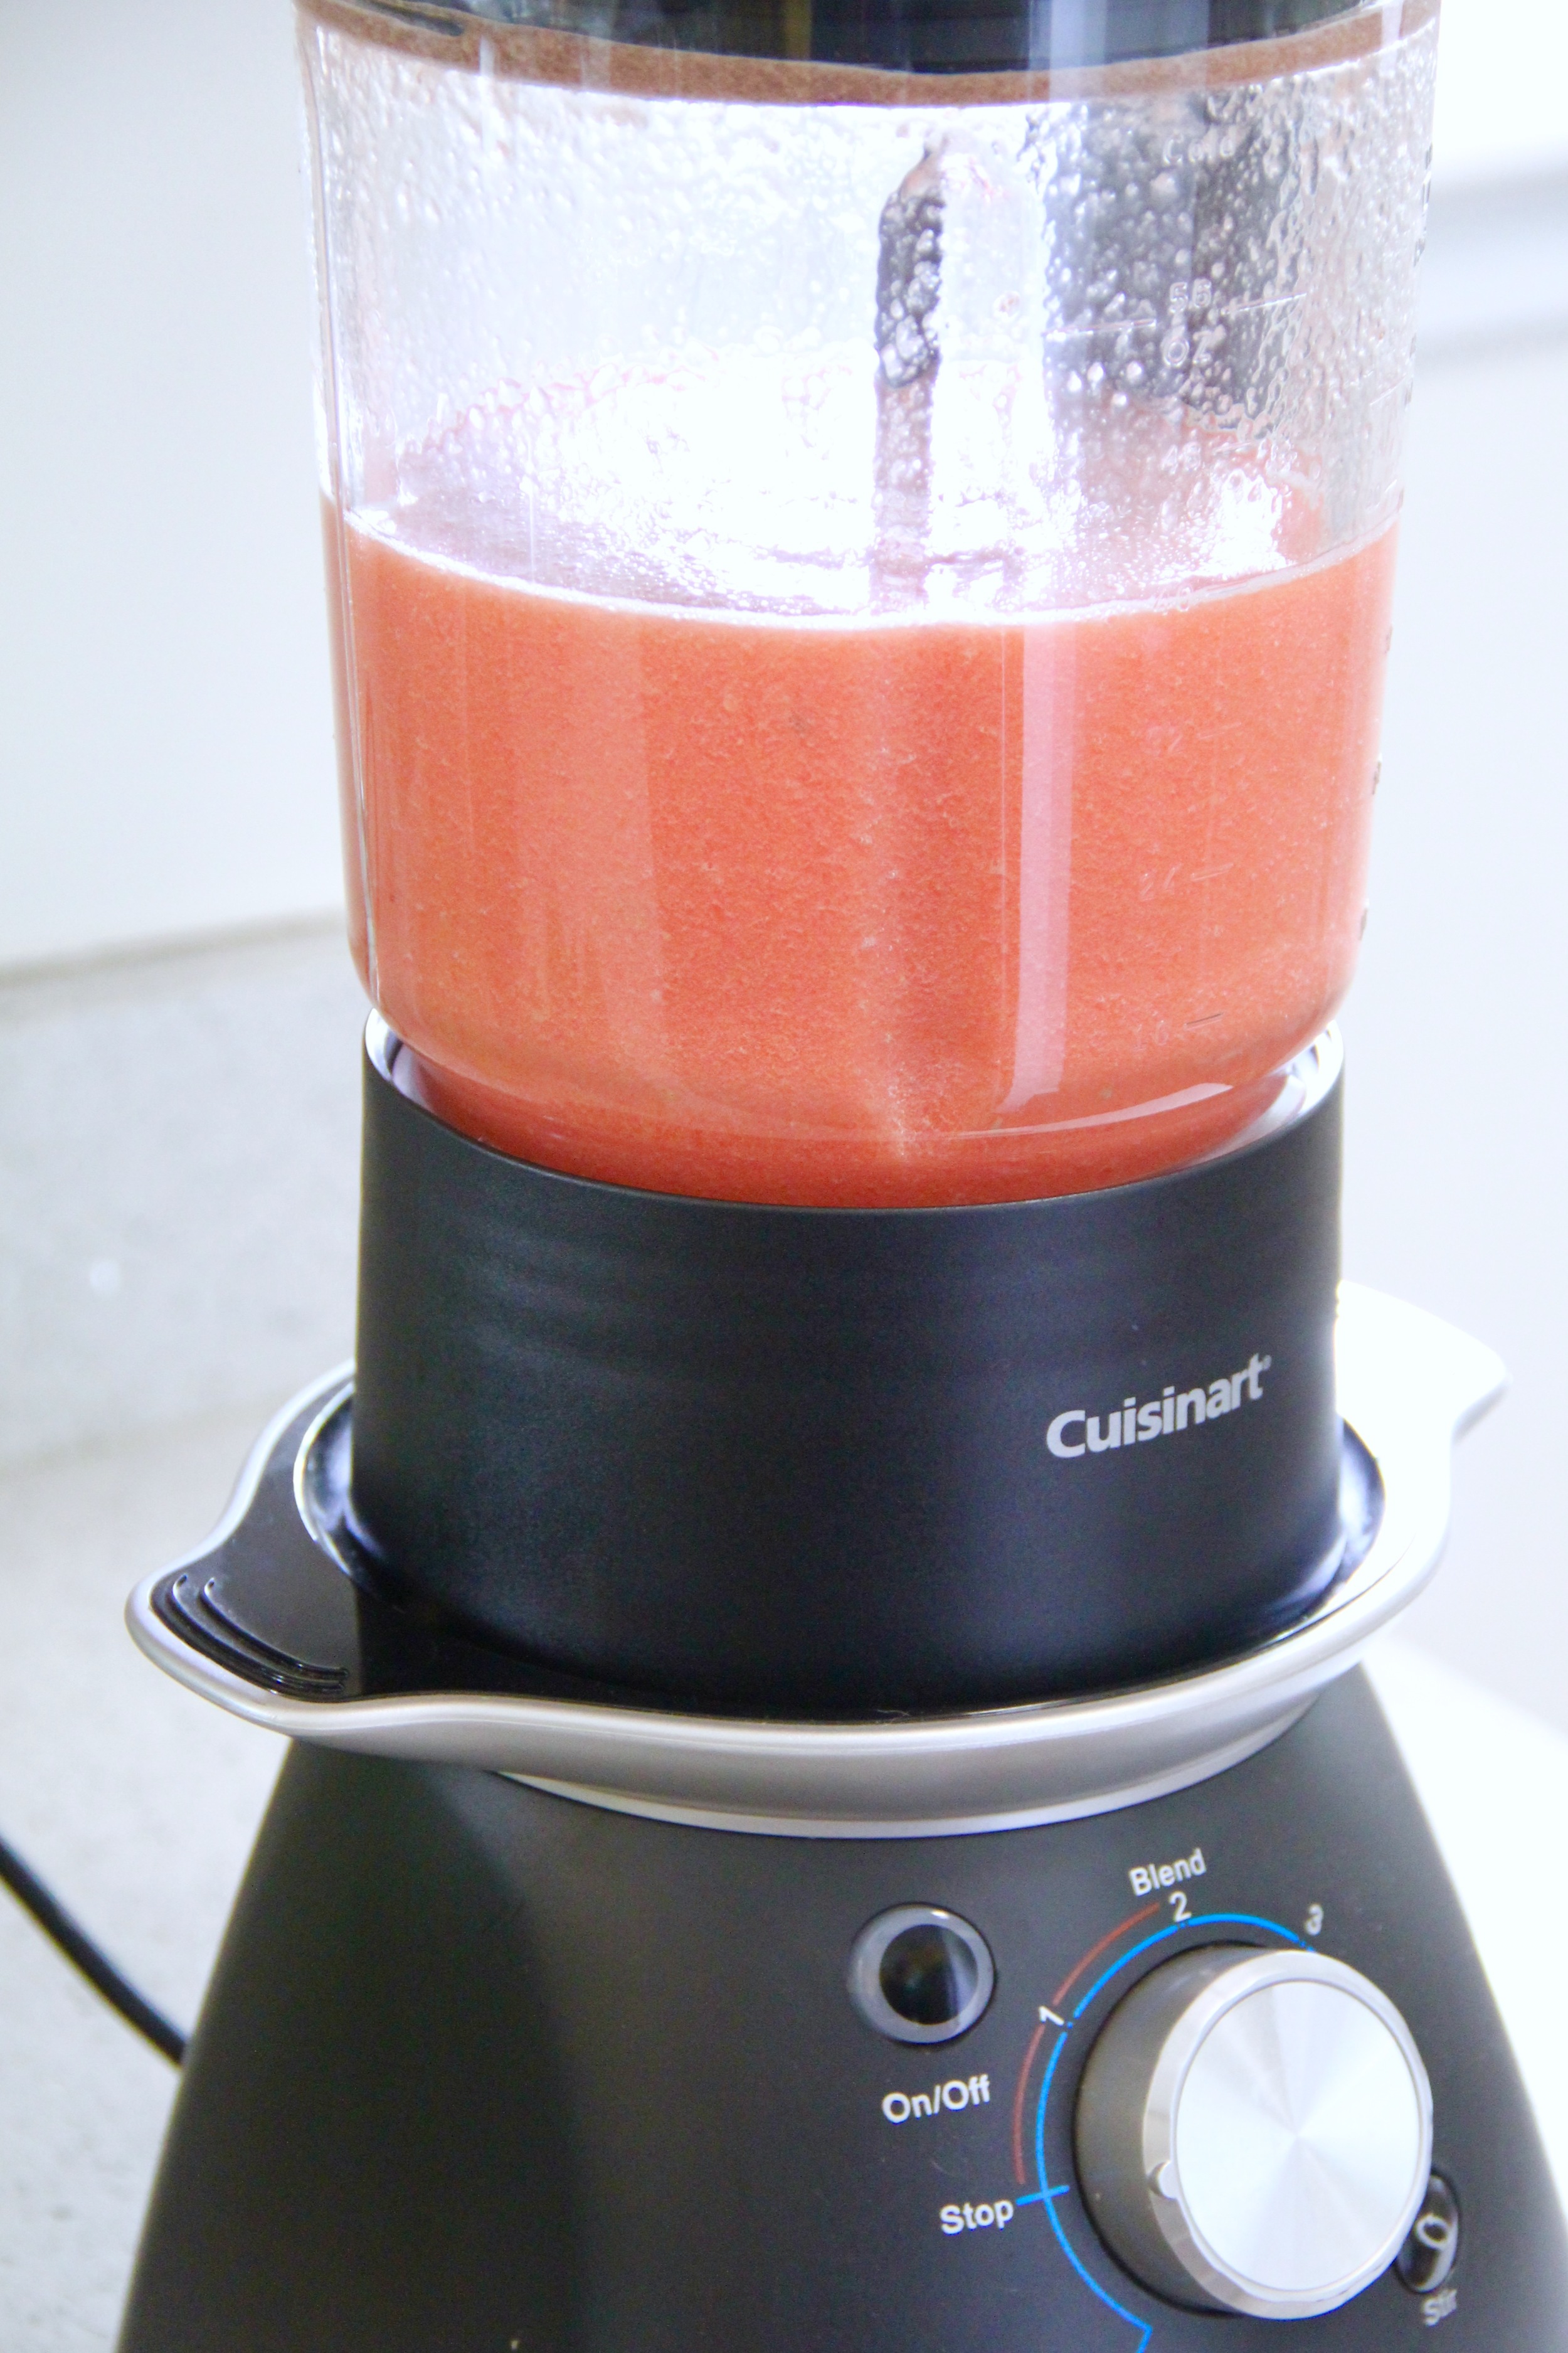
  2. Place watermelon in a blender or food processor and blend until smooth
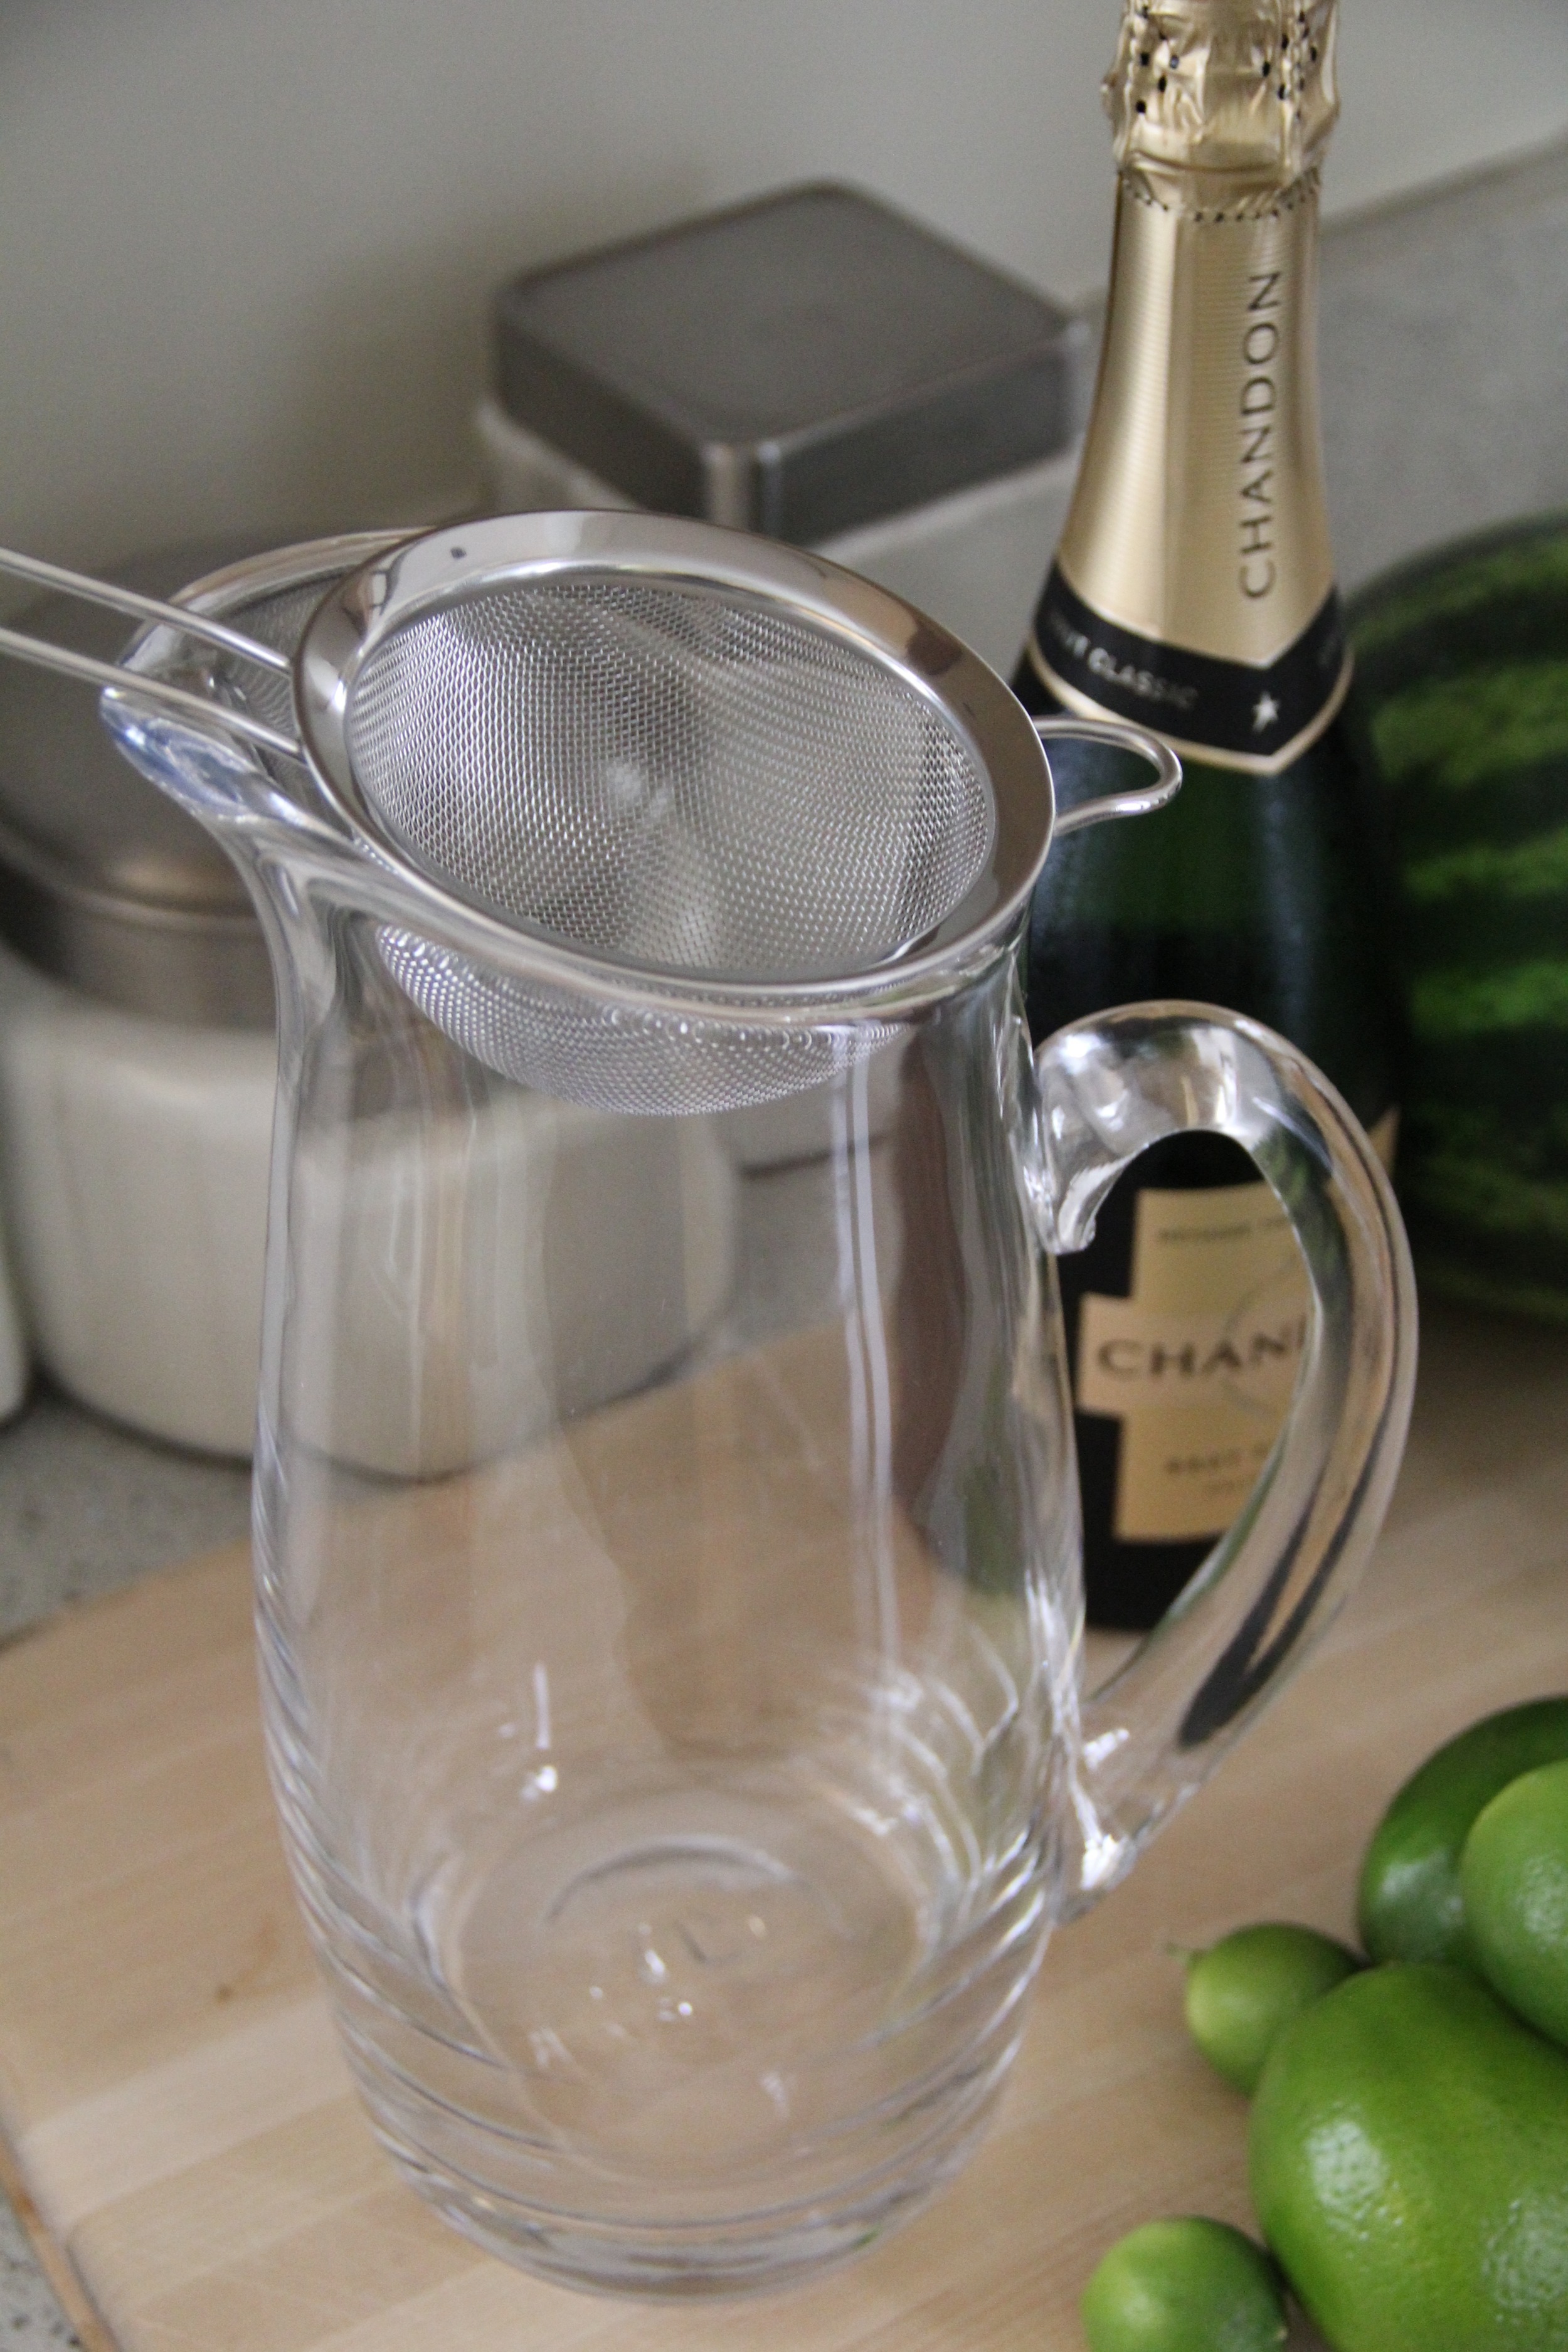
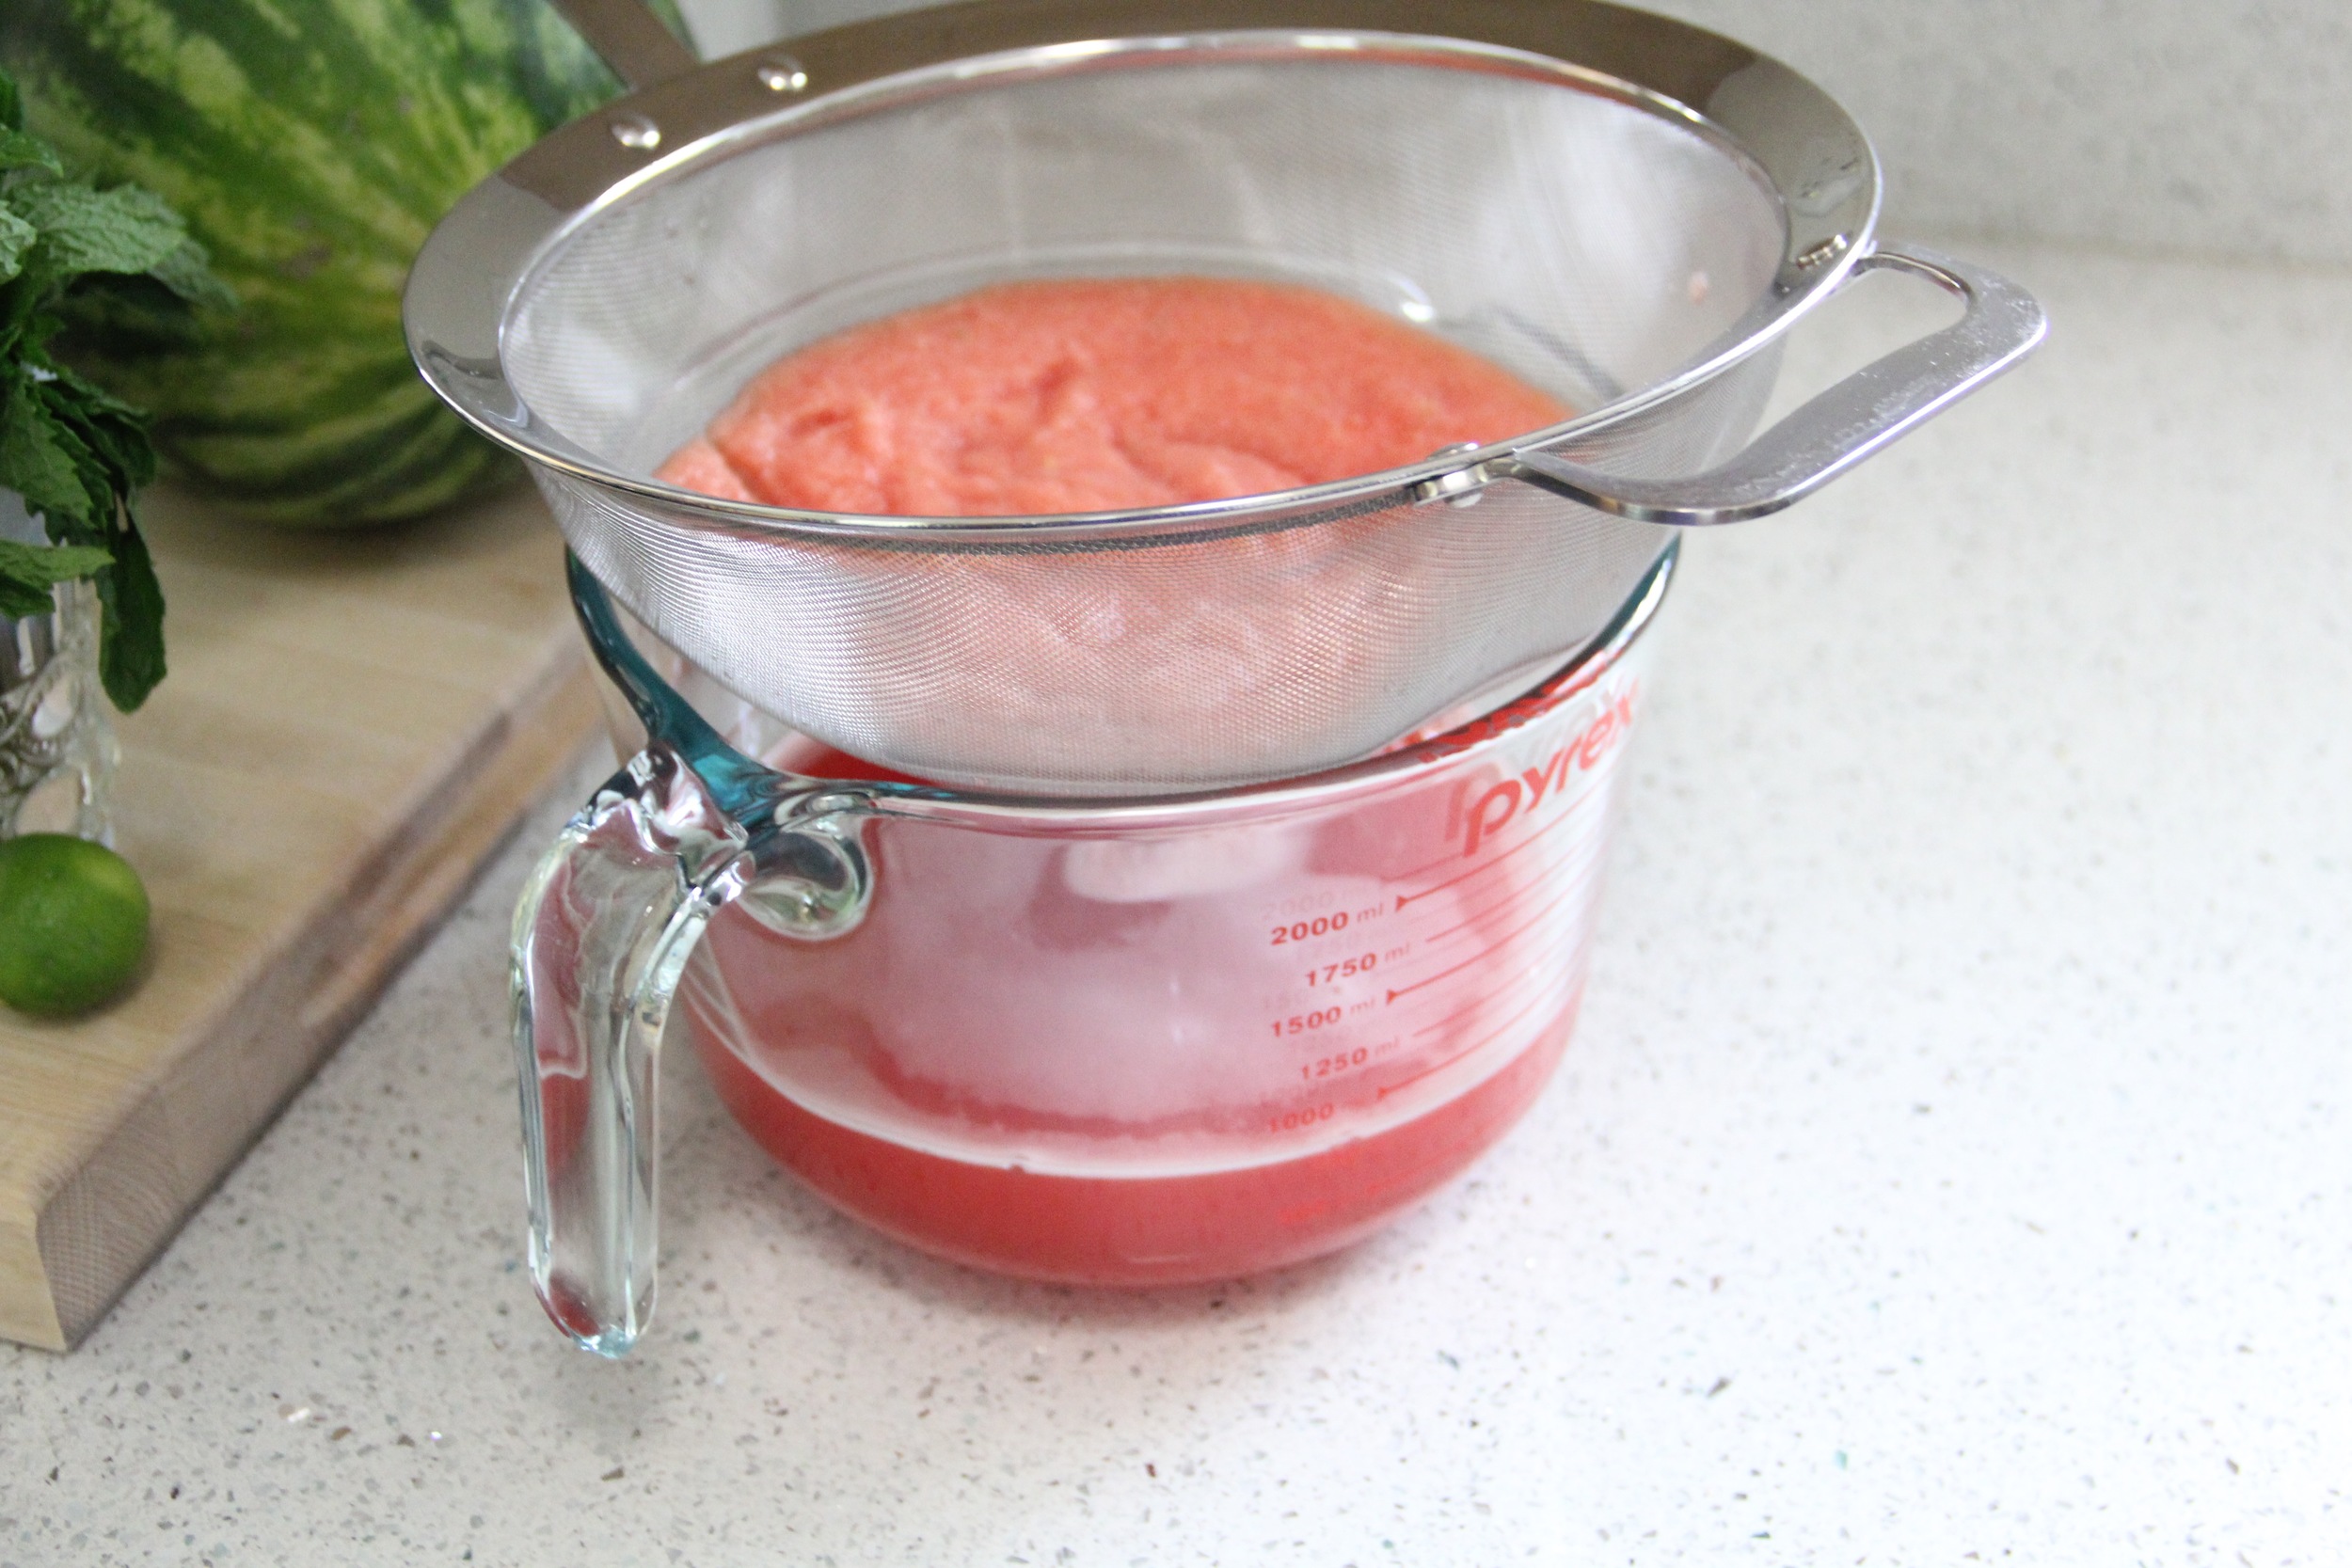
  3. Fit a large sieve over a wide-mouthed bowl or pitcher (*I tried using a smaller sieve that fit straight on top of the pitcher and it took forever to strain, so I highly recommend straining the watermelon contents in a large sieve over a large bowl for efficiency)
  4. Pour blended watermelon contents into the sieve and allow liquid to drip through strainer for at least 20 minutes
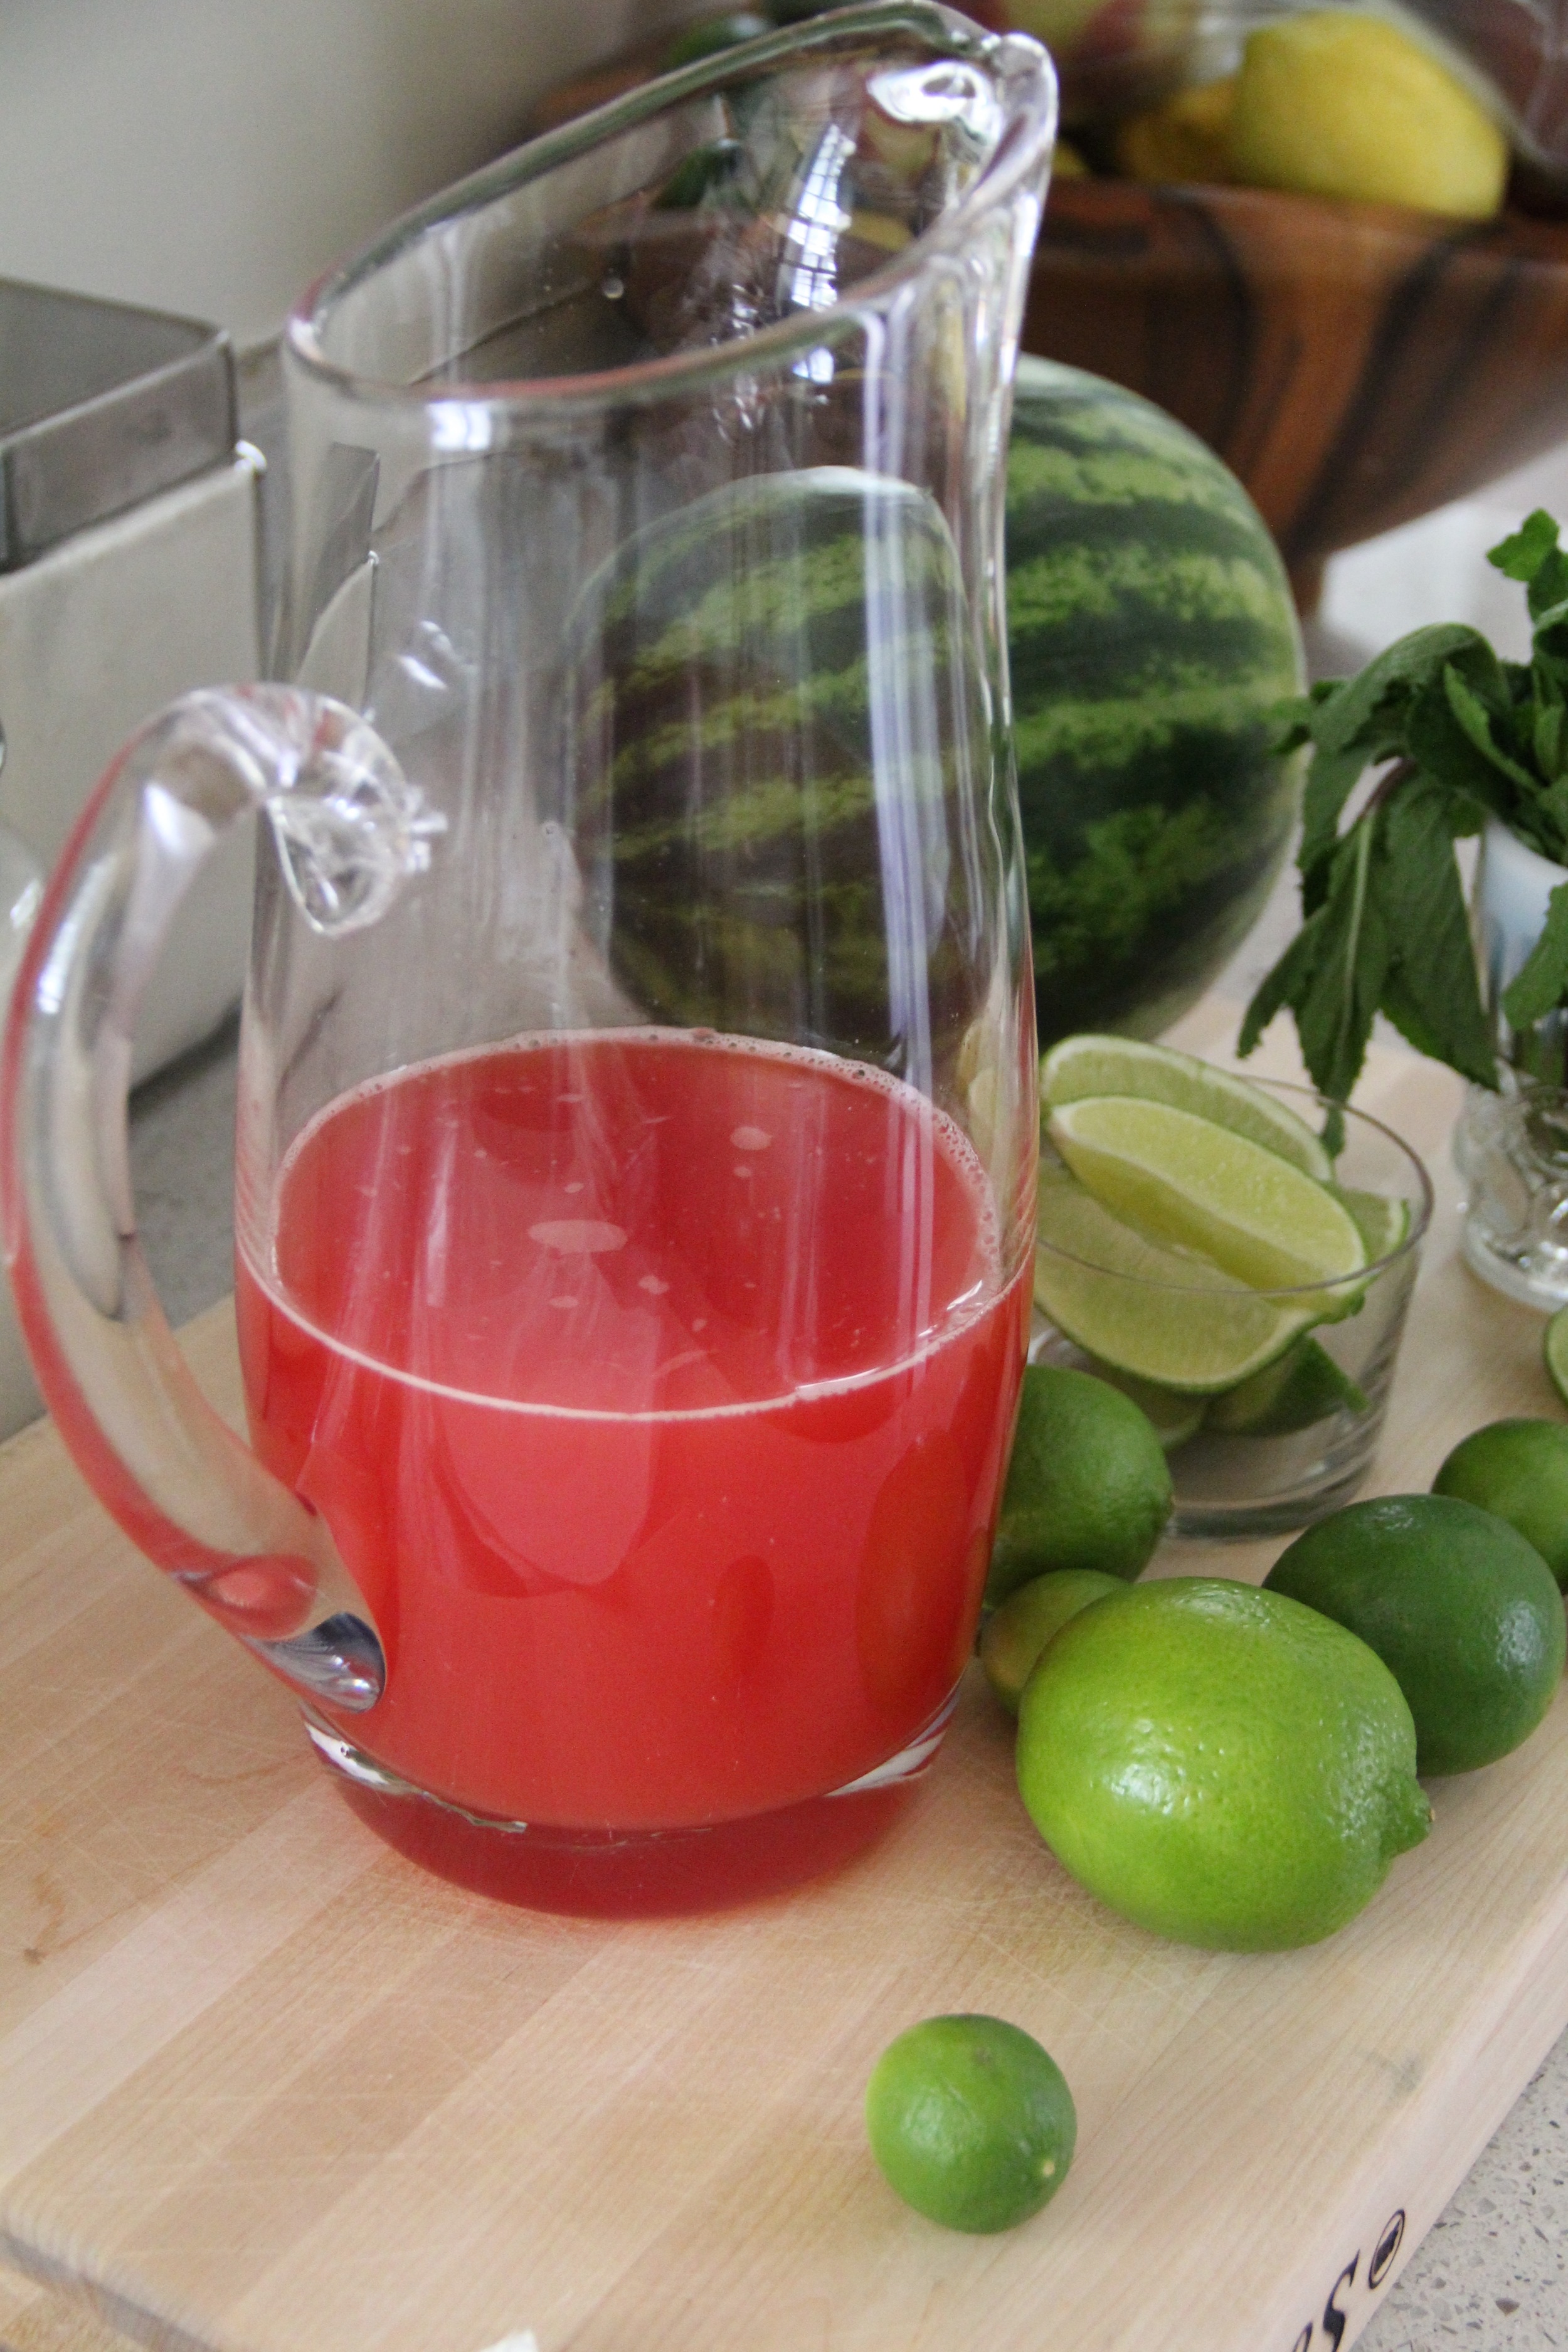
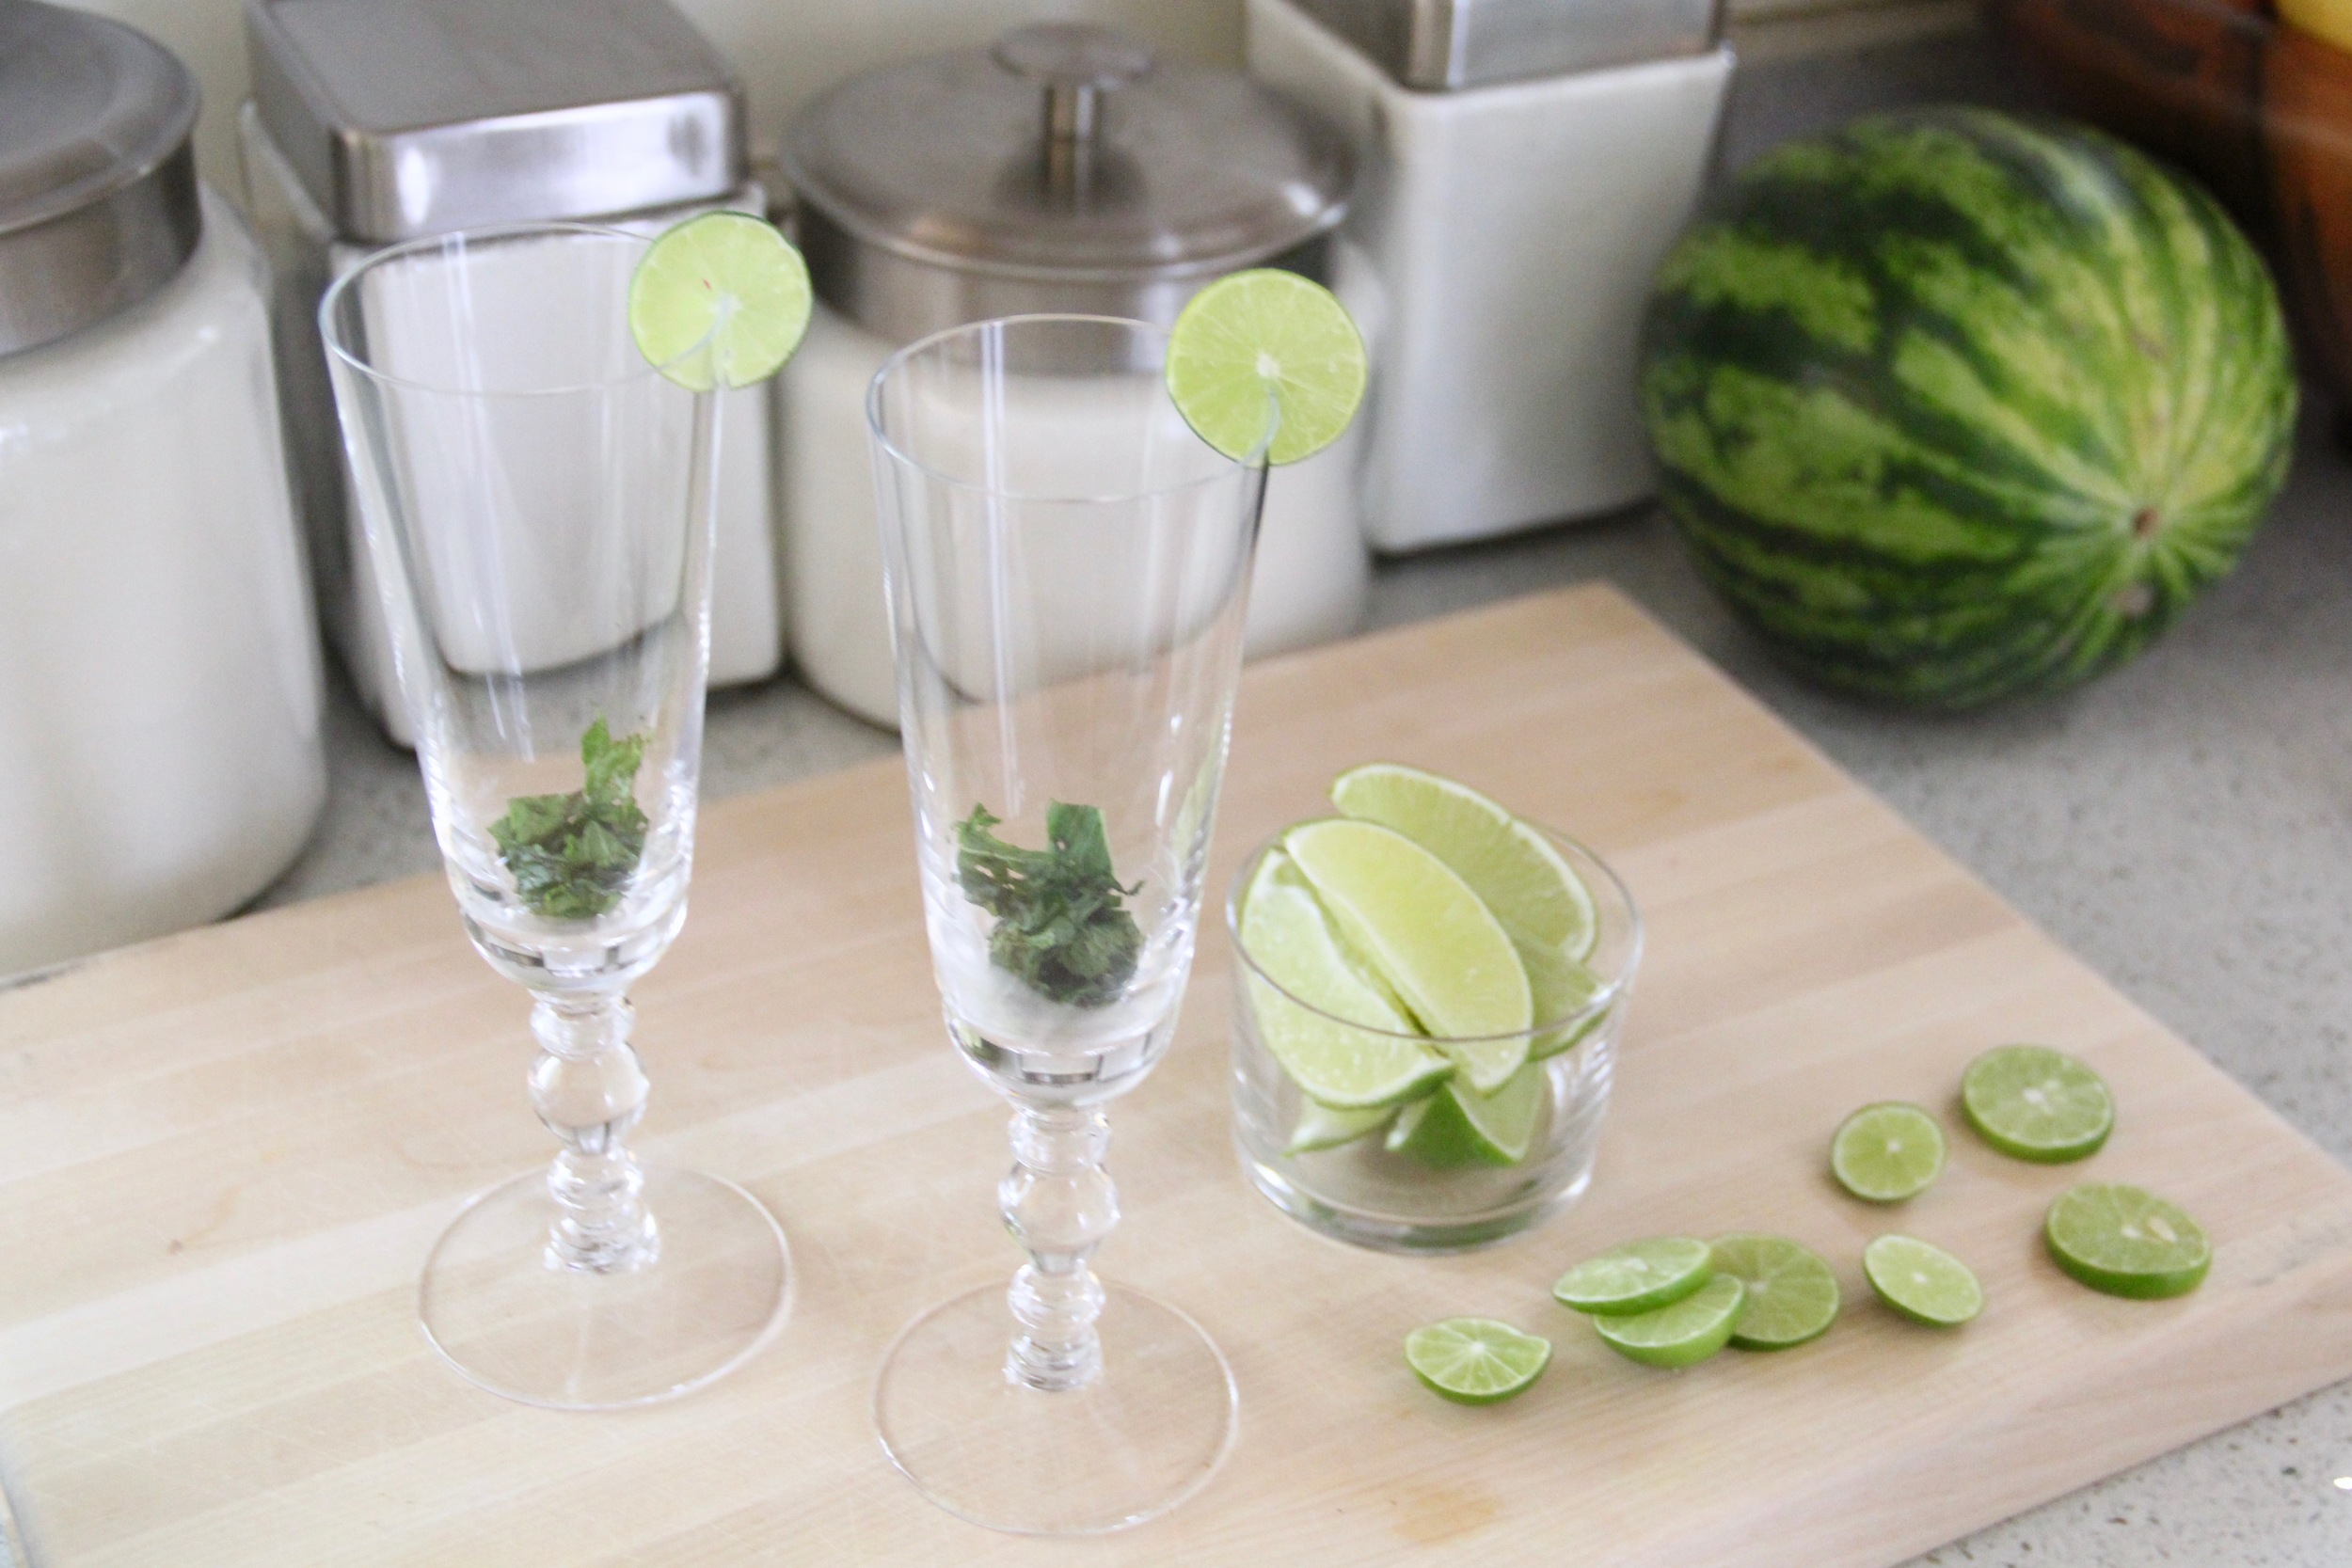
  5. Add the juice of a fresh lime wedge and about a teaspoon of freshly muddled/chopped mint leaves
  6. Then fill the flute 1/3-1/2 with the watermelon juice
  7. Fill the remainder of the glass with either a prosecco, sparkling wine or champagne
  8. Garnish with a slice of fresh key lime and serve
Watermelon Mimosas 2.jpg
In Food and Drink Tags Mimosa, Watermelon, Cuisinart, Brunch, Summer Cocktail, Spring Entertaining, Chandon, Woodberry Kitchen
Comment

Sea Salted Caramel Apple Pie Recipe

October 23, 2015 Callie Cagney
Sea Salted Caramel Apple Pie.JPG

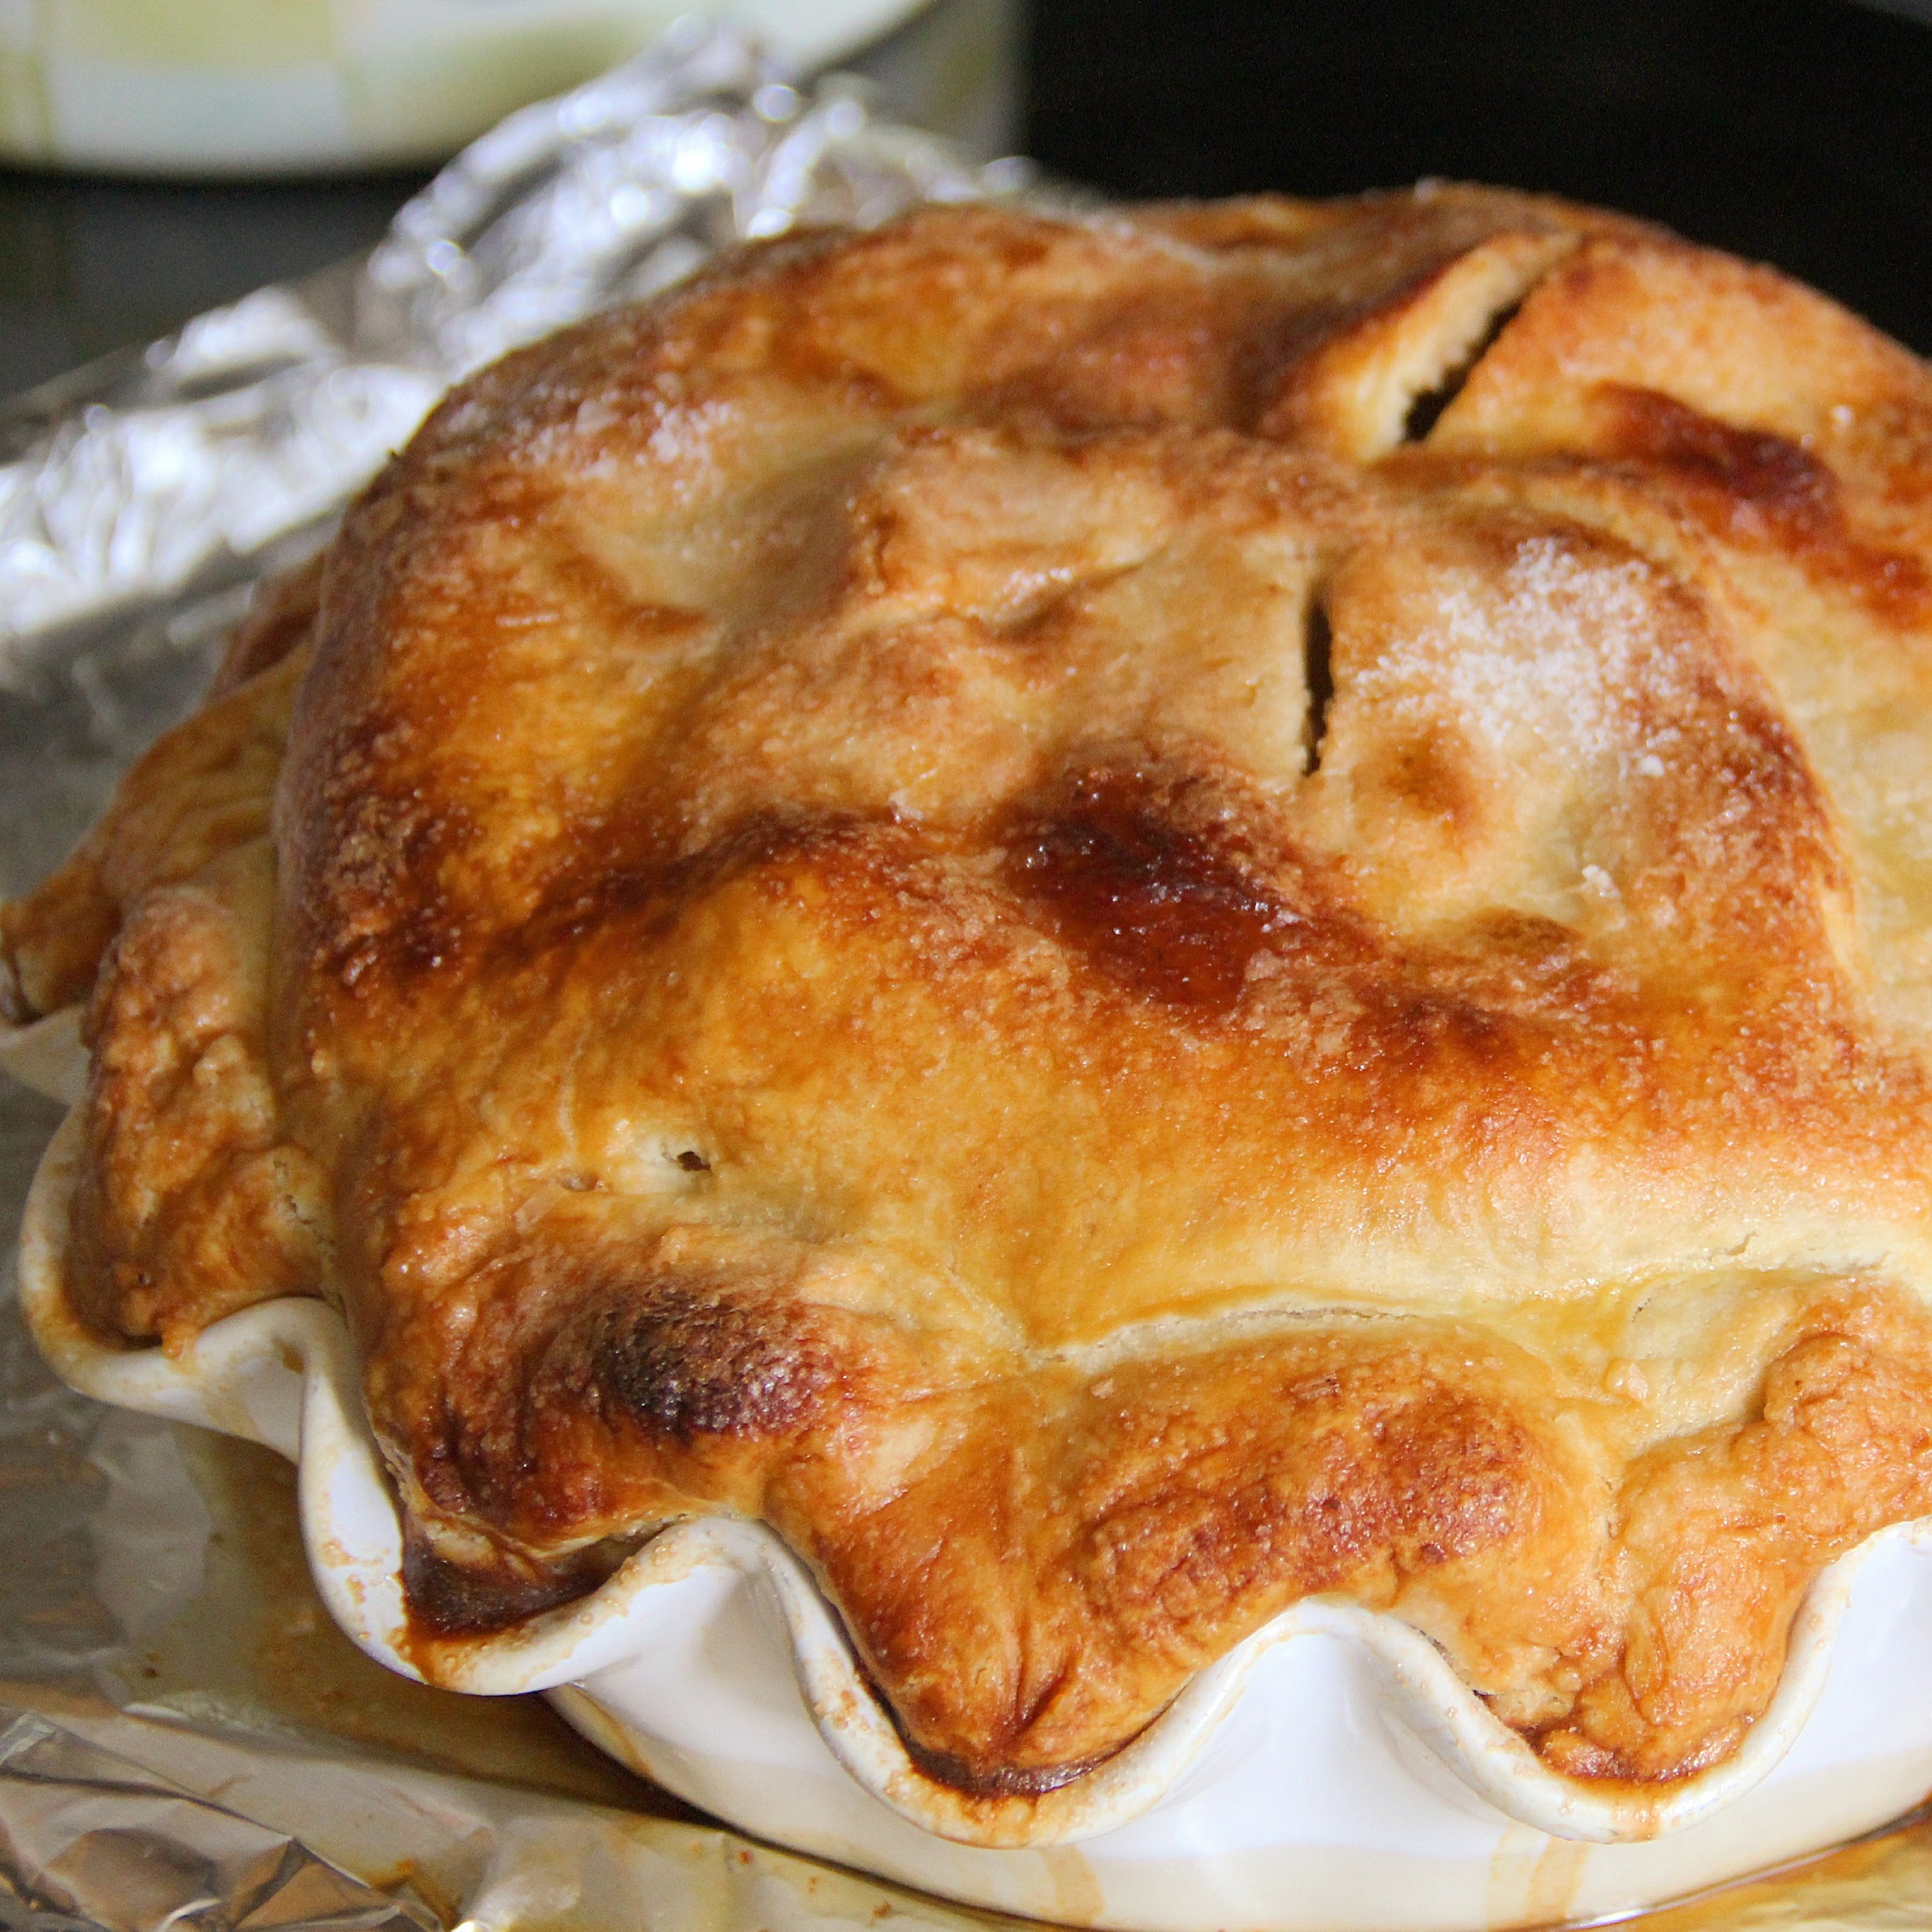
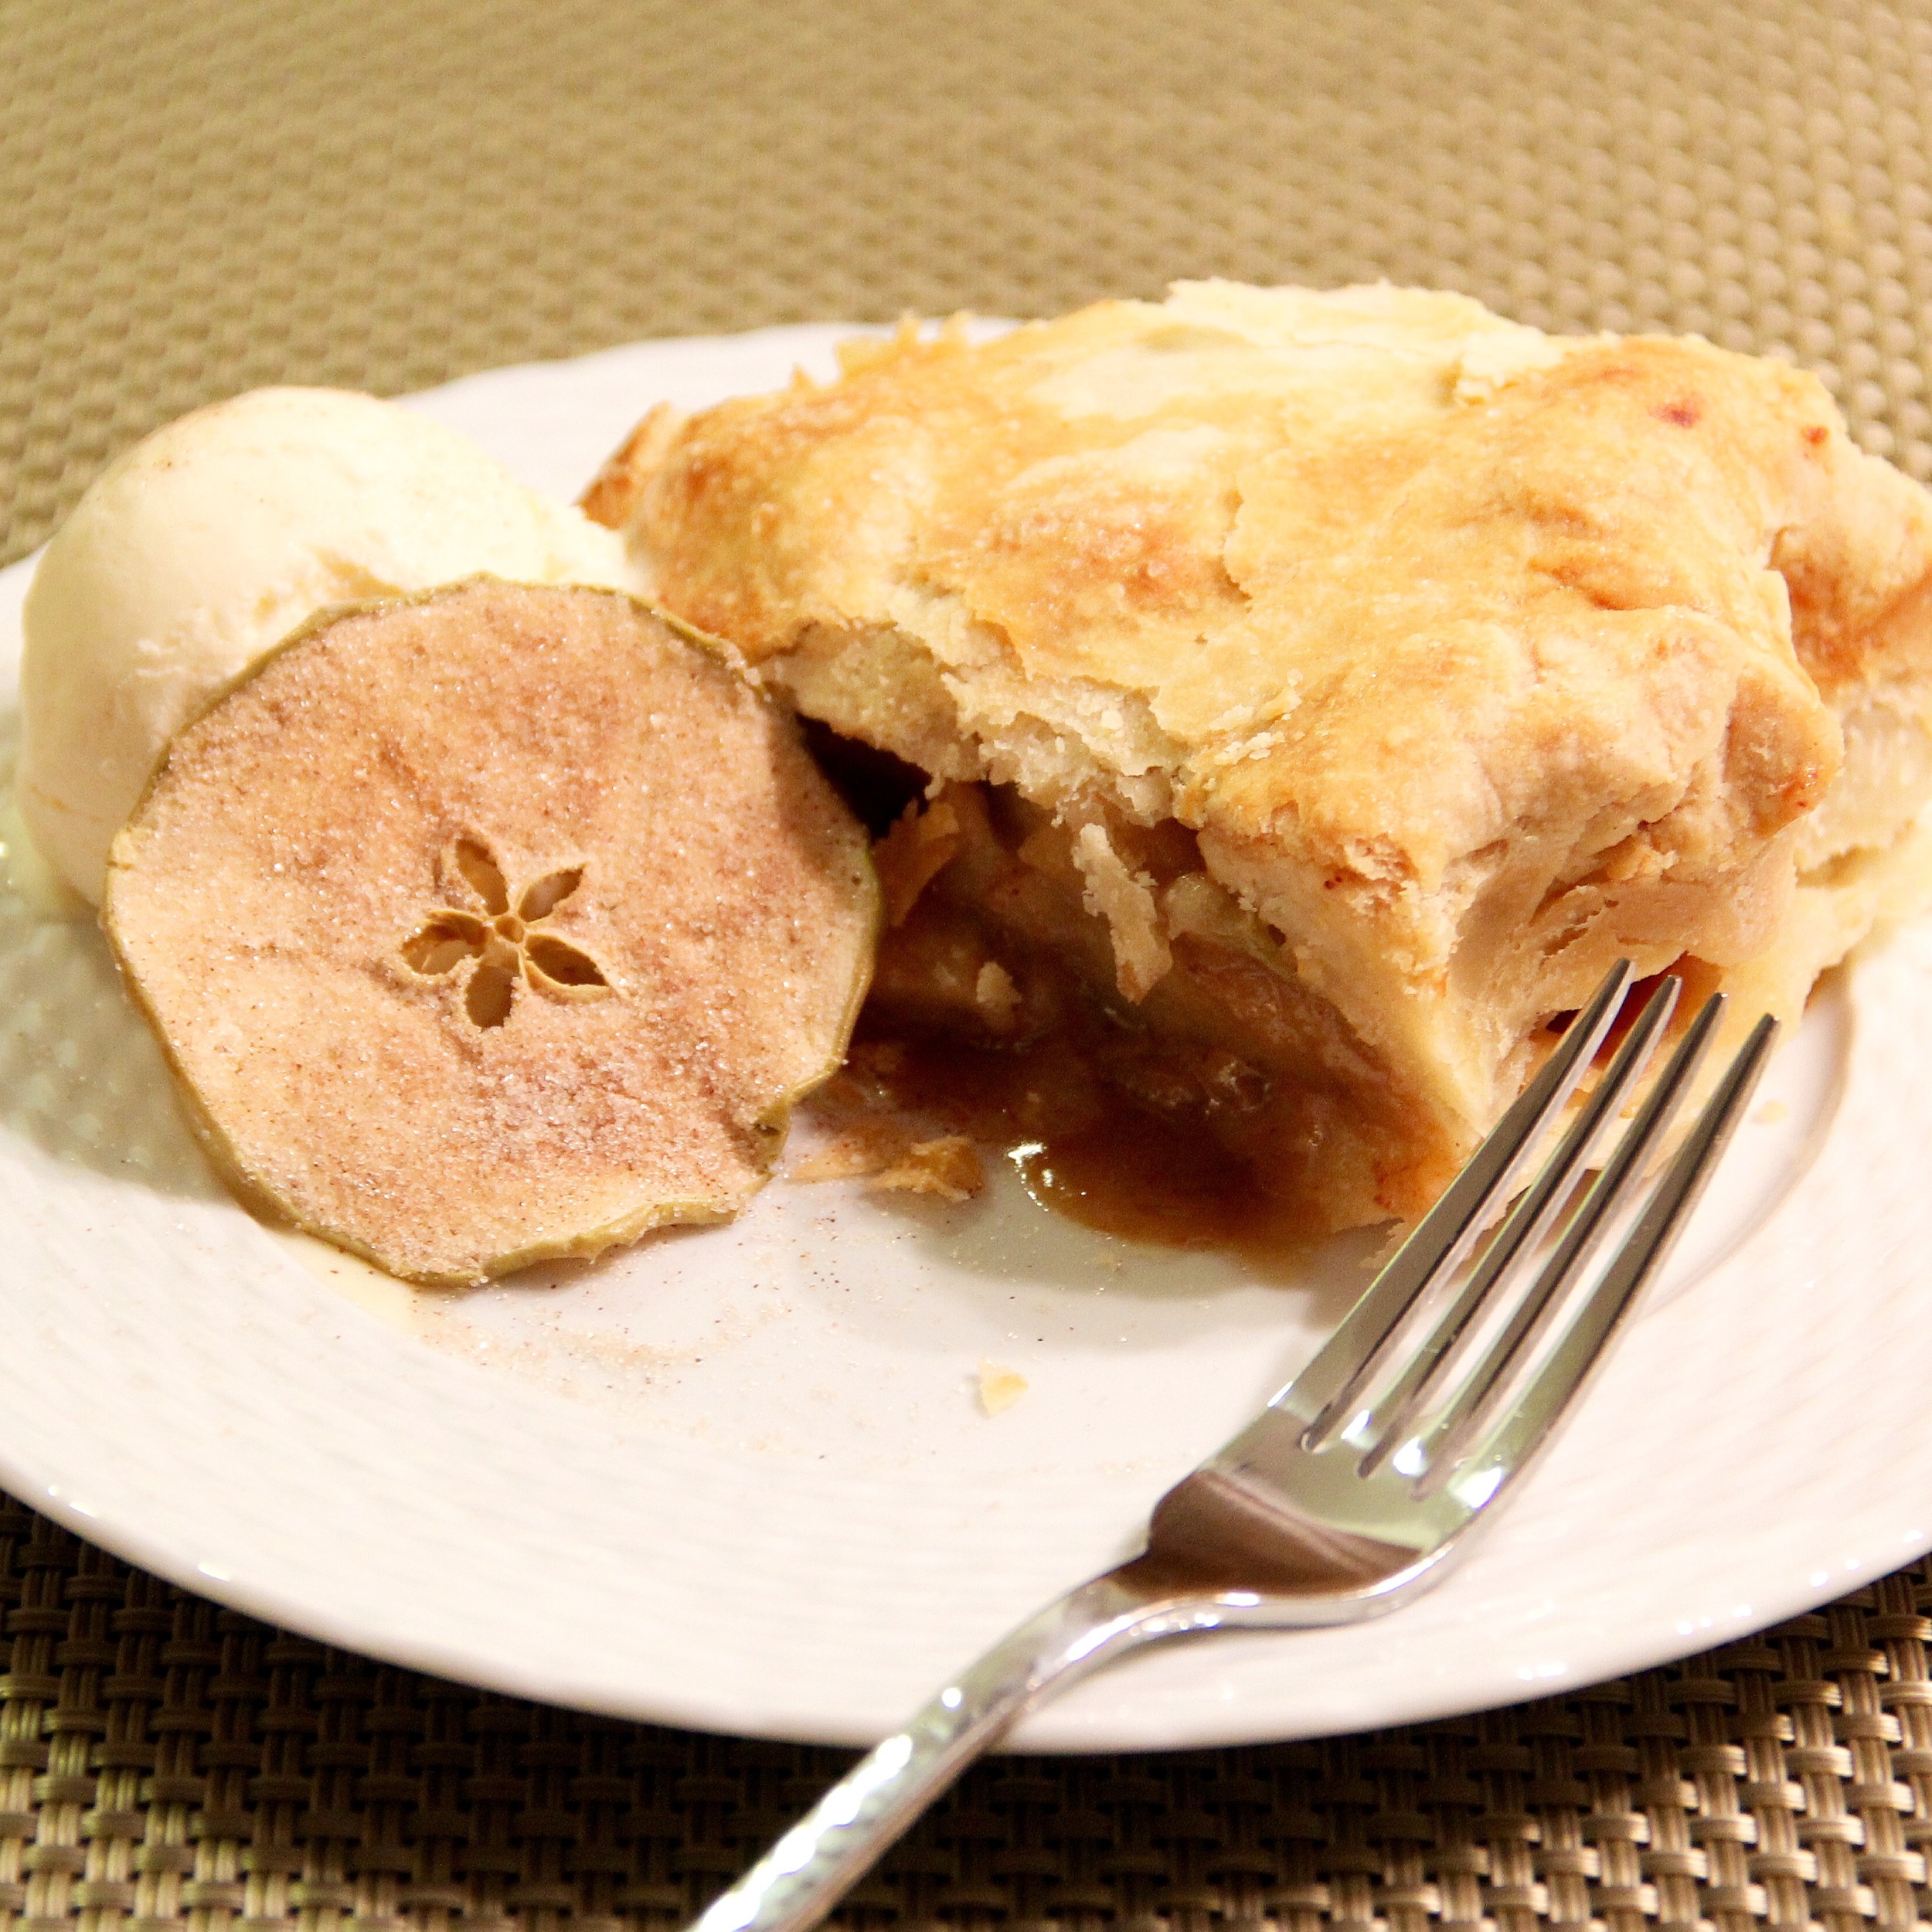
Now that we are in the heart of the Fall season, one question that I continue to be asked is "what apple pie recipe do I use?"  While I have posted numerous photos of my pies to my Instagram page and even written a post on my apple pie baking tips, the one thing I have still haven't done is share my favorite apple pie recipe.  My go-to apple pie recipe is actually a compilation of various recipes that I have pieced together to create what I think is a pretty exceptional apple pie.  Let me just say that making an apple pie from scratch is no joke, and you can expect the process from start to finish to take a little over 3 hours.  With that said, there really isn't anything better than a homemade apple pie.  Especially when apples are in peak season! This will be my third year making this recipe for Thanksgiving and it thrills me beyond to still receive requests for this pie on such a special occasion.  If you aren't afraid of a little kitchen time, this recipe is a must try!

Step 1: Apple Prep

  • 4 1/2lbs Granny Smith or Jonagold Apples, Cored, Peeled and Sliced Thin (1/4in thick)
  • Juice of 2 Lemons
  •  2 Tbs Granulated Sugar

Juice the lemons into a large mixing bowl, removing any seeds.  Dredge the prepped apple slices in the lemon juice.  Sprinkle sugar on top of lemon dredged apples.  Transfer apples to a colander placed over a bowl to soften slightly and release some of the juices 30min-2hrs.  (*I realize that is a large time range.  2hrs is optimal but 30minutes works fine for those under tighter time constraints).  Reference my apple pie baking tips post and/or this Alton Brown video to see the importance of draining your apples before baking.  

Step 2: Pie Crust Instructions

  1. For homemade (my preference), I use Ina Garten's Perfect Pie Crust Recipe
  2. For store bought, you really can't go wrong with Pillsbury Refrigerated Pie Crust

**Note- Homemade dough needs to be chilled for at least 30 minutes once it has been made.  While it doesn't require as much time as the apple draining, it is still wise to get this step taken care of earlier on in the baking process.  

Step 3: For the Caramel Sauce...

This portion of the recipe comes from a very famous pie company in Brooklyn, Four & Twenty Blackbirds.  They are famous for their Sea Salted Caramel Apple Pie.  The concept for this recipe and the actual caramel sauce recipe are both credited to this fabulous company.  Here is a link to the recipe for the caramel sauce.  For added convenience, I have also listed the ingredients for the caramel sauce below:

  • 1c Granulated Sugar
  • 1/4c Water
  • 1 Stick Unsalted Butter (or 1/4 cup)
  • 1/2c Heavy Whipping Cream

*Note- Once the caramel sauce is made, set aside until it is time to assemble the pie. 

Step 4: Apple Filling Dry Mixture

Once your apples have drained, toss them in a large bowl with the following dry ingredient mixture:

  • 2 Tbs All Purpose Flour
  • 1/3 c Granulated Sugar
  • 1/2 tsp Ground Cinnamon
  • 1/4 tsp Freshly Grated Nutmeg
  • 1/8 tsp Allspice
  • 1/4 tsp Kosher Salt

Step 5: Oven/Baking Prep

  1. Preheat oven to 400 degrees fahrenheit and move oven rack to the bottom third level
  2. Line a baking sheet with aluminum foil (baking sheet should have raised edges, like this one)
  3. Pull out an extra sheet of aluminum foil and place it to the side of your oven
  4. Make the egg wash
  5. Generously flour the surface you plan to use for rolling out your pie dough and flour your rolling pin as well.  

Step 6: Pie Assembly

  1. Cut your chilled pie crust dough in half, roll out one half and place the other half back in the fridge
  2. Transfer your rolled out crust to the pie dish
  3. Add half of the apple mixture to the pie dish, making sure to pack your apples tightly. 
  4. Pour half of the caramel mixture on top of the apples
  5. Lightly sprinkle about a 1/4tsp of Maldon or Flaked sea salt on top
  6. Layer the remaining apples on top, again remembering to pack them tightly
  7. Pour the remainder of the caramel sauce over the apples
  8. Sprinkle another 1/4tsp of flaked salt on top of the caramel
  9. Place small cubes of butter across the top of the pie (approximately 2Tbs total)
  10. Roll out the other half of the pie crust and then place on top of the pie to cover
  11. Crimp the pie edges and trim off any extra crust
  12. Using a pastry brush, gently brush the egg wash over the entire crust (including the crimped edges)
  13. Sprinkle about 1 Tbs of granulated sugar and 1/4tsp of sea salt on top of pie crust
  14. Use a pairing knife to cut approximate 5 vents in the top of the pie
  15. Place the pie dish on top of the lined baking sheet and then put everything into the oven
  16. Bake for 25-30min uncovered, then cover the pie loosely with foil, turn the heat down to 375 degrees fahrenheit and continue to bake for another 45-50 minutes 

*Note- you will know your pie is done when you are able to stick a knife or bamboo skewer through a vent at the top of the pie all the way down to the base of the pie without feeling any resistance.  In addition, pie juices will start to escape through the vents when the pie is done baking (not always but often).  

IMG_3989.JPG

In Food and Drink Tags Recipe, Ina Garten, Cuisinart, Emile Henry
Comment

End of Summer Pesto

August 31, 2015 Callie Cagney
Basil Pesto Gift.JPG

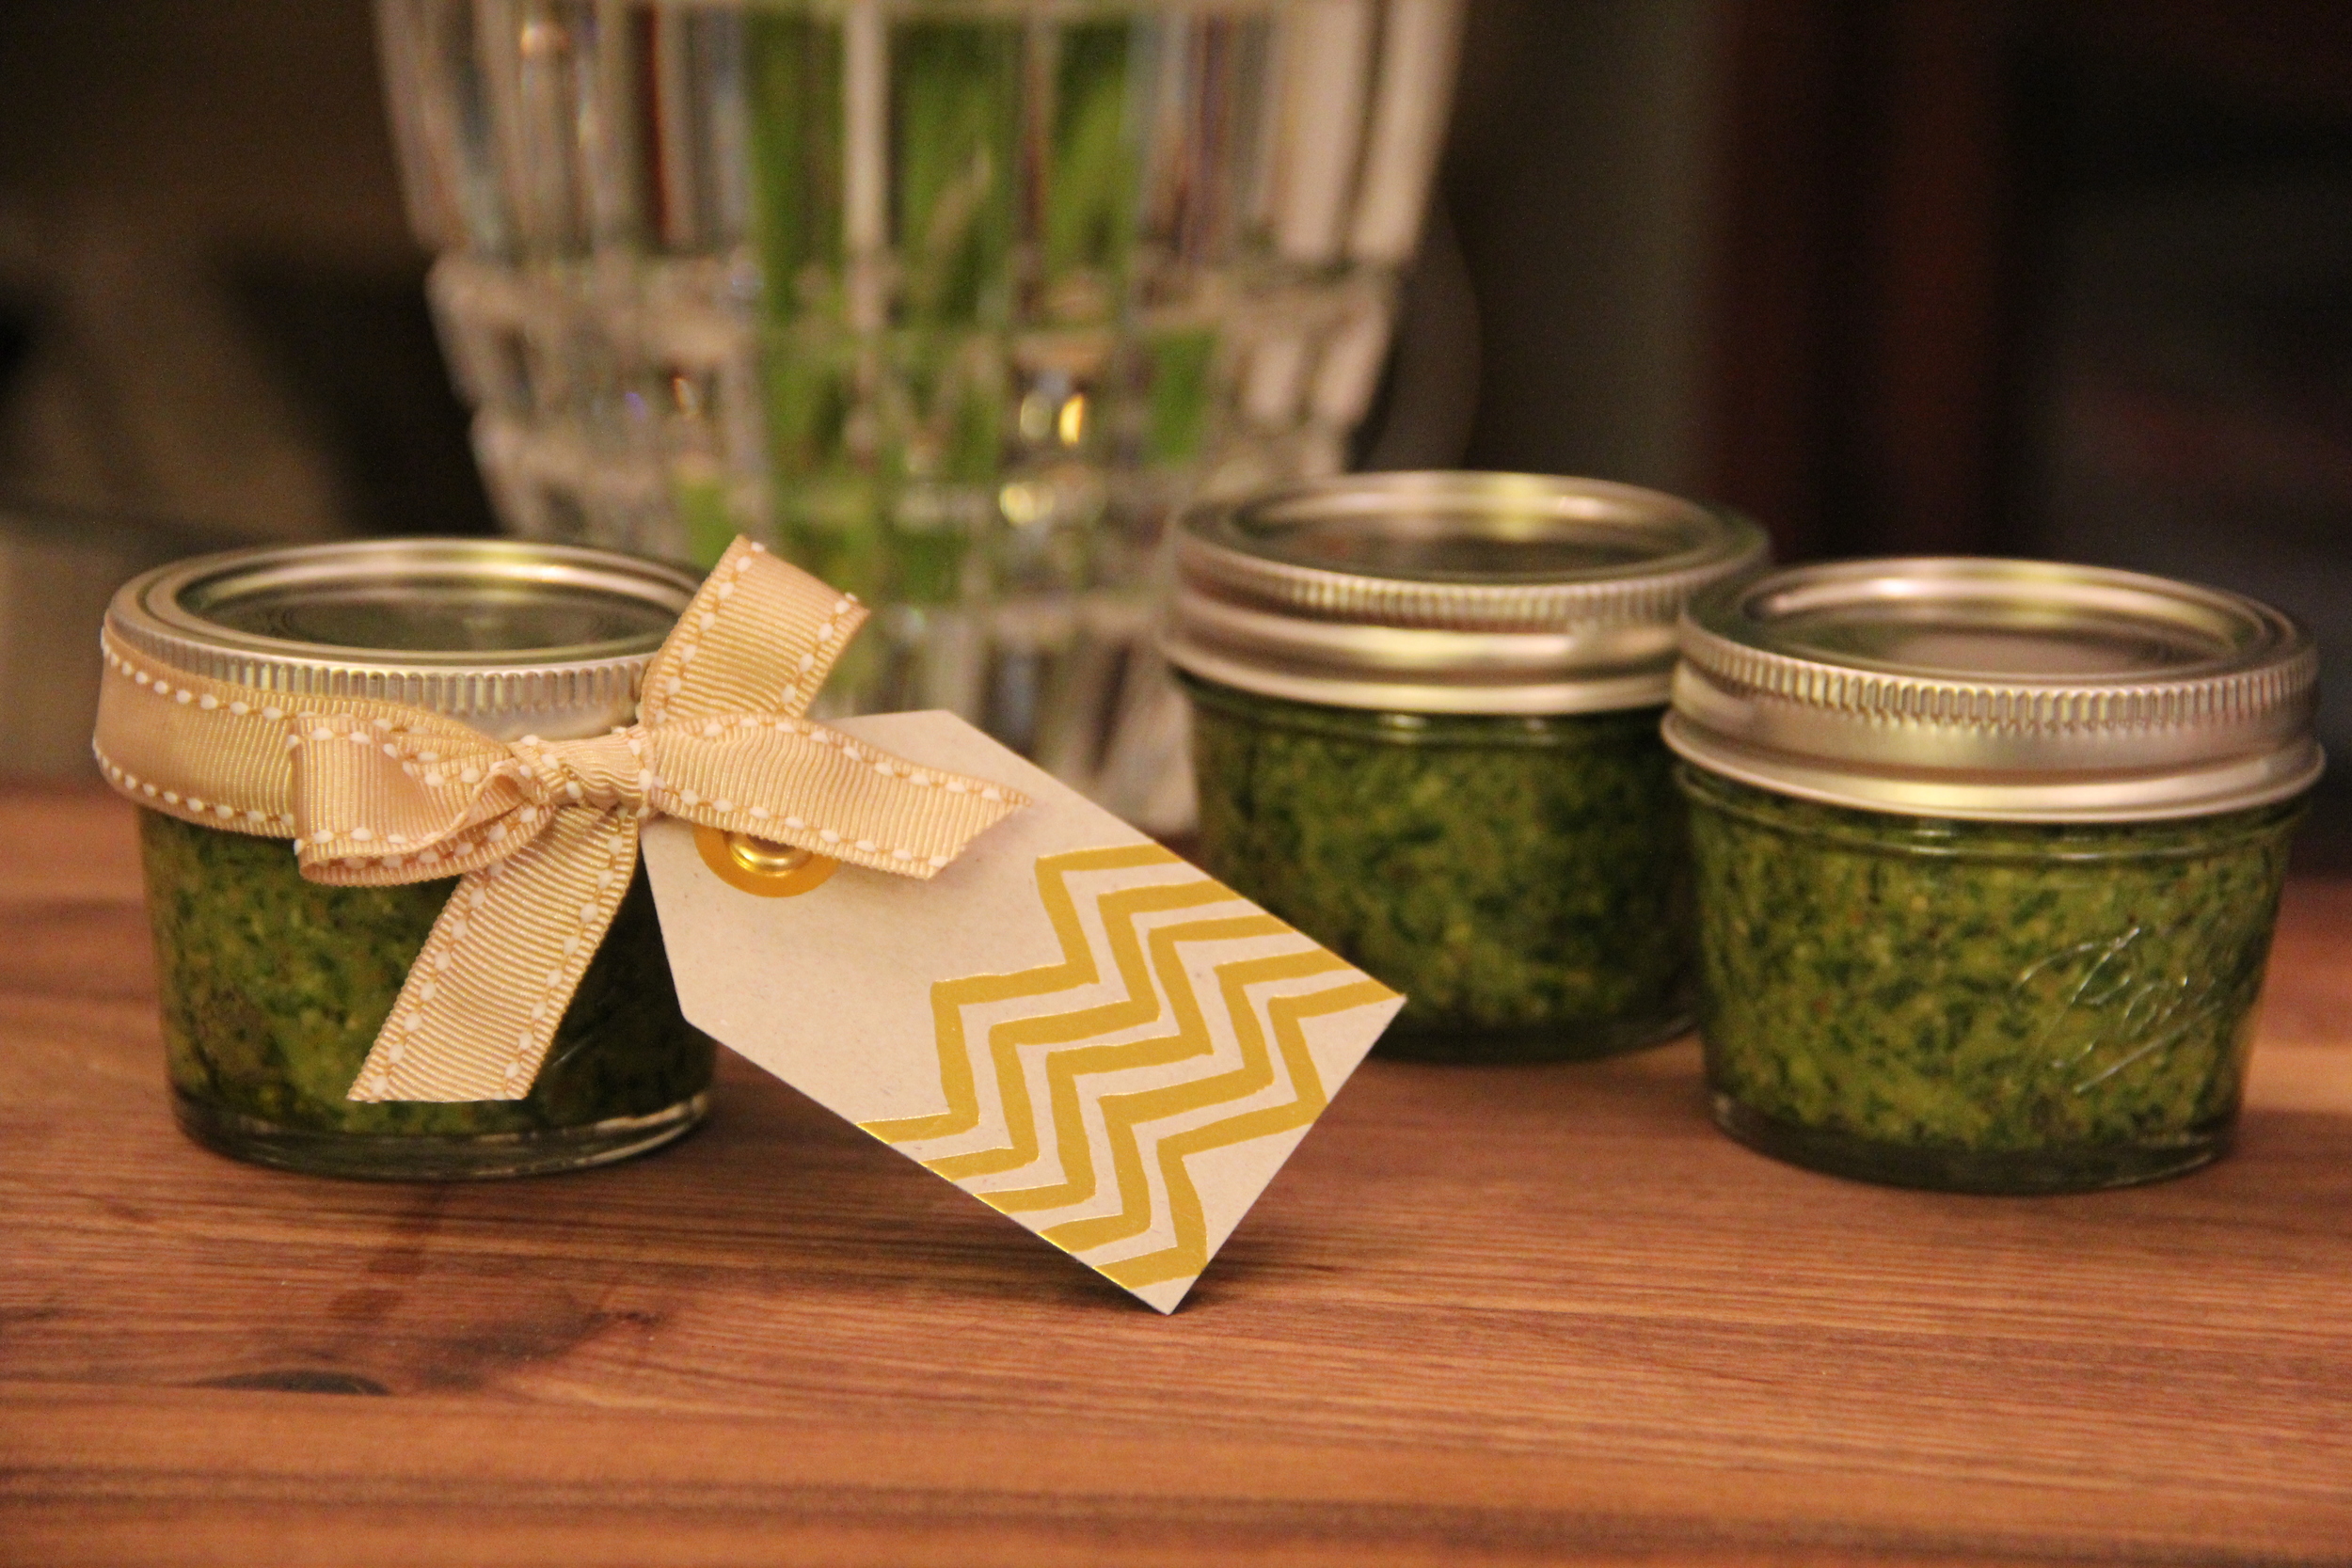
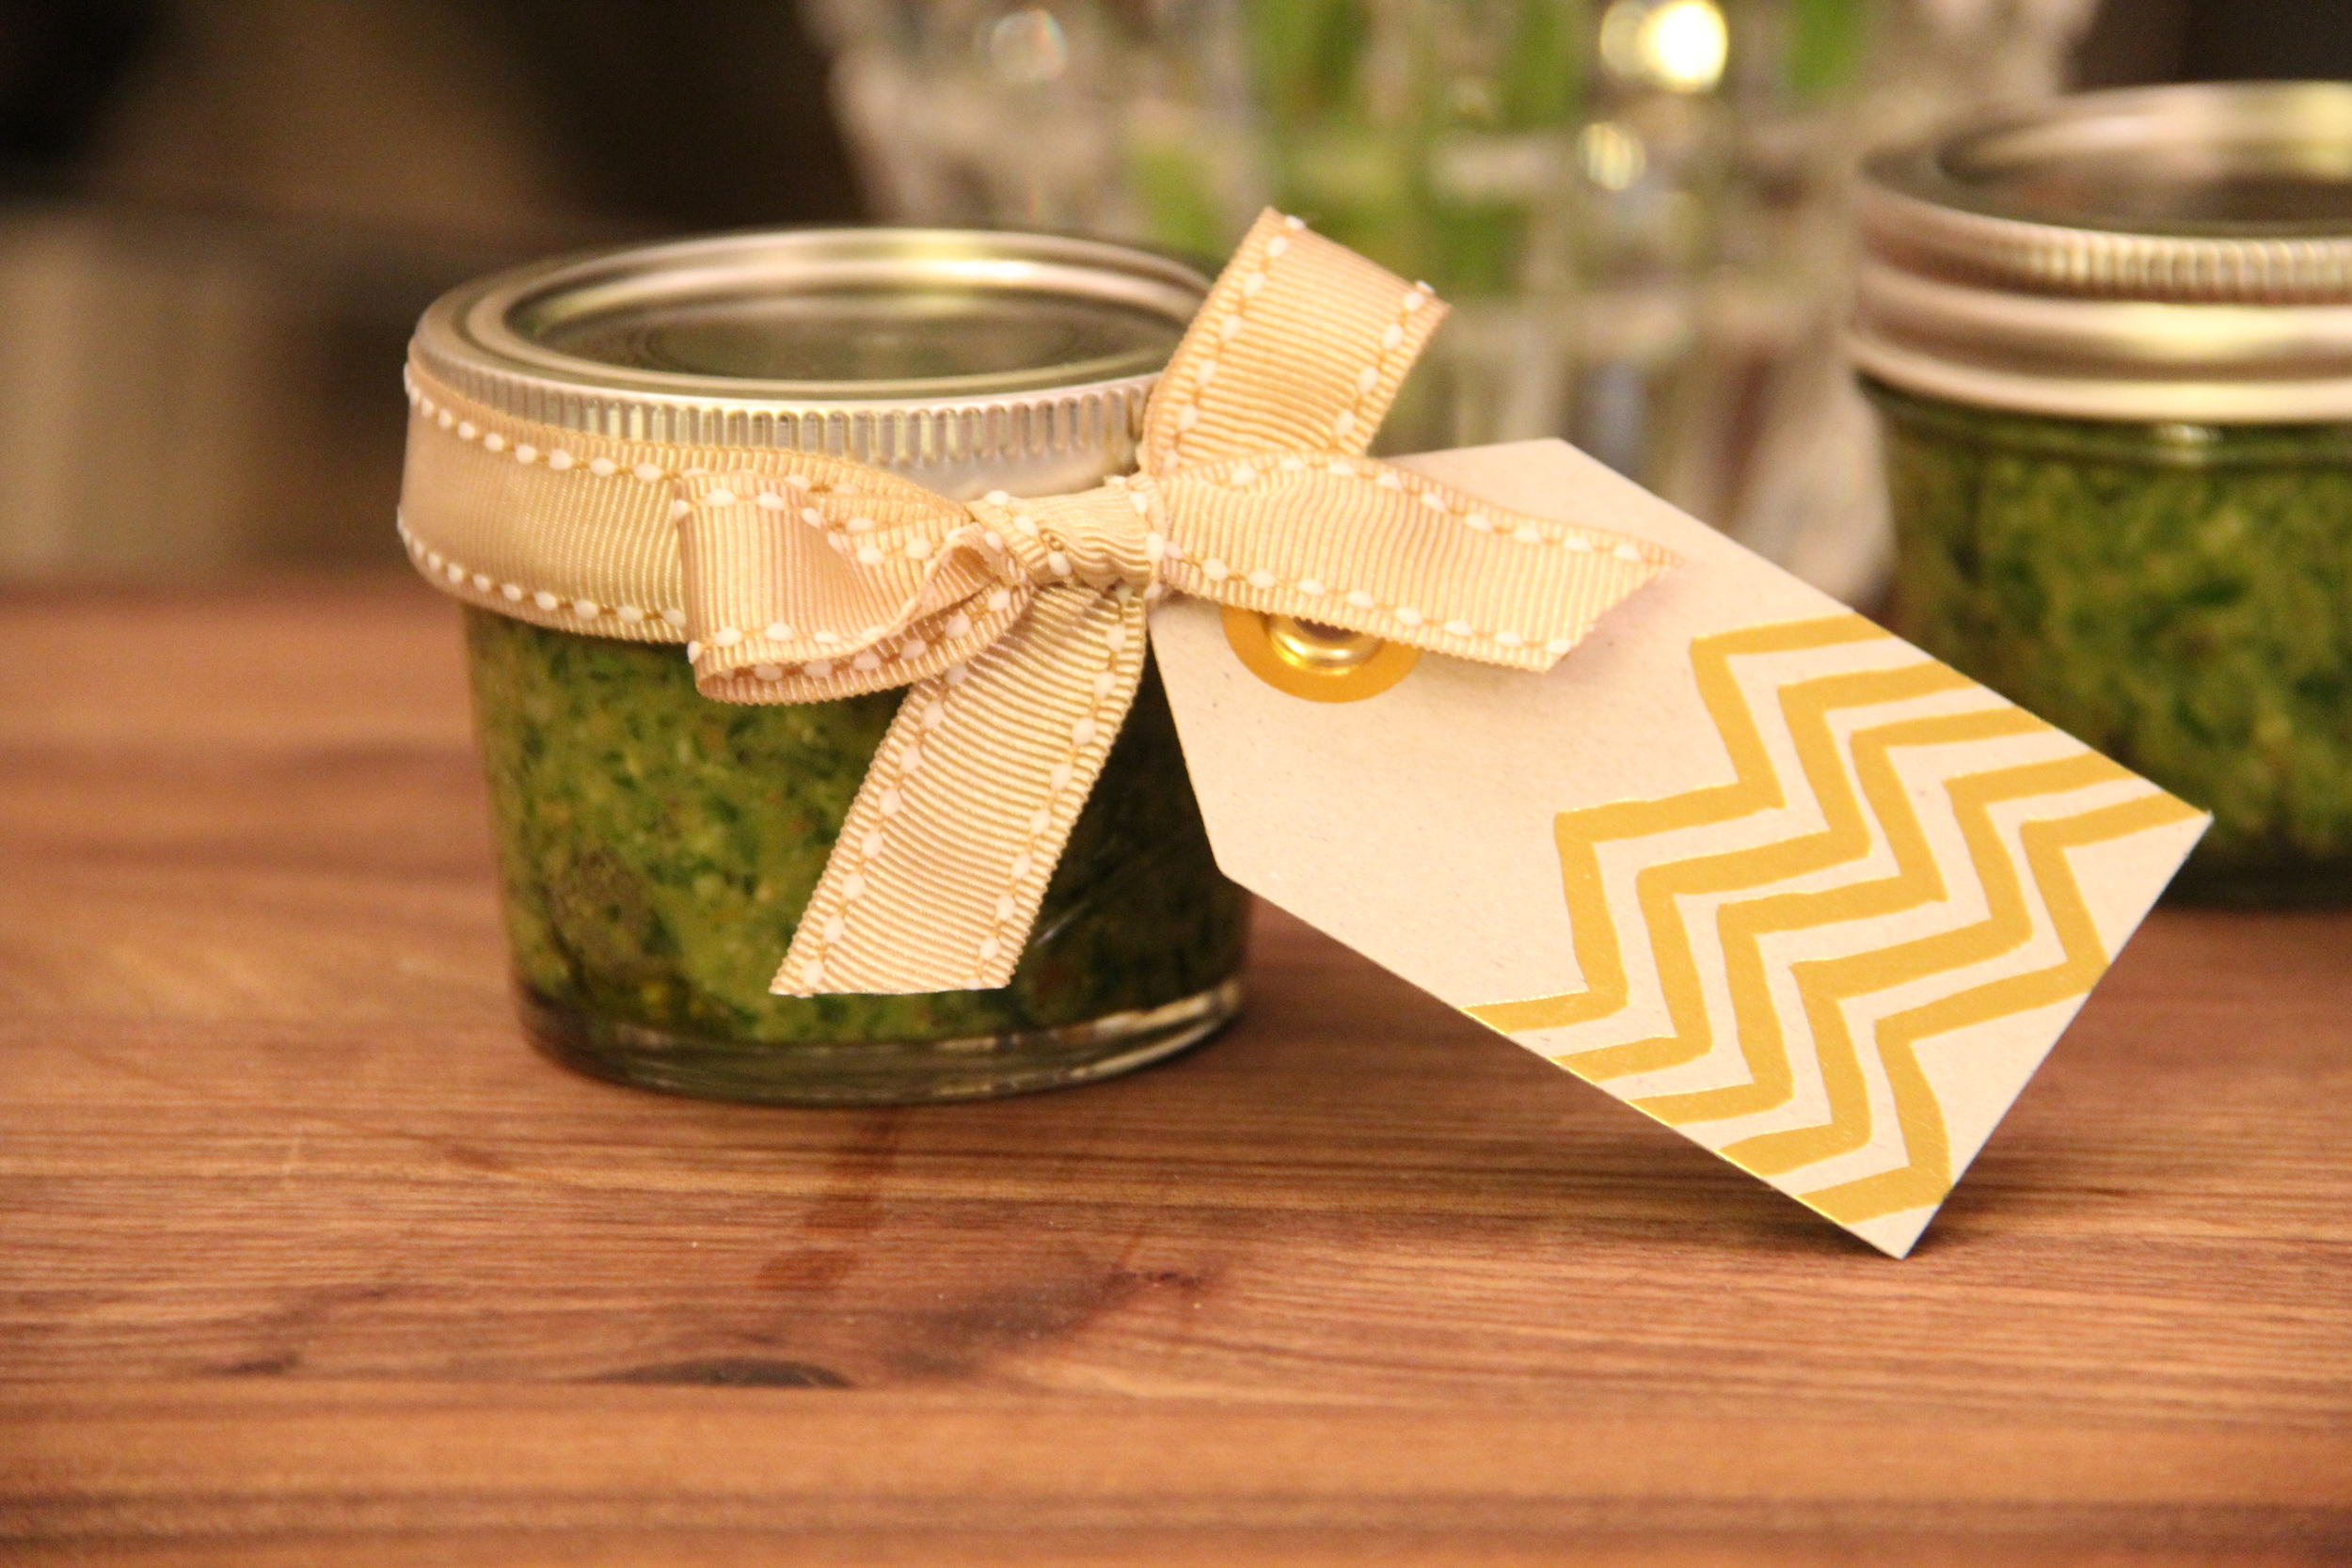
Since today is the last day of August (the unofficial last day of summer), I wanted to share a great DIY idea for closing out the summer months…make your own pesto!  There are so many individuals who enjoy taking advantage of summer to grow fabulous herb gardens.  Come the end of Summer, many are often left with large hauls of herbs and other produce that need to be used to prevent any waste.  Pesto is a great solution for using up all of your excess summer produce because it's not only easy to make and super delicious, but it also can be made using an array of ingredients (kale, mint, basil, any type of nut, etc..). Making pesto is really all about adhering (roughly not exactly) to the ratio formula and from there, you can go wild with the endless possibilities.  Today I am sharing my take on classic pesto.  This recipe can be used right away, stored in a freezer and even makes for a fabulous gift.  

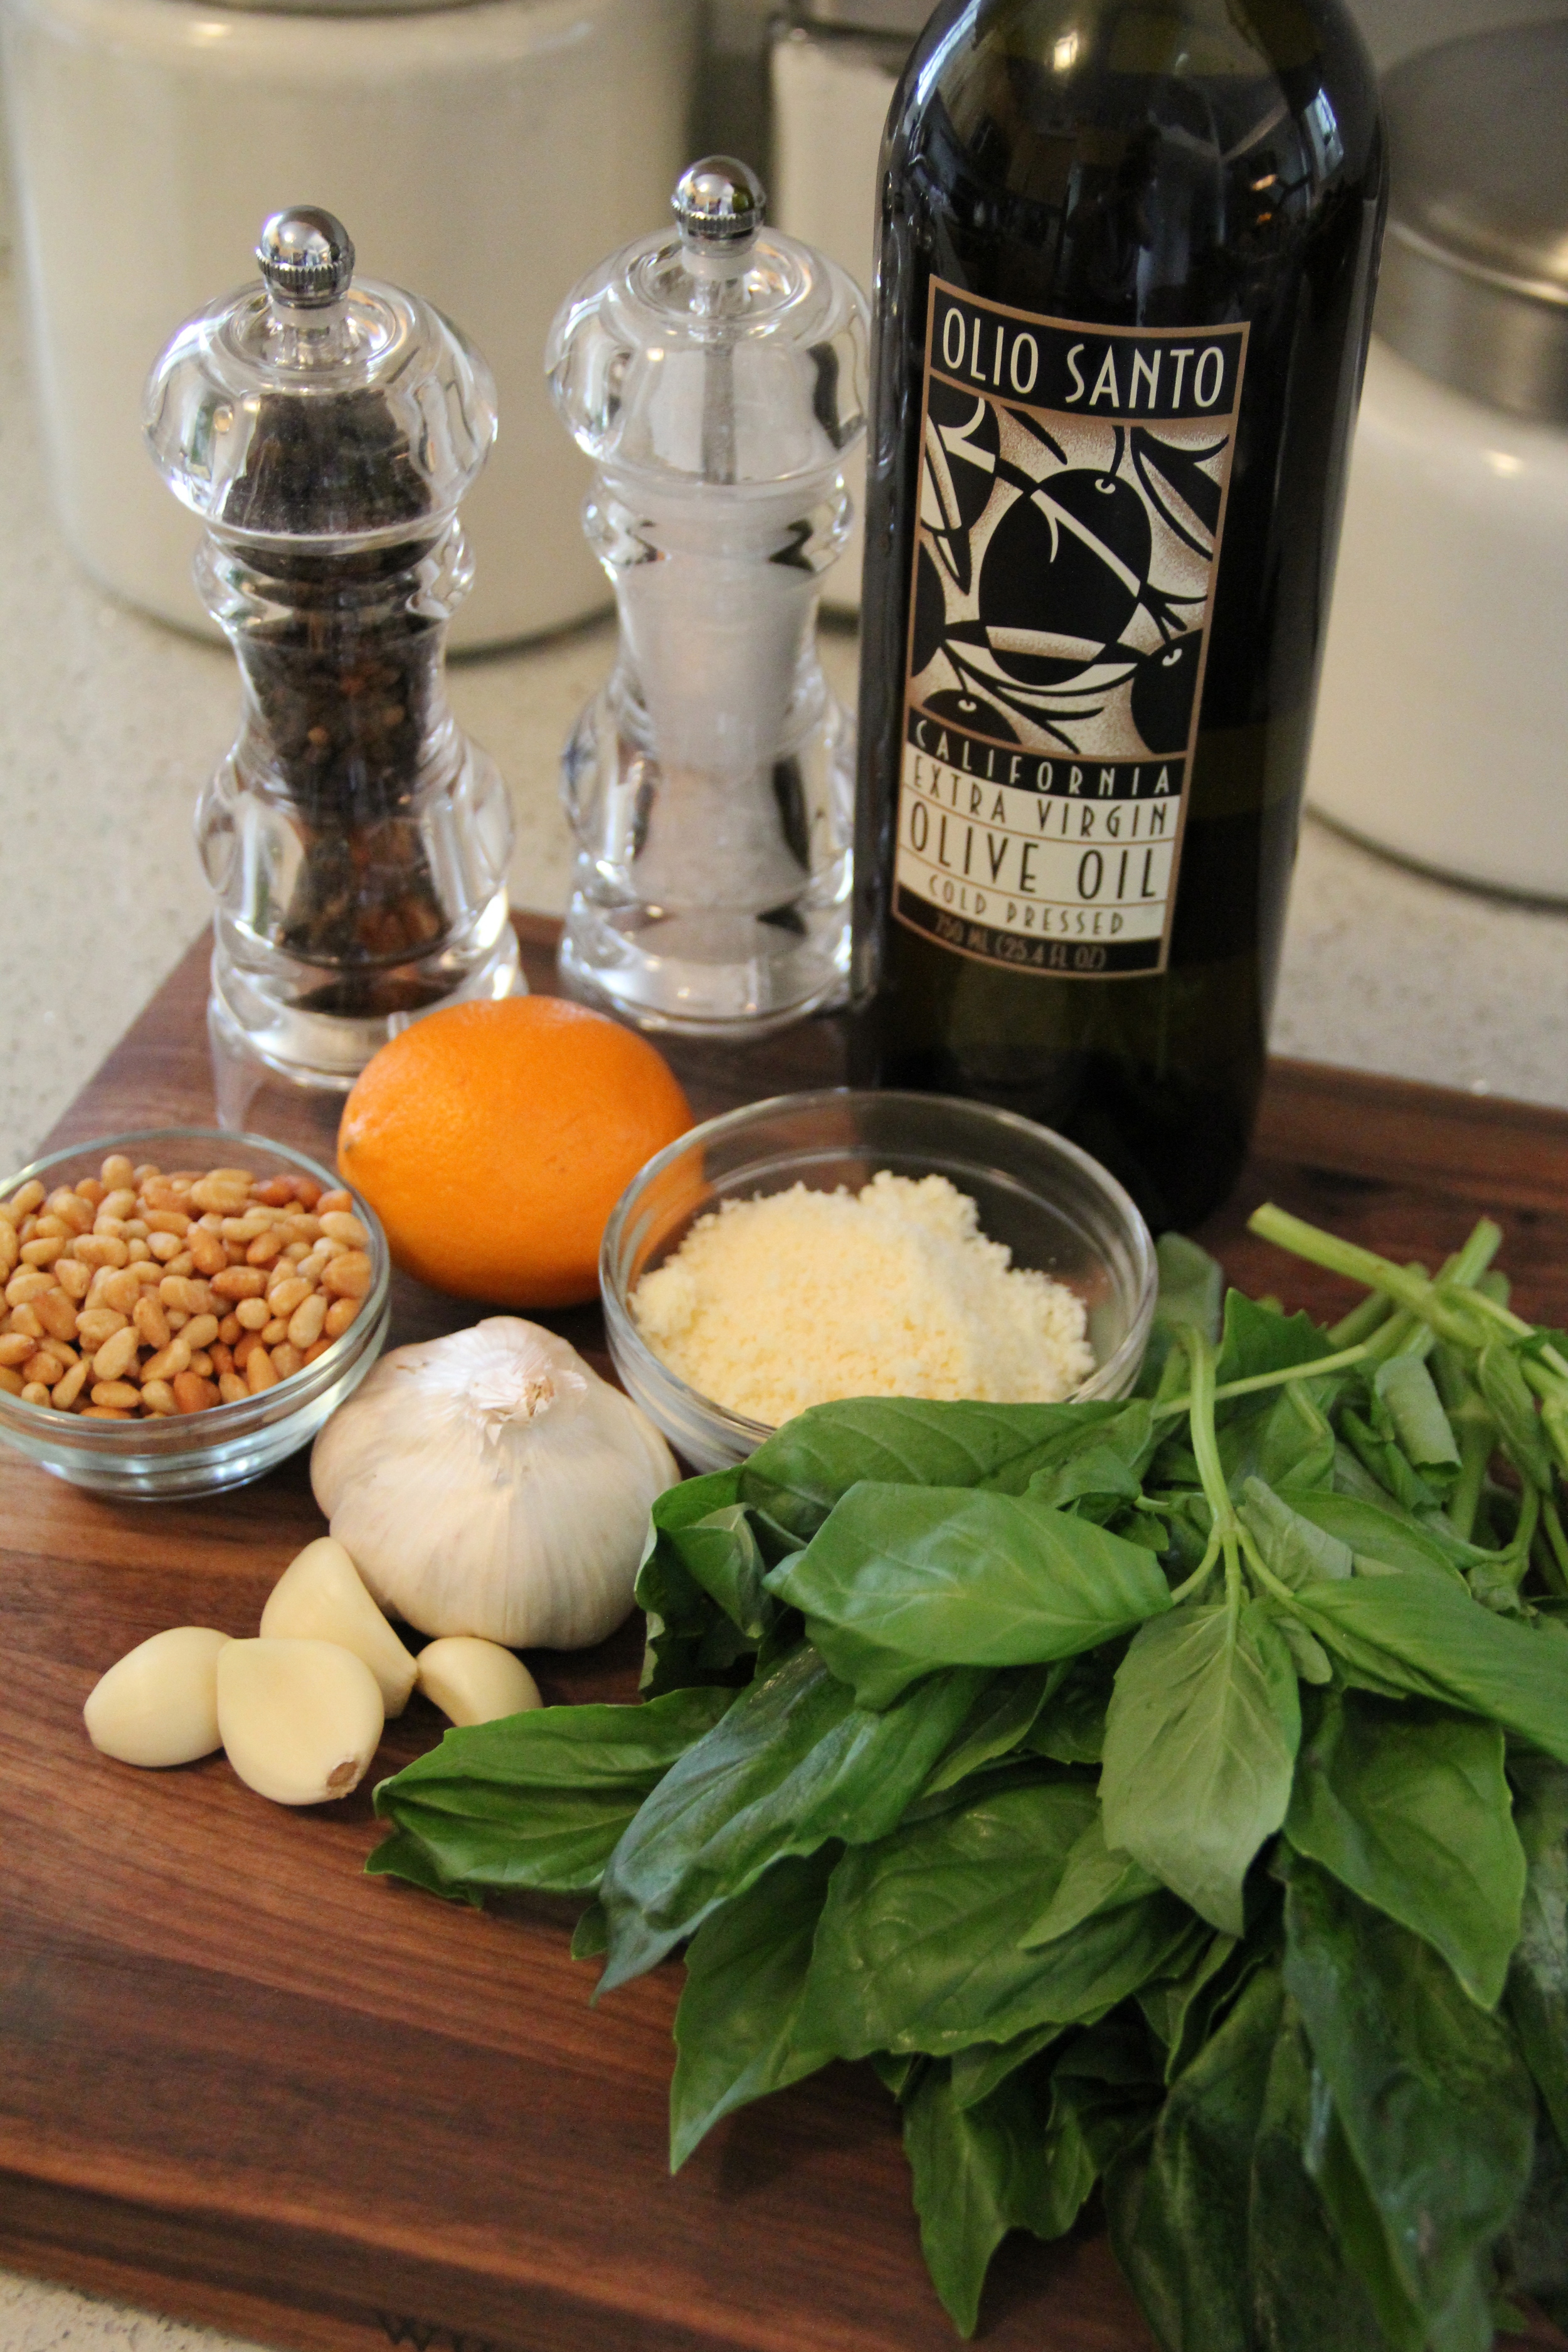
Basil Pesto Ingredients.jpg

Ingredients

  • 2c. Tightly Packed Fresh Basil Leaves (if you run out of basil, spinach leaves are a great substitute)
  • 1/2c. Grated Parmesan Cheese
  • 2-4 Cloves Fresh Garlic
  • 1/2c. Olive Oil (+up to 1/4c. more if consistency is too thick)
  • 1/4c. Toasted Pine Nuts
  • 1/2 tsp Lemon Zest (*I prefer to use a meyer lemon, but any lemon is fine)
  • Juice of 1/2 of a Lemon
  • Salt and Pepper to Taste
Ball Mason Jars.JPG
Mini Cuisinart Food Processor.JPG
Chopped Garlic.JPG
Pesto2.JPG
Pesto 3.JPG

Instructions

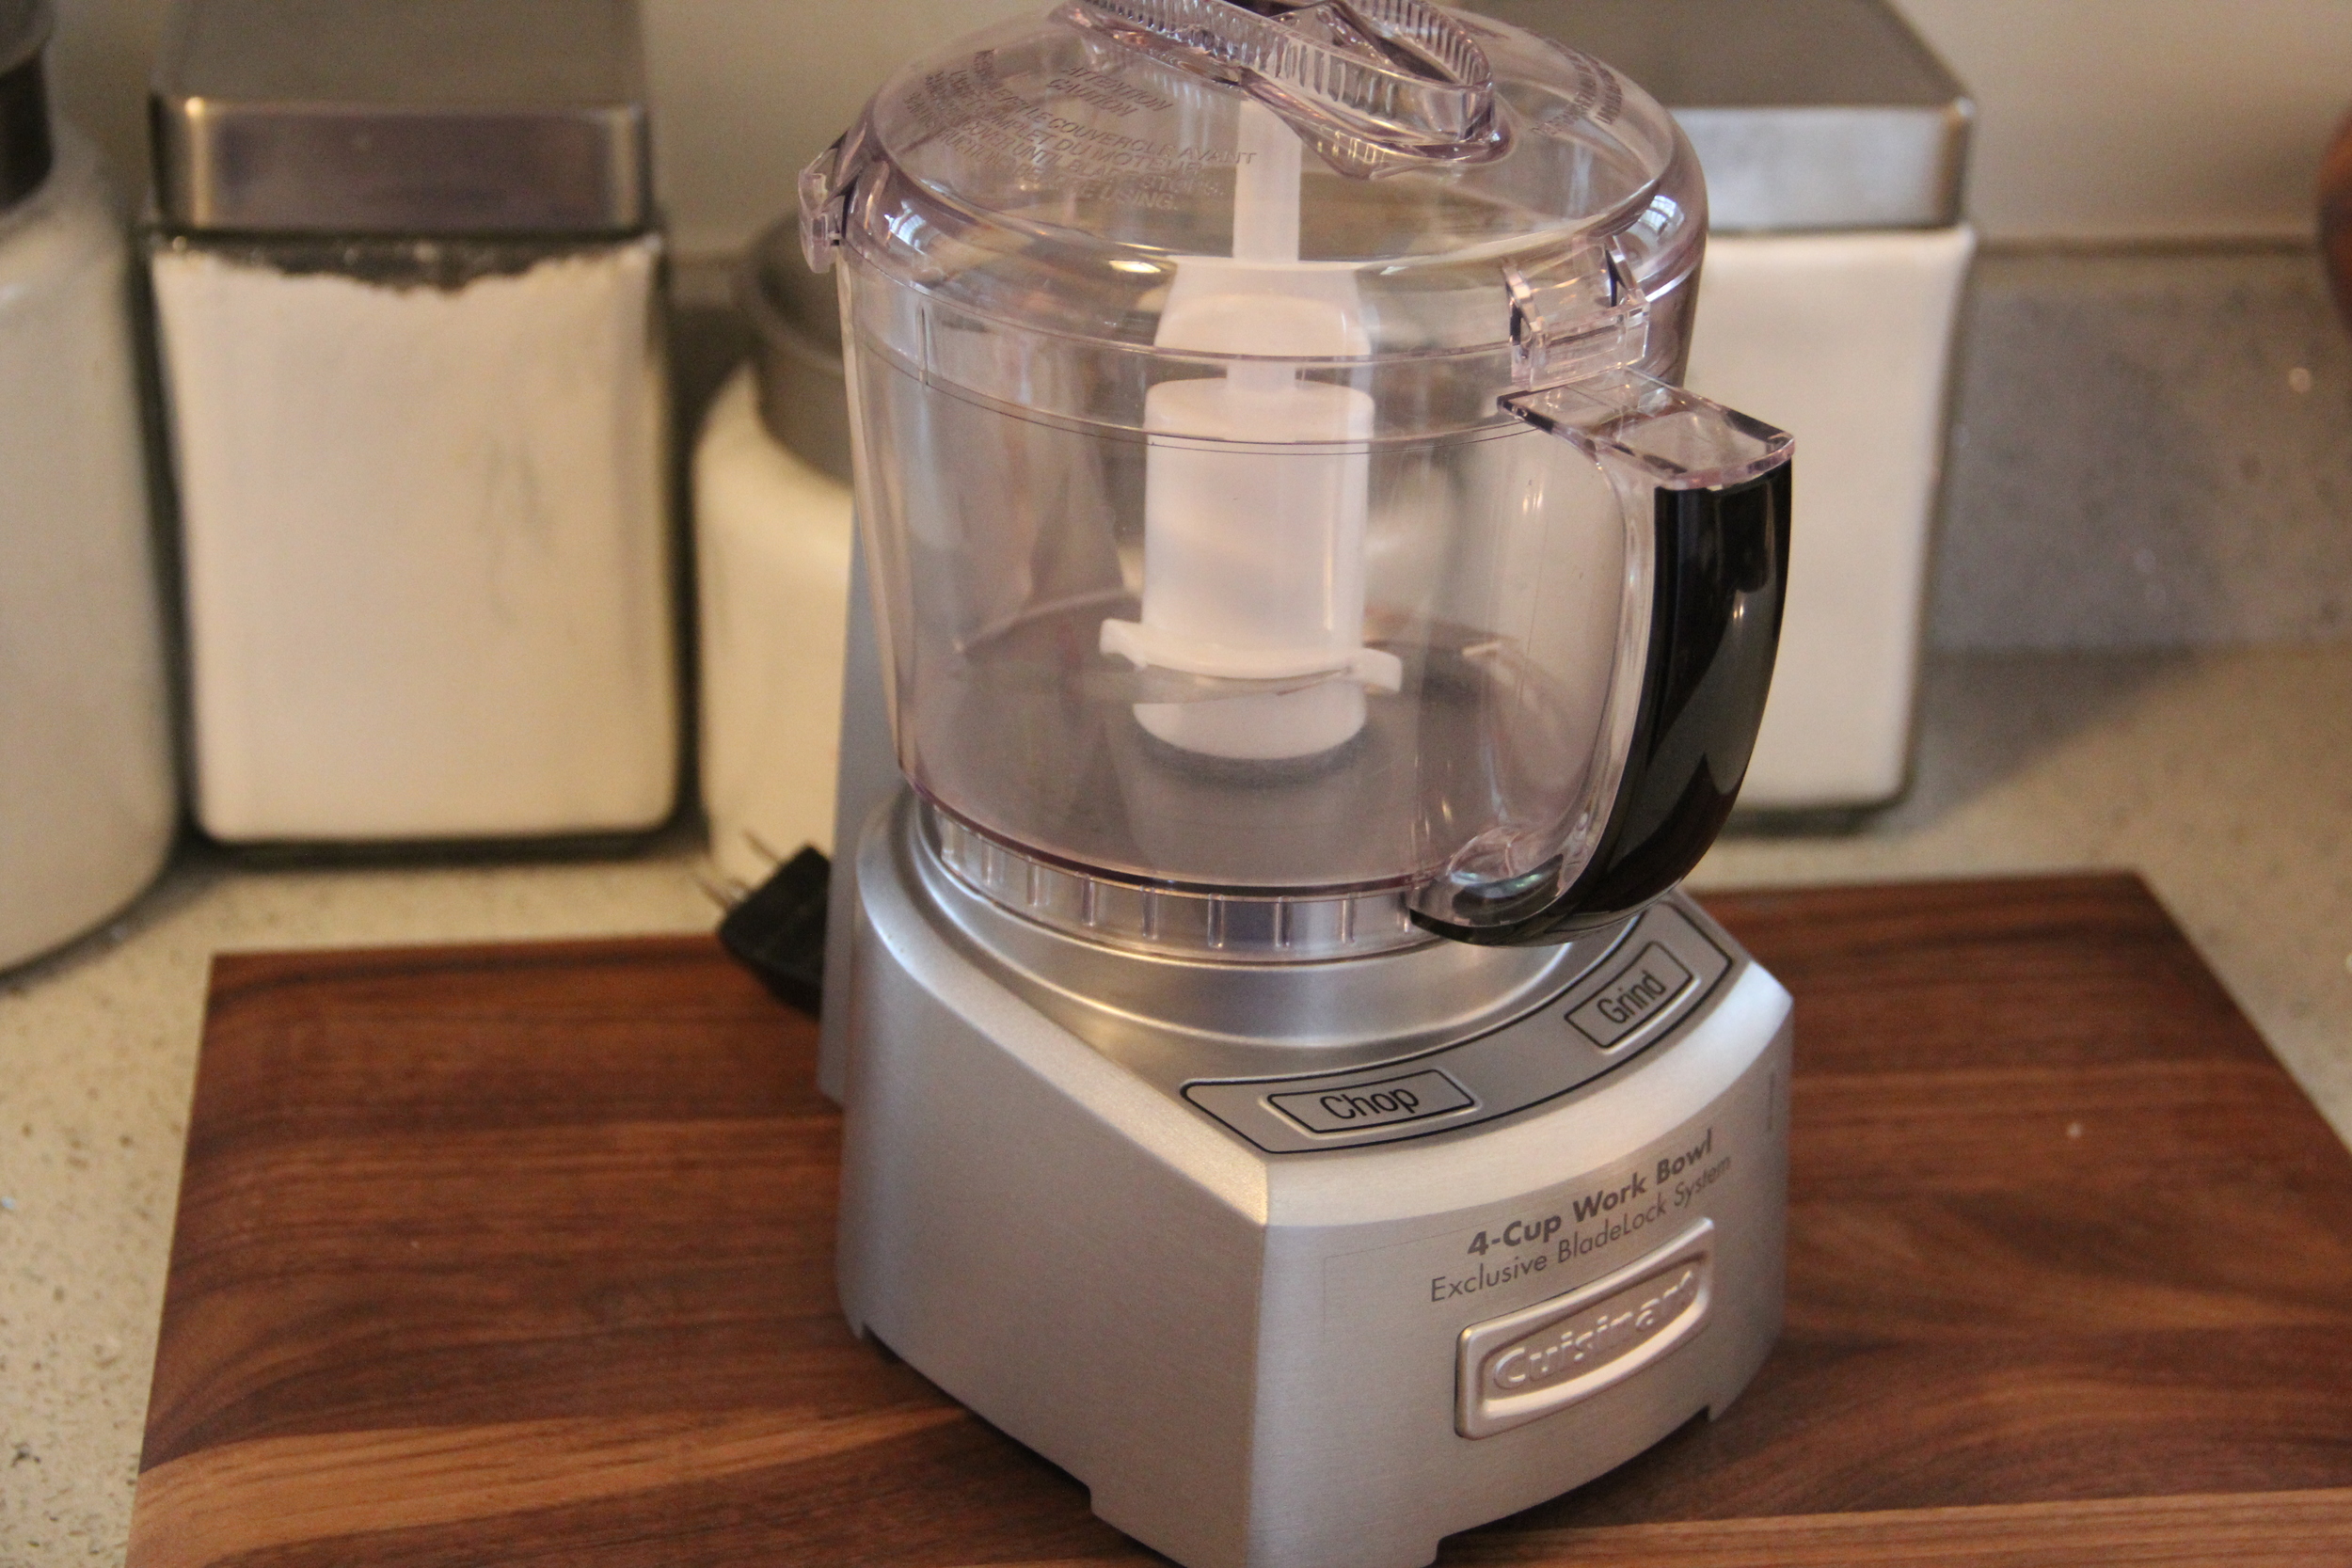
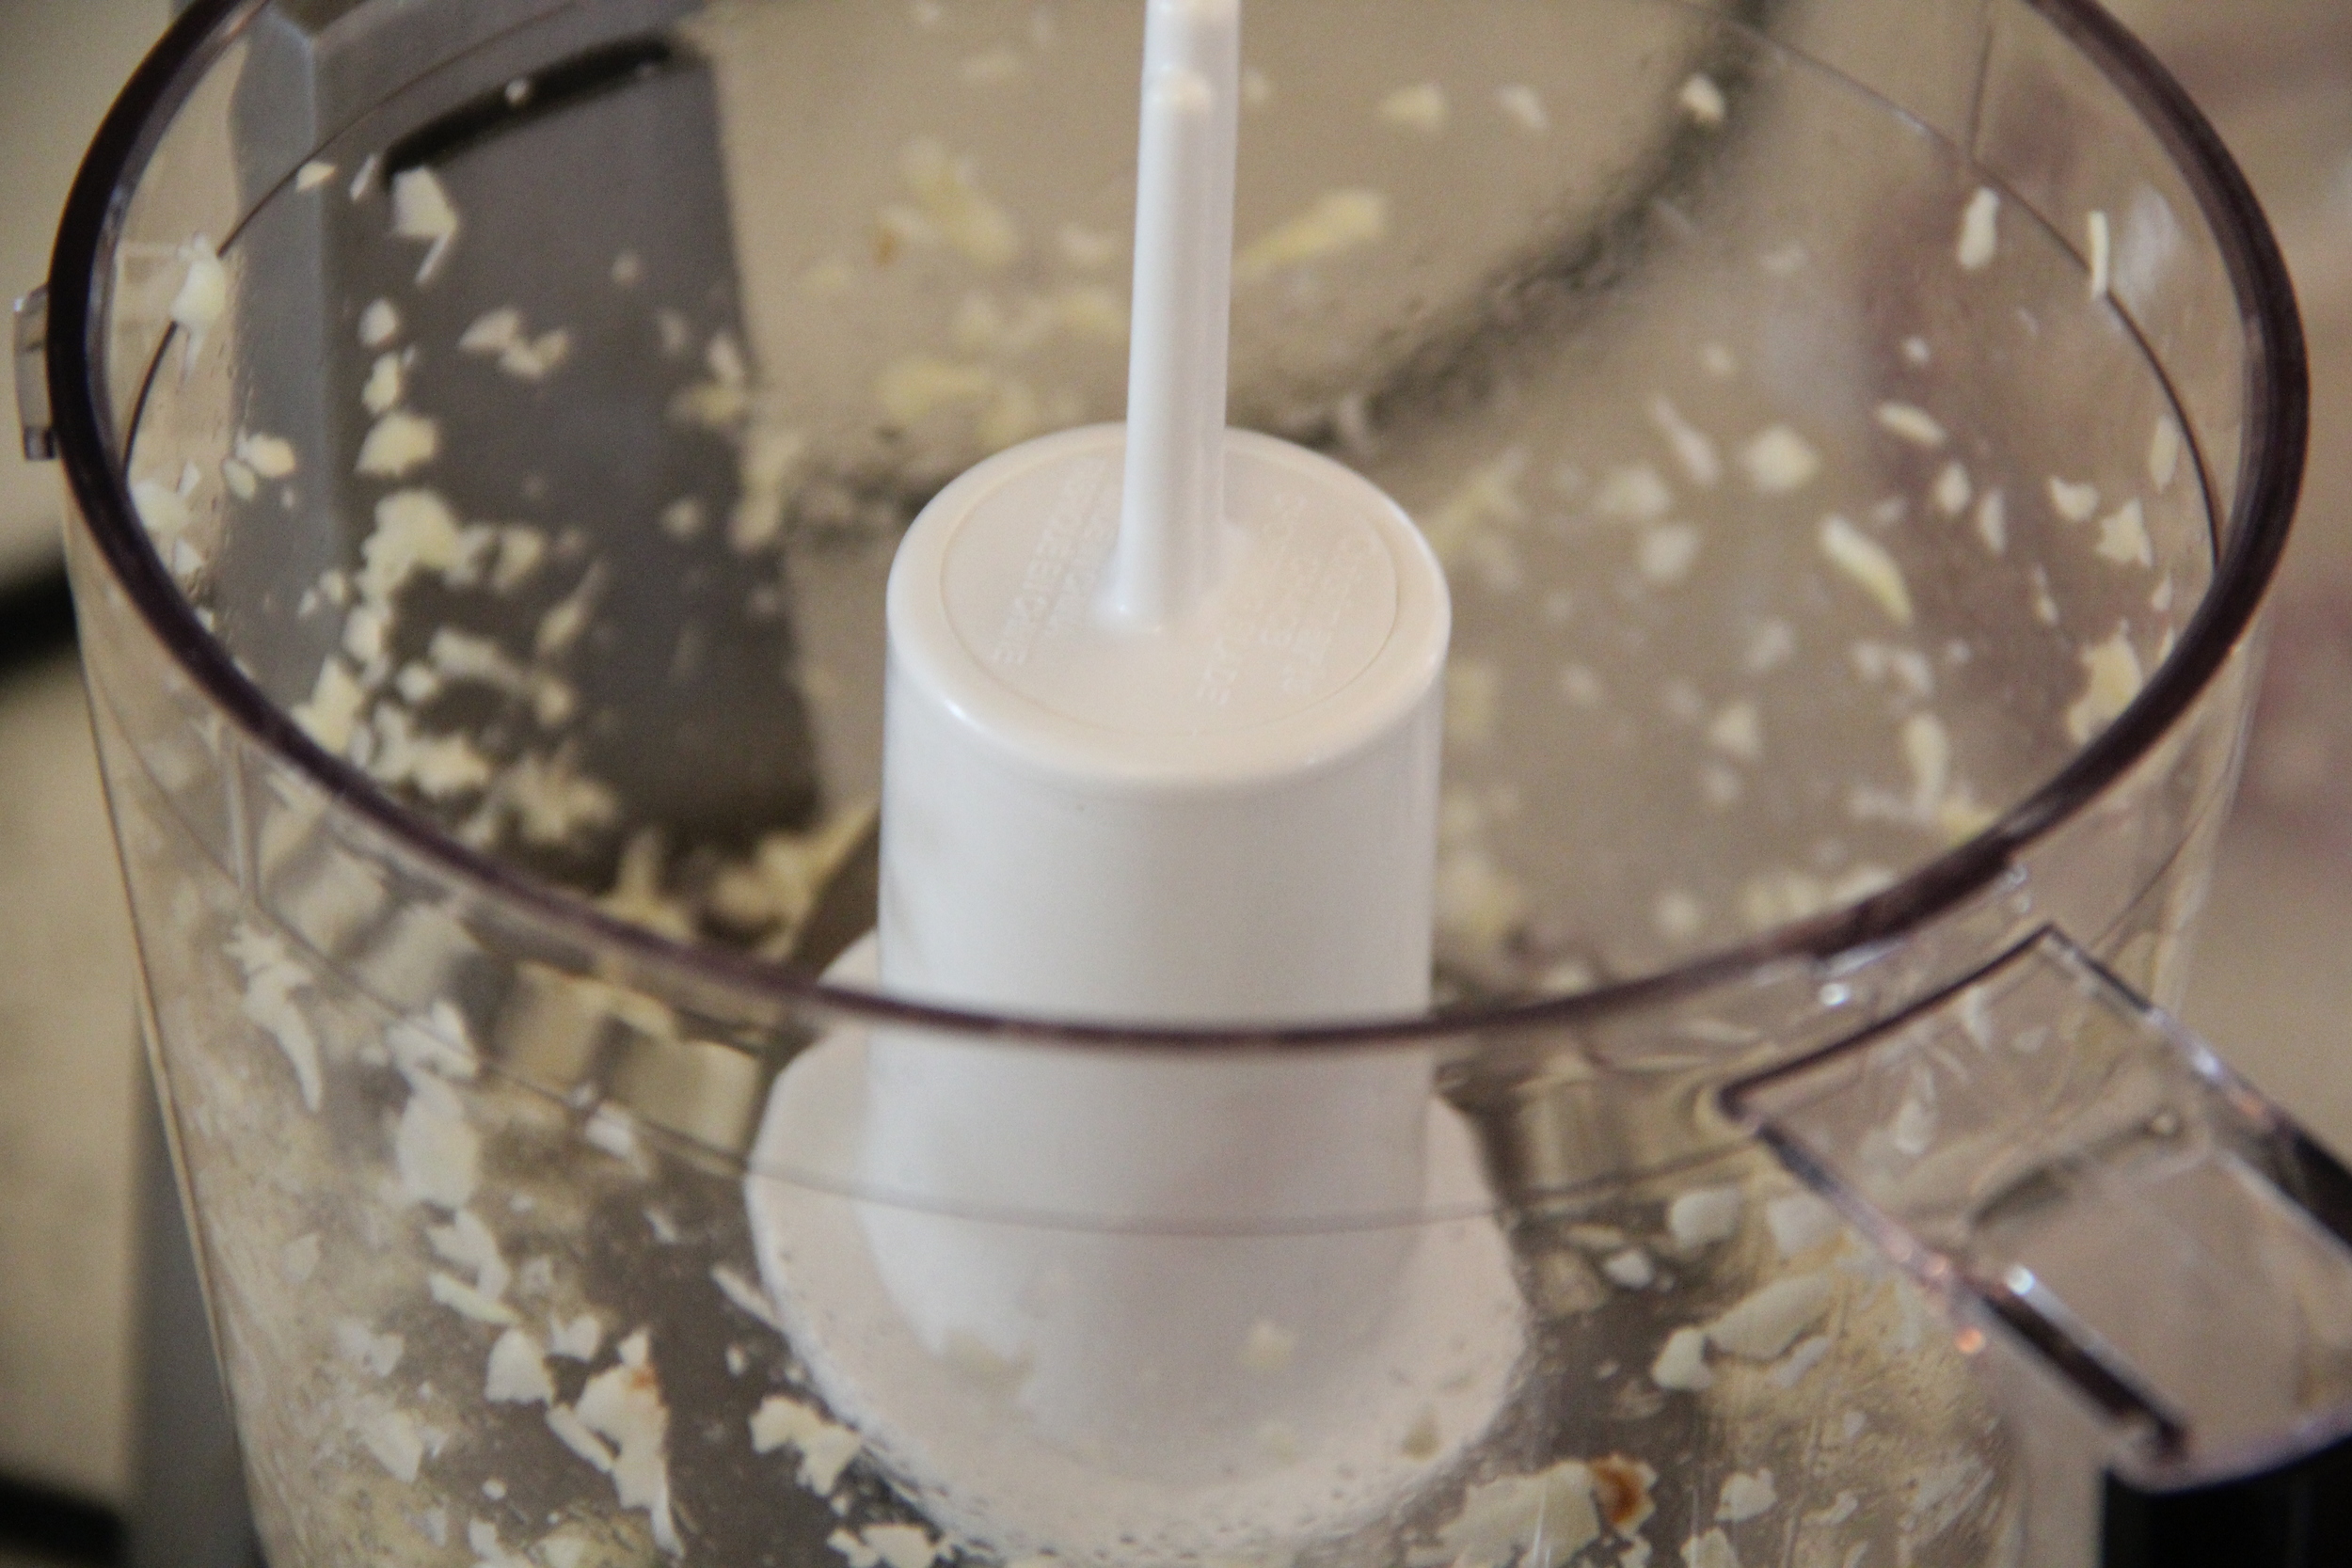
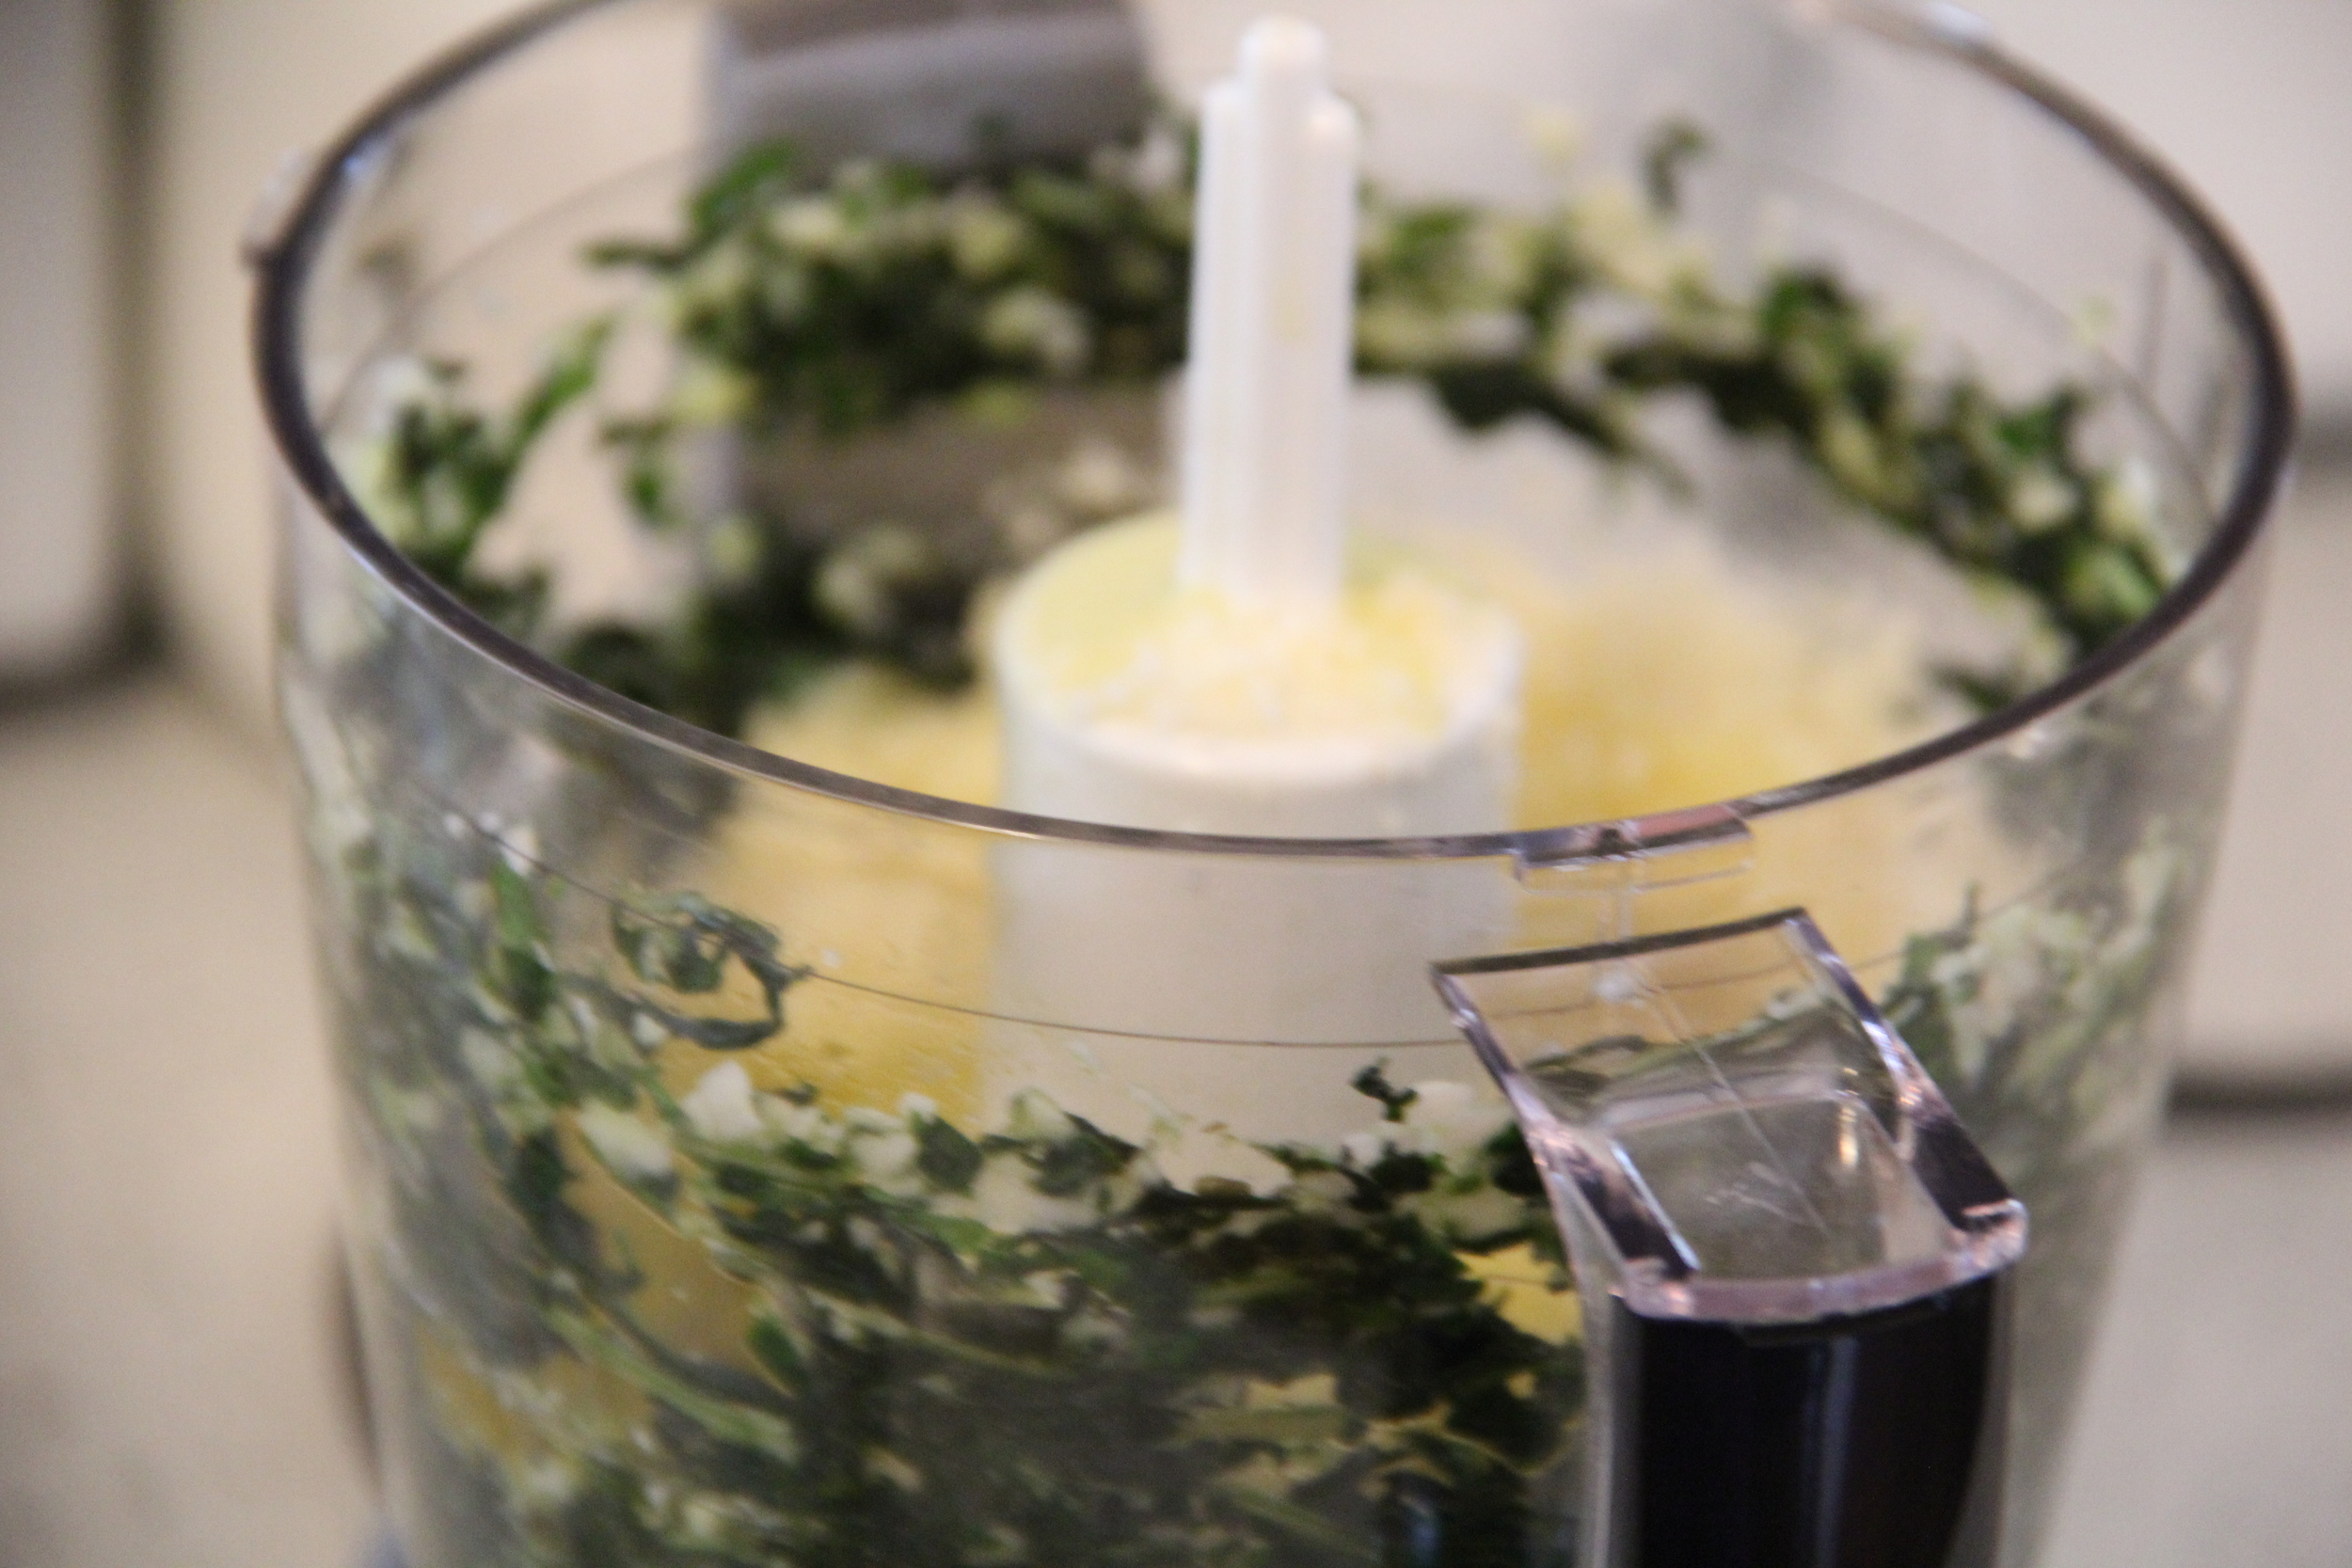
  1. In a food processor (or blender), add fresh garlic and pulse a few times until minced.
  2. Add Basil leaves and pulse until chopped
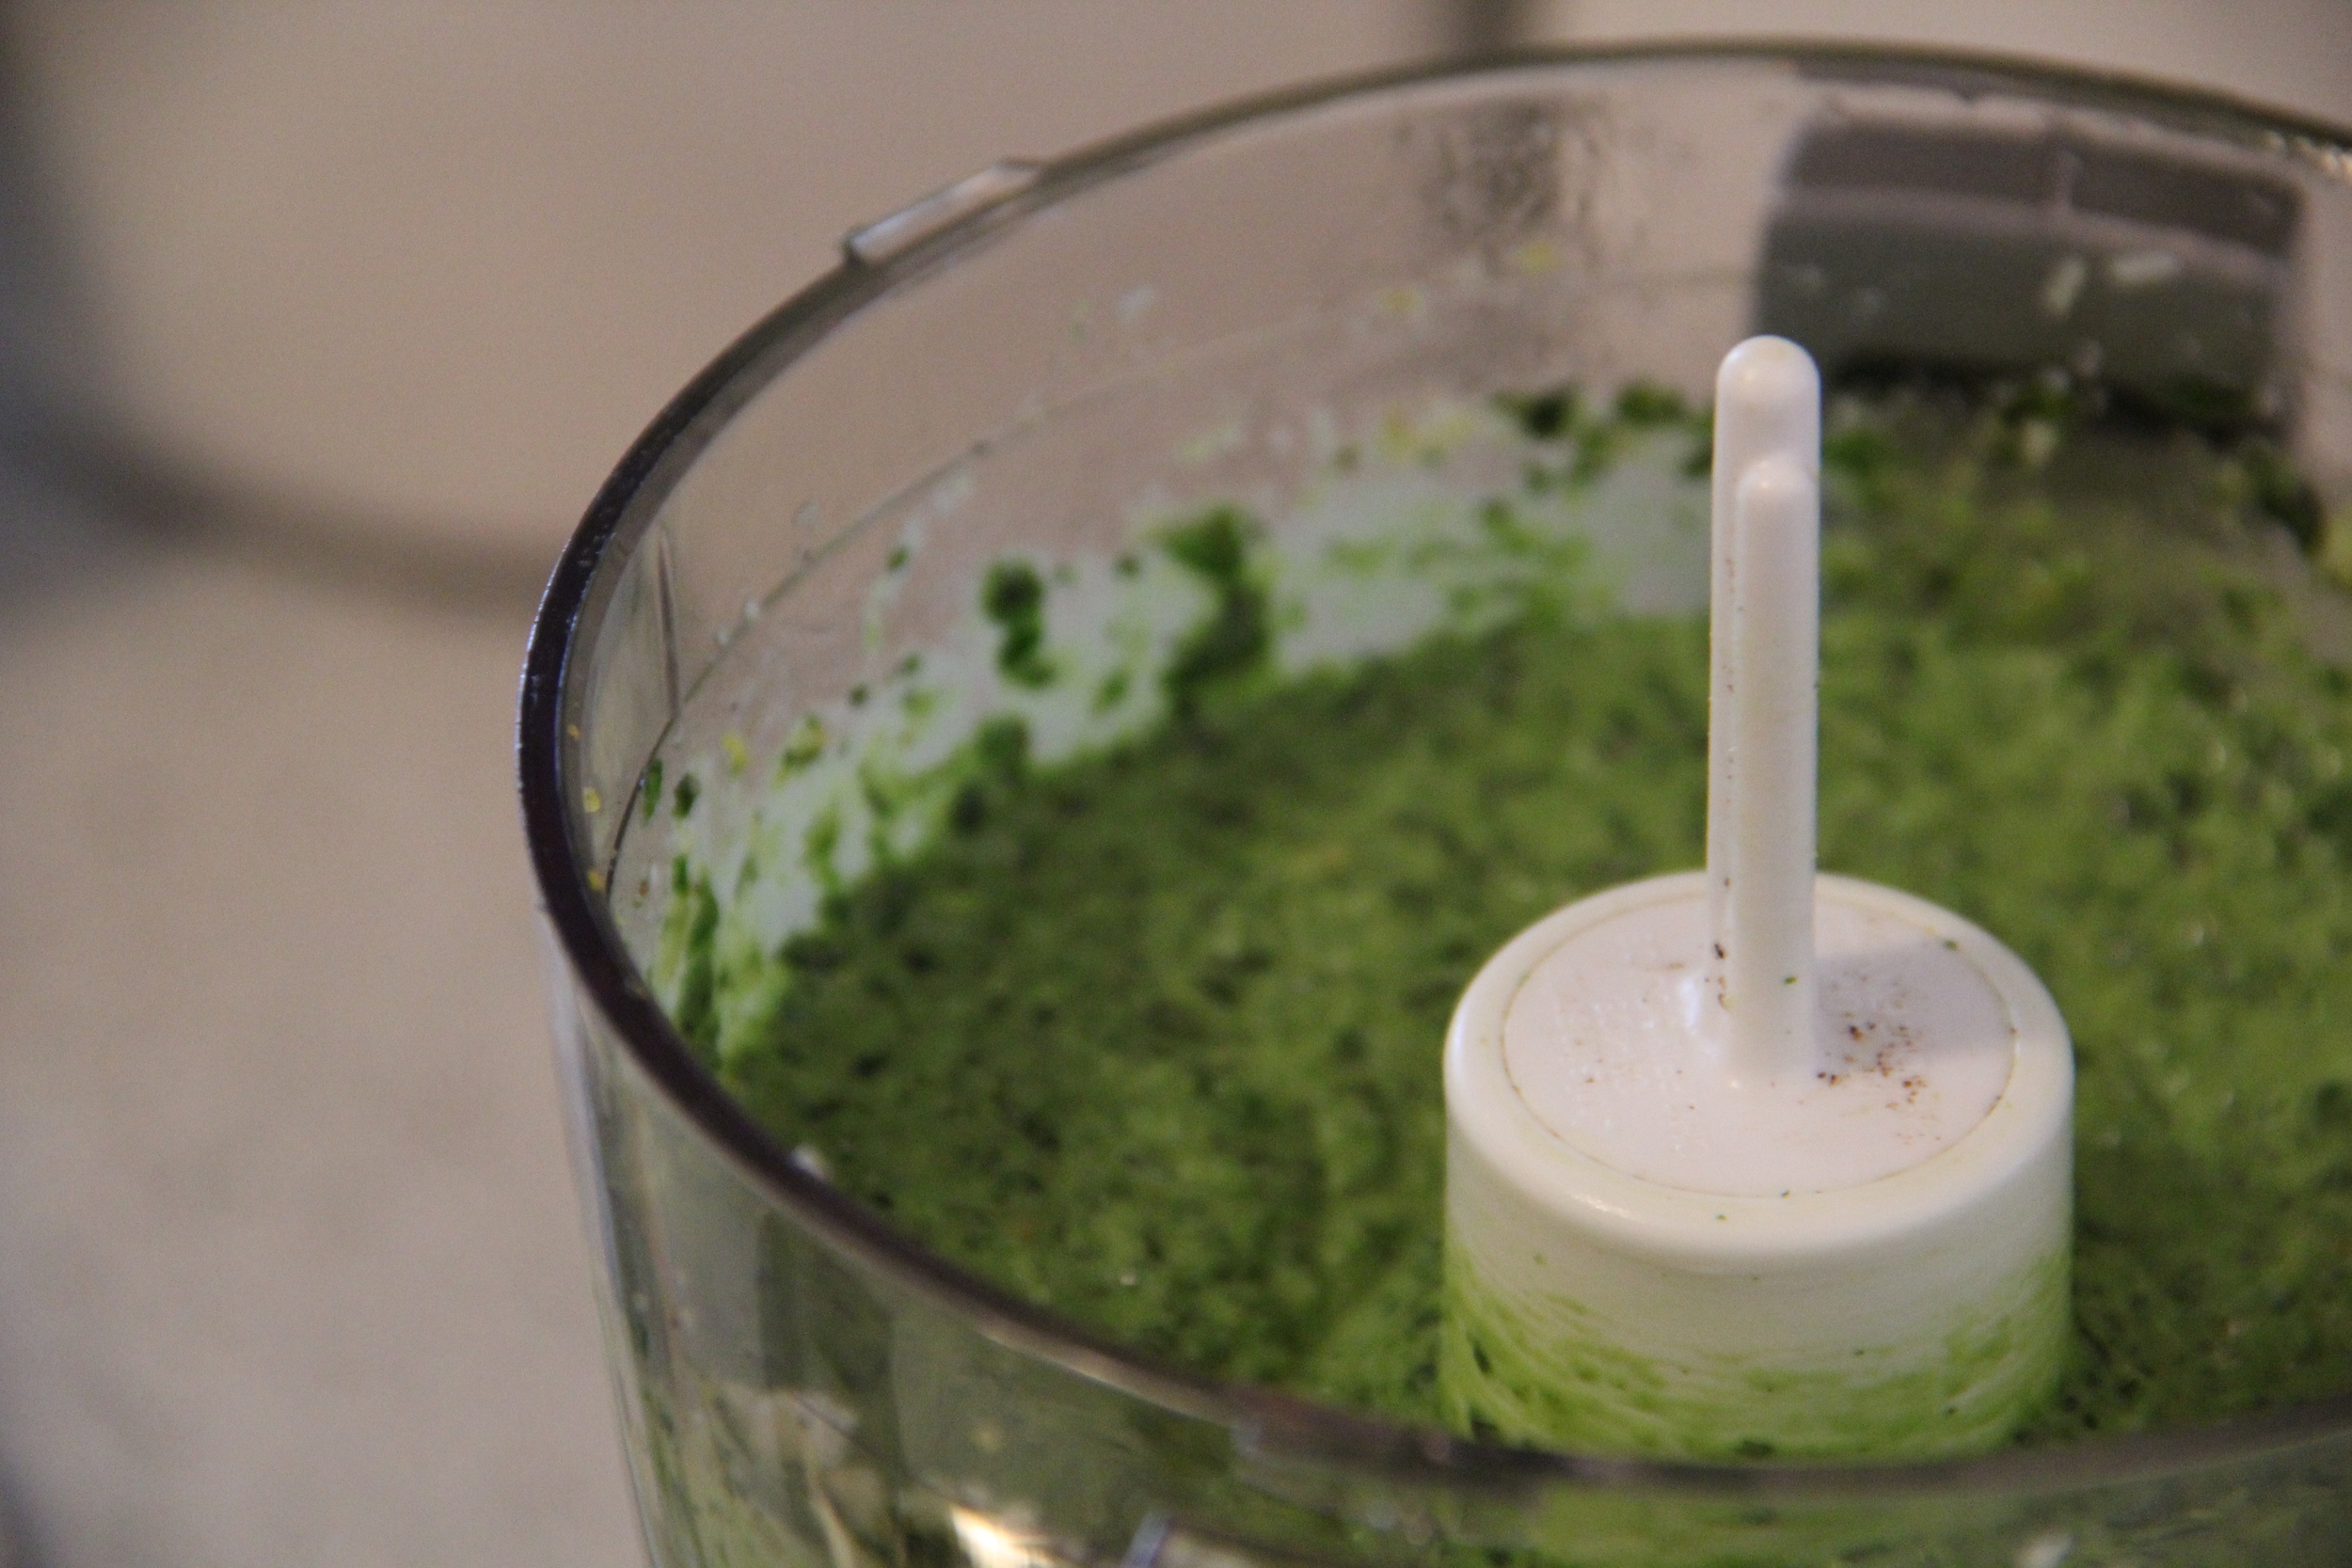
  3. Add Olive oil, cheese, pine nuts, lemon zest and juice, pulse until well combined
  4. Add salt and pepper to taste
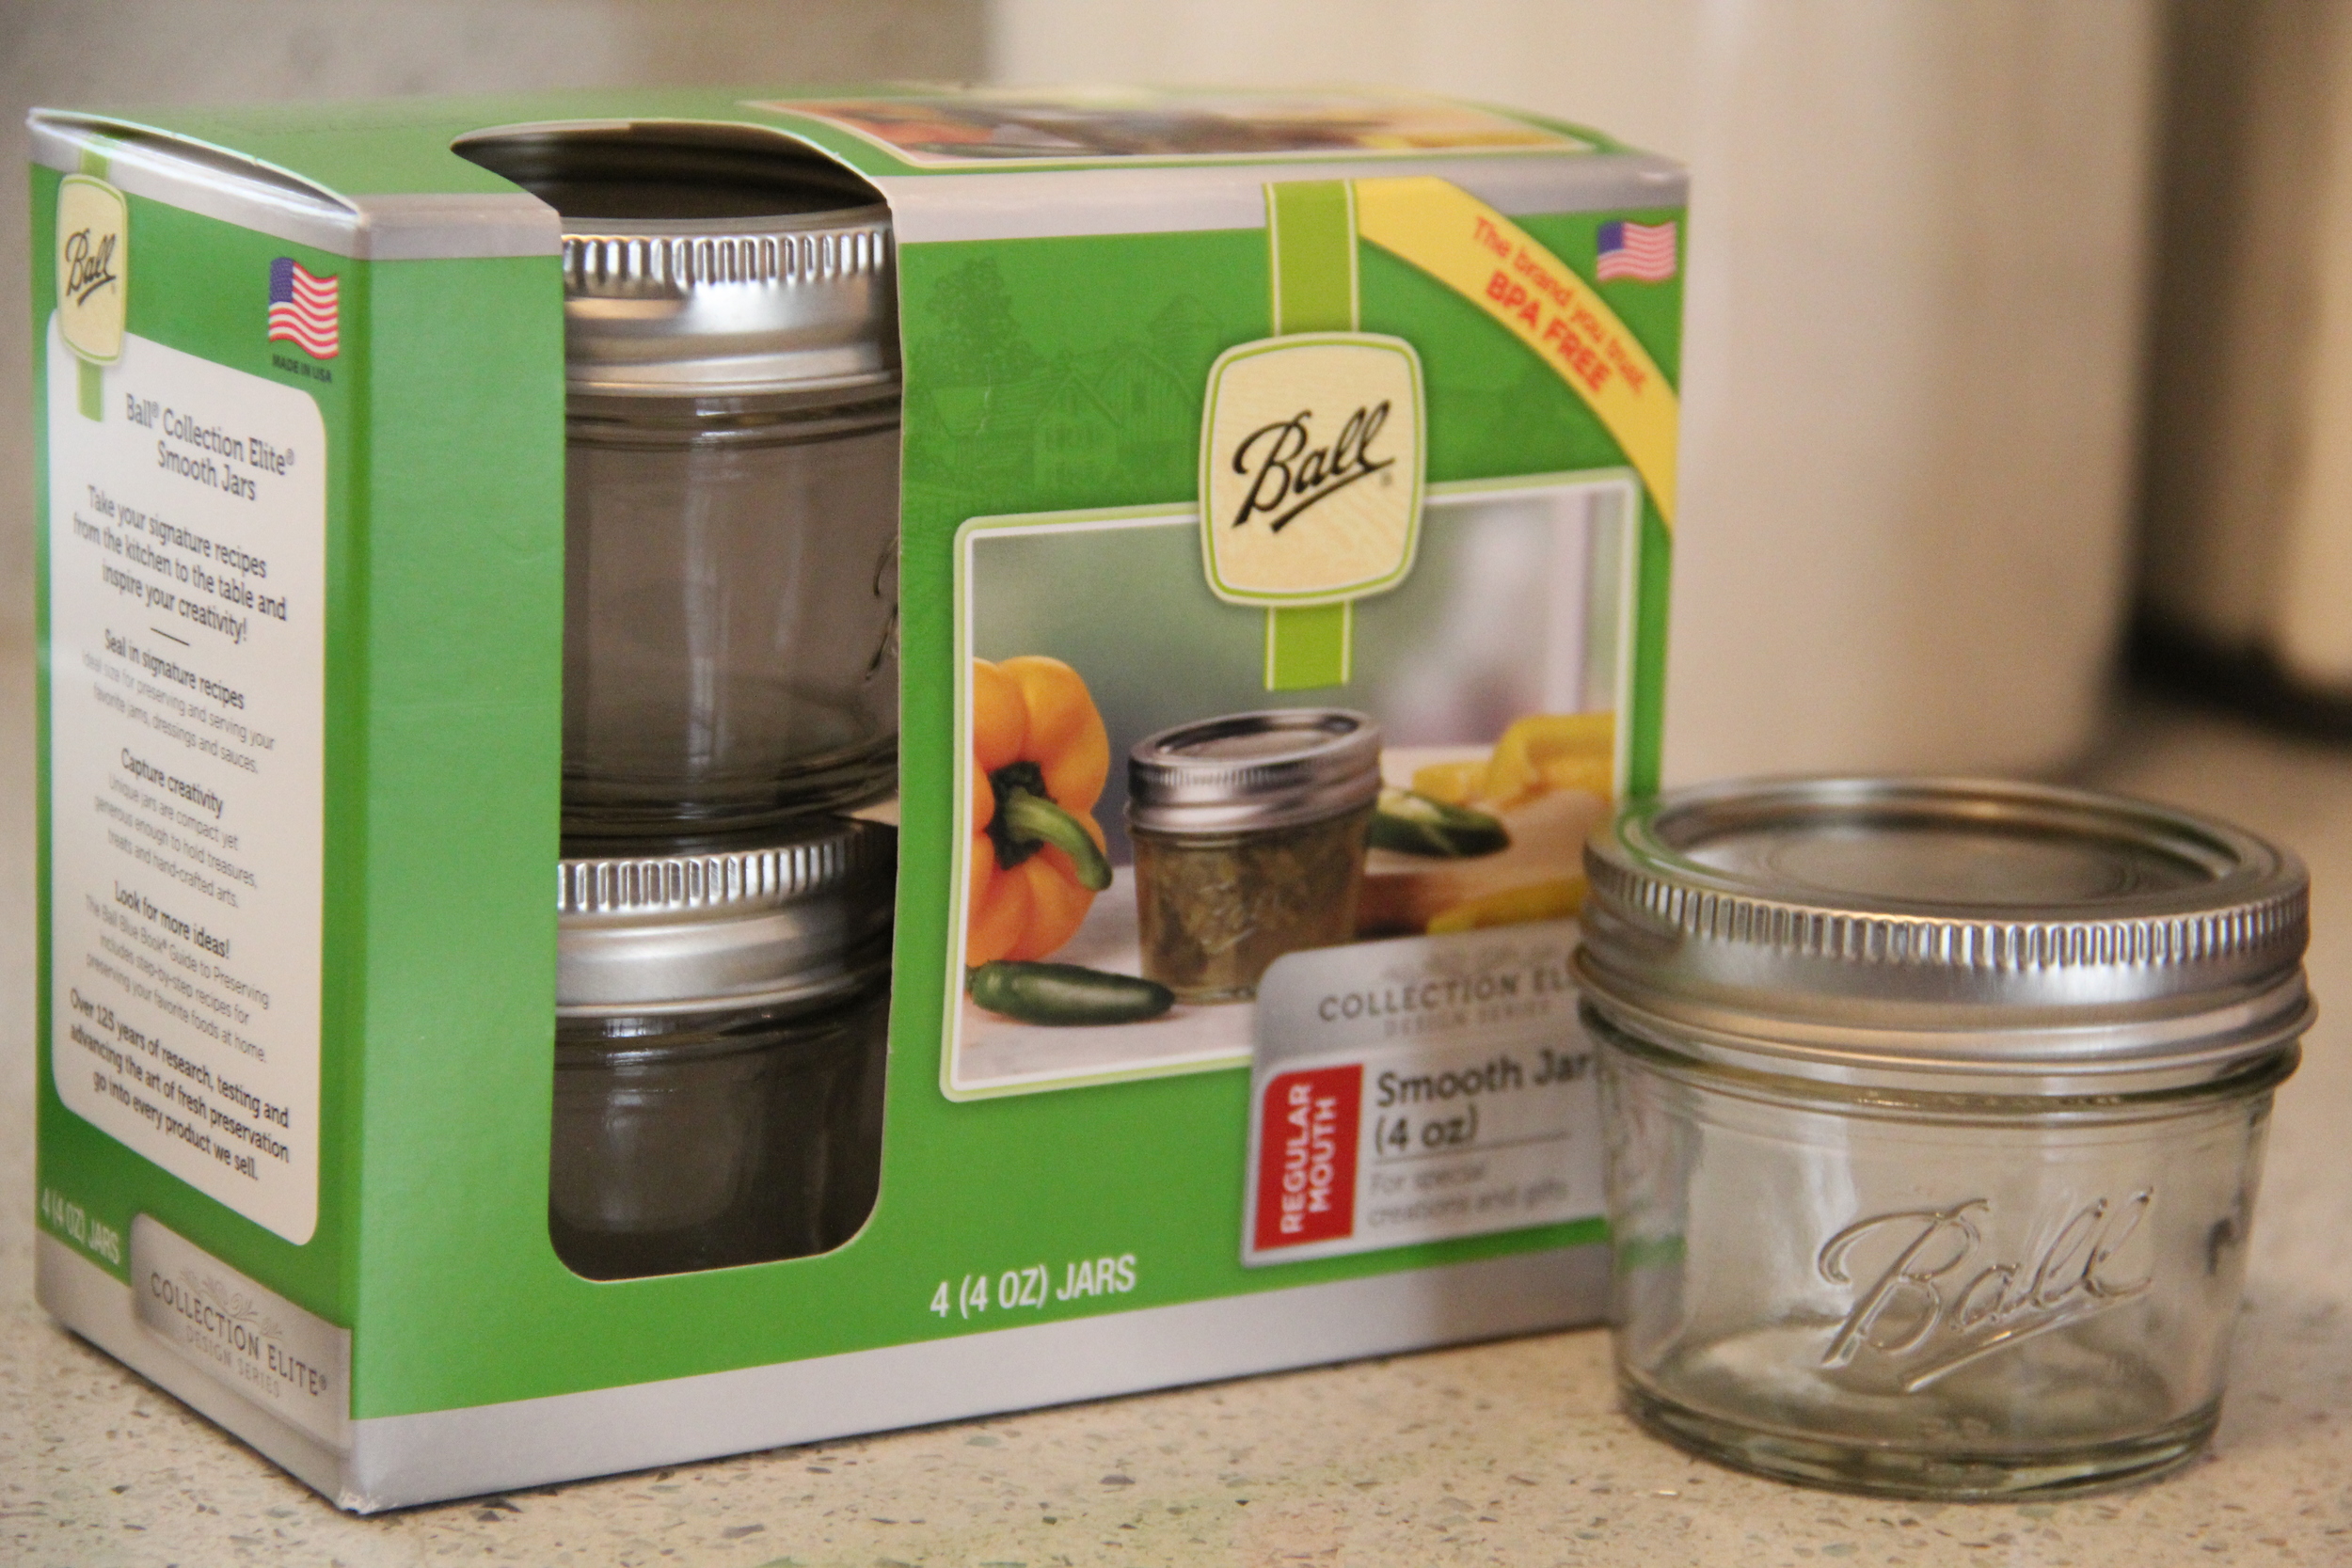
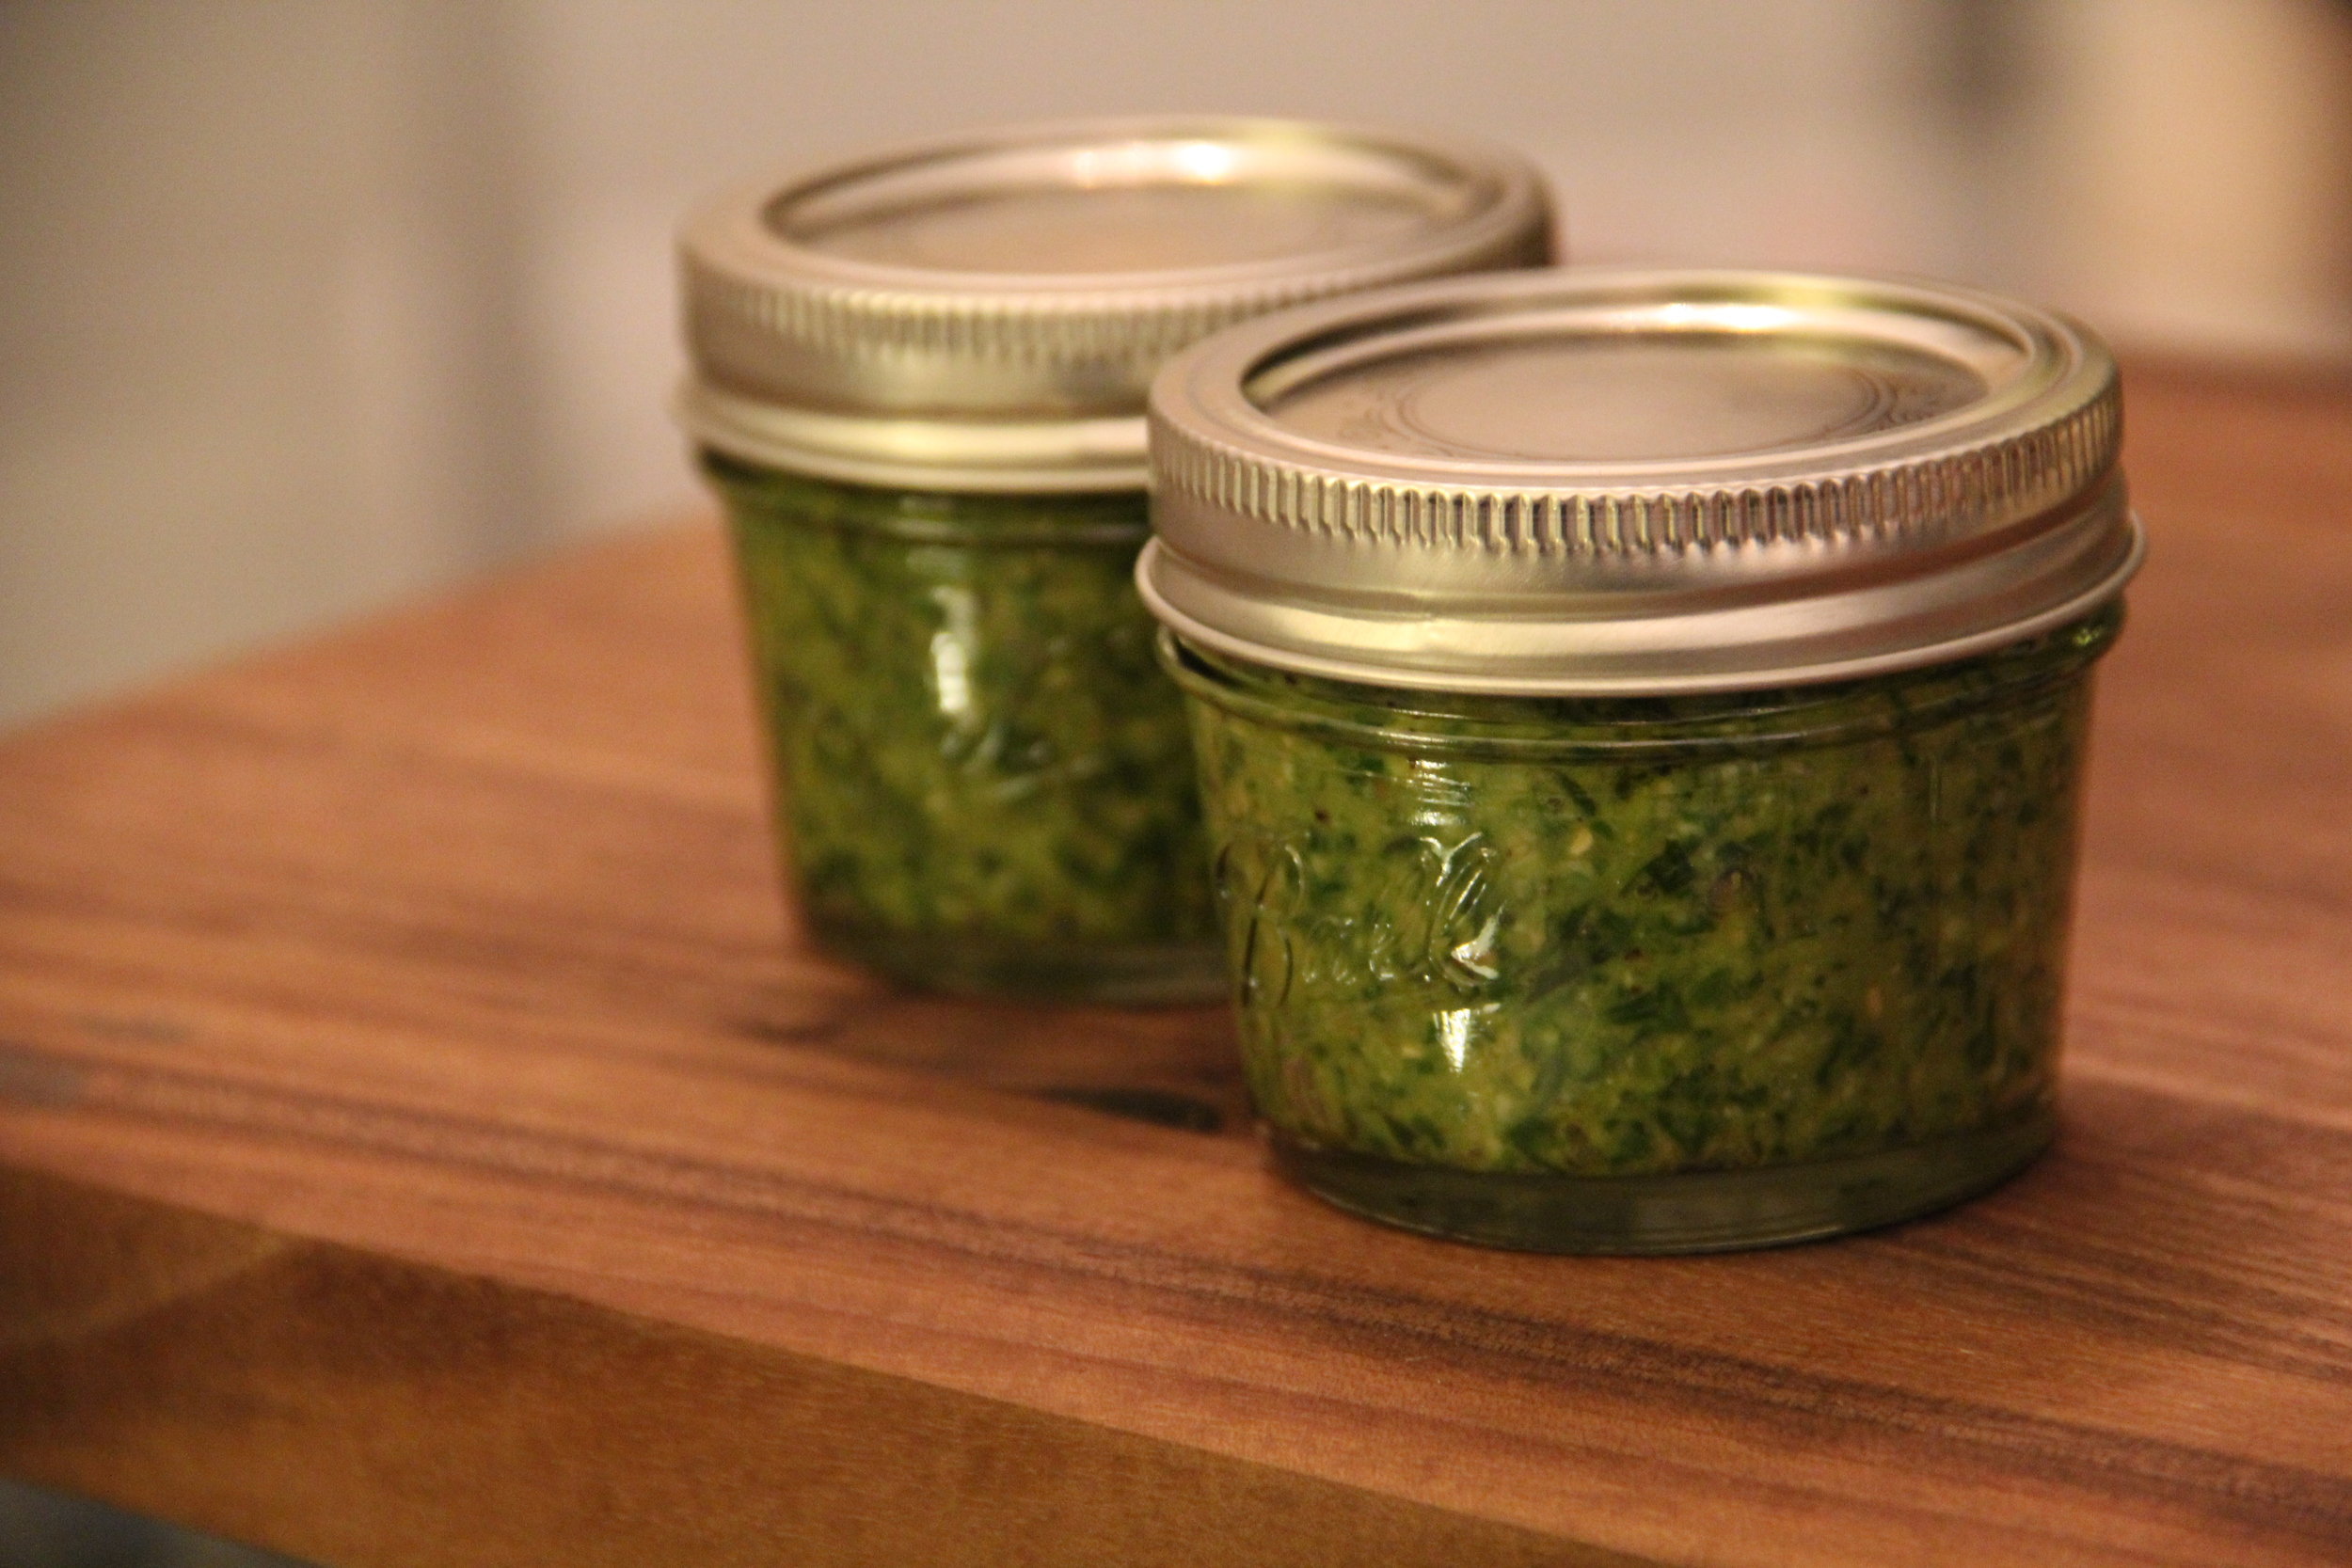
  5. Divide into three 4oz-mason jars and refrigerate or freeze until ready to serve and/or gift

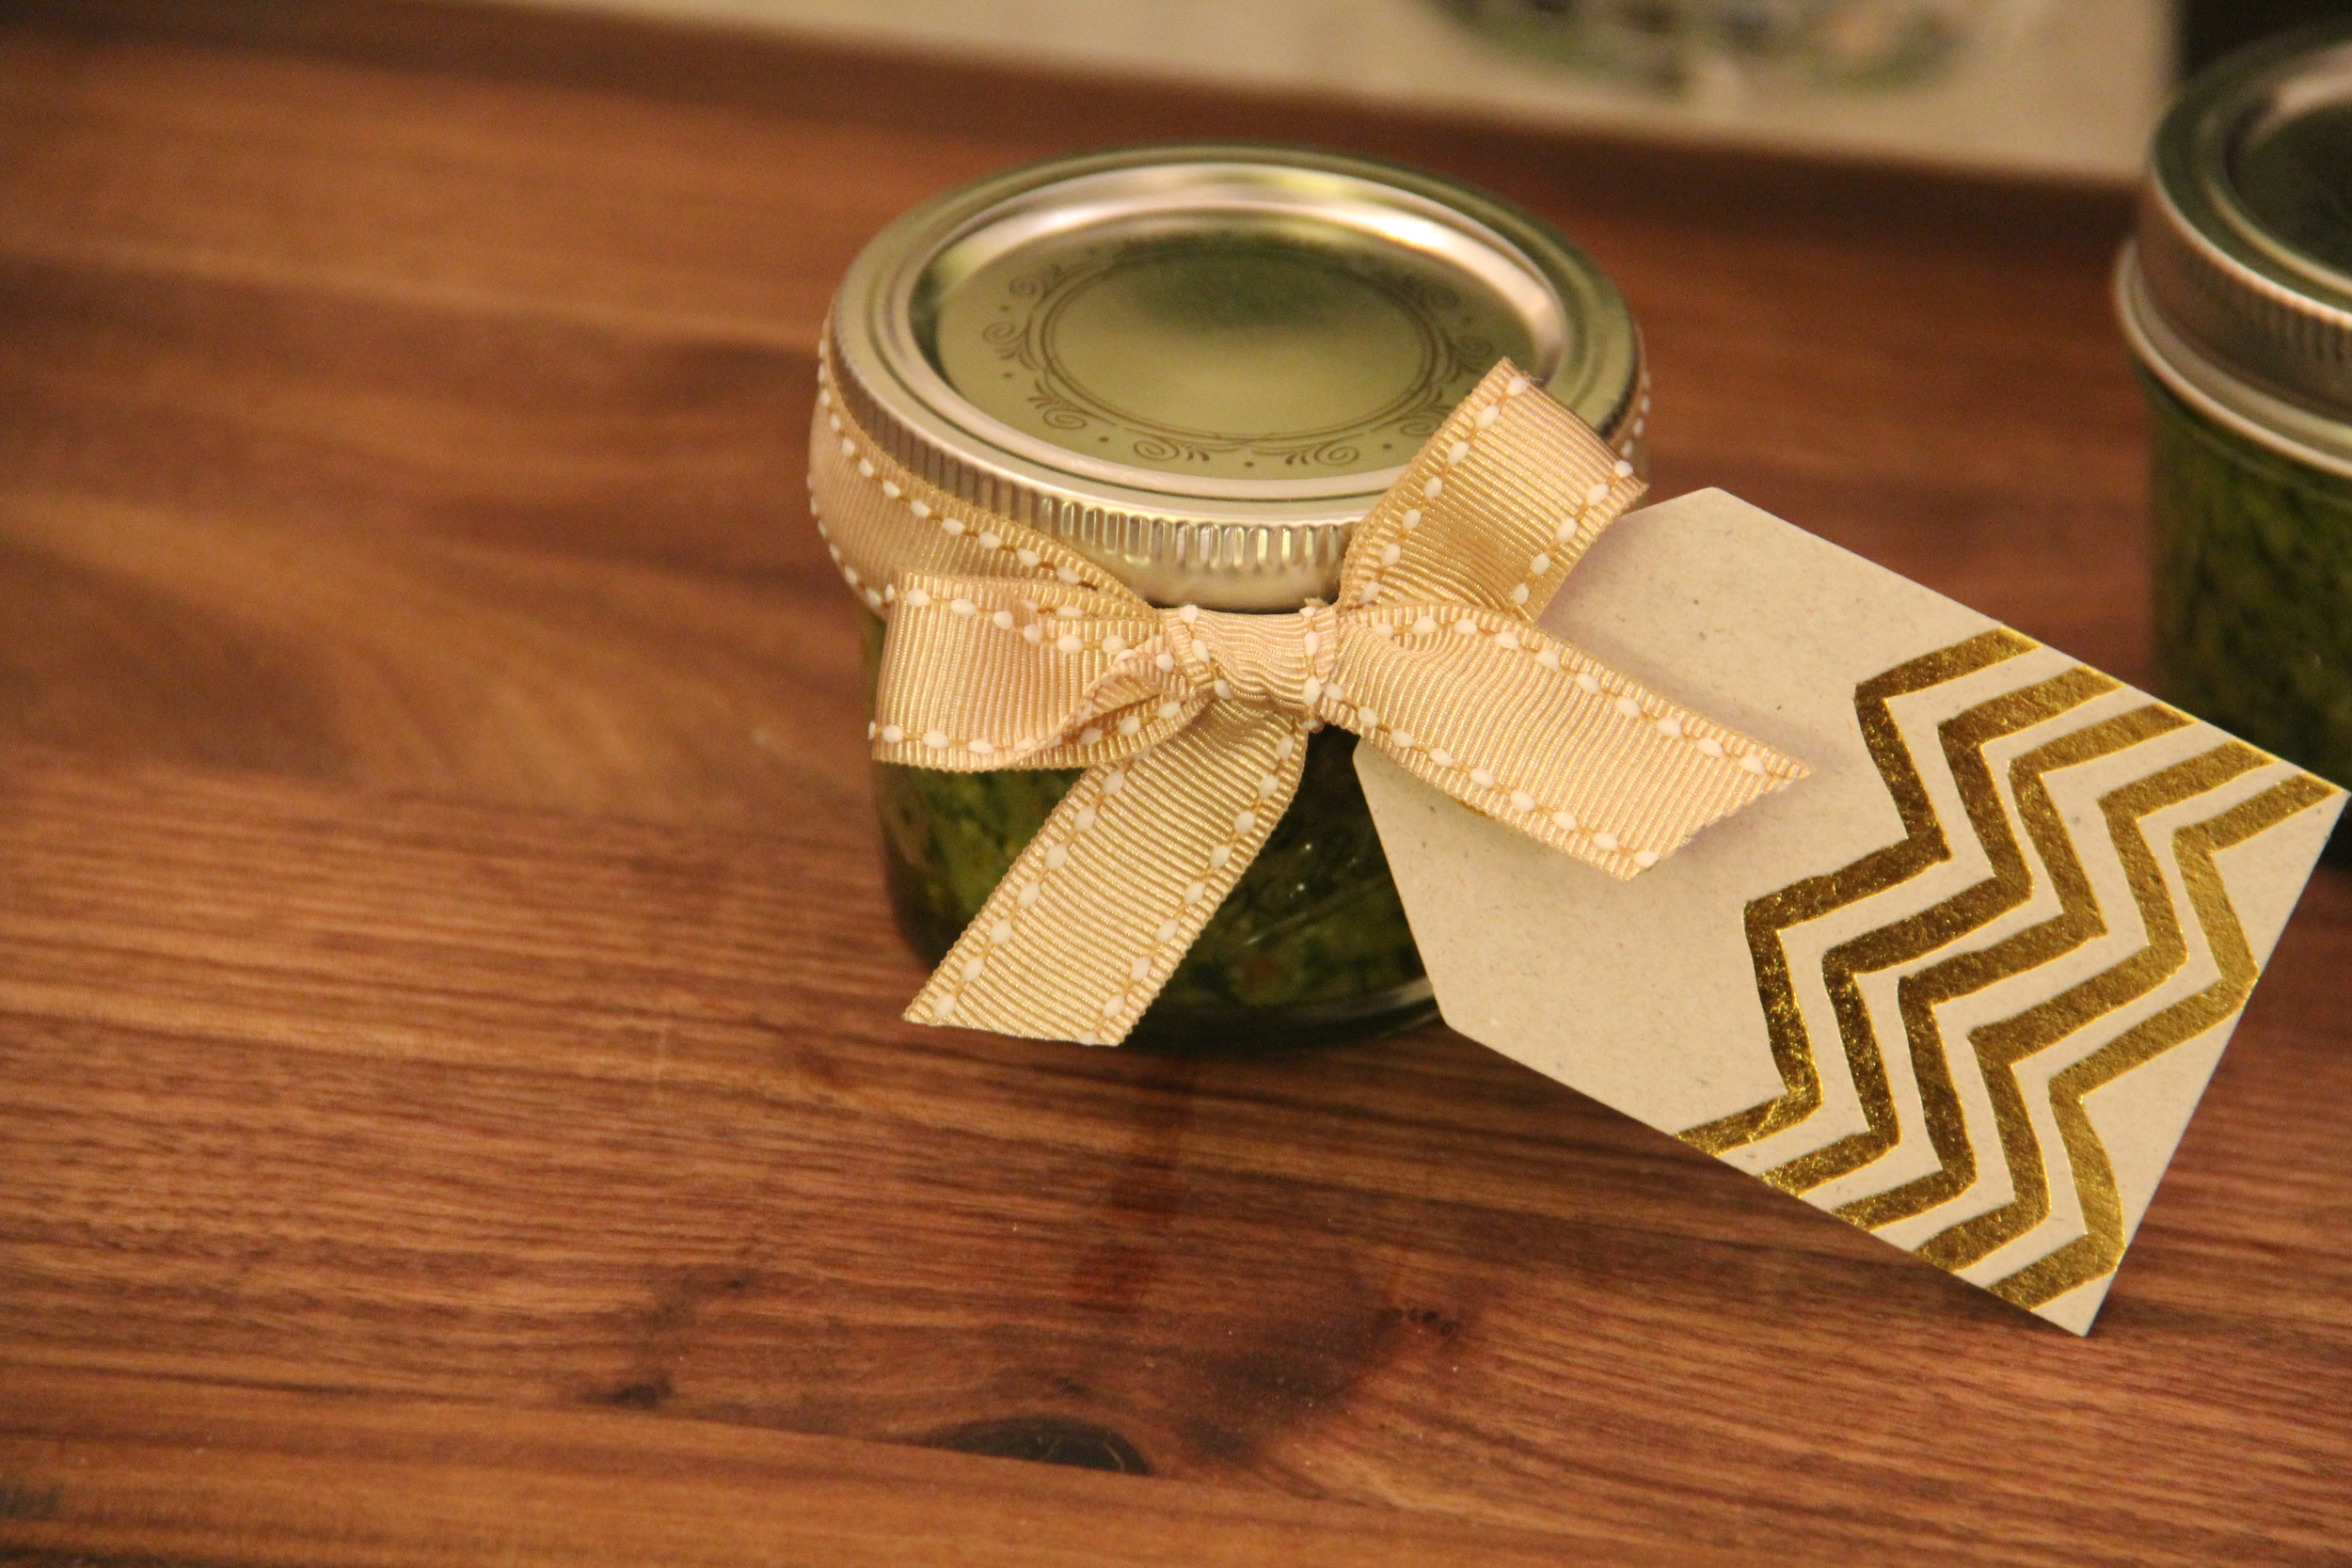
**If gifting pesto, I recommend adding a cute gift tag and ribbon for a personalized/finished look.  

Basil Pesto.JPG
Basil Pesto Gift 3.JPG

While I am still dreaming of the day when I can make pesto grown from basil in my backyard, the bulk basil from the grocery store works just fine.  In addition, it gave me the opportunity to use up a bunch of ingredients I already had in my fridge.  I really couldn't think of a better way to close out the summer season than with such a delicious and very versatile recipe.  And now, on to Fall! 

Basil Pesto Gift 2.JPG
In Food and Drink Tags Cuisinart, DIY, Gift Ideas, Basil, Mason Jars
Comment

August Kitchen Tools

August 28, 2015 Callie Cagney
Kitchen Tools.JPG
Garlic Chopper.JPG
Avocado Dressing 1.JPG
Kyocera Knife.JPG

This month's tools are three of my kitchen prep essentials.  Prior to getting married, and having hardly any disposable income straight out of Grad School, I relied heavily on the two kitchen knives I owned at the time to take care of all of my food prep work.  While the knives were perfectly fine and helped me to get the work done, it was always an extremely laborious process and would often take me significantly longer than the prescribed amount of time to accomplish each prep task.  With that said, there was still a silver lining to this situation.  Having such a limited number of resources showed me what tools would make my cooking process much easier and what tasks were totally fine to accomplish with just a regular kitchen knife, so when I was finally at a point where I could afford to invest in nicer kitchen tools, I knew exactly what I needed.  As you might expect, these three prep essentials were part of my list.  So without further adieu here are my picks for this month's kitchen tools feature. 

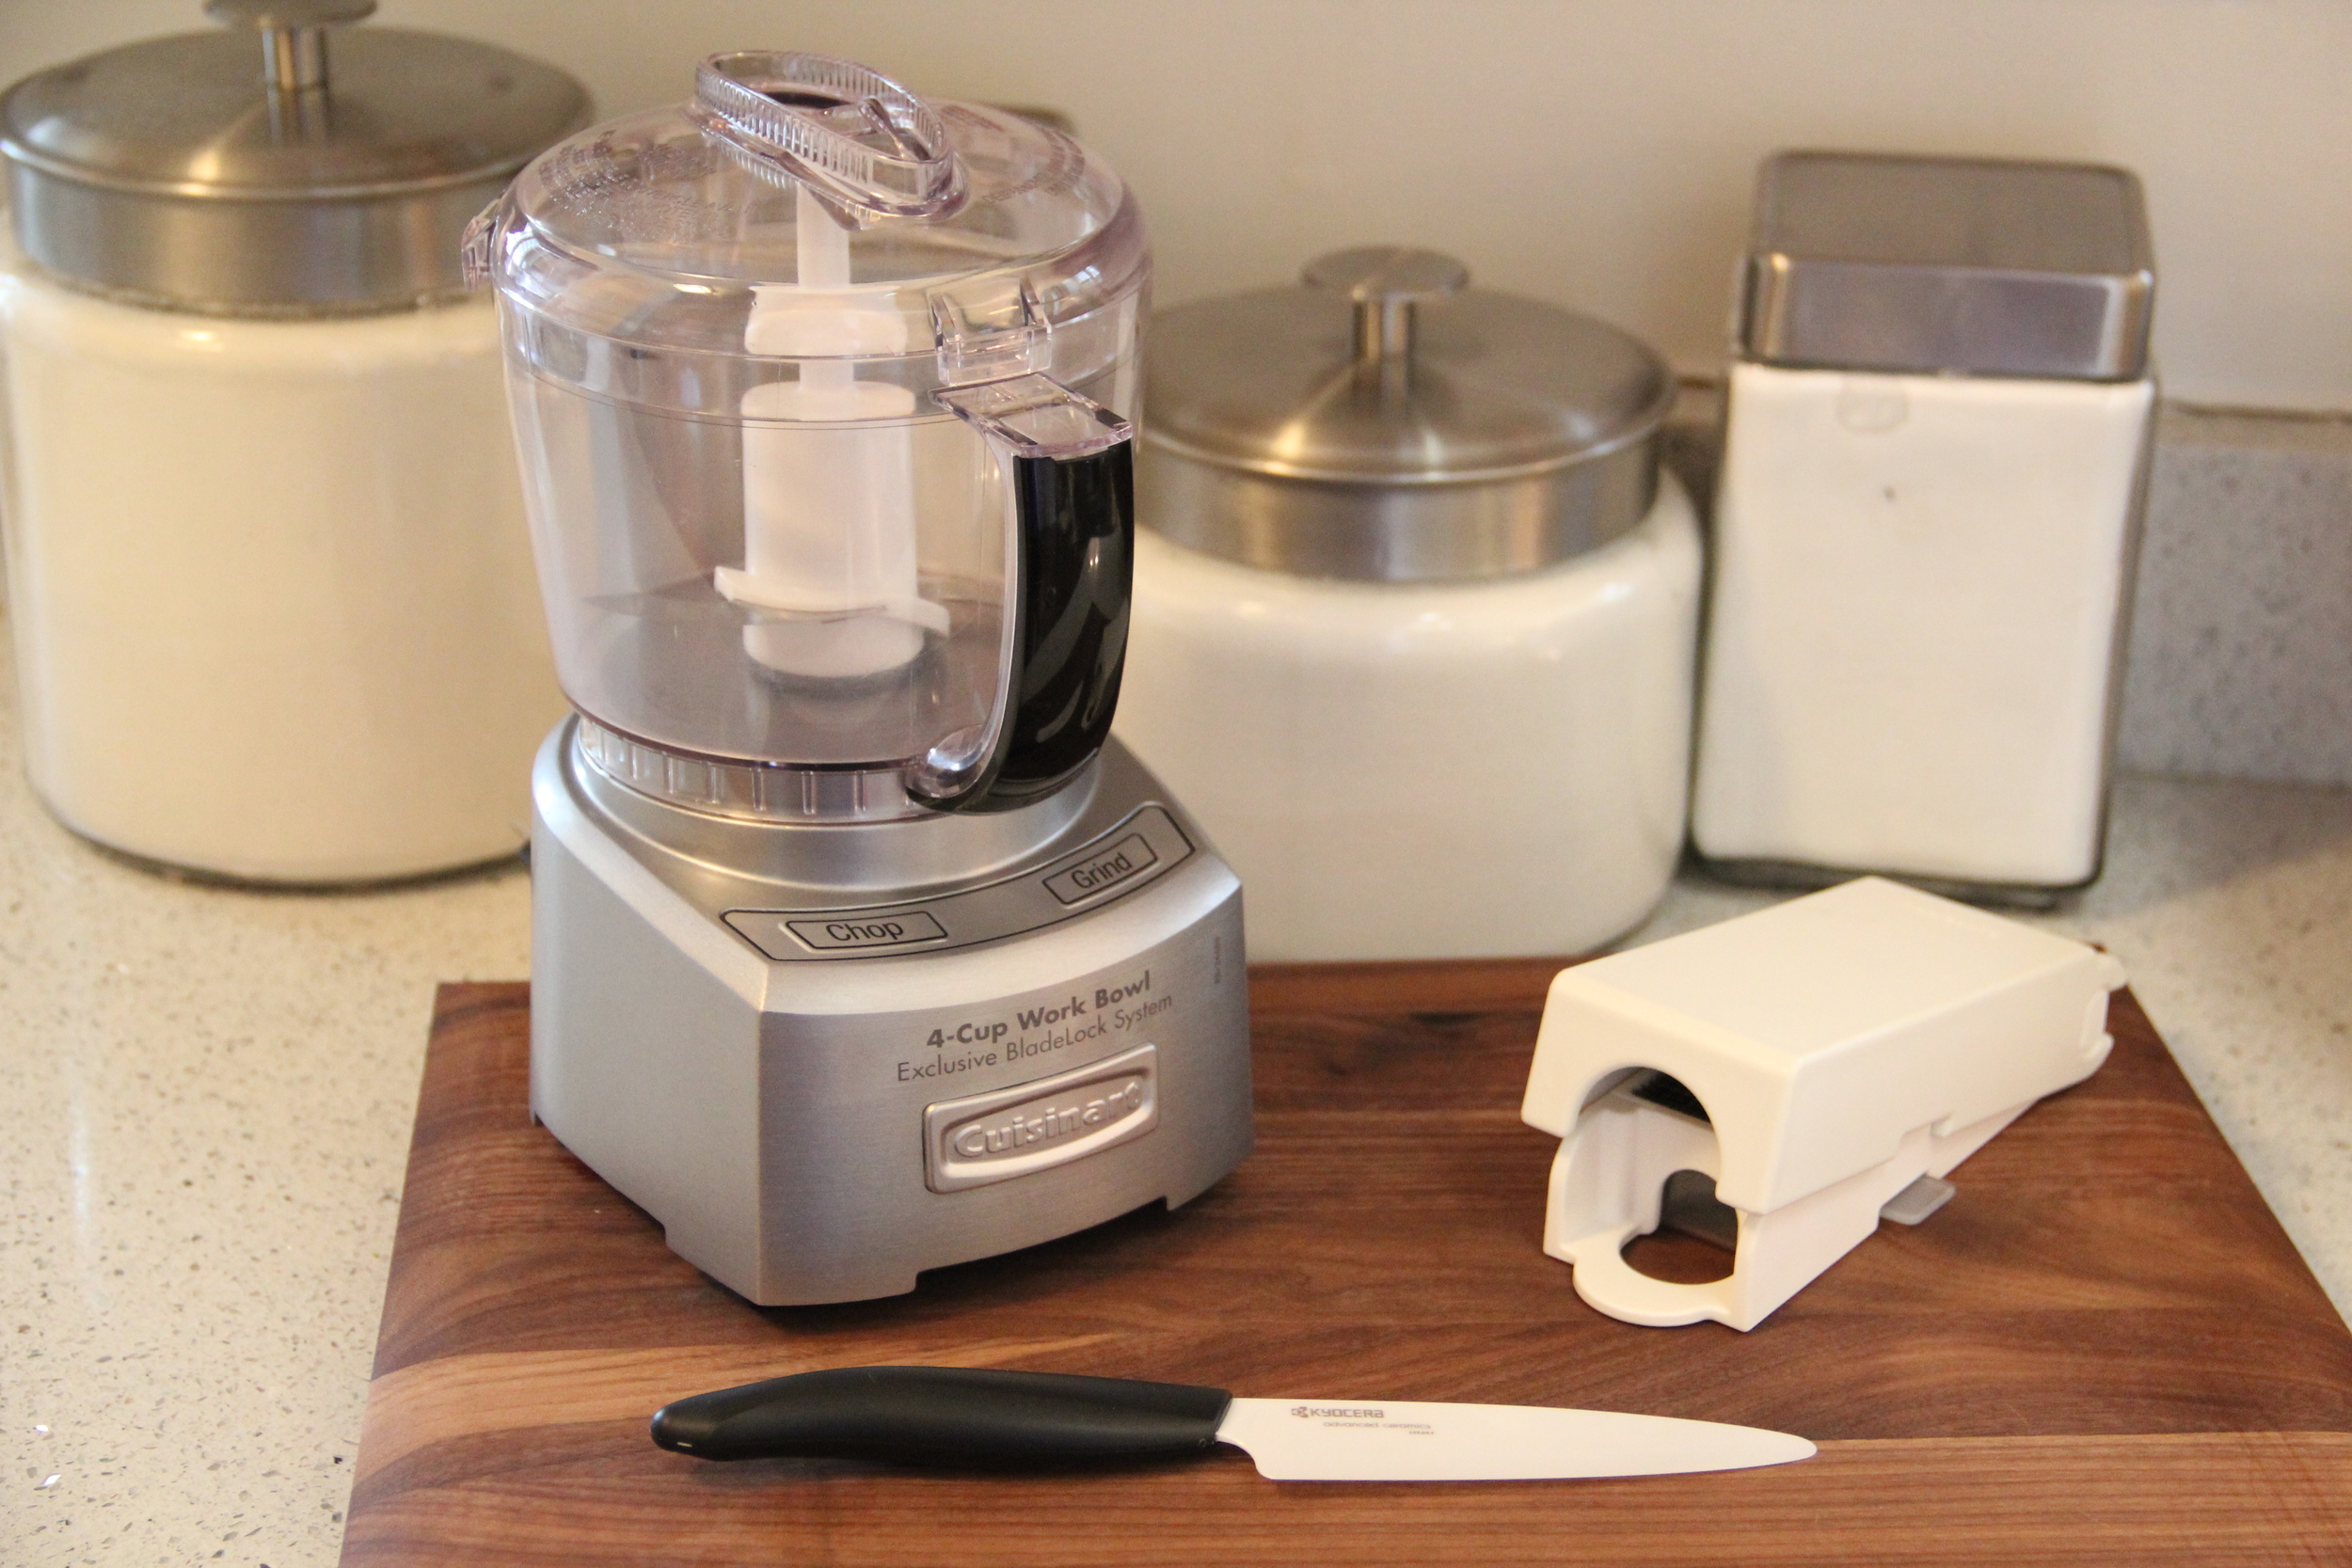
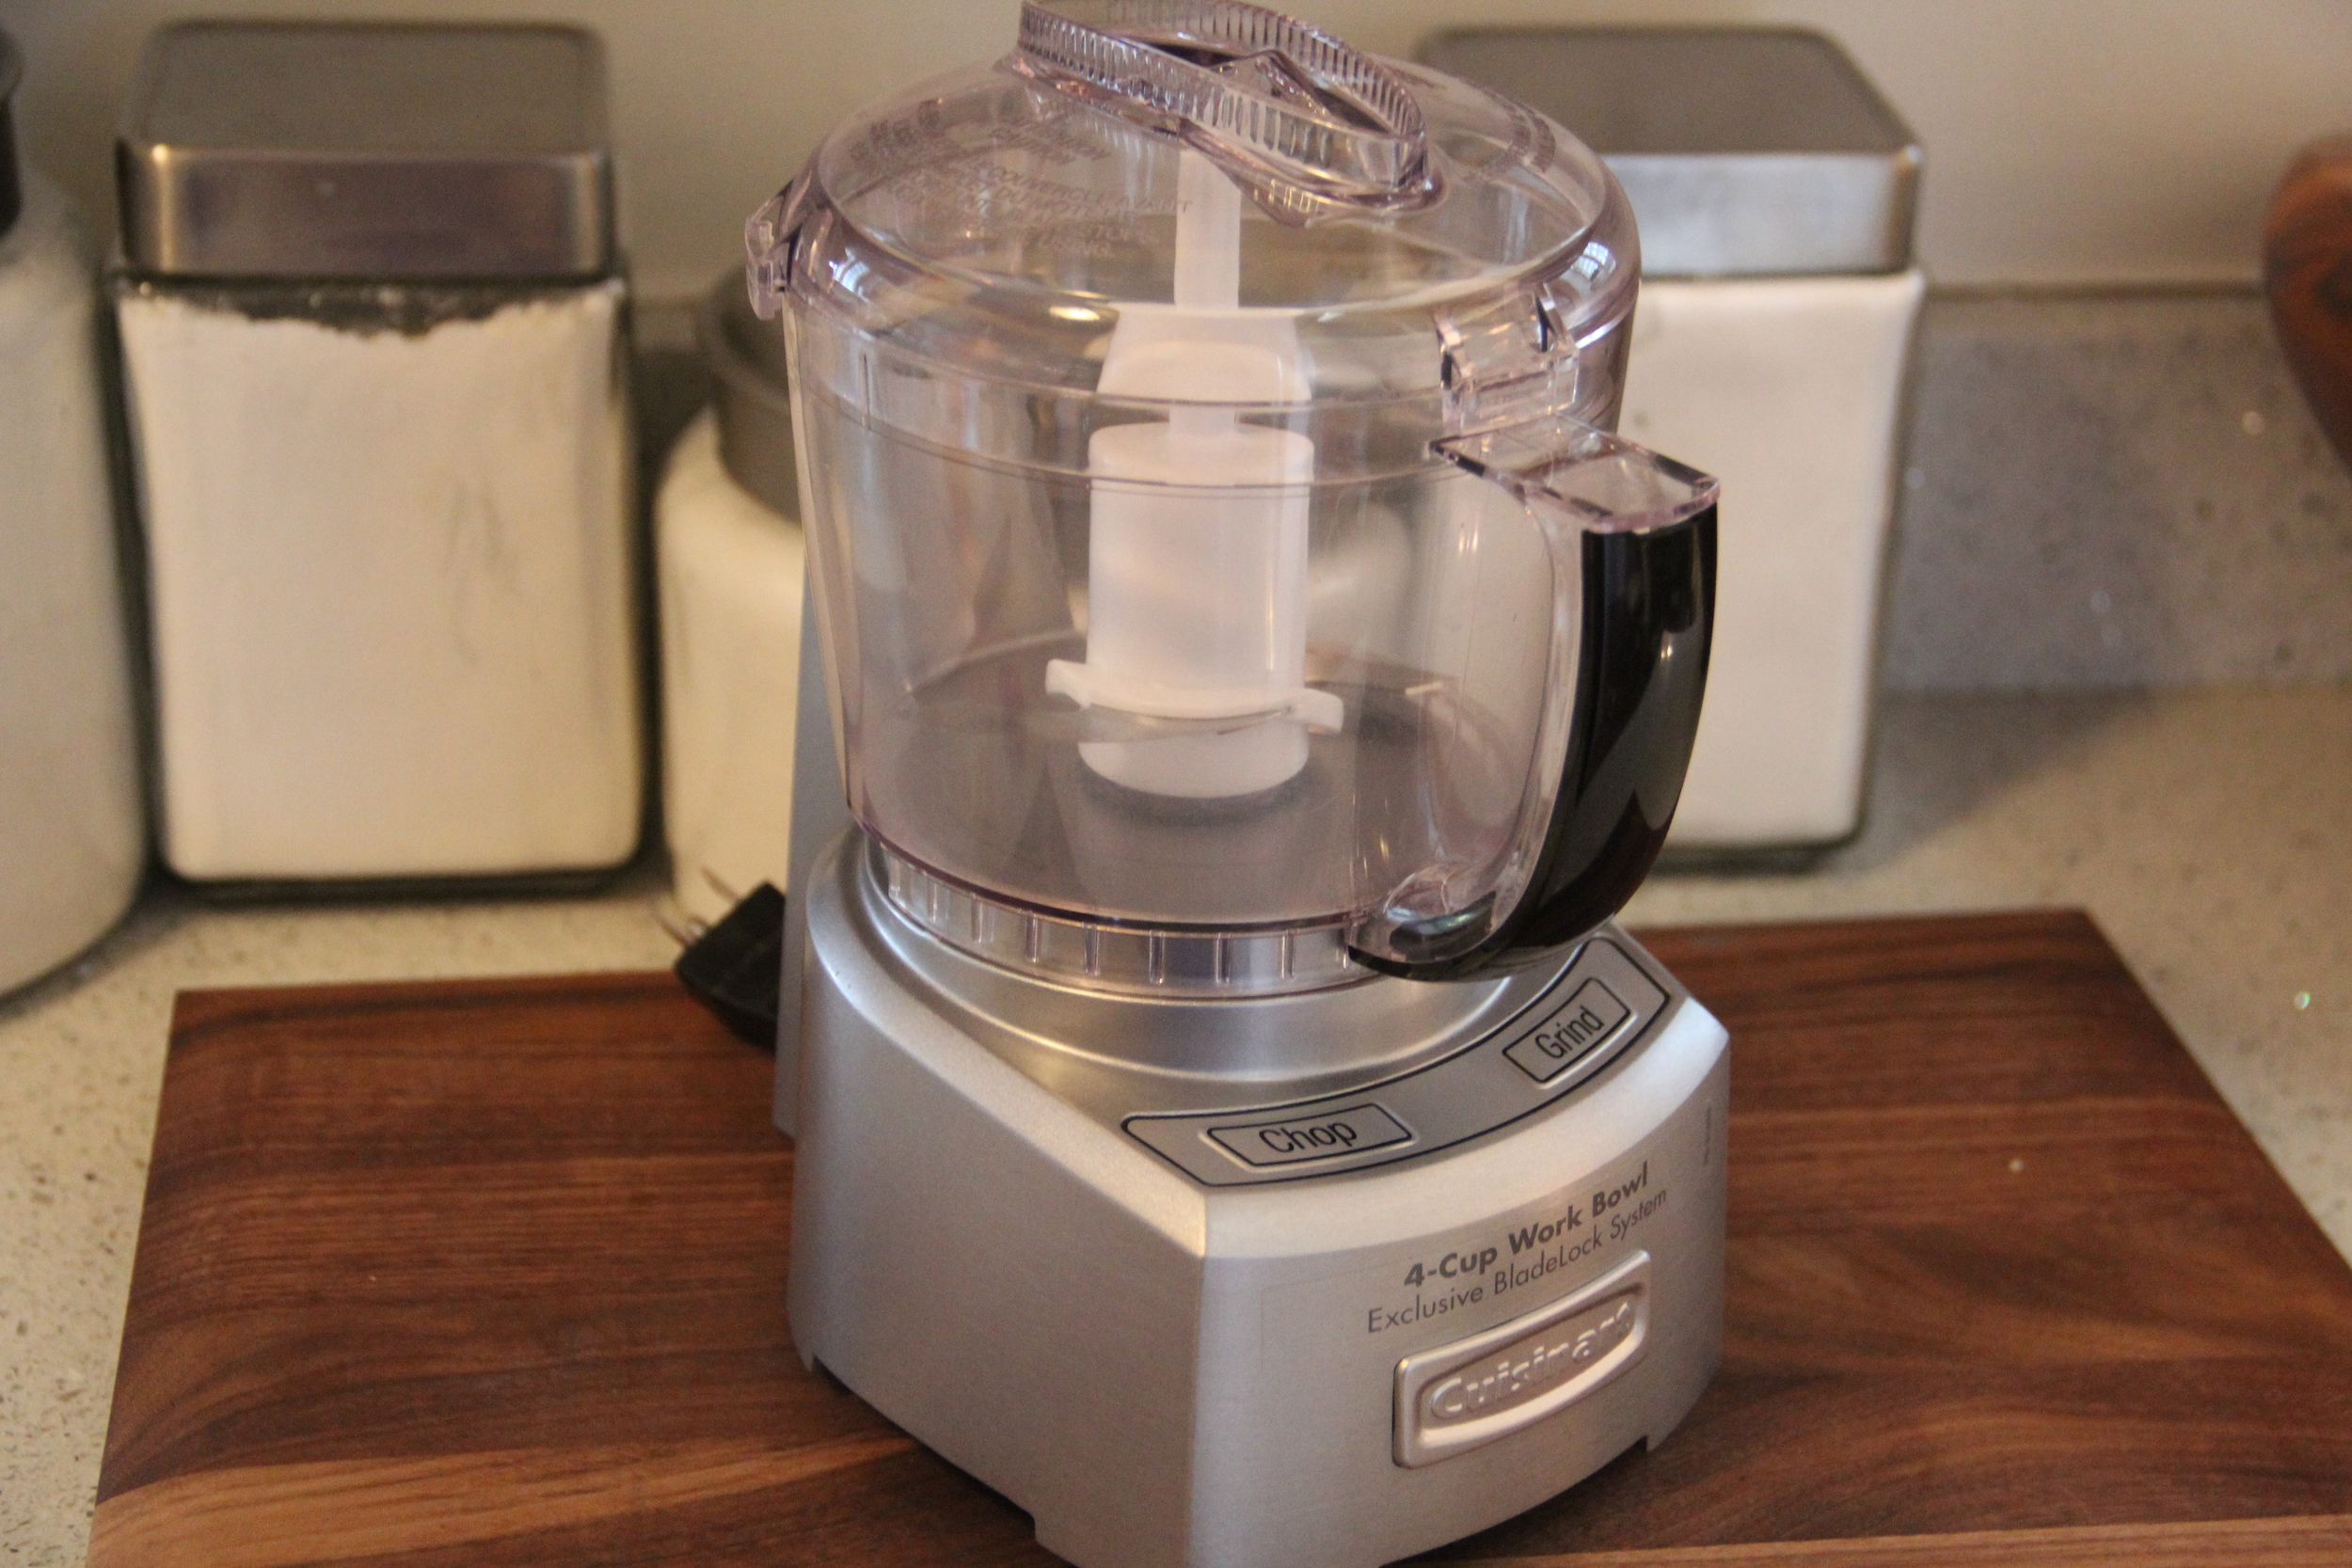
Cuisinart Elite Die-Cast Mini Prep, 4 Cup

Cuisinart Mini Food Processor.JPG
Cuisinart.JPG
Kale Salad.JPG

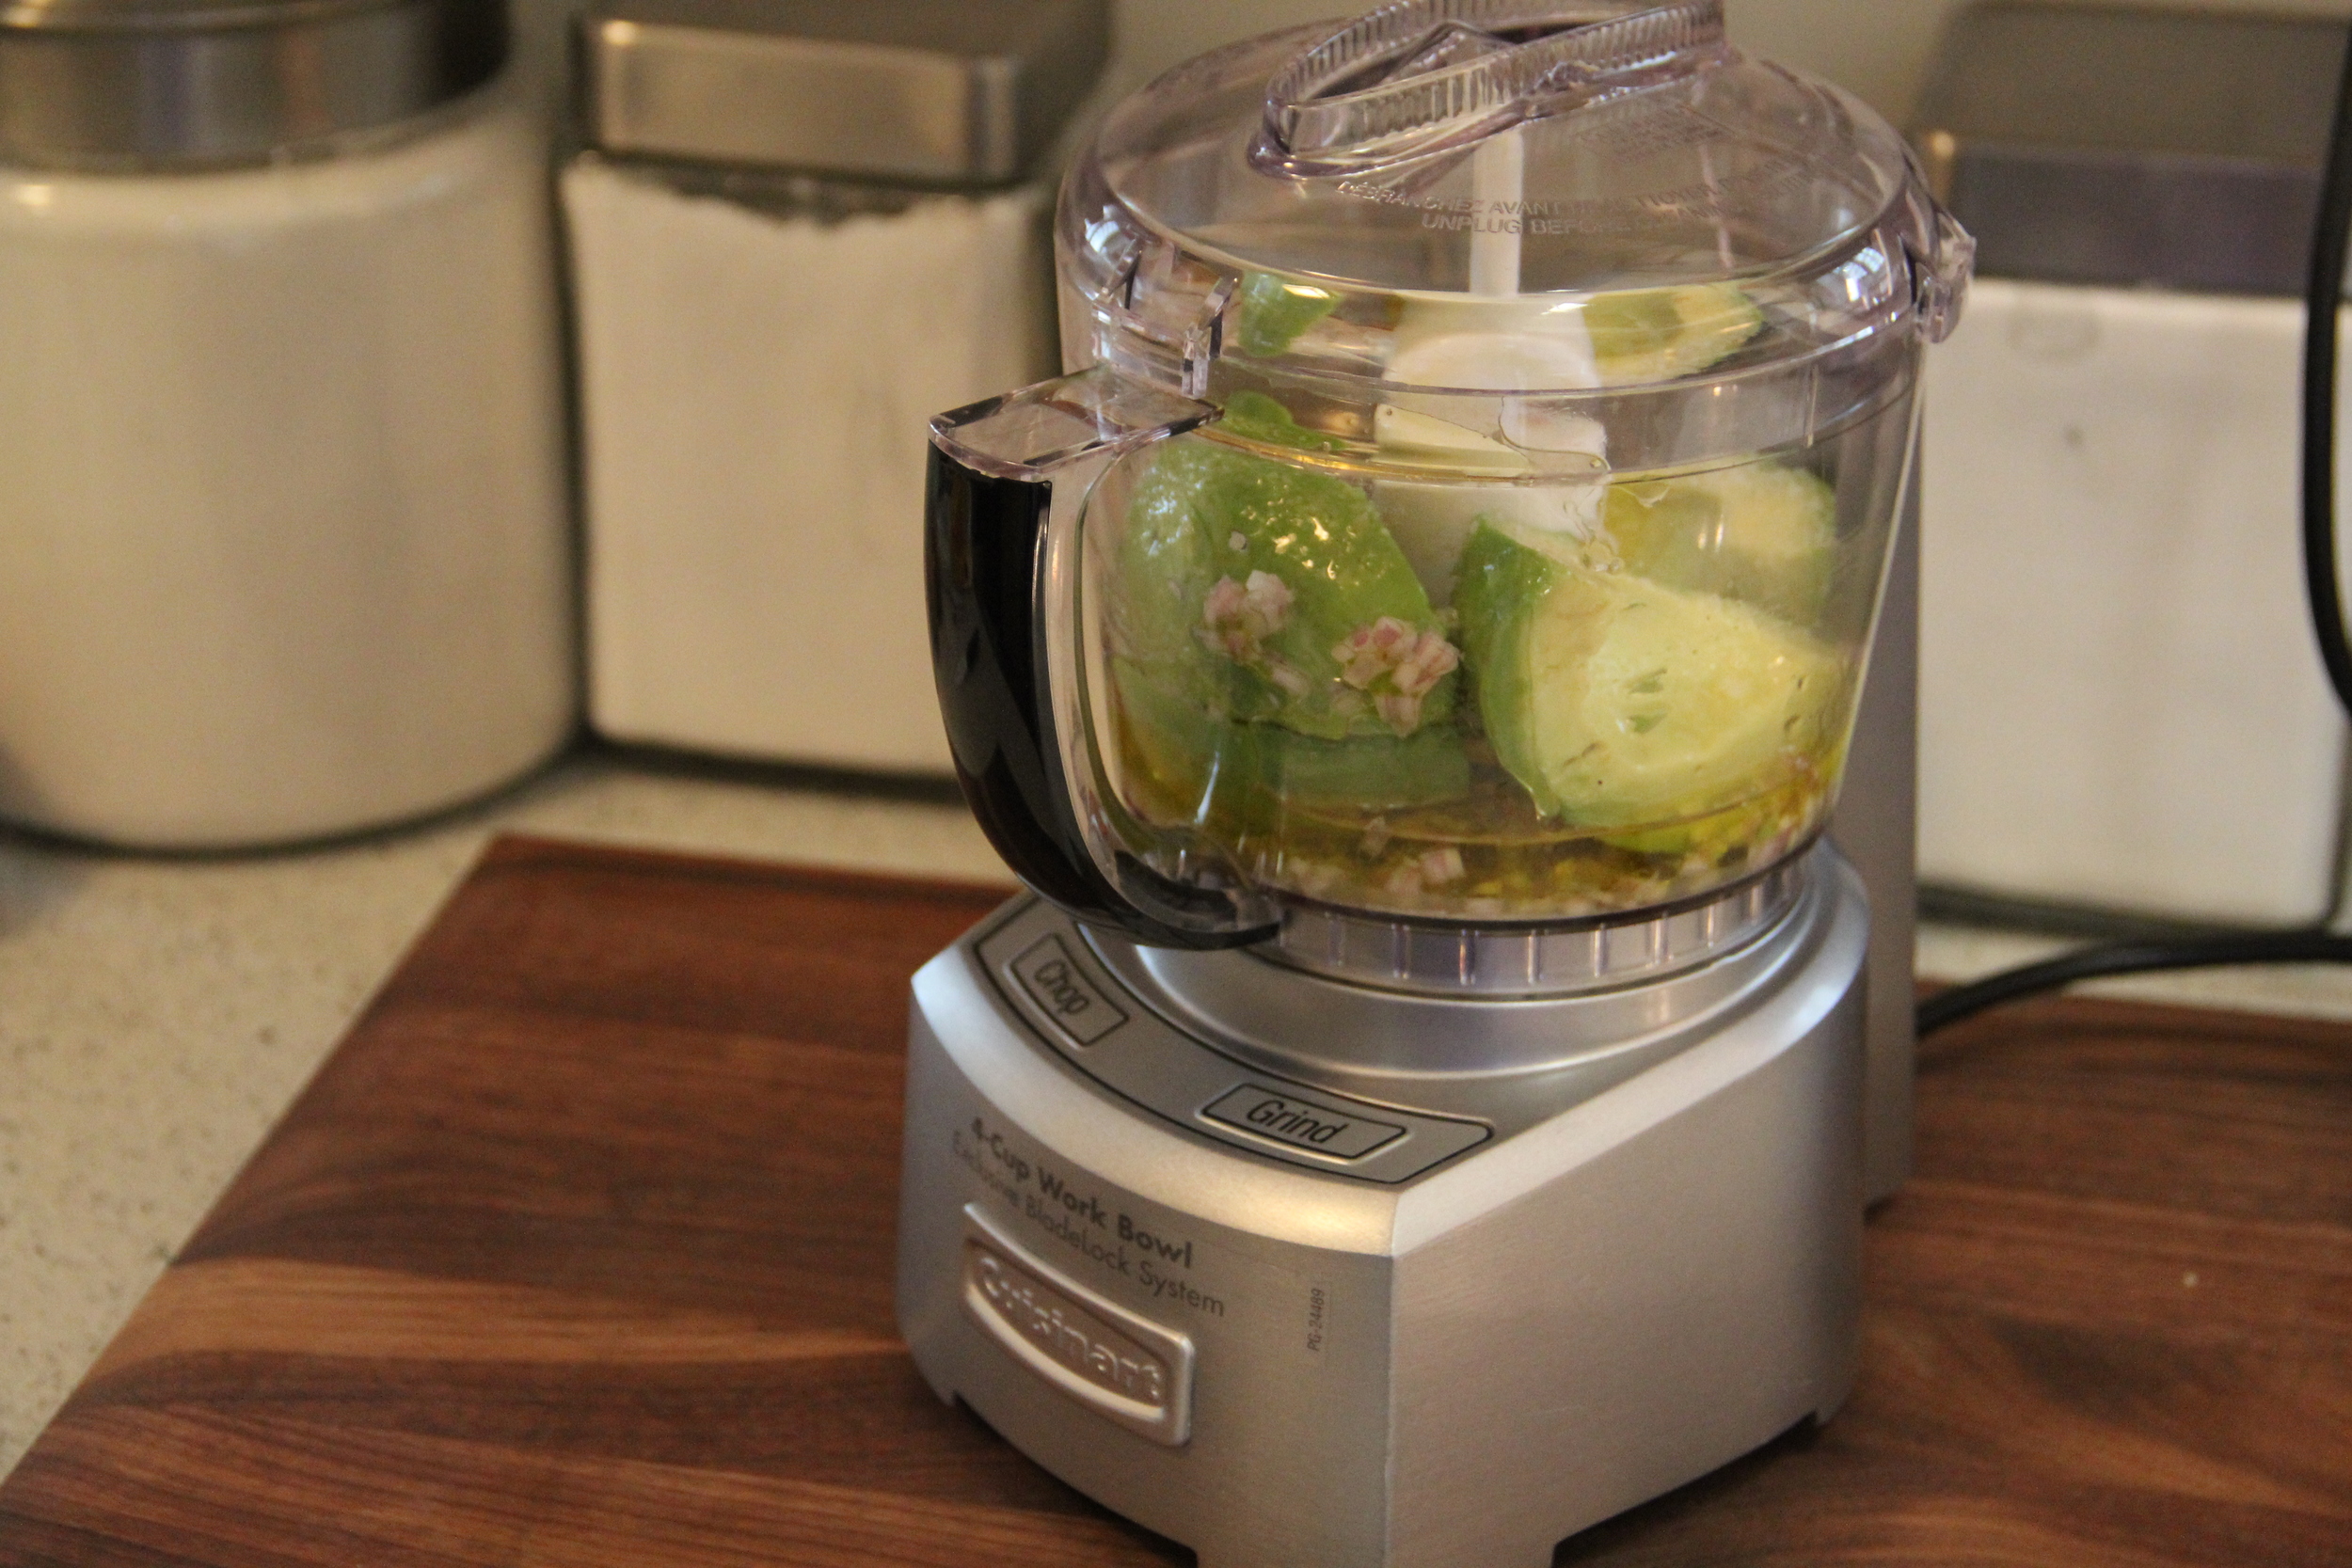
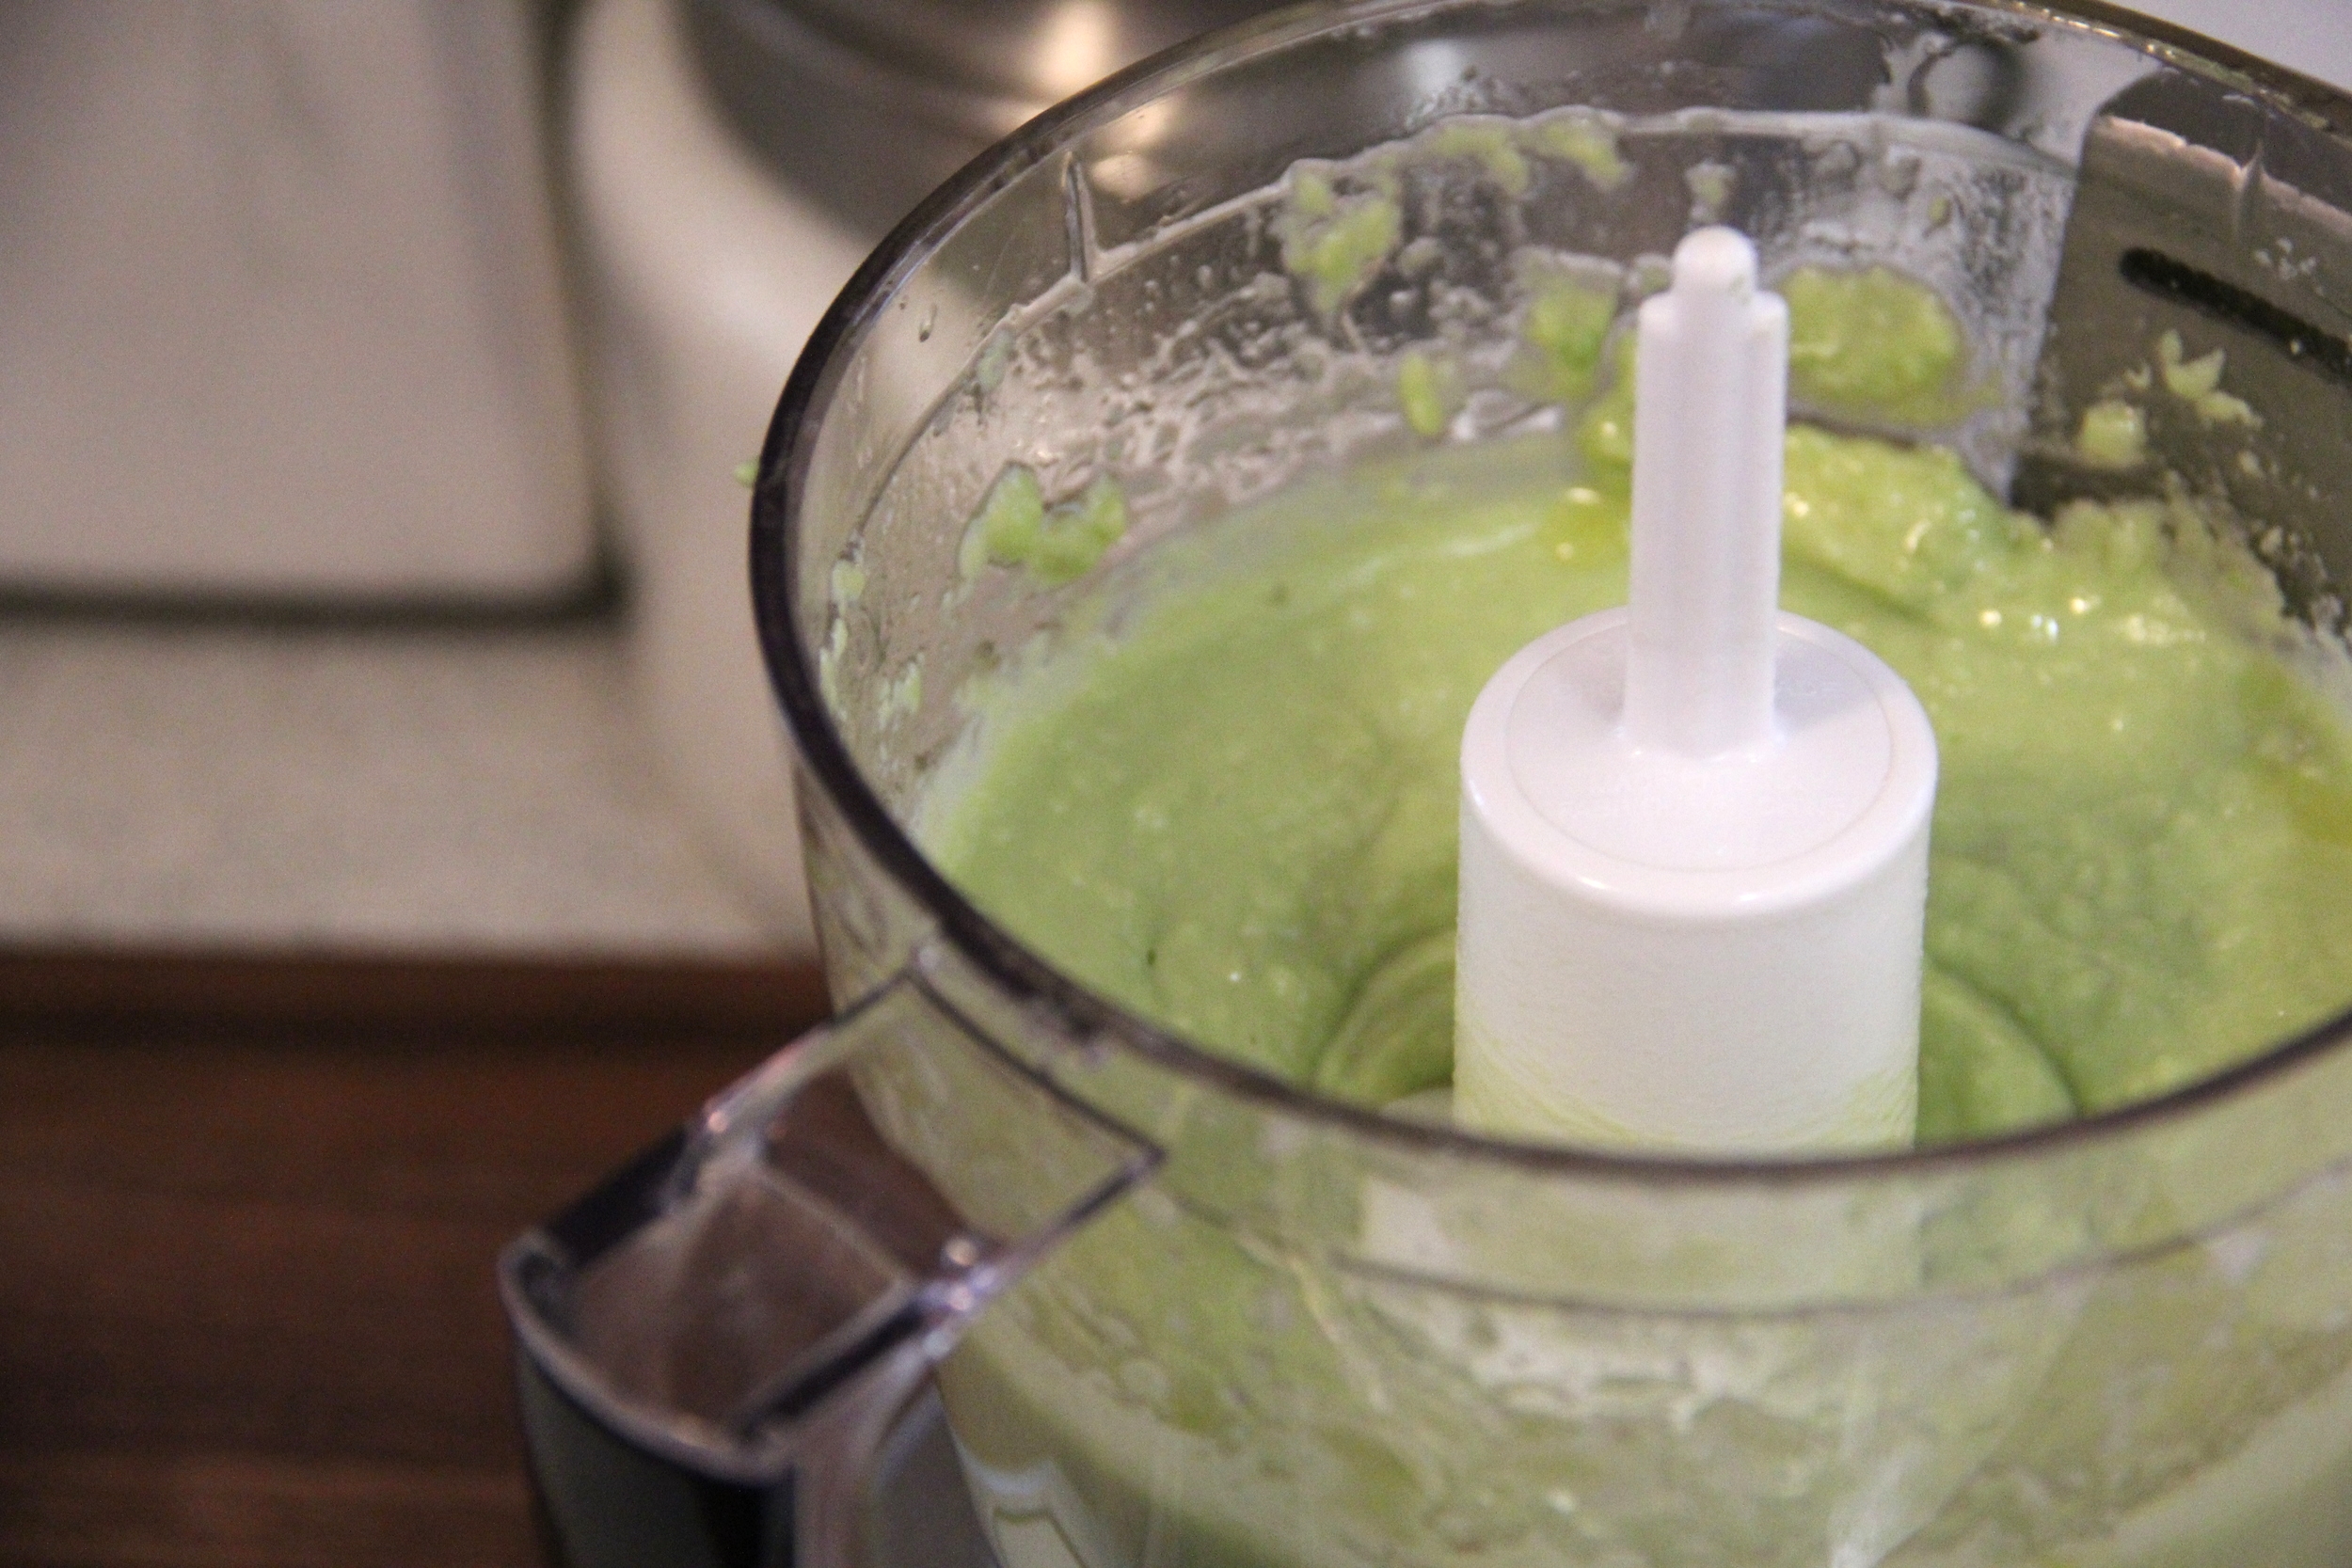
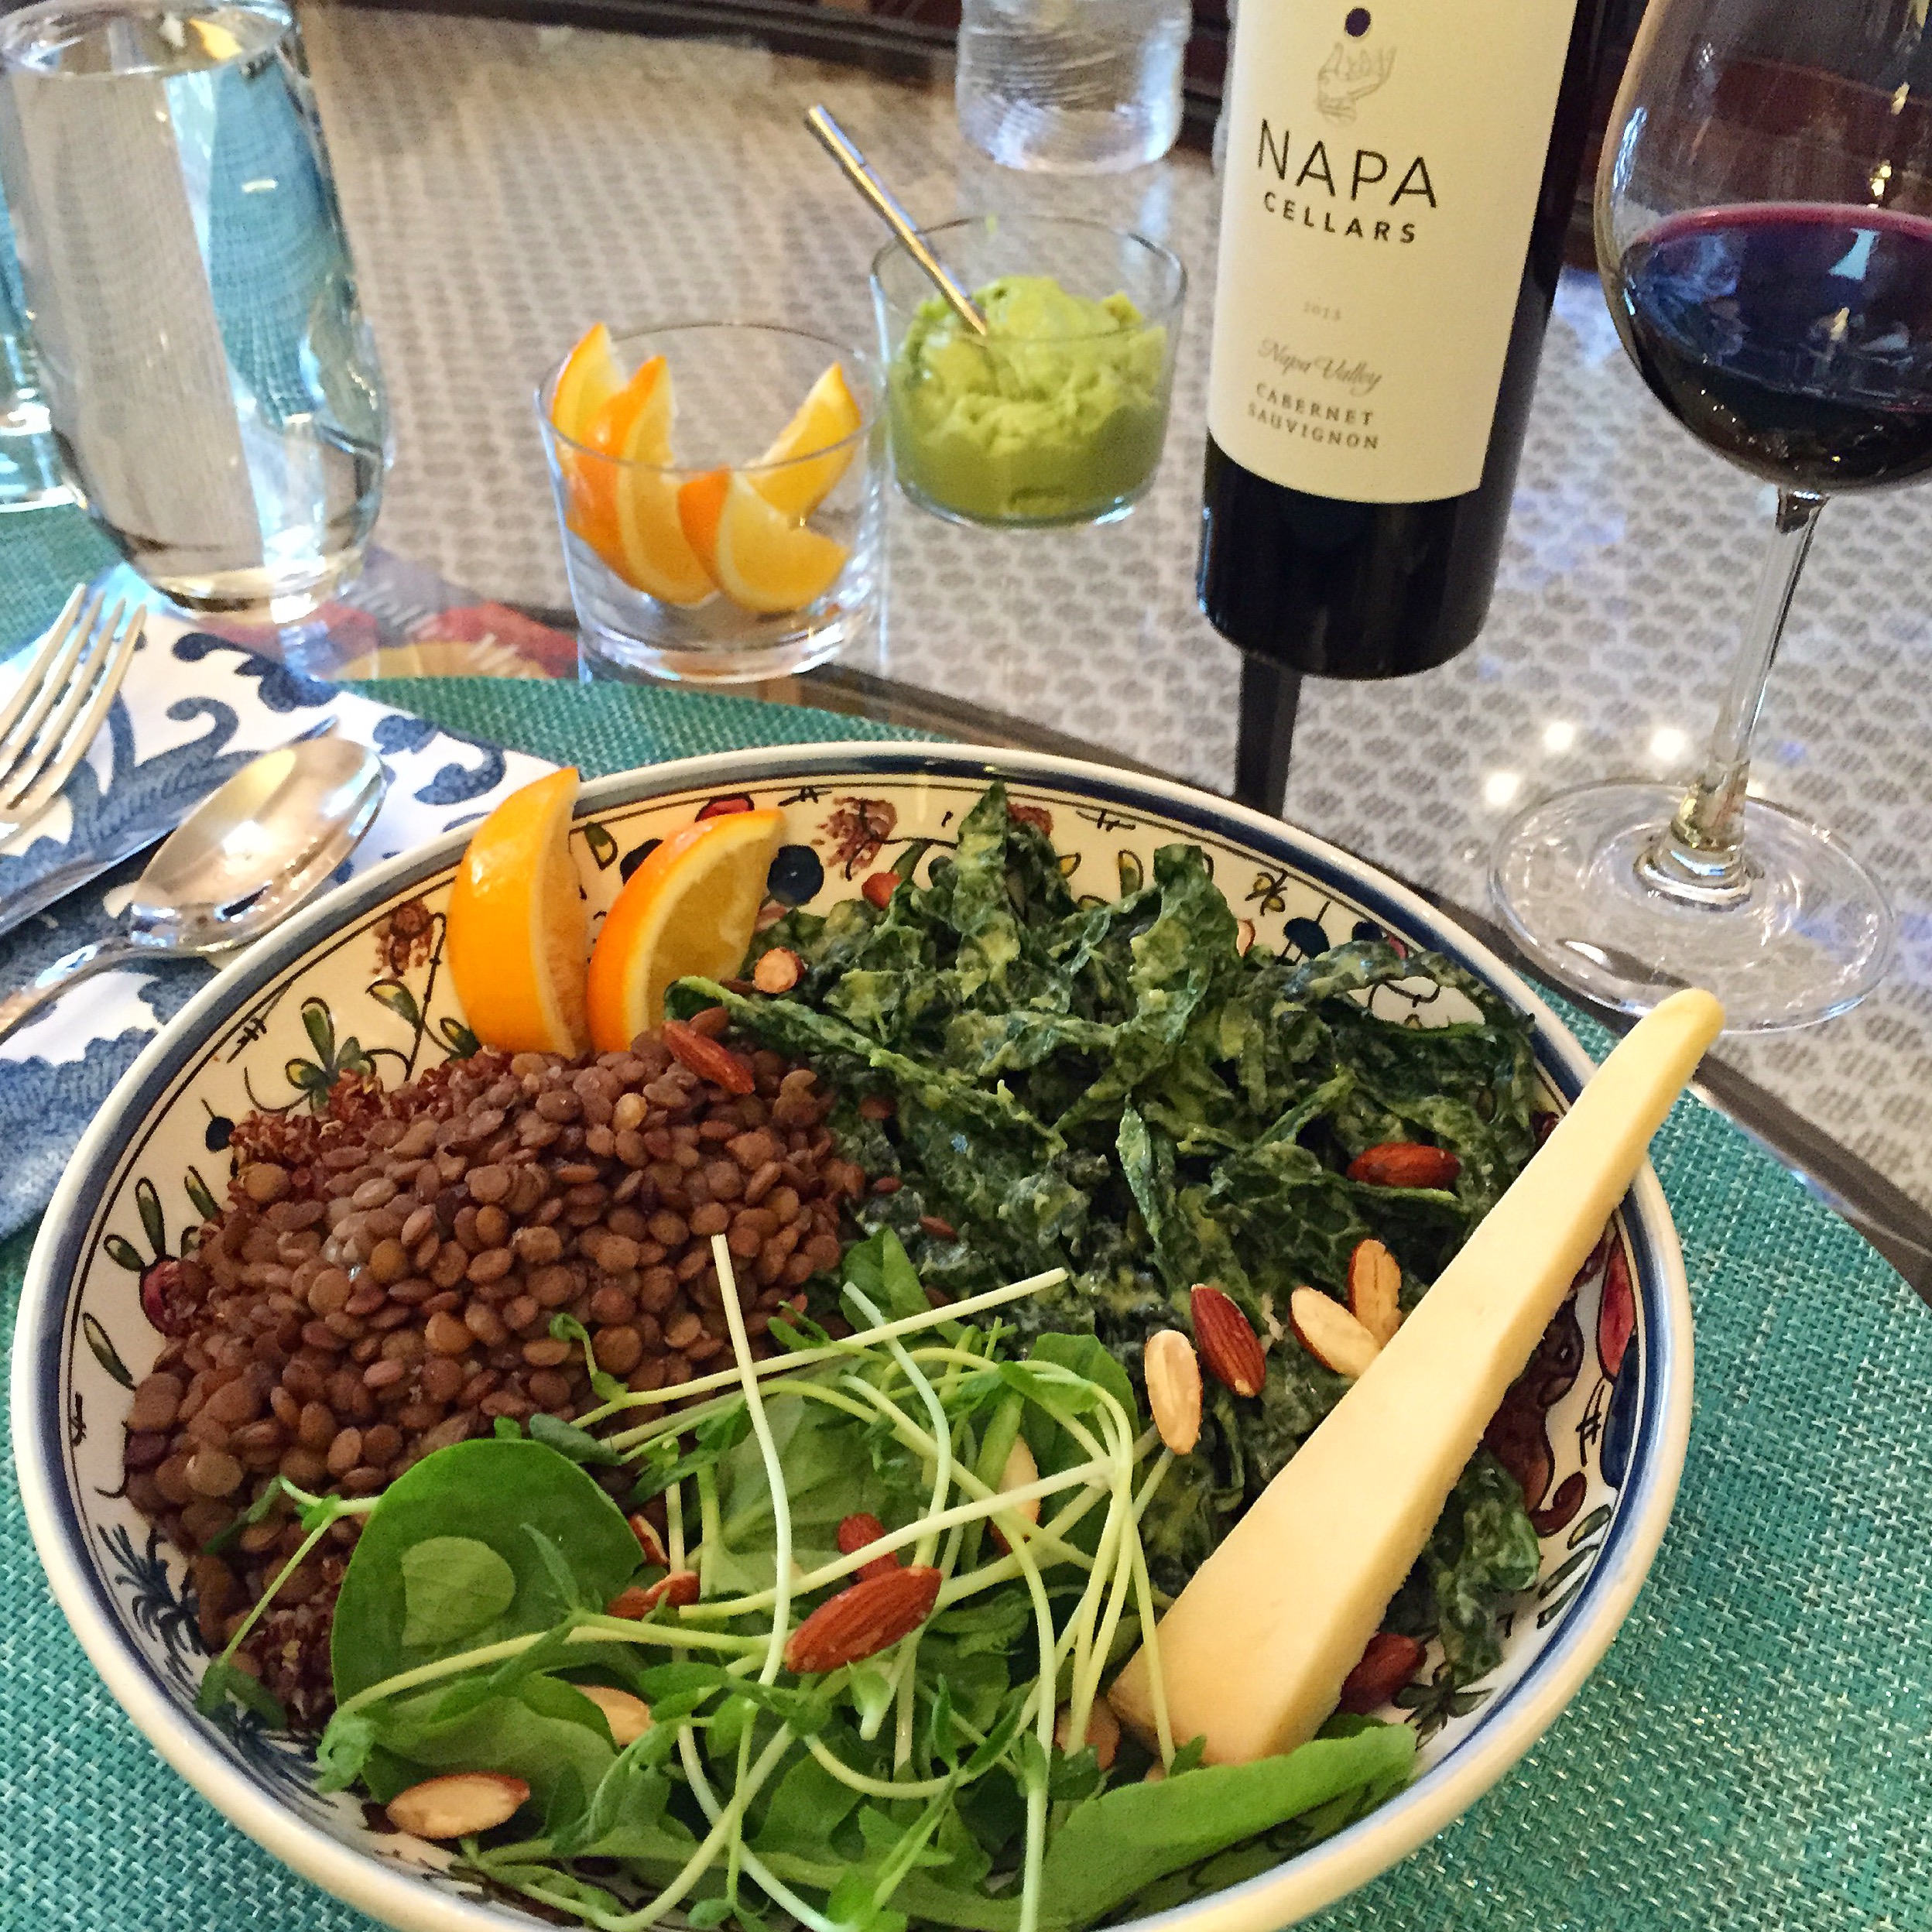
I knew I would like this kitchen tool, but I had no idea that I would absolutely LOVE it and use it as often as I do.  The Cuisinart Elite Die-Cast Mini Prep is perfect for any small volume prep tasks like chopping herbs, making a salad dressing (like my latest favorite from Martha Stewart) or even whipping up a delicious dip (like this one from Ina Garten).  Of course I absolutely adore my 16 Cup Food Processor, but it is quite cumbersome to lug out of storage when I am only going to pulse something a few times.  Not to mention the cleaning involved with all of those different pieces on my big food processor takes forever.  This Cuisinart Mini Prep, take up very little space in my kitchen cabinet and all of the pieces are dishwasher safe (top rack only).  Definitely a favorite of mine and something that I would recommend for any cook regardless of skill level.  
Williams-Sonoma's Vegetable Chop & Measure, Mini

IMG_9688.JPG
IMG_9690.JPG
IMG_9693.JPG

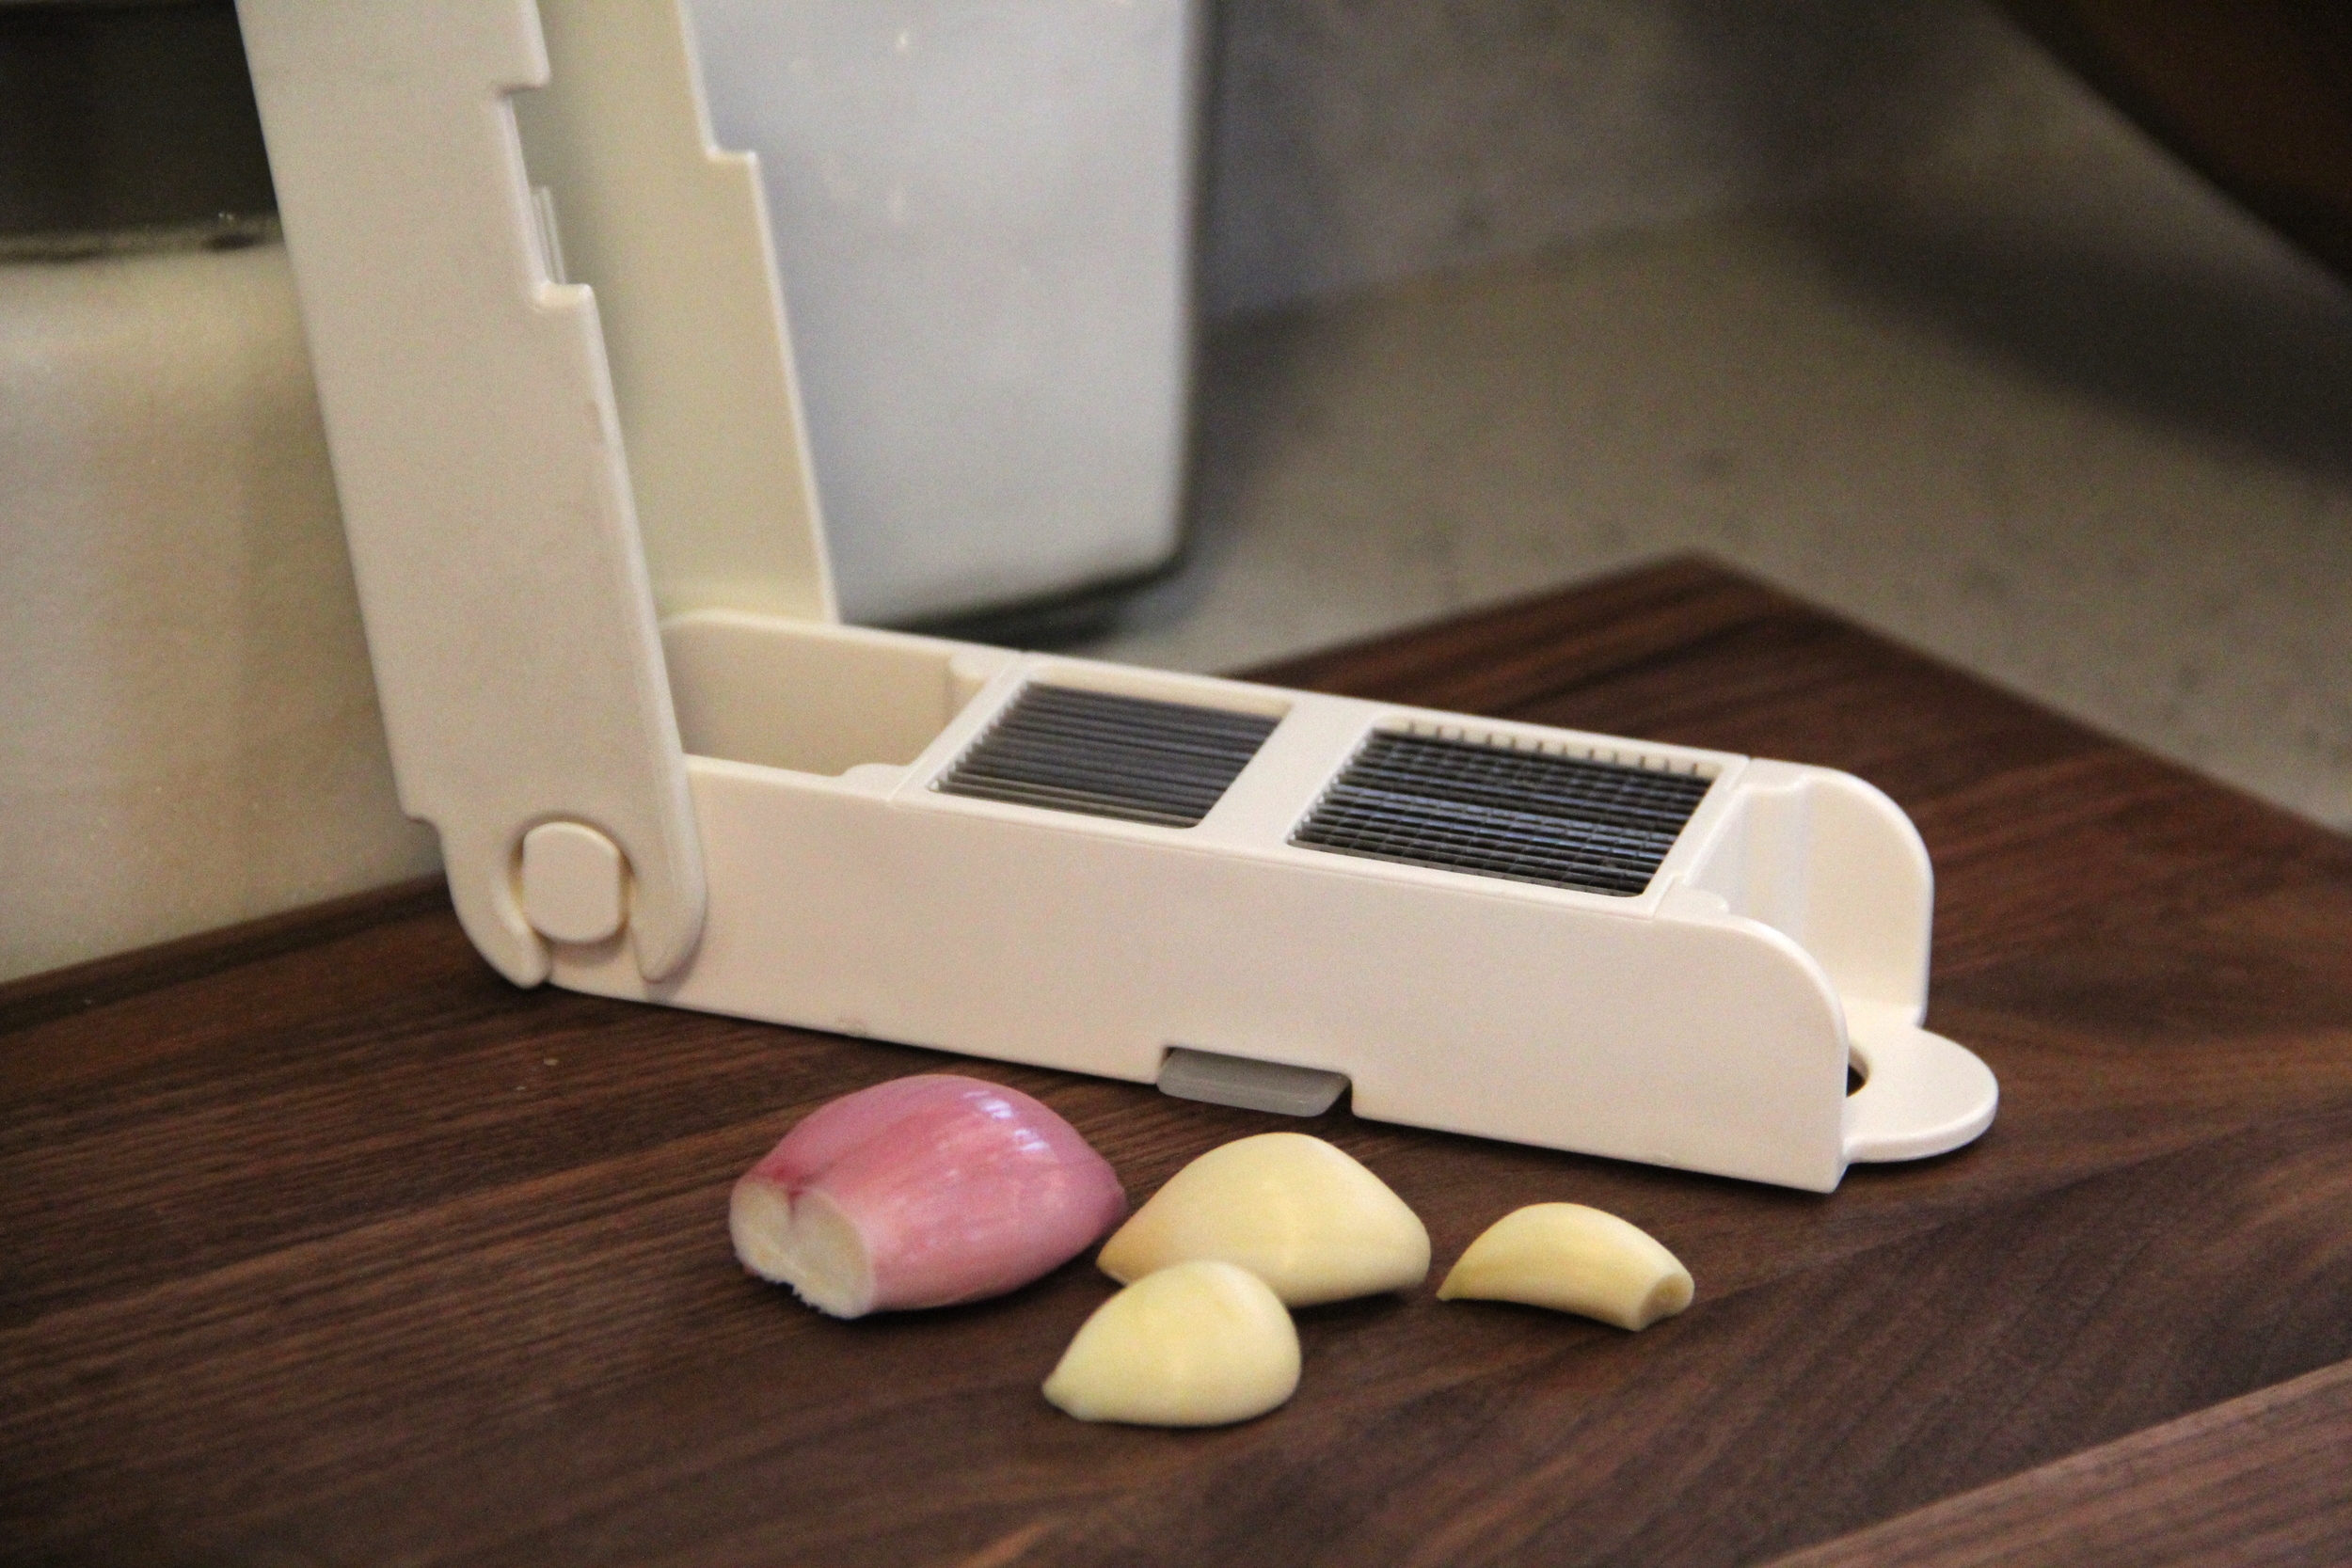
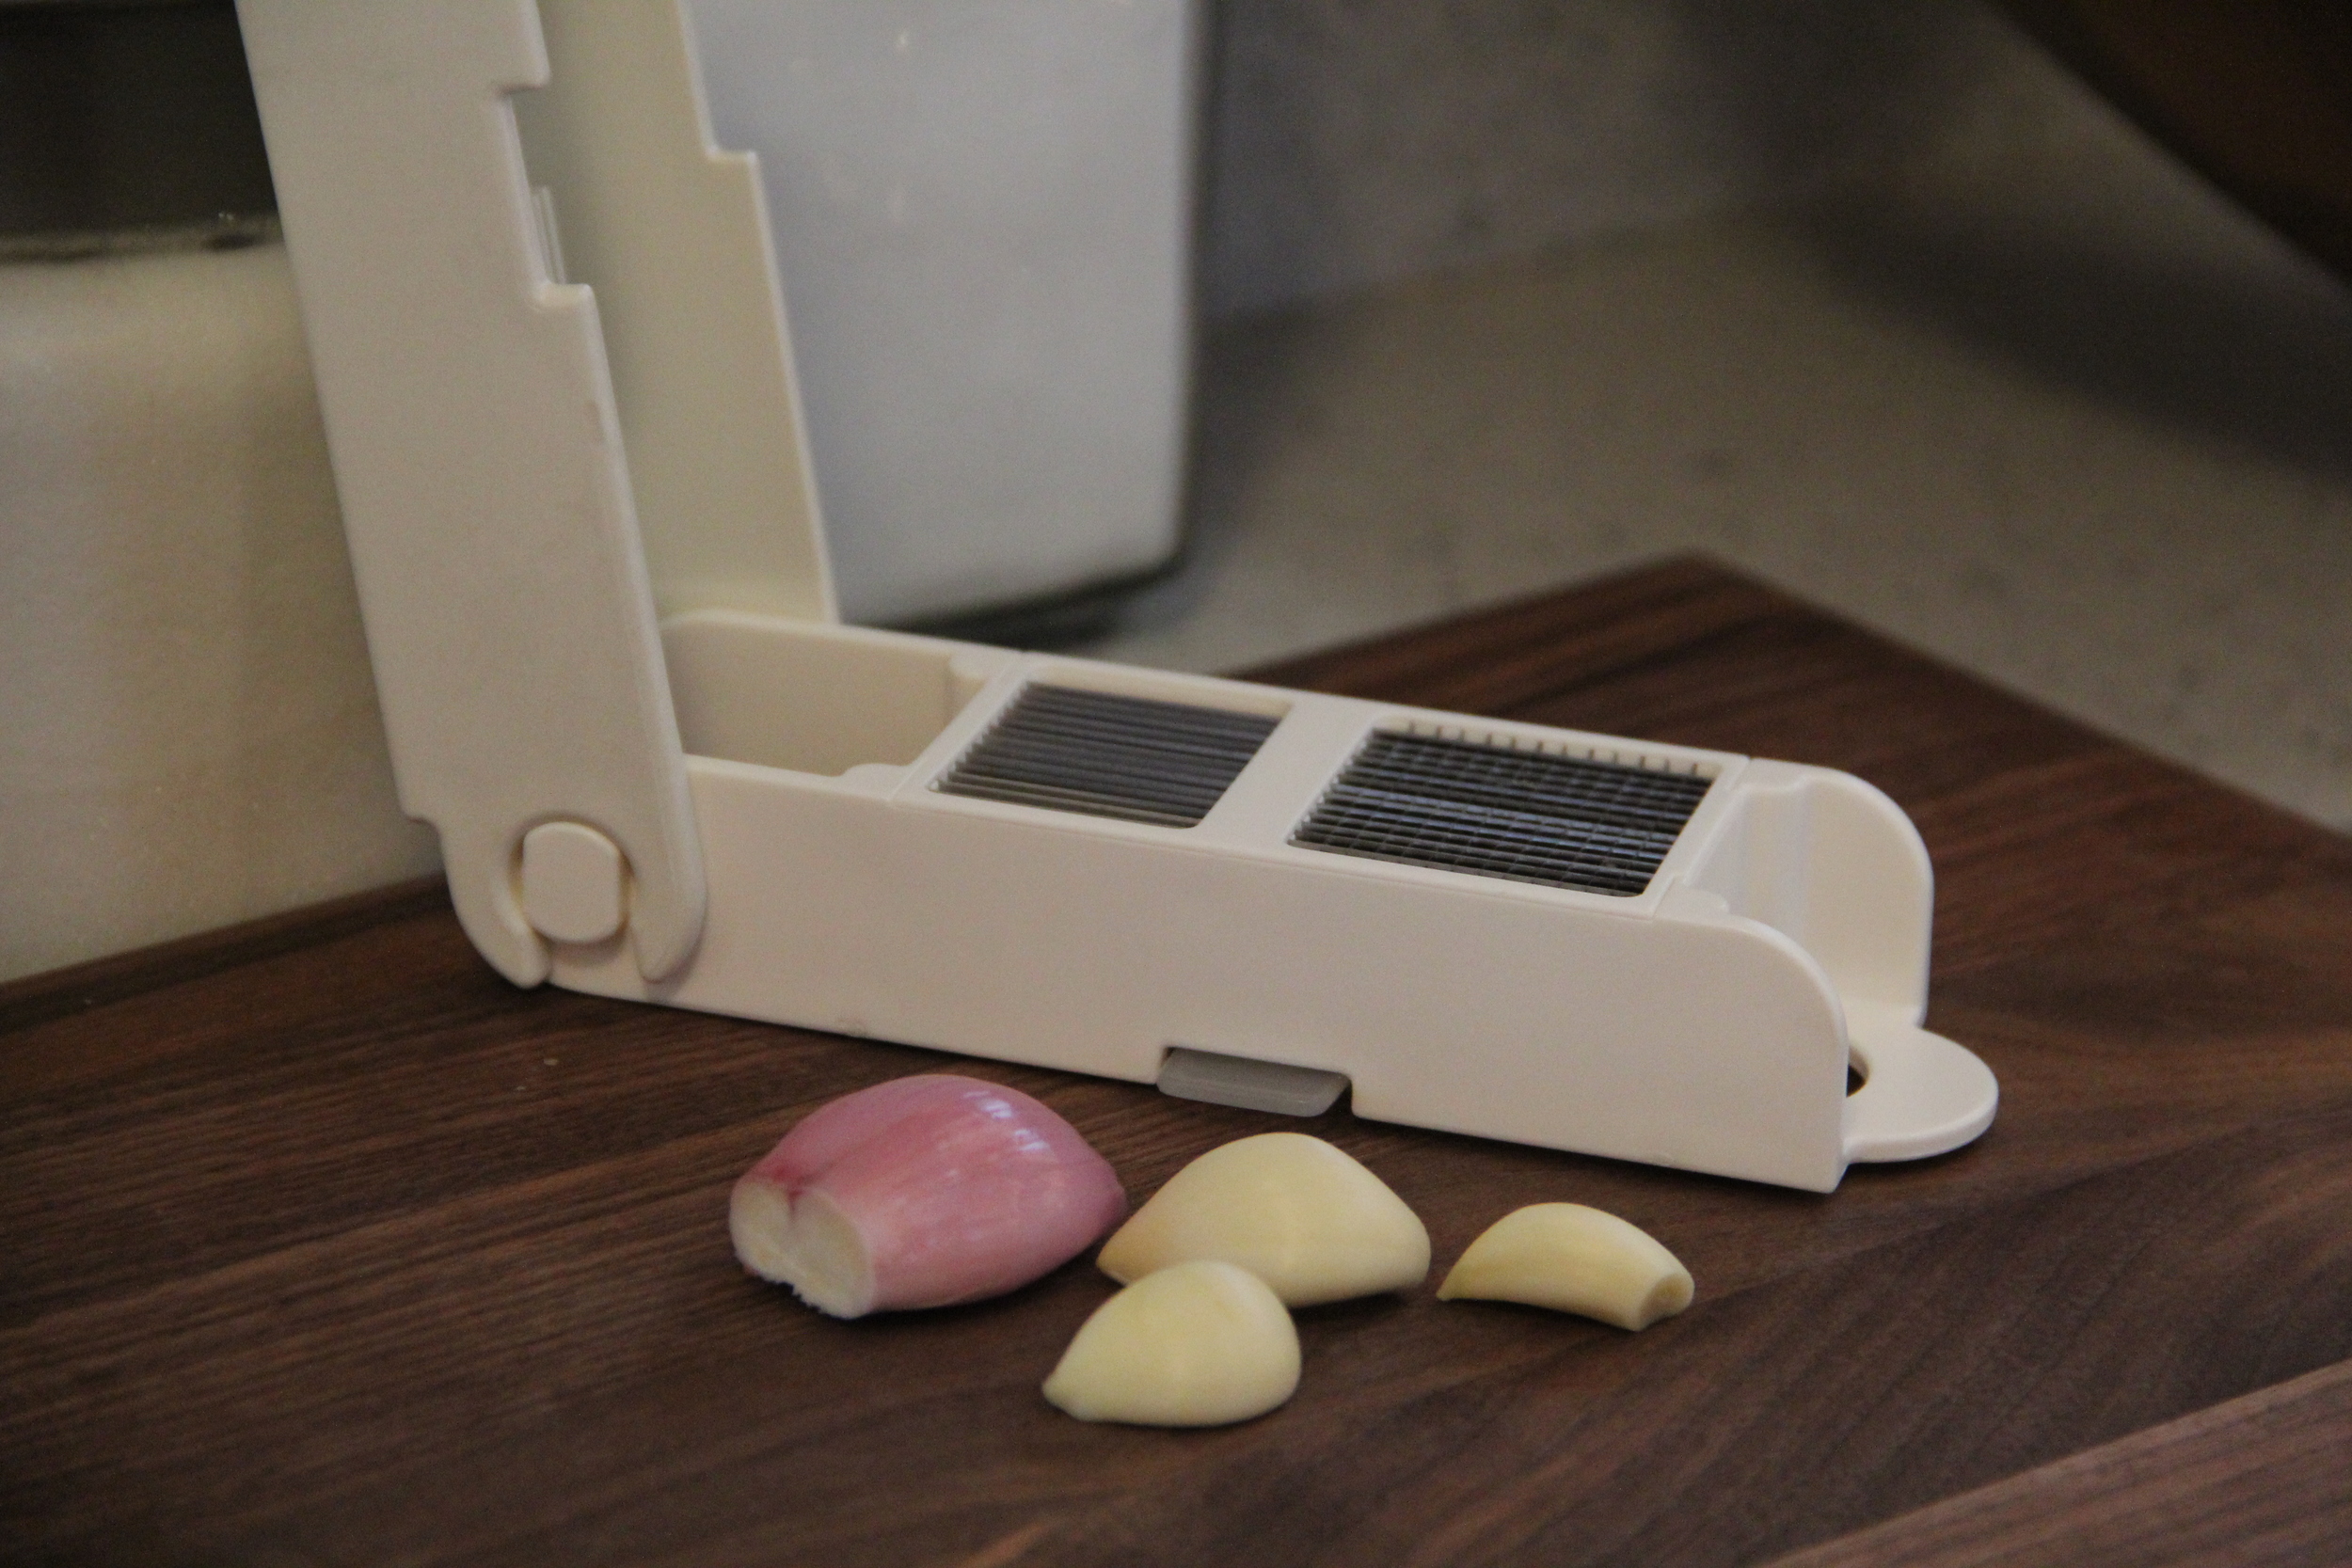
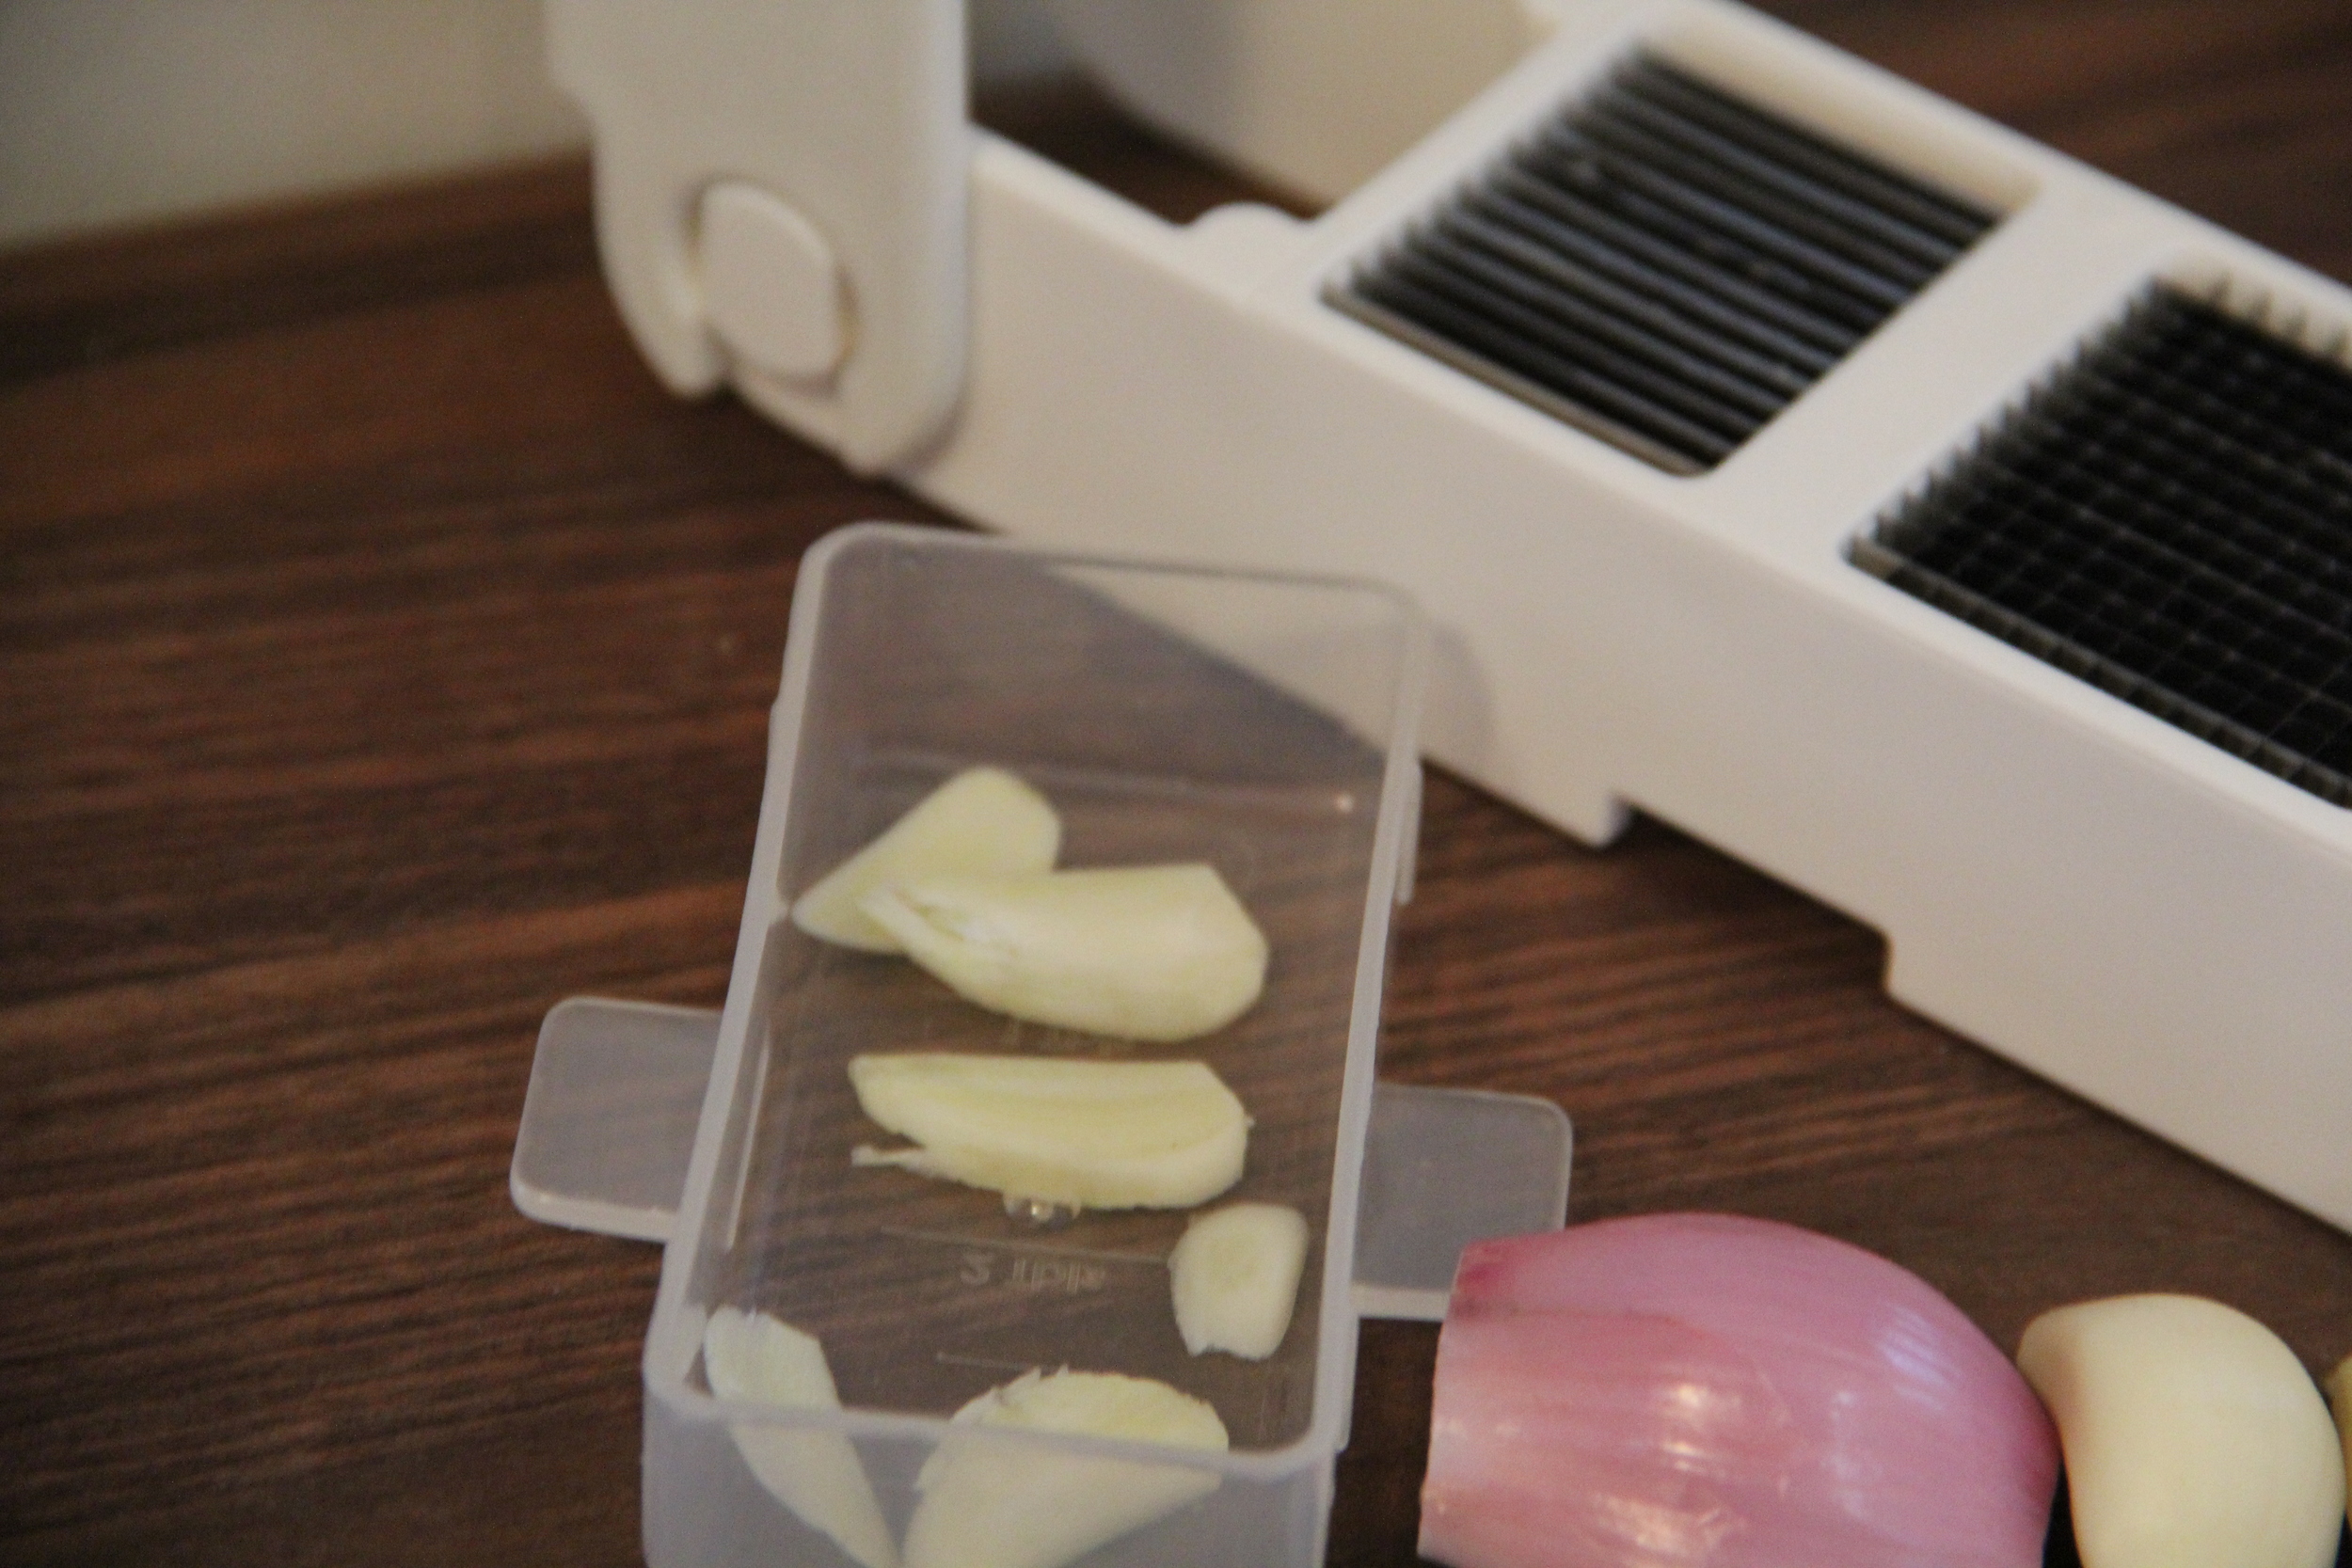
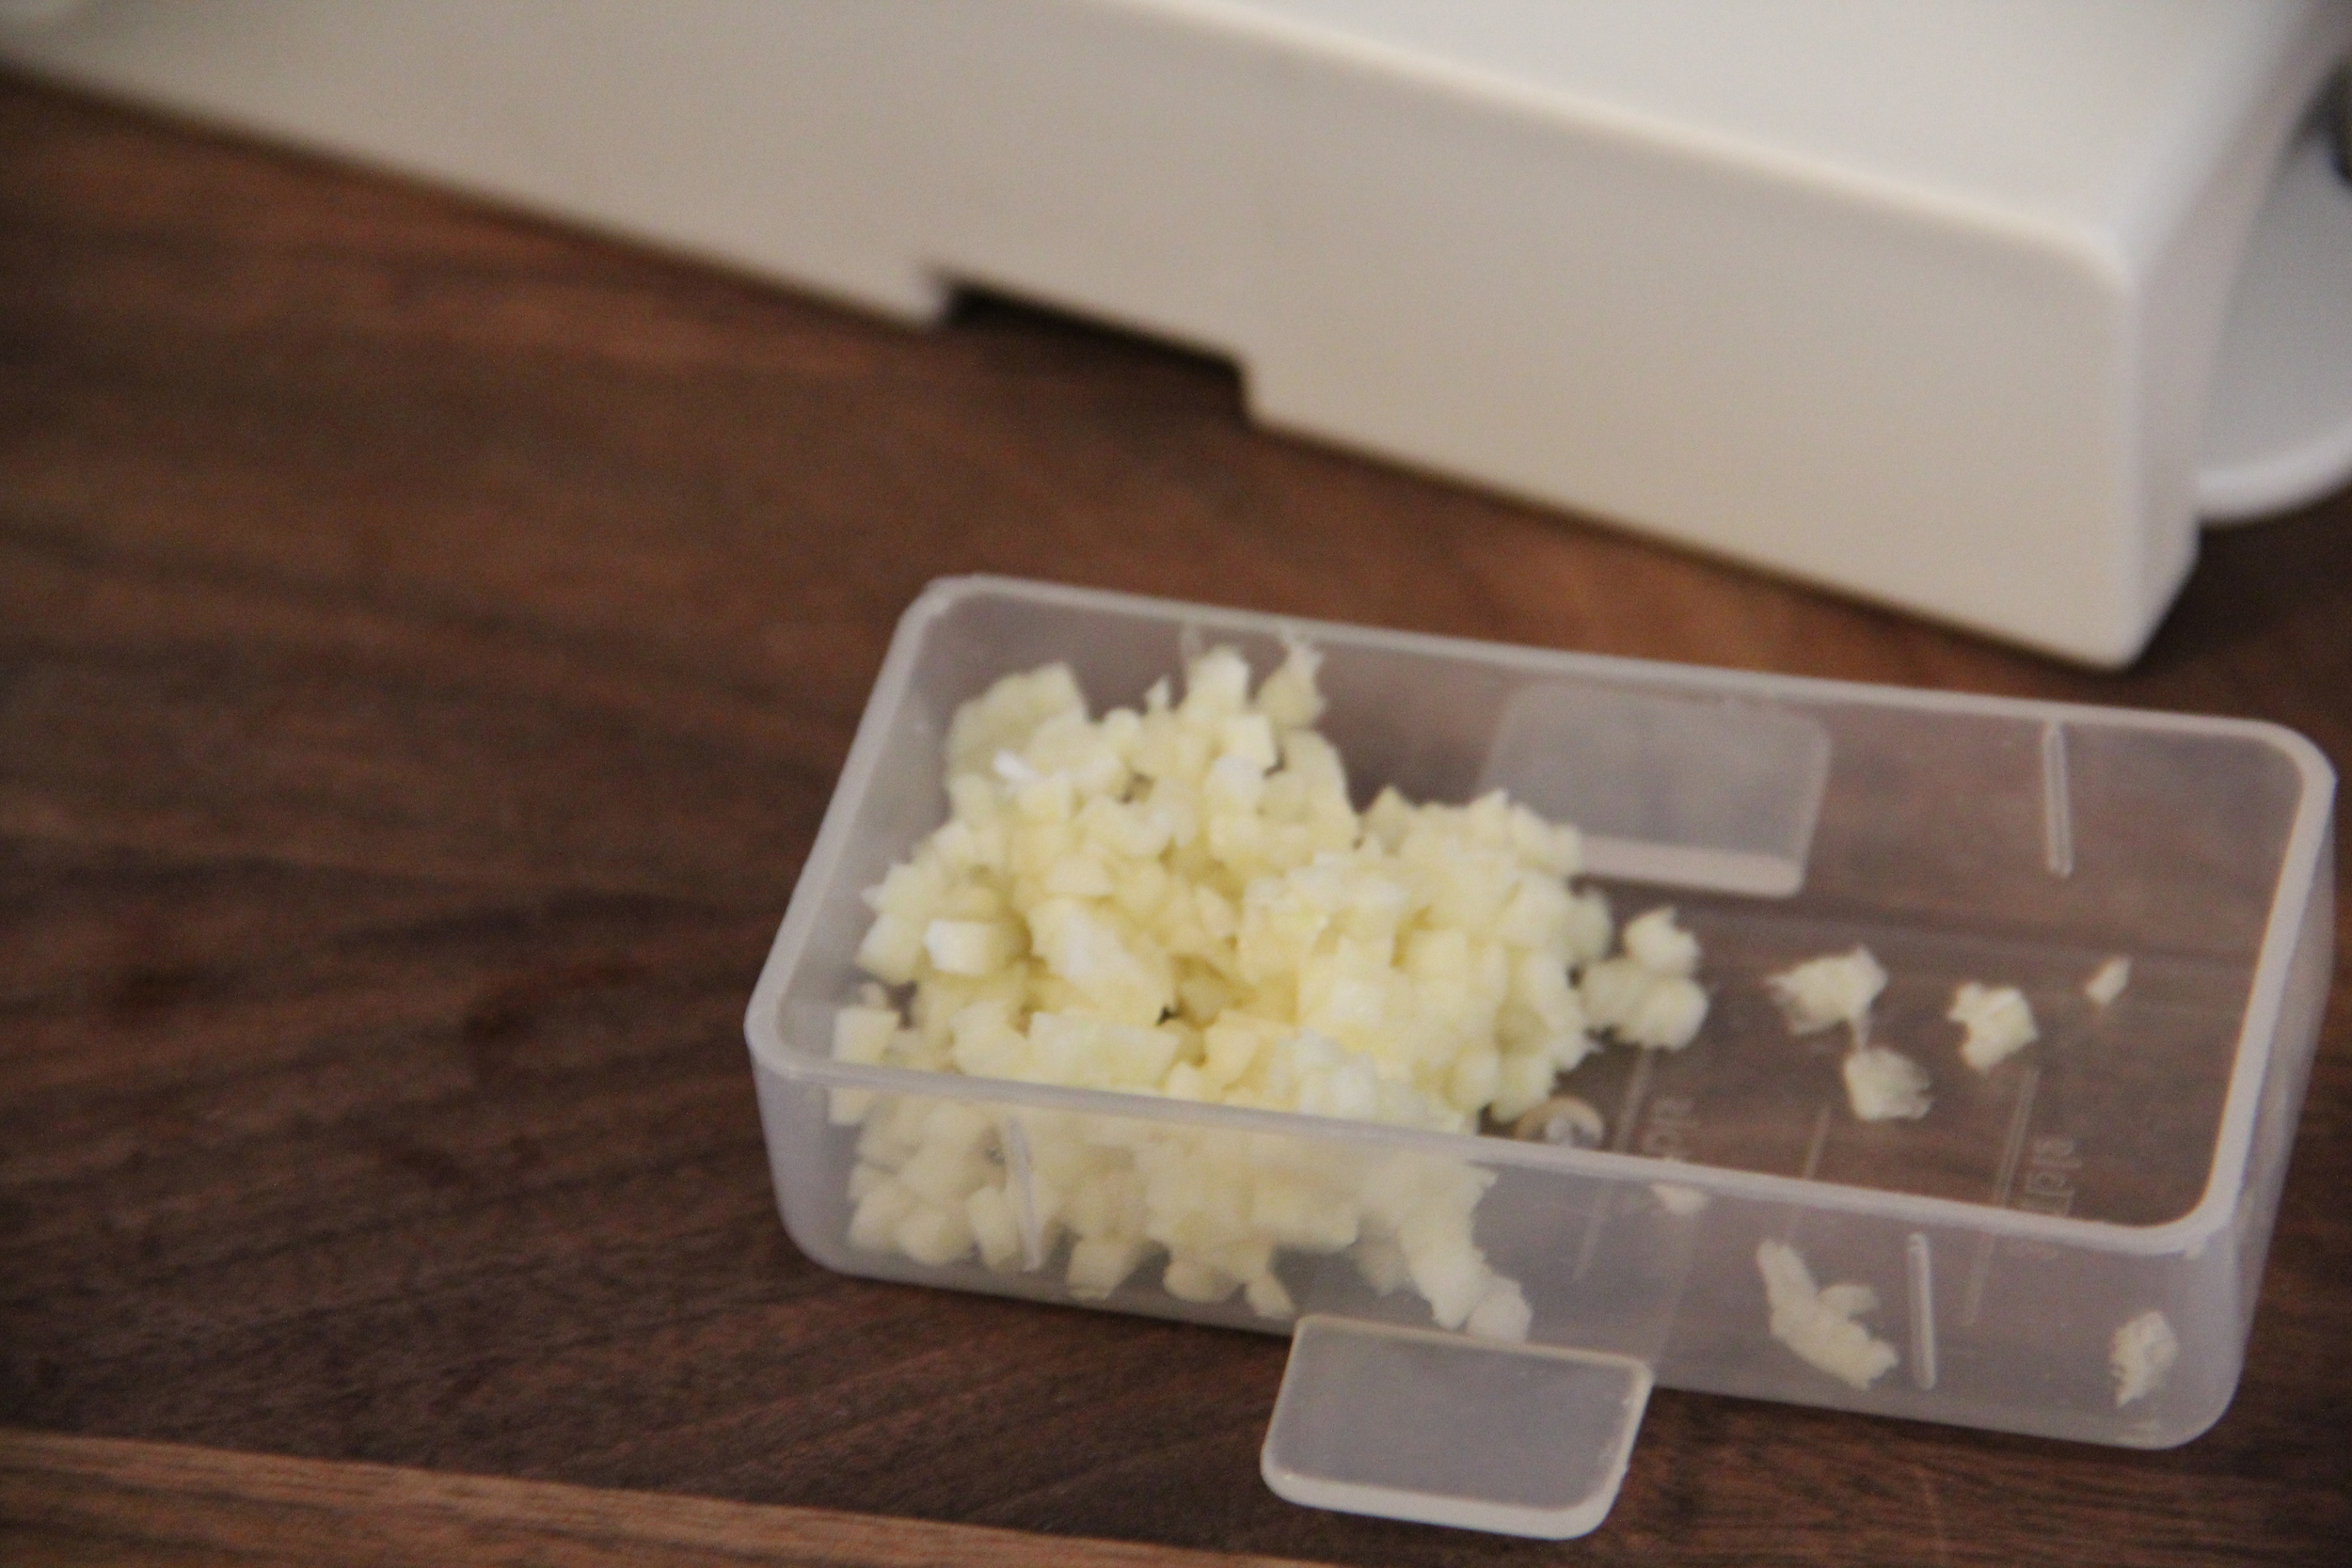
One of the cooking prep tasks that I used to despise the most was mincing garlic.  Garlic is sticky, messy and just a down right pain in the rear to chop.  There came a point where I had finally reached my limit and was about to take the plunge with purchasing a garlic press when I came across the William's Sonoma Vegetable Chop & Measure Mini.  This tool in my opinion is better than a traditional garlic press because it slices, dices, measures and is dishwasher safe!  This sounds funny to say, but garlic mincing has become a total pleasure ever since I bought this tool.  Simply place the garlic, shallots or other small vegetable on the grates in the chopper, press down and voila!  Instantly minced produce that has been uniformly cut and can easily be measured in the clear compartment fitted below.  A definite essential in my kitchen. 

Kyocera Knife

IMG_9717.JPG

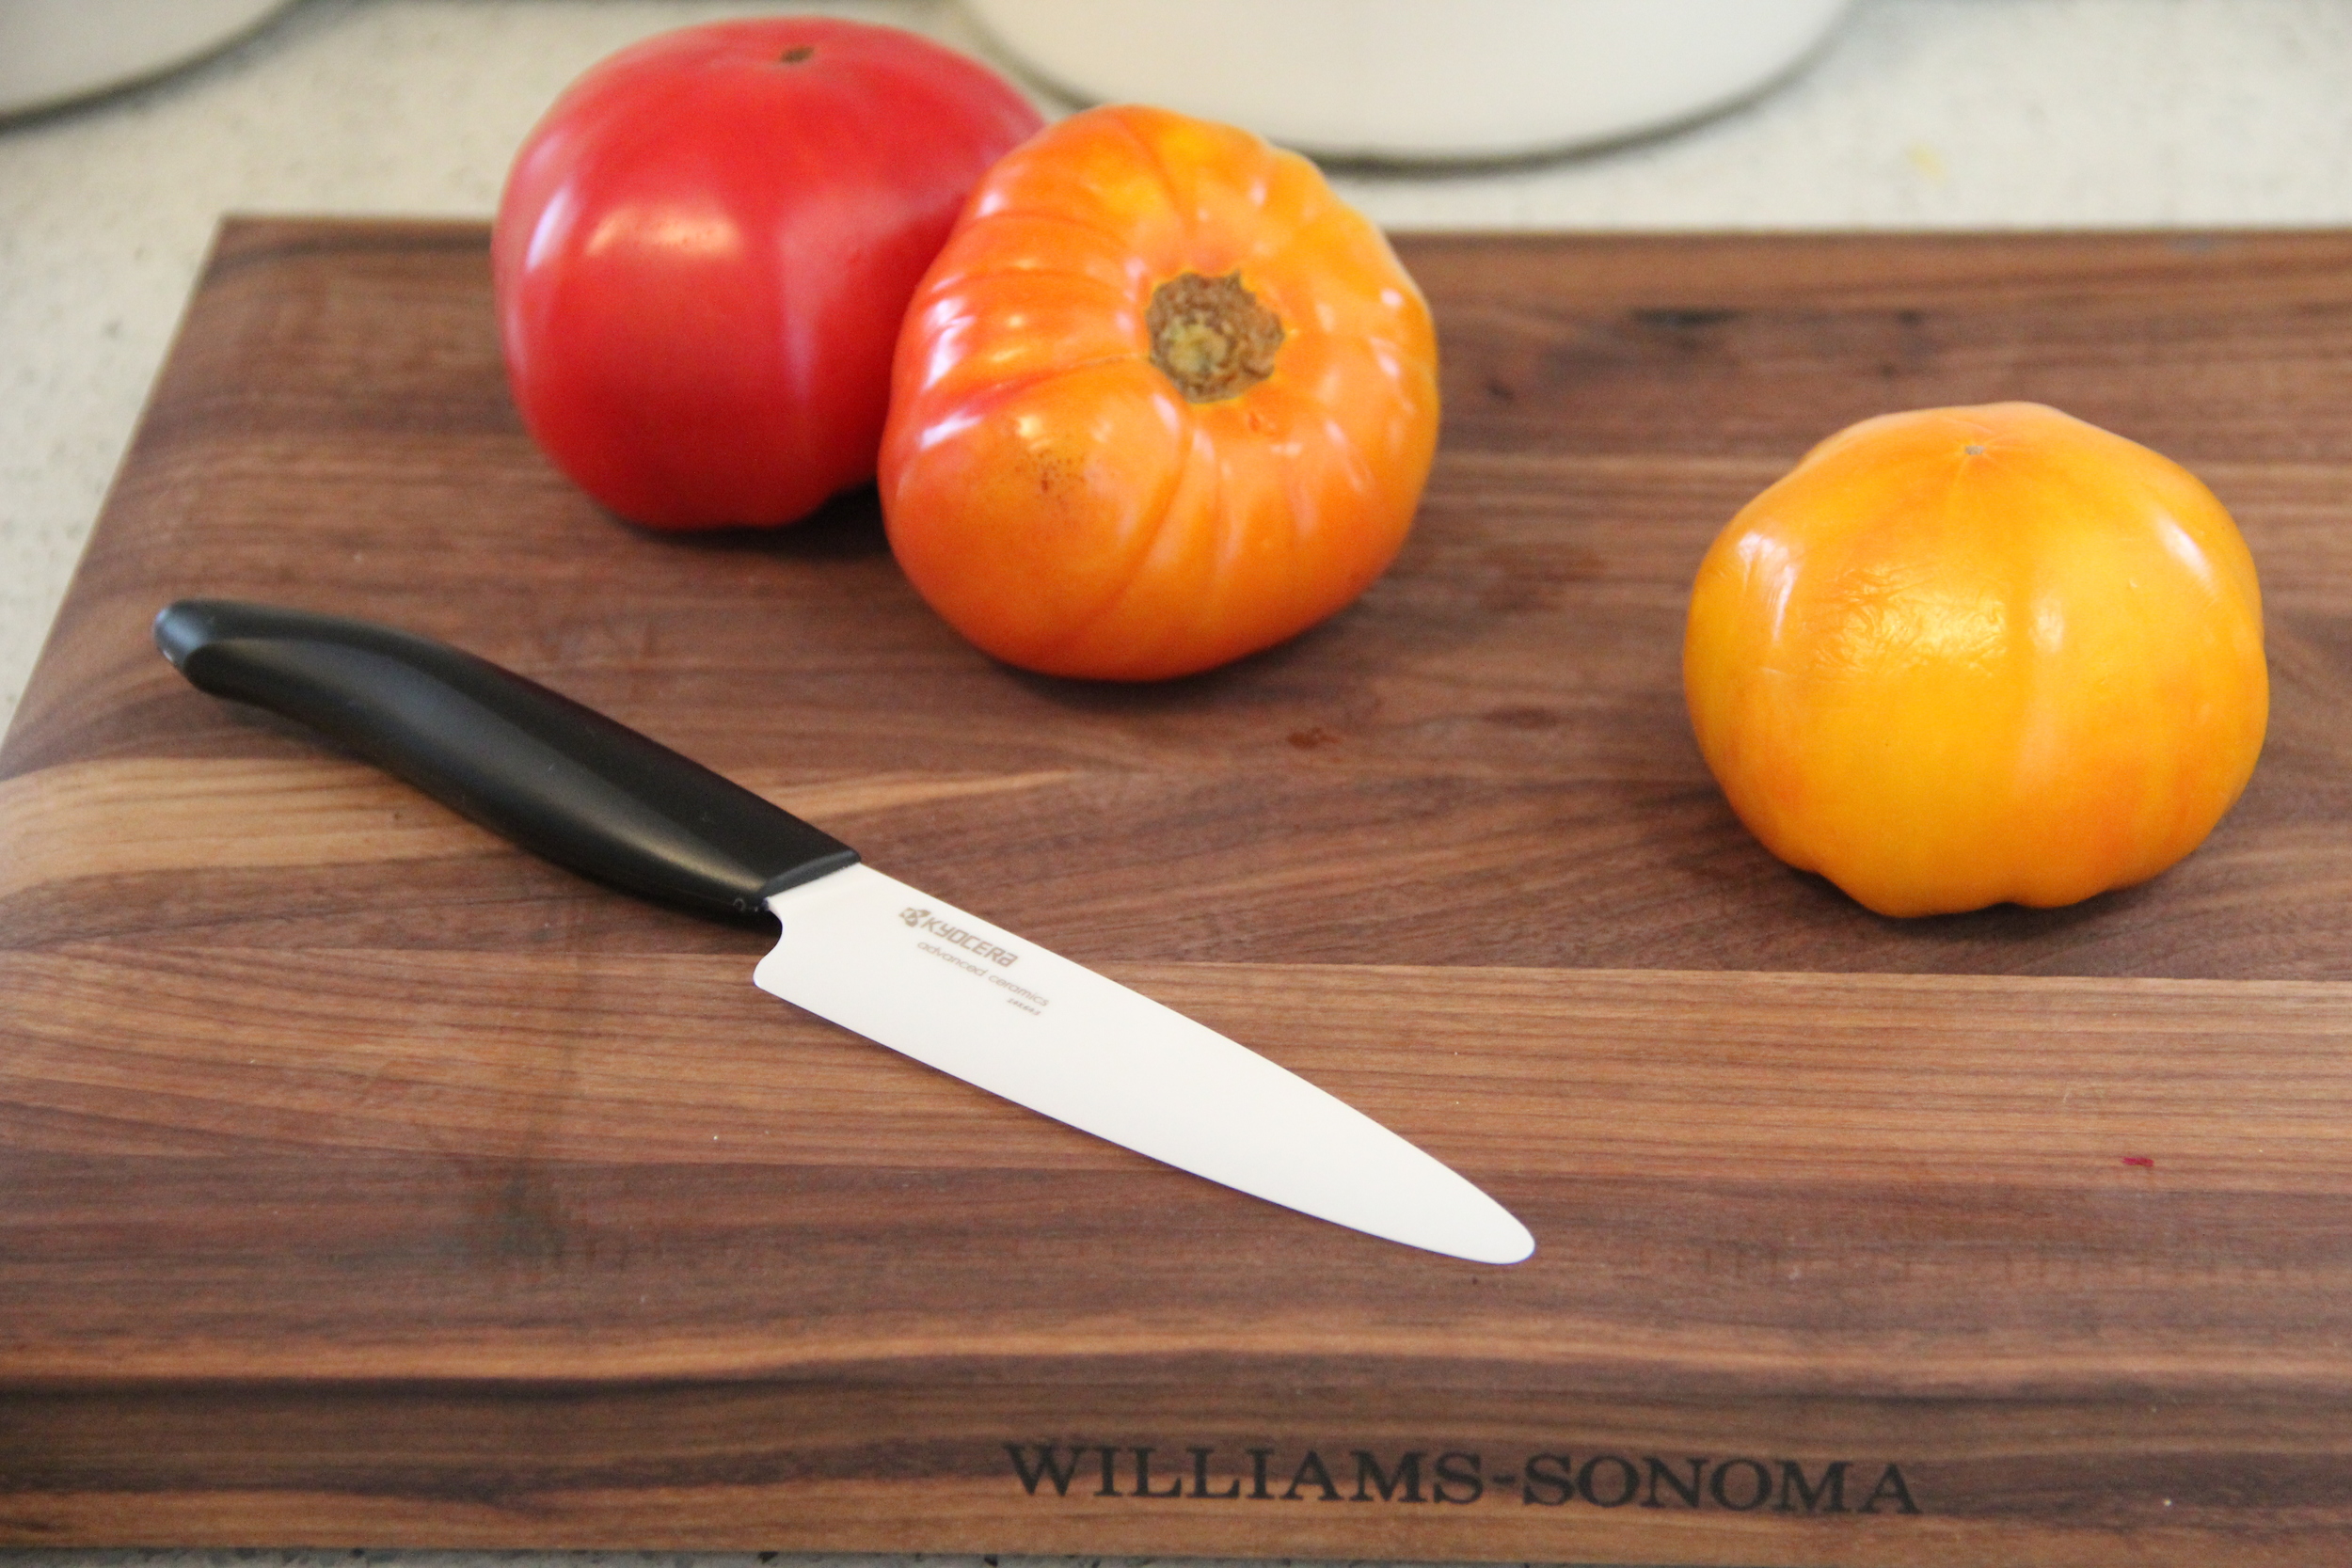
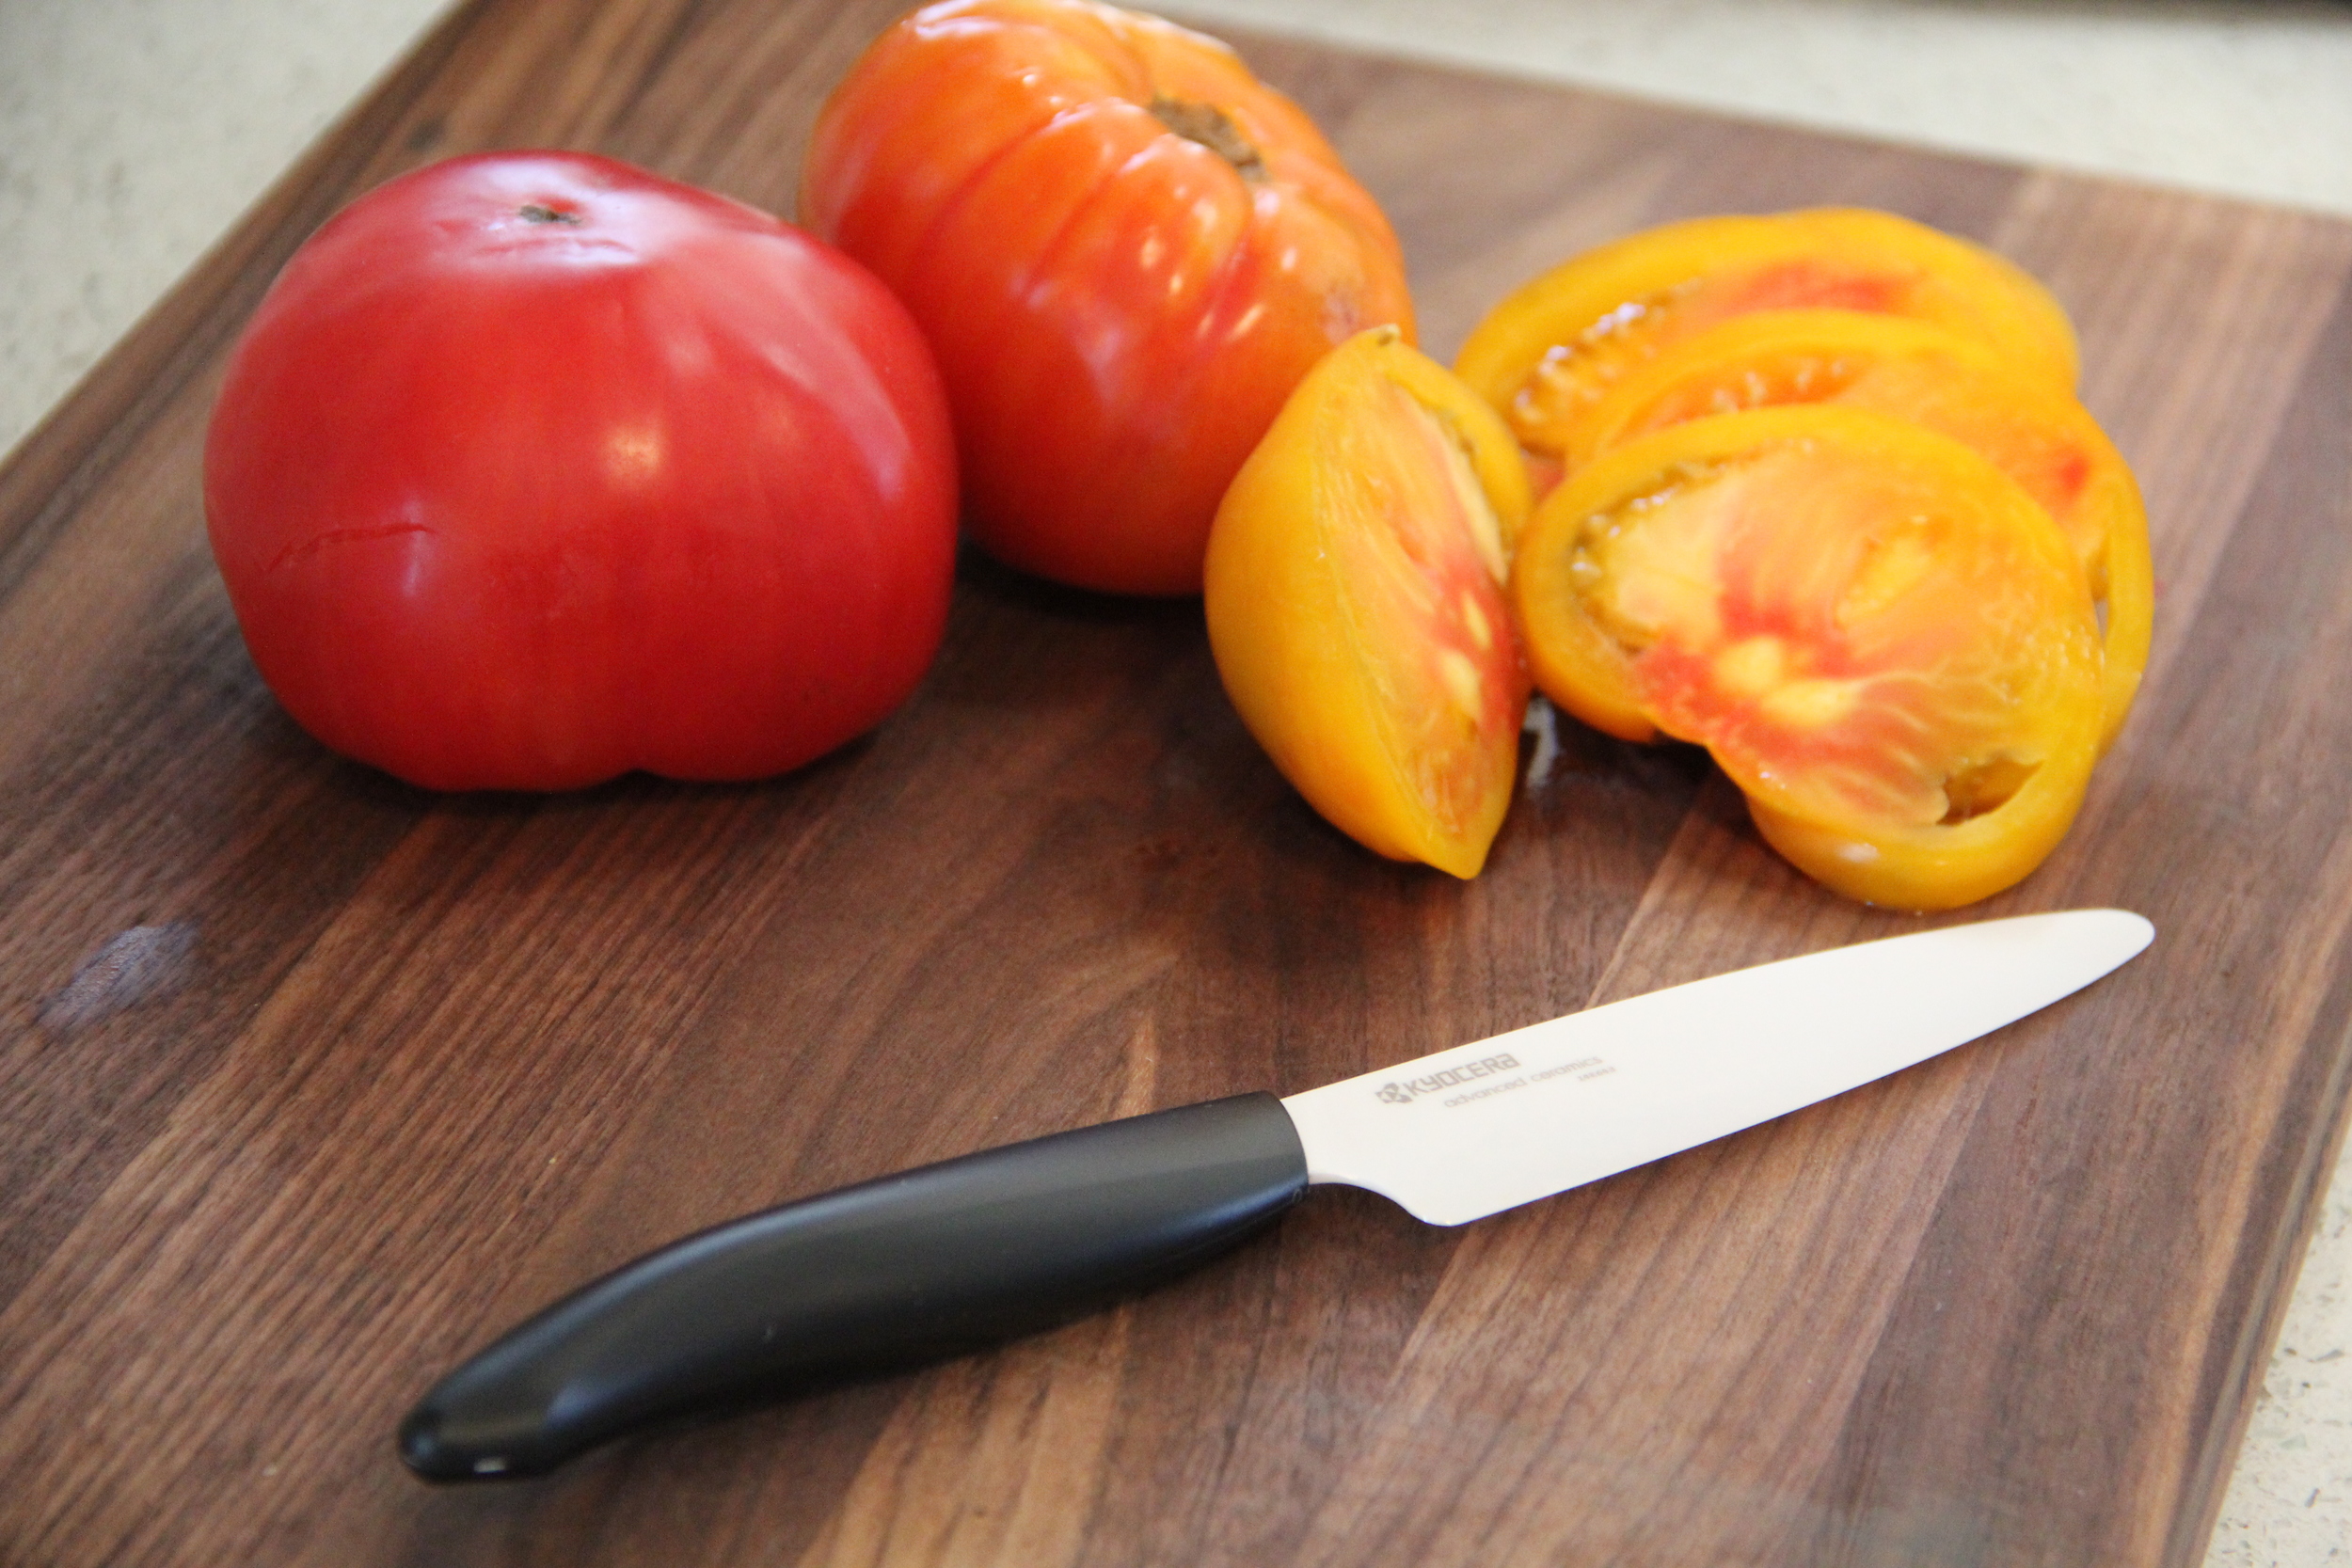
I have shared a few of my favorite knives in previous posts and I am sure that one would probably assume that if you've seen one knife then you've seen them all.  Well that couldn't be further from the truth.  Recently I had the opportunity to try out the Kyocera Ceramic 4.5" Blade Utility Knife on some of my delicious heirloom tomatoes (obsessed with summer produce!) and the knife's ability was definitely impressive to say the least.  The Kyocera knife glided through my tomatoes seamlessly and with incredible precision.  I was able to achieve paper thin slices with minimal effort on my part.  In addition to the knife's clean cutting, it is also dishwasher safe and comes with lifetime free sharpening courtesy of Kyocera.  That's right, Kyocera will sharpen your knives throughout the entire lifespan of the knife for FREE.  Love love love!!  The Kyocera knife is definitely a must have for any kitchen knife set.  


In Food and Drink Tags Kyocera, Cuisinart, Williams-Sonoma, Food Processor, Garlic Mincer
Comment

Popcorn Made 3 Ways

June 15, 2015 Callie Cagney
IMG_6308.JPG
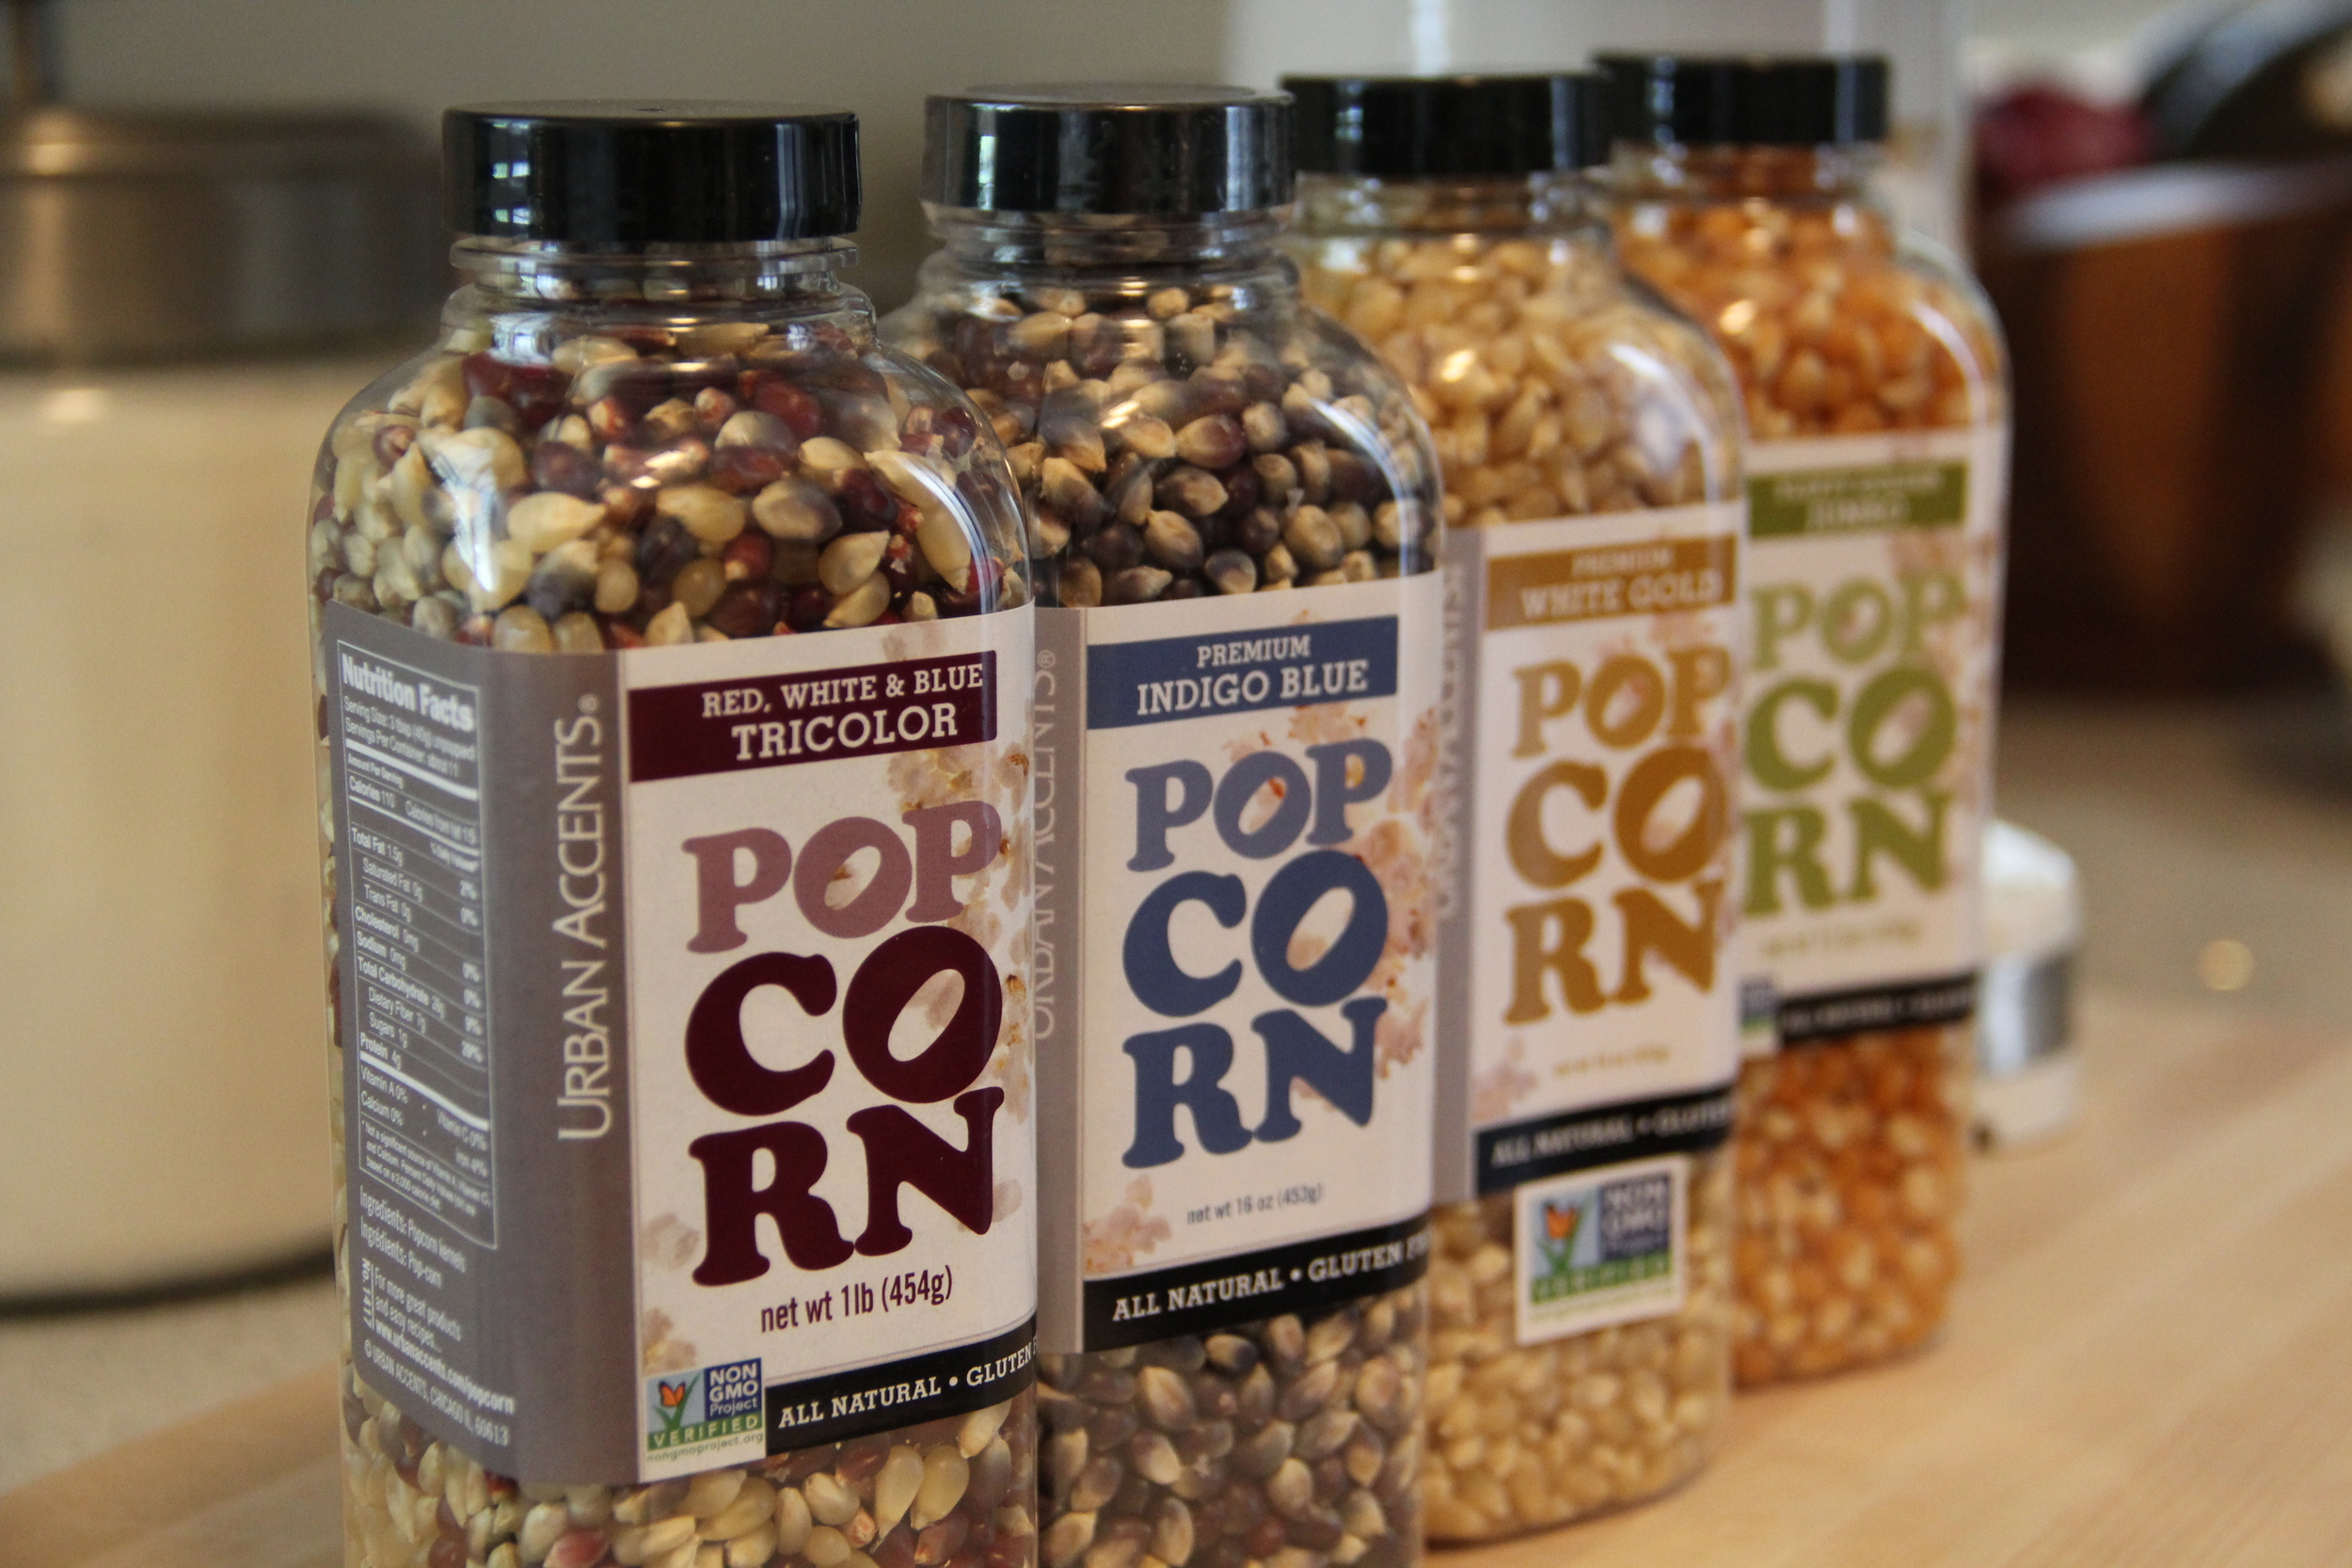
Urban Accents Popcorn.JPG

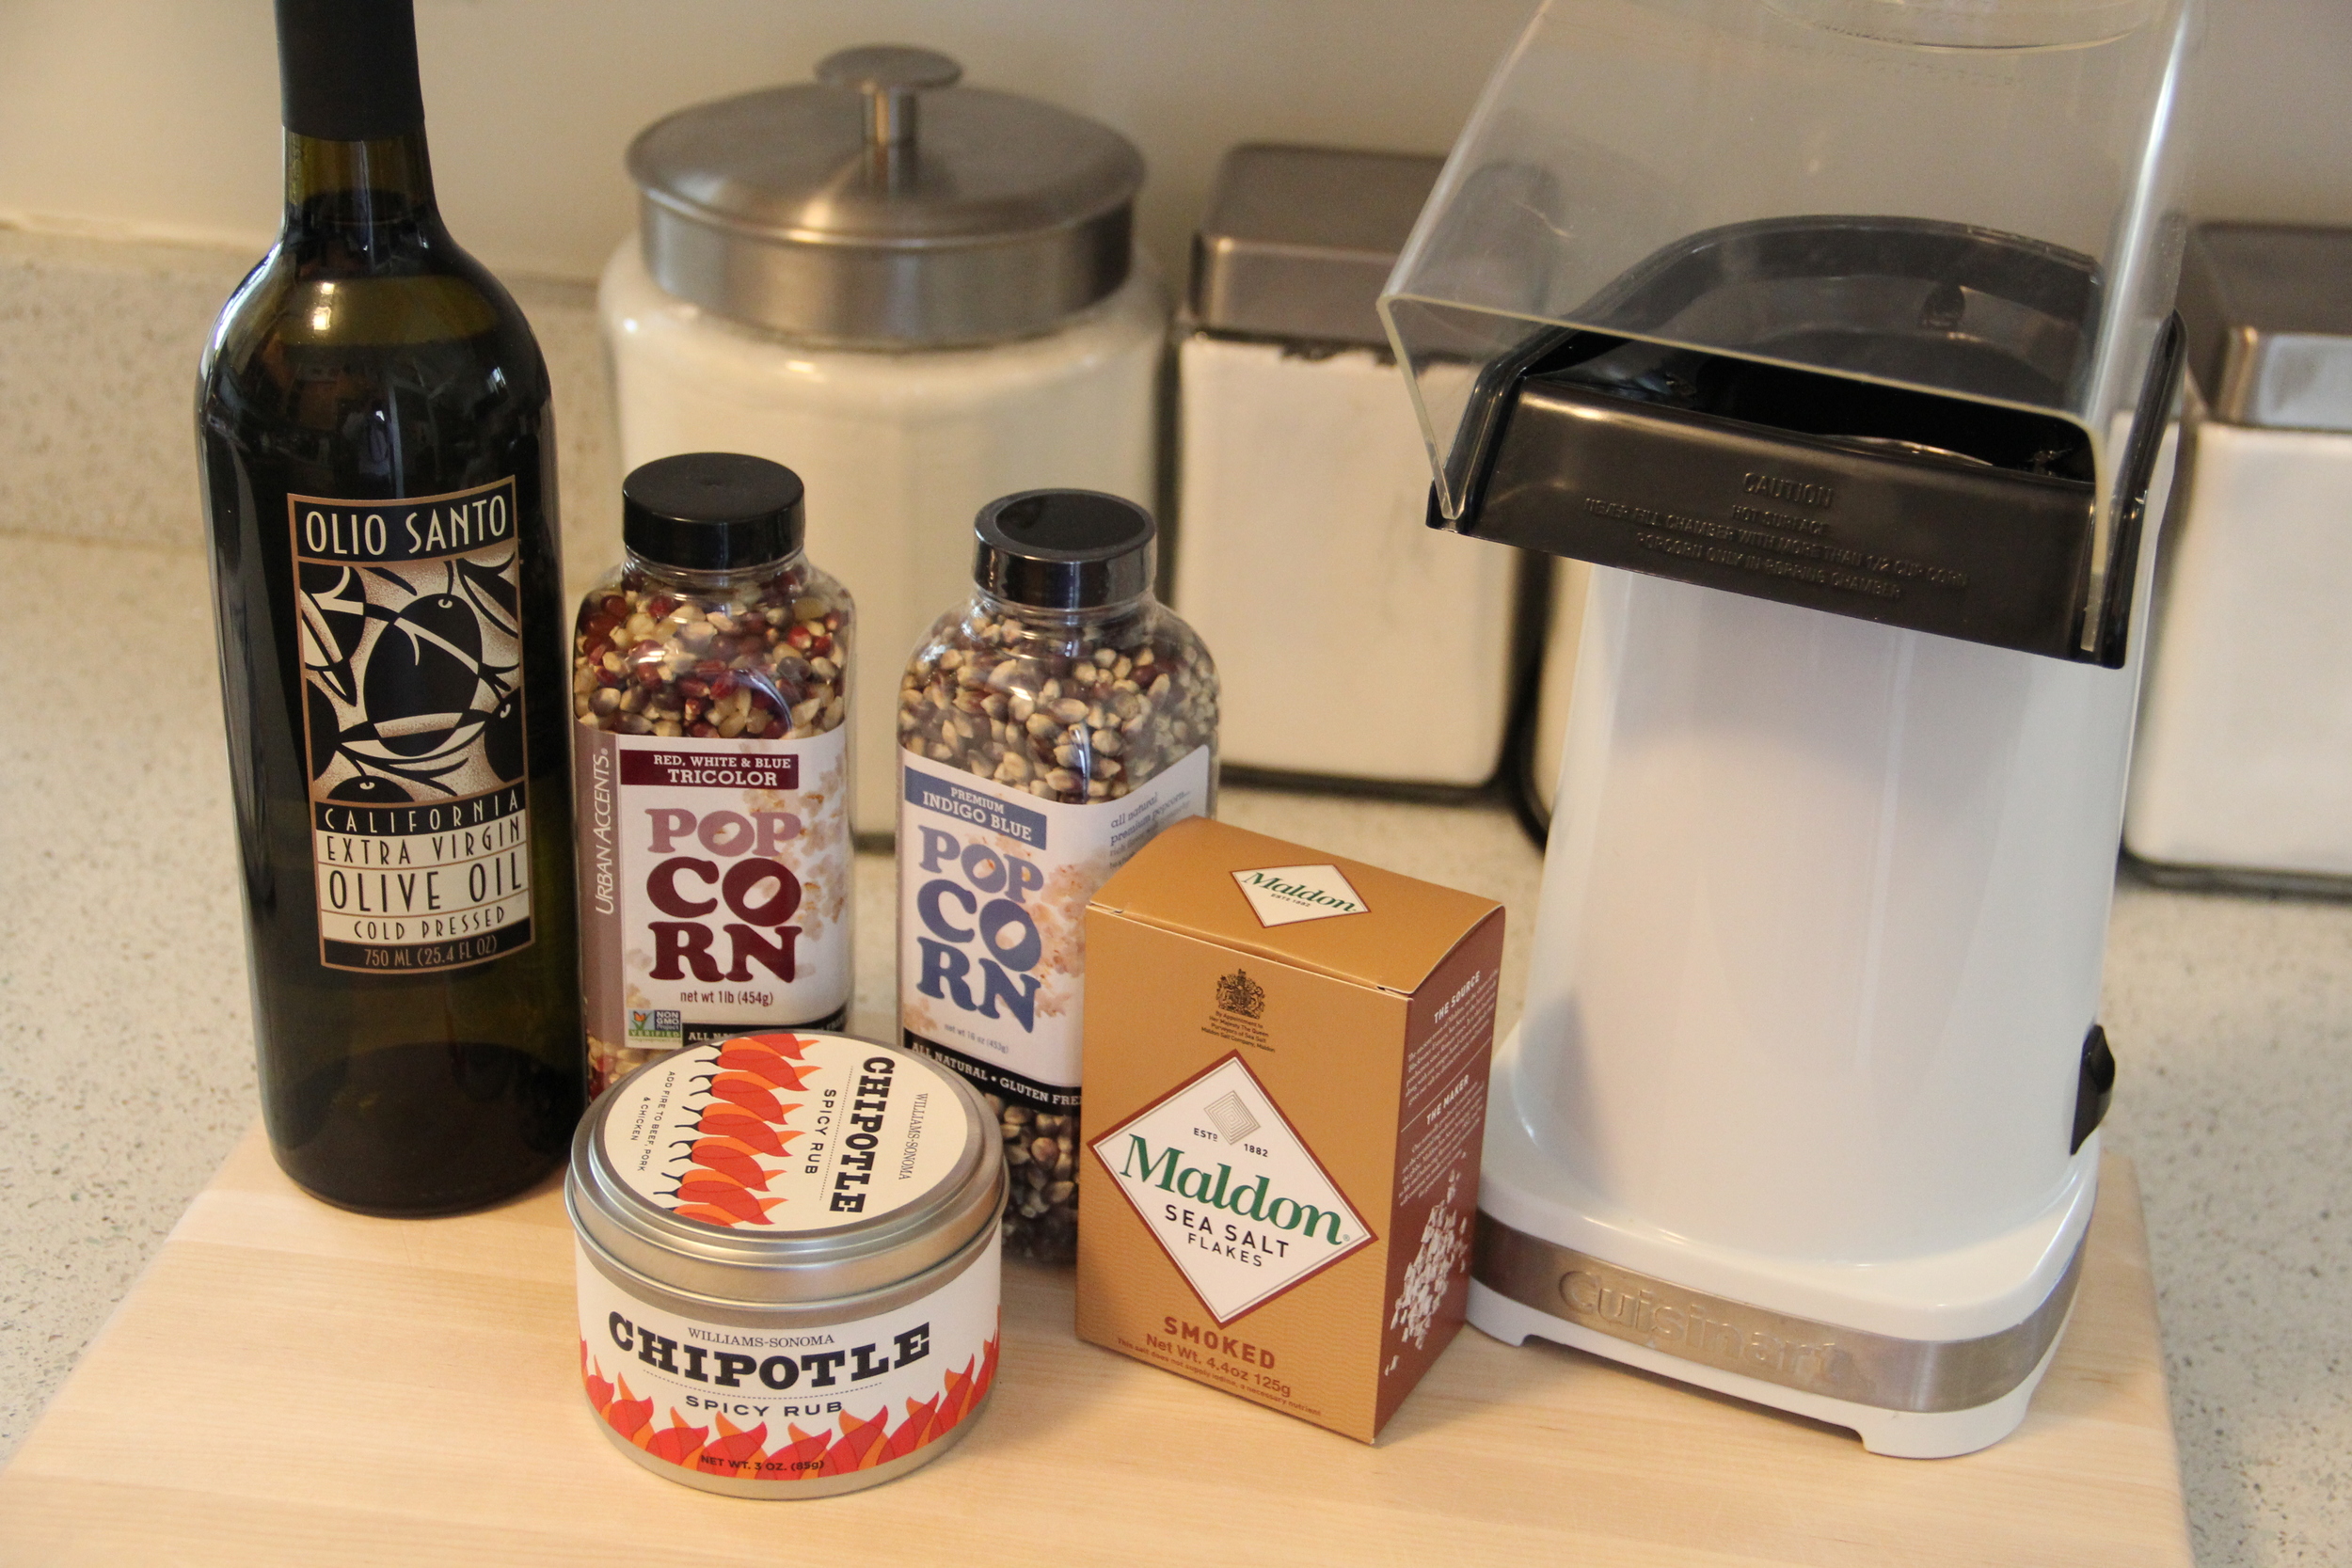
My husband and I have always enjoyed a good bag of popcorn while watching a movie at home, but I was never a fan of the fact that I couldn't control all of the ingredients going into my popcorn.  A few years back, my husband and I decided to get a Hot Air Popcorn Maker.  At the time, I wasn't sure if we would end up using the popcorn maker often enough to justify the purchase.  I thought that maybe we would have popcorn every once in a while, but that would be the extent of our popcorn adventures.  

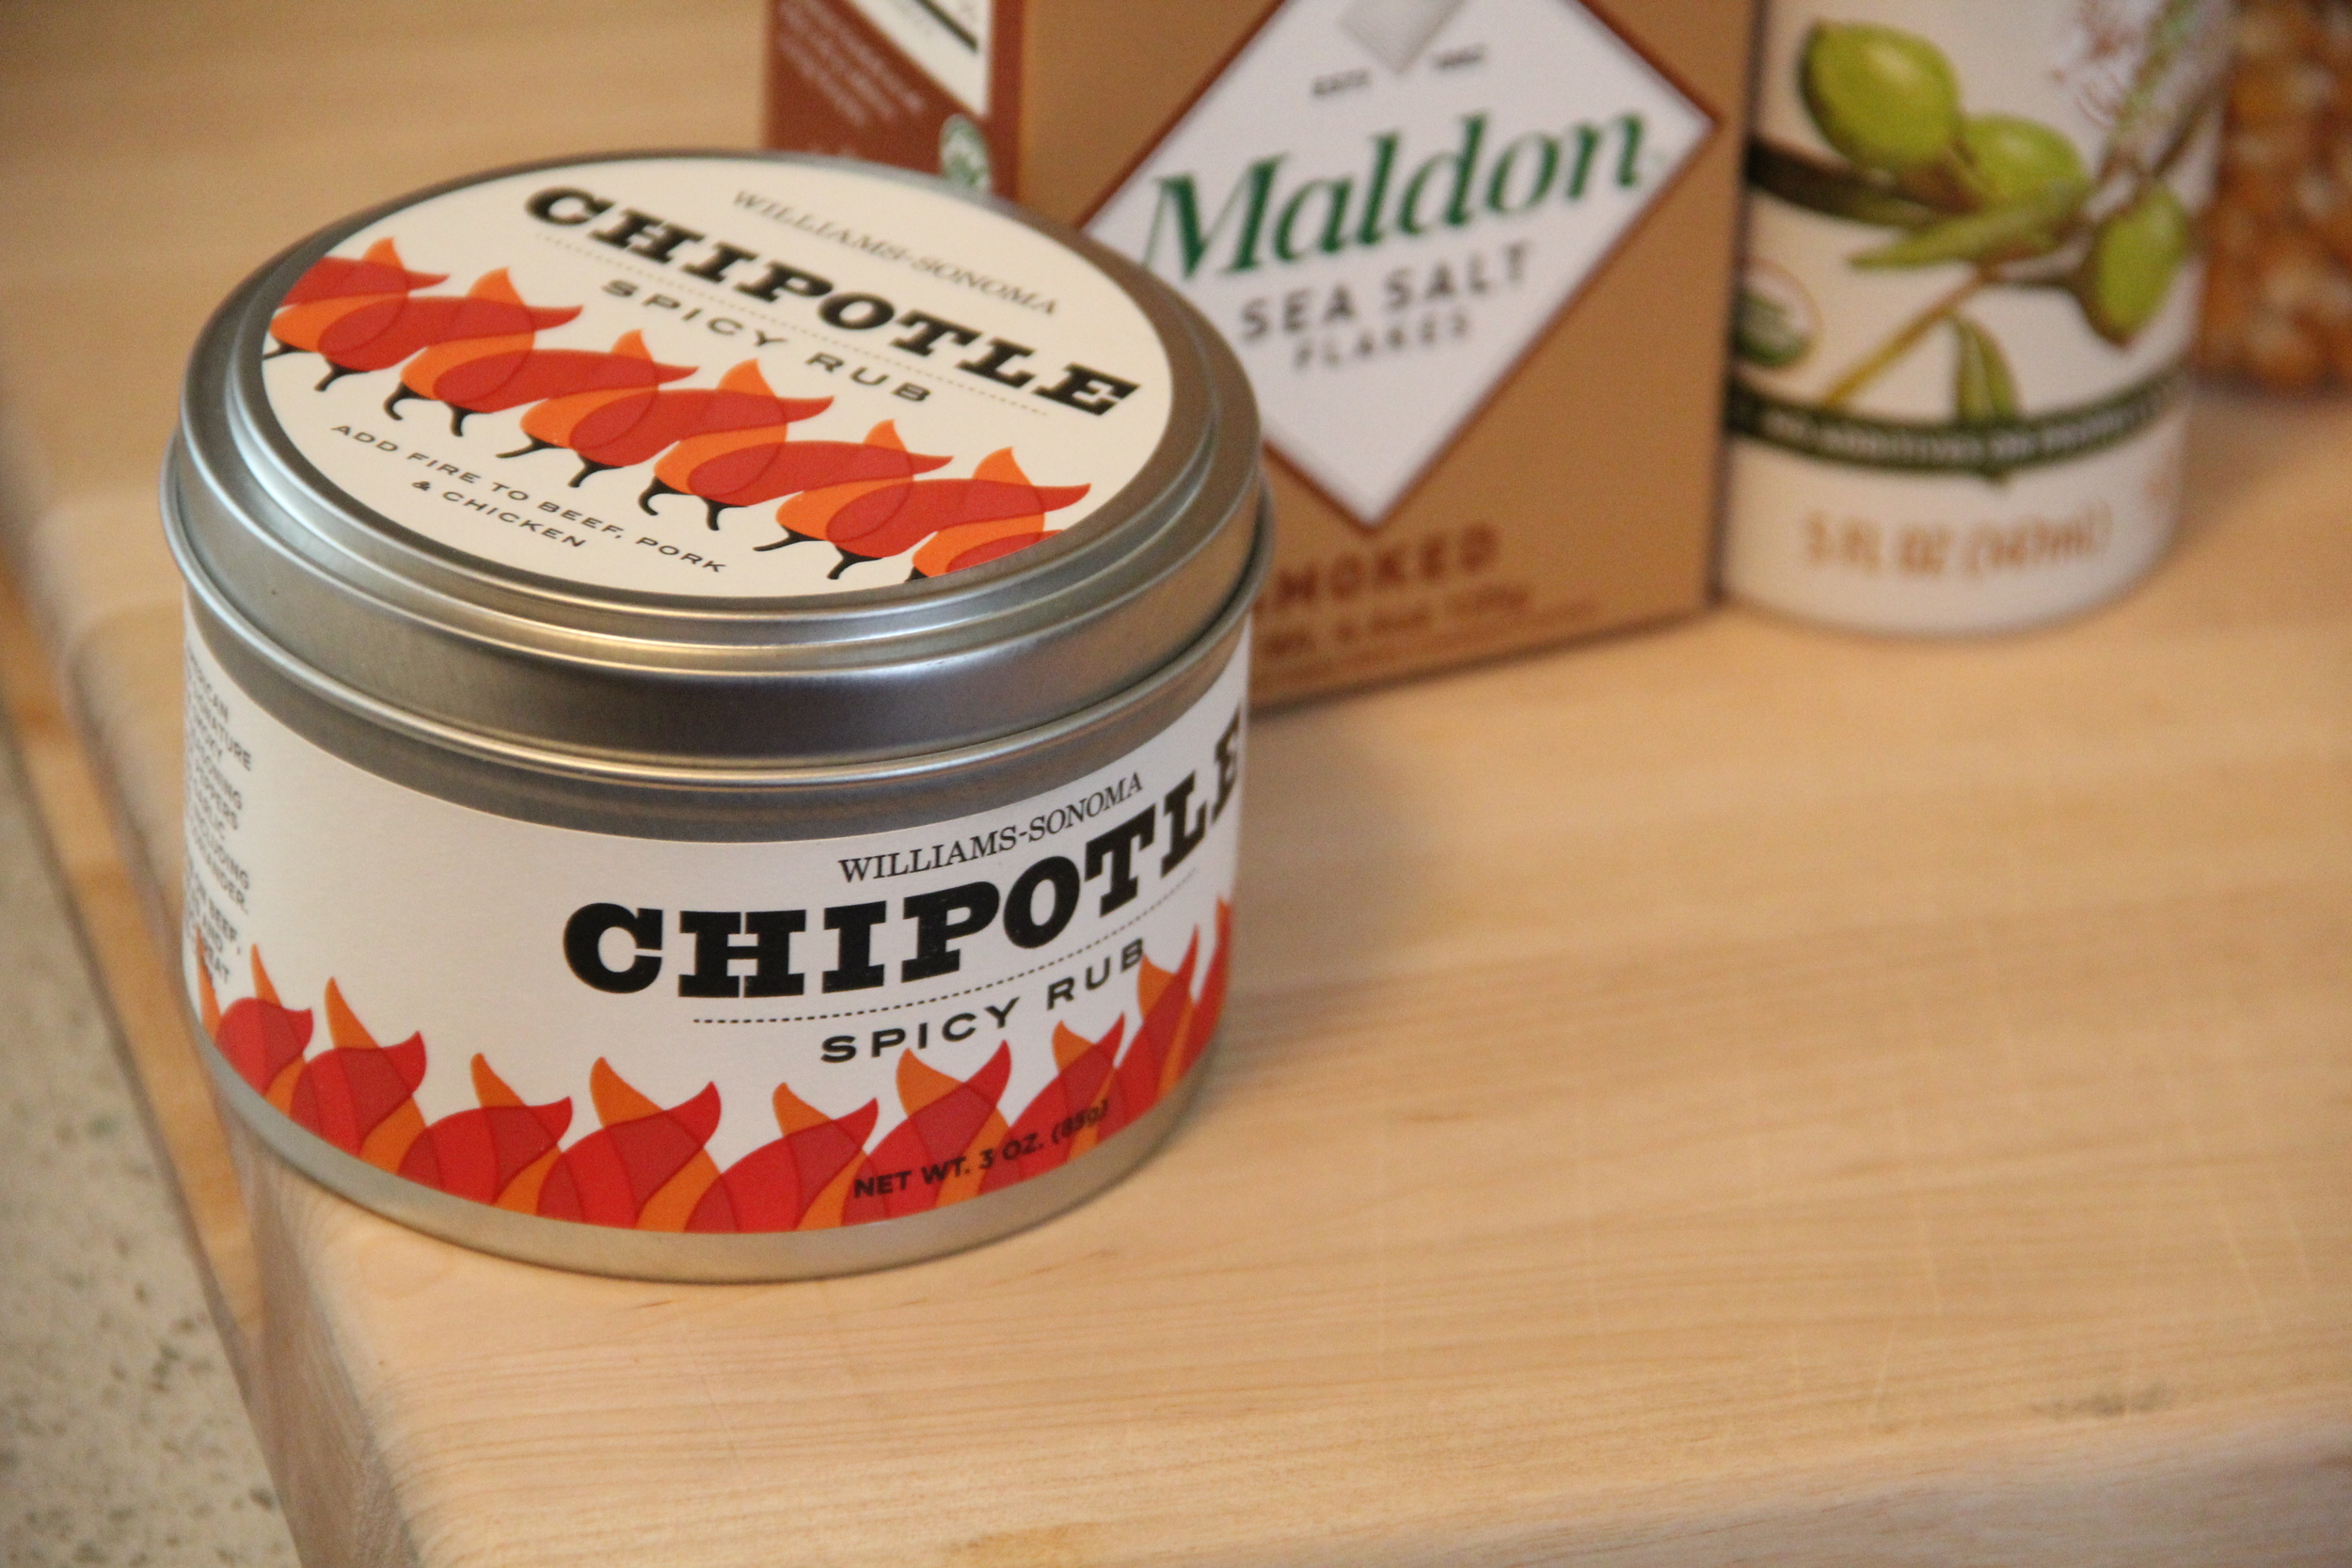
While shopping at Williams-Sonoma for cookware one day, I was offered a sample of popcorn by an associate.  It was the most deliciously spicy piece of popcorn!  I had to know how it was made and the associate shared with me that it had come from their Chipotle Spicy Rub (that was typically used for meats).  Brilliant!  I bought the spiced rub and Chipotle Popcorn quickly became our go-to snack of choice.  

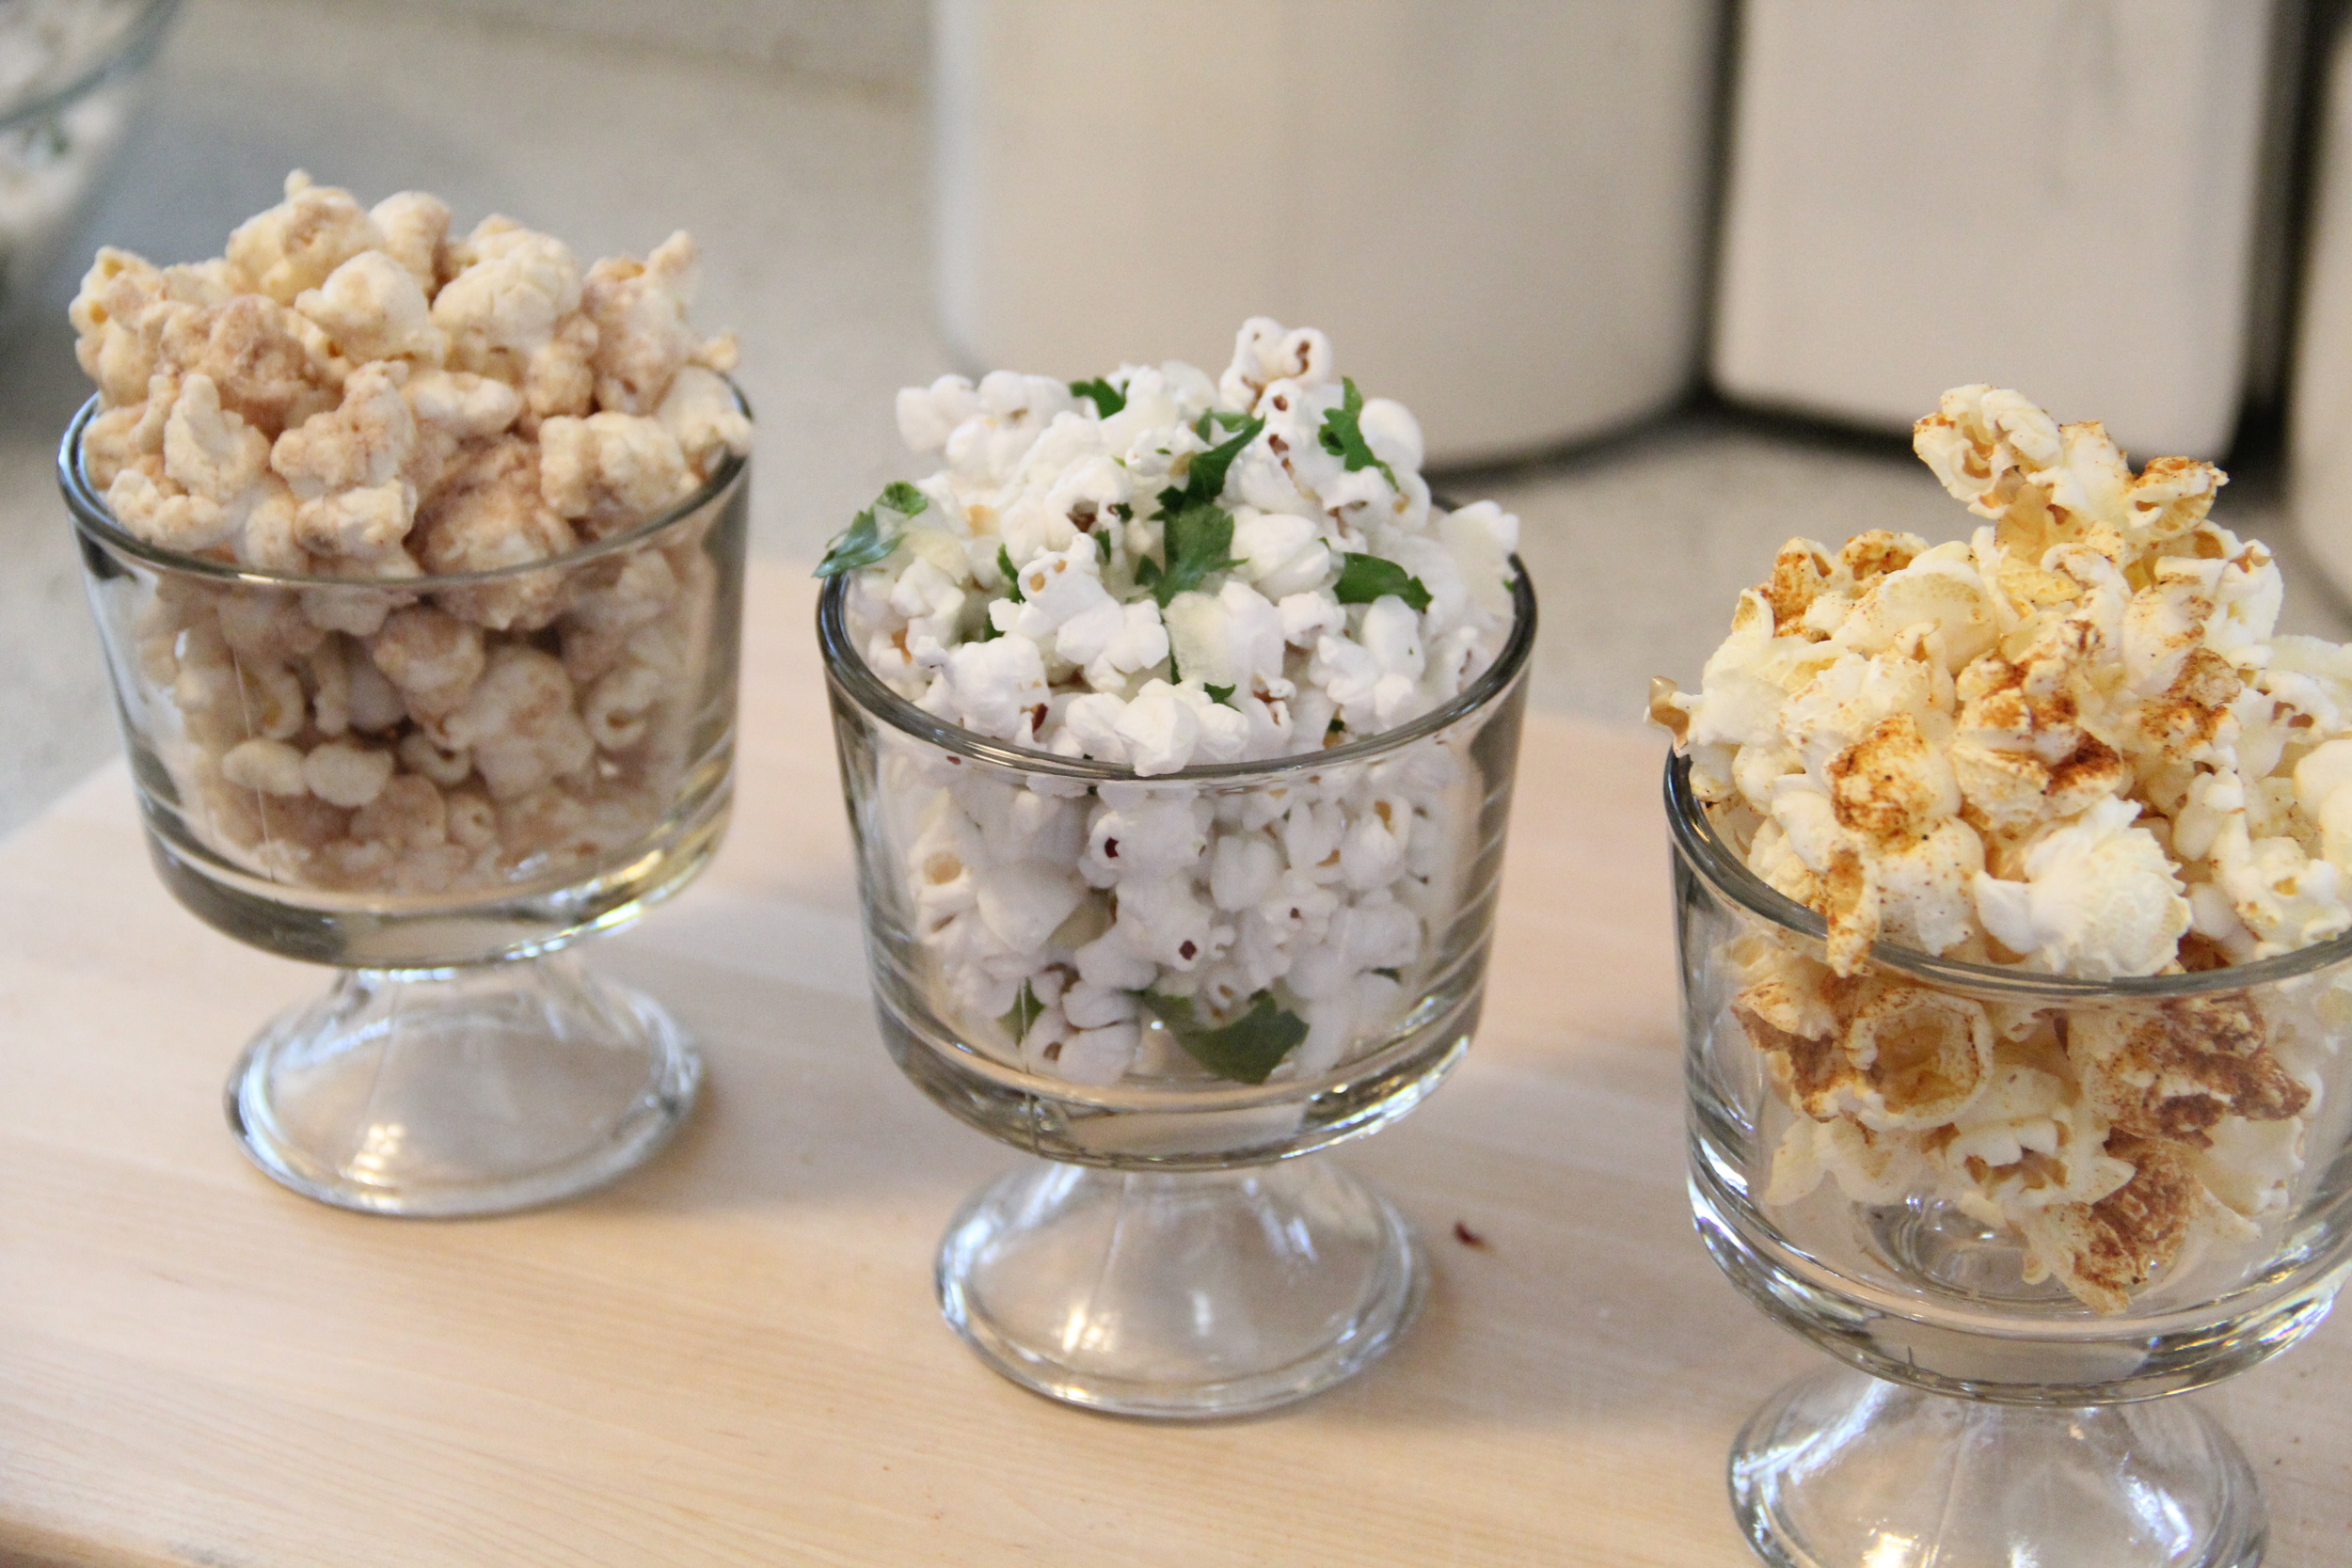
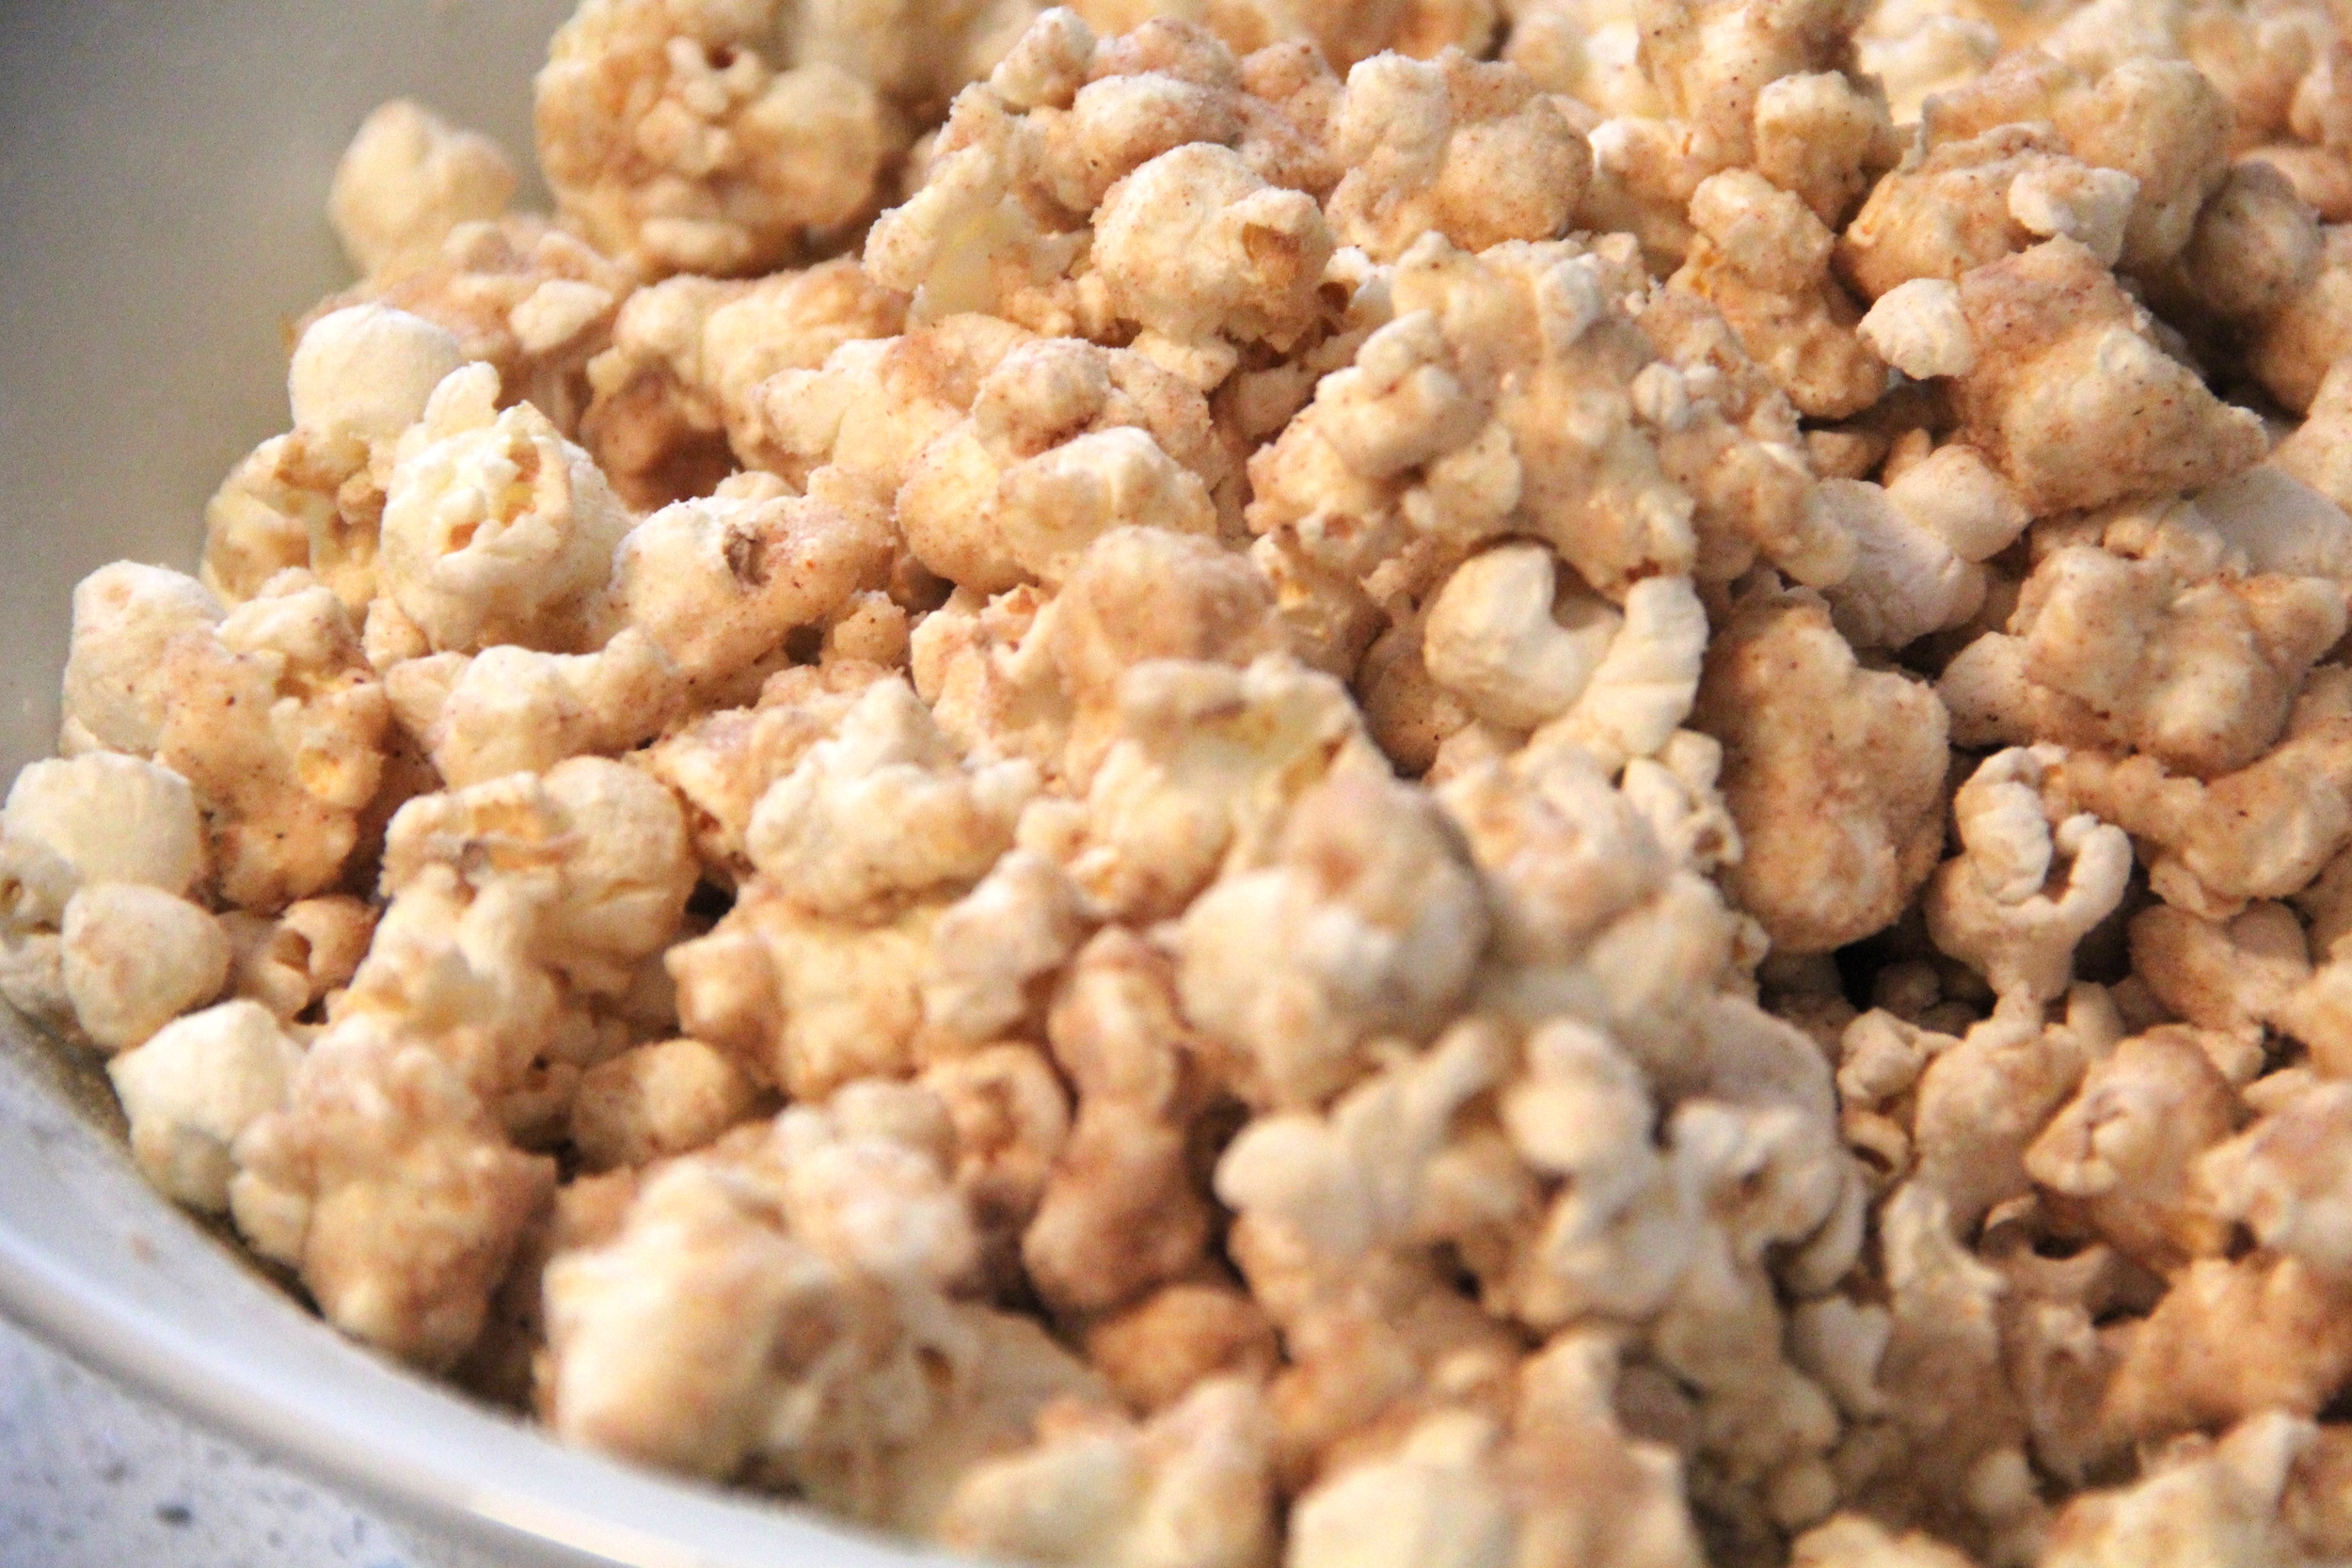
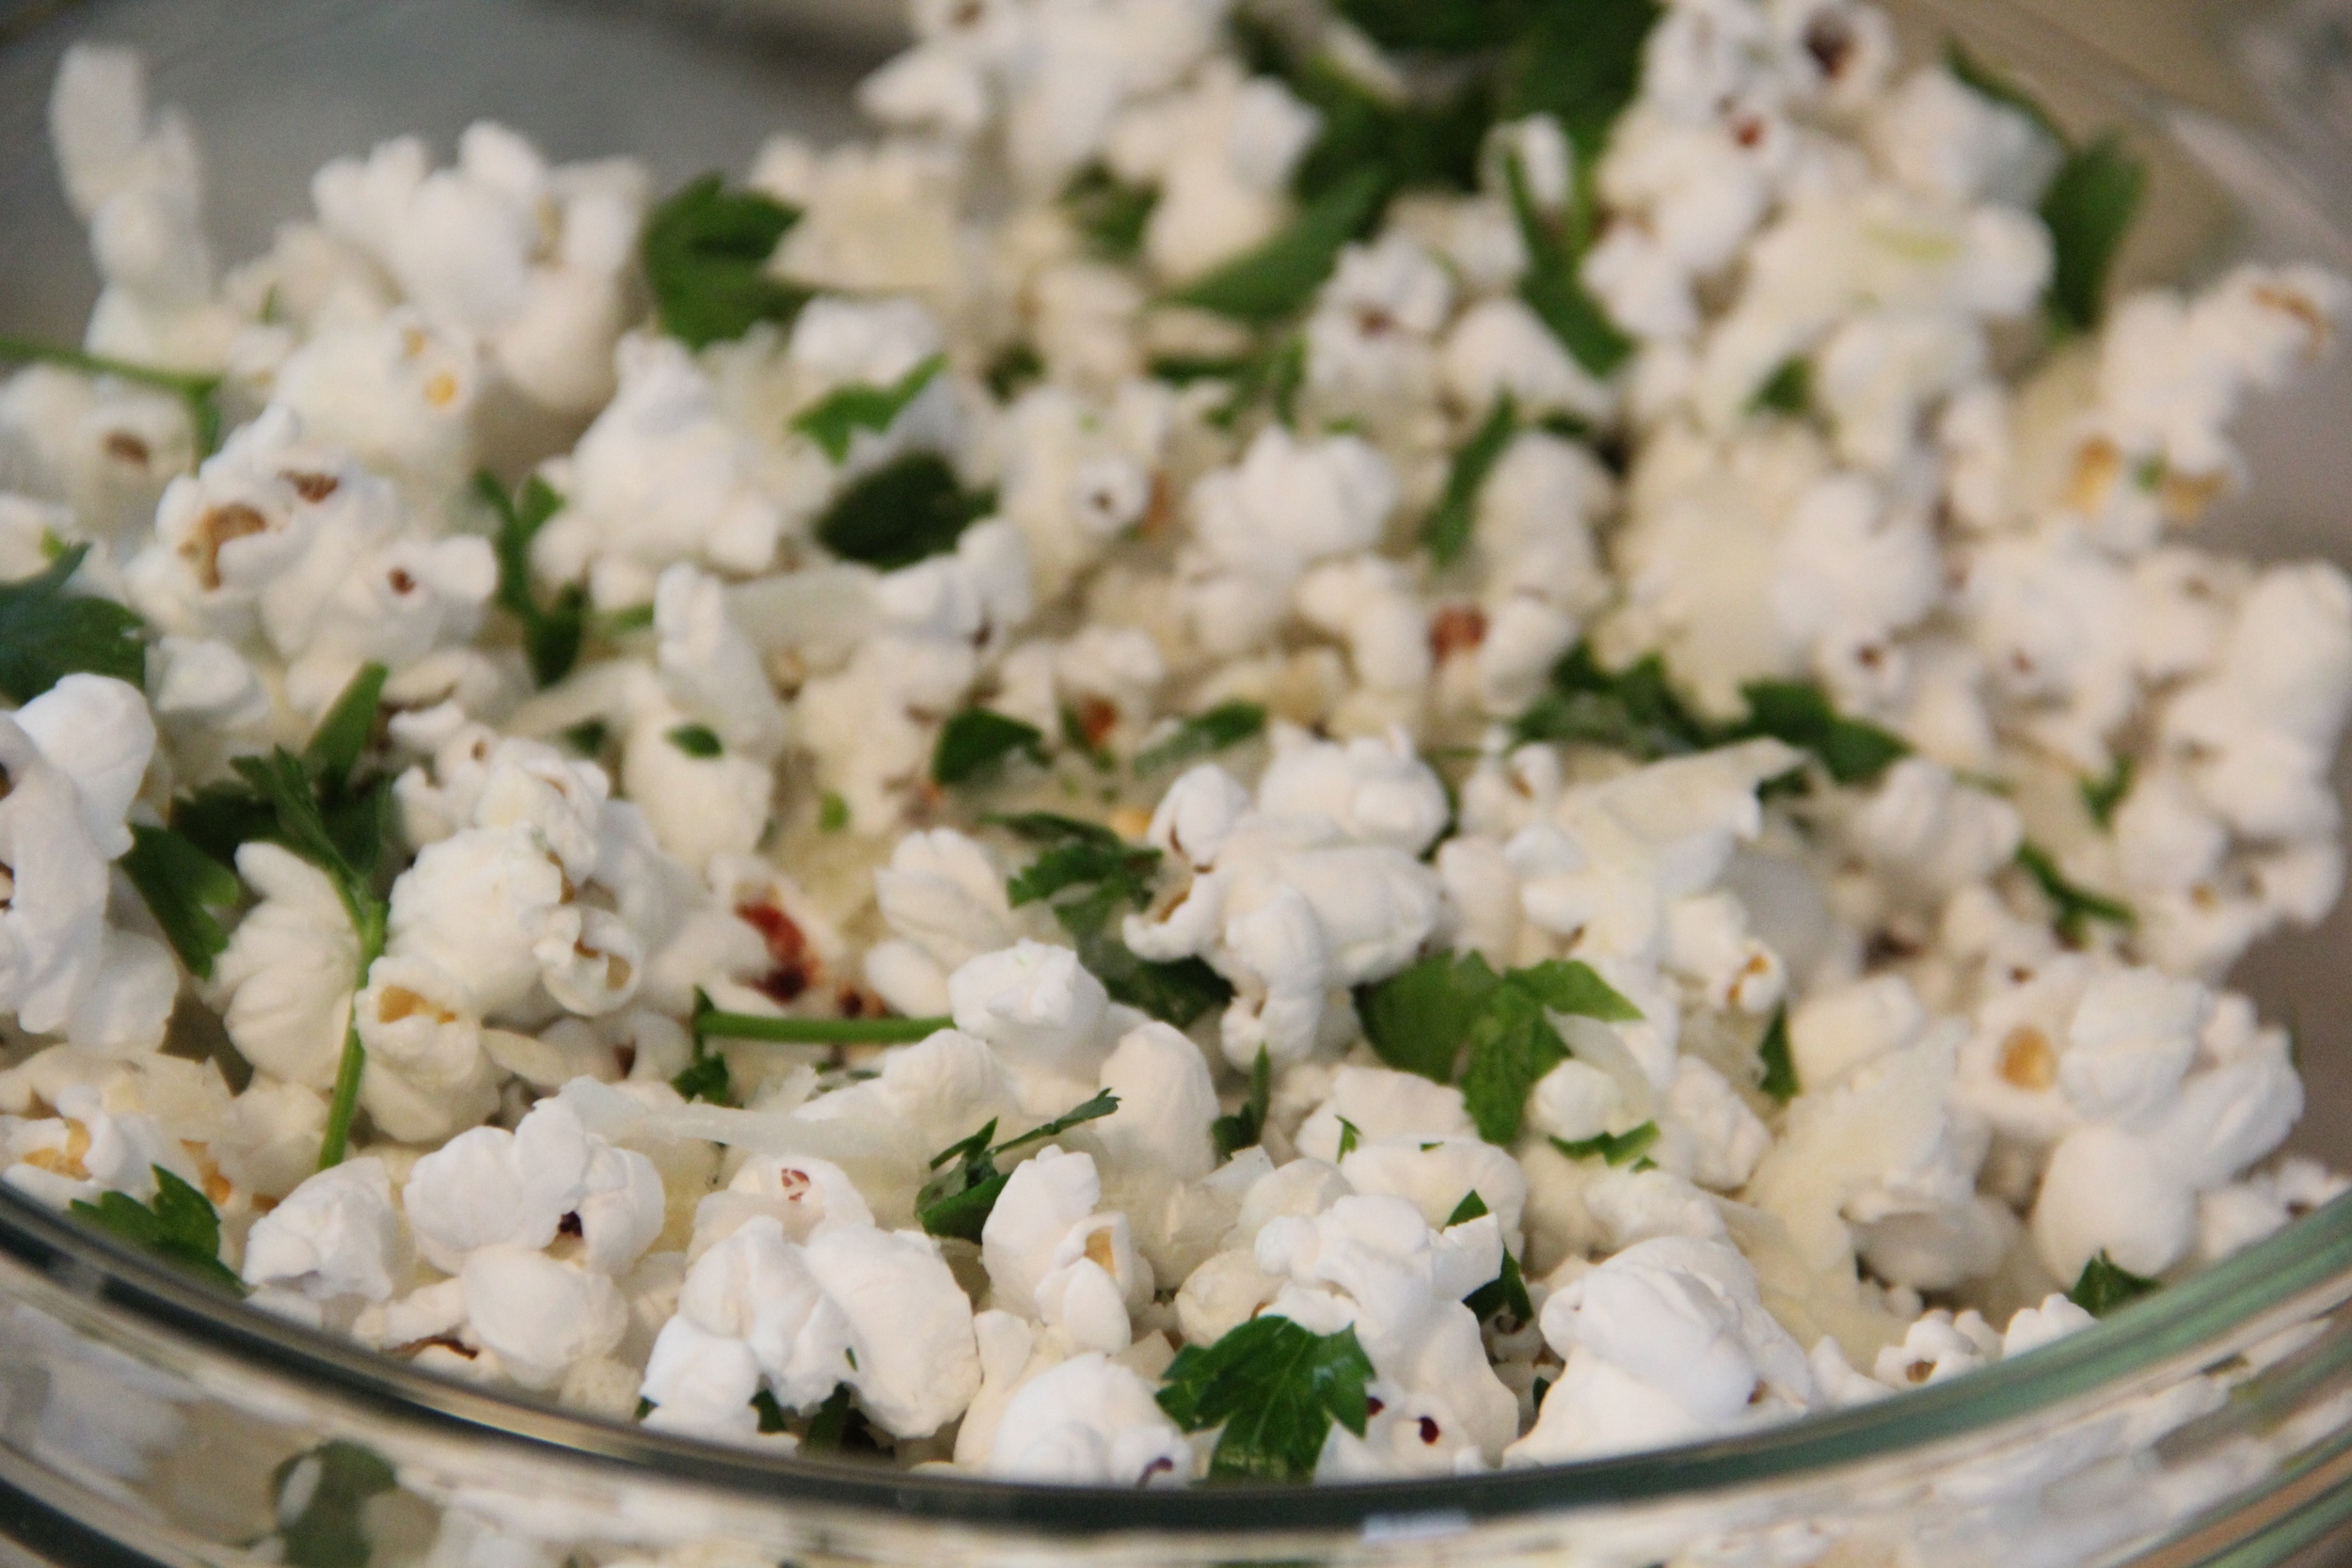
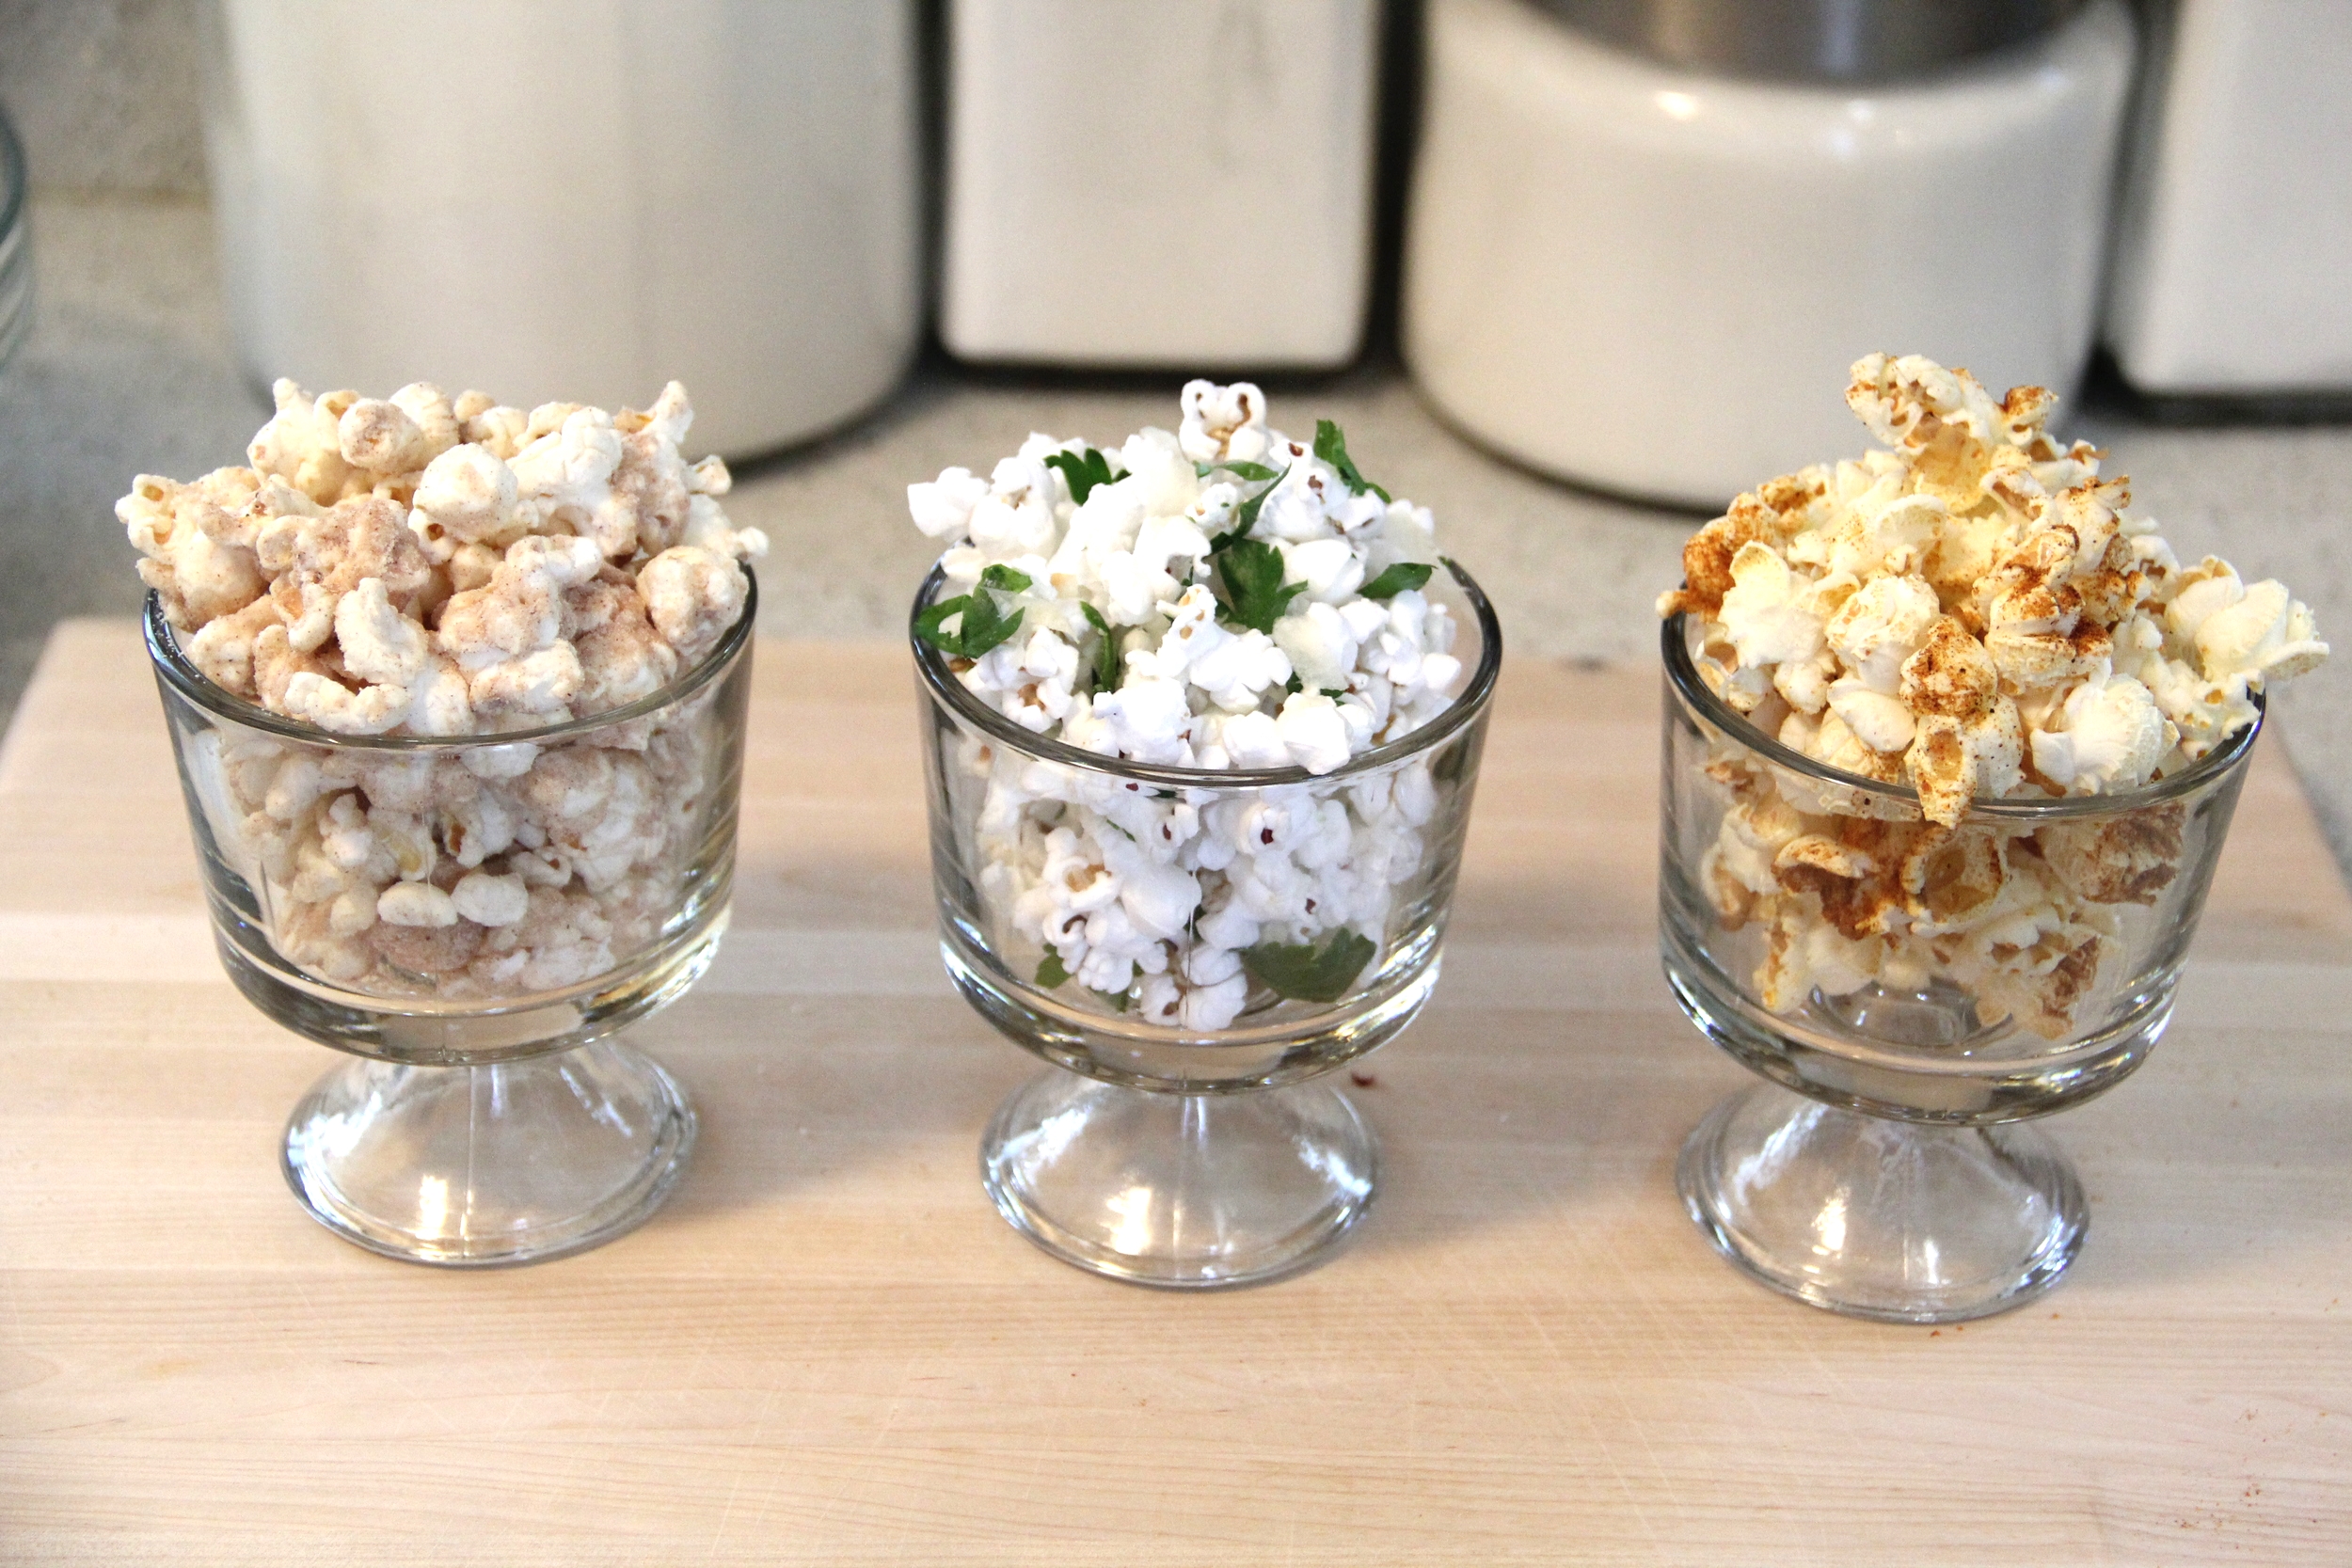
Over time my curiosity for new popcorn flavor combinations has continued to grow and I have come up with a variety of flavor combinations.  Today I am sharing  3 of my favorite flavor combinations that are delicious and easy to make.  While there is nothing better than a classic bowl of popcorn, these 3 flavor combinations are certainly tasty alternatives.  

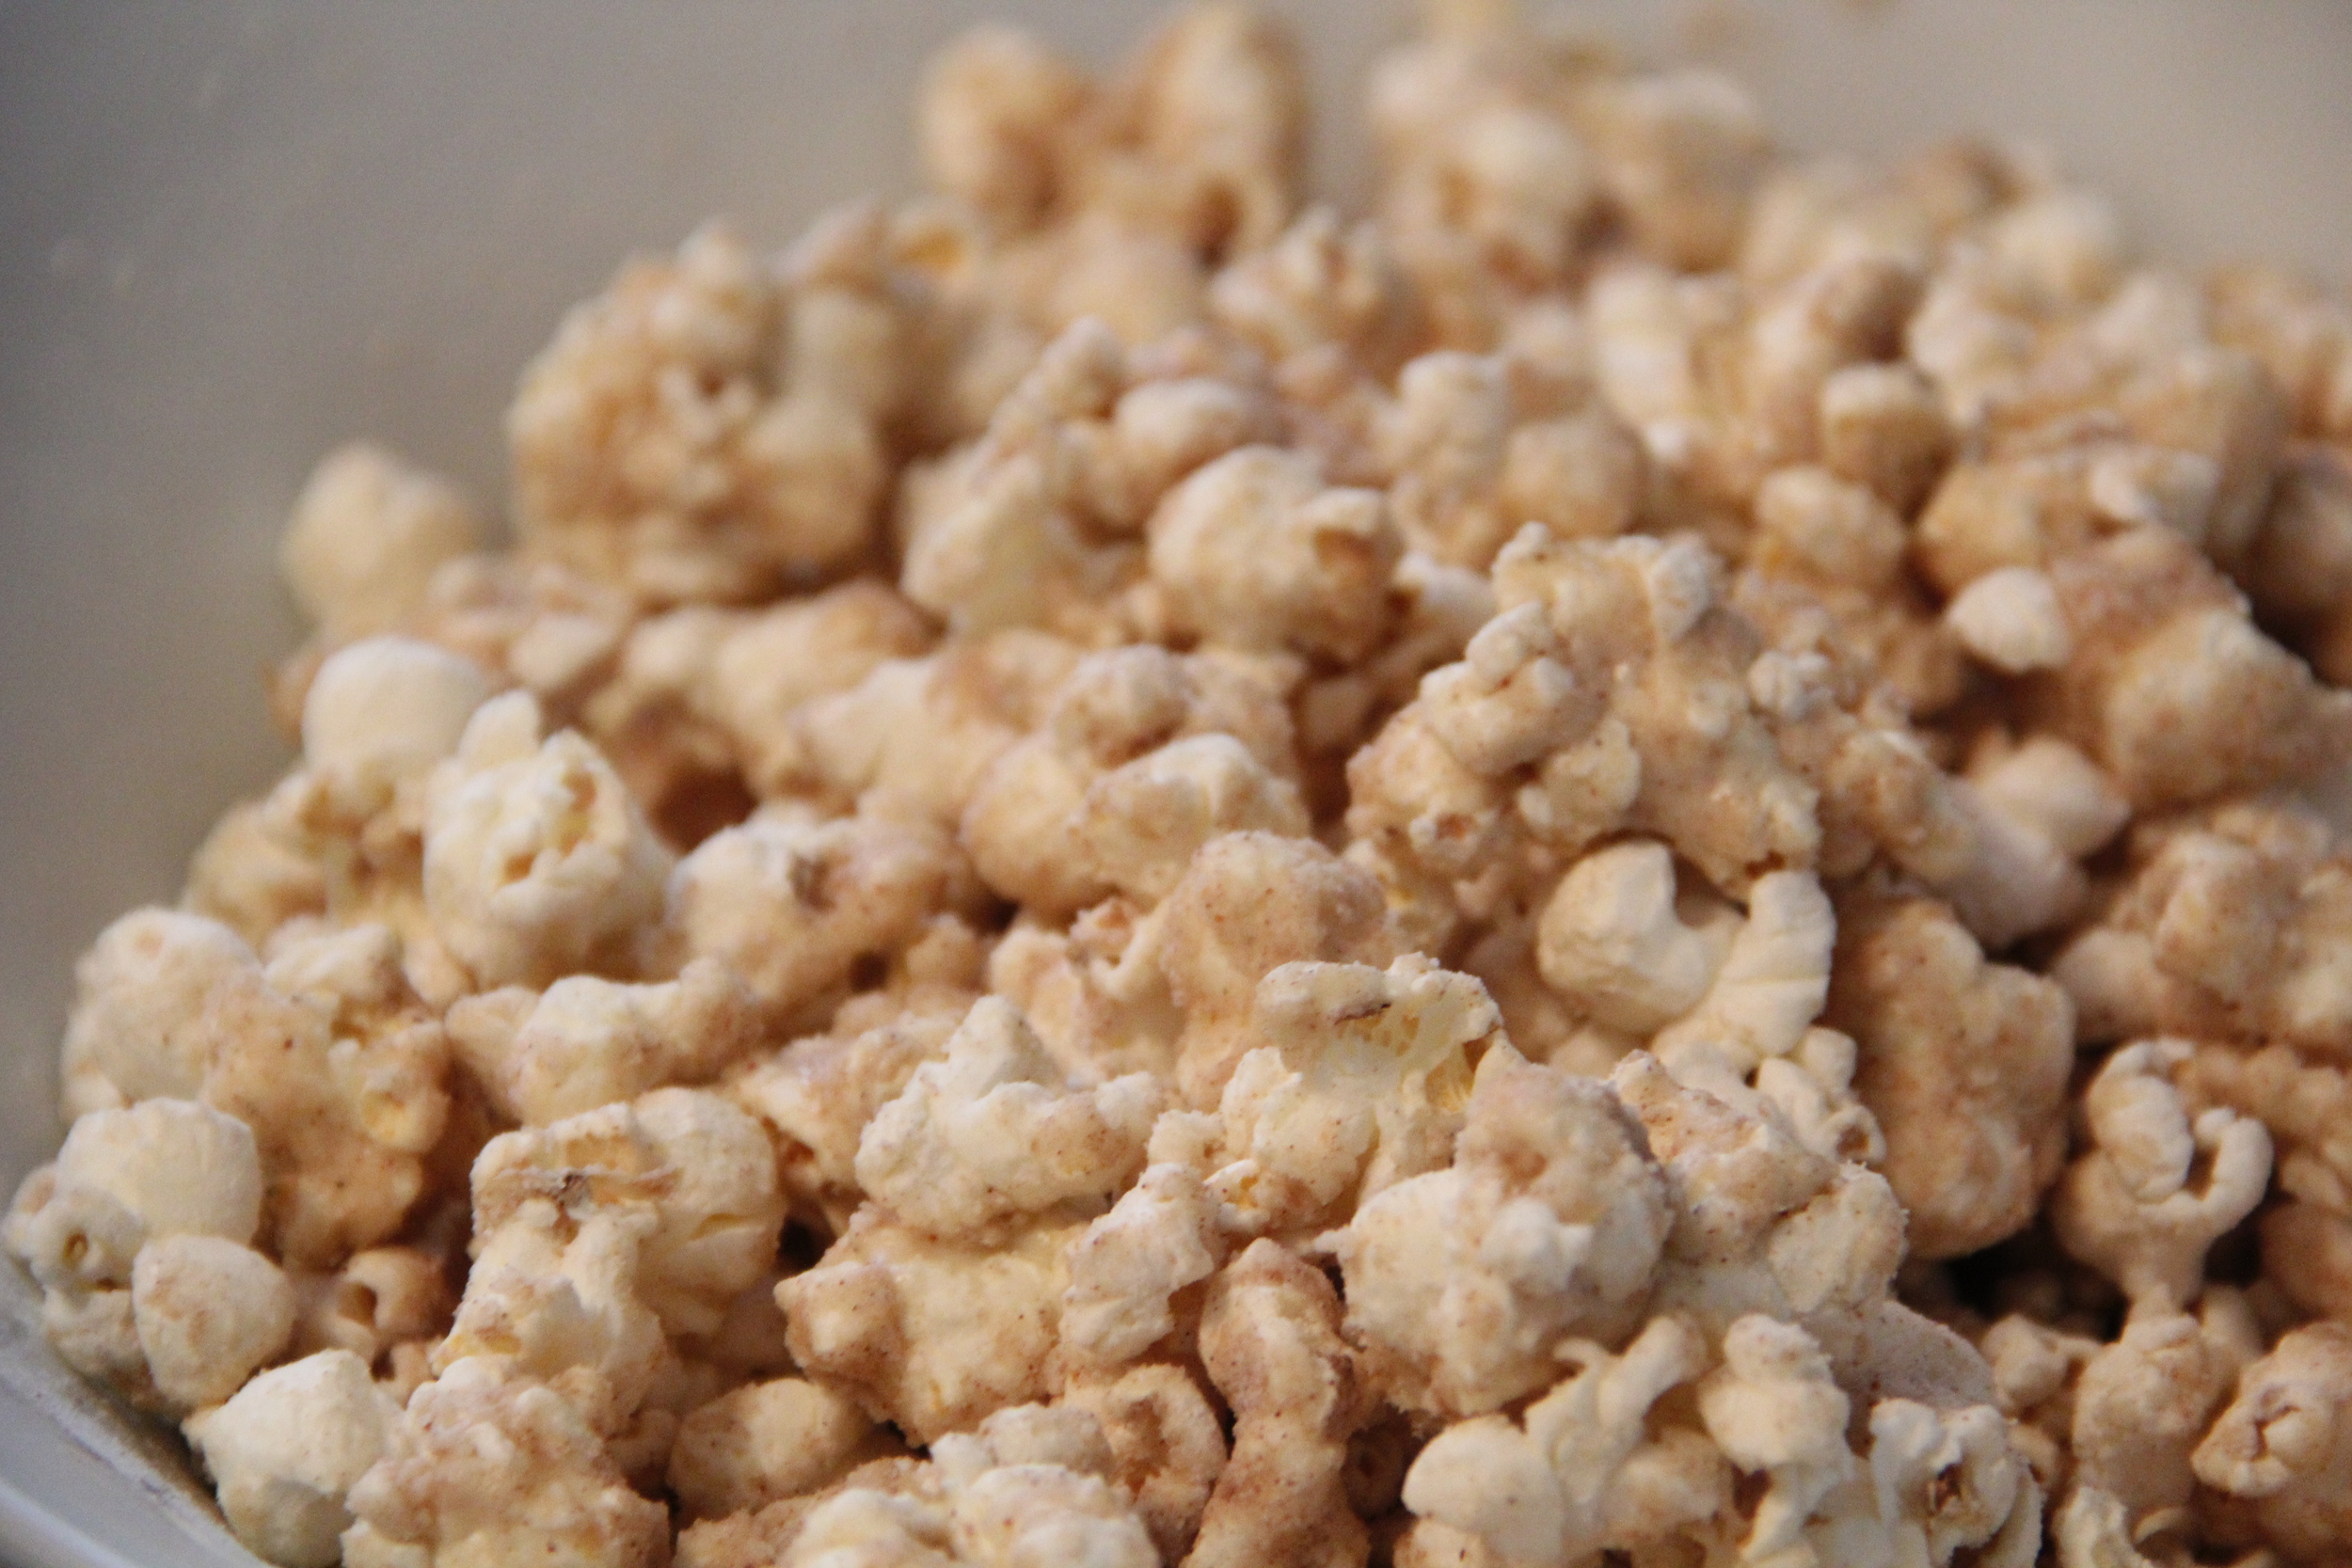
Cinnamon Toast Popcorn

Cinnamon Toast Popcorn 1.JPG
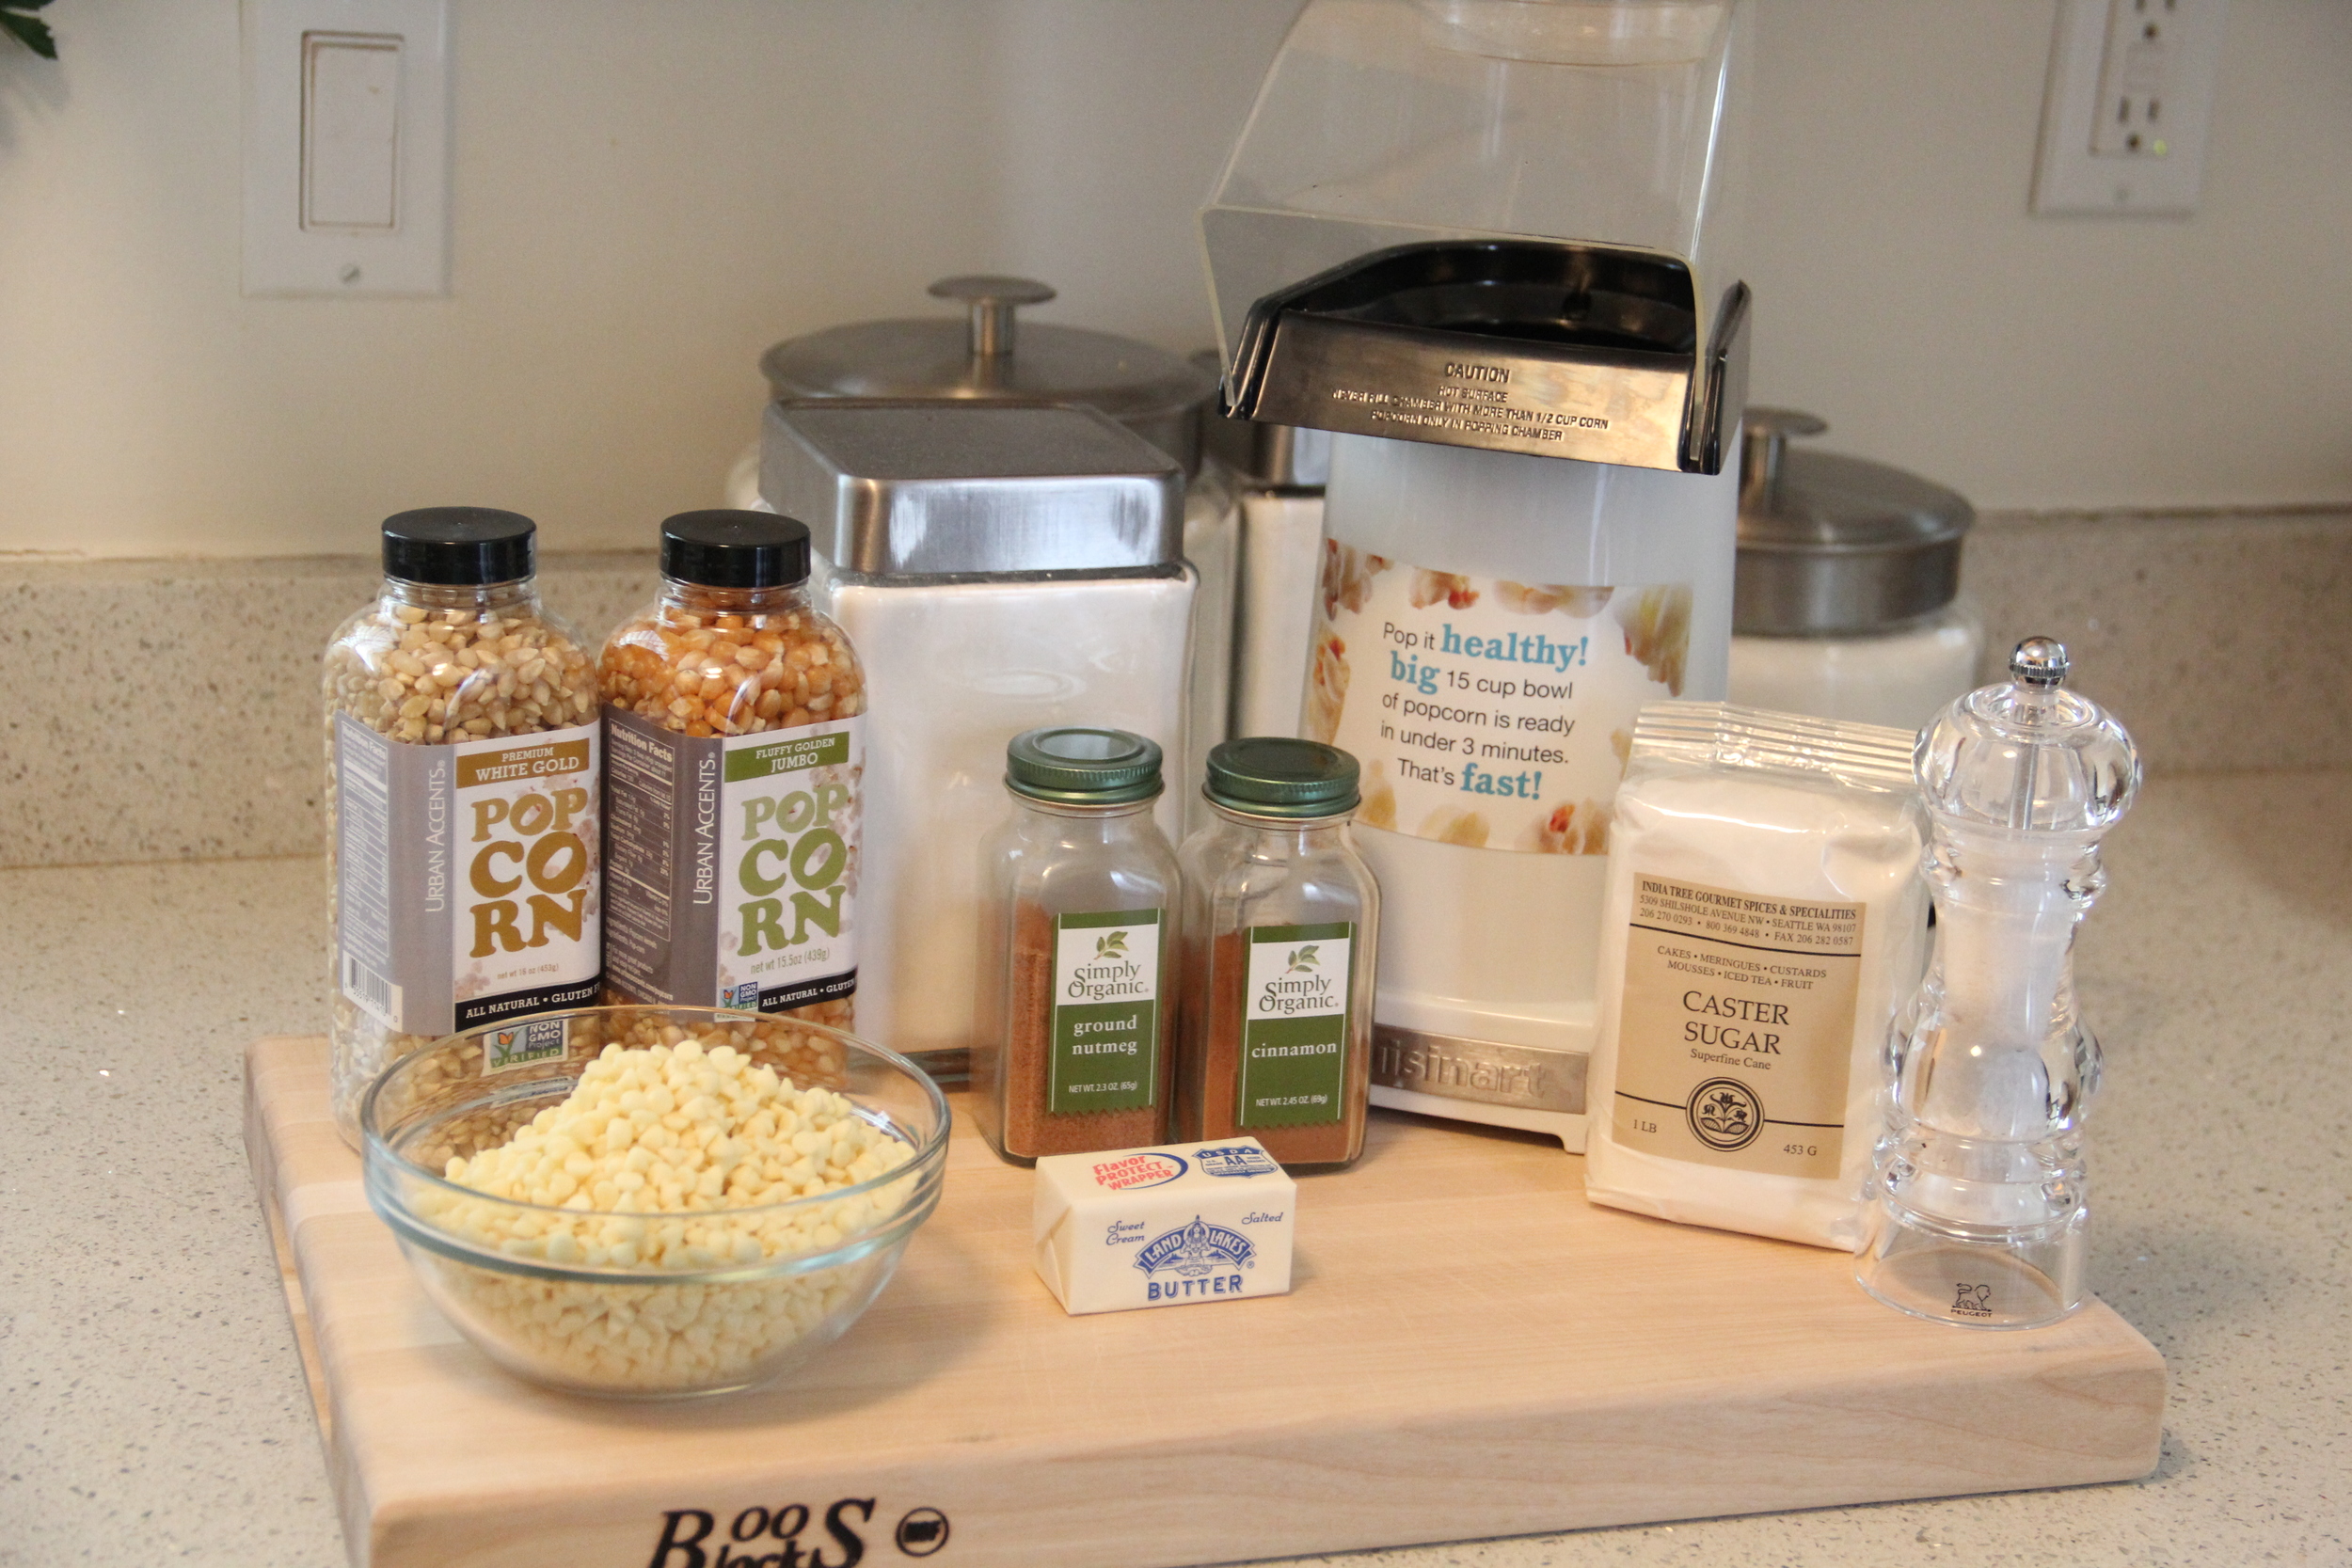
Cinnamon Toast Popcorn Ingredients.JPG

Ingredients

  • 1/2c Popcorn kernels
  • 4Tbs Butter
  • 1 Bag White Chocolate Chips (Mini or Regular)
  • 1/4c Powdered Sugar
  • 1/4c Caster Sugar
  • 1 1/2tsp Cinnamon
  • 1/2 tsp Nutmeg
  • Pinch of Kosher Salt
IMG_6121.JPG
IMG_6110.JPG
Drying Popcorn CTP.JPG
Cinnamon Toast Popcorn 2.JPG

Instructions

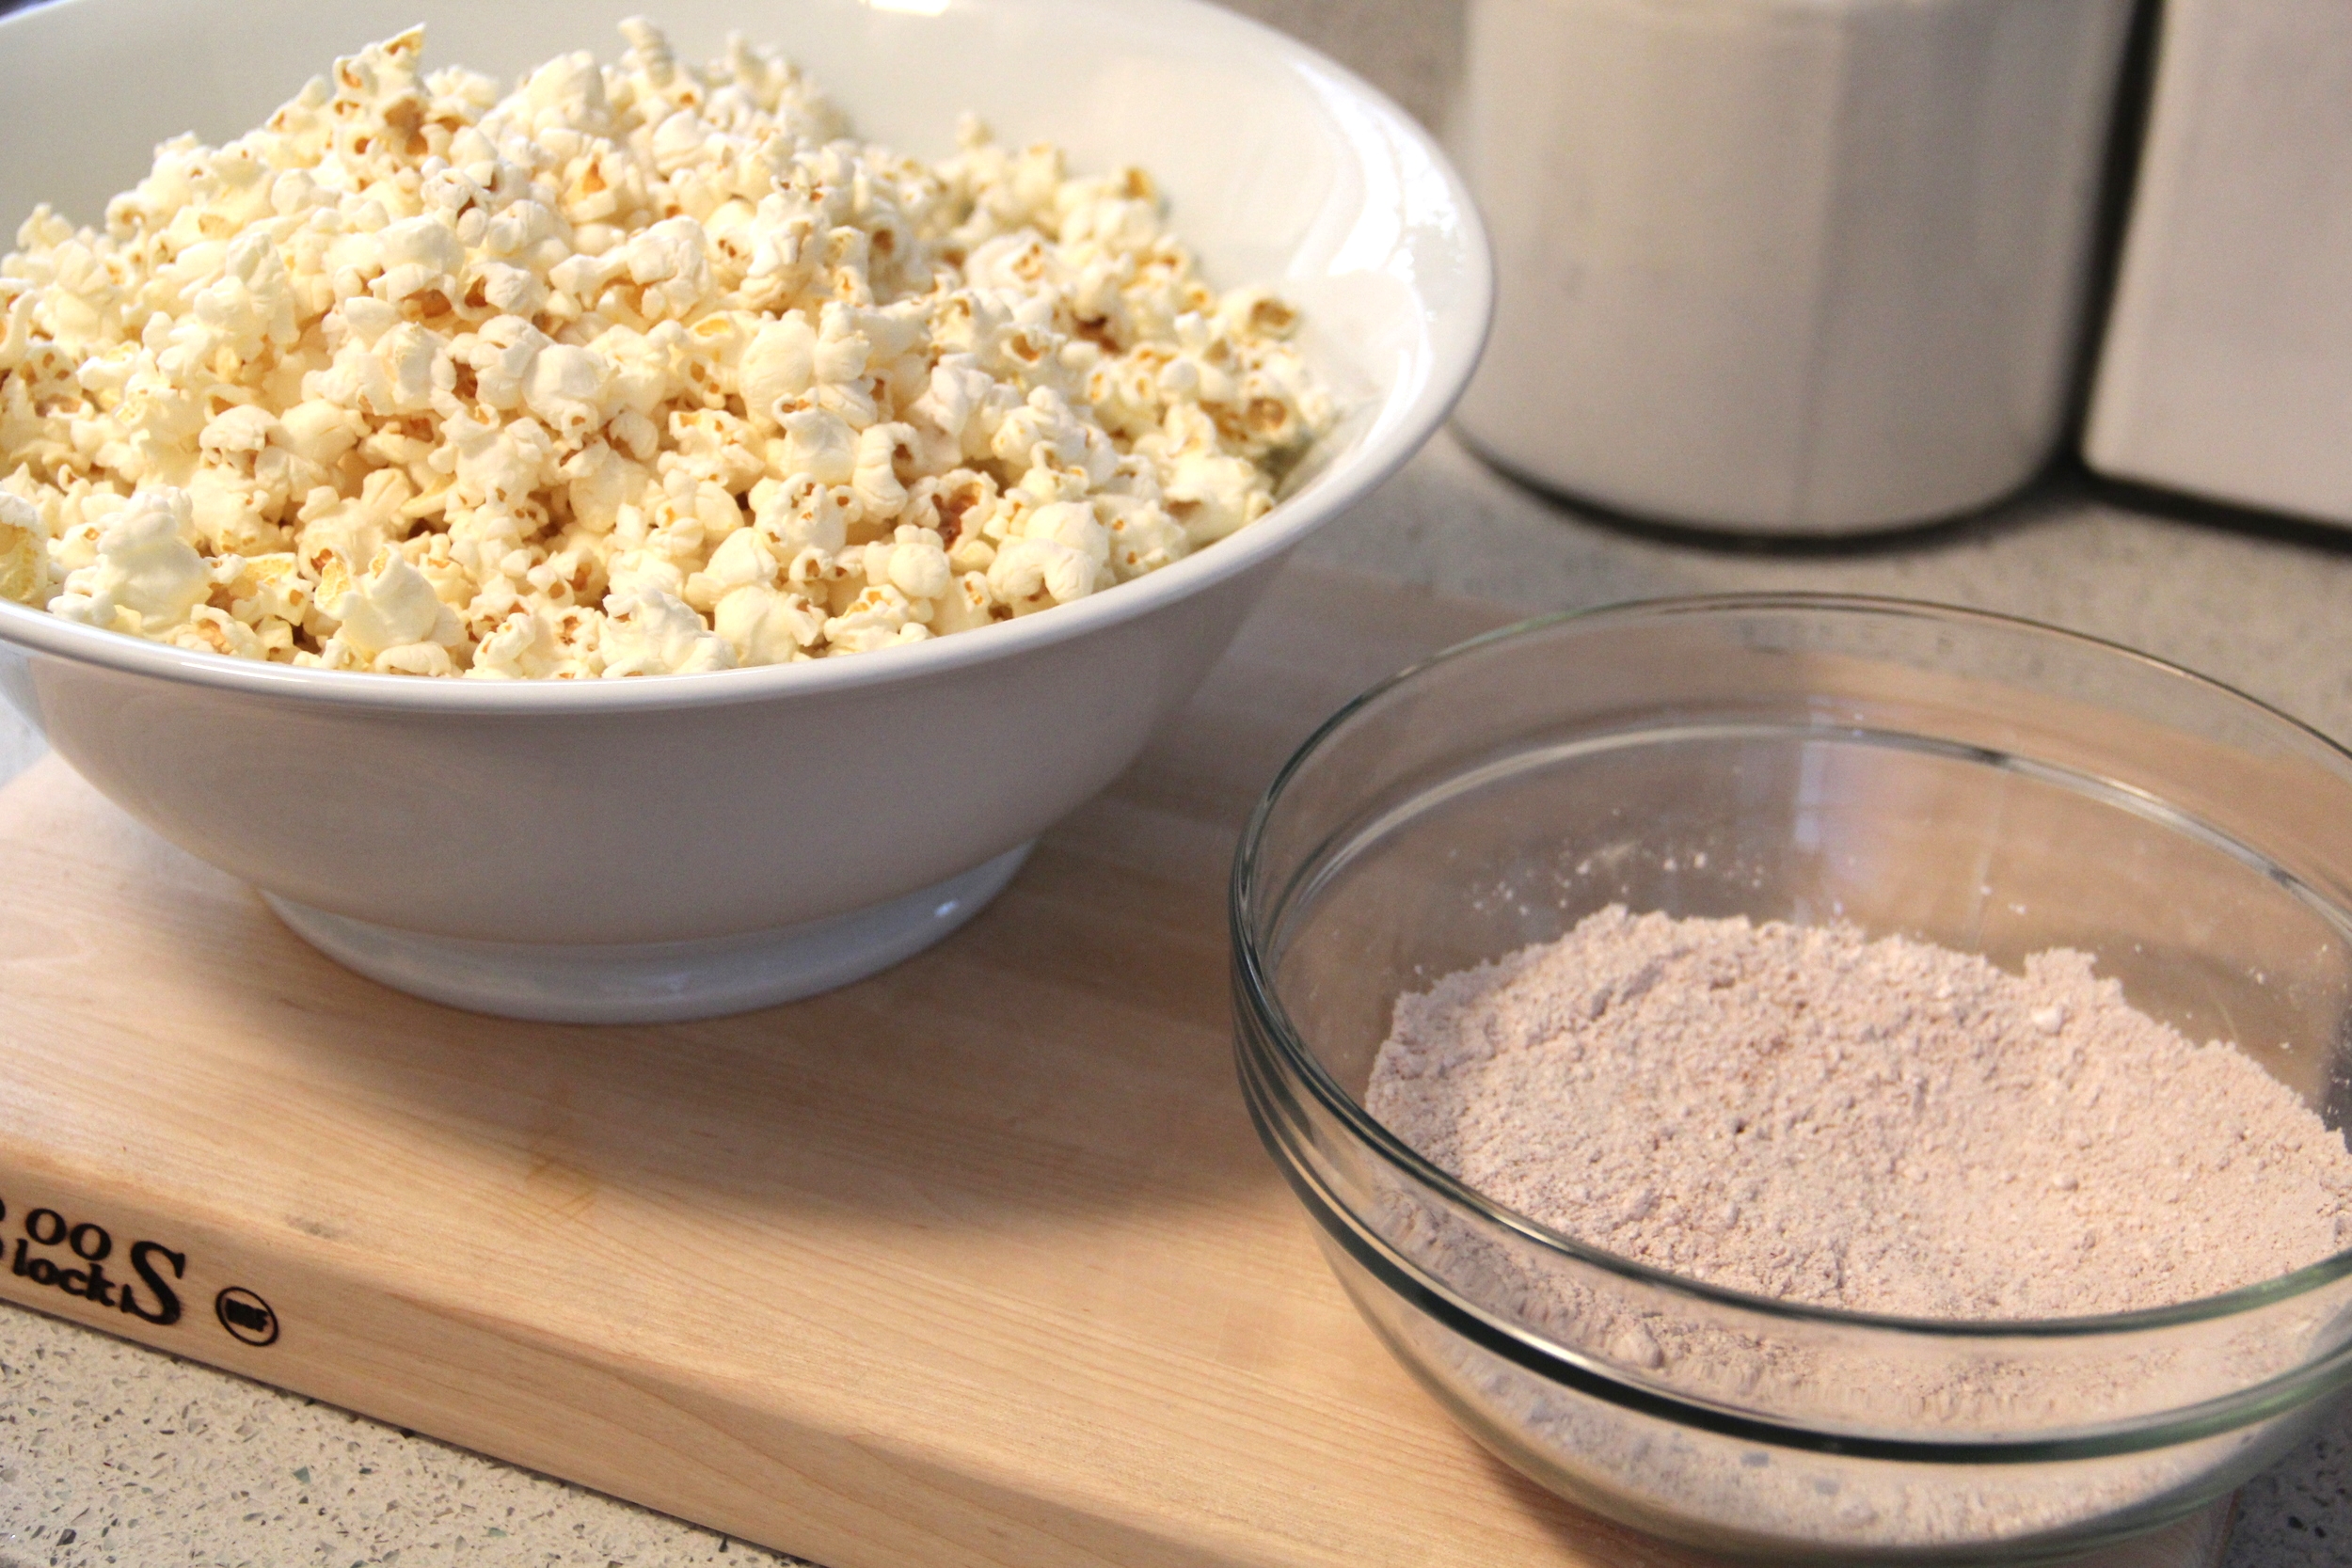
  1. Pop kernels in air popper and set aside in a large bowl
  2. In a second bowl, combine both sugars, cinnamon, nutmeg and salt. Set aside
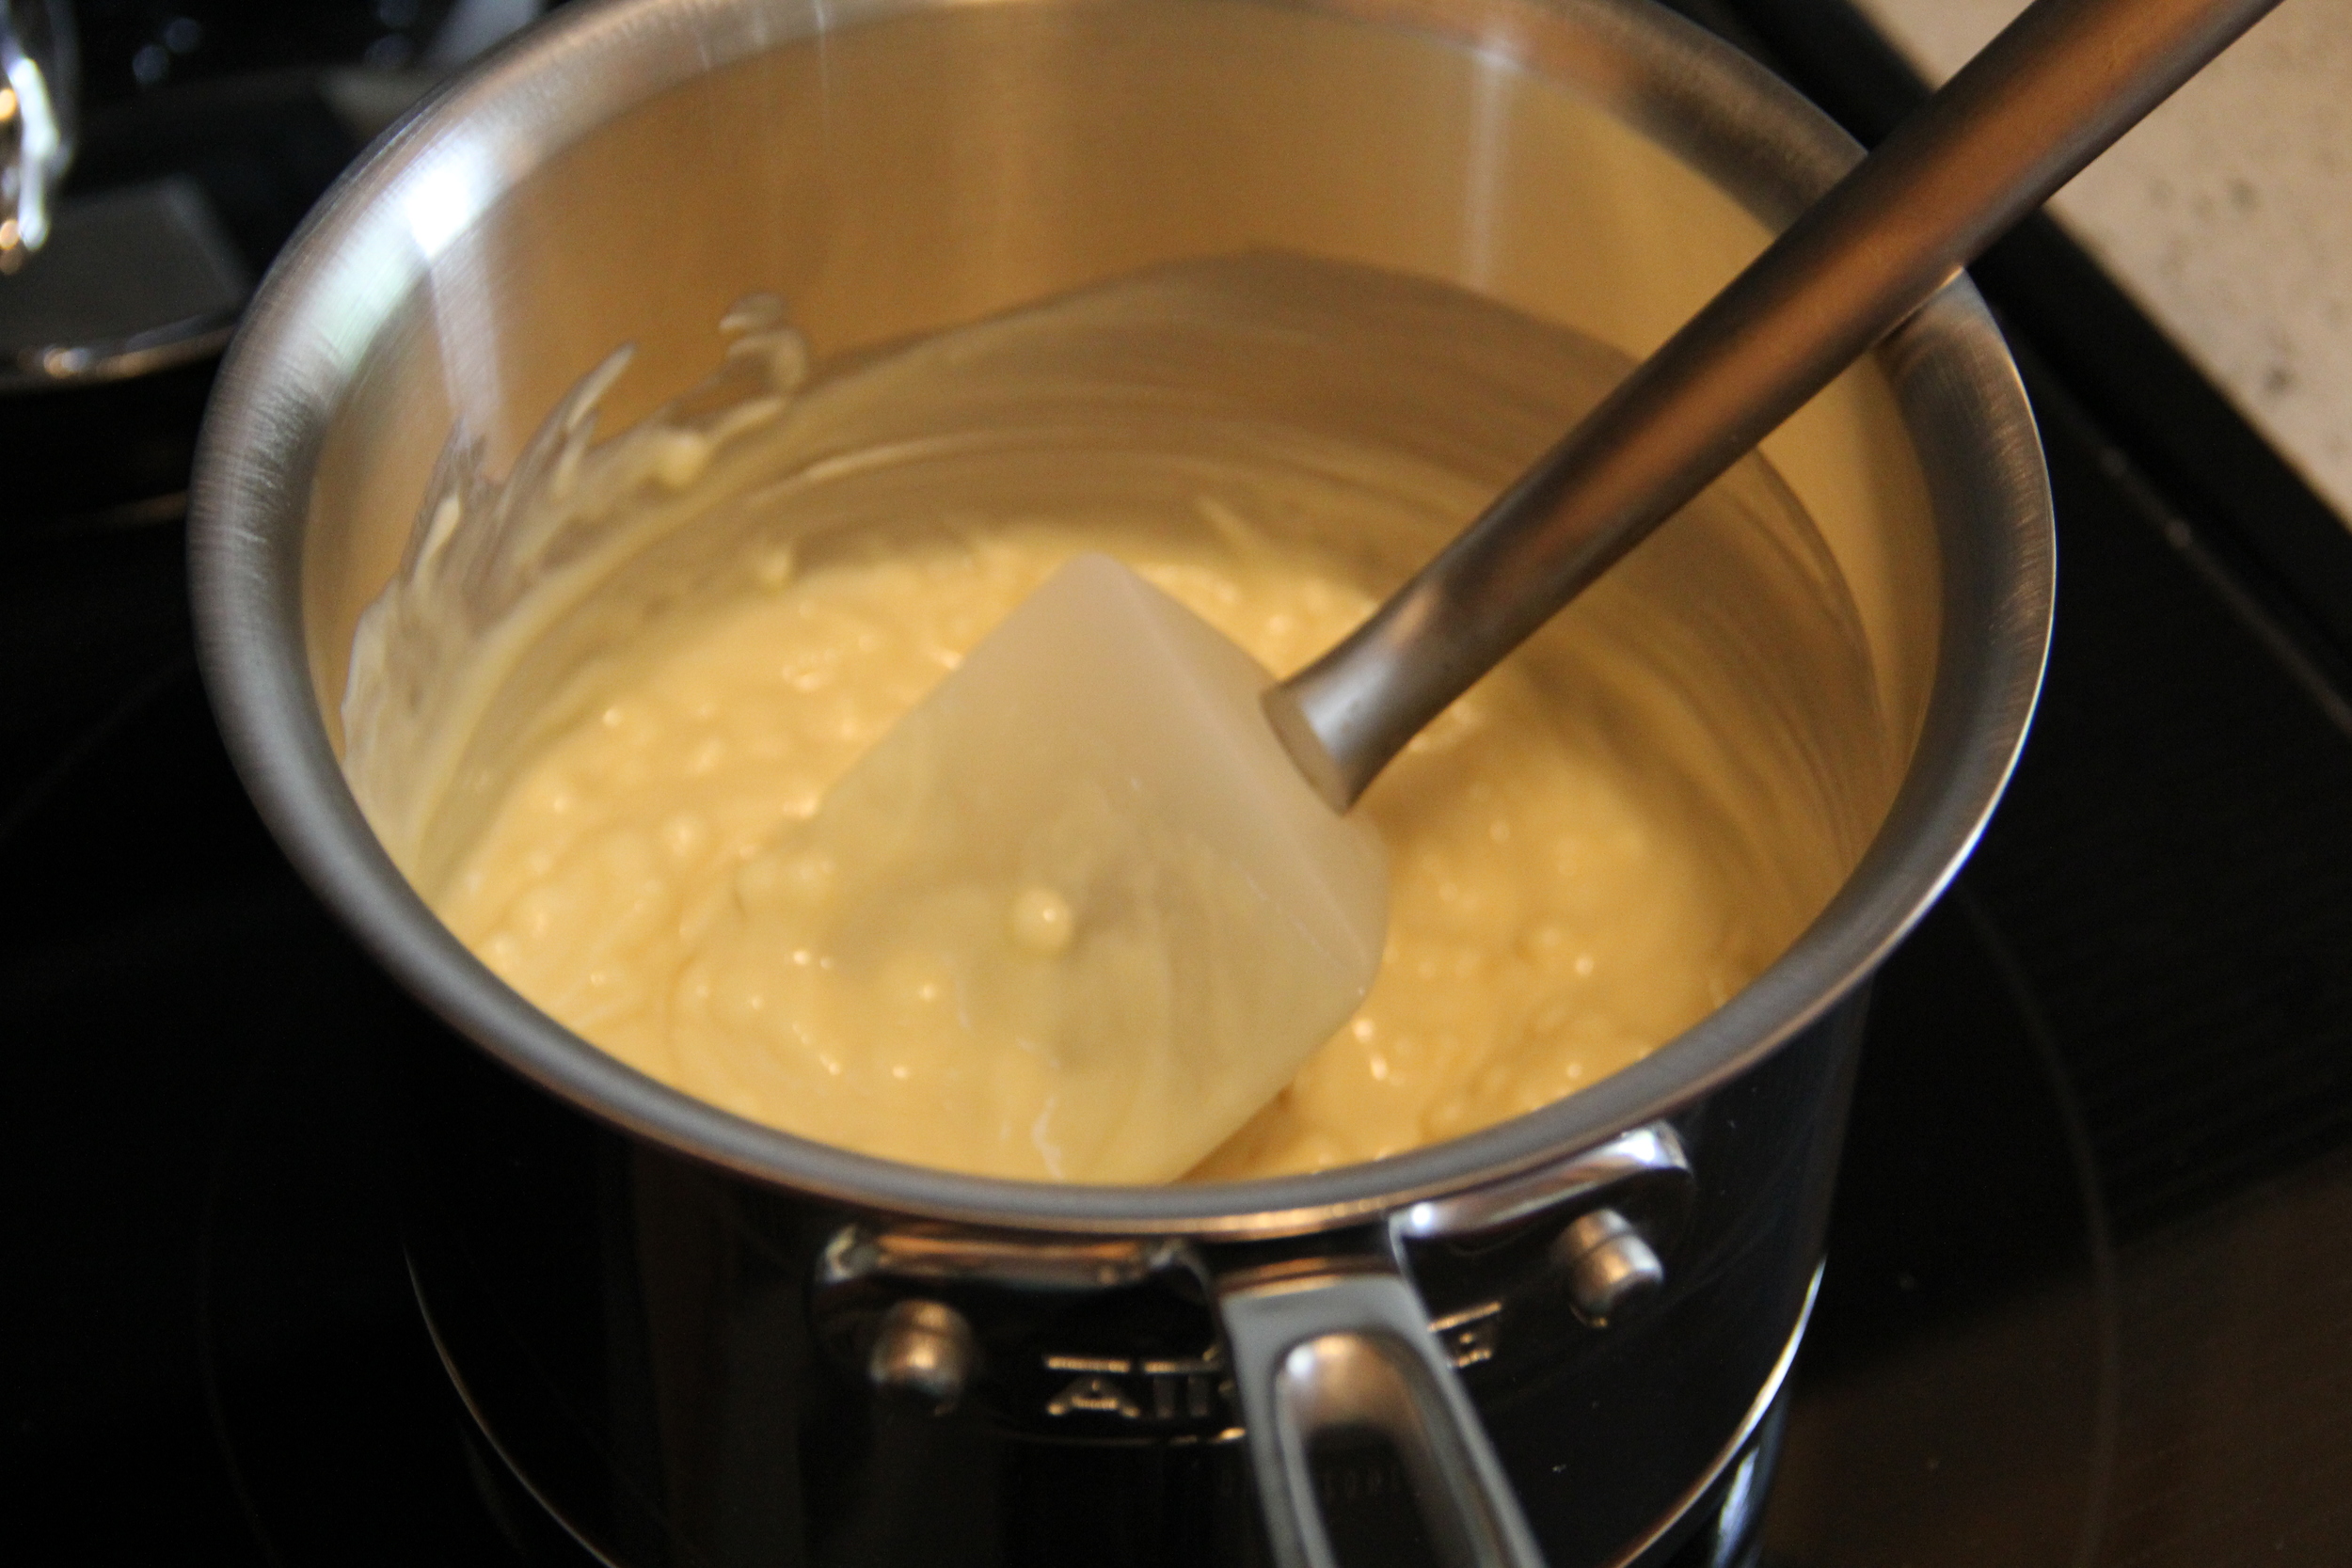
  3. In a small sauce pan, melt down butter, add white chocolate chips and stir until mixture is completely melted together
  4. Remove from heat, pour white chocolate over popcorn, mix to combine
  5. Add sugar mixture to popcorn and mix to combine
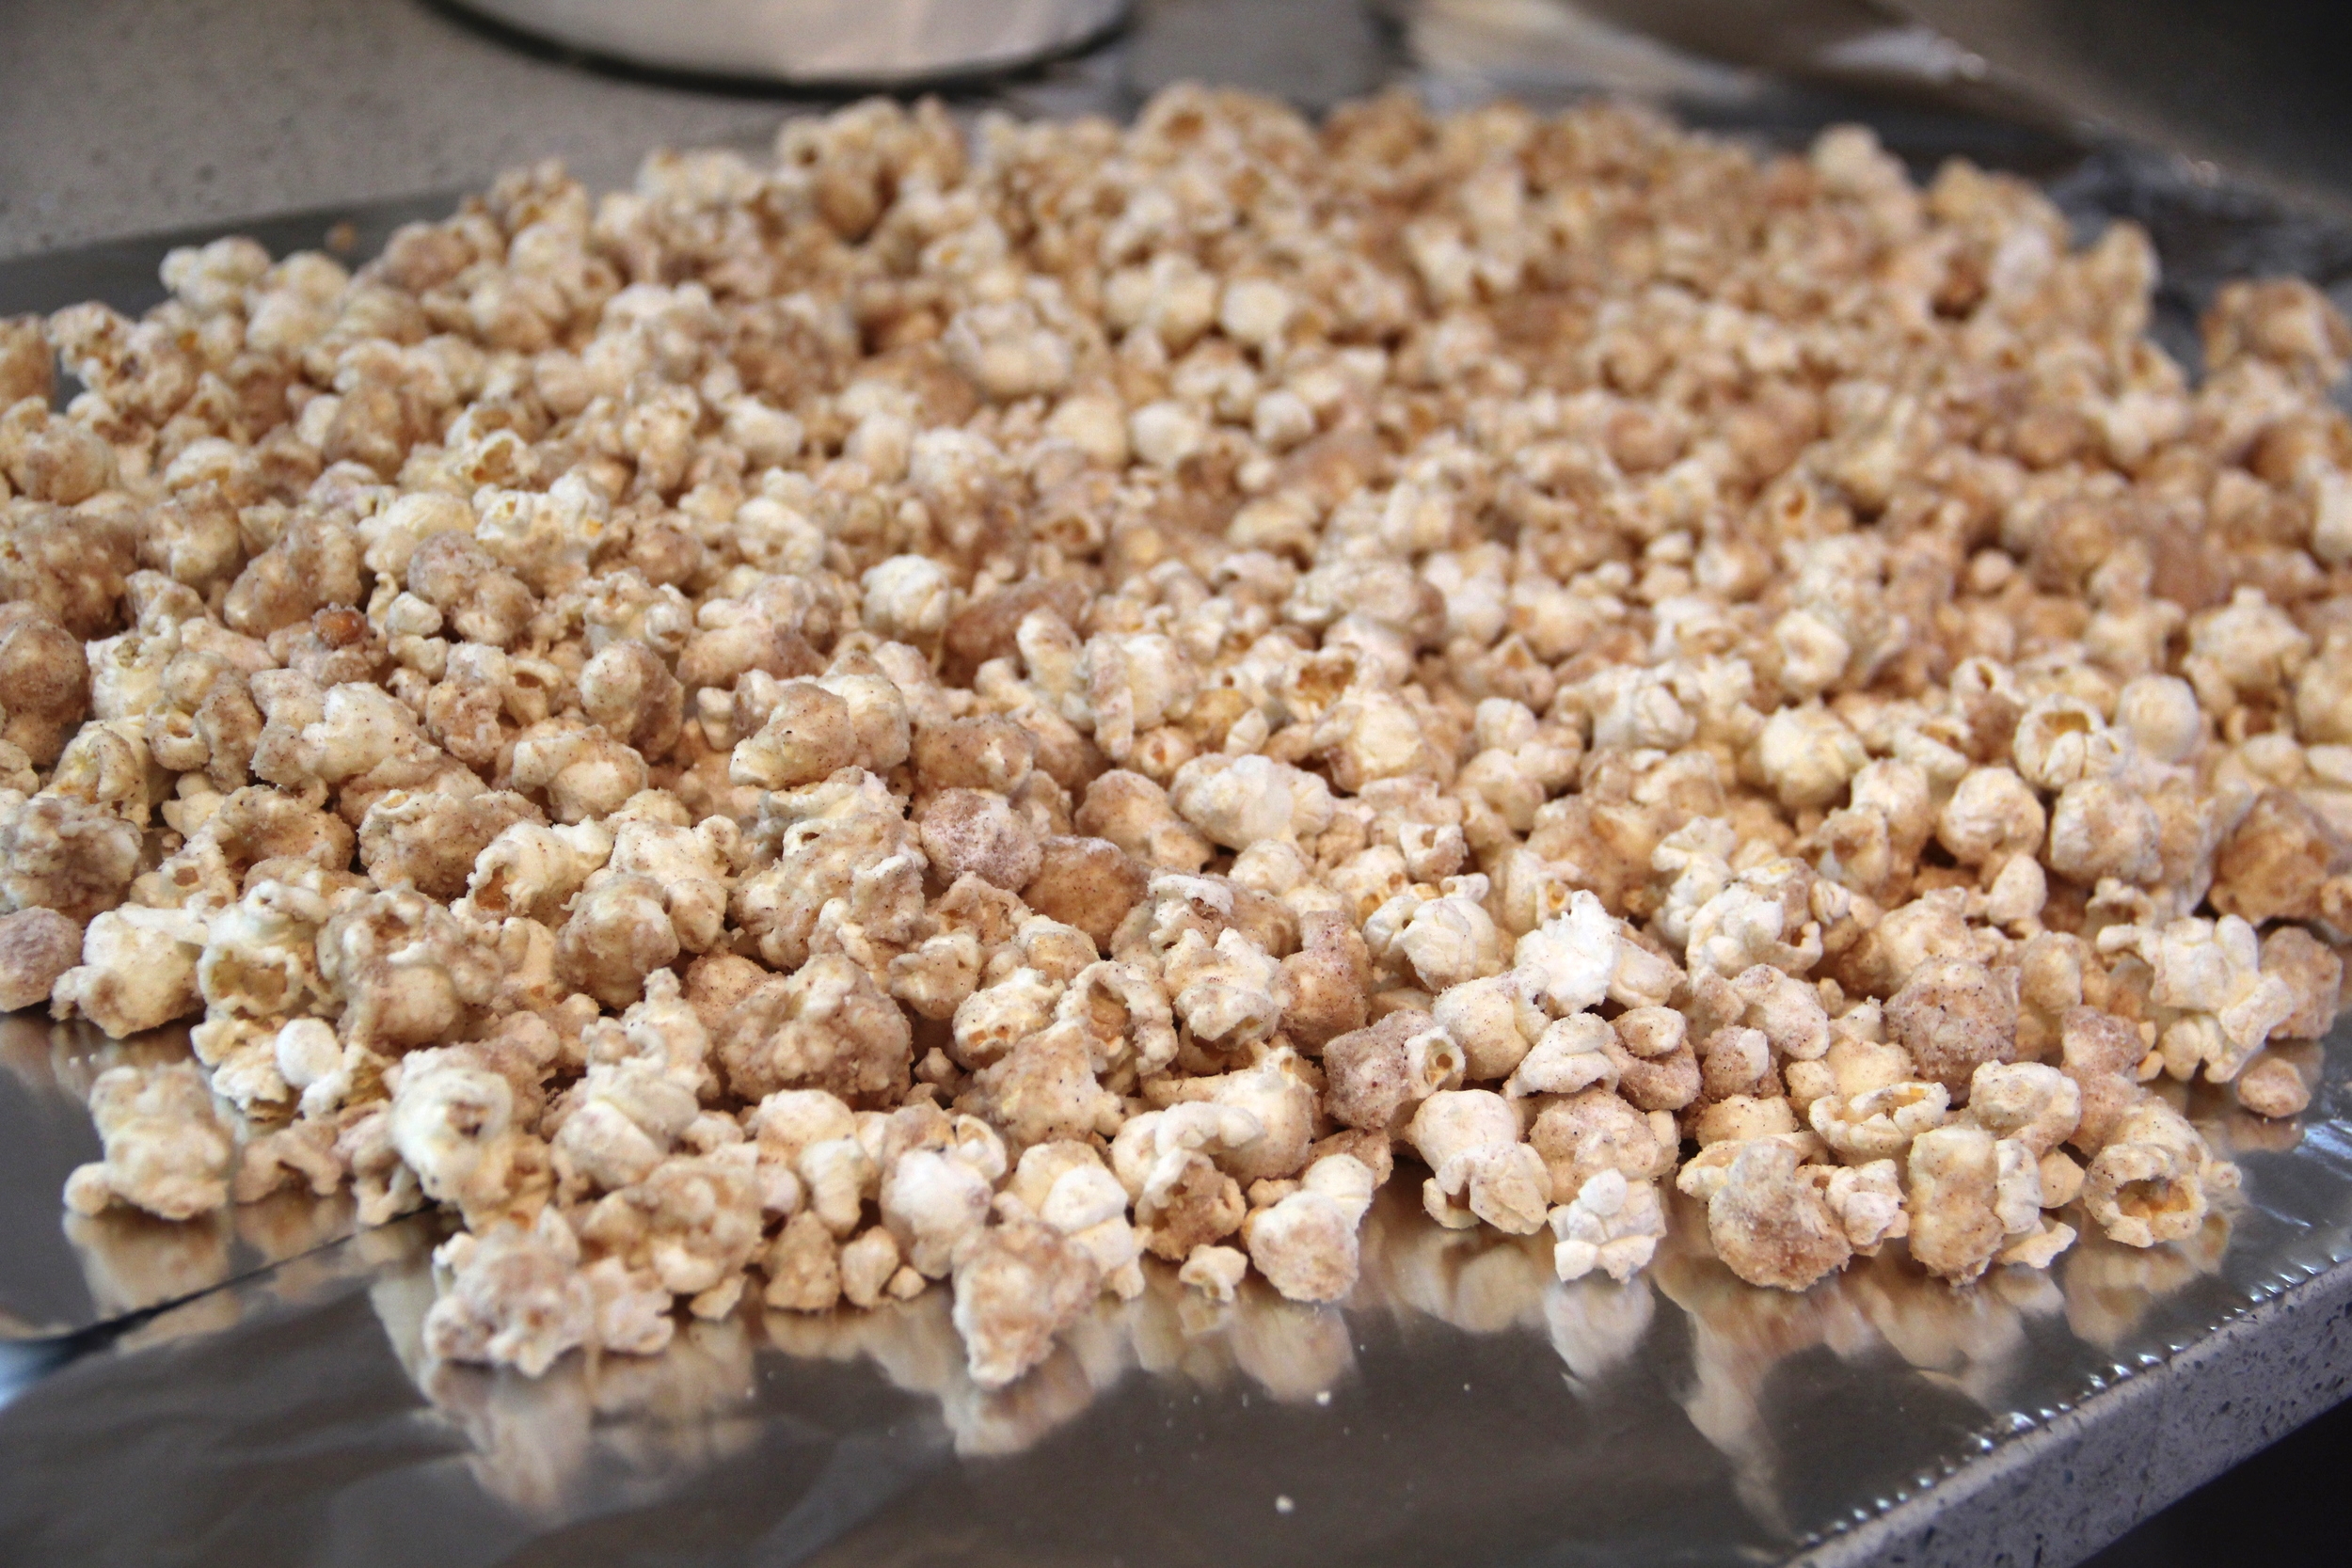
  6. Spread the popcorn mixture out on a baking sheet lined with aluminum foil to dry for 30 minutes
  7. Serve and enjoy

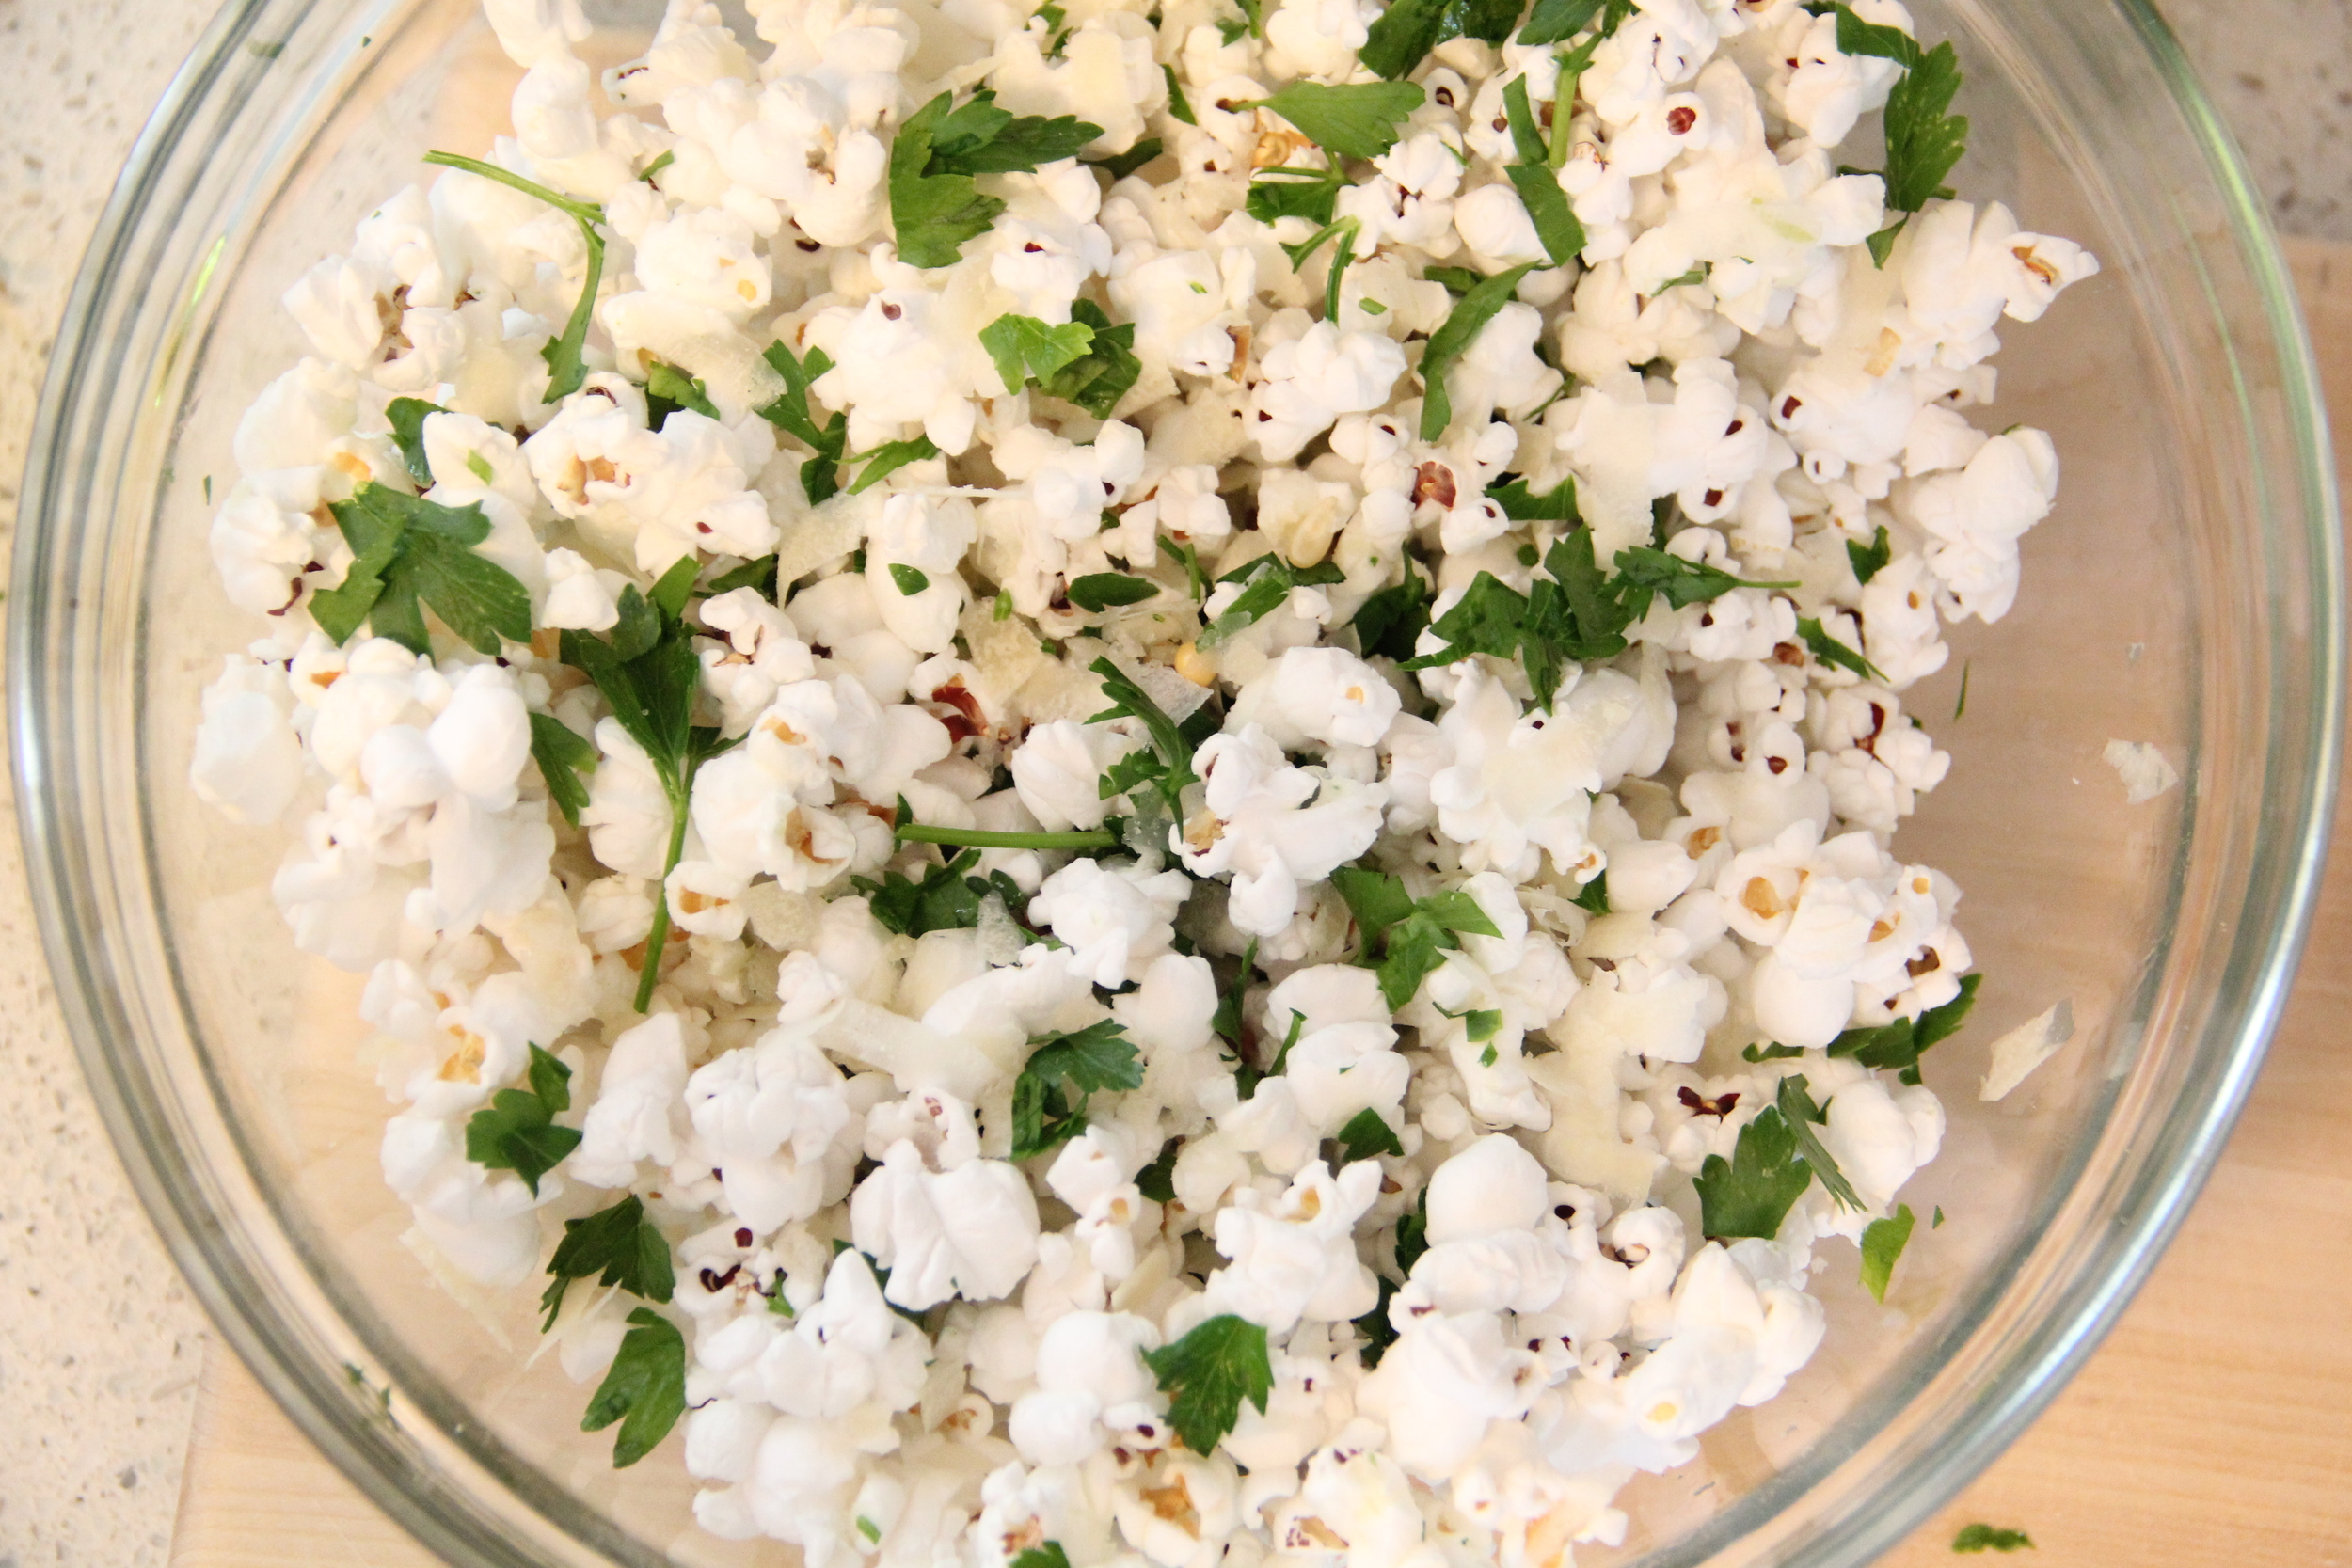
Parmesan, Parsley and Truffle Oil Popcorn

IMG_6251.JPG
Parsley Parm Popcorn Ingredients.jpg
IMG_6239.JPG

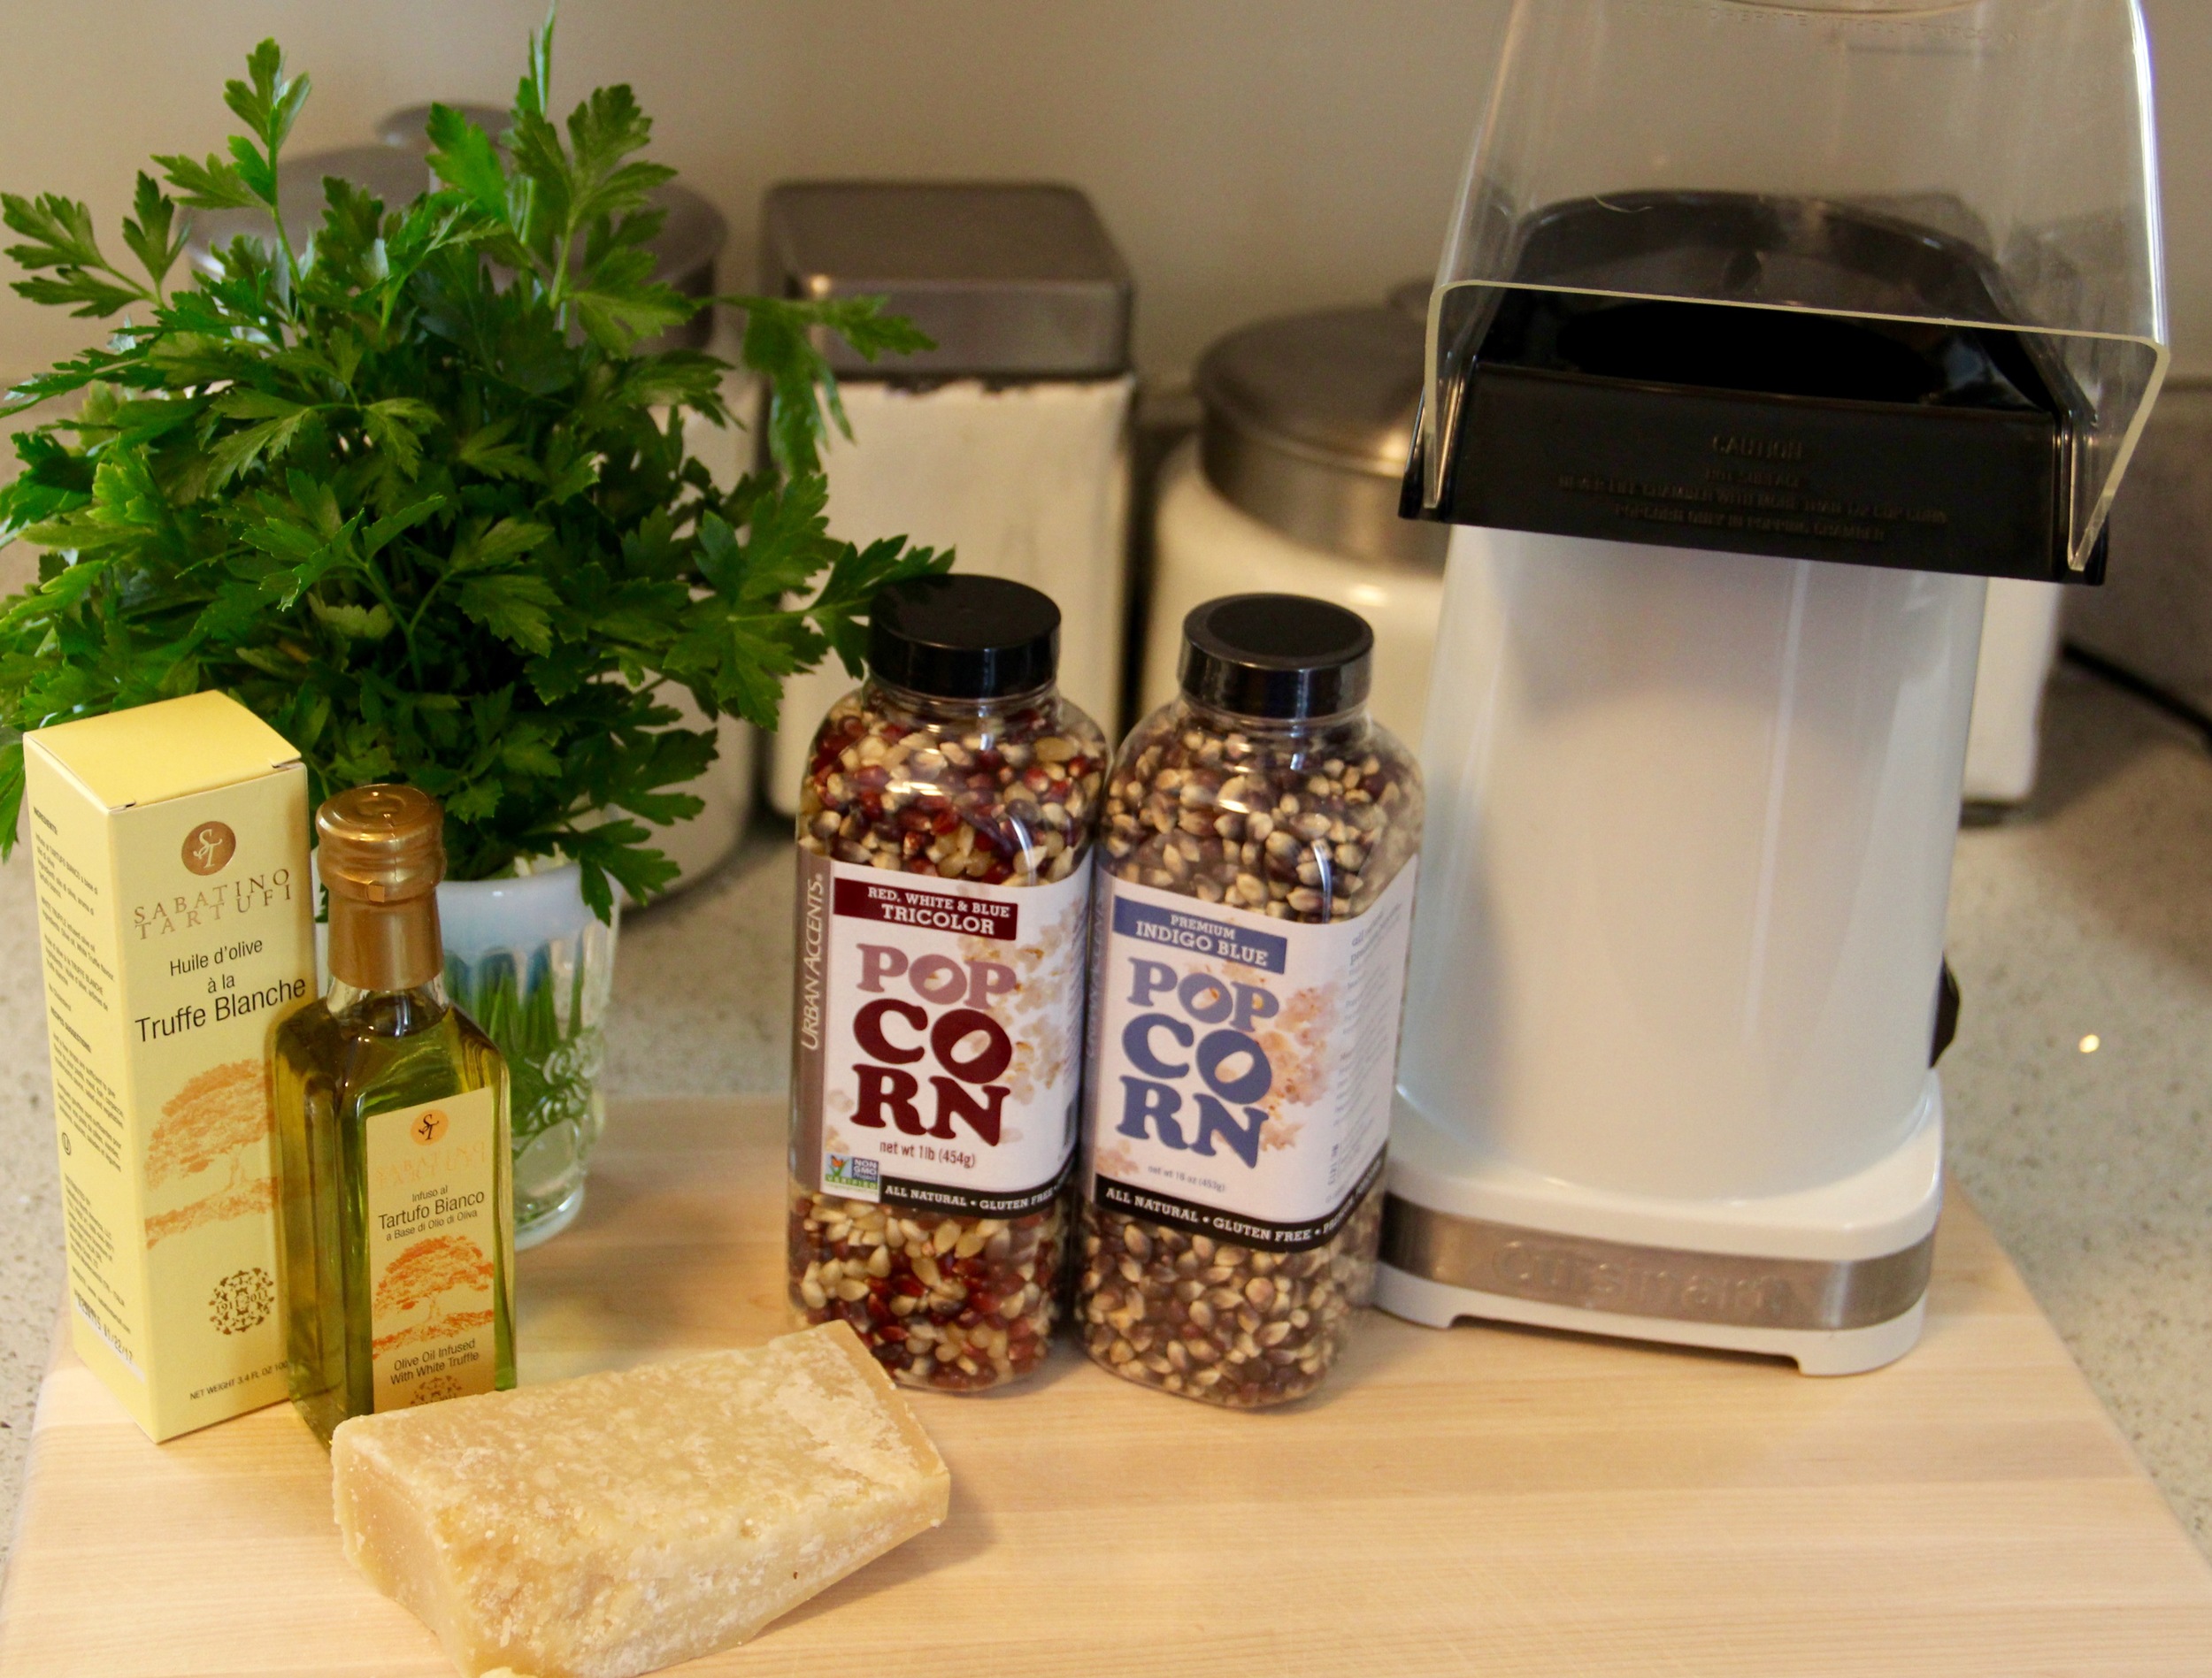
Ingredients

  • 1/2c Popcorn (Freshly Popped)
  • 1 Tbs White Truffle Oil
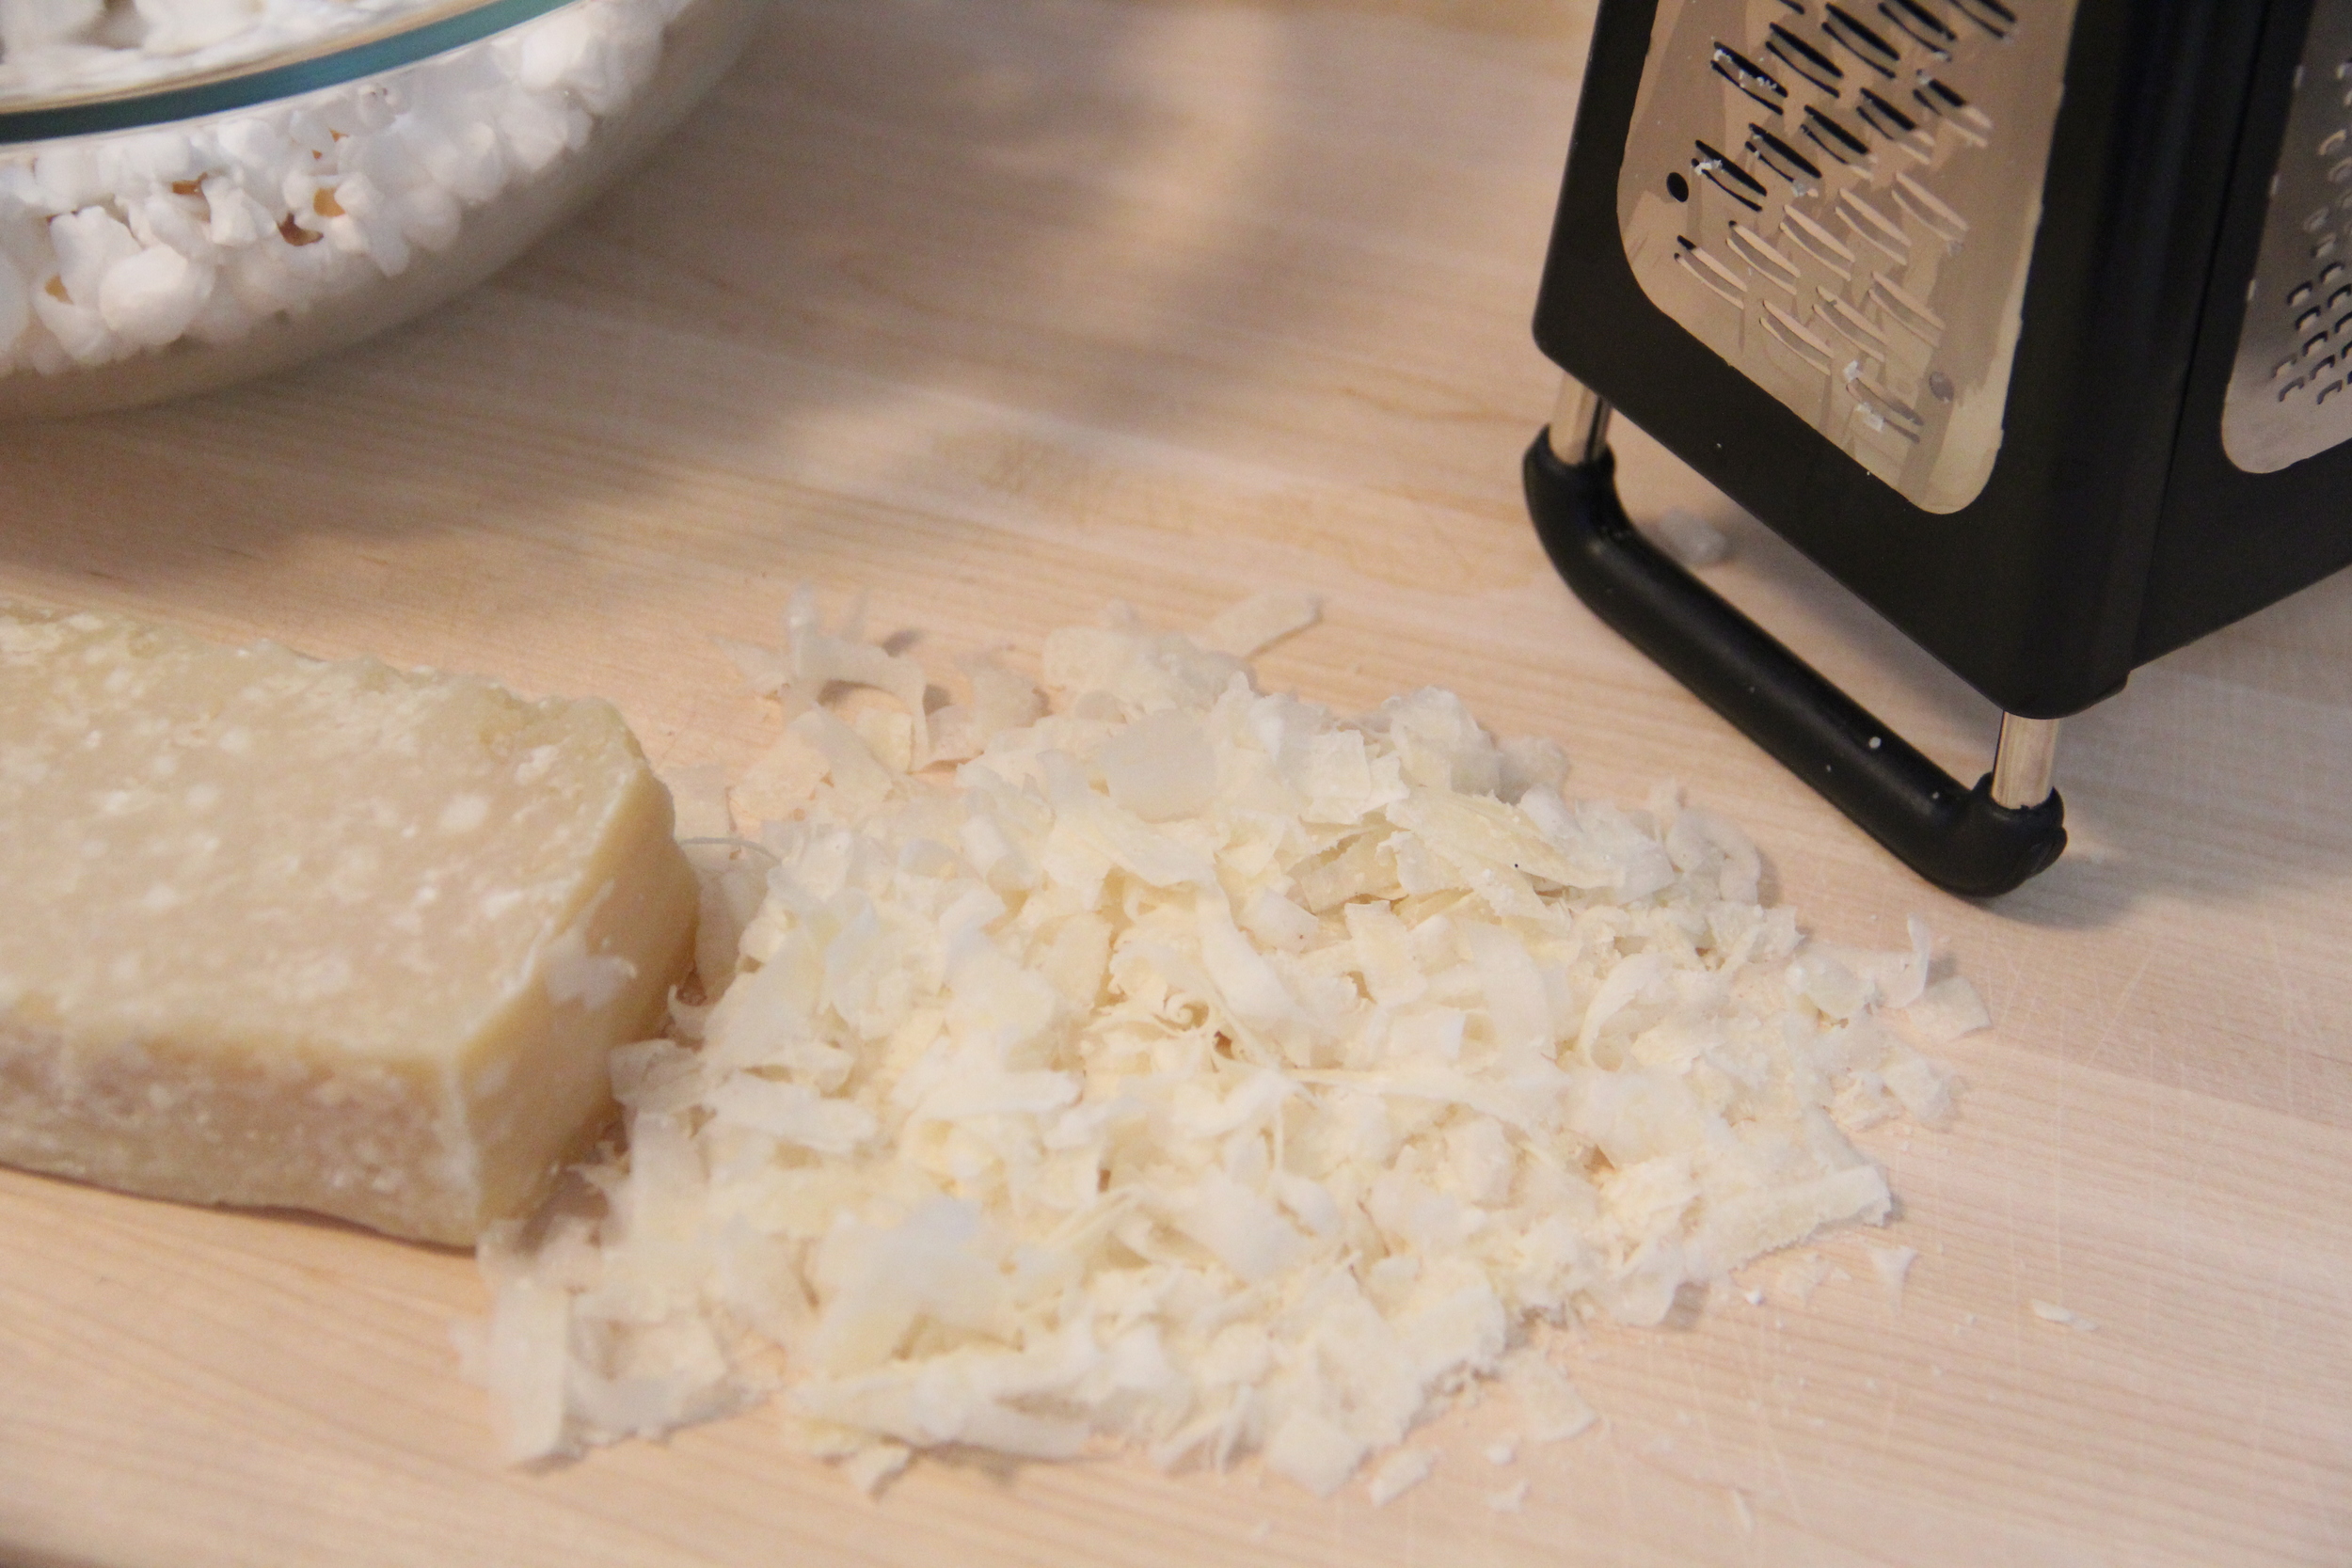
  • 1/2c Freshly Shredded Parmesan Cheese
  • 1/3c Chopped Parsley
  • 1/2 tsp Maldon Sea Salt

Instructions

  1. Pop kernels in an air popper
  2. In a large bowl, combine all ingredients with popcorn

Chipotle Popcorn

IMG_6288.JPG
IMG_6209.JPG
IMG_6284.JPG
IMG_6286.JPG

Ingredients

  • 1/2c Popcorn (Freshly Popped)
  • 2tsp Chipotle Seasoning
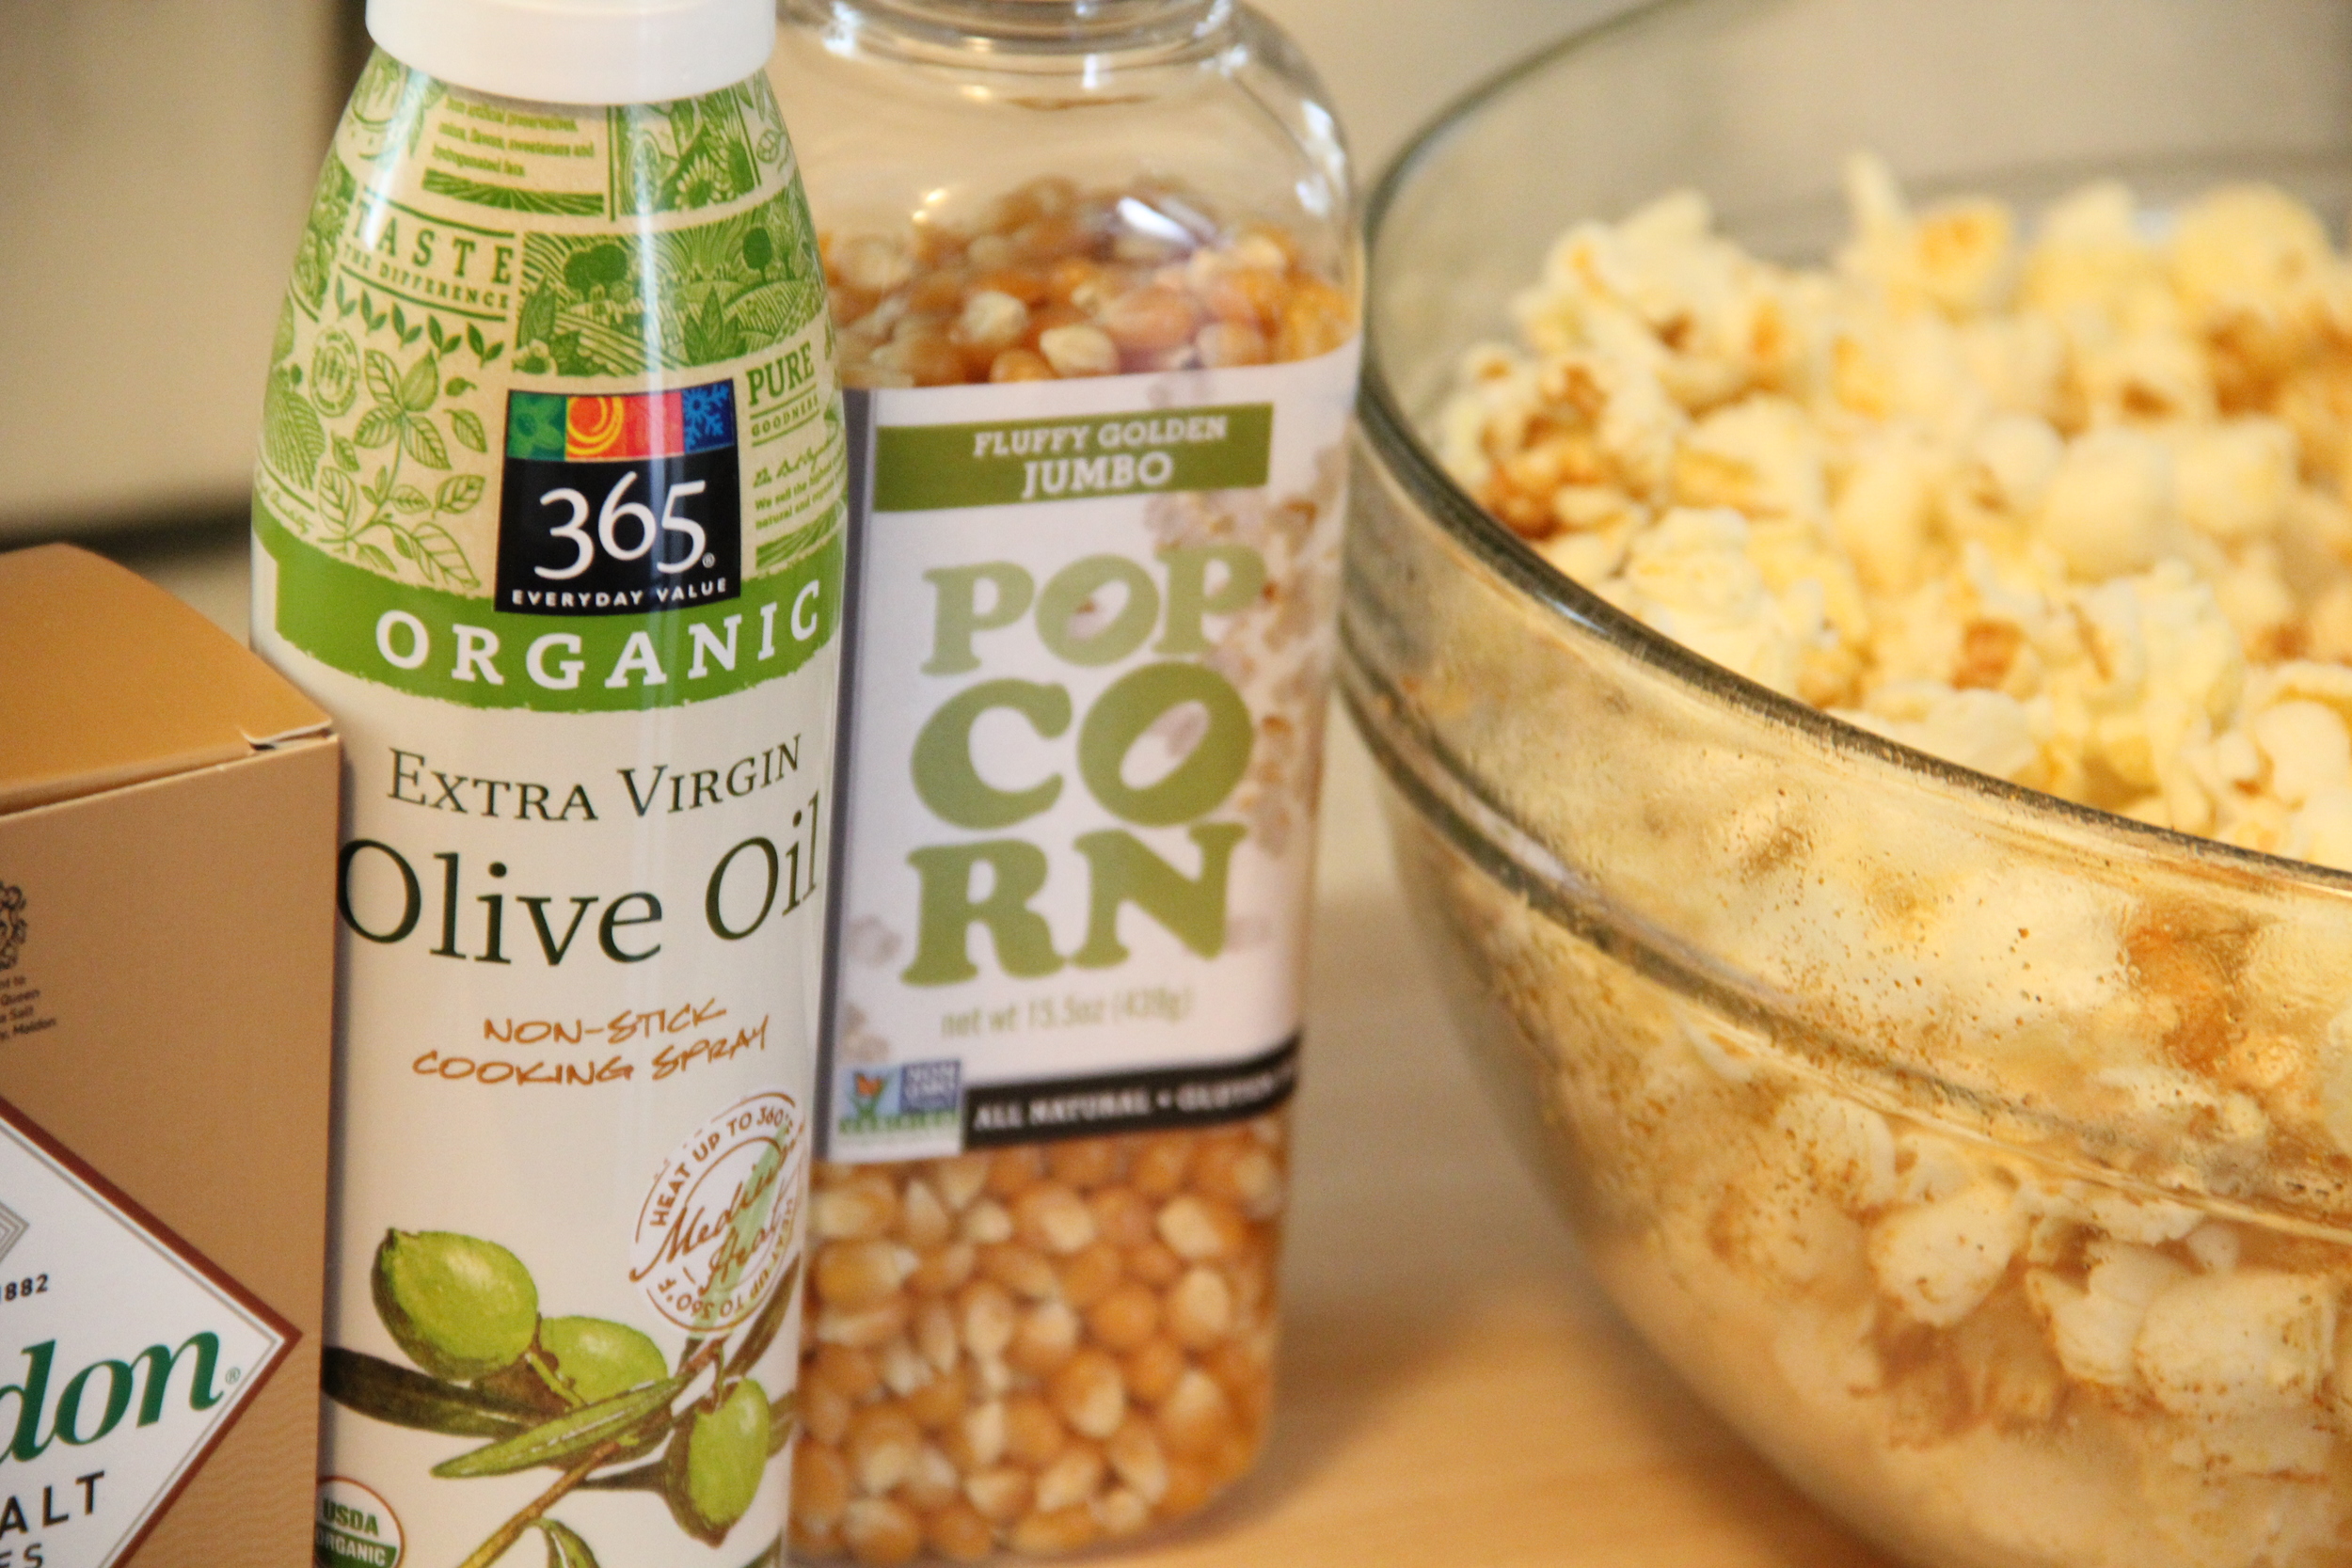
  • Olive Oil (Bottle is fine, but spray olive oil works best)
  • Pinch of Maldon Smoked Sea Salt (*to taste)

Instructions

  1. Pop kernels in an air popper
  2. Lightly spray (or drizzle) olive oil over the top of popcorn
  3. Sprinkle 1tsp of Chipotle Rub and mix contents
  4. Lightly spray top of popcorn again with olive oil
  5. Sprinkle second teaspoon of Chipotle Rub and mix contents
  6. Garnish with Smoked Maldon Sea Salt to taste
IMG_6302.JPG
IMG_6255.JPG
IMG_6293.JPG
In Food and Drink Tags Recipe, Chipotle, Cinnamon, Truffle Oil, Air Popper, Cuisinart, Urban Accents
Comment

Subscribe to the Redefining Domestics Blog:

Thank you!

Categories:

  • Decorate (64)
  • Entertain (71)
  • Food and Drink (103)


Latest Posts by Category:

Featured
IMG_1993.JPG
Entertain
Pinterest Worthy Halloween DIYs
Entertain
Entertain
Featured
IMG_8787.jpg
Decorate
How to Hang a Lighting Fixture
Decorate
Decorate
Featured
IMG_1694.JPG
Food and Drink
A Healthy Recipe for Homemade Granola
Food and Drink
Food and Drink

Instagram 

http://instagram.com/calliecagney

View fullsize We are lucky to have you in our sphere Chris Kalna!❤️ #happyfathersday #girldad #cookiebaking #suttonbutton #lovethem
View fullsize National Puppy Day with my two toddlers❤️ #suttonbutton #jolene #nationalpuppyday #jojosbathtubfomo😂
View fullsize Bibbidi Bobbidi Boo, she’s 2! Happy Birthday Sweet Girl💙 #suttonbutton #halloween #cinderella #happybirthday #shestwo!
View fullsize Fourth of July Vacay is already off to a fun start❤️💙⛱ #fourthofjuly #mountains #thesetwo #ggccsummer2019
View fullsize This little girl turned 1 on Halloween! Sutton, you are pure joy! Happy Birthday sweet girl! #suttonbutton #happybirthday #halloweenbaby #birthdaycake #diy #beaufortbonnet
View fullsize Our first 4th of July as a trio❤️💙 #happyfourth #familyphoto #skr #suttonbutton #vacation #northcarolina
View fullsize First day of vacation with these two loves💙 #thecutest #vacation #july4th #mountains #sKr #suttonbutton #beachingit #waterbaby
View fullsize Happy First Father’s Day to this stud muffin! You bring a lot of joy and sports watching to our lives. The Ladies Kalna are lucky to have you!❤️ #Fathersday2018 #chrissums #sKr #socute #luckyus #moreusopenplease
View fullsize Girlfriends kicking off MDW together💕🐳🛁 #suttonandmadden #mdw #littlebesties #bathtime #toocute
View fullsize Baby’s first Christmas tree 🎄 #deckthehalls #sKr #christmastree #happysunday
View fullsize Baby sKr’s jammie game is on point🙌🏻❤️ #thingstodo #retailtherapy #stillpregnant #petiteplume #potterybarnkids #babyclothes #toocute #babygirl #pajamaparty
View fullsize My husband and I joke about Baby K’s “master suite.” Clearly we’re both struggling with a case of bedroom envy😂 #stillpregnant #babynursery #iviebaby #glitterguide #mypotterybarn #serenaandlily #babygirl #skr #projectnursery

Pinterest

http://www.pinterest.com/calliecagney/

Follow Callie Cagney's board Home Decorating on Pinterest.
Welcome RSS

© 2016 Redefining Domestics. All Rights Reserved.