• Welcome
  • Entertain
  • Decorate
  • Food & Drink
  • About
  • Contact
Menu

Redefining Domestics

Street Address
Washington, DC
Phone Number

Practical applications for turning your house into a home.   

Redefining Domestics

  • Welcome
  • Entertain
  • Decorate
  • Food & Drink
  • About
  • Contact

A Few Ideas for the Day After Thanksgiving

November 27, 2015 Callie Cagney
IMG_3086.JPG

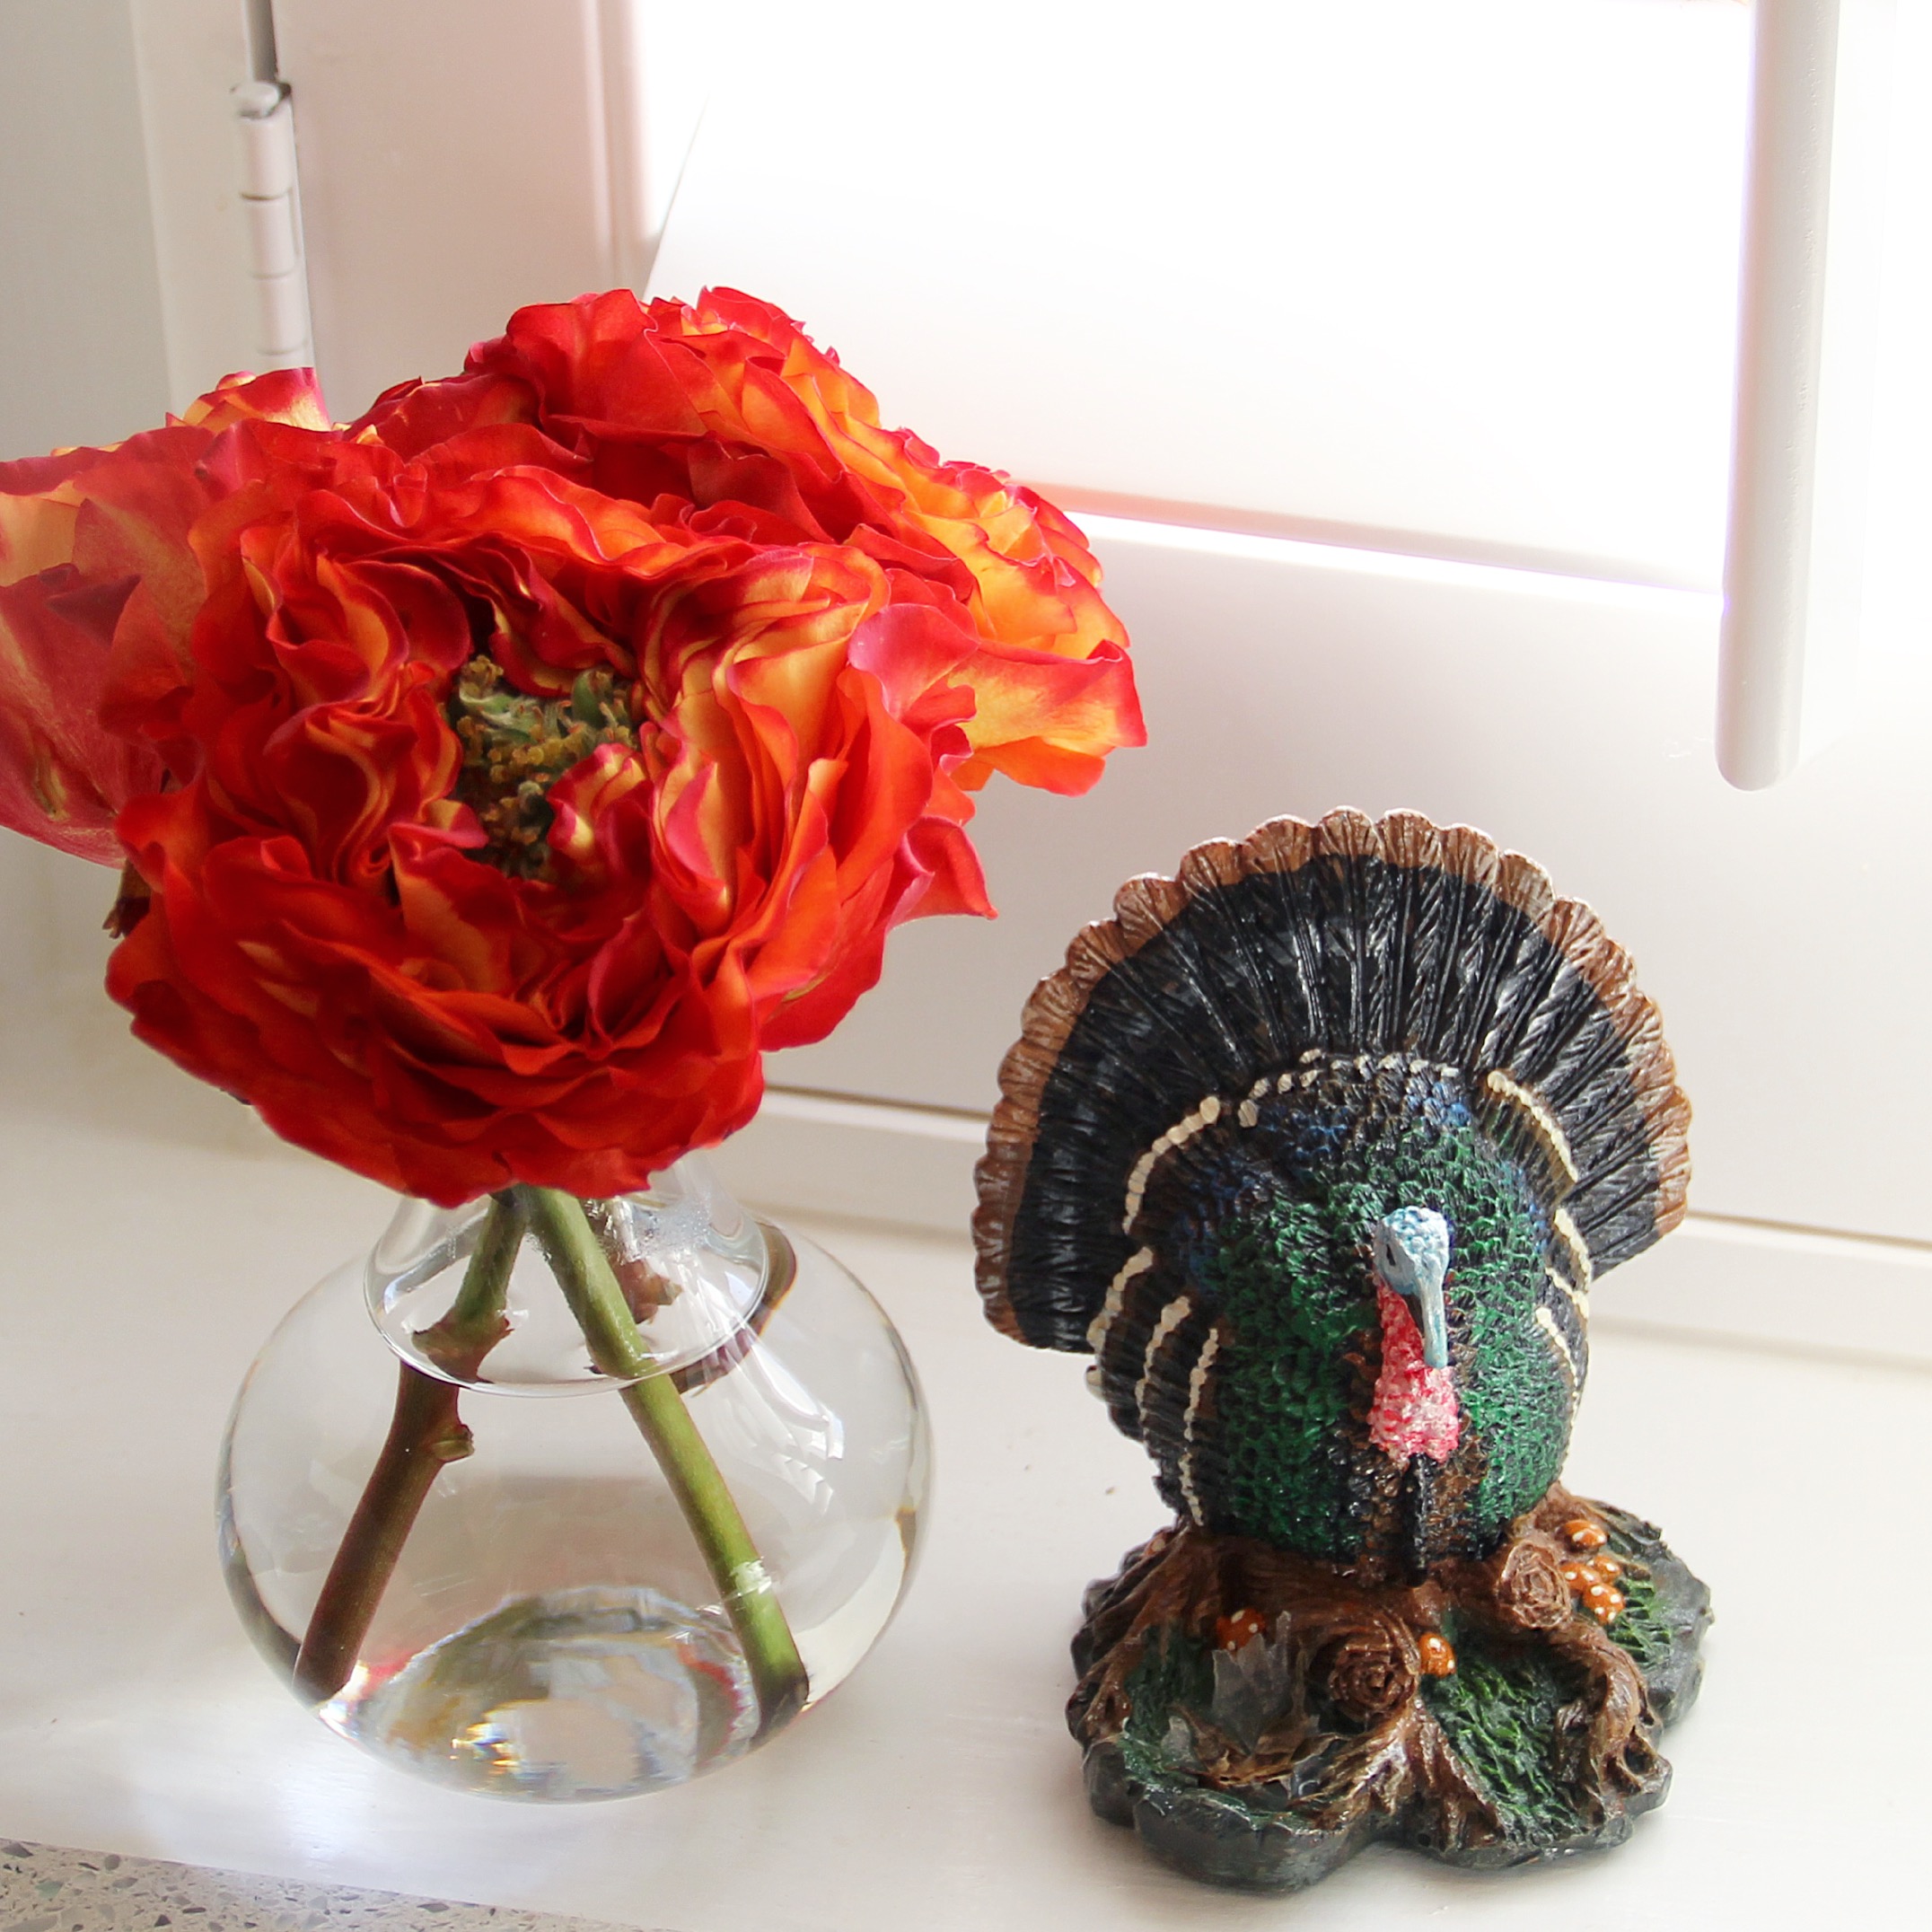
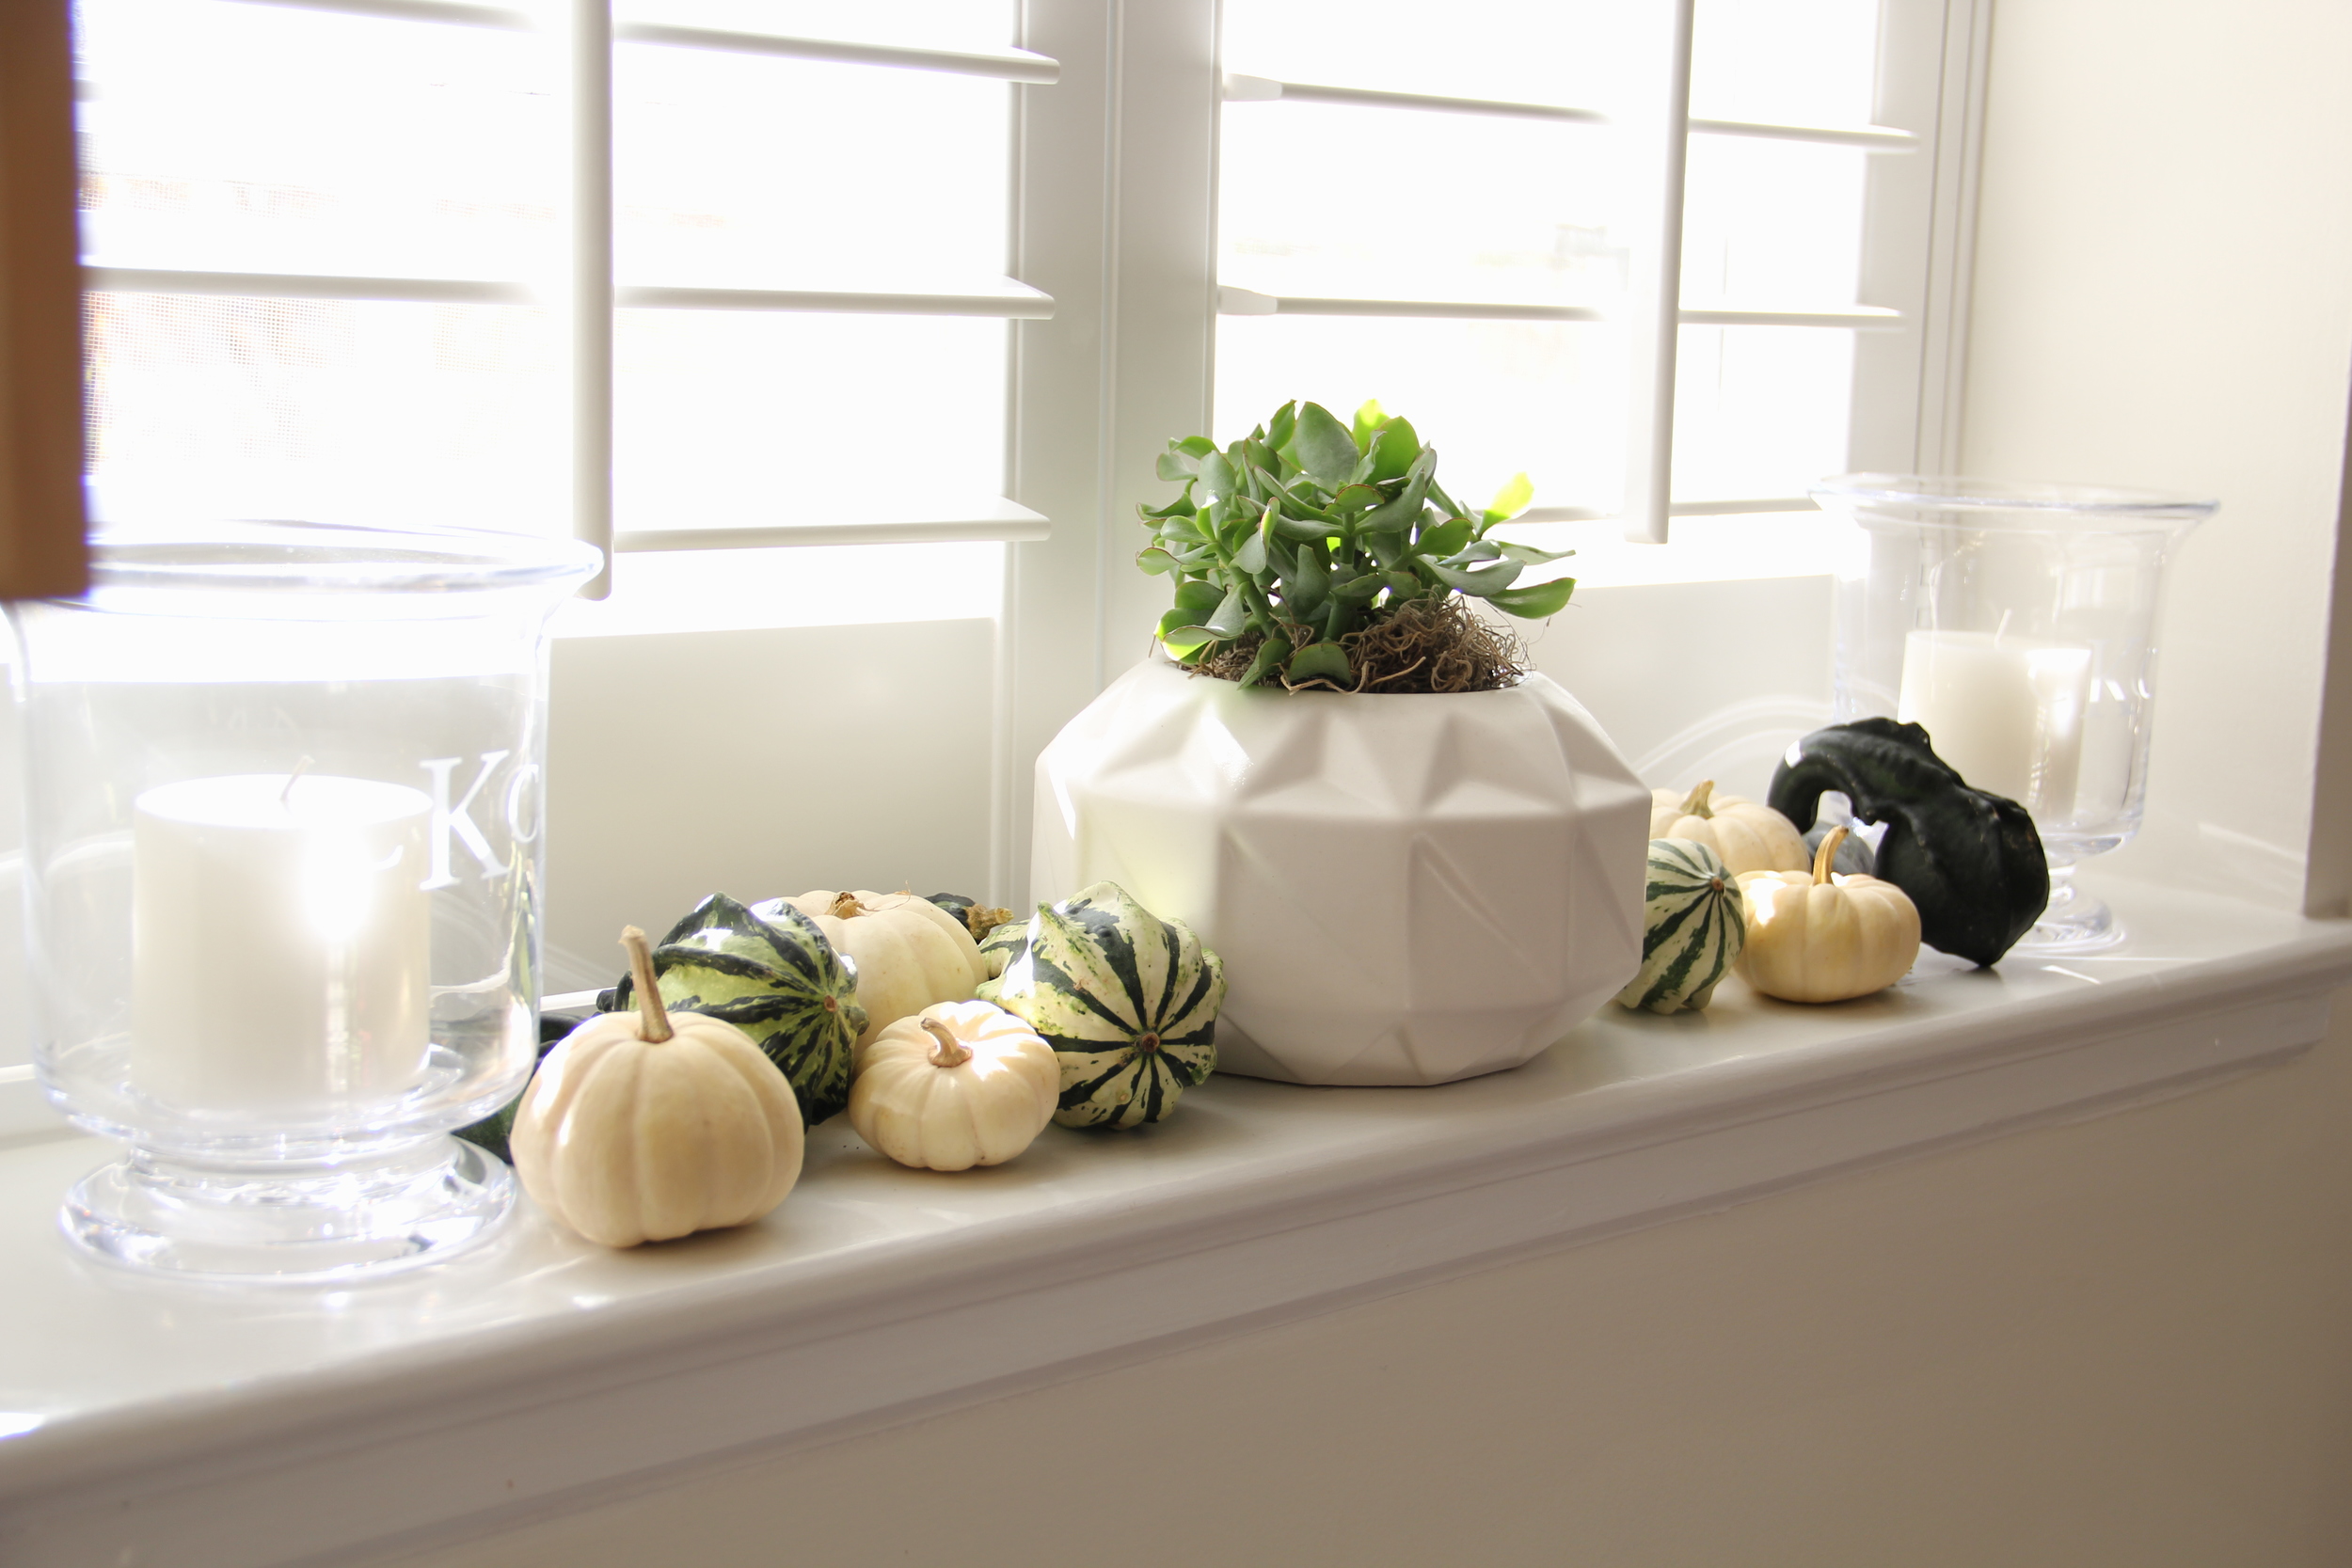
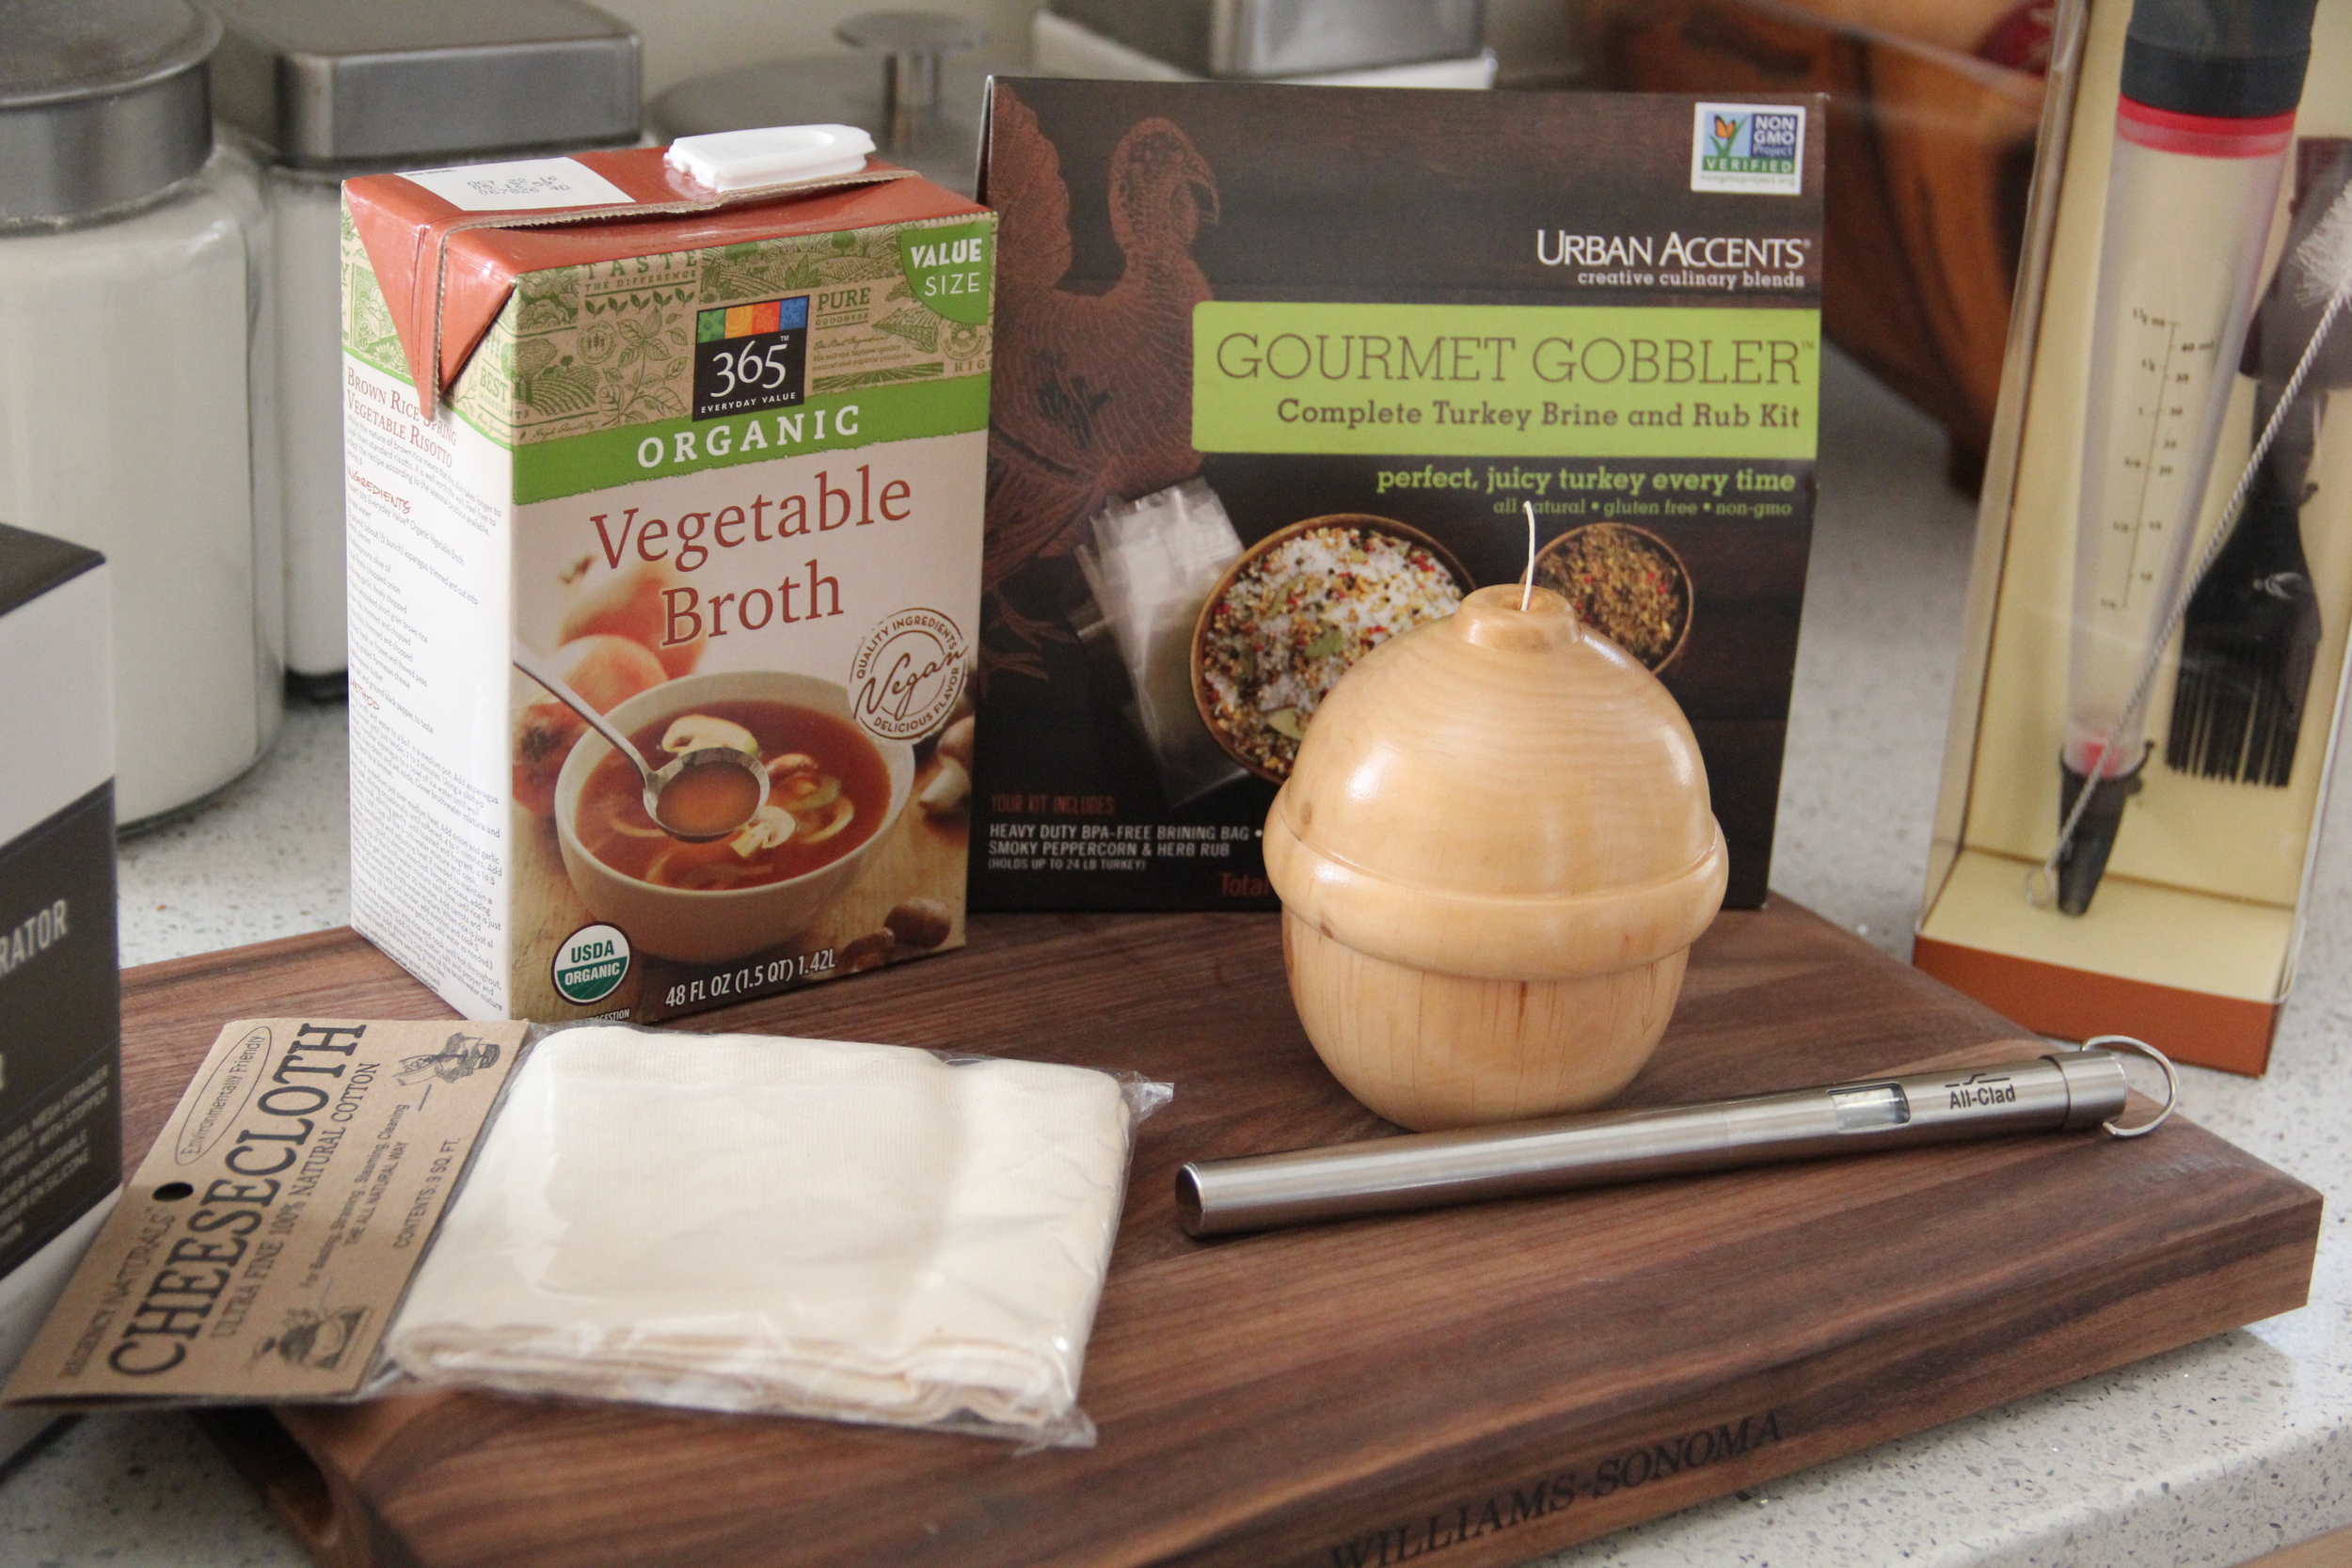
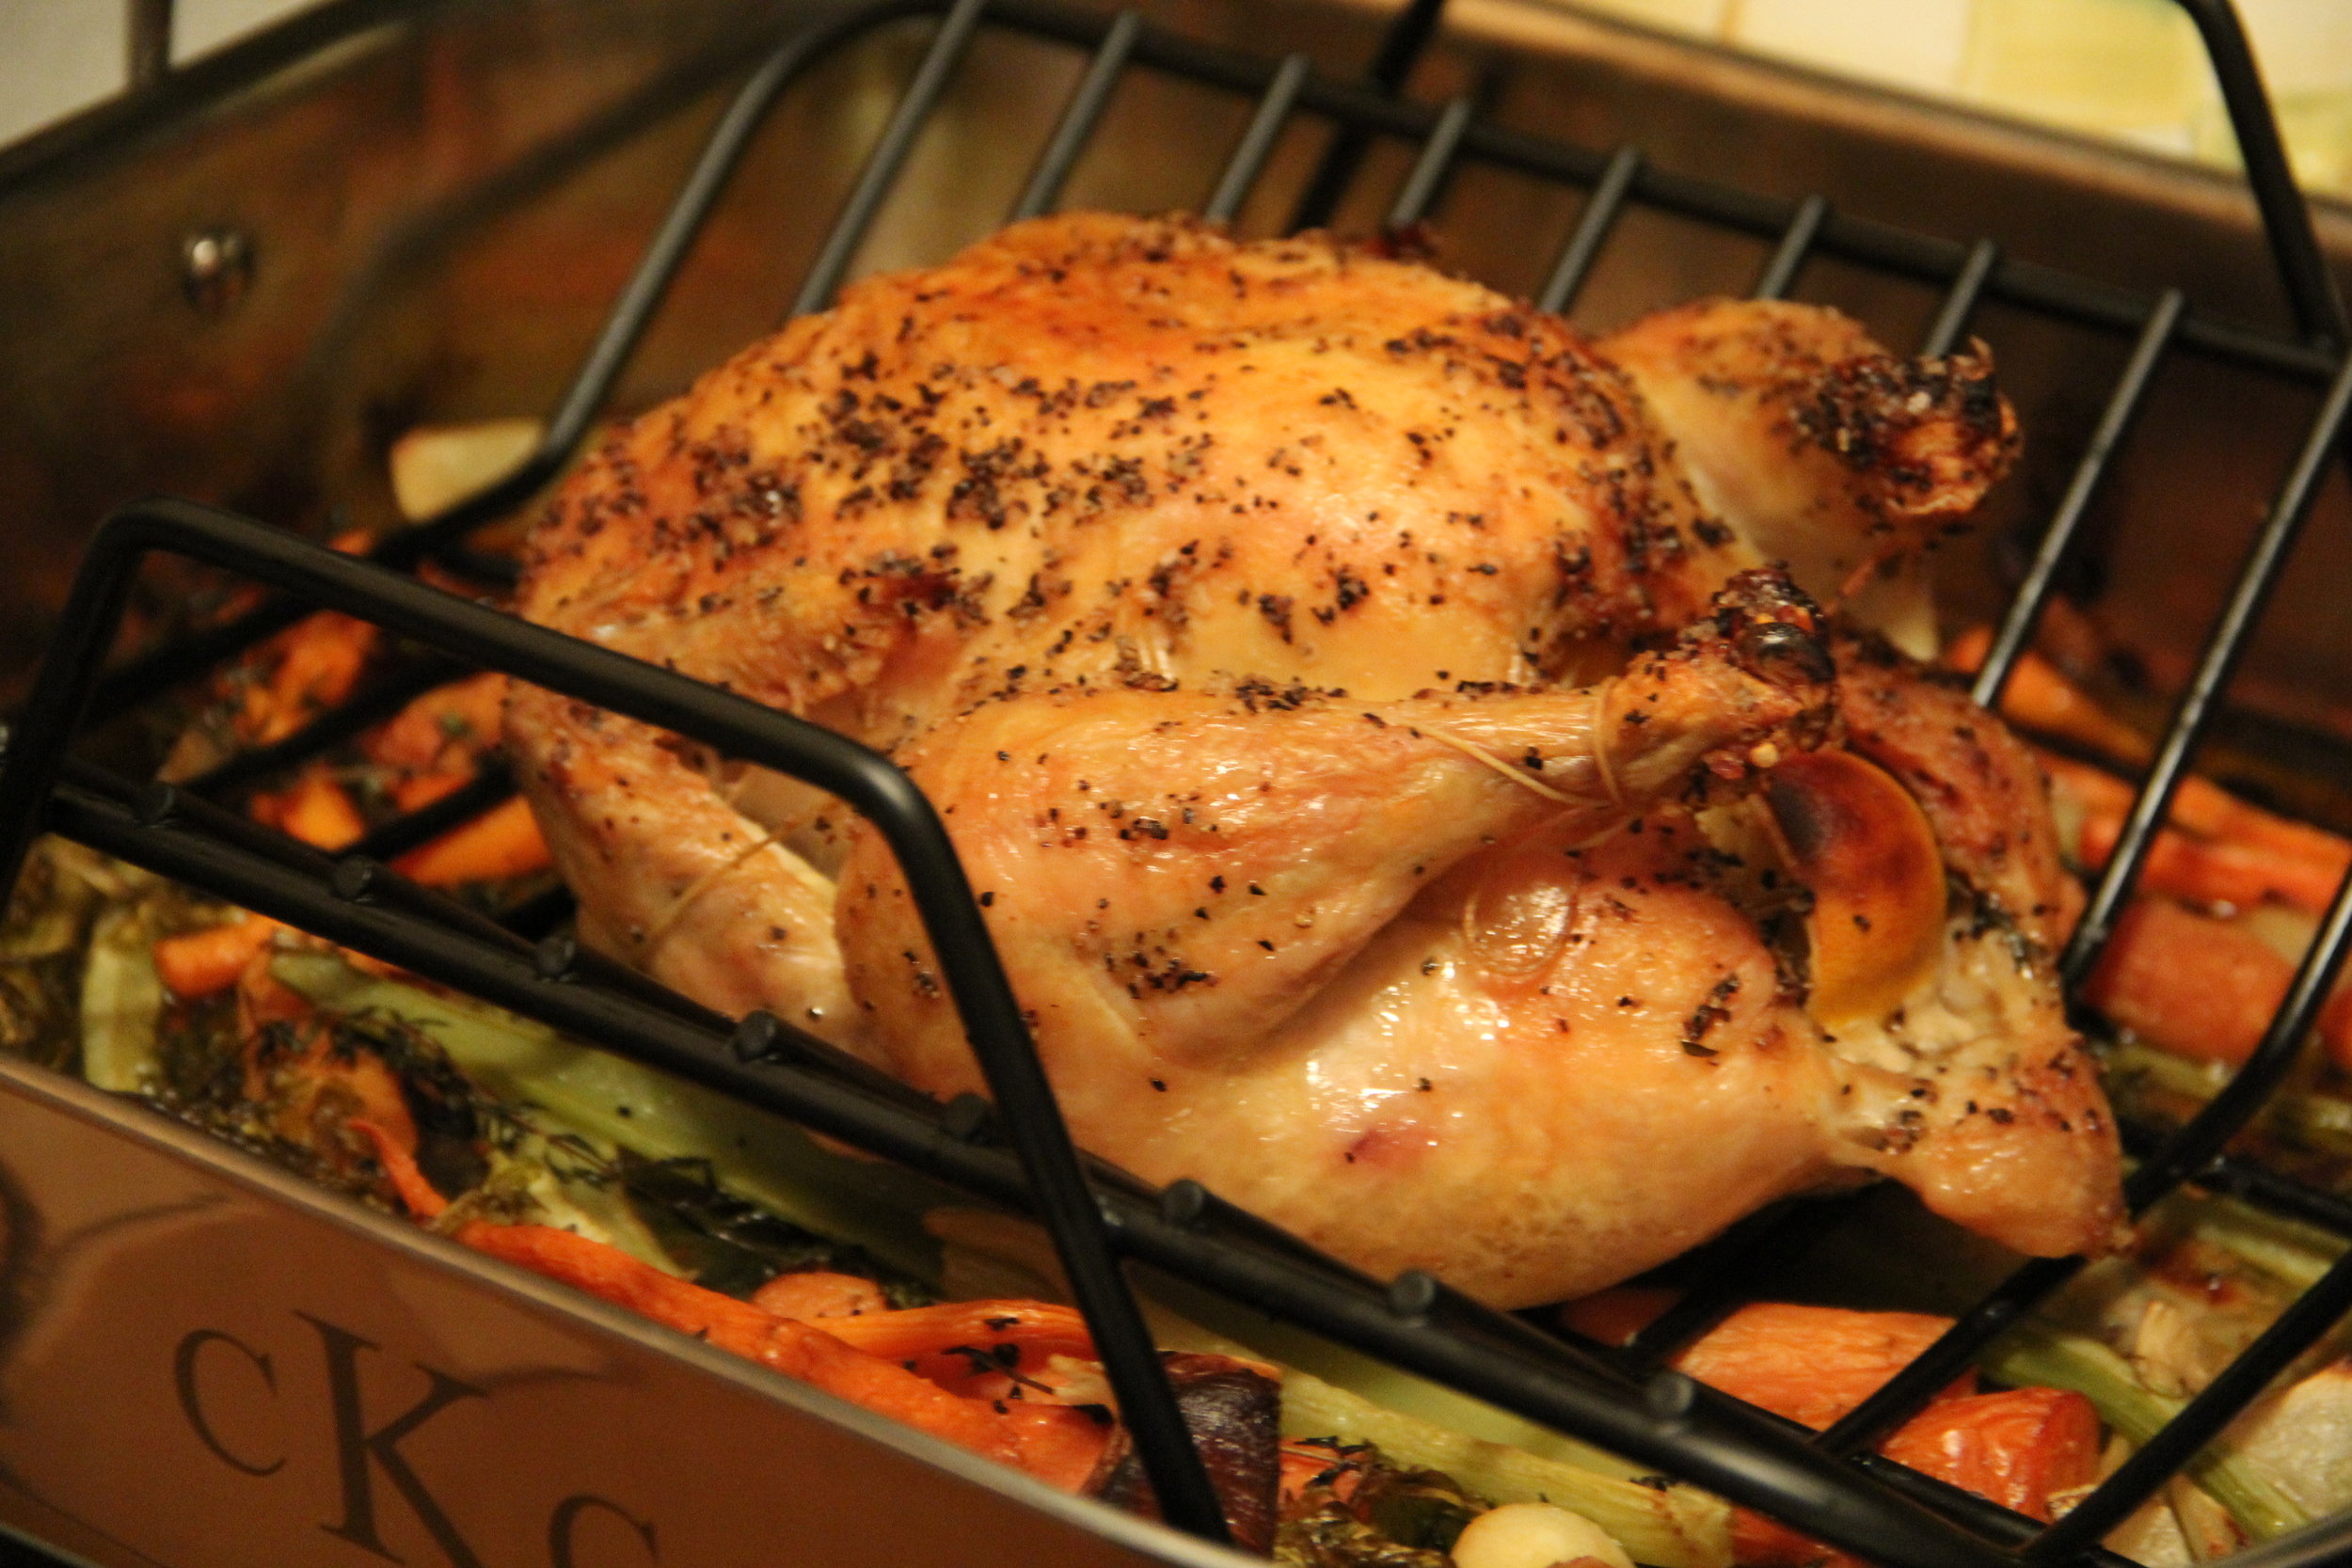
This morning I am sitting in bed with Dolly sleeping at my feet, trying to recover from the "holy-moliness" of putting on last night's epic dinner.  I'm finally taking a moment to watch the Macy's Thanksgiving Day Parade, which my husband thoughtfully recorded for me since I was in kitchen all day and didn't have a moment to enjoy this favorite Thanksgiving tradition of mine.  

Even though I am still recovering, I wanted to use today's post to share a few thoughts/ideas on what to do in the wake of the Thanksgiving Day aftermath.  Today is Black Friday, so I know that most are out and about hitting the stores.  In addition to all of the shopping happening today, those of you who hosted Thanksgiving last night are probably looking at all of the leftovers in your refrigerators and wondering what the heck to do with all of this food?!?  While I have no special wisdom to impart when it comes to finding the best "door buster deals," I do have a few suggestions on how to make the most out of your Thanksgiving leftovers.      

Thanksgiving Bites

34 Degrees Leftover Bites.JPG

This is a really easy way to use up leftovers that's easy to assemble for a crowd.  Start by placing leftover turkey on top of a Rosemary or Toasted Onion 34 Degree Crisp, then add a spoonful of stuffing, followed by a dollop of cranberry relish and garnish with fresh chopped parsley to create delicious Thanksgiving Leftover Bites.   These bites taste great warm or cold and are an instant crowd-pleaser.  

Rotisserie Chicken Noodle Soup - Sub Turkey!

Rotisserie Turkey Noodle Soup.JPG

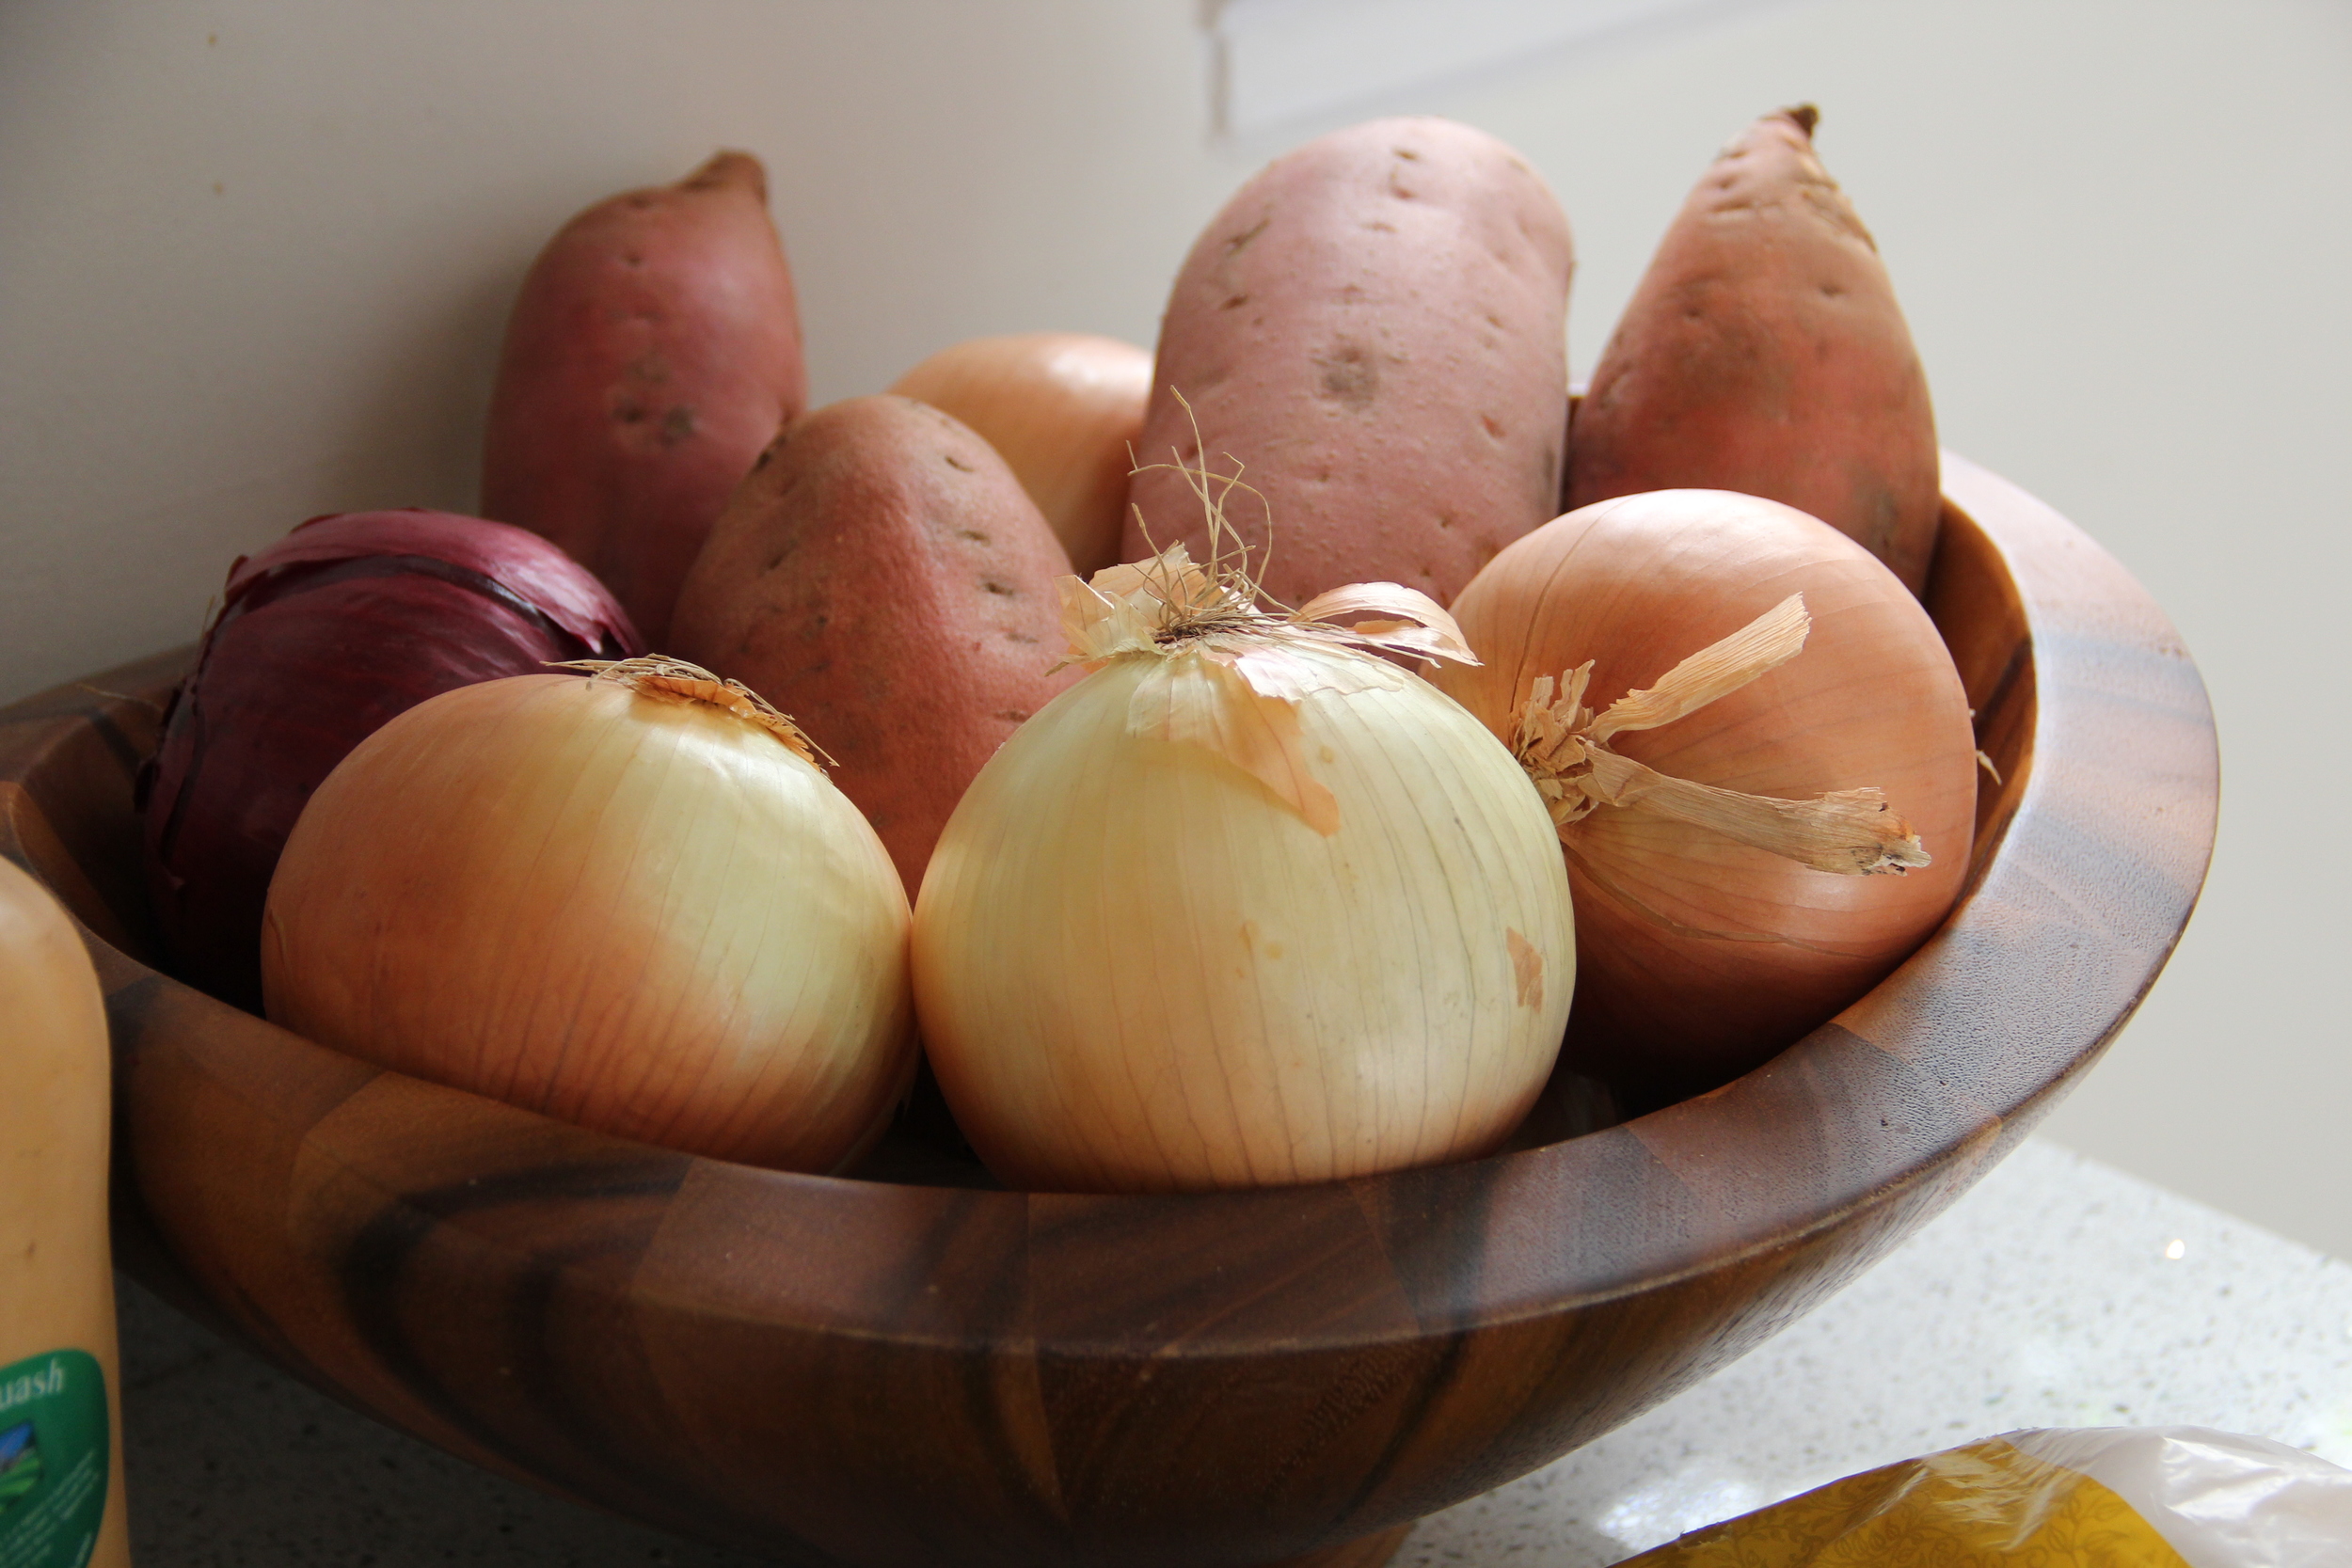
Make a big pot of my Rotisserie Chicken Noodle Soup, but sub Thanksgiving Turkey for the Rotisserie Chicken.  This is a great way to use up a variety of ingredients you probably still have on hand- Broth/Stock, Celery, Carrots, Herbs and of course all of that leftover Thanksgiving turkey!

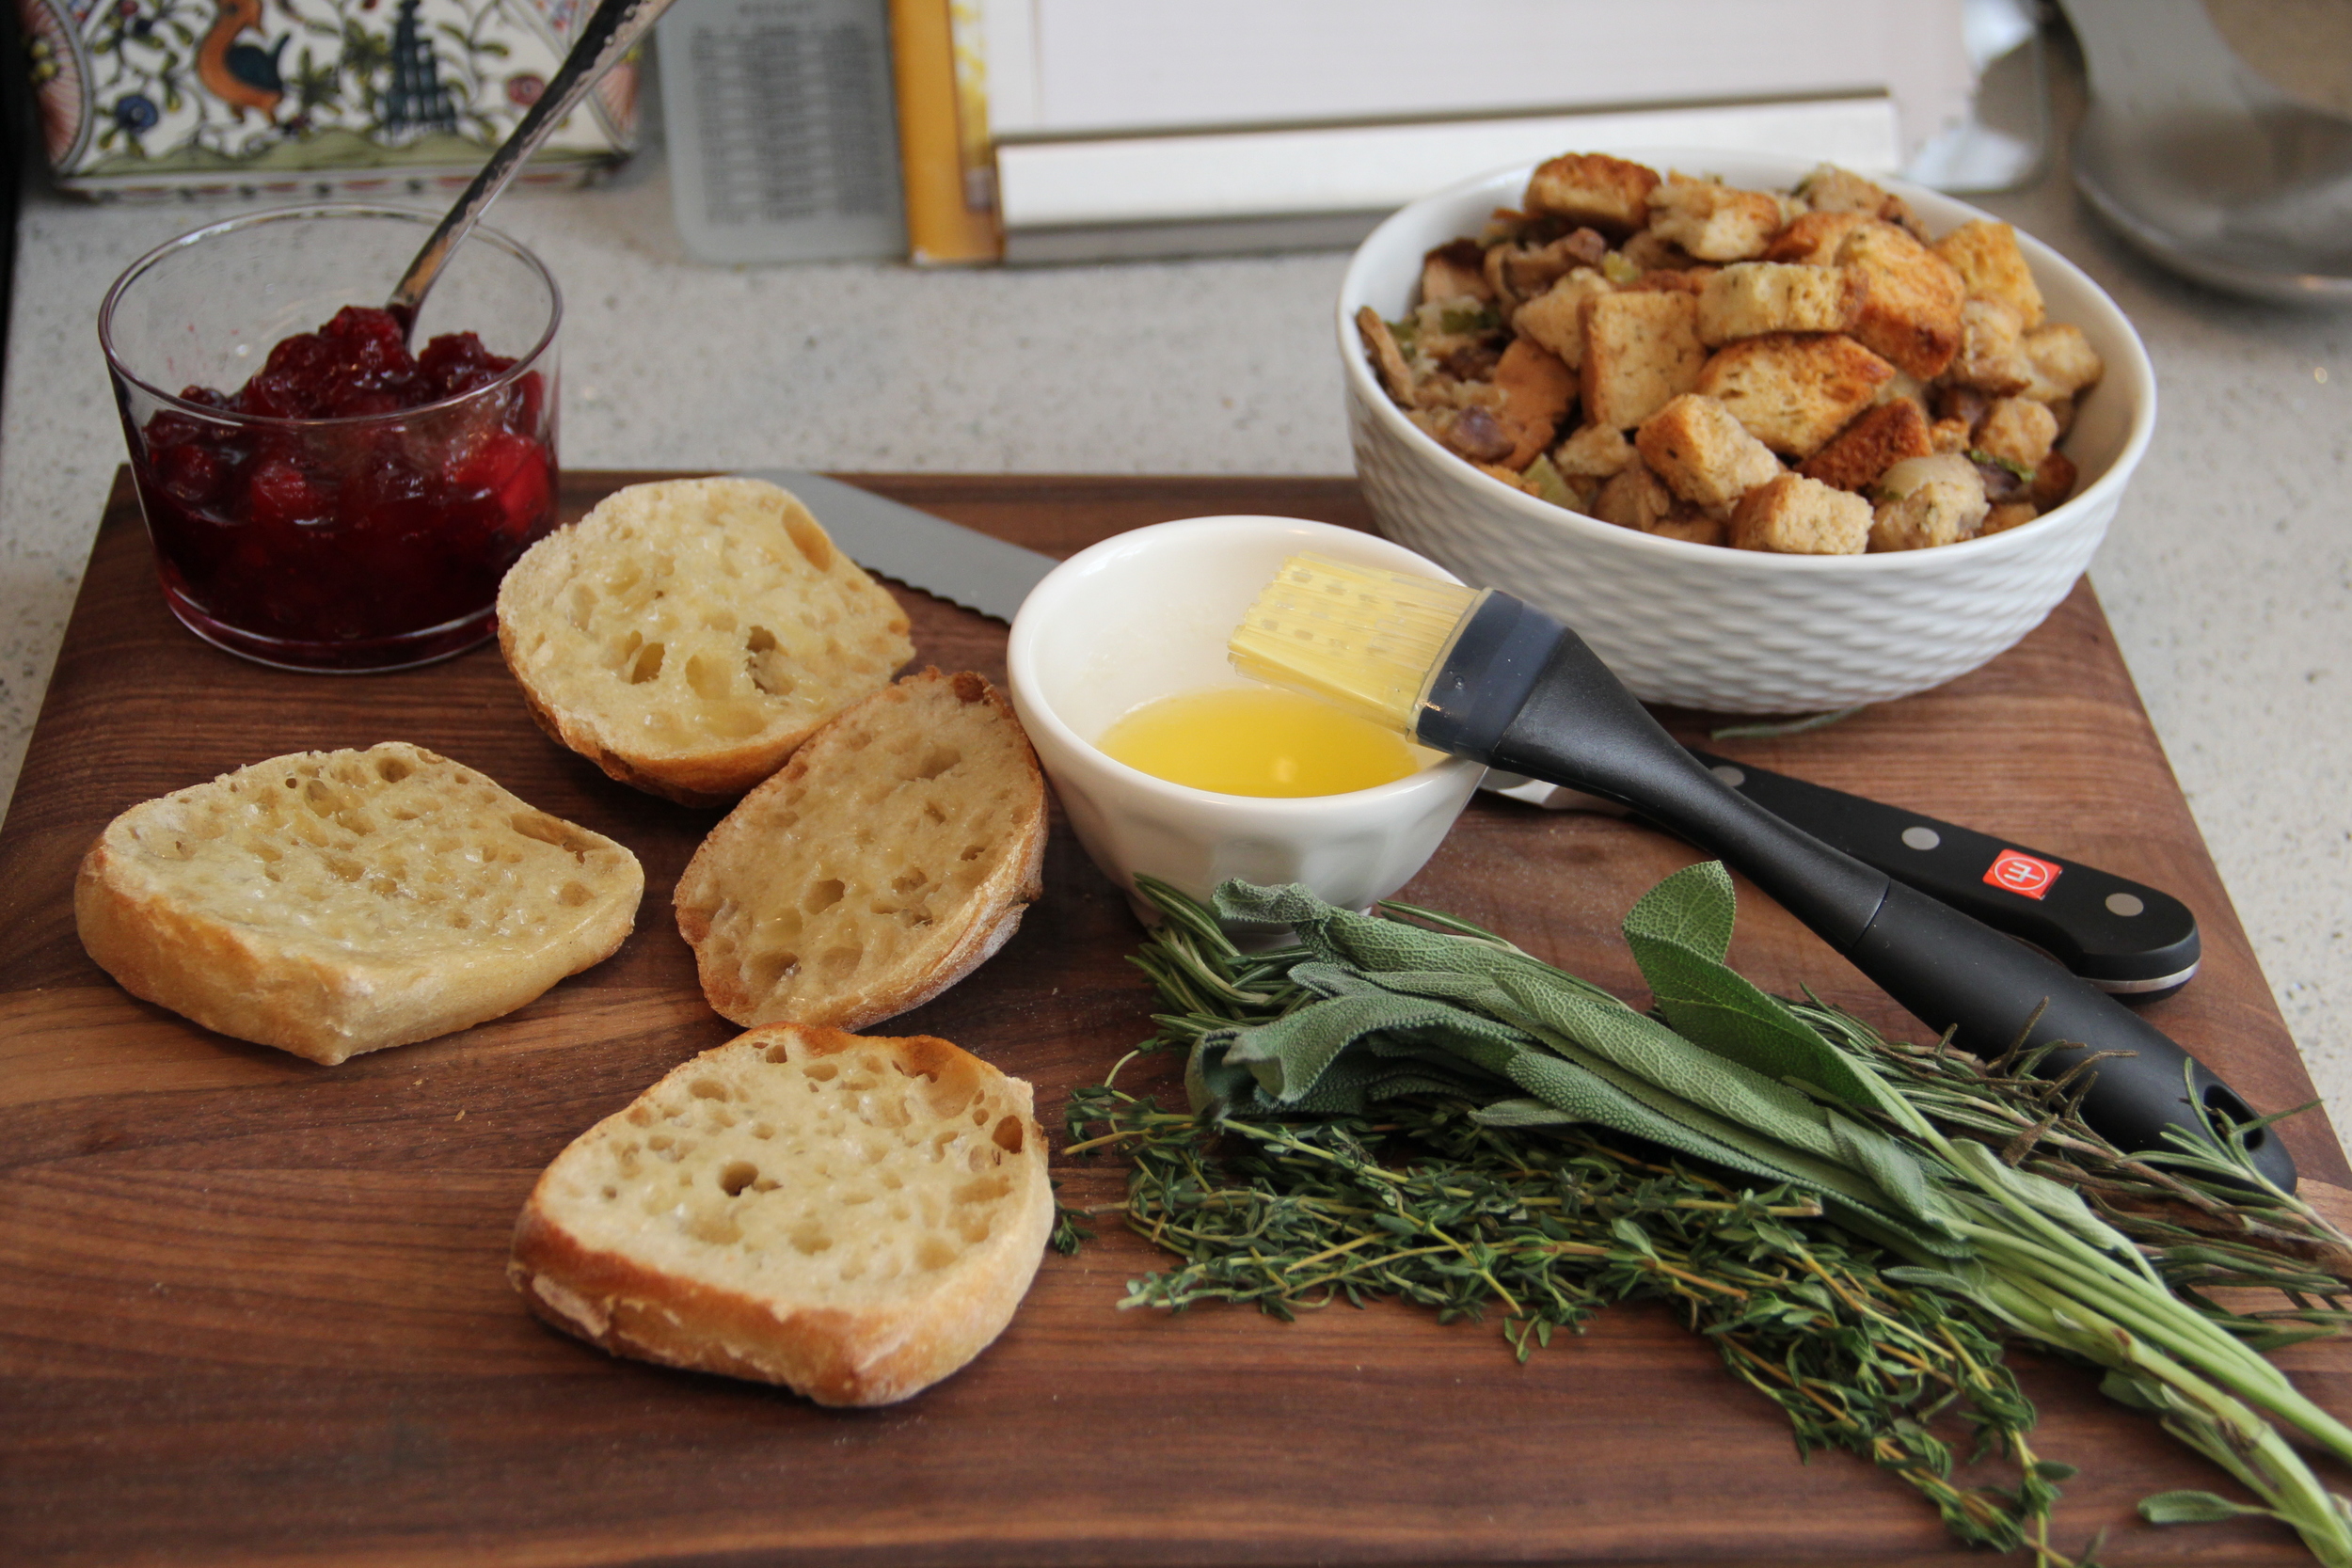
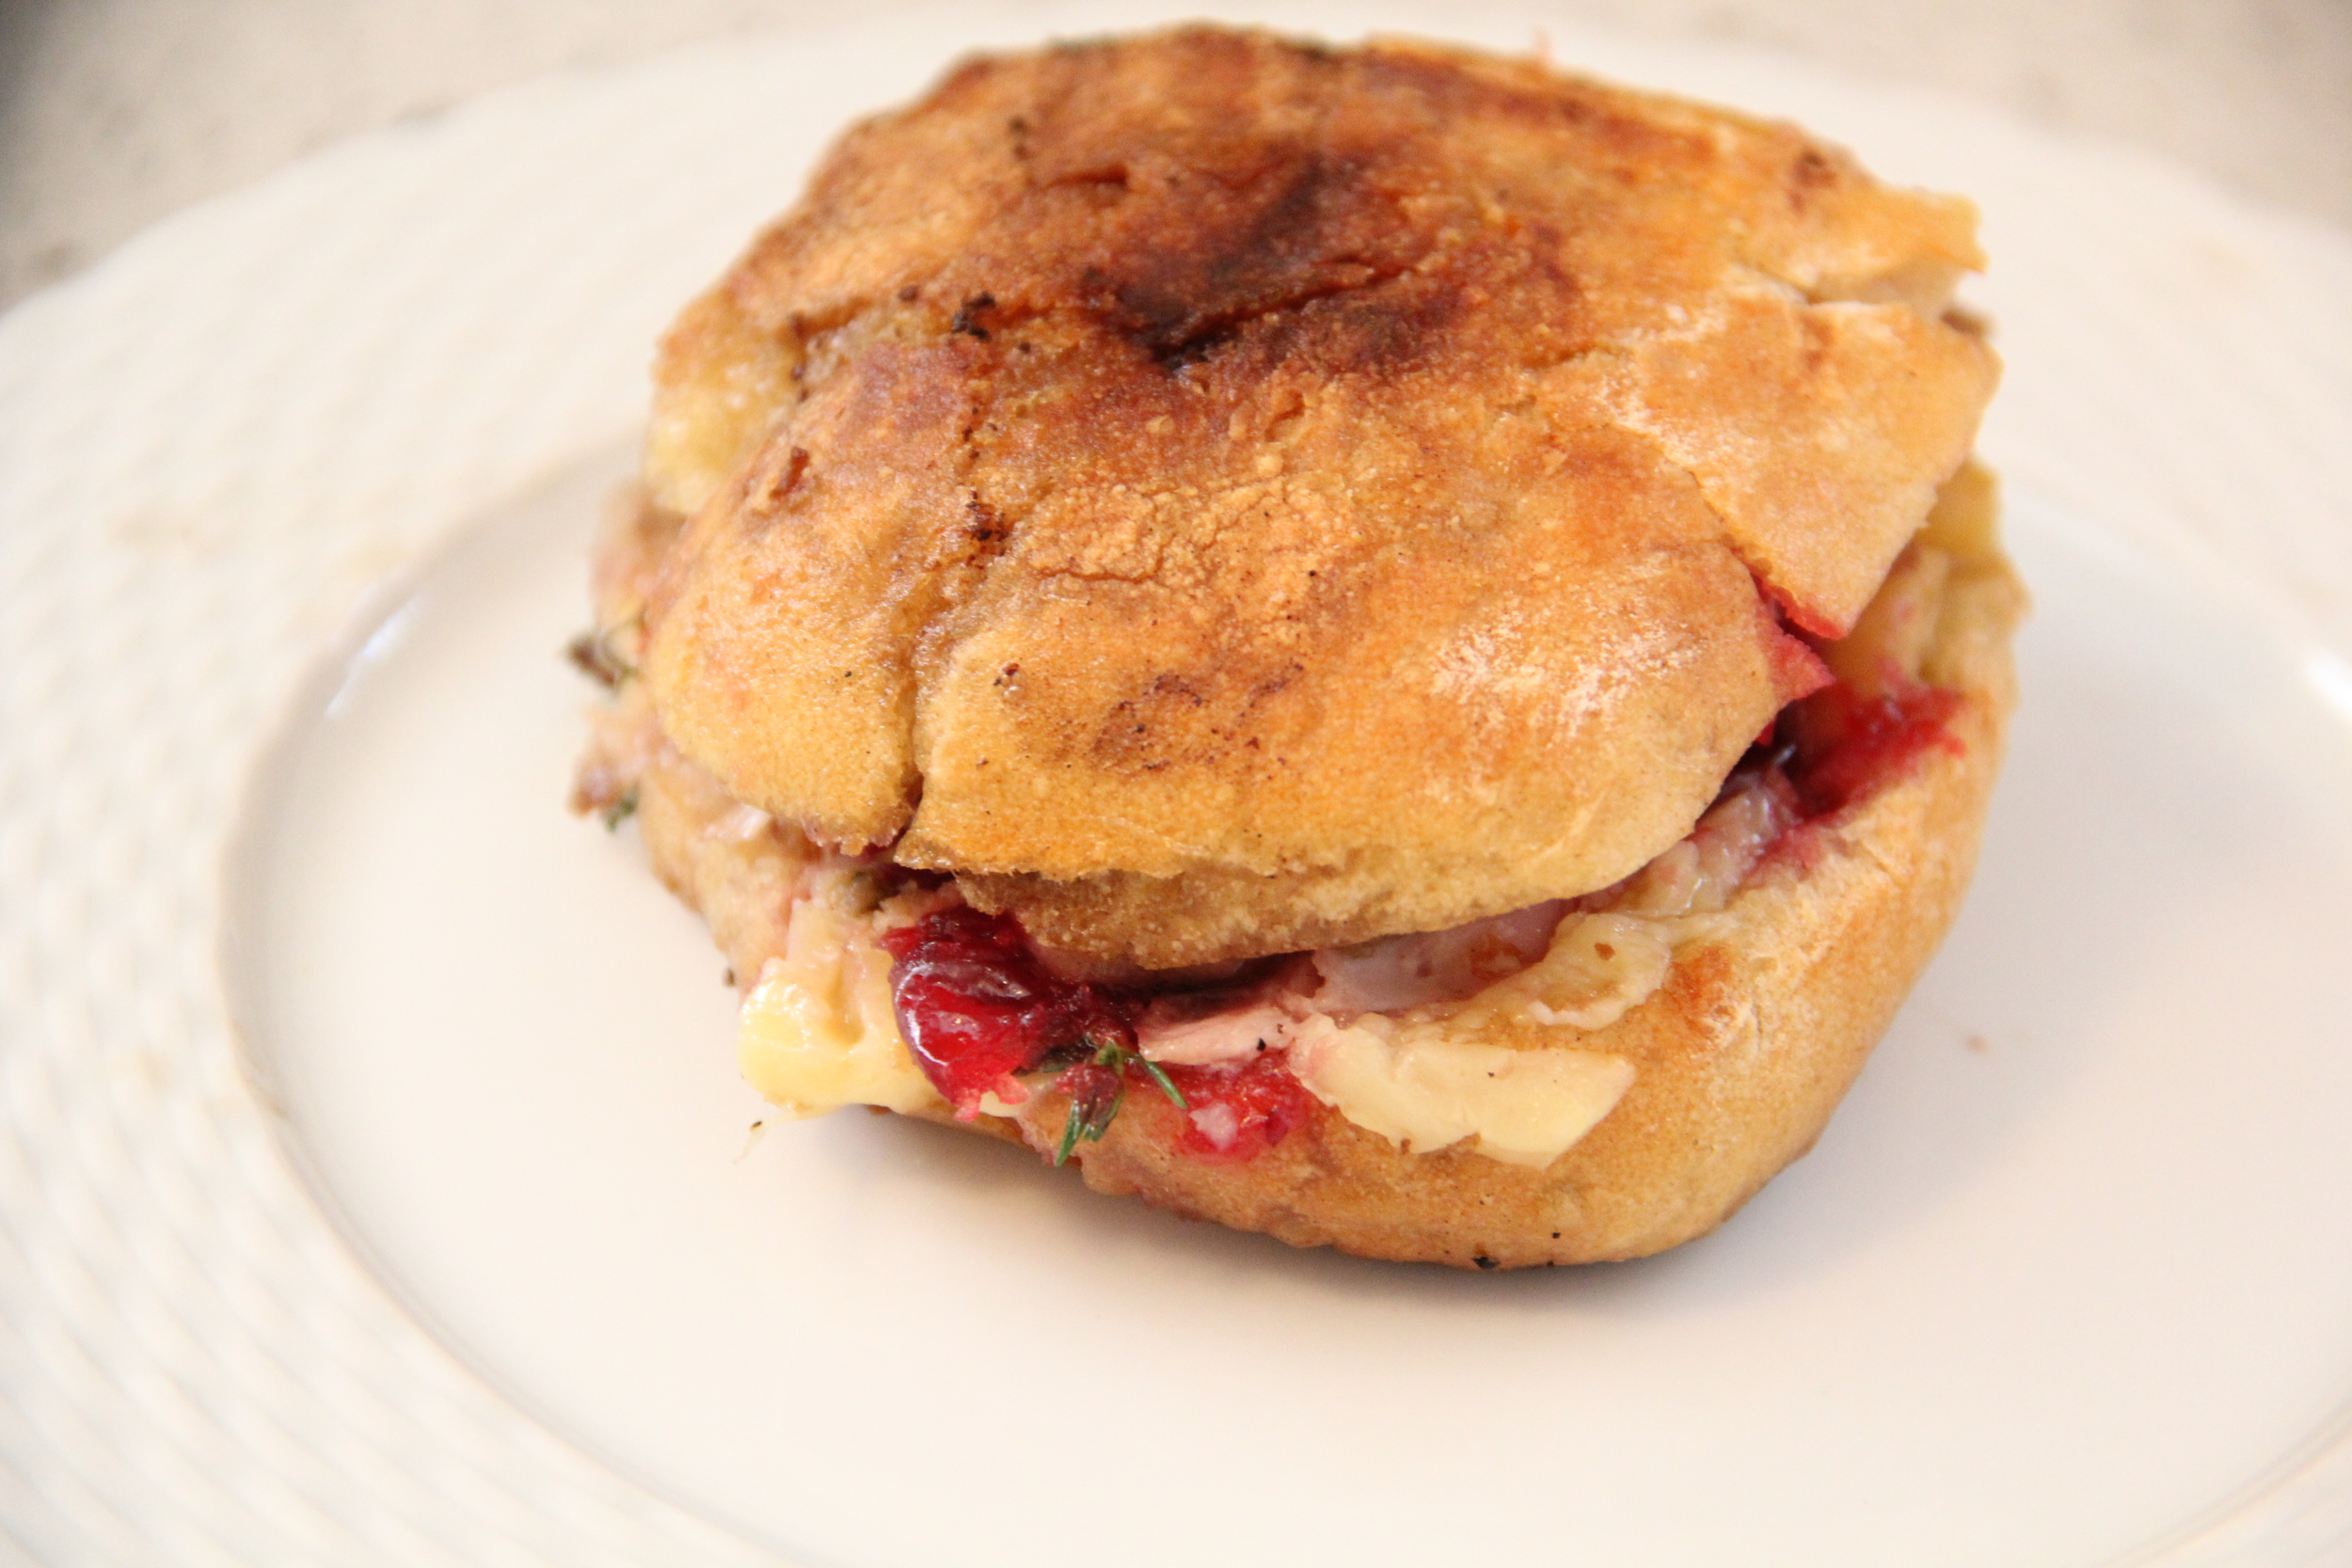
Thanksgiving Dinner Roll Paninis

IMG_3096.JPG

There really is nothing better than a thanksgiving sandwich.  This year I am breaking out my grill pan to create thanksgiving panini sandwiches using the leftover dinner rolls.  Here is what I will be using:

  • Leftover dinner rolls
  • Turkey
  • Stuffing
  • Cranberry Relish
  • Brie or Provolone Cheese
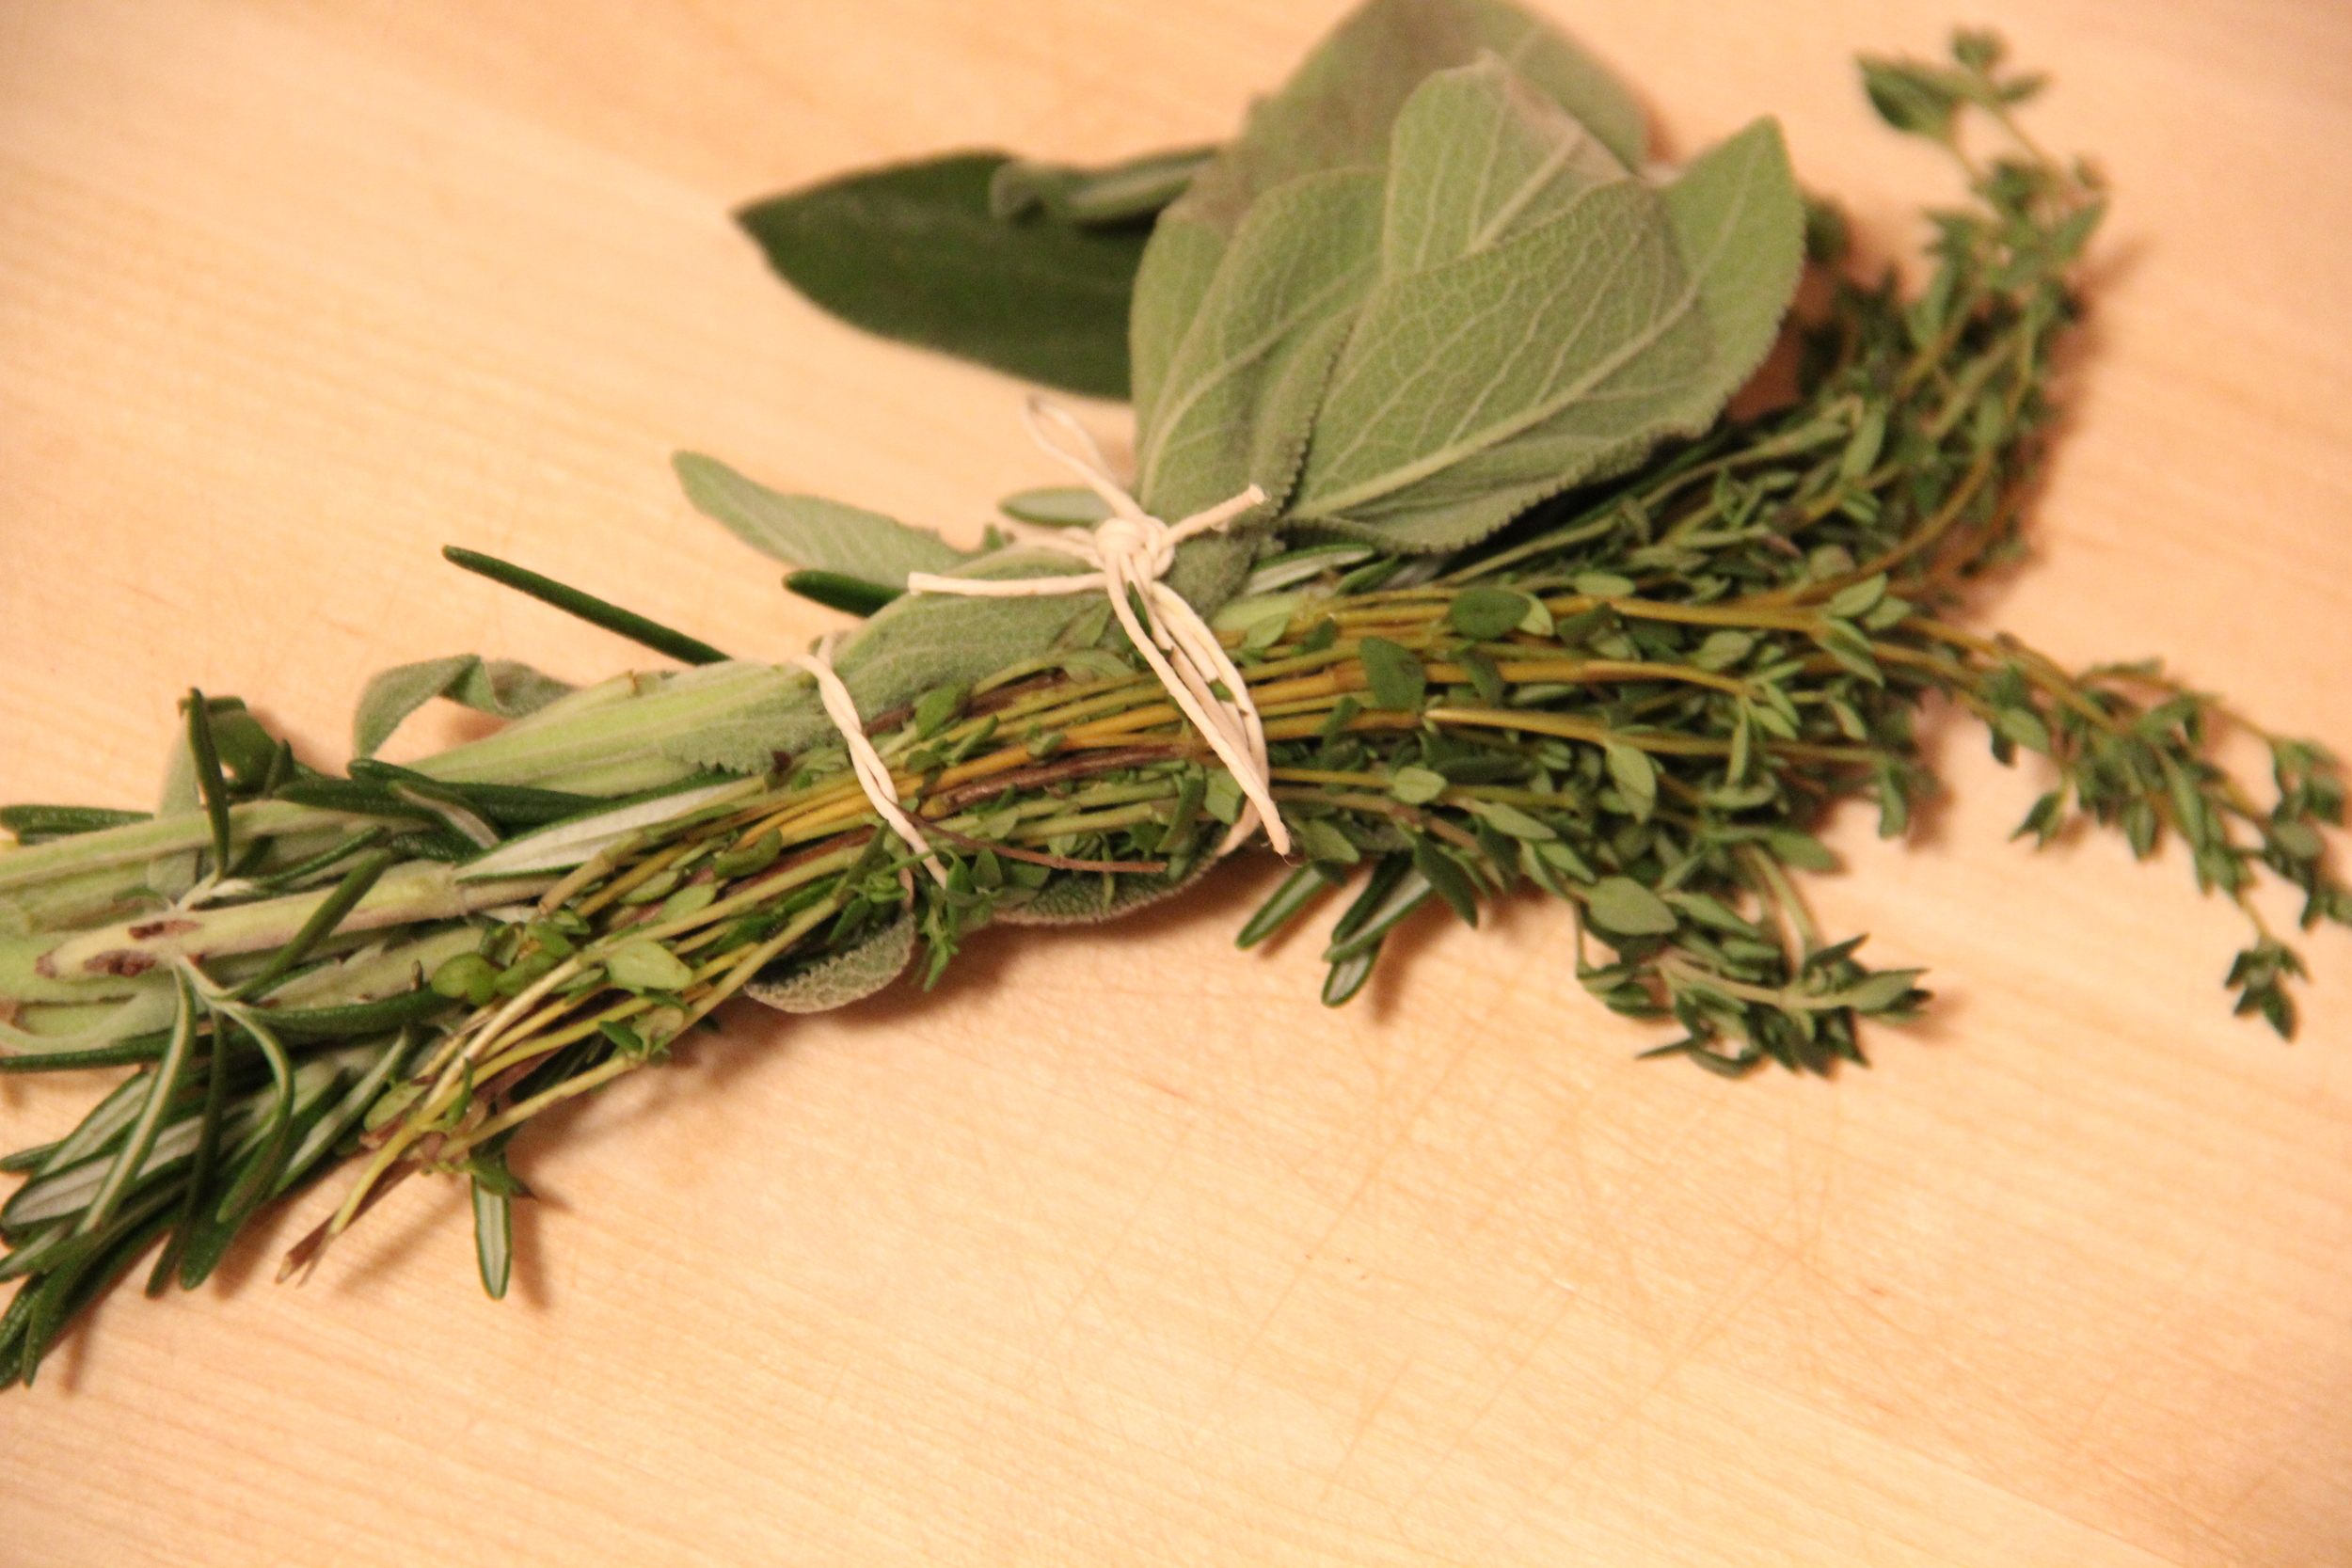
  • Herbs (Thyme, Rosemary, Sage) 
  • Butter

Instructions:

  1. Heat your grill pan on Medium/High Heat with 2 Tbs Butter
  2. Slice your rolls in half and brush lightly with melted butter
  3. Place cheese and herbs on each roll half and allow time for the cheese to melt on the grill pan
  4. Then add turkey, cranberry relish and stuffing to sandwich halves
  5. Assemble both sides together
  6. Place metal grill top over sandwich and allow it to cook for approx. 1min
  7. Flip sandwich and press metal grill top onto sandwich again for an additional minute.
  8. Remove sandwich from heat and serve
IMG_3076.JPG

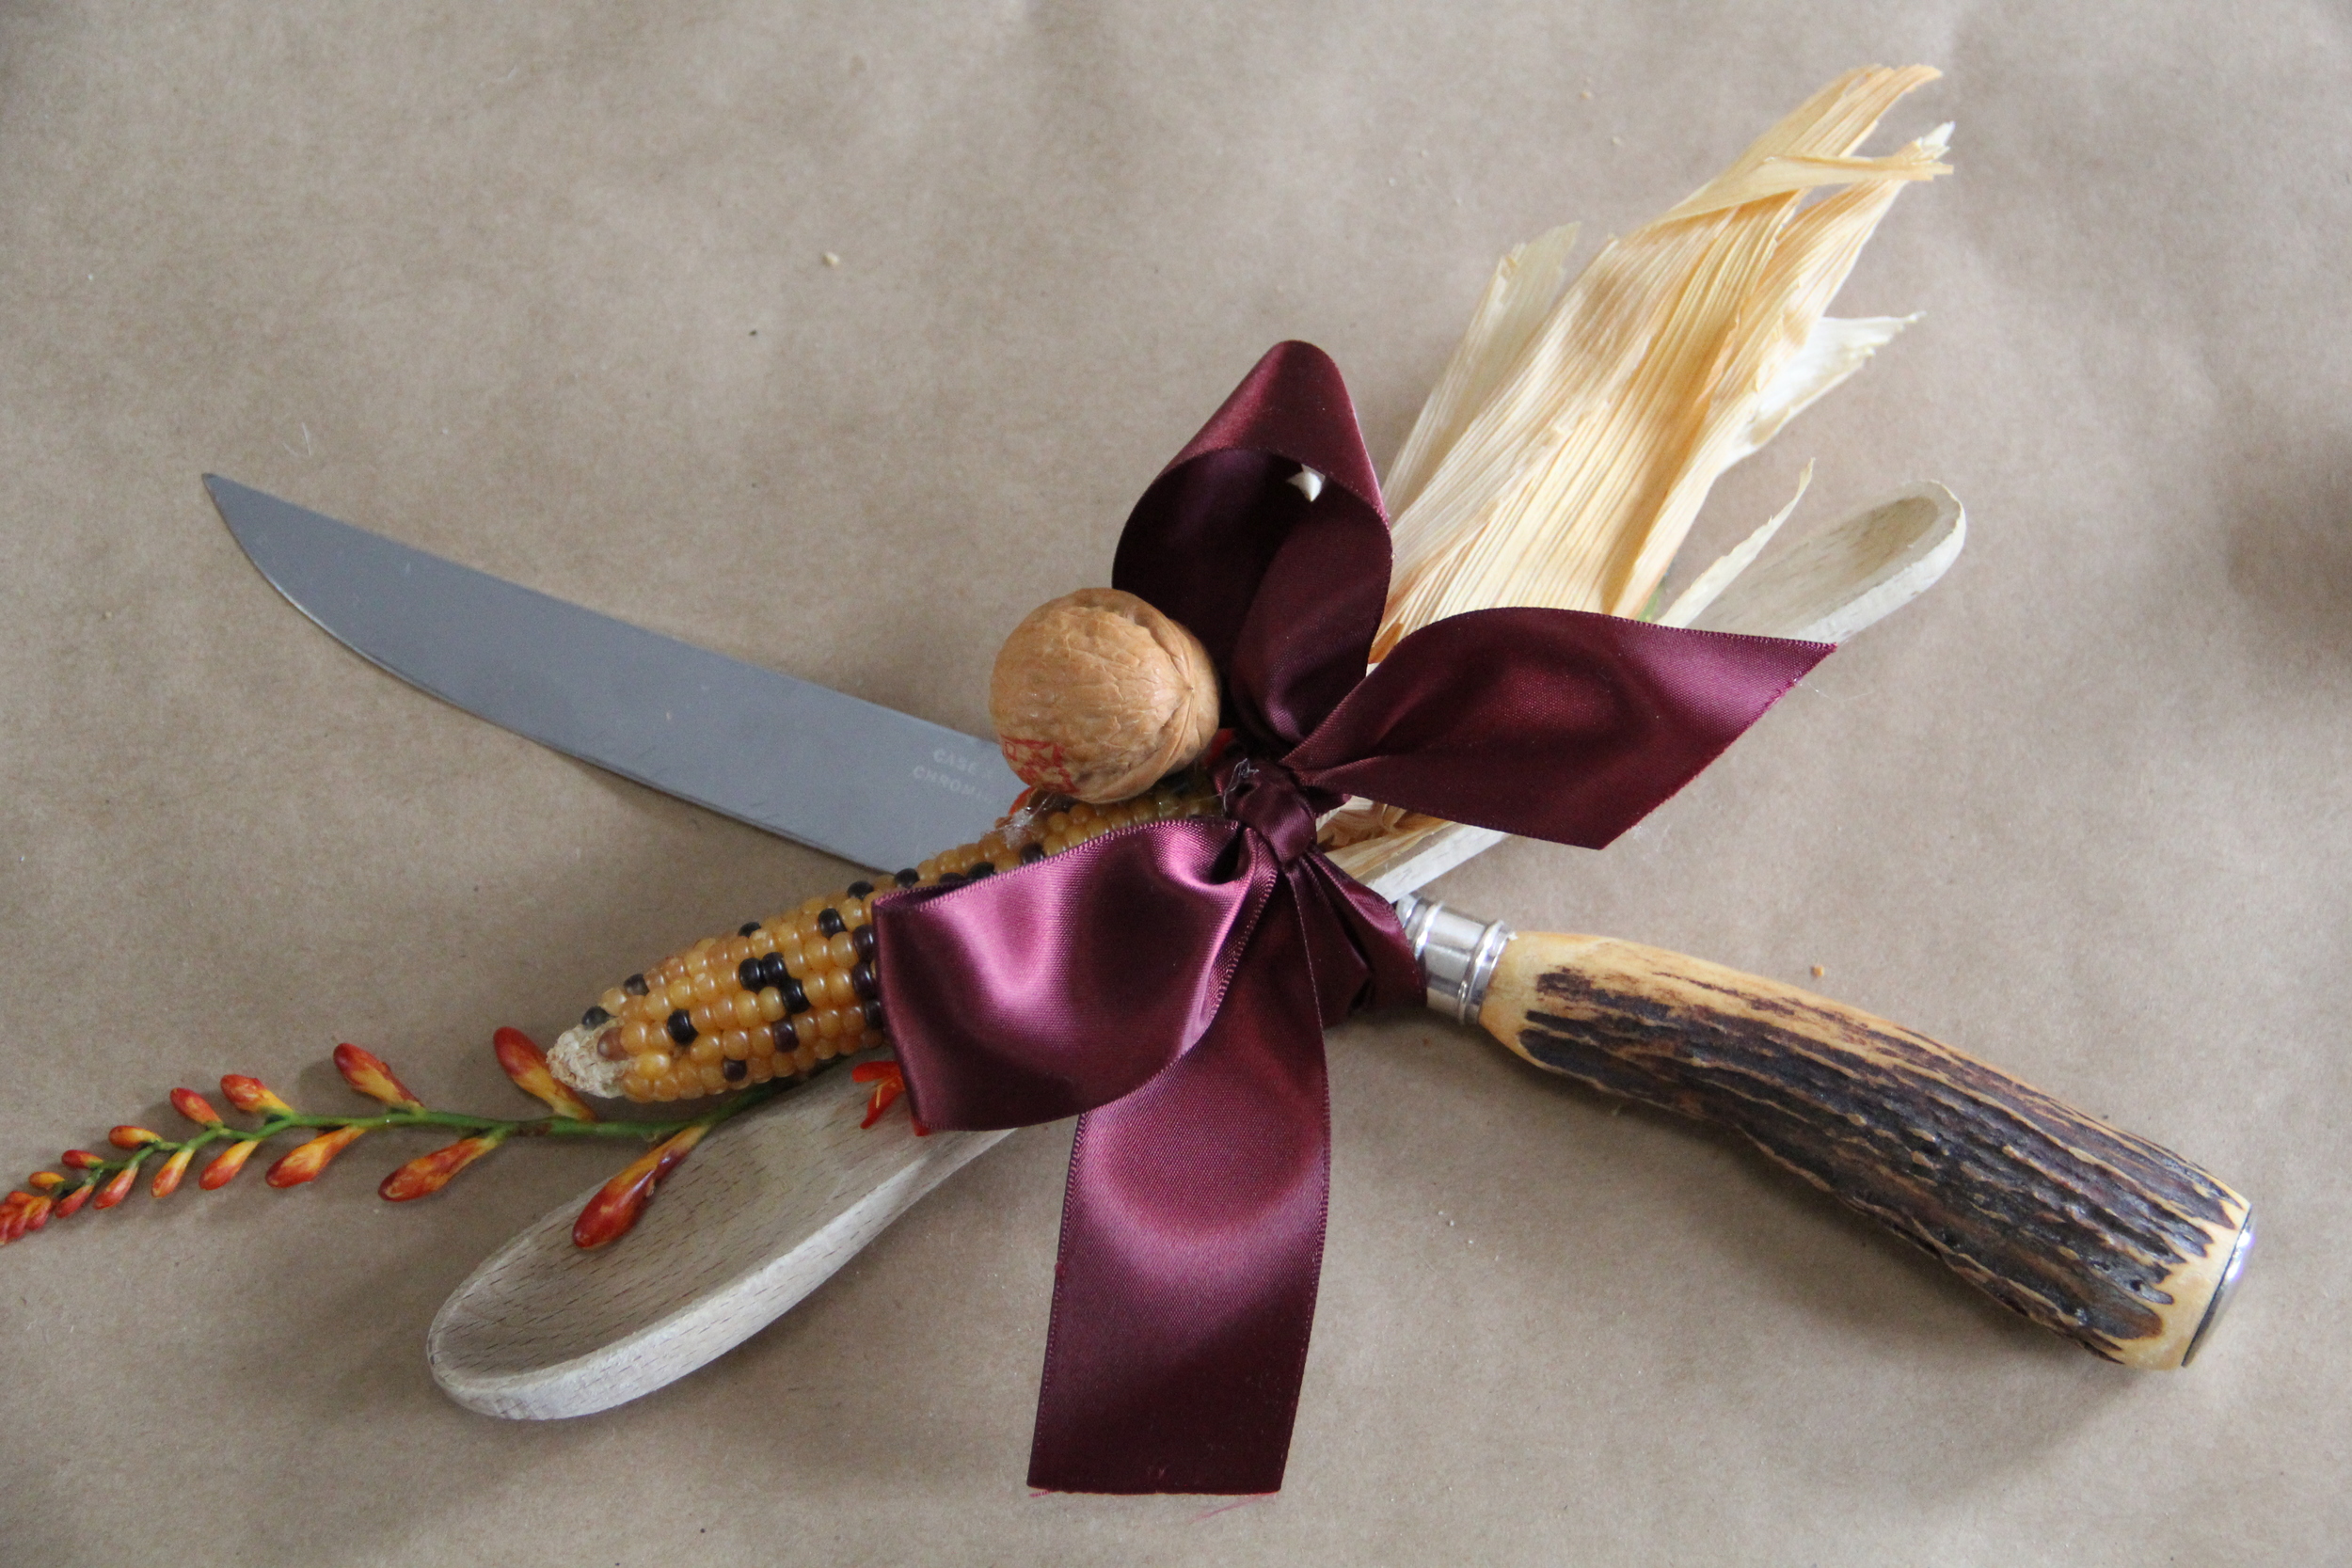
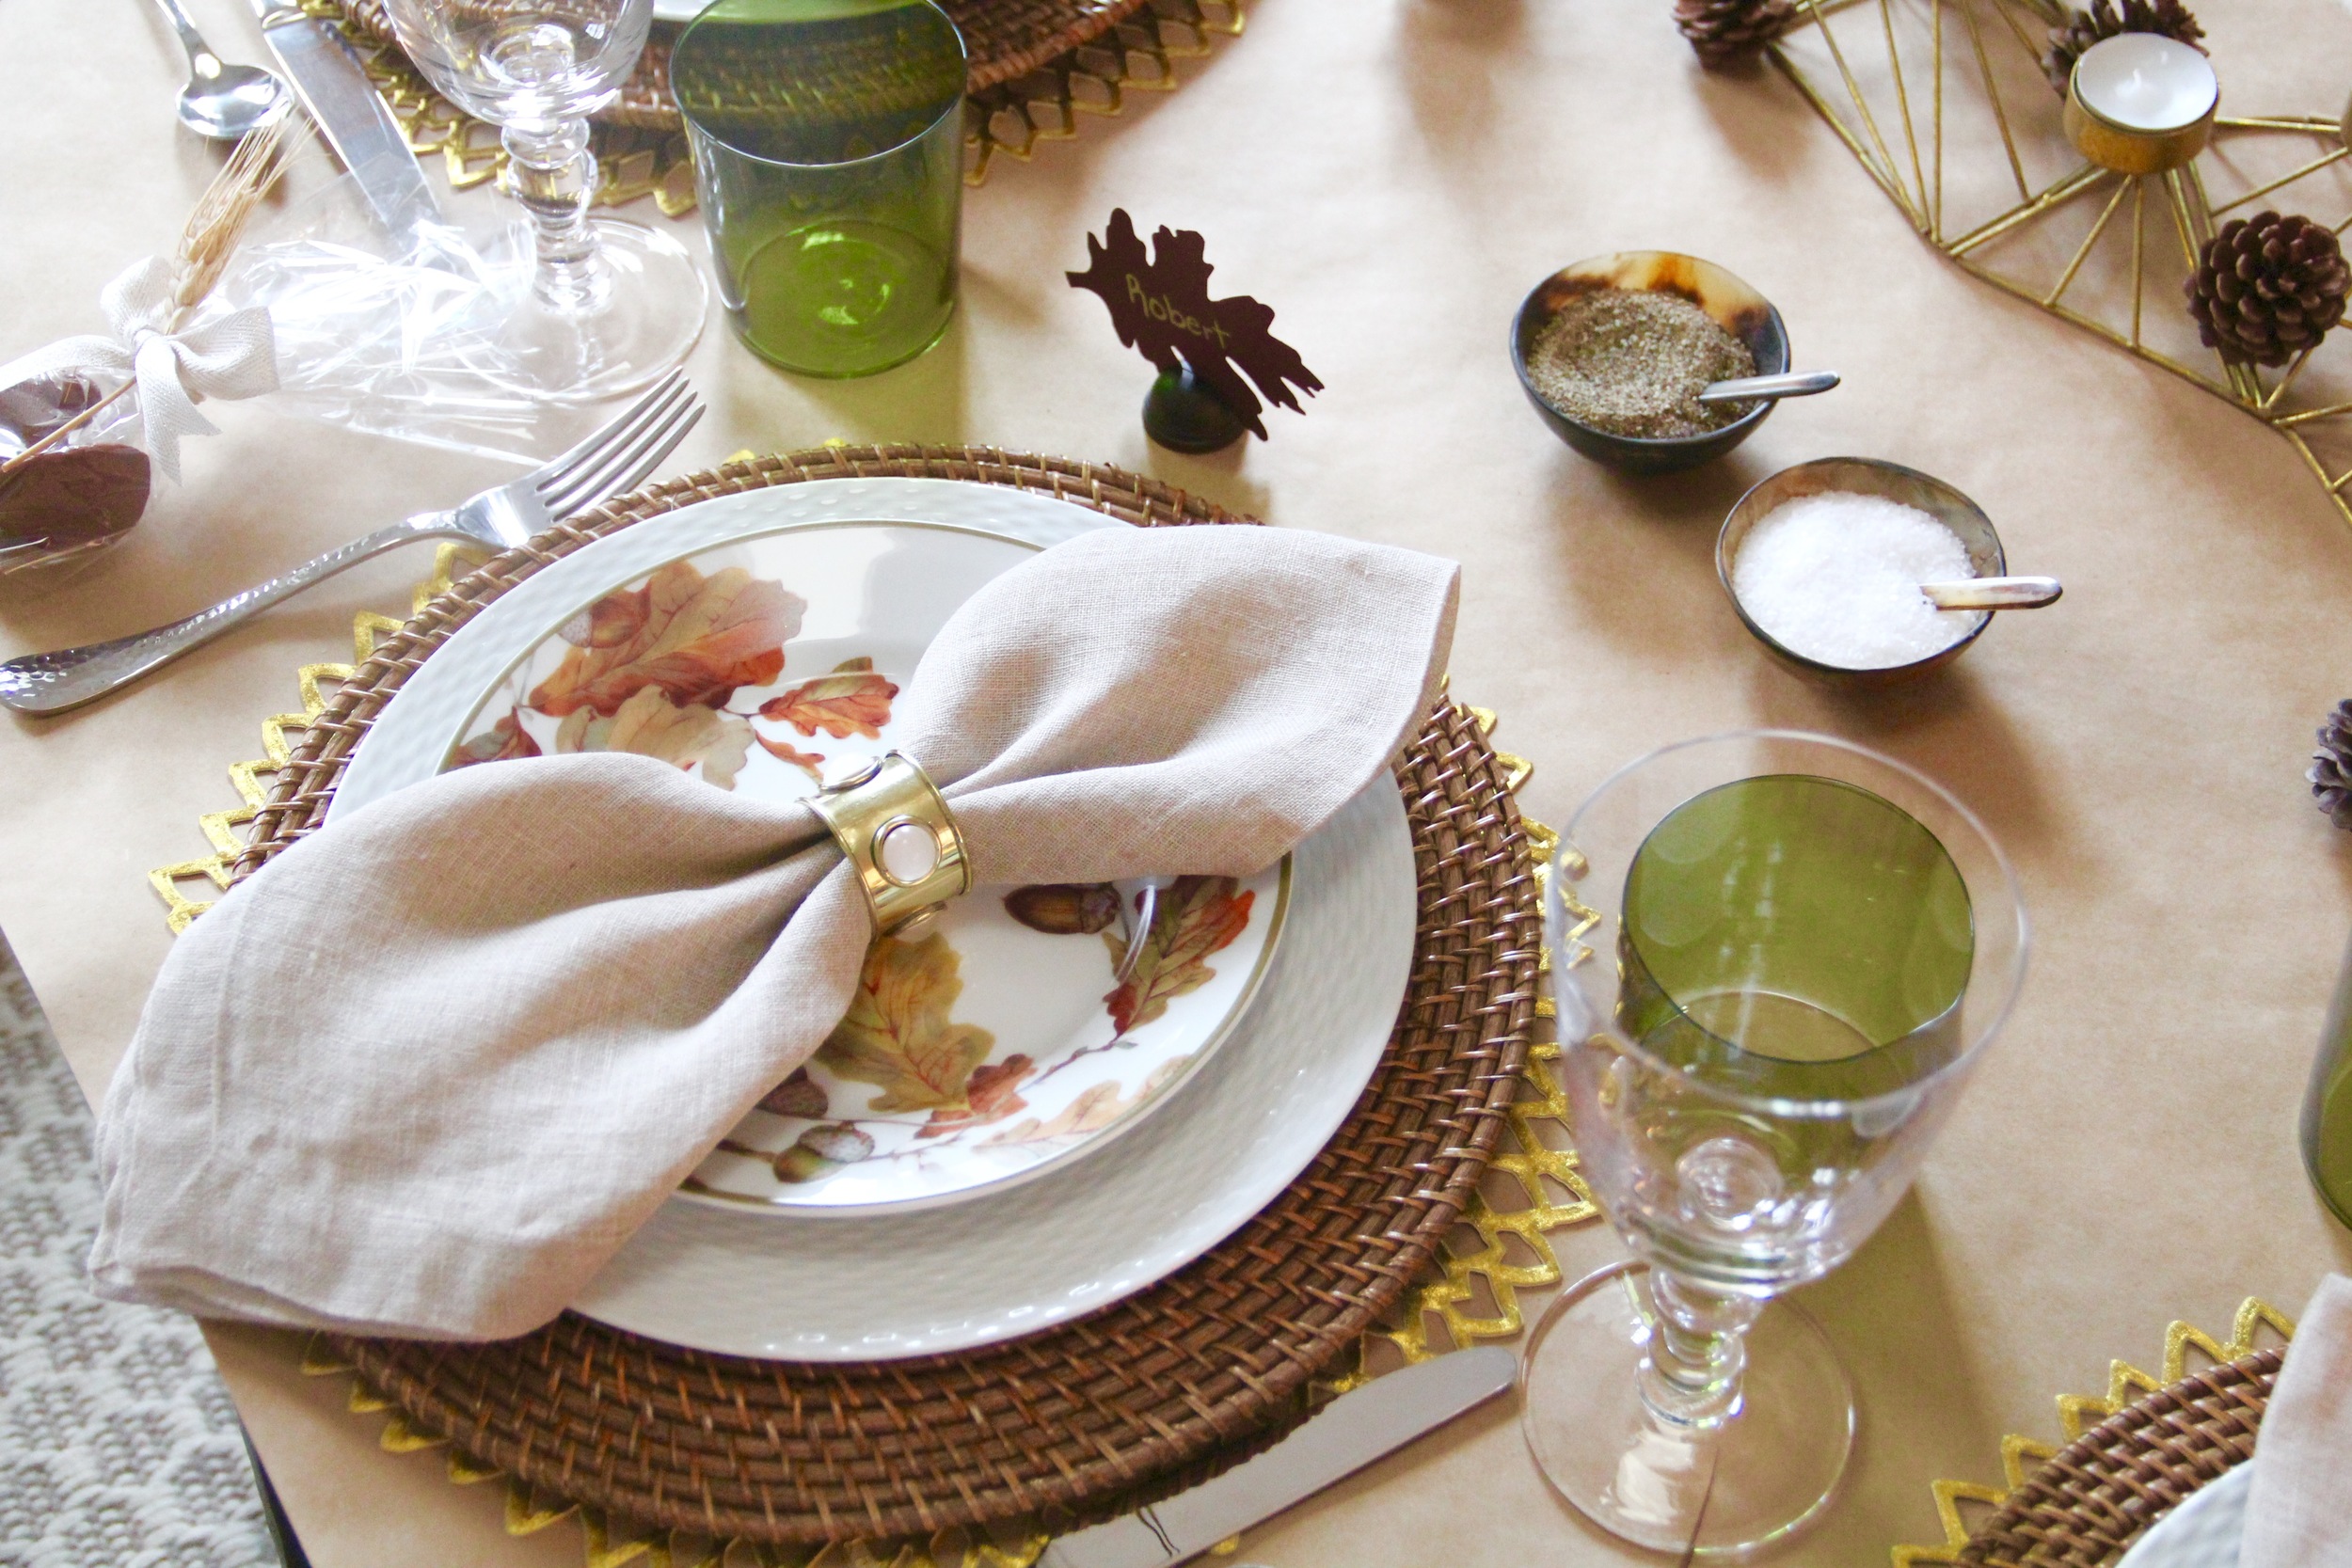
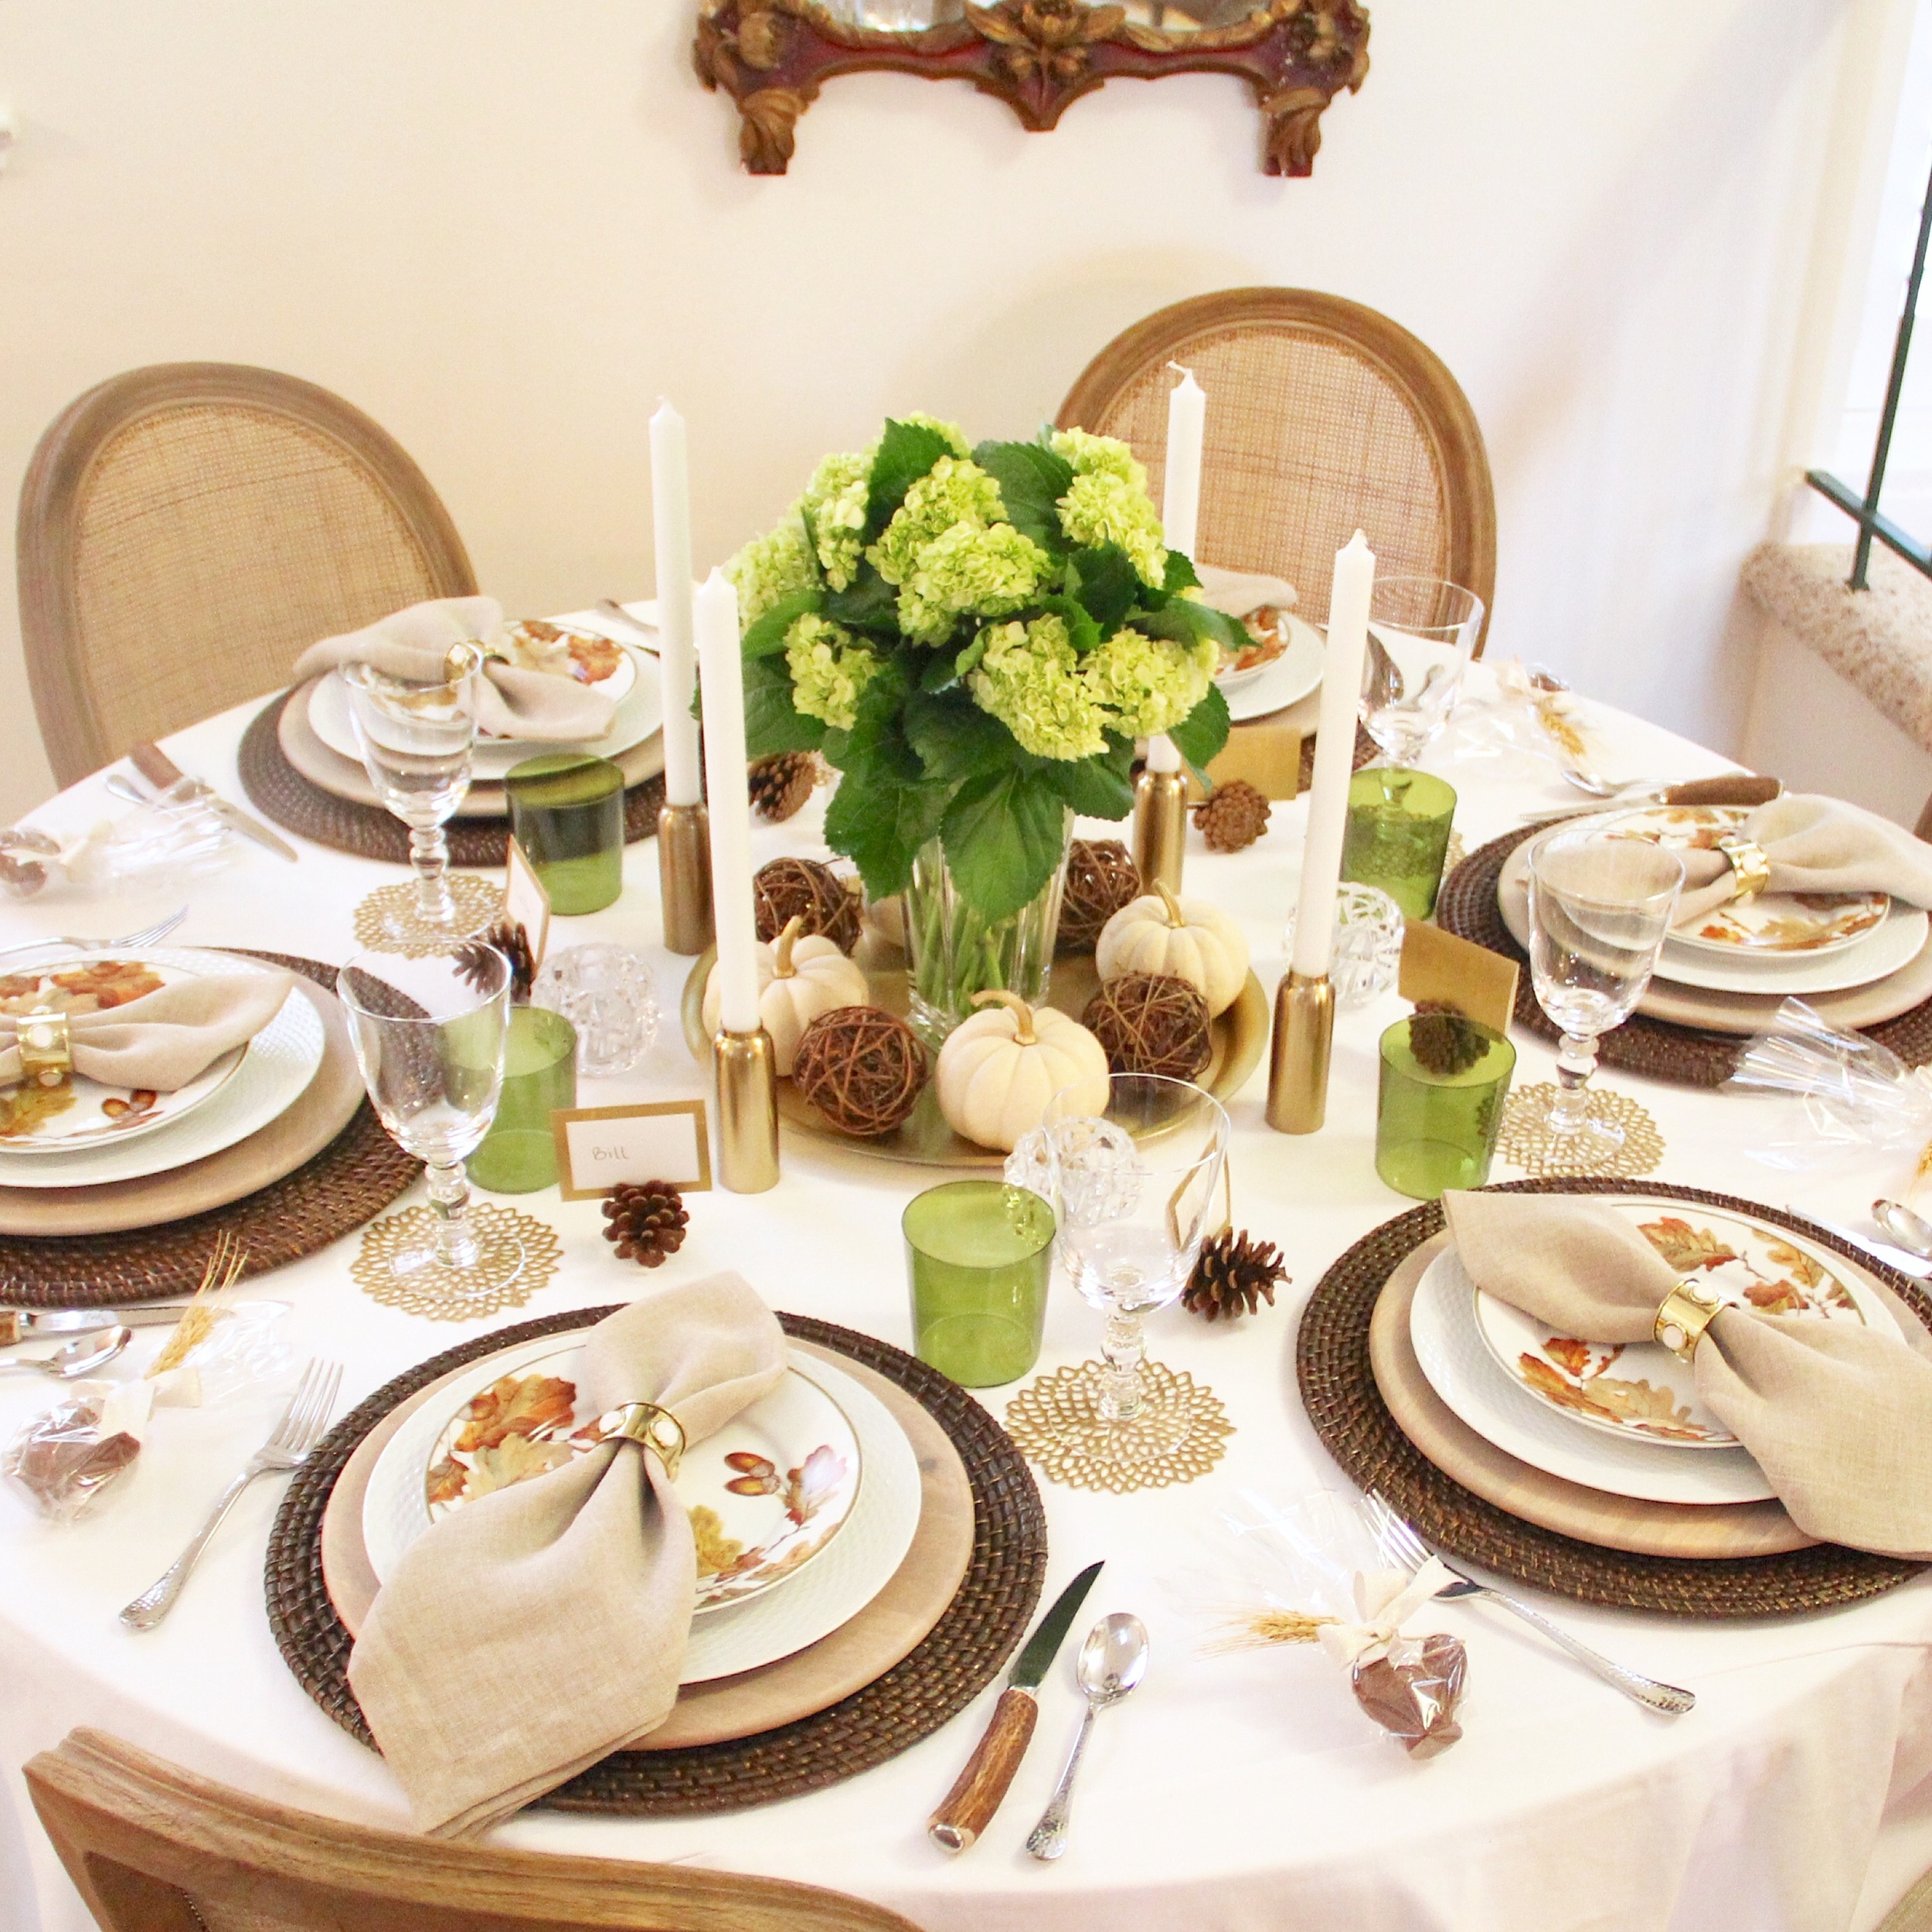
My Thanksgiving Dinner party was a big success.  I would have to say that the highlight was when my mom surprised me with an impromptu ceremony and officially passed off the family carving knife.  Having my entire family here for my first Thanksgiving dinner made all of the work leading up to this day completely worthwhile.  For all of you who cooked the big dinner last night, I hope you are sitting at home with your feet up enjoying delicious leftovers.  You have certainly earned a day of relaxation!

FullSizeRender-13.jpg

Now, onto Christmas preparations!…Starting Monday

In Food and Drink Tags Black Friday, 34 Degrees, Recipes, Turkey, Leftovers
Comment

Thanksgiving Prep Part 2: Creating Timelines

November 20, 2015 Callie Cagney
Redefining Domestics Thanksgiving Prep 1.JPG

To say that Thanksgiving requires advanced planning is truly an understatement.  As I have been going through this process I have realized that I would be "dead in the water" had I not been diligently plotting and planning the various details around preparing this monster meal.

I will admit that I may have gone overboard with beginning my preparations in August.  However, I don't regret starting then.  To give you a little context, it was in late August that Williams-Sonoma released their Fall Dinnerware Collection.   I fell in love with their acorn china pattern instantly and knew that I had to have those accent plates for my Thanksgiving Tablescape.  As luck would have it, Williams-Sonoma had a 20% off Labor Day sale, so I was able to buy my plates at a discount.  Yes, it was insanely early to be thinking about Thanksgiving, but I did end up benefitting from being so ridiculously proactive.  

Redefining Domestics Thanksgiving Prep 2.jpg

Now back to the subject matter at hand,  Creating Timelines!  Ultimately you want to have two timelines to reference.  The first should be a preparation to-do list for the week leading up to Thanksgiving.  This is where you will need to list out every major task that needs to be accomplished in order to get you yourself completely ready for Turkey day.  When creating this master timeline, here are a few items that I have contemplated/included to help me not only get ready for the big meal, but also for the houseguests staying with us next weekend.

Thanksgiving Table Setting.jpg
  • Break Down Your Menu
    • List out all of the ingredients you will need
    • Read through each recipe to determine how long each dish will take to make and what can be made in advance
    • Assemble your shopping list or lists (*I am going to be grocery shopping in two phases)
      • Phase 1: Pantry Items, Spices and Root Vegetables/Hearty Produce
      • Phase 2: All items that need to be super fresh (herbs, certain fruits, etc) will be purchased on the Tuesday before Thanksgiving
  • Setting the Table- For those of you who are hosting but have to go to work up until Thanksgiving Day, I would suggest setting your table on Sunday.  For those of you who have either taken time off of work to prep for this dinner or do not have to go to work, I would suggest setting your table on Tuesday. This way, if you find out that you are missing any tableware items (ex. I discovered that I was short 1 fancy wine glass), you still have time to get those items.  
  • Cleaning- Decide when you are going to do the big deep clean and then what additional cleaning tasks need to be done the day before your guests arrive to ensure that you house is in tip top shape.  It's much more manageable to break up the cleaning over the course of a few days then to try and power through everything at once.  
  • Houseguest Prep- Another detail that is super important.   See this post for a quick and easy houseguest prep checklist.  In a nutshell, schedule time to go through the accommodations you have designated for your thanksgiving house guests and make sure that everything is clean and ready for their arrival.  Currently, I have my houseguest prep slated for this Monday, since that day seems to have the most availability at the moment. 
  • Cooking and Serving Assignments-  Go through your cooking and serving dishes to confirm that each dish has a designated cooking vessel and a designated piece of serveware.  Assign each menu item to its corresponding cook & serve pieces using a post-it note.  **Tip- In addition to the listing the menu item, I also include the cook temperature and time on the post-it for added convenience. 
Thanksgiving Prep Part 2 Redefining Domestics 1.JPG

The second schedule/timeline I would suggest creating, is one that details all of the remaining prep work that needs to take place on Thanksgiving Day. Below is a breakdown of how I went about creating my own "day of" schedule.

Thanksgiving Day Schedule

IMG_2925.JPG
IMG_2920.JPG
  • Determine the Official Dinner Time-  This should be step one when it comes to figuring out your Turkey day schedule.  Cooking each dish will revolve around this start time, so it's important to have a dinner time established prior to creating your Turkey Day Timeline.  
  • The Turkey- this obviously a day of item that should have a cooking start time based on your dinner time.  You need to allow enough time for your bird to cook and rest, prior to carving.  Since it is the focal point of the meal and takes the longest to cook out of all the dishes, it should be the first item into your oven on Thanksgiving Day.  Plus, you won't be able to make your gravy until you have pan drippings from the cooked bird. 
  • Mashed Potatoes- This is another day of dish that you can make while your turkey is cooking.  Once your potatoes are made, transfer them to a baking dish so that they can be easily reheated prior to serving dinner. 
  • Stuffing and Other Sides- These dishes should also be prepared while the Turkey is cooking in the oven.  Most prep work for side dishes can be done a day or two in advance so that on thanksgiving day there is only minimal assembly and cooking required. 
  • Dessert- Right before I sit down to dinner, I will turn on the coffee maker and get the apple pie in the oven to warm up.  That way I am ready to plate dessert and serve the after dinner coffee as soon as everyone is done with their dinner.  

Here are a few great Thanksgiving Prep Timeline's I really like:

  • Williams-Sonoma's Taste Blog 
  • The Kitchn's "10-Day Thanksgiving Timeline" 
  • Real Simple's "How to Get It All Done: A Thanksgiving Timeline"
  • Food Network's Thanksgiving Planning Guide
IMG_2927.JPG
IMG_2917.JPG

Some of my favorite prep tips:

  • Stock up on butter at Target- While making my grocery list, it became immediately obvious that the most popular ingredient used for almost every thanksgiving recipe is BUTTER.  Instead of paying between $5-$6 for a 4pk of Land O' Lakes butter at the grocery store, head over to Target where you can find the same butter for $3 per 4pk.  
  • Buy your heavy cream now! - This is one of those items that becomes extremely hard to find closer to Thanksgiving, so save yourself the added stress and buy the amount you need now. 
  • Invest in a spare peeler- If by chance, you happen to have a family member or husband who offers to help you with prep, get them to work peeling produce!  Potatoes, carrots, apples, etc… all need to be peeled for my recipes and this prep task goes much faster when there are two peelers rolling as opposed to just one. 
  • Know what you're going to wear- decide on your Thanksgiving dinner attire in advance.  Deliberating over what to wear at the last second adds unnecessary stress and can be a major time suck.  Plan your outfit for dinner the weekend before Thanksgiving, it will prevent any added stress that quite frankly you do not need while you're in the throes of cooking the monster meal.  
  • Get the Car Washed- I am going to be shuttling guests to and from the airport, so it is essential that I get my car cleaned prior to their arrival.  Personally, rolling up to greet people in a clean car is a really good feeling but can easily get overlooked.  Its a little detail but I think it makes a big difference.  

It's funny because today's post was certainly longer than usual and I still feel like I haven't sufficiently covered all aspects of Thanksgiving.  My to-do list for this weekend feels like it's a million miles long, but I know that I just need to take it a step at a time and I will get through it all.  As someone who can attest to this, it is really easy to get overwhelmed by the whole Thanksgiving Day celebration, but please try to not let the stress get the best of you.  In the end, this holiday is about settling in America and being together with loved ones.  I am going to do my best to take my own advice and I hope you do too!  Have a great weekend everyone!

IMG_2919.JPG
In Food and Drink Tags Thanksgiving, Preparation, Timelines, Schedules, Entertaining
Comment

Turkey 101: Everything You Need To Know

November 13, 2015 Callie Cagney
IMG_2691.JPG

Cooking a thanksgiving turkey is no joke.  Not only is the turkey the main attraction on Thanksgiving, but I am pretty sure that this is without a doubt the largest piece of meat that I have ever been tasked with cooking.  To be completely honest, this is actually the one item on my menu that I almost had catered.  I know I know, how could I do that??  Well, due to major space constraints in my home and primarily in my kitchen, plus the addition of house guests, there was really no room to brine the turkey (an essential technique that I will discuss in this post).  

However, as luck might have it, I ended up finding a pre-brined turkey for sale through Williams Sonoma, while shopping their friends and family sale.  Not only is the turkey 20% off and comes pre-brined, but it is shipped to your doorstep with a guaranteed arrival on Thanksgiving Eve!  Thus, solving every single one of my issues with cooking the turkey at home.  So now I will be cooking the turkey for thanksgiving and below my plan of attack complete with all necessary turkey cooking tools and how-to video guides from the experts.  

How much turkey?

Before deciding if you are even going to cook the turkey yourself or buy it pre-made, you need to know what size bird you are looking to purchase.  The Kitchen recommends roughly one pound per person (see here).  Personally, I like to have leftover turkey for soups and sandwiches the next day, so I will most likely be purchasing a bird that is between 15-18lbs.  

Brining Your Turkey

Urban Accents Brining Kit.JPG

This is a technique that I highly recommend for anyone planning to cook their own turkey.  Brining is the process of soaking your meat in salt infused water to increase it's juiciness and enhance the overall flavor.  A basic brine is simply salt and water.  Brining a turkey on the other hand, consists of soaking the bird overnight in a brine made of water, salt, sugar, spices, herbs and citrus.  You can make your own brine (recipe here) or use a store bought brine.  Below are the essentials needed for brining your turkey.     

Here is what you will need to brine:

  • Brining Blend (Option 1 or Option 2)
  • Brining Bags
  • Alternative Option: Urban Accents Brining Kit
  • Large Cooler
    • If you don't have ample fridge space for storing your brining turkey overnight, using a large cooler is a great alternative. 

Prepping your Turkey for the Oven

IMG_2395.JPG
  1. First thing is first, preheat your oven to 400 degrees fahrenheit and move your oven rack to the bottom tier.
  2. Take your turkey out of the fridge or cooler to begin the process of brining it up to near room temperature. *Placing a cold turkey directly into the oven will cause it to cook unevenly.  You want to have your bird as close to room temperature as possible by the time you go to place it in the oven.  
  3. Chop up an array of aromatic vegetables and herbs to create a mirepoix bed to cover the floor of the roasting pan.  I plan on using Celery (with leaves), Carrots, Onions, Fennel,  Thyme, Rosemary and Garlic (very similar to roasting a chicken).   Toss contents in 2-3Tbs of Olive Oil and place roasting rack on top of the mirepoix bed. 
  4. Take your turkey out of the brining bag, rinse off the brine under cool water and pat dry with paper towels.  
  5. Gently with your fingers, slide your hands under the breast skin of the bird to detach the skin from the meat.  
  6. Using room temperature unsalted butter, spread 4-6 TBS of butter in between the skin and the meat of the breasts.  *See image below for reference from the Cook's Illustrated All-Time Best Thanksgiving Recipes. 
  7. Generously salt and pepper the interior cavity of the bird
  8. I am not a fan of filling the turkey cavity with stuffing (bacteria/salmonella risk…no thanks!).  Rather, I prefer to stuff the turkey with an array of aromatics: Lemon halves, heads of garlic cut in half, a Simon and Garfunkel Bouquet Garni (*Parsley, Sage, Rosemary and Thyme)
  9. For the exterior of the bird, there are a million ways to bring on the flavor.  Right now I am torn between a traditional rub of salt, pepper and butter and a new technique I have discovered known as "Lacquering."
    1. If I end up going with a classic rub for the outside, I will be using this cheesecloth technique (soaked in butter and white wine) ala Martha Stewart to keep the bird hydrated throughout the cooking process. 
  10. Once your bird is seasoned, its time to truss it using your kitchen twine.  See this video for reference.
  11. Once your bird has been trussed, transfer to your roasting rack in your roasting pan
  12. Add about a cup of stock to the pan just to get the flavors/moisture rolling
  13. Place the bird in the oven at 400 degrees for about 30 minutes, then reduce the heat to 325 degrees fahrenheit and continue to cook until your bird reaches an internal temperature of 180 degrees fahrenheit.  *Allow roughly 13-15 minutes per pound. 
  14. Once the bird is done, it is critical that you allow time for it to rest (gently covered in aluminum foil) prior to carving.  Carving up the bird immediately after it comes out of the oven will cause all of the juices to escape and your bird will be dry. 
  15. While you are letting your bird rest, you can extract the pan drippings using a fat separator to make the gravy.  Love this recipe for gravy.  Sherry is must for any gravy recipe I am making.  It really takes gravy to another level!
Cooks Illustrated.JPG

Turkey Tools

  • Roasting Pan with Roasting Rack
  • Basting Tool
  • Cheese Cloth
  • Kitchen Twine
  • Carving Board
  • Fat Separator
  • Large High Quality Chefs Knife
    • *Note- A carving set is a "nice" to have not a "need" to have.  A fork and good quality chef's knife will get the carving job done just fine.
Turkey Tools.jpg
Cheese Cloth.JPG
Fat Separator.JPG

While I think that I am pretty well equipped to cook this bird (especially since I will have my mom here - thank goodness!), I am always open to any ideas and tips you all might have/want to share for cooking the perfect Thanksgiving turkey.  Please leave a comment or email me as I would absolutely love to hear from you!  Stay tuned for part 2 of Thanksgiving Day prep coming to the blog next week!  Have a great weekend everyone!


In Food and Drink Tags Thanksgiving, The Kitchn, Williams-Sonoma
Comment

November Kitchen Tools

November 6, 2015 Callie Cagney
IMG_2402.JPG

It's hard to believe that Thanksgiving is only a few short weeks away!  Honestly where the heck did October go?  And for that matter, I feel like September flew right by me as well!  Anyway, it is officially time to start immersing in preparations for the holiday season (or as I like to call it, "The Entertaining Olympics!").  

The November kitchen tools featured today are 3 important essentials for anyone hosting Thanksgiving dinner.  While I know that there are plenty of other kitchen tools that are essential for cooking Thanksgiving dinner, these three tools are a great starting point.  **Not to worry!  Throughout the month I will be walking you through my entire preparation process for hosting my own Thanksgiving dinner this year.  Menu planning, food shopping, tablescaping and more, will all be featured on the blog over the coming weeks.  So without further adieu, let's get going on "Operation Thanksgiving Prep!"

Roasting Pan

IMG_2395.JPG
IMG_7480.JPG

Your roasting pan is the vessel that will be responsible for supporting your main Thanksgiving attraction (the turkey) while it cooks, so having a good quality roasting pan with roasting rack is vital!  My roasting pan is the Large Stainless Steel Roaster with Rack from All Clad, and I would highly recommend it. This pan affords you the latitude to cook a vast array of meat/poultry types, from a weeknight roast chicken to a large Thanksgiving turkey.  I love to layer the base of my roasting pan with an assortment of herbs, a delicious mirepoix and even on occasion some potato wedges (aka the ultimate one-pot dish!).  The roasting rack allows the bird to sit above base of herbs and veggies while cooking, which prevents it from getting soggy but allows for the bird to soak up all of the flavors that are rising from below during the cooking process.  This roaster is a common piece of cookware, but oh how it makes such a difference when cooking up a delicious Thanksgiving turkey!

Potato Ricer

IMG_2391.JPG
IMG_2393.JPG
IMG_2394.JPG

Turkey might be the main attraction, but Thanksgiving just isn't the same without mashed potatoes.  I am a huge fan of ricing my potatoes in order to achieve maximum fluffiness when making mashed potatoes.  I absolutely love using my OXO 3-in-1 Adjustable Potato Ricer.  You can adjust there perforation settings on this ricer and all of the pieces come off for easy cleaning.  As if those weren't reasons enough for loving this potato ricer, Cook's Illustrated just awarded the OXO Potato Ricer Runner-up in this year's issue of Cook's All-Time Best Thanksgiving Recipes!  Yes, I totally feel validated with my potato ricer selection.  But in all honesty, it really is a great ricer and an essential tool for cooking Thanksgiving dinner.

Cooking Twine

IMG_9770.JPG
IMG_9785.JPG

Cooking twine is a Thanksgiving prep must have.  Not only do you need to truss your bird before placing it in the oven in order to ensure it cooks evenly, but you also need cooking twine to make your bouquet garni (see this previous post)!  An inexpensive item that is essentially for achieving that perfectly cooked turkey on Thanksgiving. 

IMG_2382.JPG
IMG_2386.JPG
In Food and Drink Tags Thanksgiving, All Clad, Turkey, Twine, Williams-Sonoma, Roasting Pan, OXO Potato Ricer
Comment

Miniature Caramel Apples

October 30, 2015 Callie Cagney
IMG_2206.jpg

Halloween is tomorrow and in addition to the many wonderfully festive aspects of this holiday, like Jack-O-Lanterns and Trick-or-Treaters, I am all about making Caramel Apples!  This sweet treat has been a Halloween staple for me for as long as I can remember.  The combination of caramel and apple alone is brilliant!  Honestly, whoever came up with that combination deserves some sort of award, especially on Halloween!  

Apples.JPG

I will admit that even though I am a total Caramel Apple fanatic, I have never been a fan of their size.  Sure, eating an apple alone is no big deal, but then coat it in caramel, chocolate, candy, etc… it quickly becomes overwhelming and way too much food, especially for one sitting!

As if the universe somehow heard me voicing my issue with caramel apples while perusing Pinterest a few weeks ago, I came across the most brilliant idea- Miniature Caramel Apples!!  After spending time testing recipes and various assembly tips, I am pleased to share with you what I think is the perfect caramel apple.  Not too big, but still has all of the essential flavor components AND gives you the ability to have just a taste or many tastes! 

Caramel Apple Ingredients.JPG
Caramel Bits.JPG

Here is what you will need:

  • 2 Granny Smith Apples
  • 1 Bag of Kraft Caramel Bits
  • Cinnamon Sugar
  • Crushed up Pretzel Pieces
  • Chopped Nuts (I used hazelnuts and toasted them)
  • Tree Sticks from your yard/outside (*You can also use toothpicks)
  • Parchment Paper
  • Pam Non-Stick Cooking Spray
  • Melon Baller

Directions:

  1. Wipe sticks down with distilled white vinegar and a damp cloth
  2. Then break sticks into 3" long pieces and bake on a baking sheet at 350 degrees fahrenheit for 15 minutes (to sterilize)
  3. Heat the caramel according to the packaging, then set aside to cool
  4. Meanwhile, use your melon baller to scoop out apple balls making sure to leave a piece of apple skin on each apple ball
  5. Use a paper towel to dry the apple balls, removing as much moisture as possible from the flesh
  6. Insert a baked stick into the top of each apple ball (*the apple skin is the top of the ball)
  7. Spray a parchment lined cookie sheet with Pam non-stick spray
  8. When the caramel is cooled enough that it is starting to harden, dip each apple ball into the caramel, making sure to have the caramel touch all edges of the apple skin
  9. Once the apple ball is coated in caramel, dip the base into your desired toppings and set on the greased parchment sheet to dry

*Note- these treats have a short shelf life, so please enjoy them shortly after they are made.

Baking Sticks.JPG
Cut Apple Balls.JPG
Rustic Apple Sticks.JPG
Melted Caramel .JPG
Parchment Paper Pam.JPG
Apple Dipping.JPG
IMG_2205.jpg

Happy Halloween Everyone!!

In Food and Drink Tags Halloween, Dessert, Apples, DIY
Comment
← Newer Posts Older Posts →

Subscribe to the Redefining Domestics Blog:

Thank you!

Categories:

  • Decorate (64)
  • Entertain (71)
  • Food and Drink (103)


Latest Posts by Category:

Featured
IMG_1993.JPG
Entertain
Pinterest Worthy Halloween DIYs
Entertain
Entertain
Featured
IMG_8787.jpg
Decorate
How to Hang a Lighting Fixture
Decorate
Decorate
Featured
IMG_1694.JPG
Food and Drink
A Healthy Recipe for Homemade Granola
Food and Drink
Food and Drink

Instagram 

http://instagram.com/calliecagney

View fullsize We are lucky to have you in our sphere Chris Kalna!❤️ #happyfathersday #girldad #cookiebaking #suttonbutton #lovethem
View fullsize National Puppy Day with my two toddlers❤️ #suttonbutton #jolene #nationalpuppyday #jojosbathtubfomo😂
View fullsize Bibbidi Bobbidi Boo, she’s 2! Happy Birthday Sweet Girl💙 #suttonbutton #halloween #cinderella #happybirthday #shestwo!
View fullsize Fourth of July Vacay is already off to a fun start❤️💙⛱ #fourthofjuly #mountains #thesetwo #ggccsummer2019
View fullsize This little girl turned 1 on Halloween! Sutton, you are pure joy! Happy Birthday sweet girl! #suttonbutton #happybirthday #halloweenbaby #birthdaycake #diy #beaufortbonnet
View fullsize Our first 4th of July as a trio❤️💙 #happyfourth #familyphoto #skr #suttonbutton #vacation #northcarolina
View fullsize First day of vacation with these two loves💙 #thecutest #vacation #july4th #mountains #sKr #suttonbutton #beachingit #waterbaby
View fullsize Happy First Father’s Day to this stud muffin! You bring a lot of joy and sports watching to our lives. The Ladies Kalna are lucky to have you!❤️ #Fathersday2018 #chrissums #sKr #socute #luckyus #moreusopenplease
View fullsize Girlfriends kicking off MDW together💕🐳🛁 #suttonandmadden #mdw #littlebesties #bathtime #toocute
View fullsize Baby’s first Christmas tree 🎄 #deckthehalls #sKr #christmastree #happysunday
View fullsize Baby sKr’s jammie game is on point🙌🏻❤️ #thingstodo #retailtherapy #stillpregnant #petiteplume #potterybarnkids #babyclothes #toocute #babygirl #pajamaparty
View fullsize My husband and I joke about Baby K’s “master suite.” Clearly we’re both struggling with a case of bedroom envy😂 #stillpregnant #babynursery #iviebaby #glitterguide #mypotterybarn #serenaandlily #babygirl #skr #projectnursery

Pinterest

http://www.pinterest.com/calliecagney/

Follow Callie Cagney's board Home Decorating on Pinterest.
Welcome RSS

© 2016 Redefining Domestics. All Rights Reserved.