Fourth of July is without a doubt one of my favorite holidays for picnicking. Warmer weather, a long holiday weekend and enjoying a spectacular fireworks show on the national mall are just a few of the many reasons why I find picnicking to be an absolute must! When trying to come up with a delicious menu that suits the time of year and is easy to transport, the one go-to that always makes the cut is my summer poached pear recipe.
My summer poached pear recipe is a fabulous addition to any picnic and/or summer meal. It's easy to create, has a wonderful flavor profile and serving it cold makes for an absolutely refreshing and delicious conclusion to any summer meal. Here is how I went about creating this recipe.

Ingredients
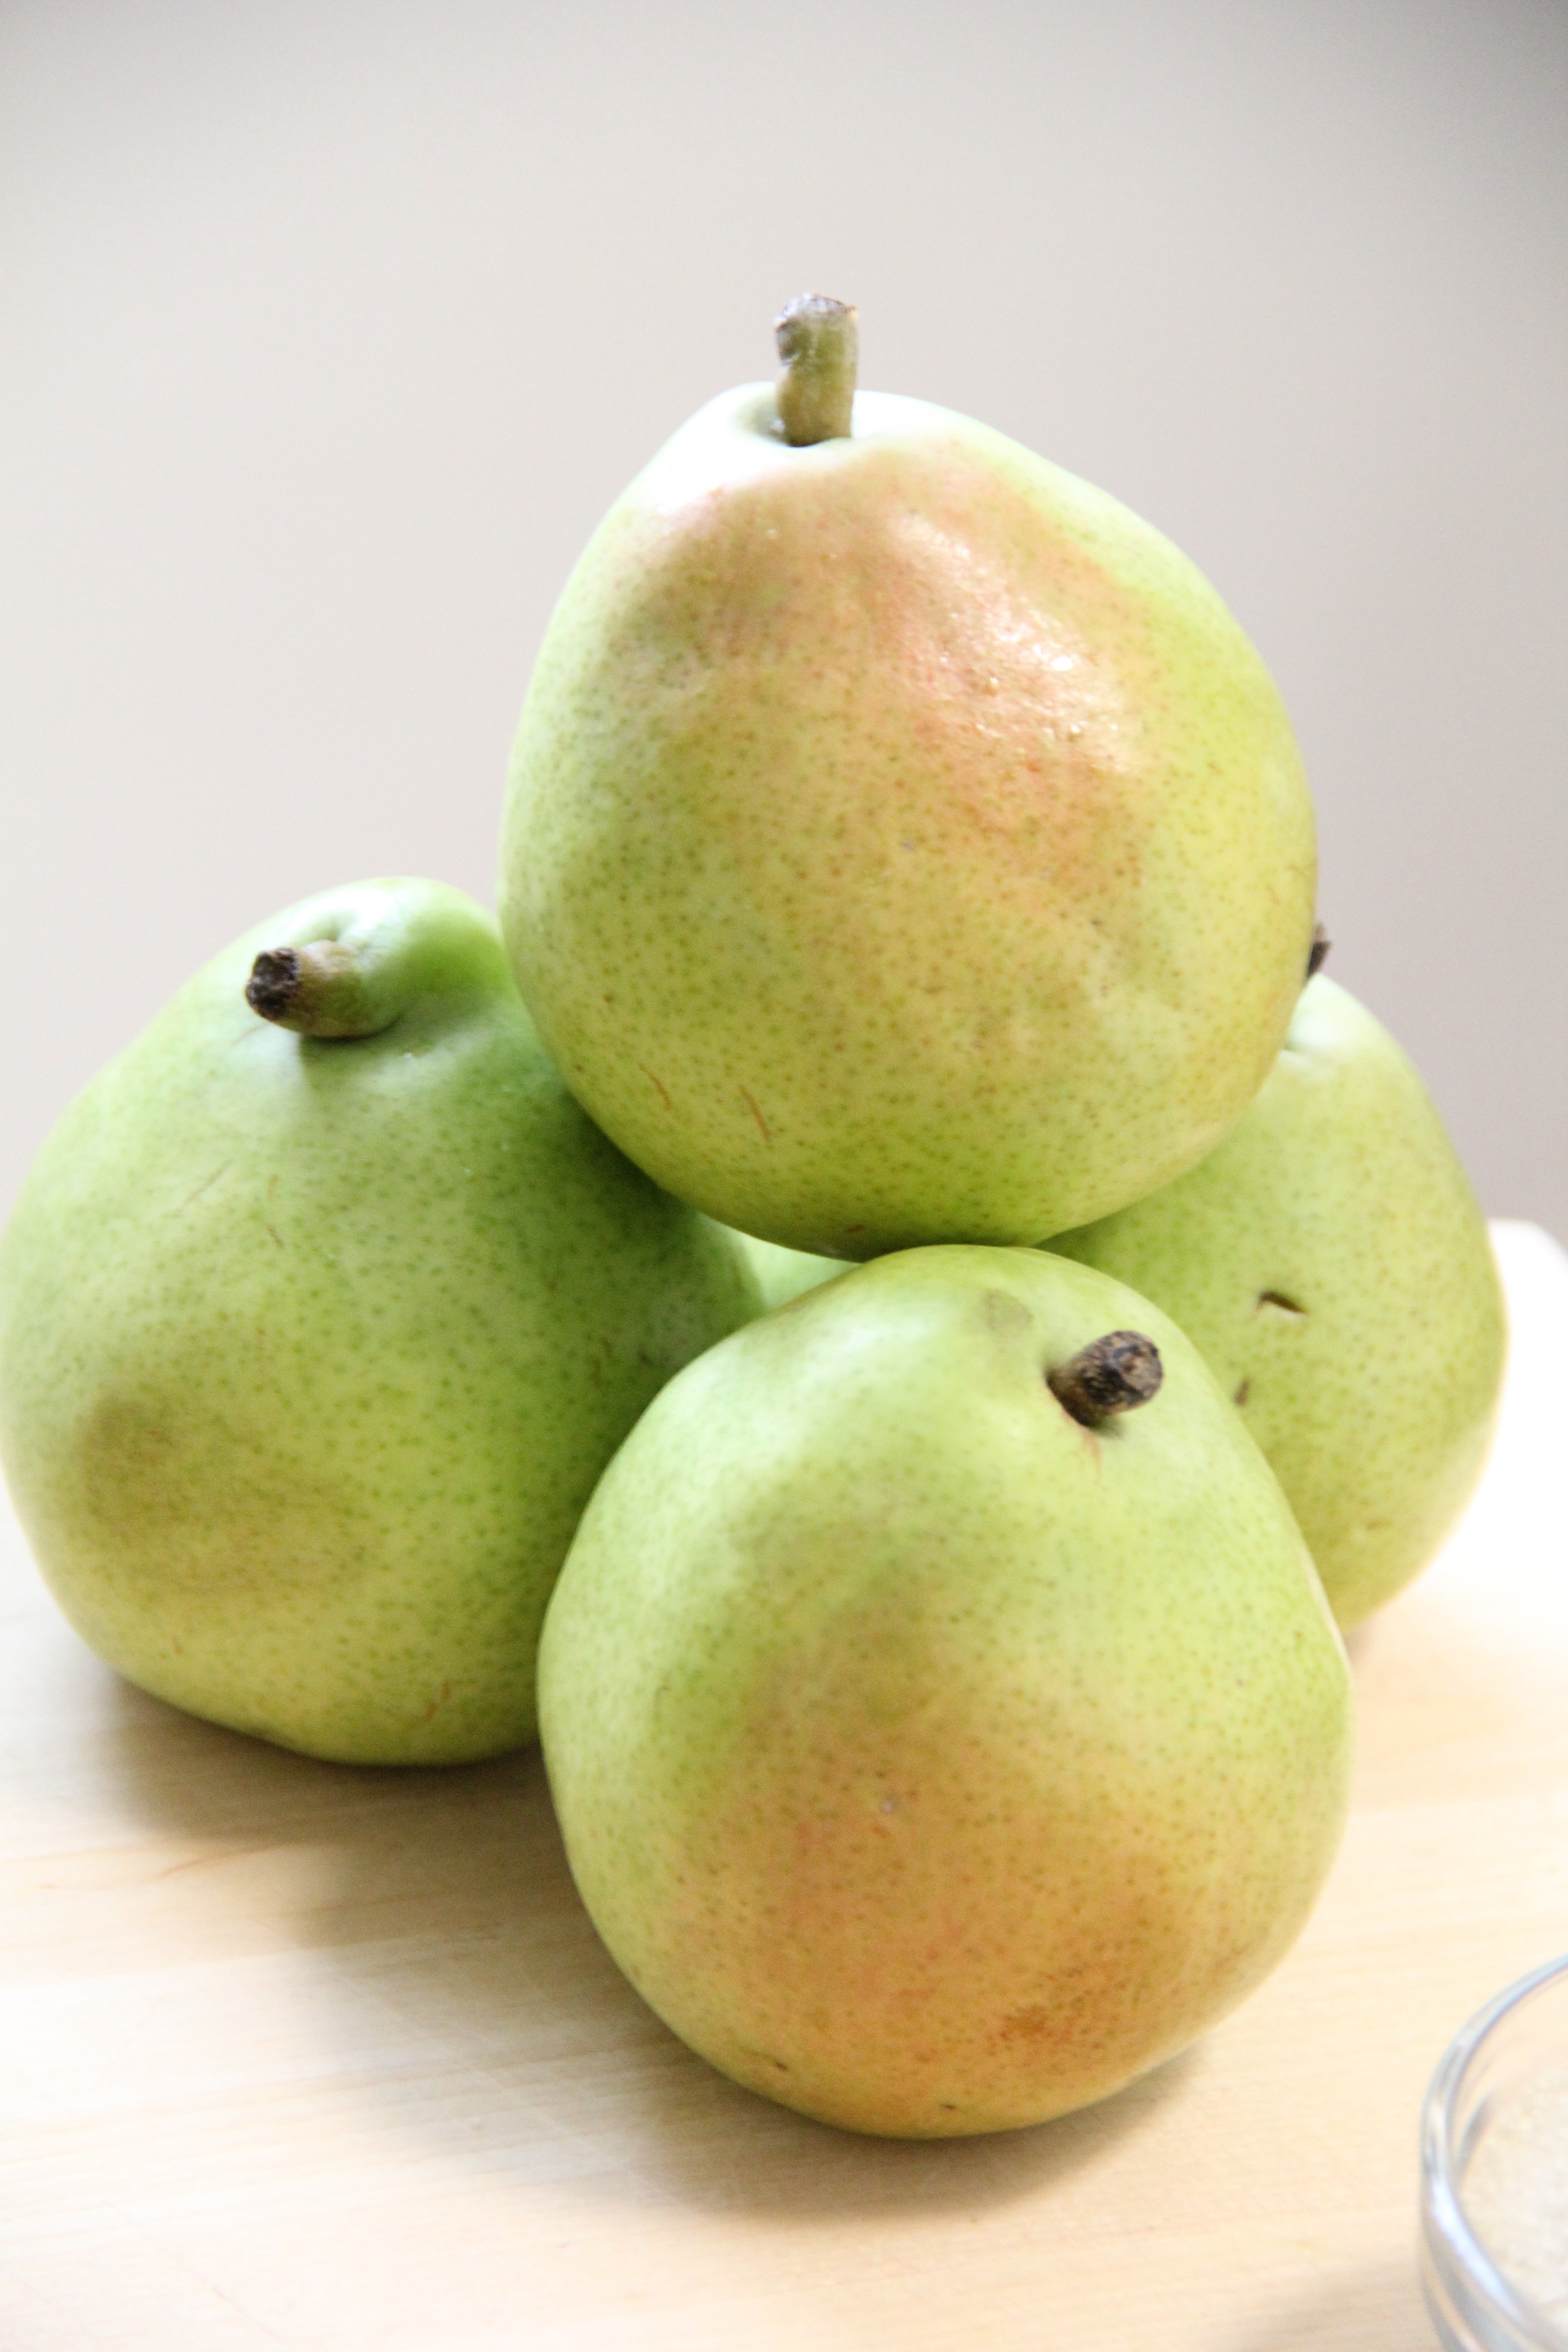
- 4 - 6 D'Anjou Pears
- 1 Bottle Sauvignon Blanc (ex. Napa Cellars Sauvignon Blanc)
- Juice of 5 Lemons
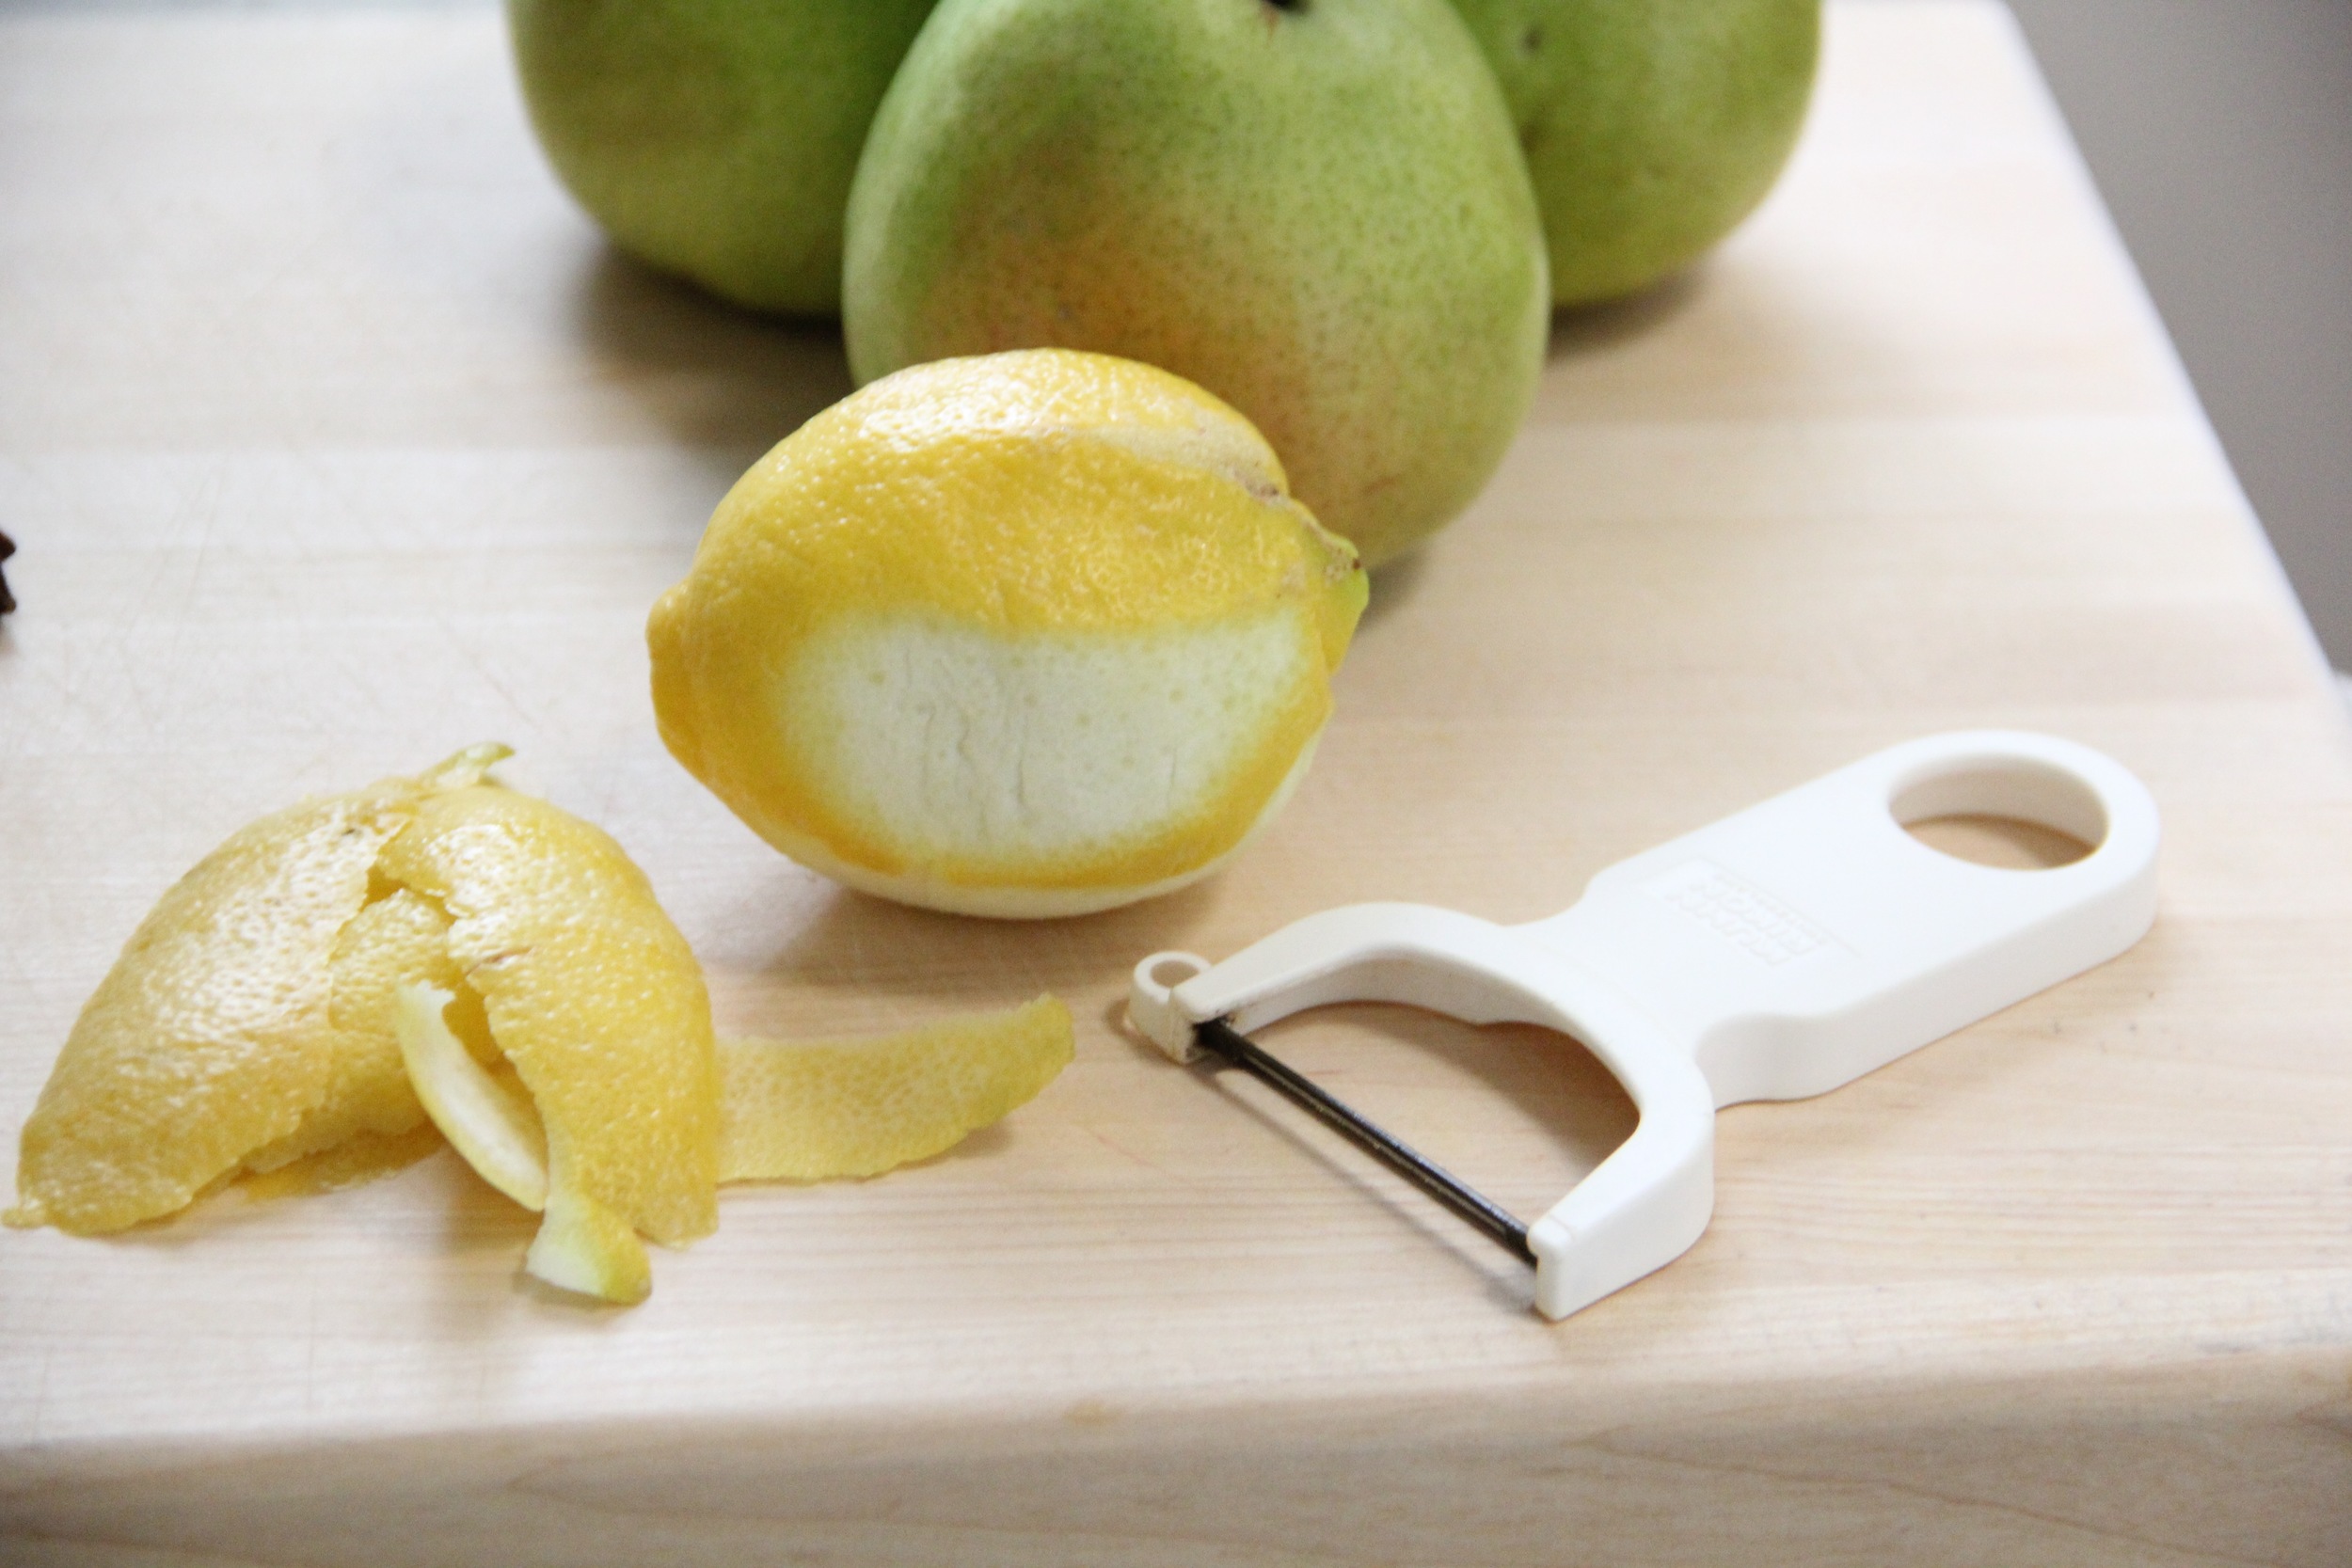
- Peel of Half of a Lemon
- 1 Vanilla Bean (cut in half)
- 1/2 cup Sugar
- 2c Water
- 1 Star of Anise
- Heavy Whipping Cream
- 2 Tbs Powdered Sugar
- 1 tsp Vanilla Extract
- Fresh Summer Berries

Instructions
- In a medium sized dutch oven, combine the juice of a lemon, bottle of wine, sugar, vanilla bean, lemon peel, water and anise.
- Cover with a lid and begin to heat on a medium/high setting
- Meanwhile, pour the juice of remaining lemons into a large bowl
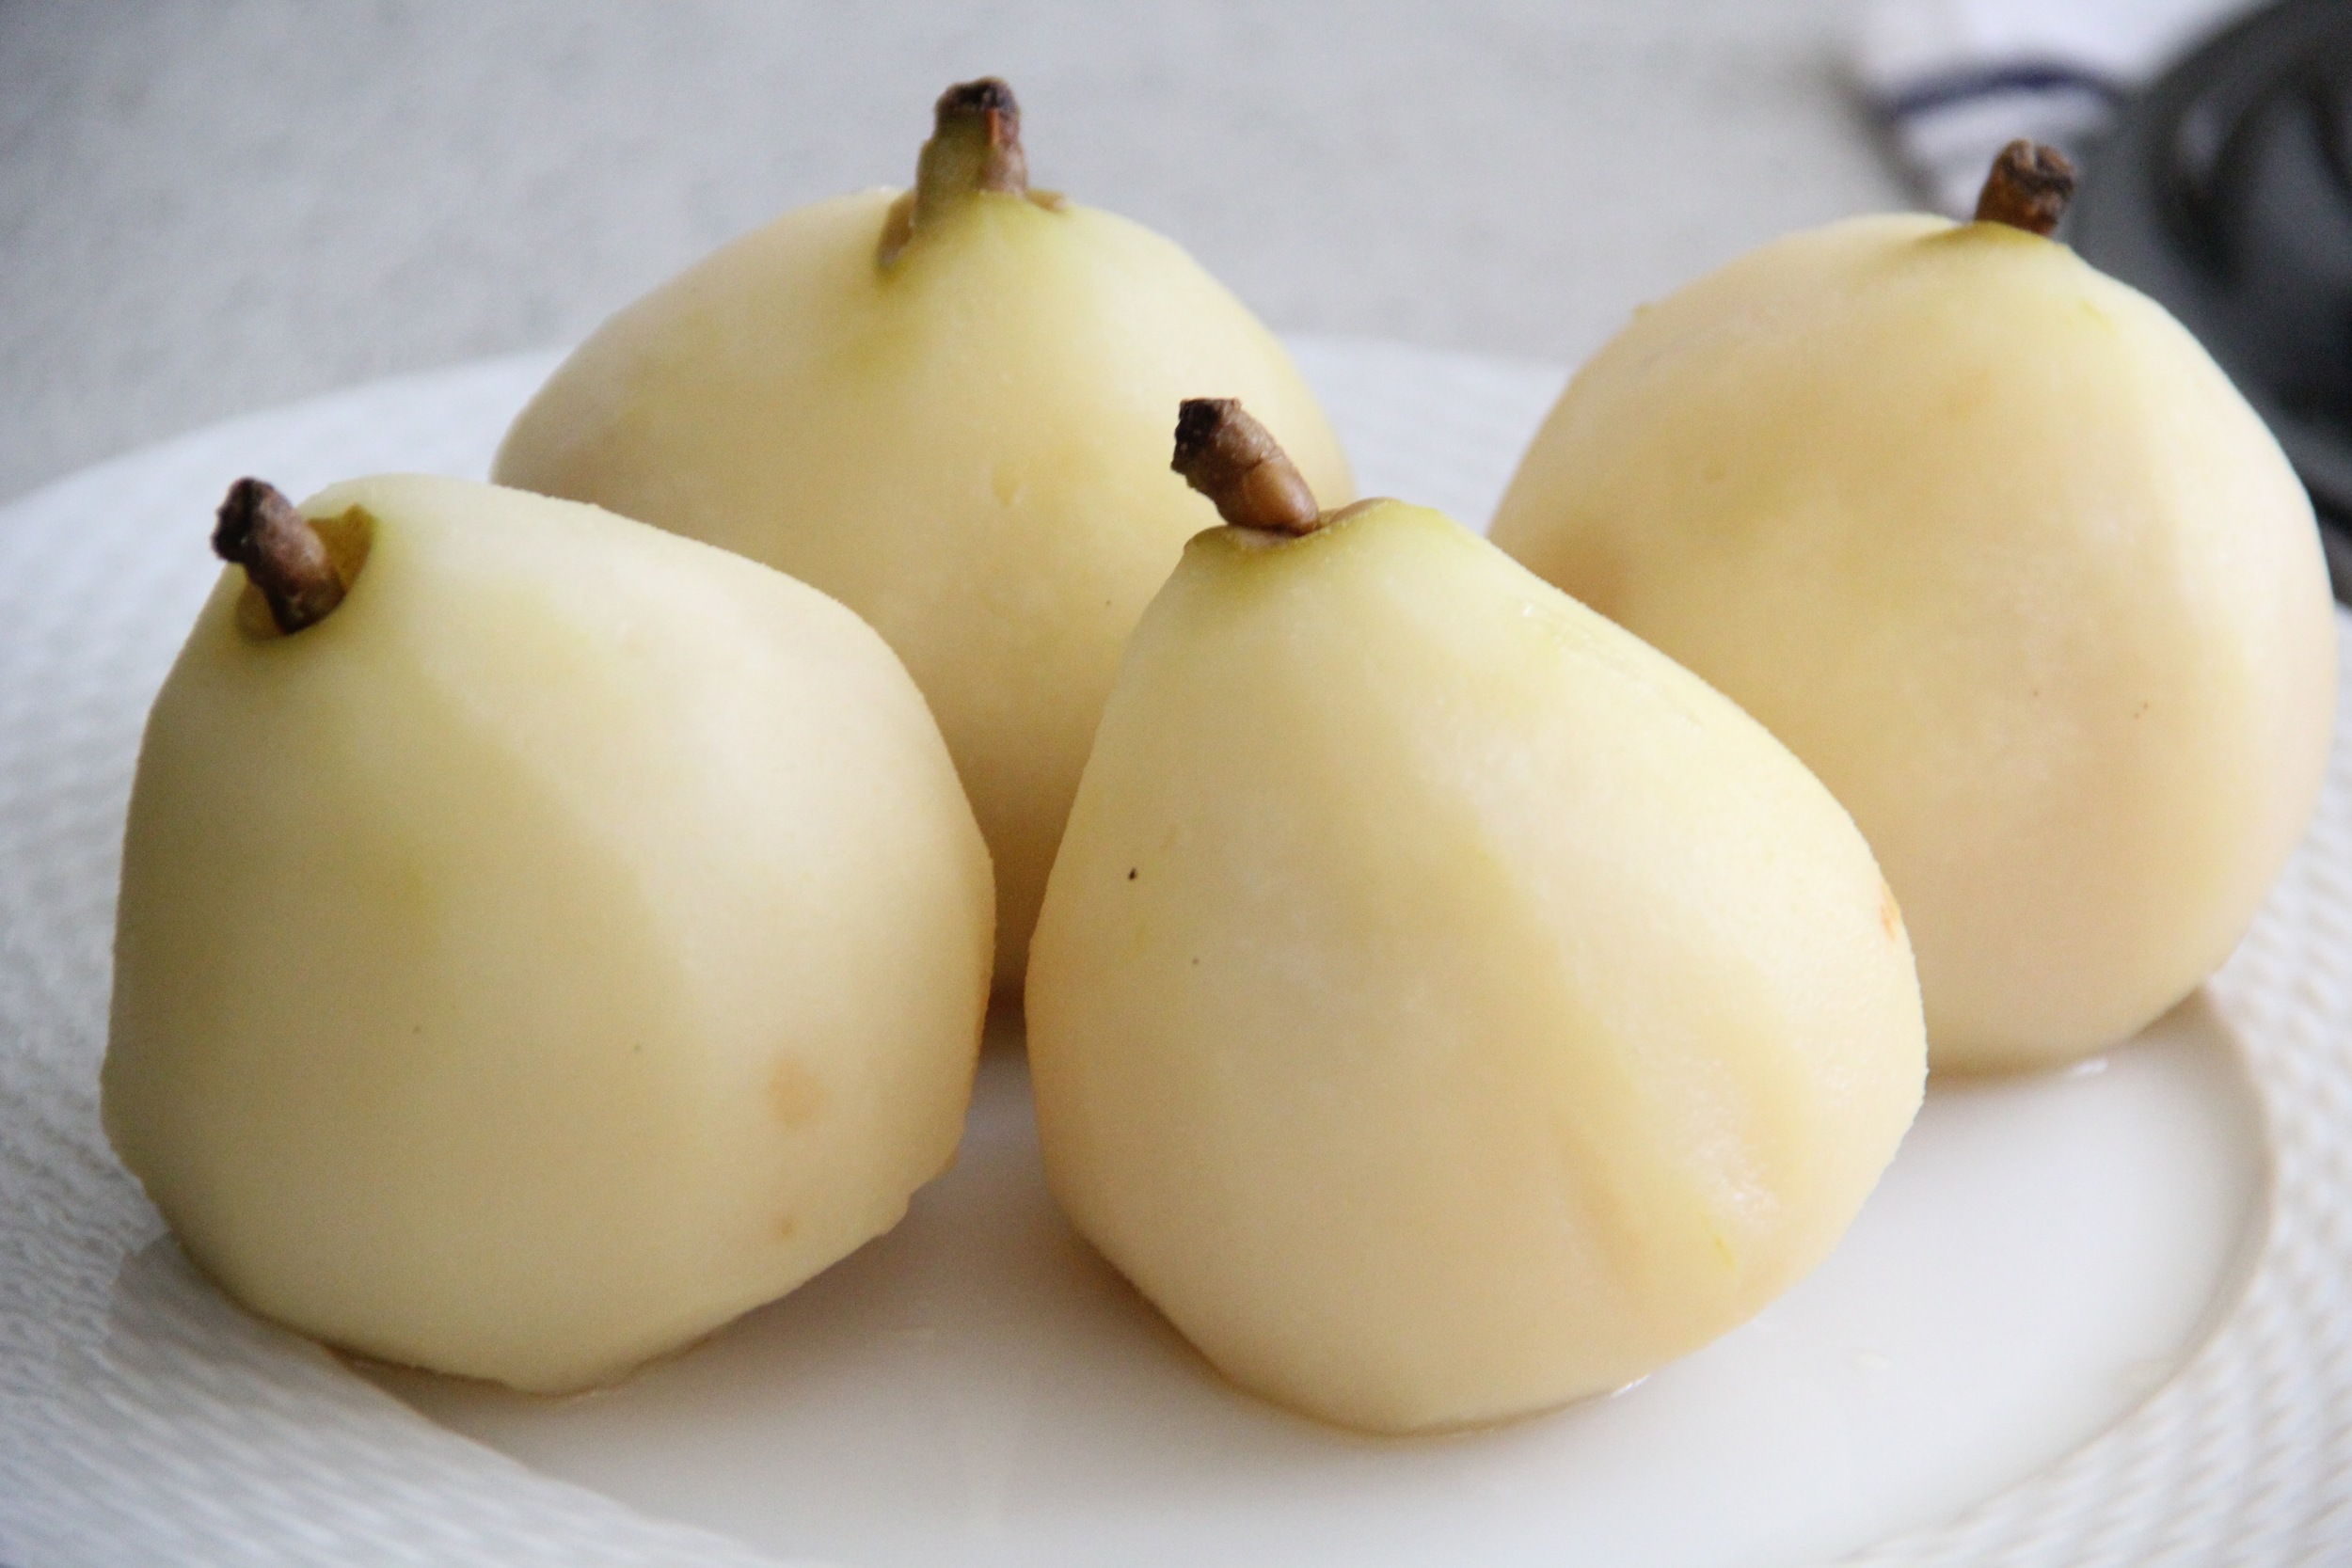
- Peel pears and place in the bowl with lemon juice making sure to thoroughly coat each pear to prevent browning
- When the liquid in the dutch oven reaches a boil, gently place the pears in the boiling liquid, cover and allow contents to boil for 25 minutes. *Note- When the pear is cooked, you should be able to pierce through the pear without any resistance.
- While the pears are cooking, in a separate bowl combine 1 cup of heavy whipping cream, vanilla extract and powdered sugar
- Use a hand mixer on a high setting to whip the cream until semi stiff peaks are achieved
- When pears are finished cooking, gently remove them from the boiling liquid and set aside on a plate to cool.
- Continue cooking the liquid for another 45 minutes (roughly) until the liquid reduces down into a syrup that can coat the back of a spoon.
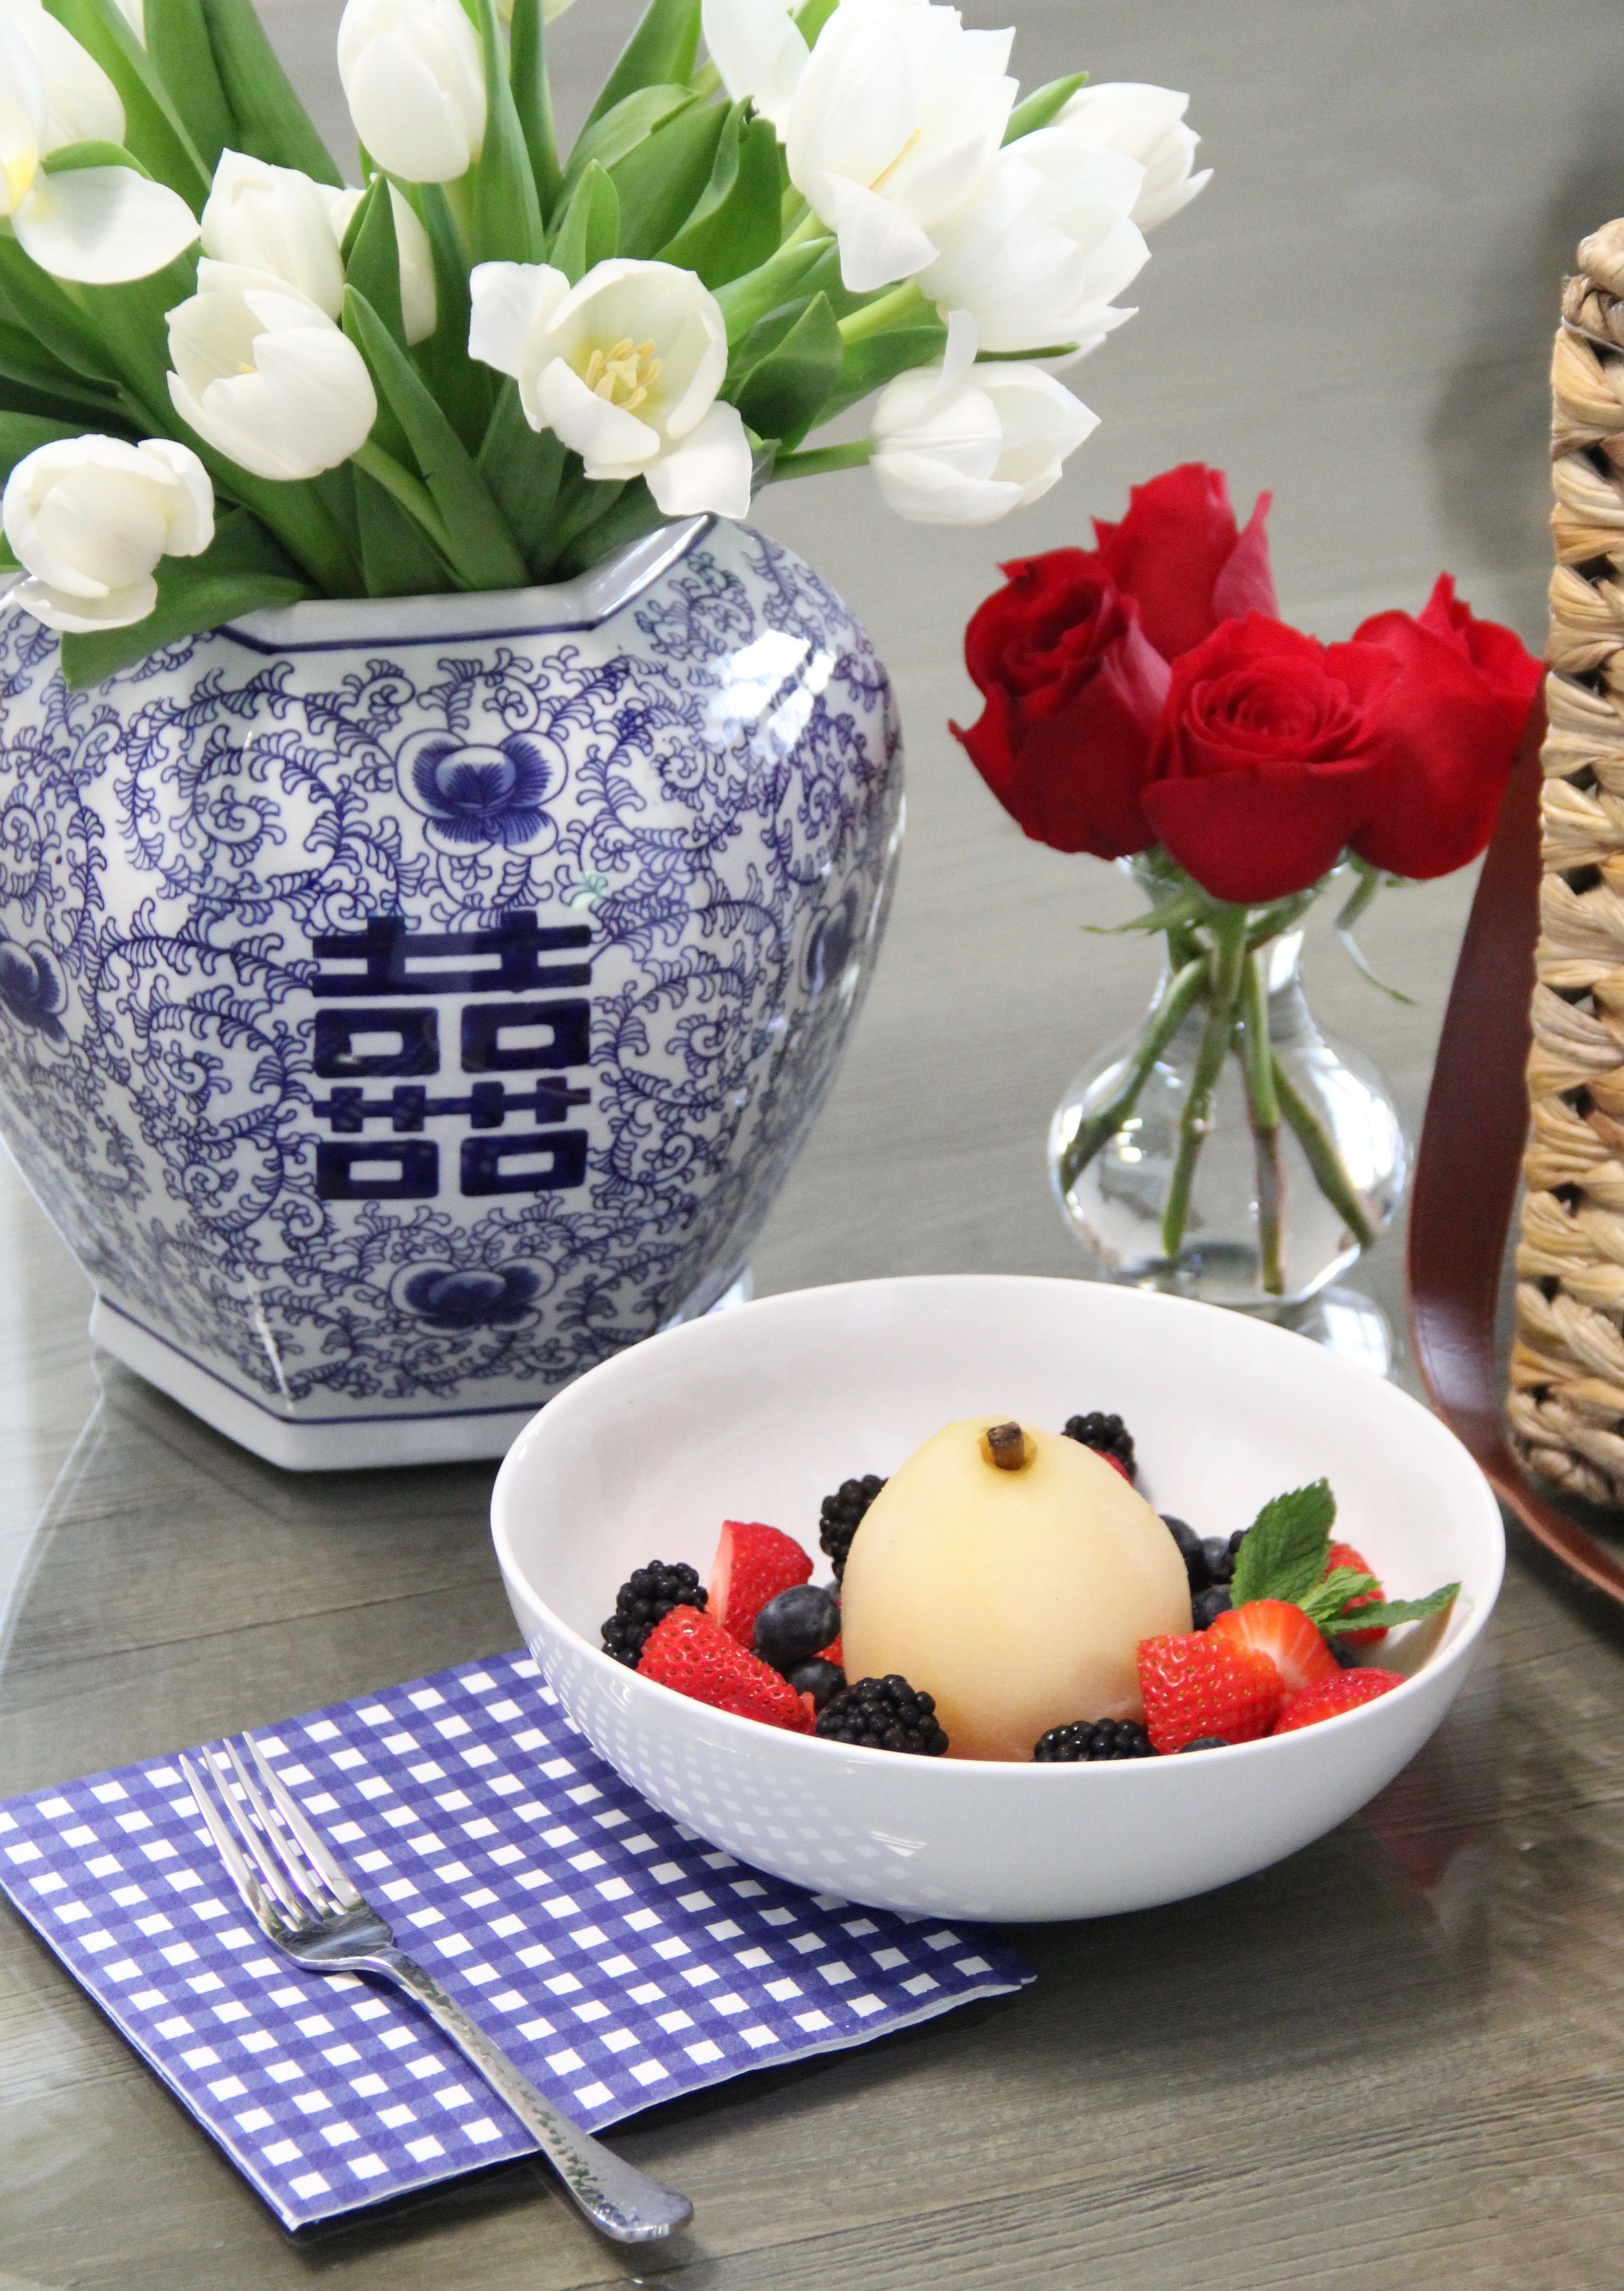
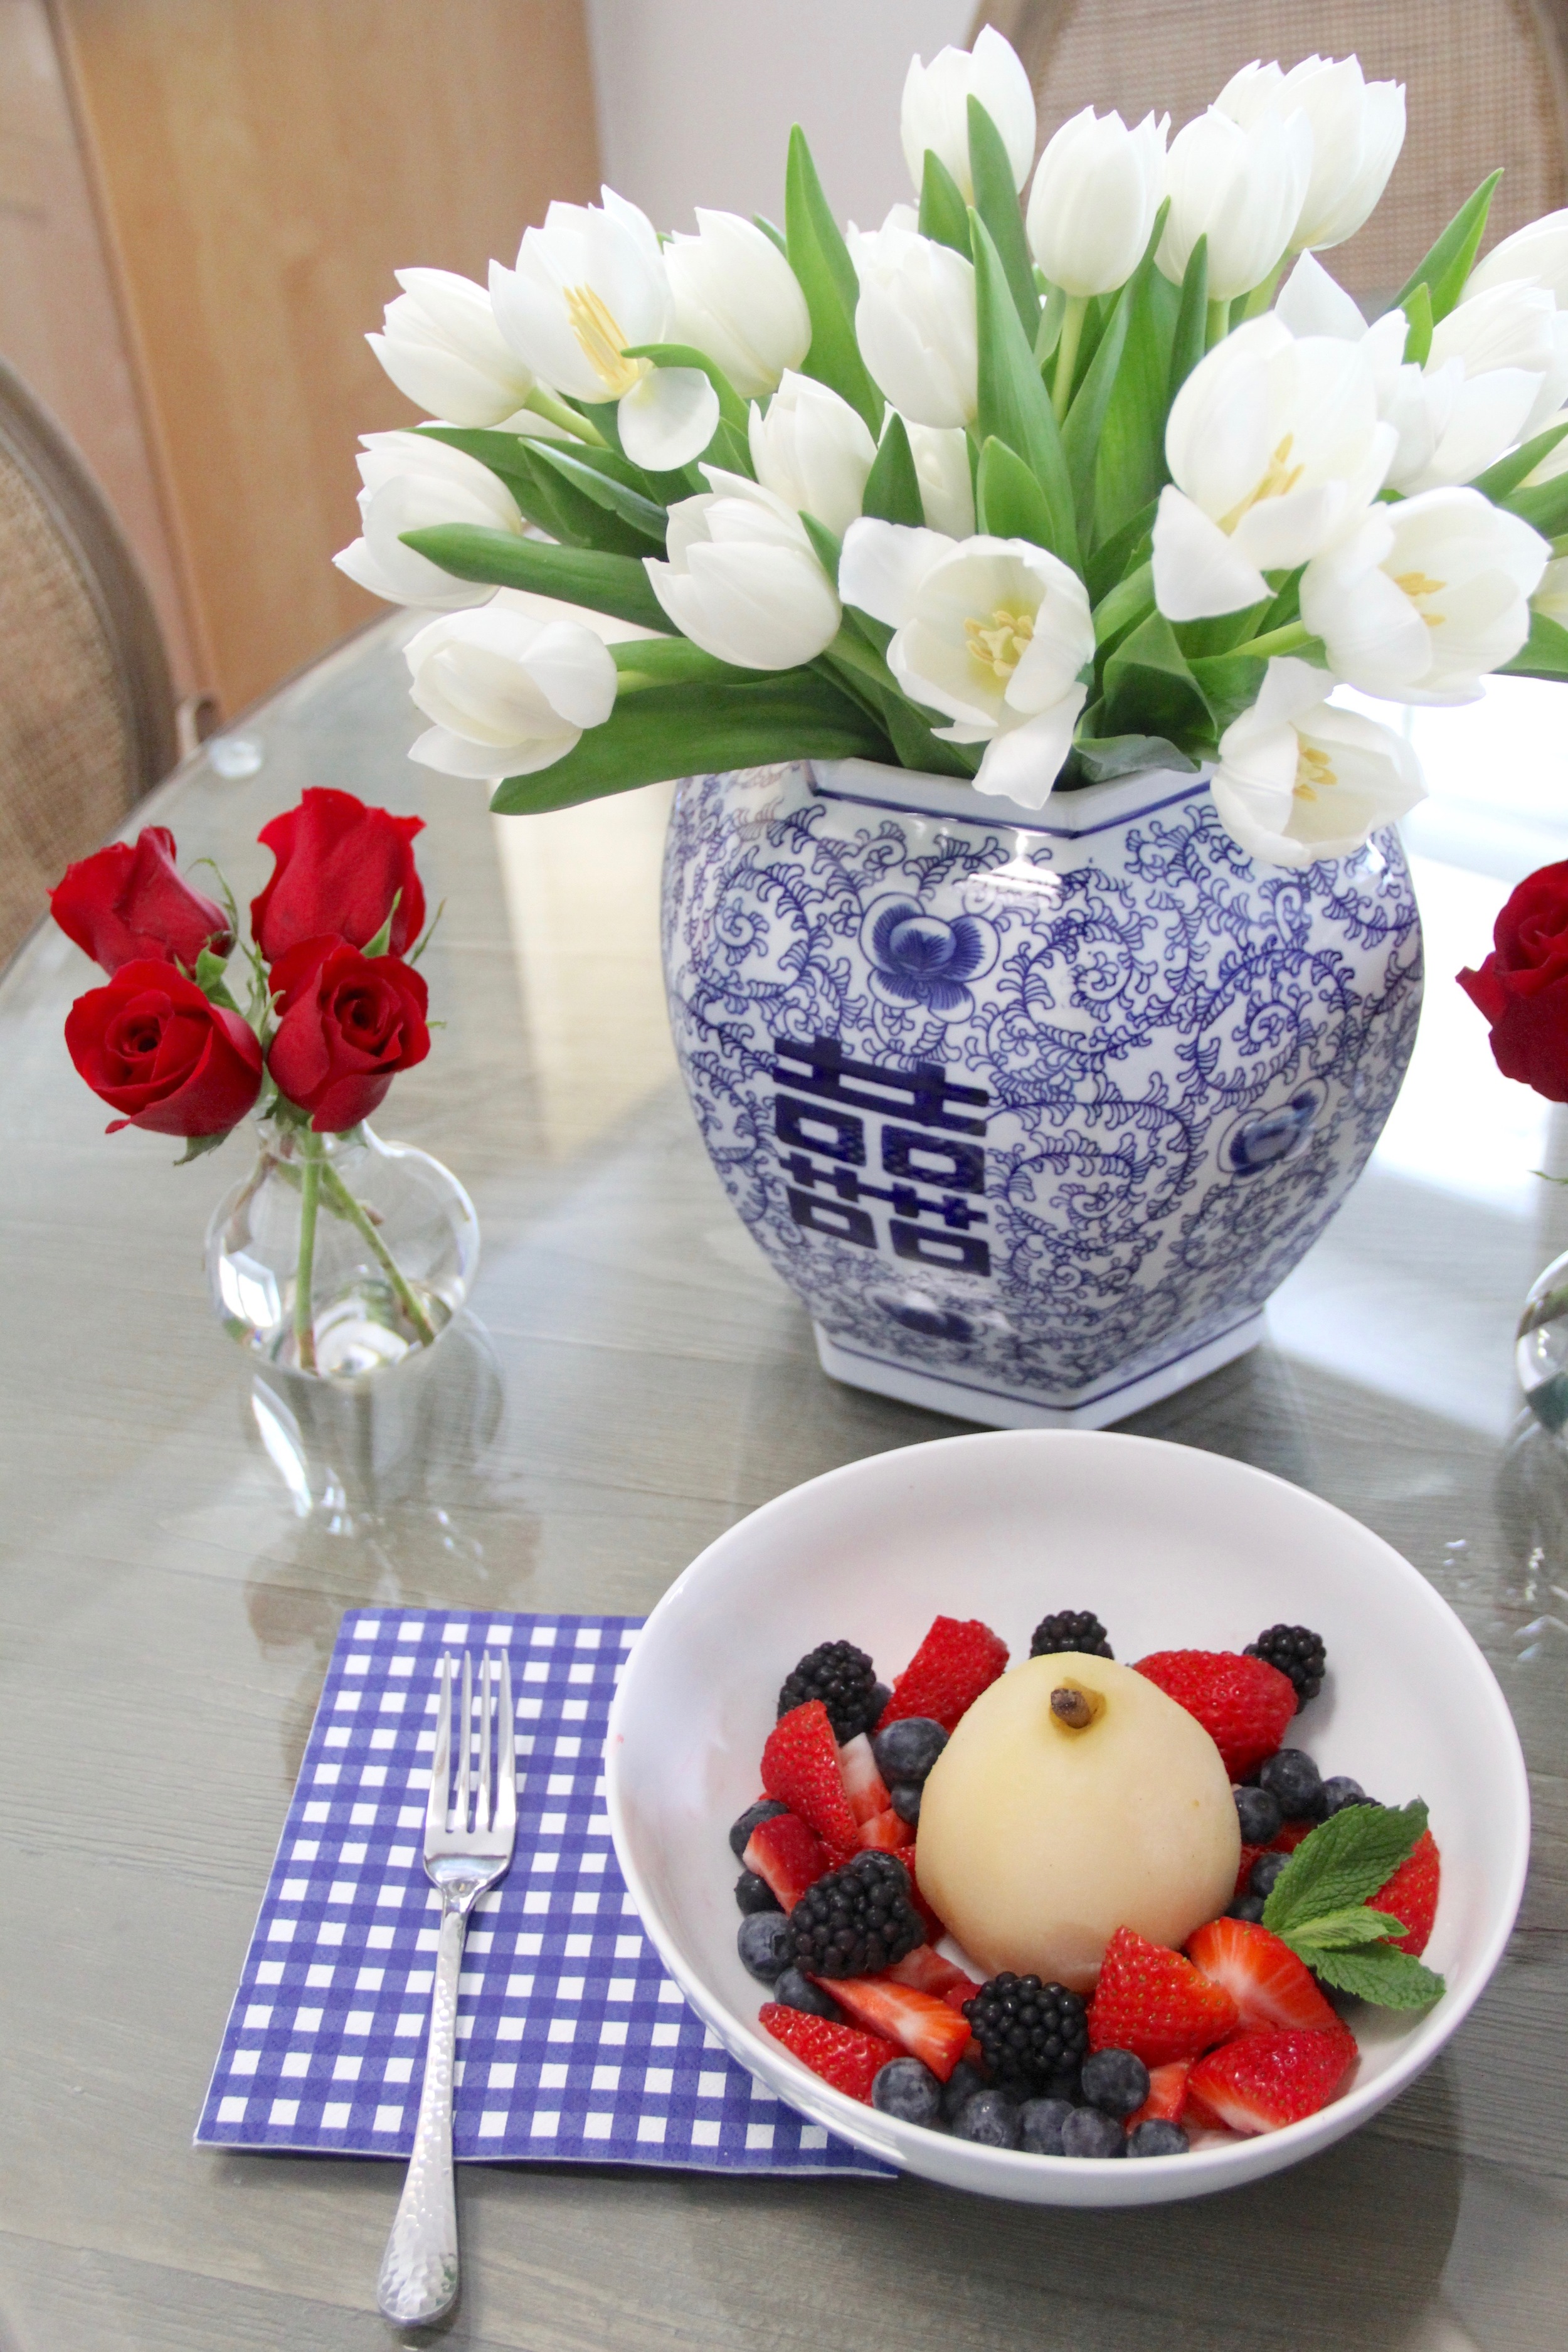
- Serve pears with a mix of seasonal fresh berries, a dollop of whipped cream, sprig of fresh mint and drizzle of the poaching syrup.