Tips for Making Pizza at Home

My husband and I have been trying to make an effort to cook together more often.  I certainly enjoy cooking on my own, but cooking together as a couple has been a nice change of pace from our standard wine and a movie date night.  Over this past weekend we decided to make homemade pizzas.  We didn't come up with this idea until Sunday afternoon, so in an effort to keep things from getting too complex, we decided to buy the pre-made pizza dough at the store and then roll it out and assemble the pizzas ourselves.  

In order to make this date night happen, we needed to make 2 stops on our Sunday errand run.  The first was to our local kitchen supply store for a pizza stone.  I had been wanting the Emile Henry Rectangular Pizza Stone for some time now and this was the perfect excuse to get it.   A pizza stone really does make a huge difference when cooking your pizza, but if you're not looking to add another piece of bakeware to your kitchen, a cookie sheet works just as well.  The second stop was to the grocery store to pick up the pre-made pizza dough (both white and whole wheat), veggies, cheese, basil, pizza sauce and pepperoni.  

When we arrived back home I immediately got to work setting up the pizza making station.  It wasn't until I had laid out all of the ingredients and went to preheat the oven that I realized the pre-made dough we had purchased did not come with cooking instructions!  Who sells a product without instructions?!?  

I took a moment to collect myself and then did what anyone would do in this situation, I Googled it.  The results of my search made me realize that there was a need in the market. Not one resource I found provided me with all of the necessary information needed for making homemade pizzas.  After much research, I was eventually able to piecemeal together a set of instructions for making these pizzas and put my newly harvested information to the test.  There was definitely a period of trial and error during this process but in the end I was able to achieve home made pizza success.  Below I have compiled a list of my favorite tips for making homemade pizza, along with a set of instructions in the event that you ever fall victim to the same situation I did (purchasing a bag of pre-made pizza dough sans cooking instructions).   

Dough Prep 

  1. Let your store-bought dough come up to room temperature or at least close to room temperature in order to make the dough easier to roll out.
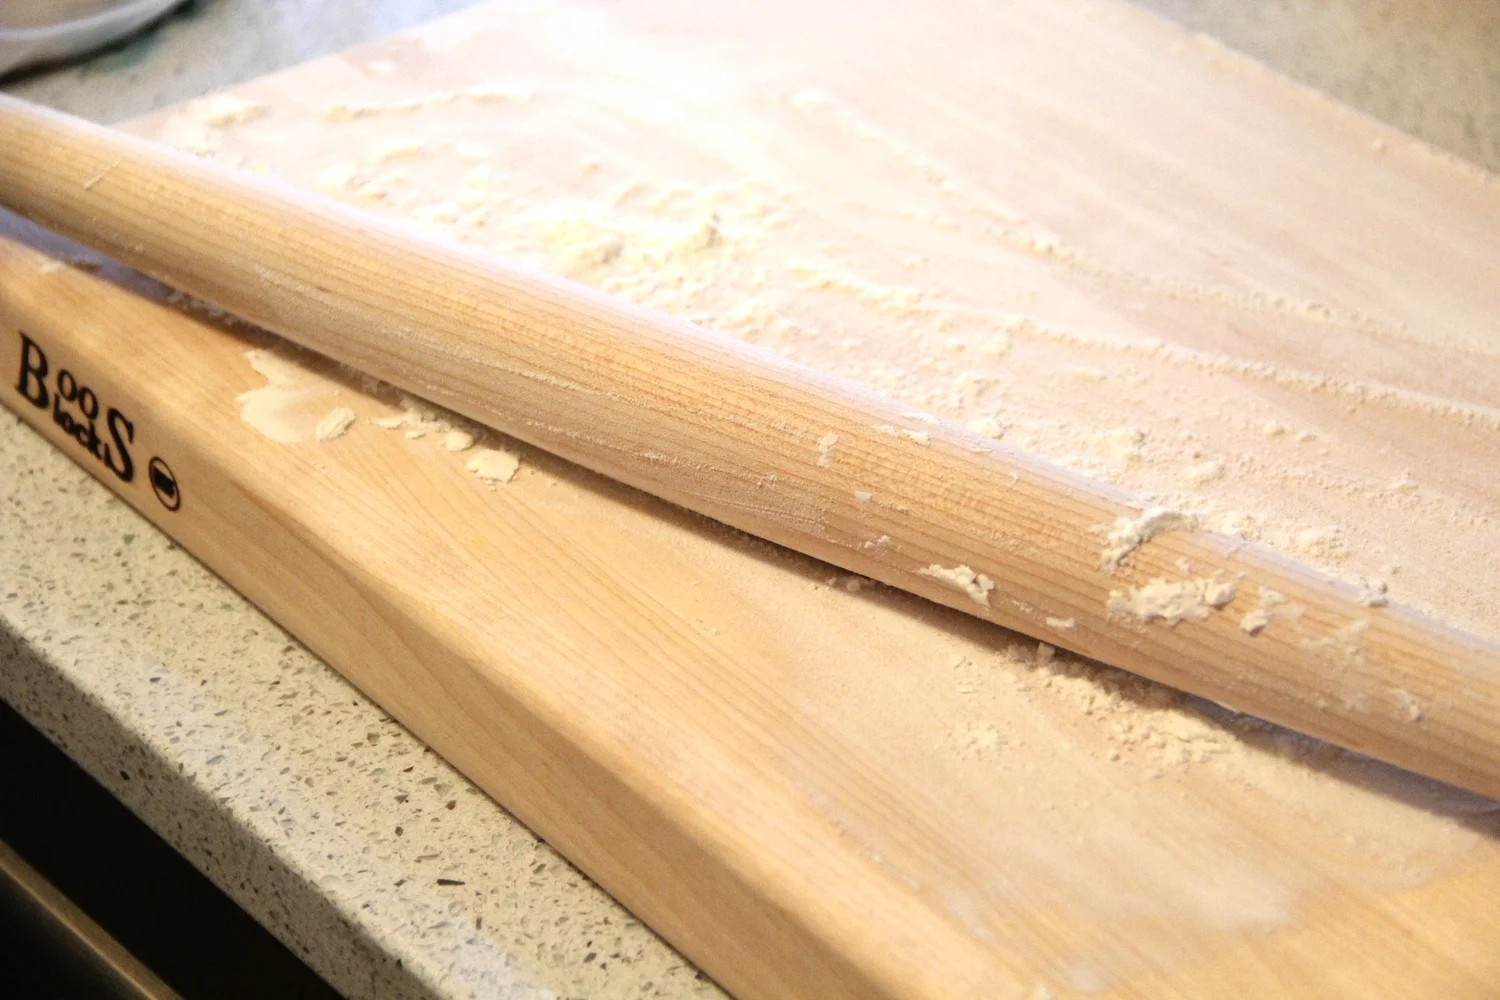
  2. Once the dough has been brought up to about room temperature, generously flour the rolling surface and your dough.  
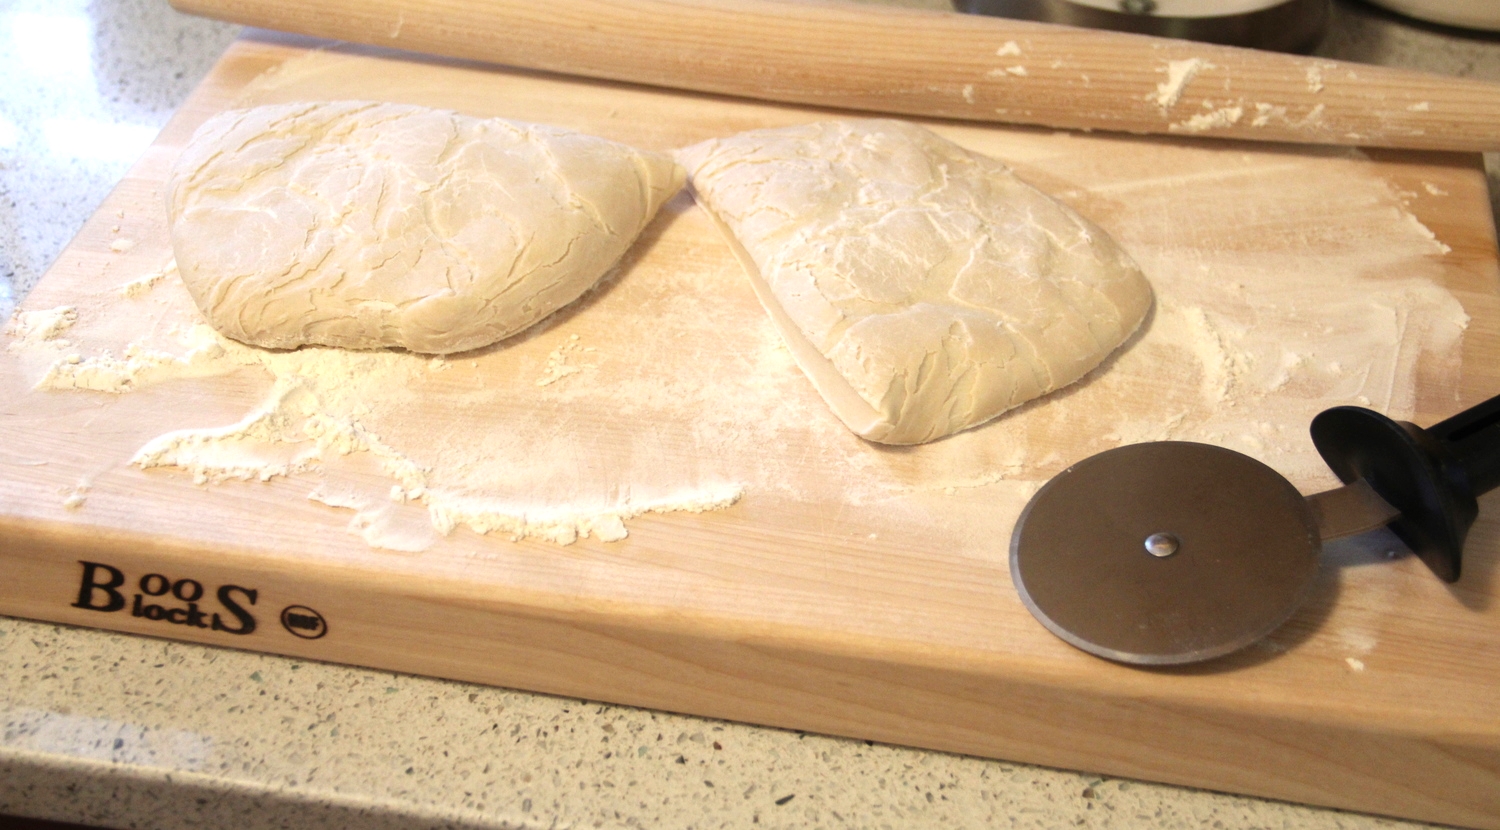
  3. Use a pizza cutter to cut the dough in half (store half in the fridge or freezer for later)
  4. Use a rolling pin (I prefer my french pin because I think it provides the most control) to roll out your dough.  **Note- store bought dough tends to have greater elasticity, so this task will require a bit of patience.  It's also okay to intermittently stretch the dough with your hands between rollings. 

Toppings 

Topping are the best part of pizza making in my opinion.  My advice for toppings is two-part:

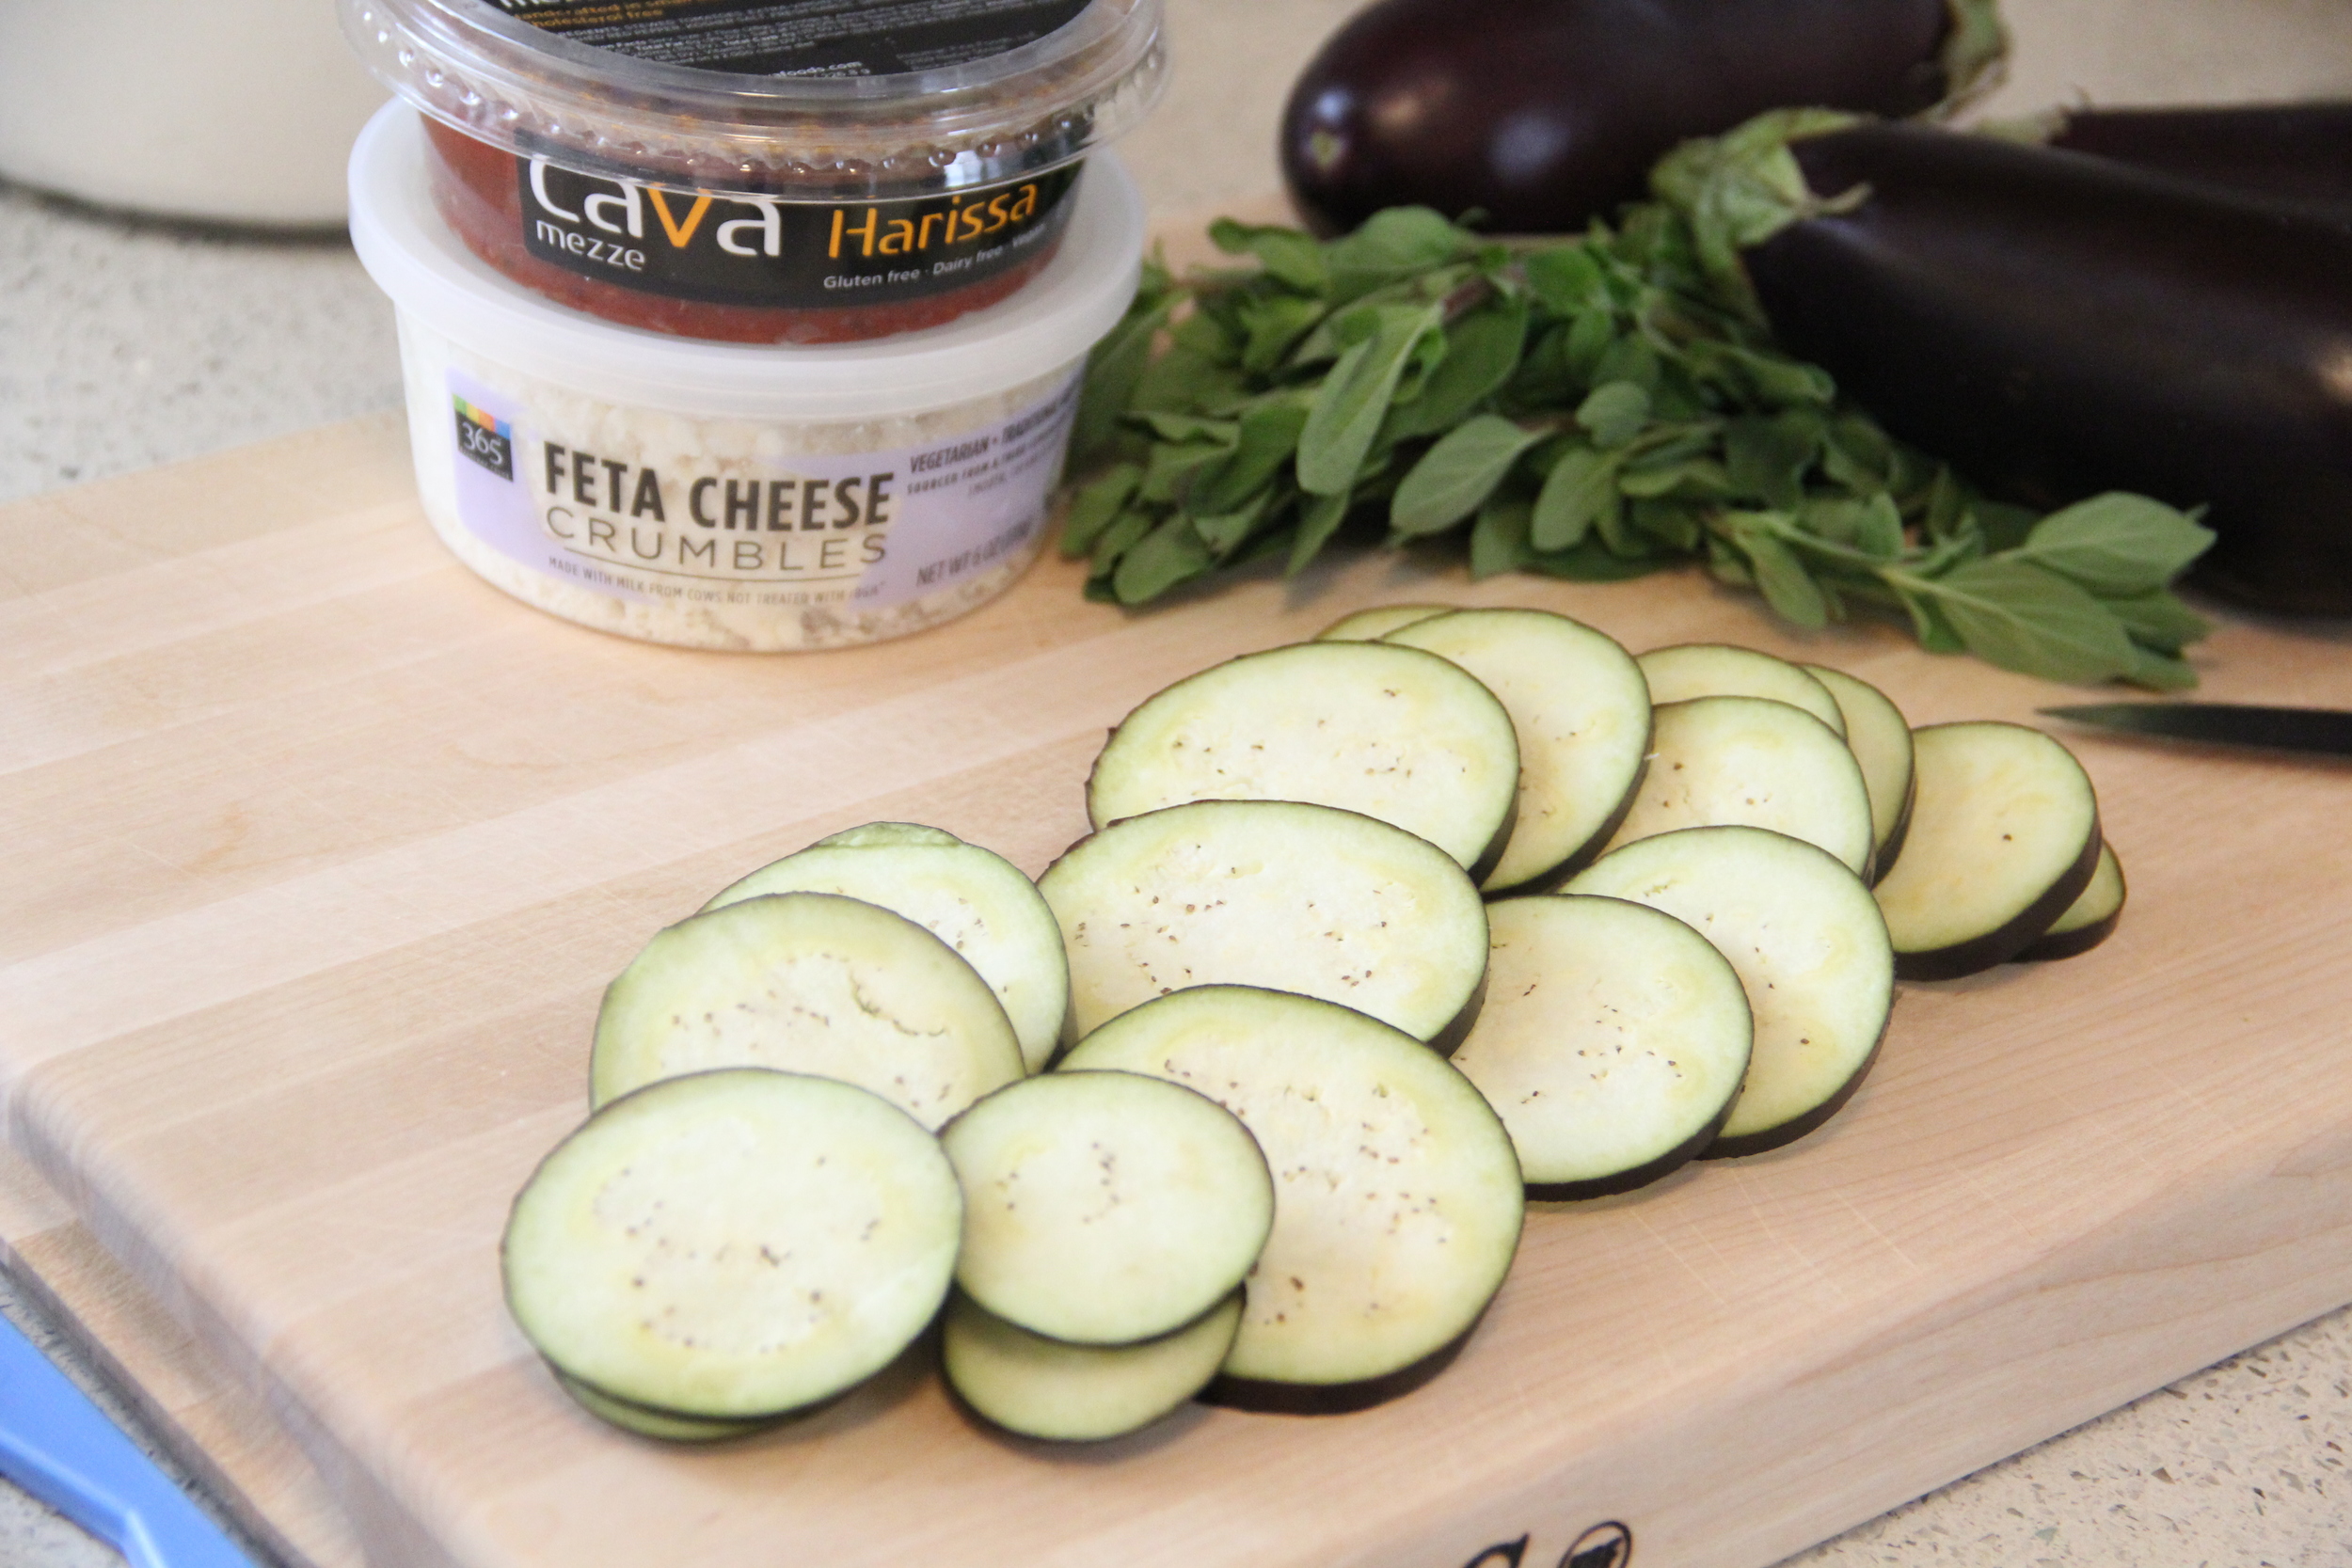
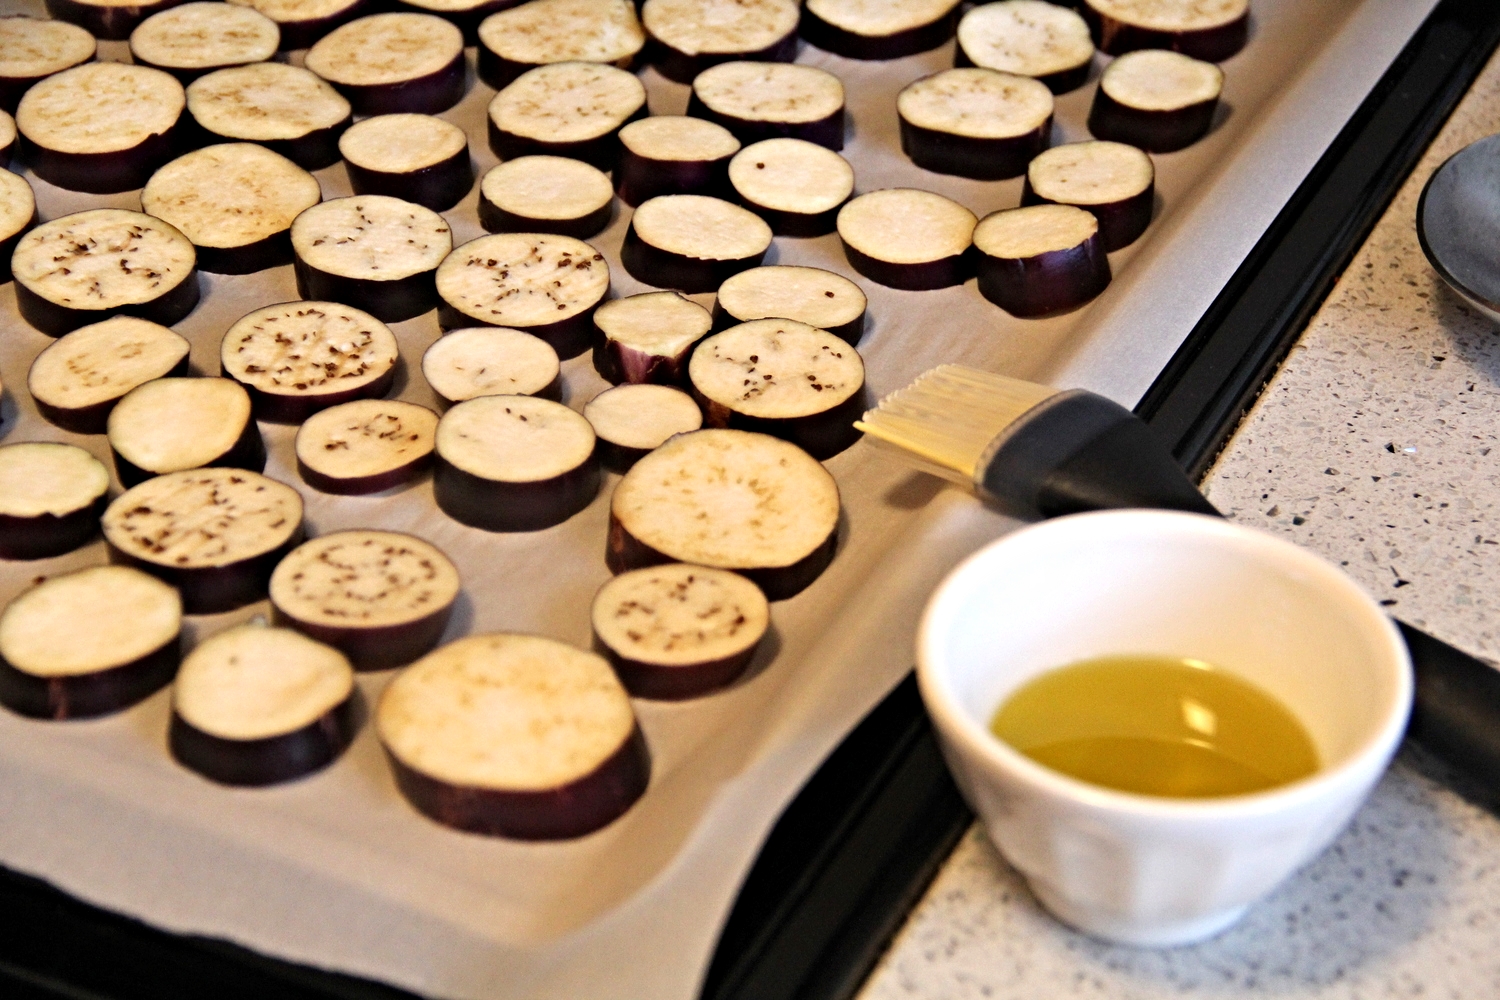
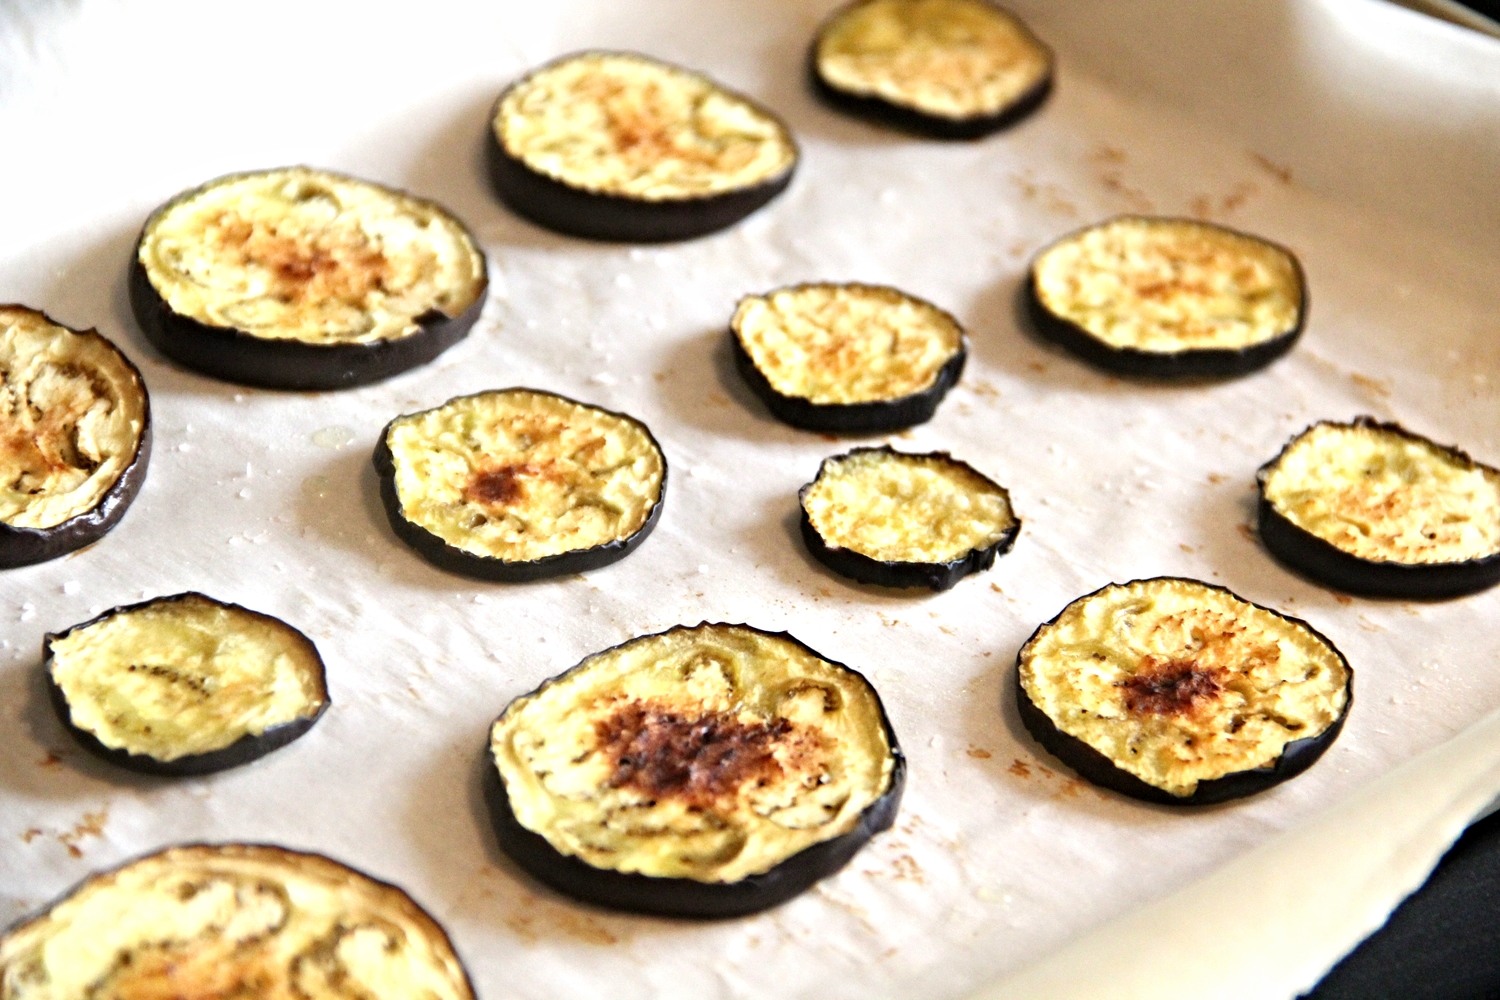
  1. Keep Topping Moisture to a Minimum- if using veggies, cook them in the oven ahead of time to draw out moisture.  In addition, shredded low-moisture mozzarella is better than fresh mozzarella, which is typically sold in a container of cheese water.  Reducing the moisture in elements like cheese and vegetables will help to ensure that your crust stays crisp and doesn't get soggy.  
  2. Do not overload your toppings- I know it's tempting, but don't do it.  Why?  Too many toppings will inhibit the cook time of the center portion of your crust.  In a nutshell- the perimeter will cook faster than the center, thus increasing the likelihood that you will end up with burnt crust and a doughy center.  Moderate toppings that are evenly distributed will help ensure that your pizza cooks evenly.  

Cooking 

  1. Place your oven rack on the bottom third tier
  2. Preheat your oven to 450 degrees Fahrenheit with the pizza stone in the oven
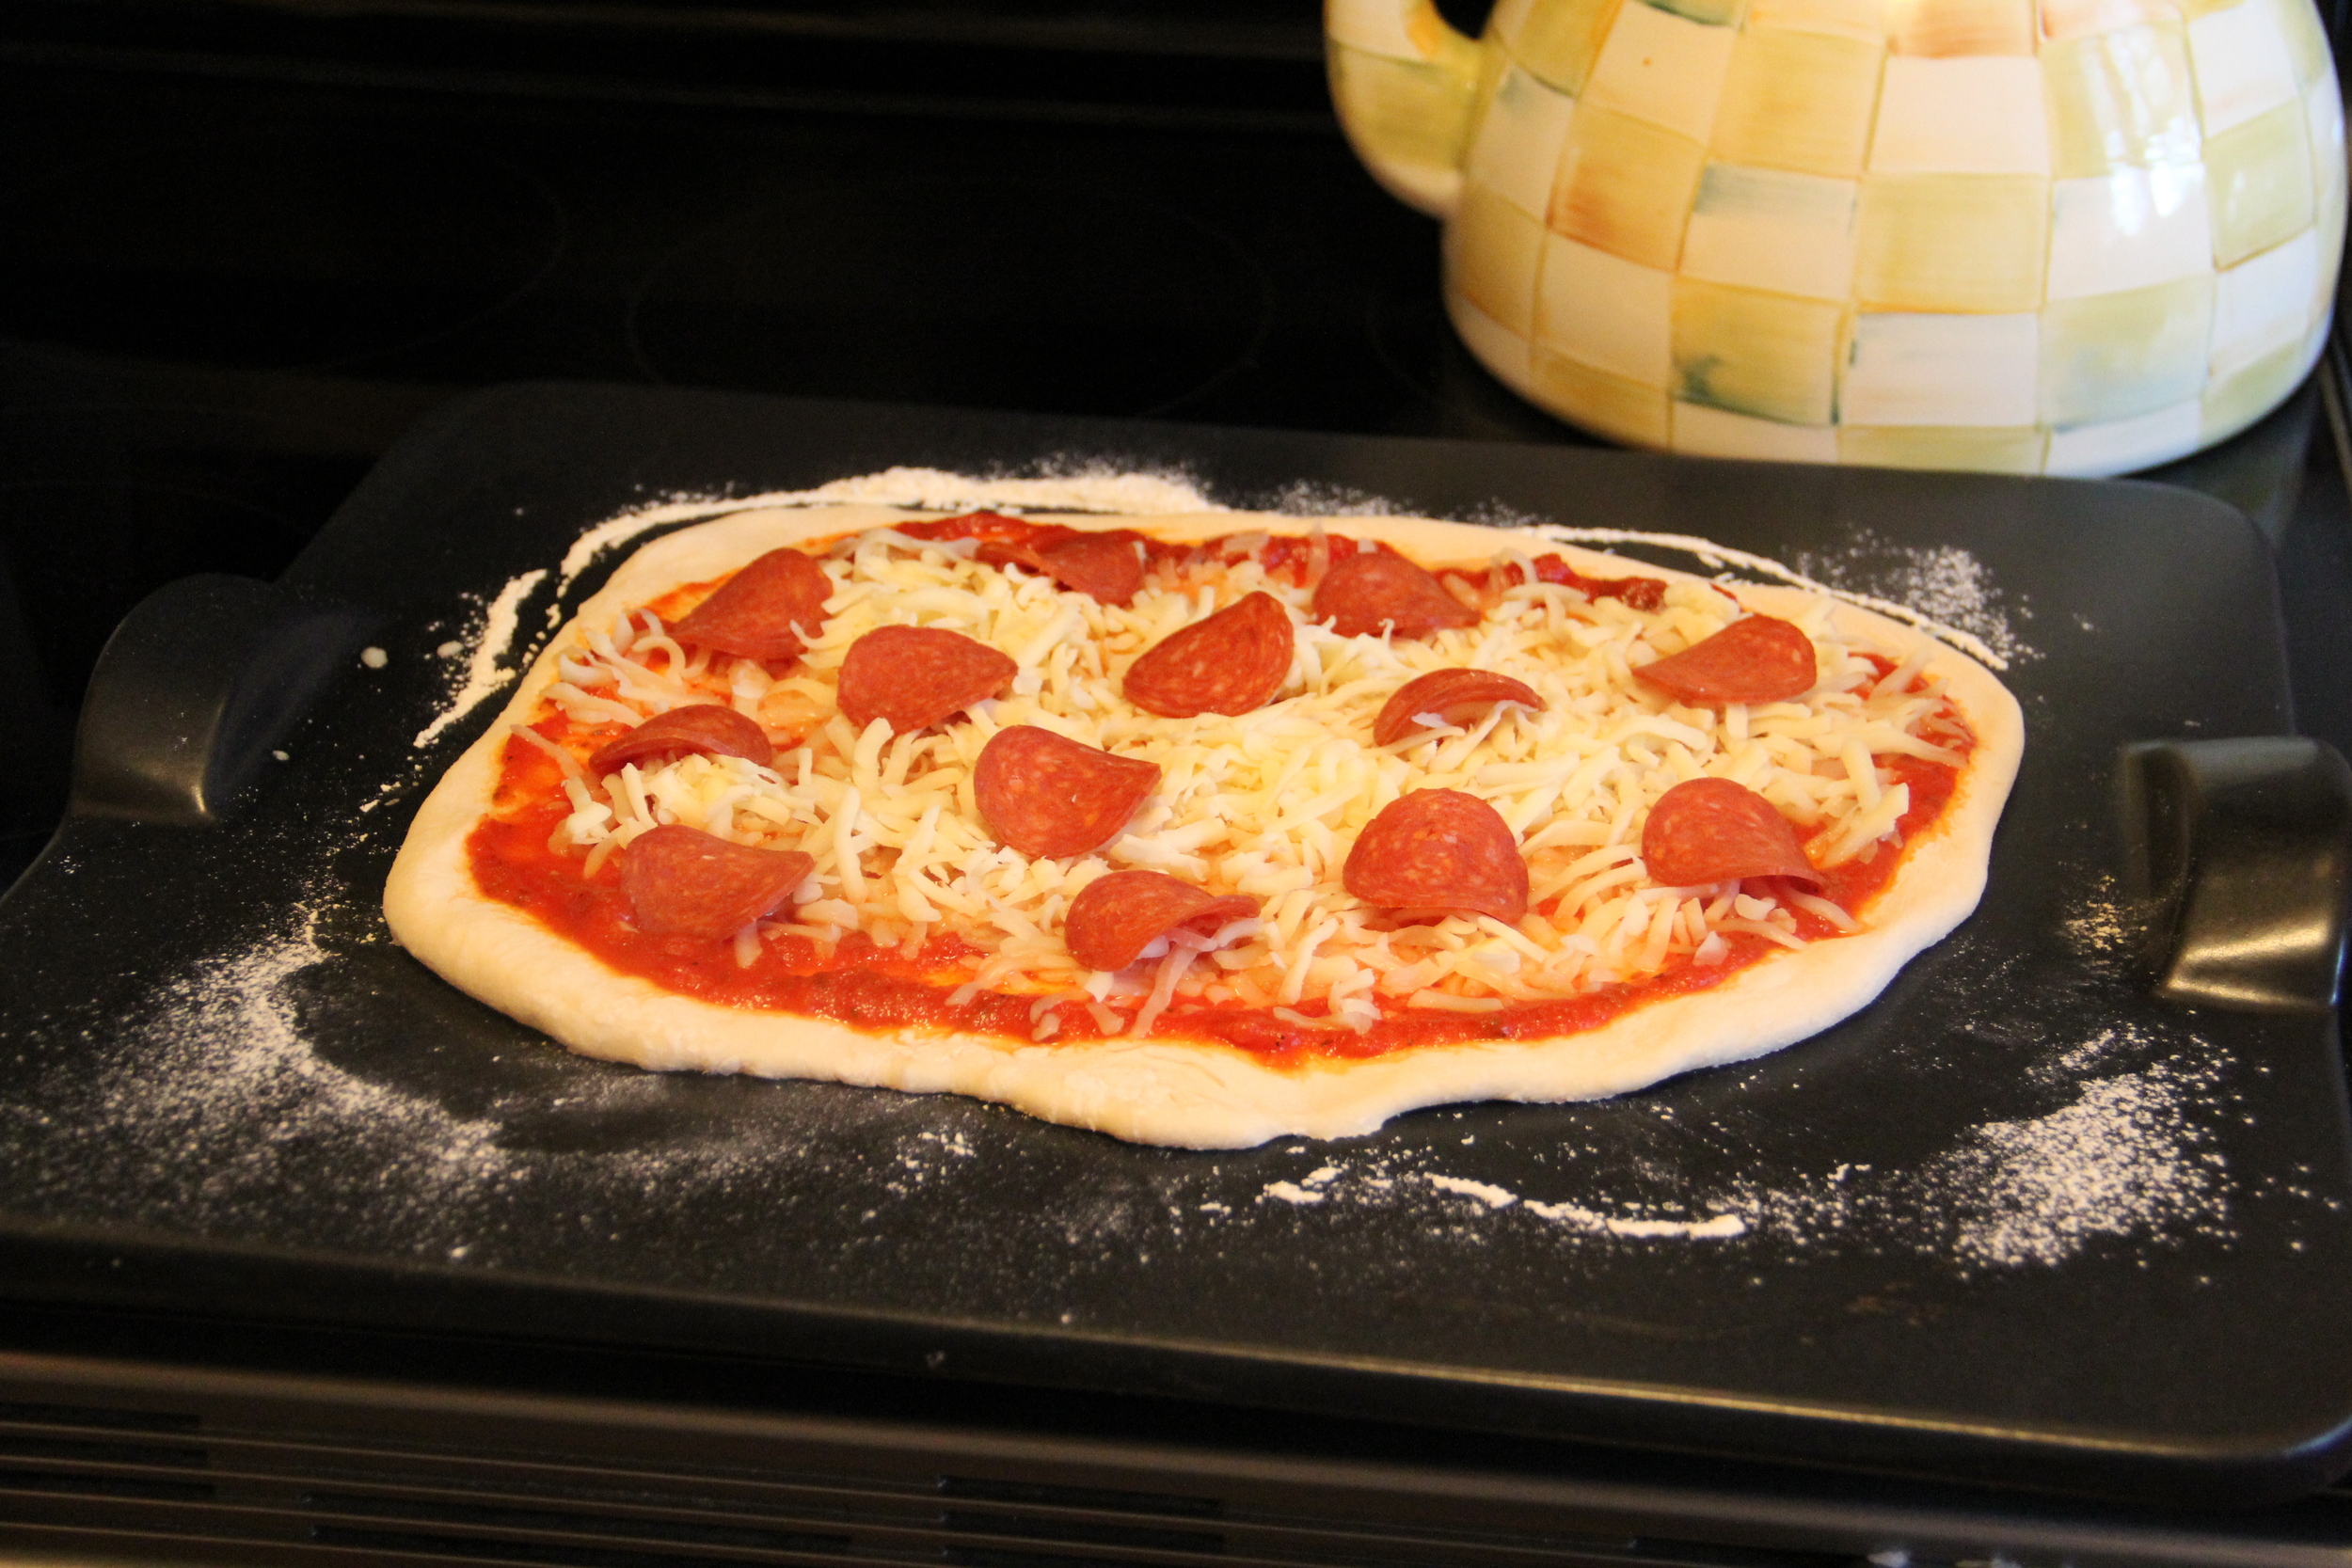
  3. Once your oven reaches 450 degrees Fahrenheit, remove the pizza stone and dust with flour or coarse cornmeal
  4. Lay your rolled dough on top and add all desired toppings
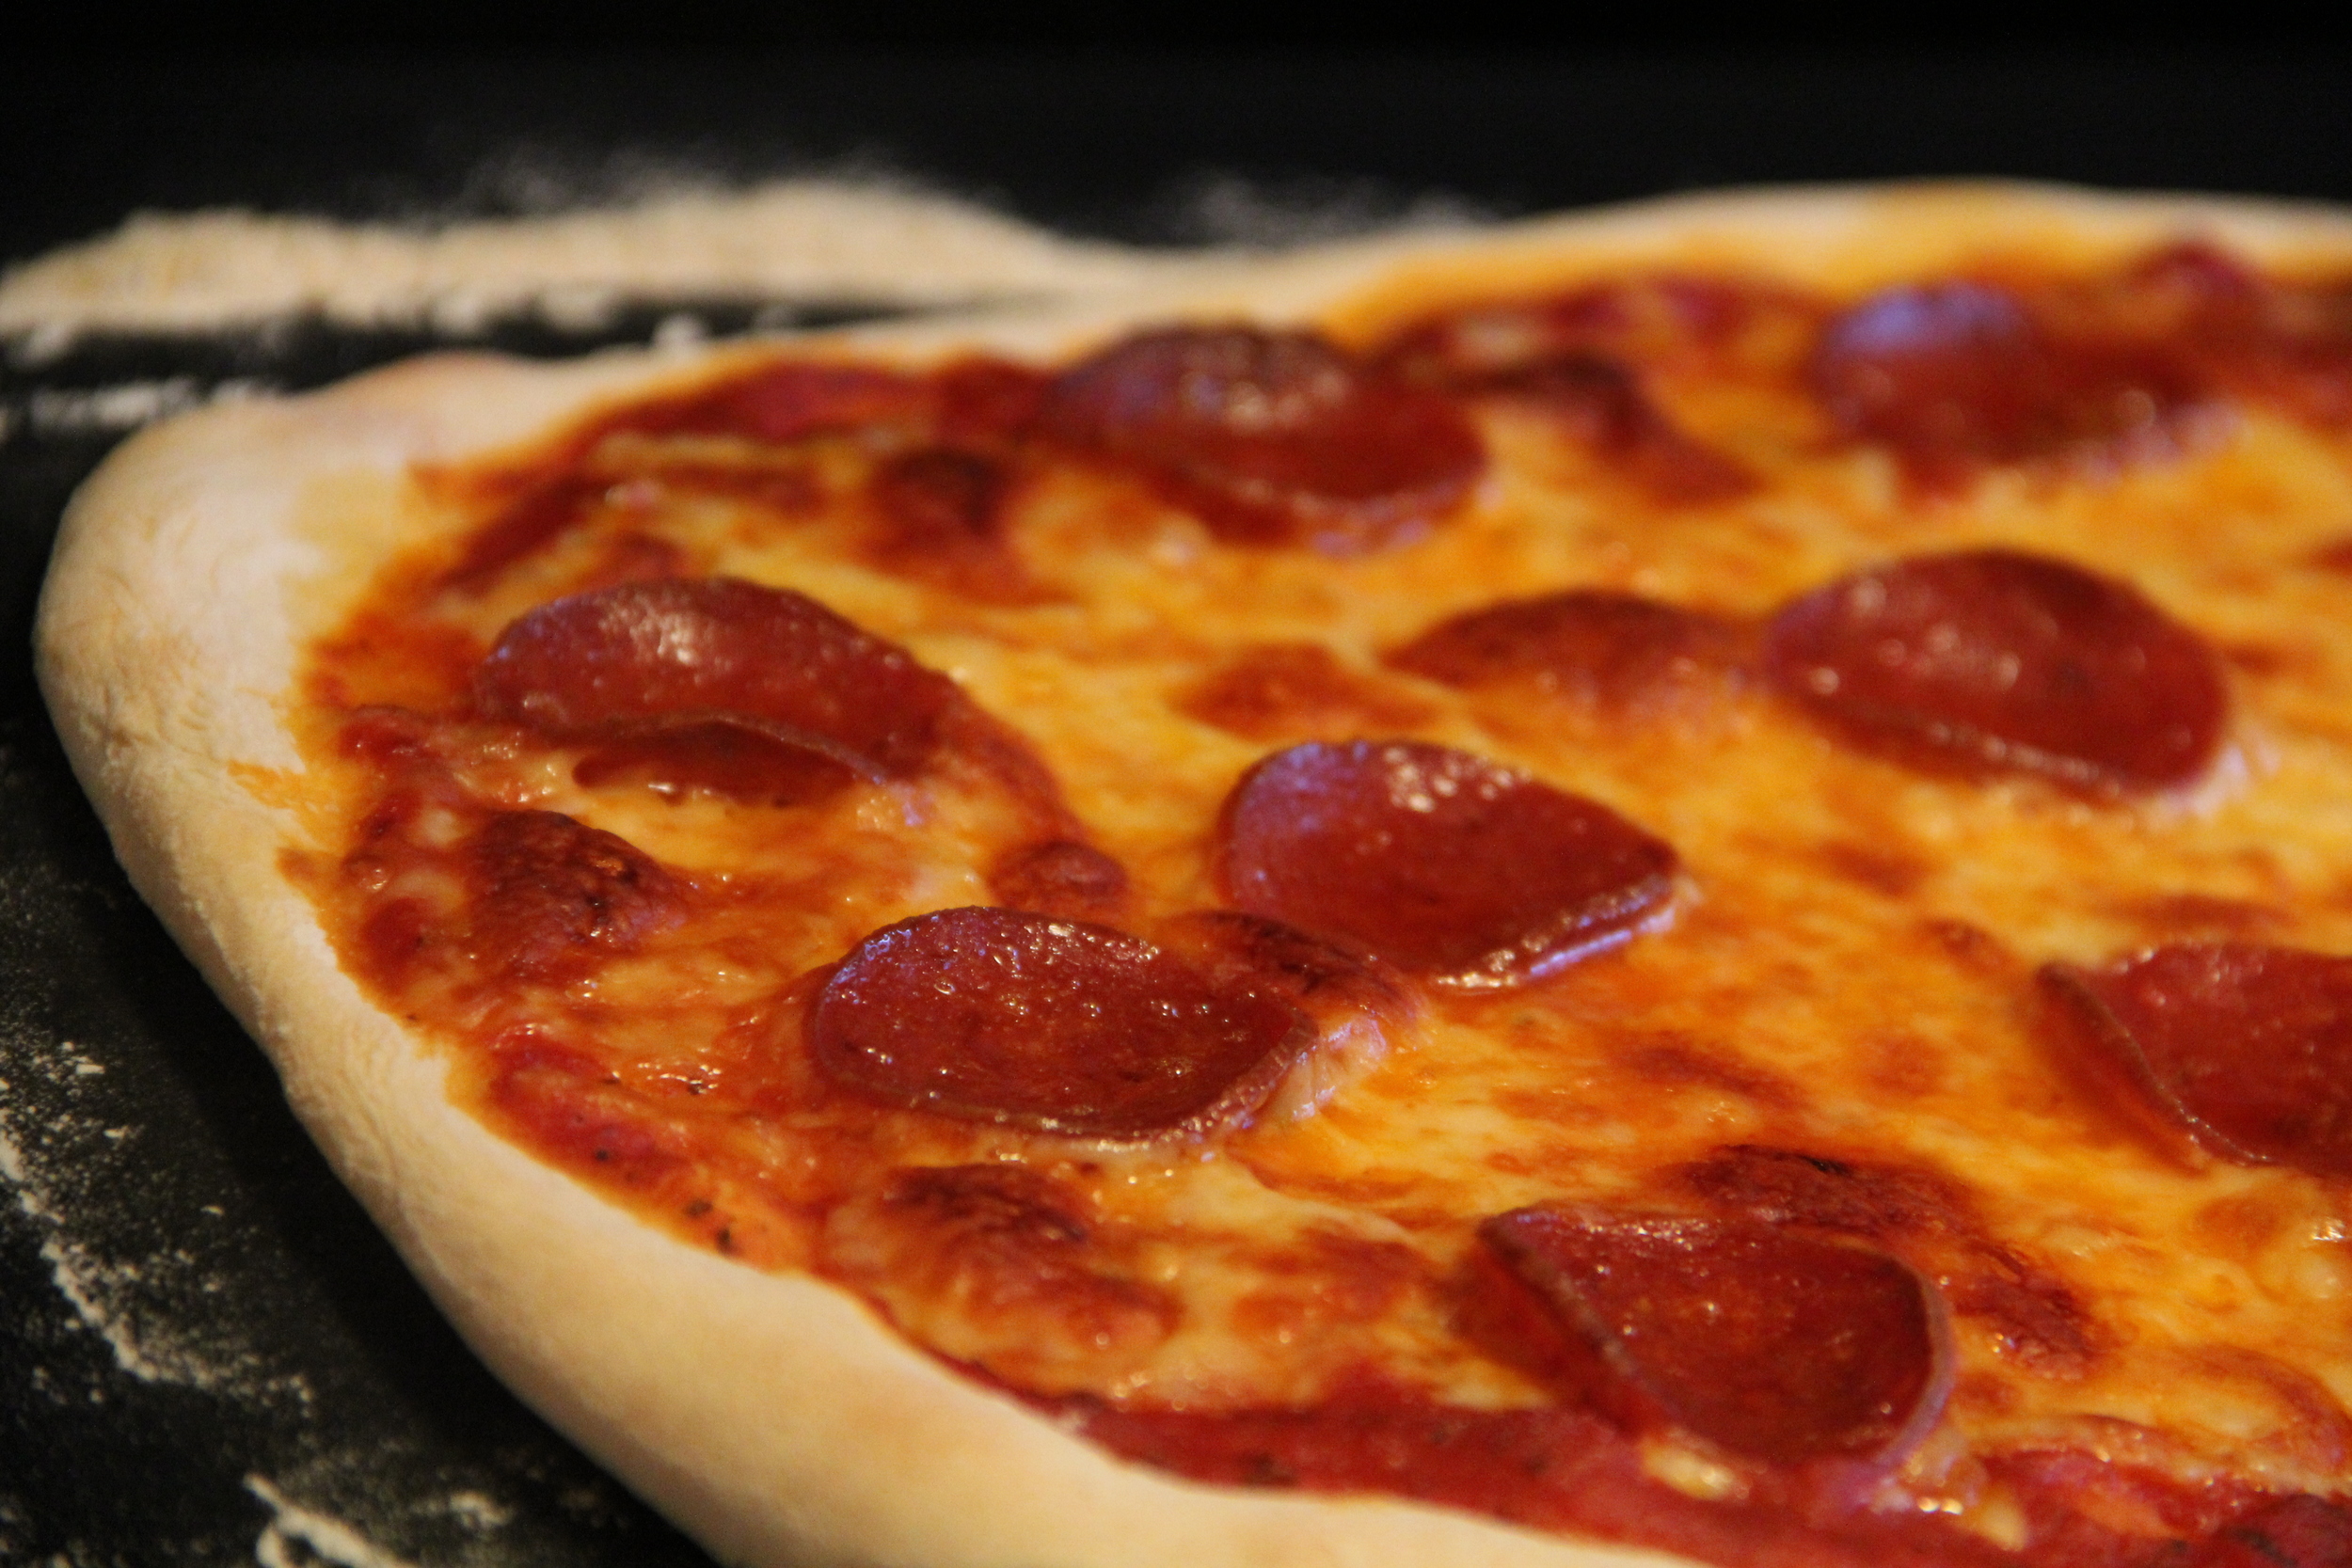
  5. Bake pizza for 12-15 minutes
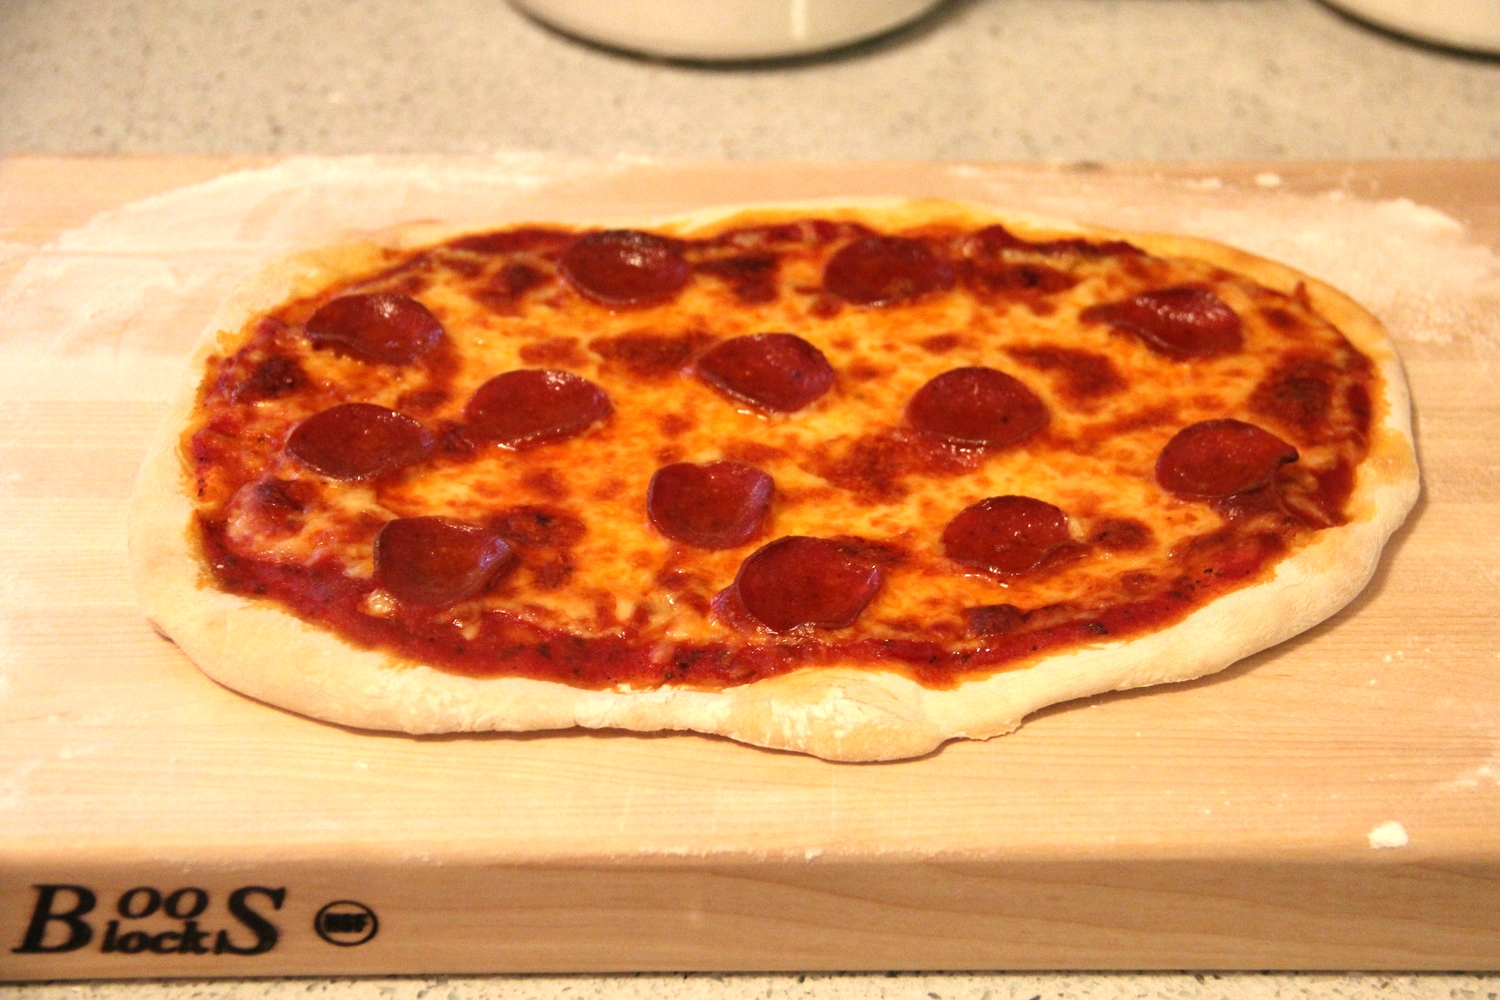
  6. Once pizza has finished cooking, remove from the oven and allow it to rest for 3-5 minutes so that the cheese and toppings can set.
  7. Transfer pizza to a cutting board
  8. Cut Pizza (I recommend using a pizza wheel), serve and enjoy!

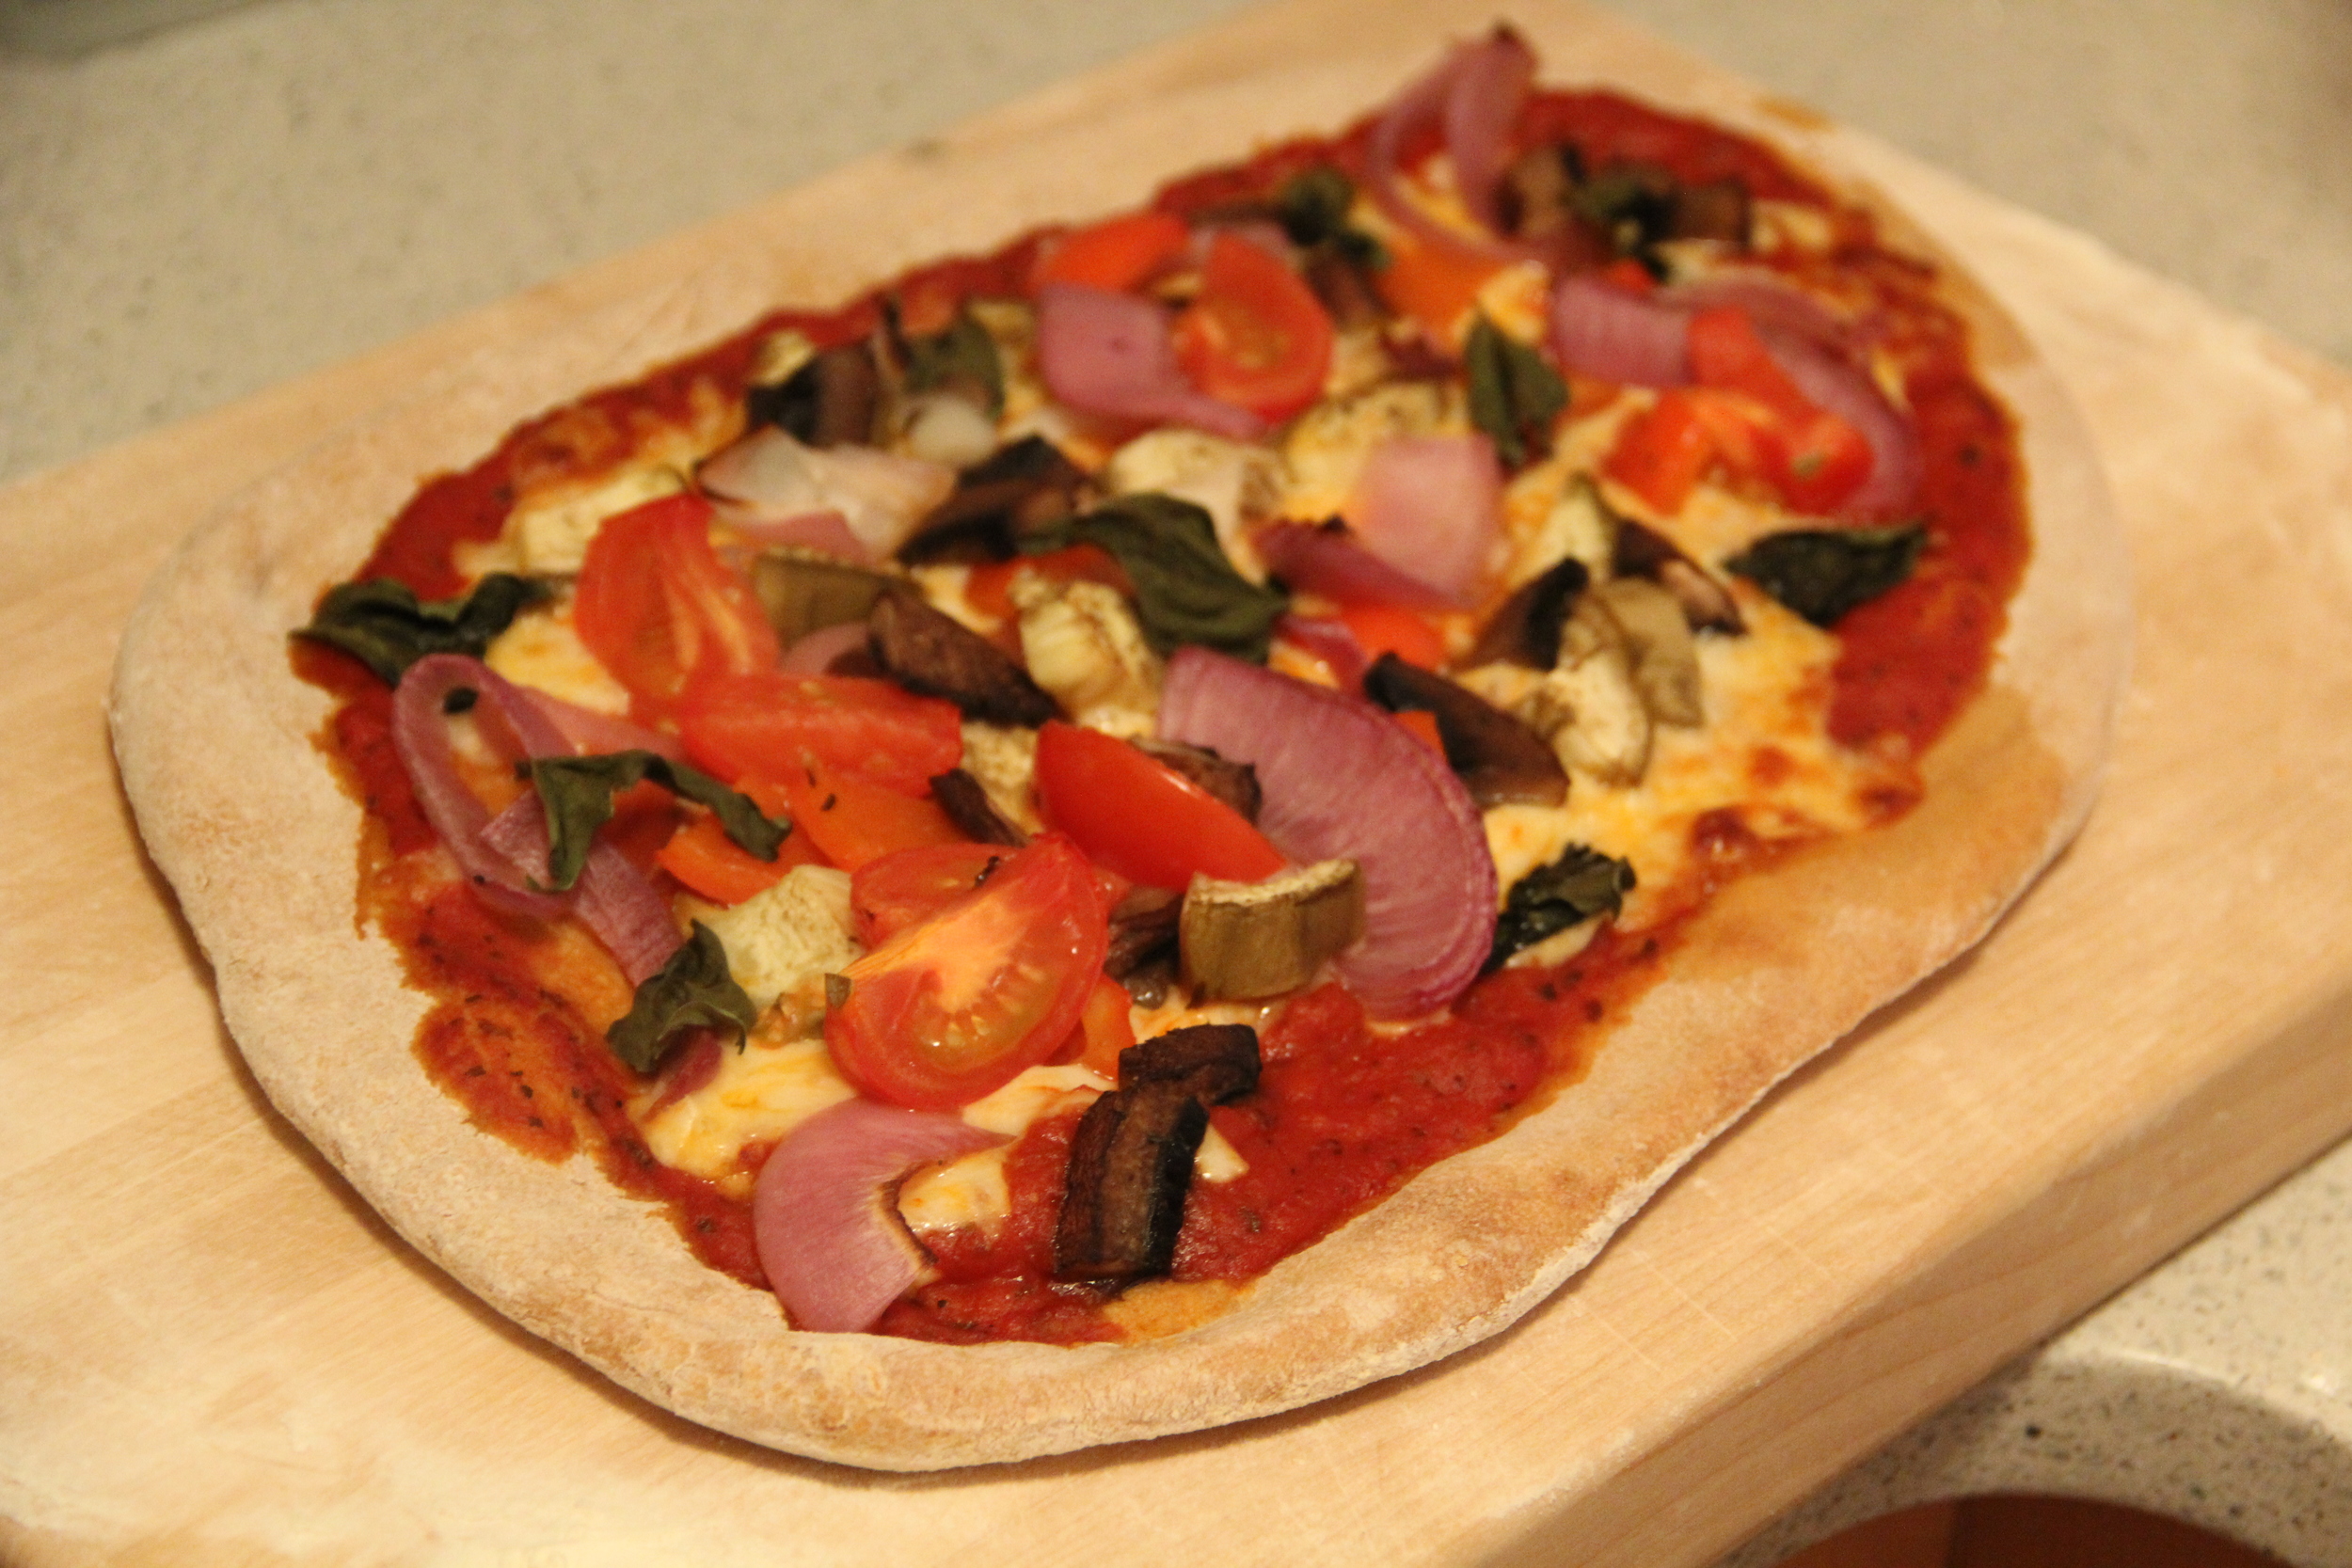
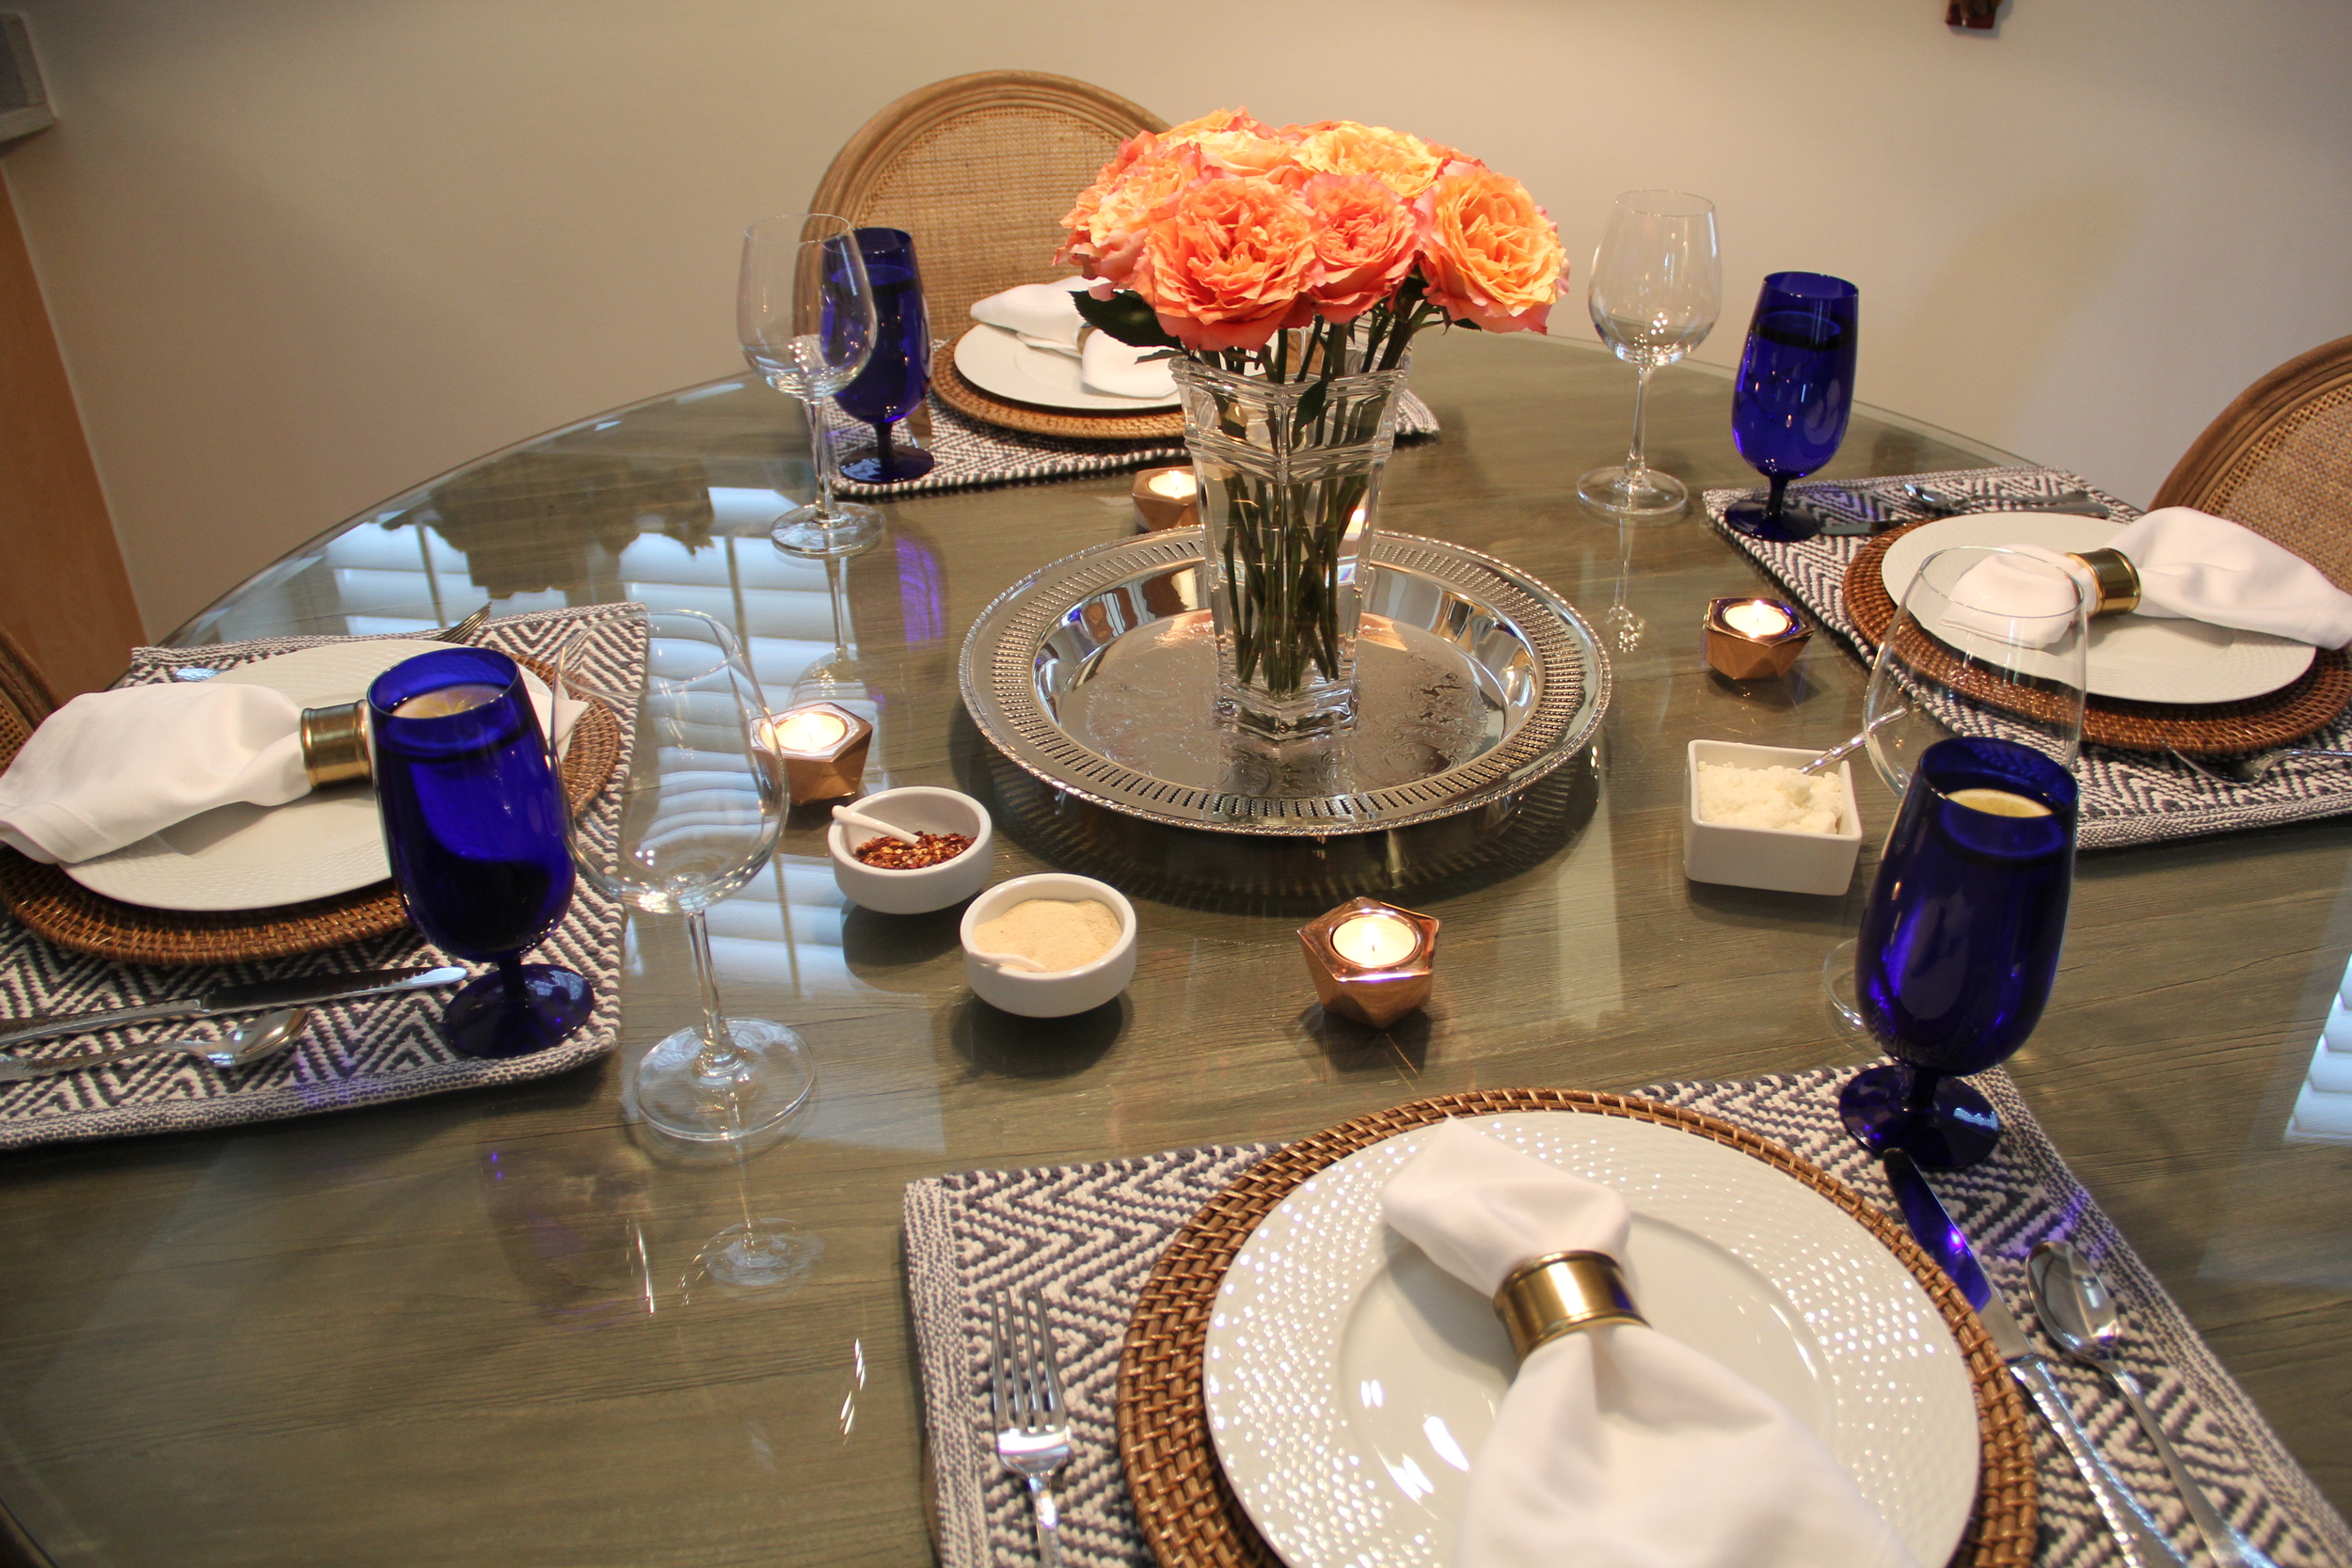
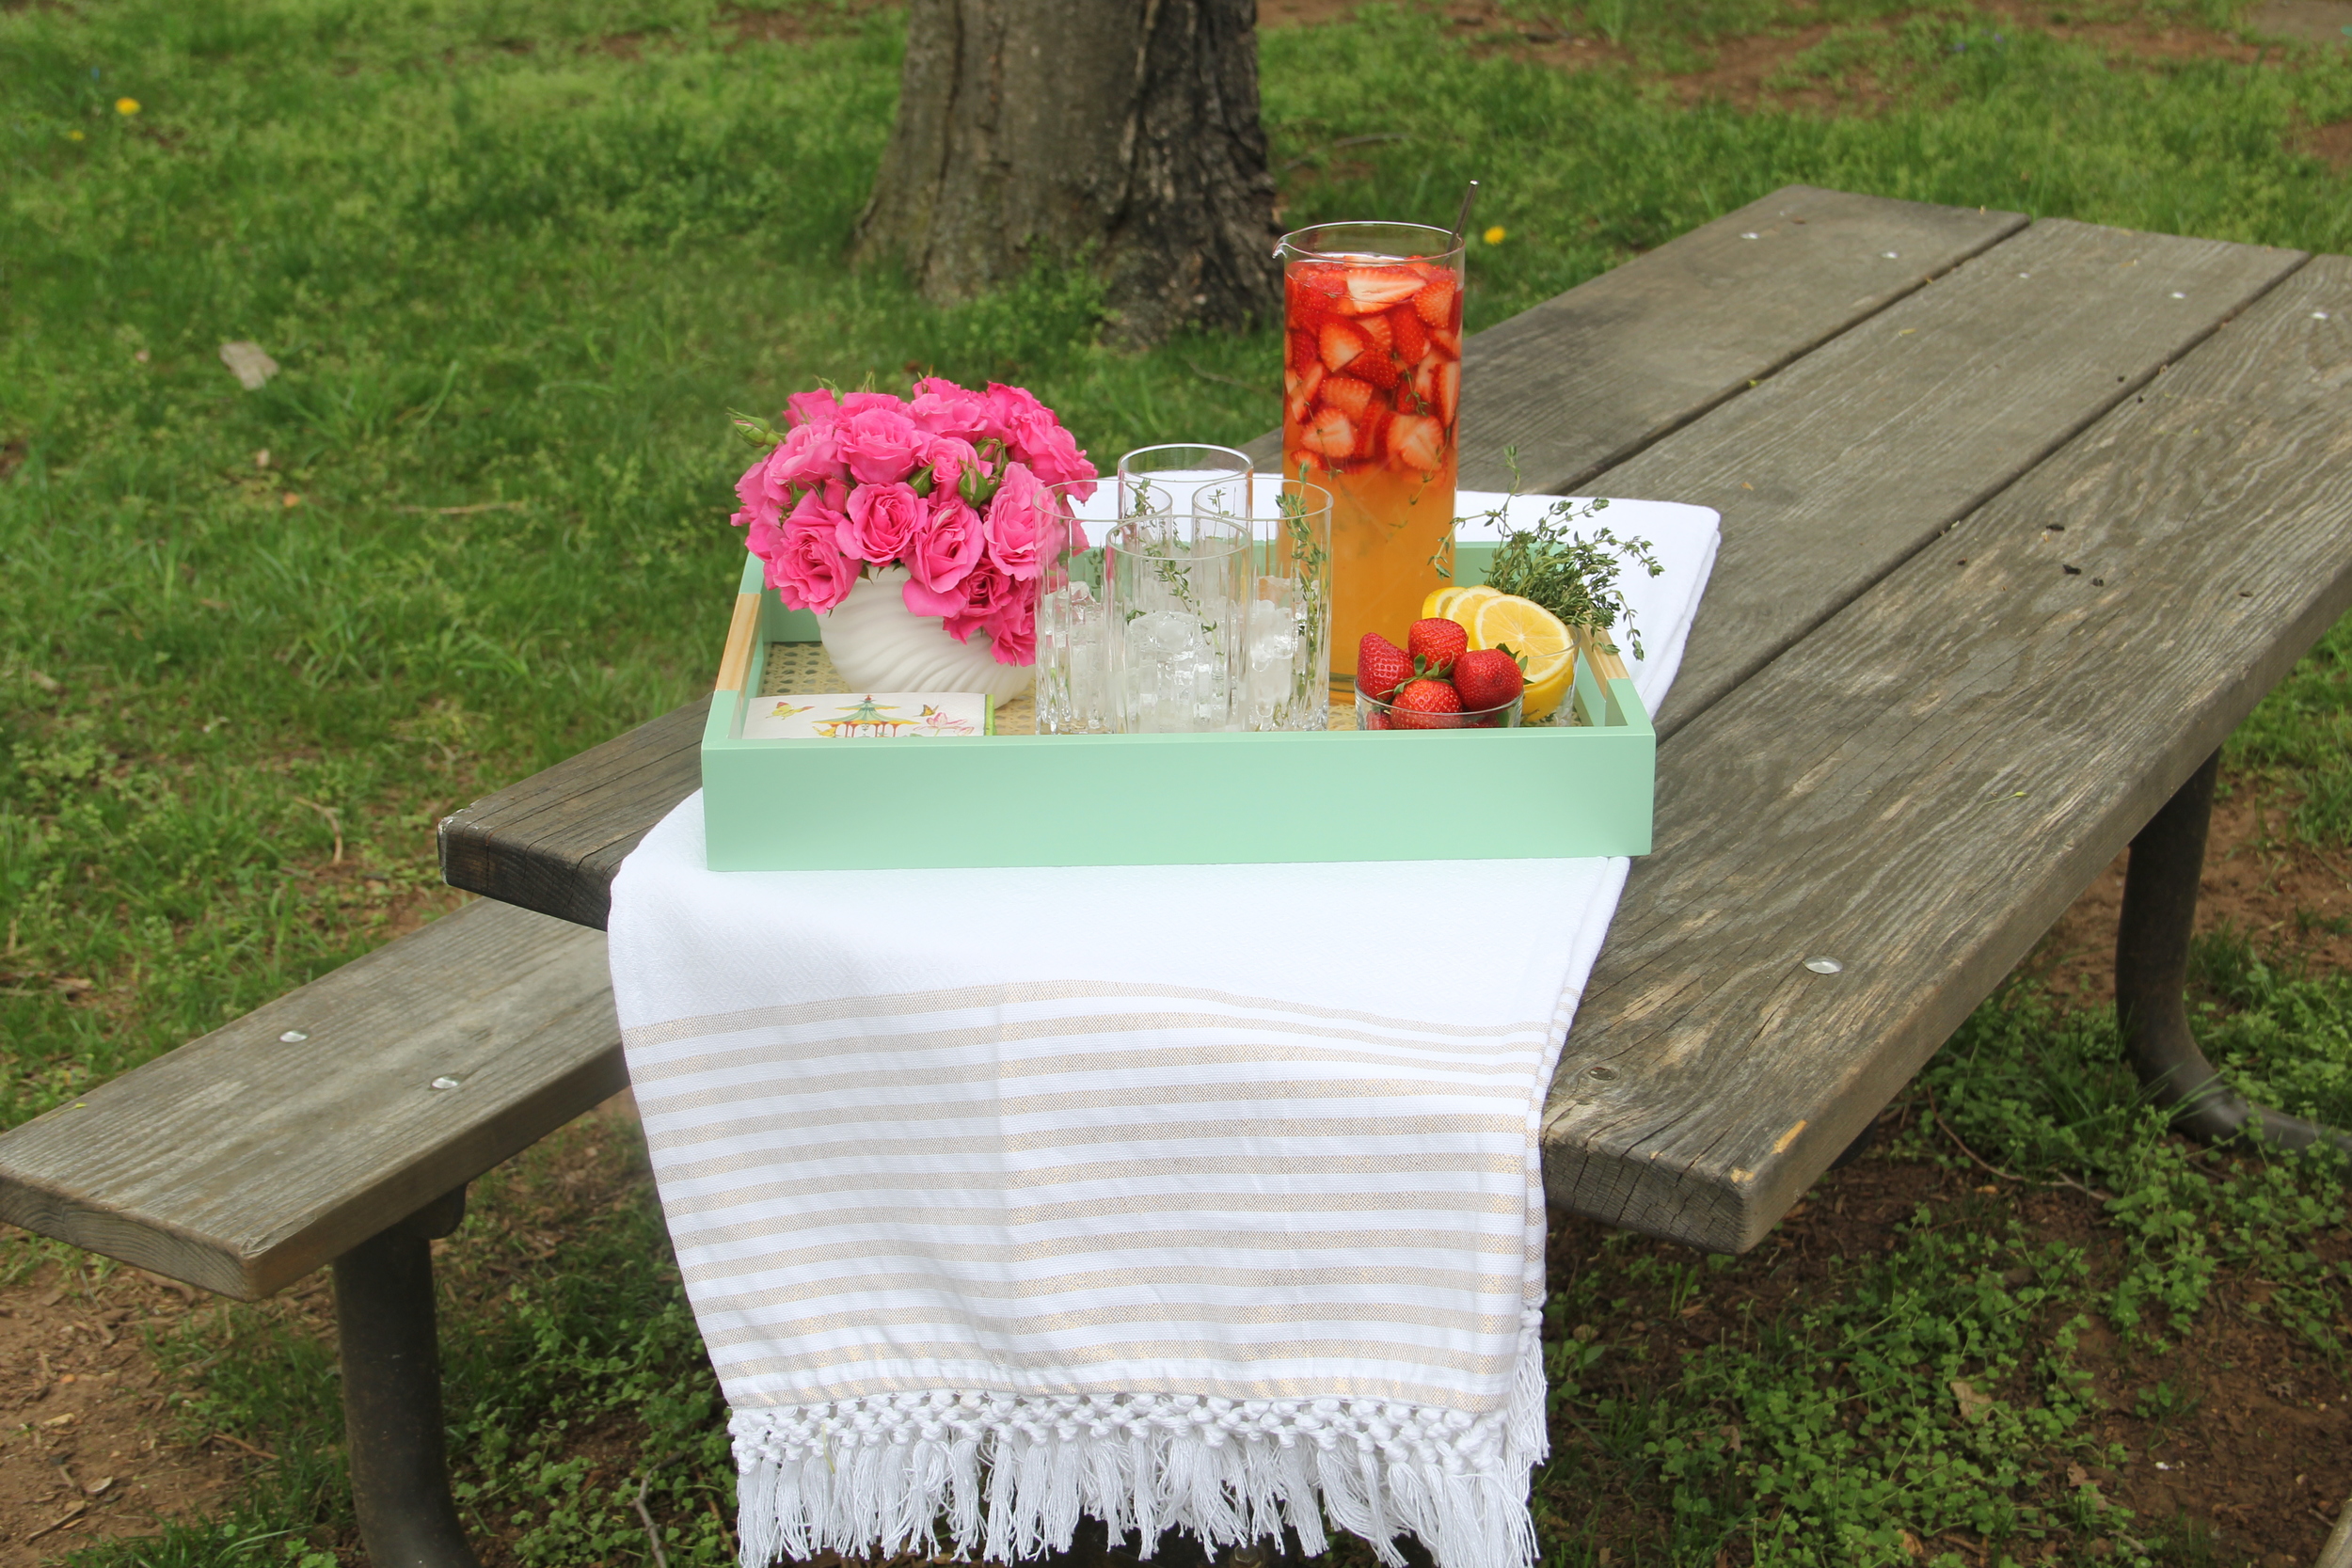
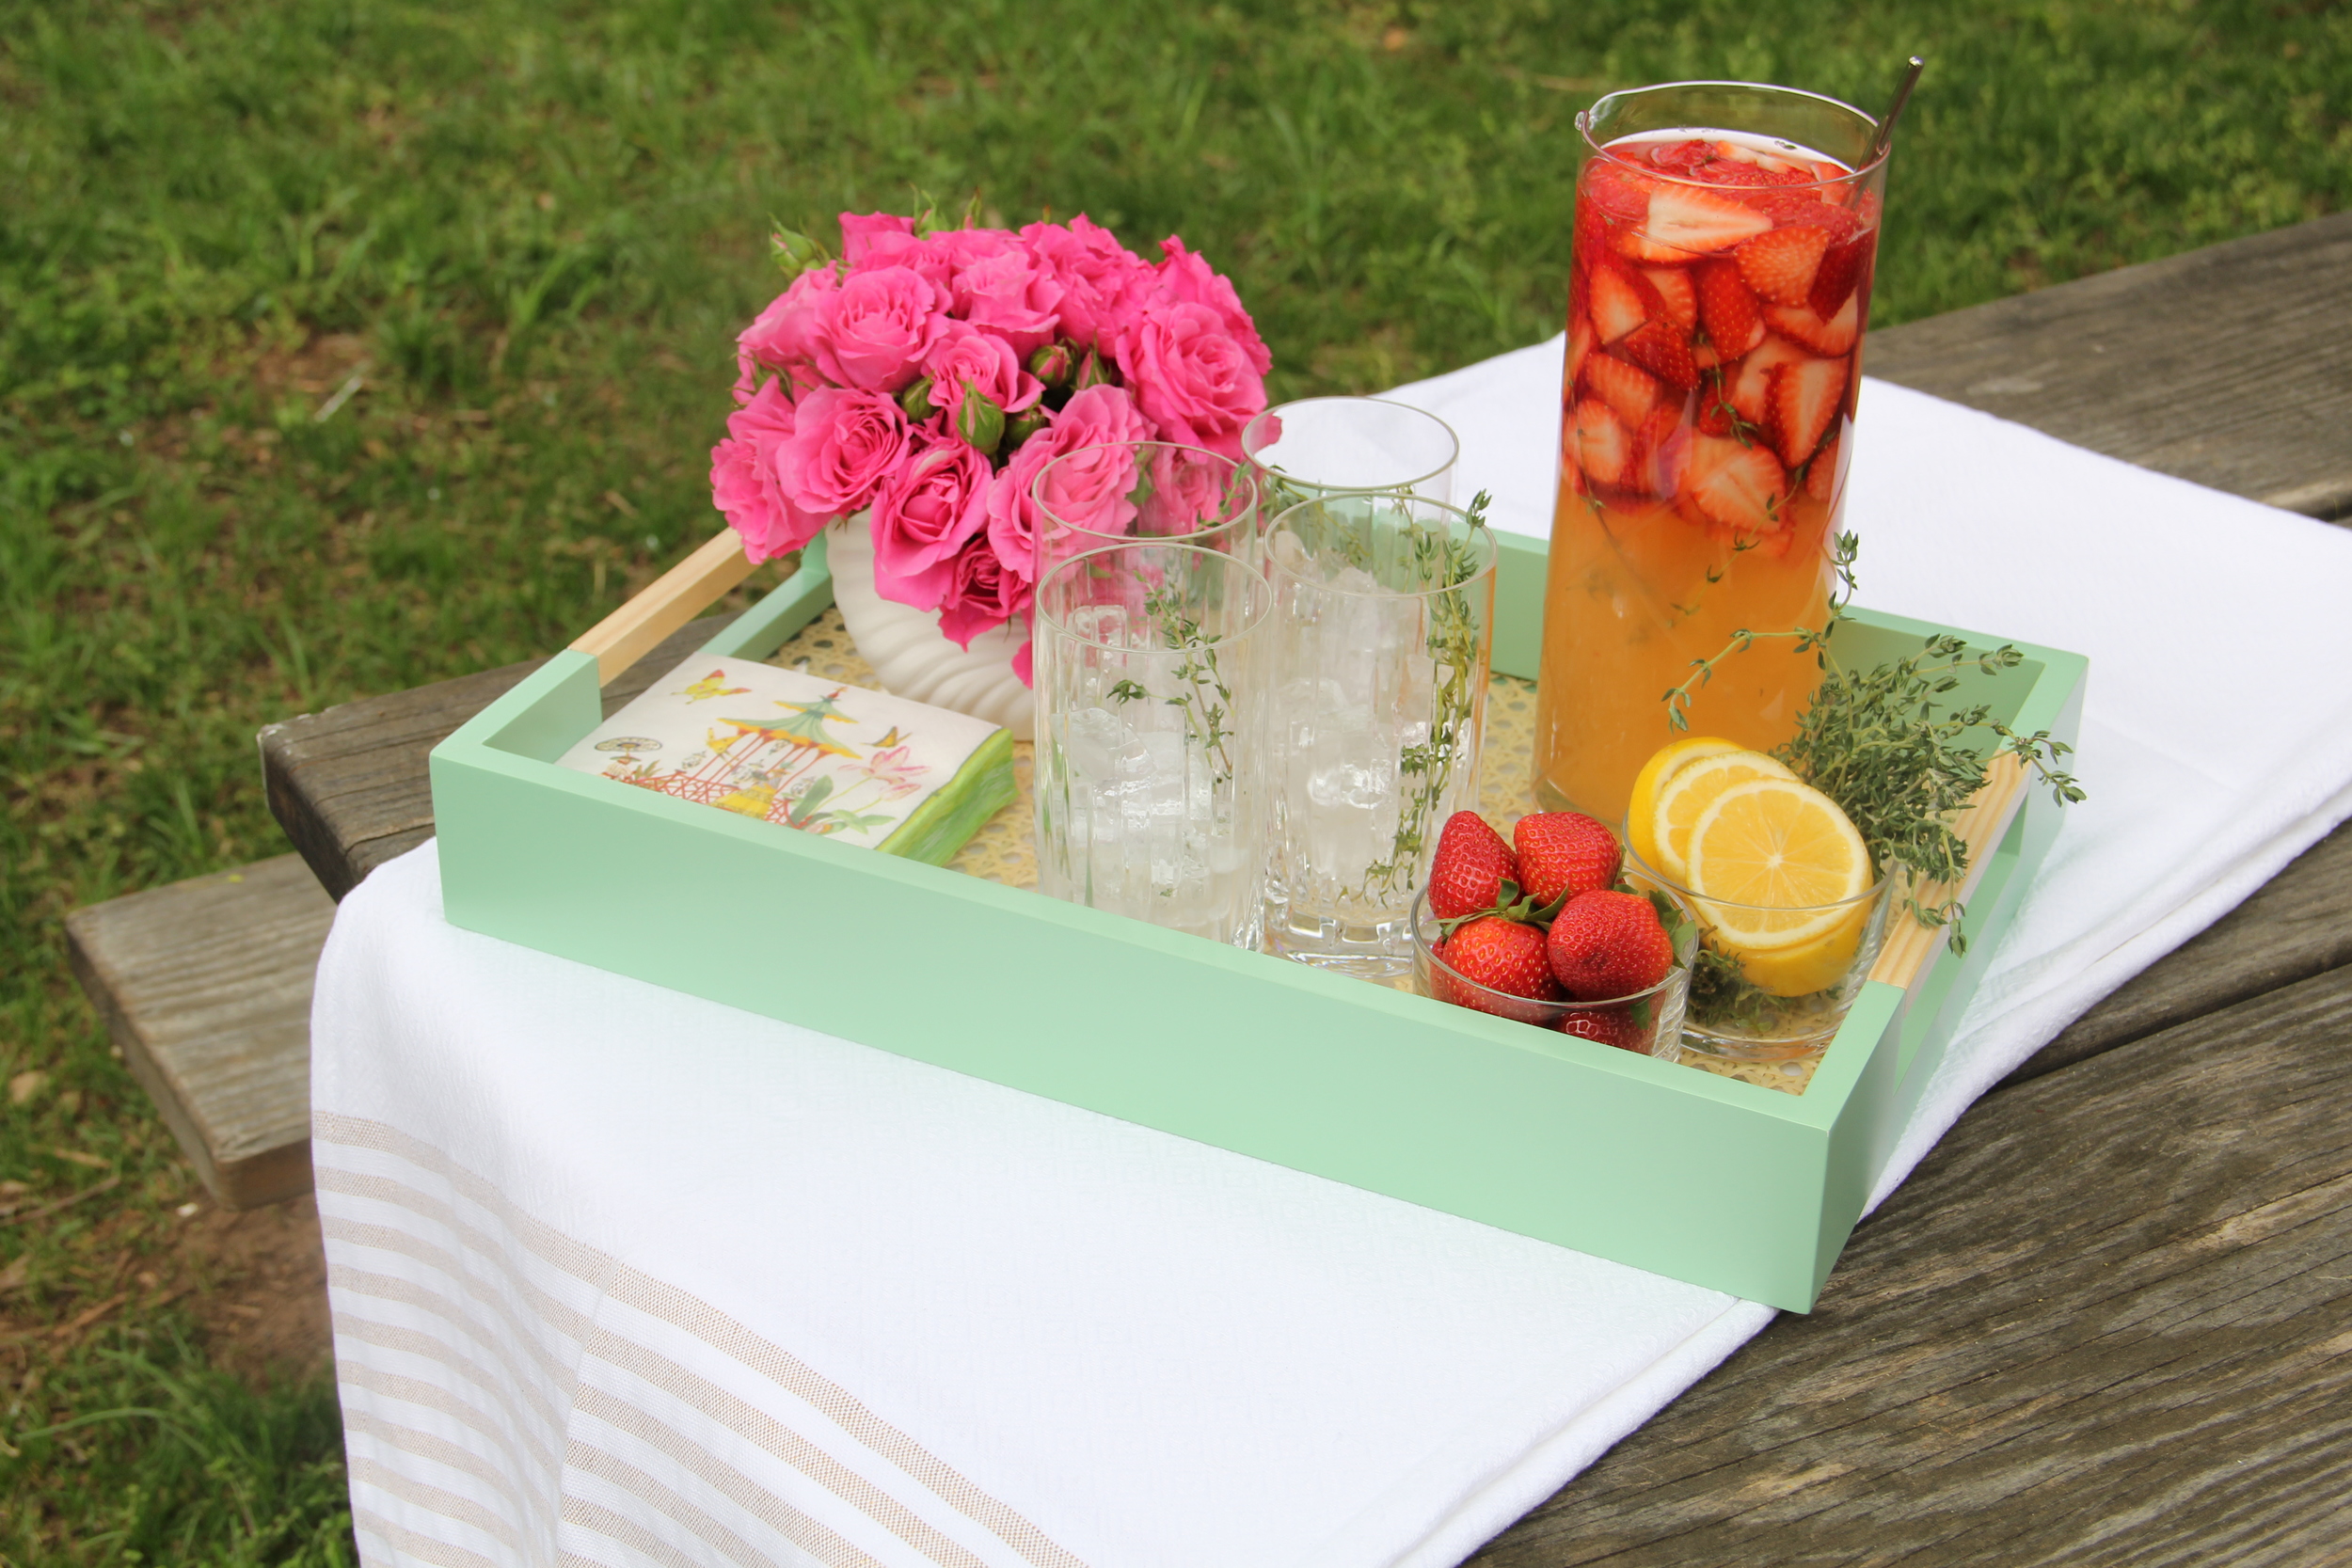
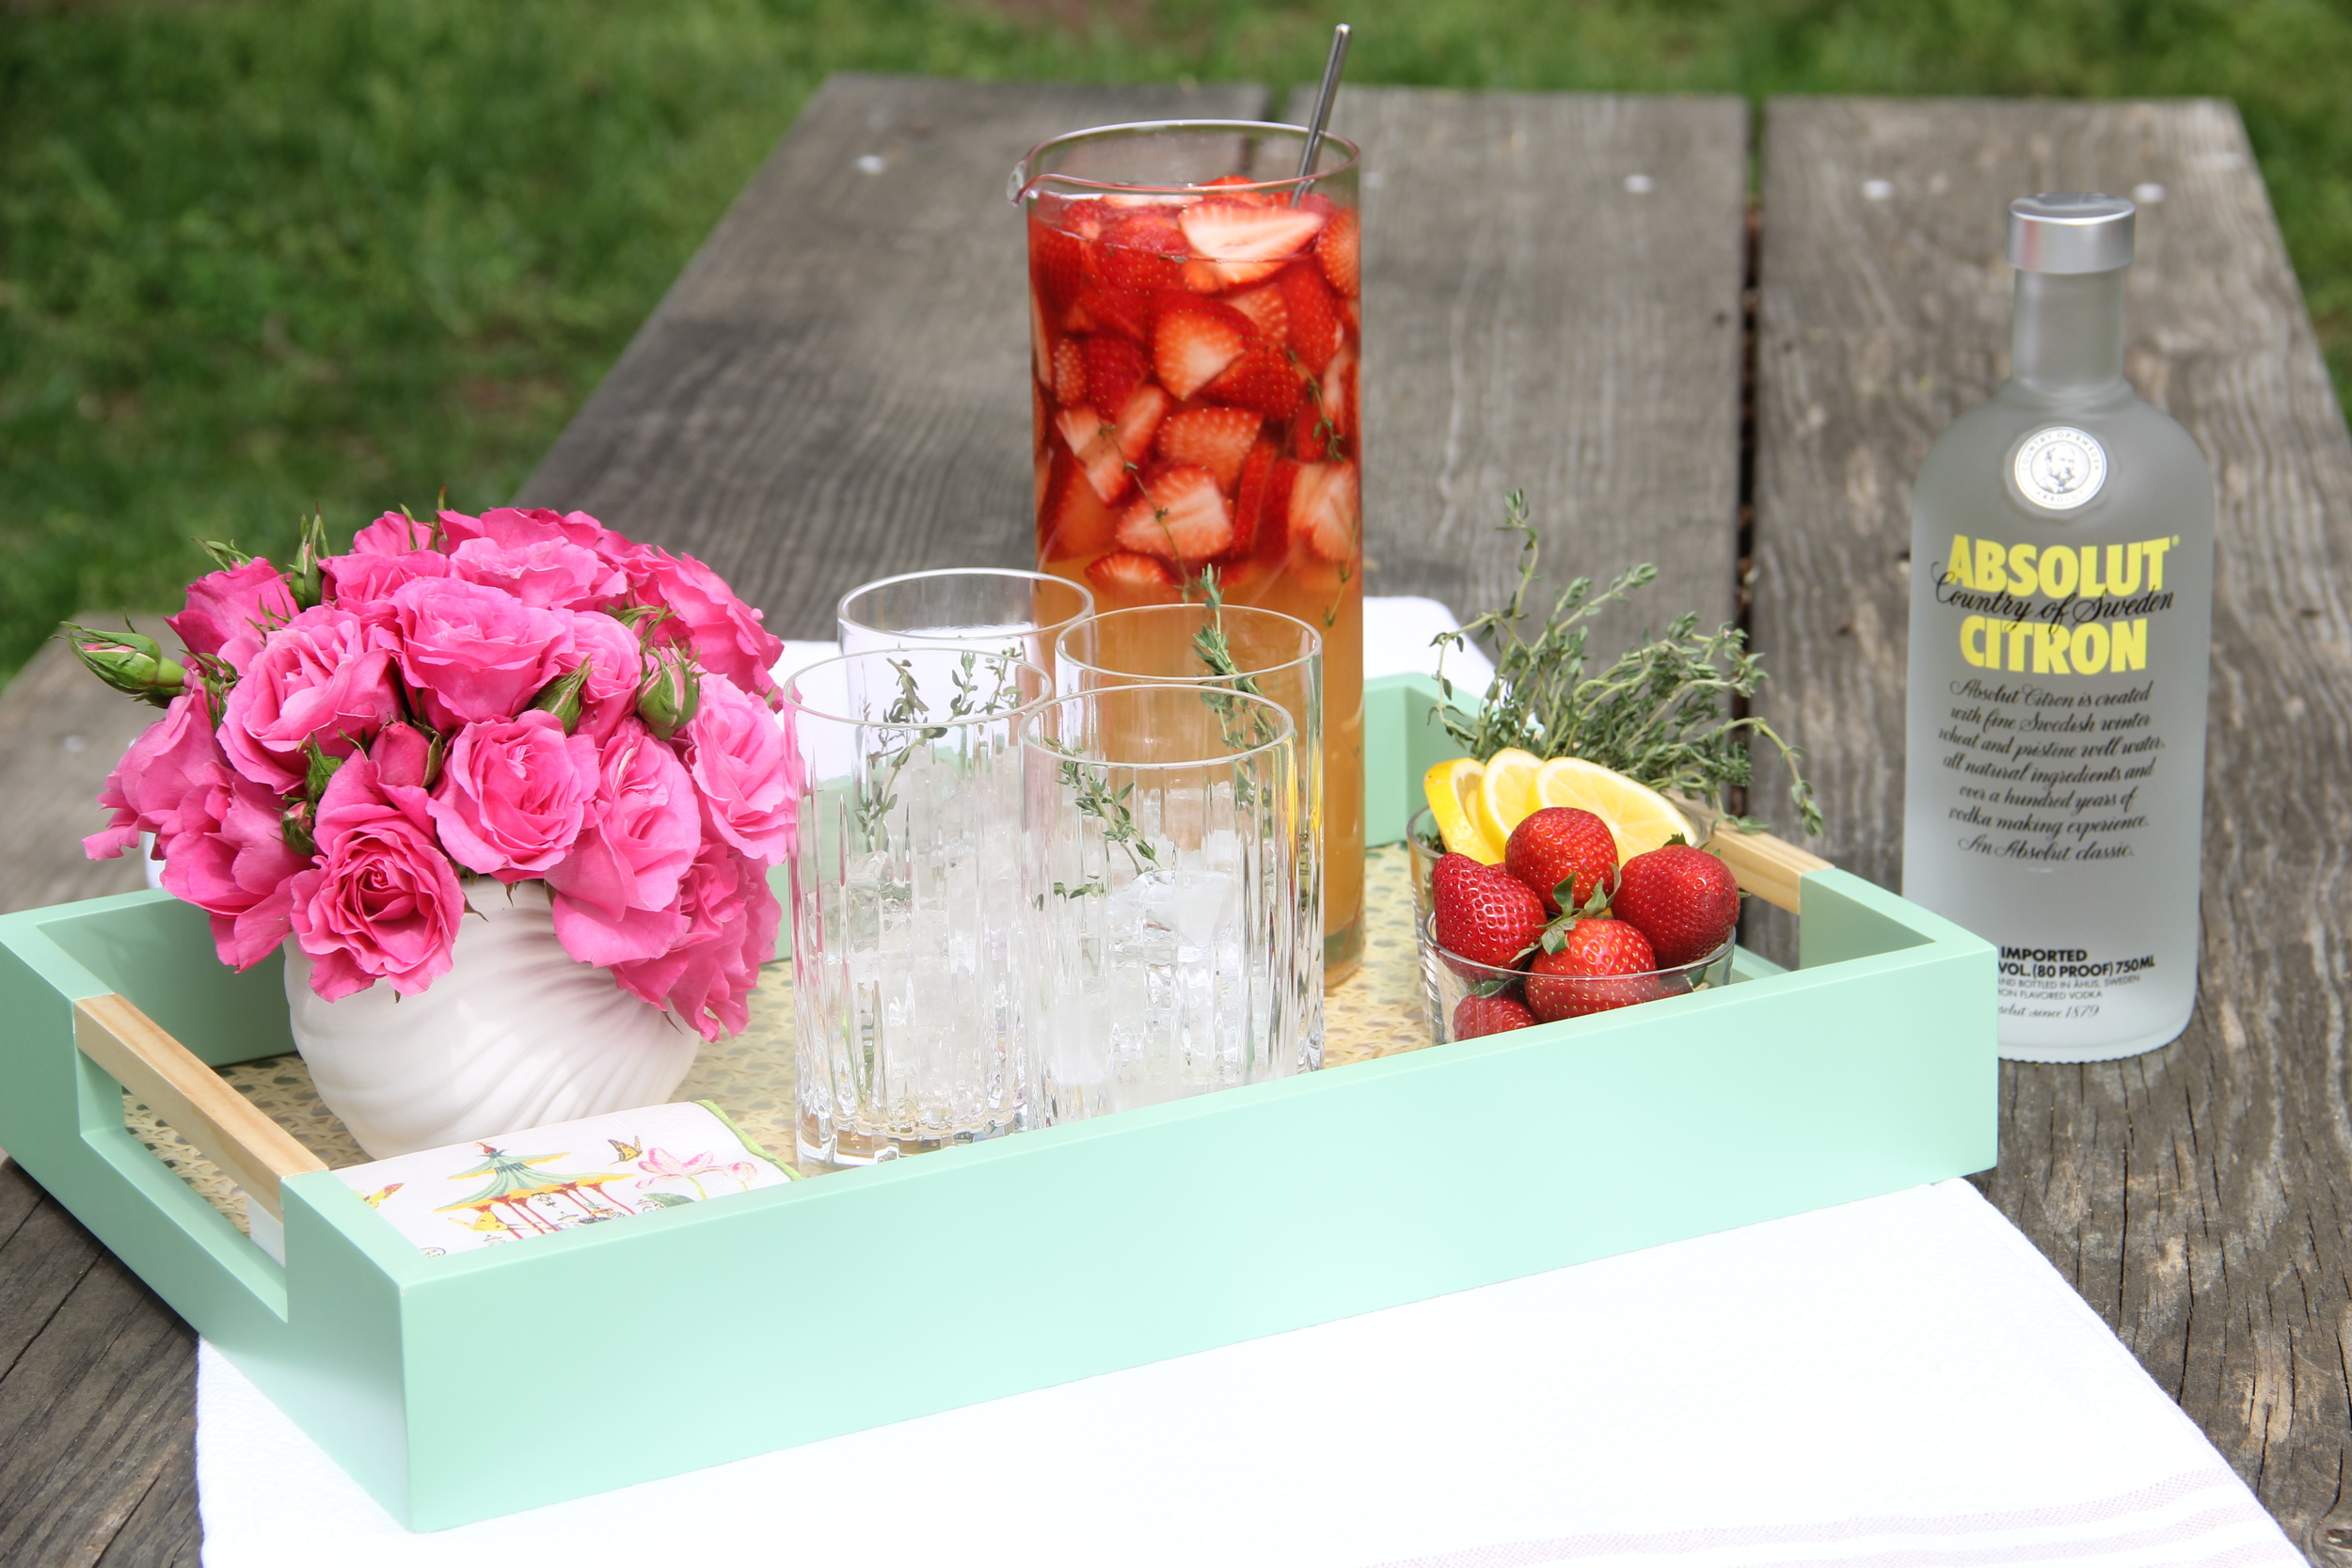
All in all, this was a great date night (forgot to mention that this actually turned into a double date night - see tablescape picture above).  I made three different pizzas and placed dishes of chili flakes, garlic granules and grated parmesan cheese on the table for guests to flavor according to their own pizza preferences.  Pizza making is fun, easy (now that I have instructions) and something that can be shared with significant others and even kids! Suffice it to say that pizza night is quickly becoming synonymous with date night in my house.  

Thoughts on Bookshelf Decorating

One of my latest projects has been designing the bookshelf in my living room.  This project sounds a bit silly and like it should be accomplished in under an hour, well that couldn't be further from the truth.  Bookshelf decorating is extremely time consuming and it takes a while to get the shelf looking balanced with just the right assortment of pieces.  If you are considering decorating your bookshelf you should know that it is a process and doesn't necessarily come together overnight (if your bookshelf does come together that quickly please email me and share your secret!).  While my bookshelf decor project may not be finished, there are some helpful tips I have picked up throughout this process.    

Books

Books are a great way to break up a space.  I have two approaches when it comes to using books on a display shelf.  The first look is the monotone aesthetic.  On my top shelf I wanted to create a uniformed/formal look with books.  The easiest (and least expensive) way to achieve this was by going through the hard covered books in my house and collecting those that that had similar bindings under the book jackets.  The titles up close are comical because I have the Holy Bible paired with Jack Welch's book entitled "Winning."  Titles are not important in this case.  All books are black hard covers with gold embossed lettering, thus creating one harmonious look.   

My second book approach is stacking coffee table books.  Again, titles are not important because it is really all about the aesthetic.  On my bottom shelf I have given my speaker a little height and design by placing it on top of a stack of coffee table books.  If you are looking at this image and thinking "sure coffee table books are great but boy are they expensive,"  you are right!  Coffee table books can be annoyingly expensive, but there is a way to find affordable coffee table books.  The bottom two books in this picture are finds from that front sale section at Barnes and Noble.  For those two books I paid about $28, because again, the content doesn't matter when it comes to your shelf and it's about the aesthetic.  

Mix It Up

Every shelf of mine is a mix of fancy pieces and less expensive pieces.  There are no rules when it comes to creating a display shelf, so don't feel like you need to only display your nicest pieces.  You want to have a balance of textures and colors on your shelves to make it interesting.   Taking a look at my shelf with the largest quantity of knick knacks, I can tell you that there are nice Herend figurines paired with my CB2 Large Pinch Bowl and a piece of green agate that I found at Home Goods.  

Avoid the Inventory Look

 I have written quite a few posts on maximizing storage space (see here and here), and as a city dweller I can certainly appreciate the fact that storage space is precious.  With that said, I don't care how tempting it may be to want to use every inch of shelf space to hold your various tchotchkes, FIGHT THAT URGE!!  The last thing you want is to have a display shelf that looks more like an inventory of your various home goods.  Items on your display shelf should be artistically placed, hence why it is called a display shelf and not a storage shelf.  Sure there are creative ways to incorporate storage into your display shelf, like my basket with lid at the base of the shelf which I use to hold extra blankets, but you have to think strategically and aesthetically when doing so.  Your display shelf will hold some (but not all) of your home goods.    

Make it Functional

I have made my bookshelf functional by incorporating 2 ambiance essentials-- hurricanes and a wireless speaker.  When designing this shelf, I knew that it was going to have to house at least one of our speakers.  This fact didn't exactly thrill me because although I love having music in the living room, speakers are somewhat unsightly (my husband would not agree with this statement, but it's true).  In addition, my husband was adamant about the fact that the speaker could not have anything in front of it that could potentially obstruct the sound.  The solution was to place the speaker on the bottom shelf and have it resting on a stack of coffee table books so that it looked somewhat incorporated into the decor.   

Step Back 

Just like stringing lights on a Christmas tree, you need to take time during the decorating process to stand back and evaluate the look as a whole.  There could be gaps in the decor that you are not seeing because you are myopically focused on a particular area.  When it comes to a display shelf, its about creating a beautiful aesthetic on each shelf that also works harmoniously as a whole.  In short, you want your shelf to look balanced. 

While I am still in the process of designing my display shelf, I feel like these tips have really helped me to navigate the design process.  As I continue to make progress I will be sure to keep you updated on my Instagram page and with my various ideas on Pinterest.  Until the next "shelfie" update, I hope this has provided you with some inspiration/guidance on how to approach your own display shelf.