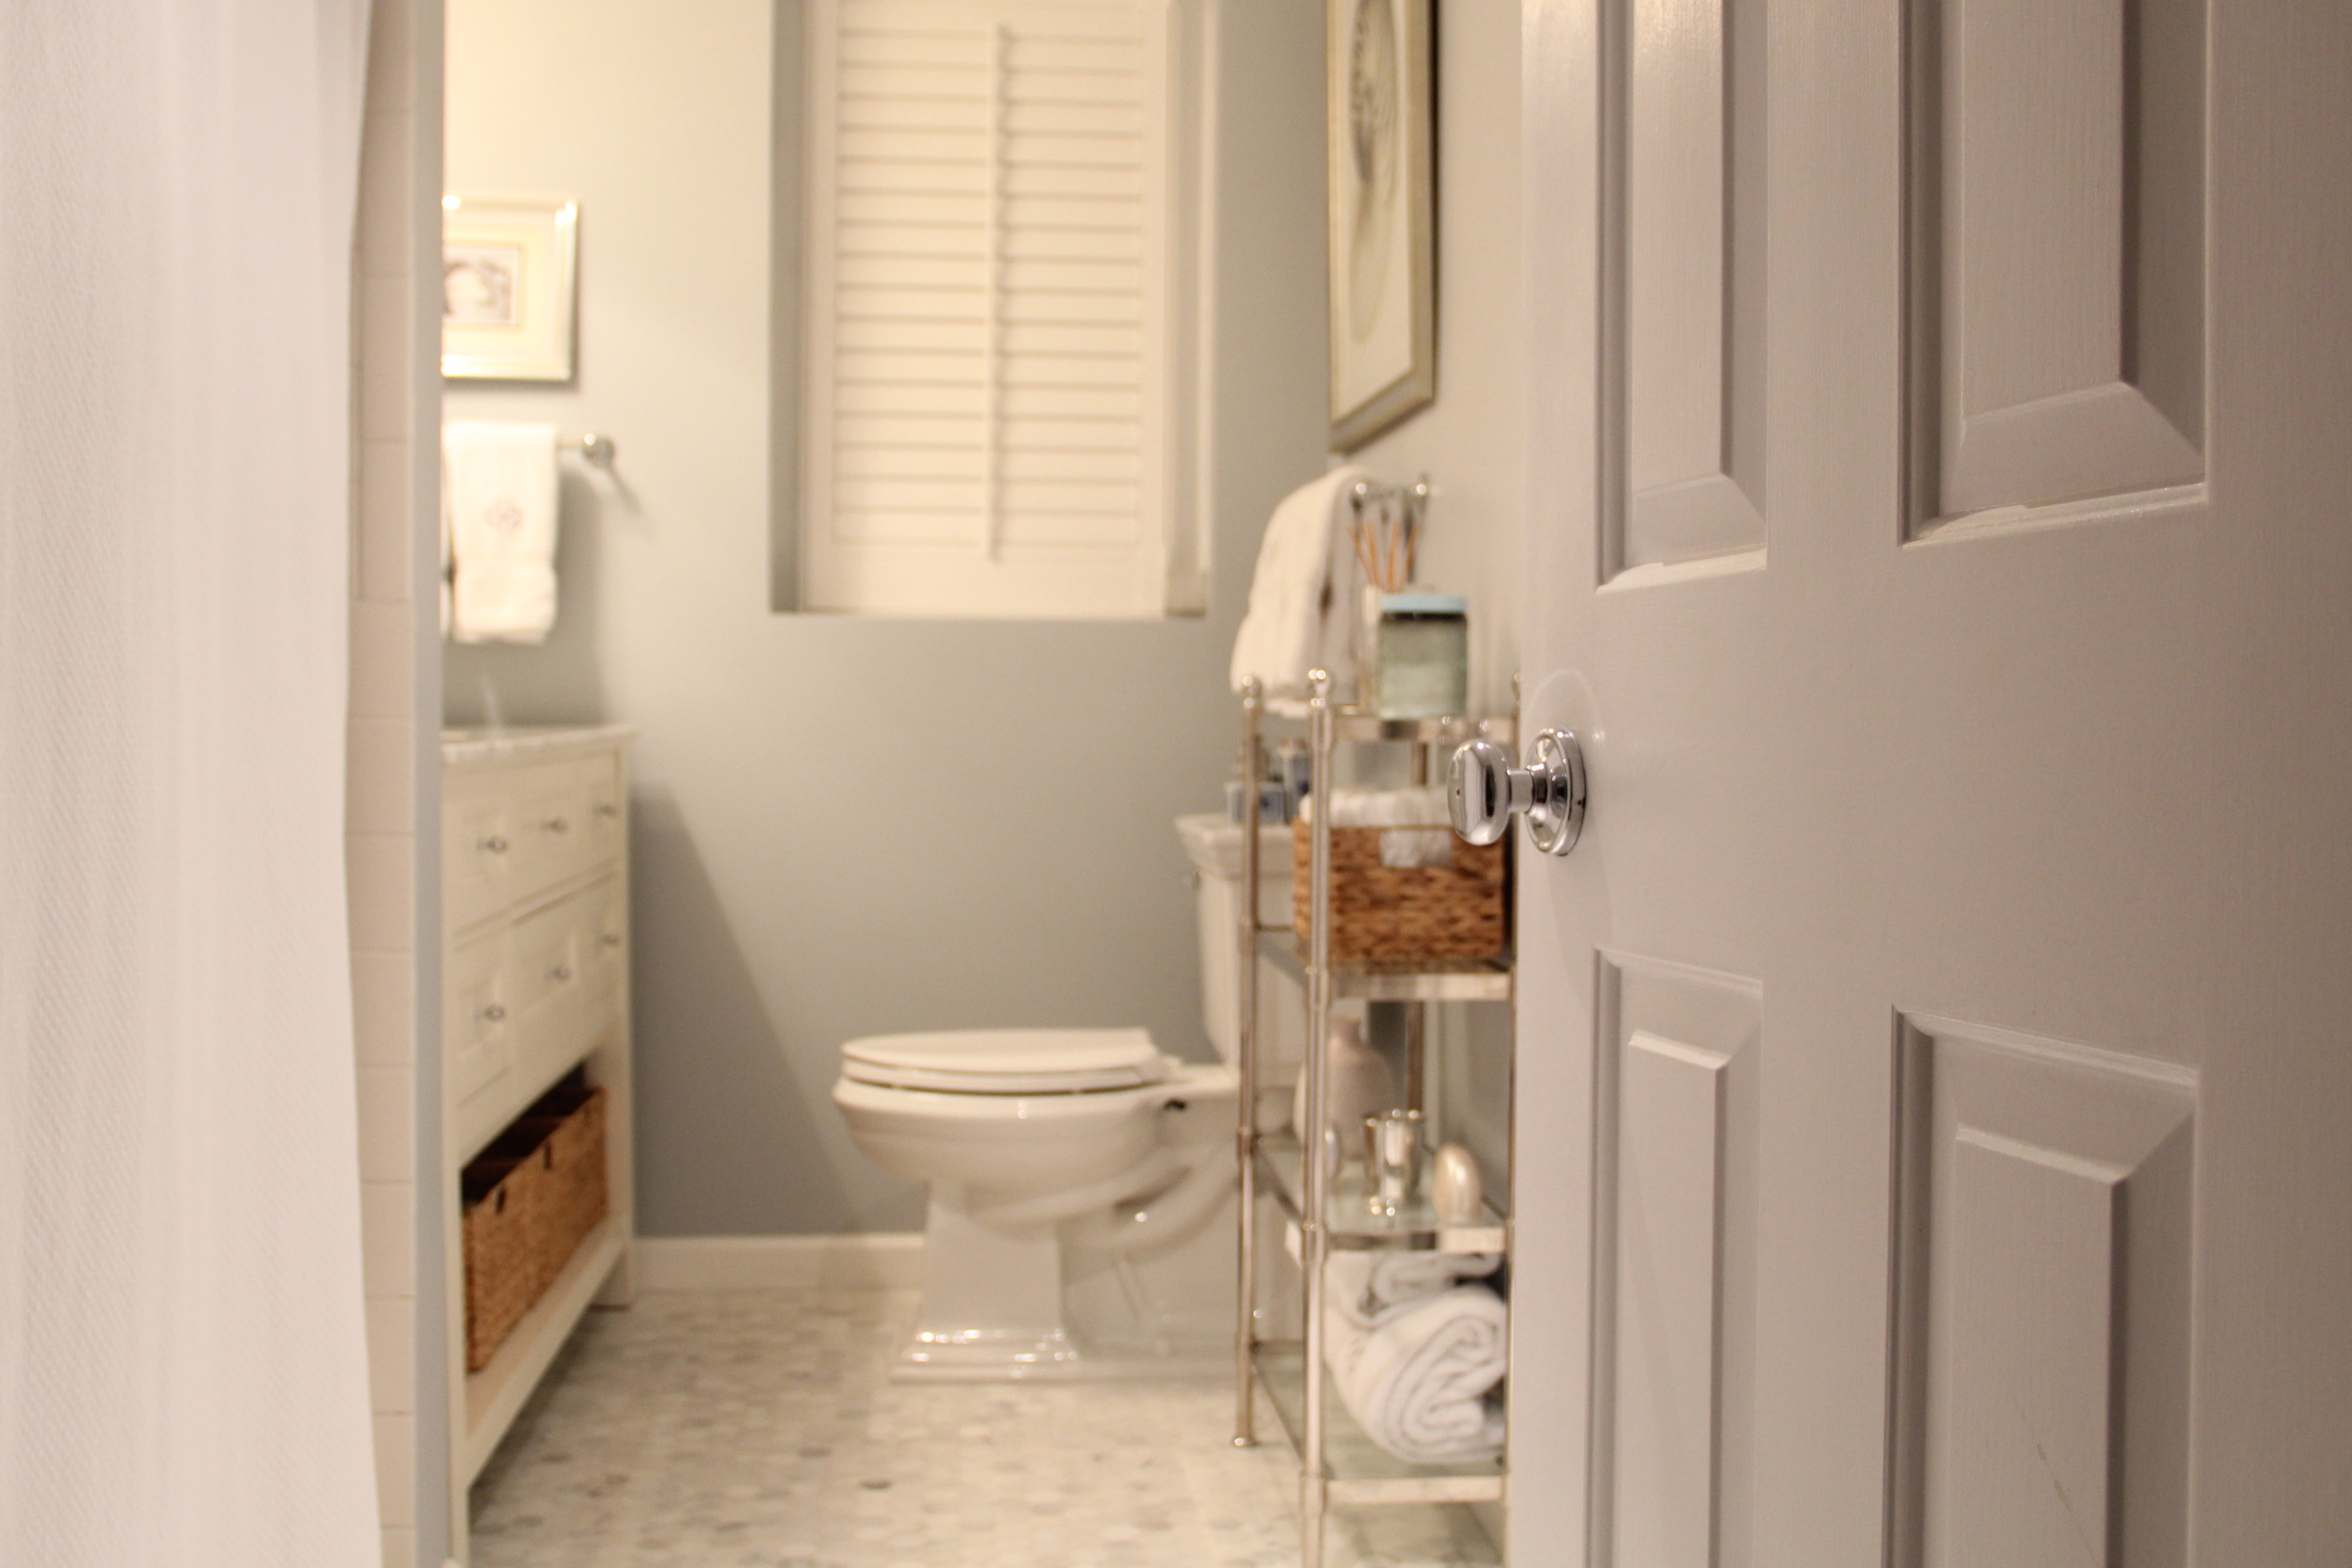
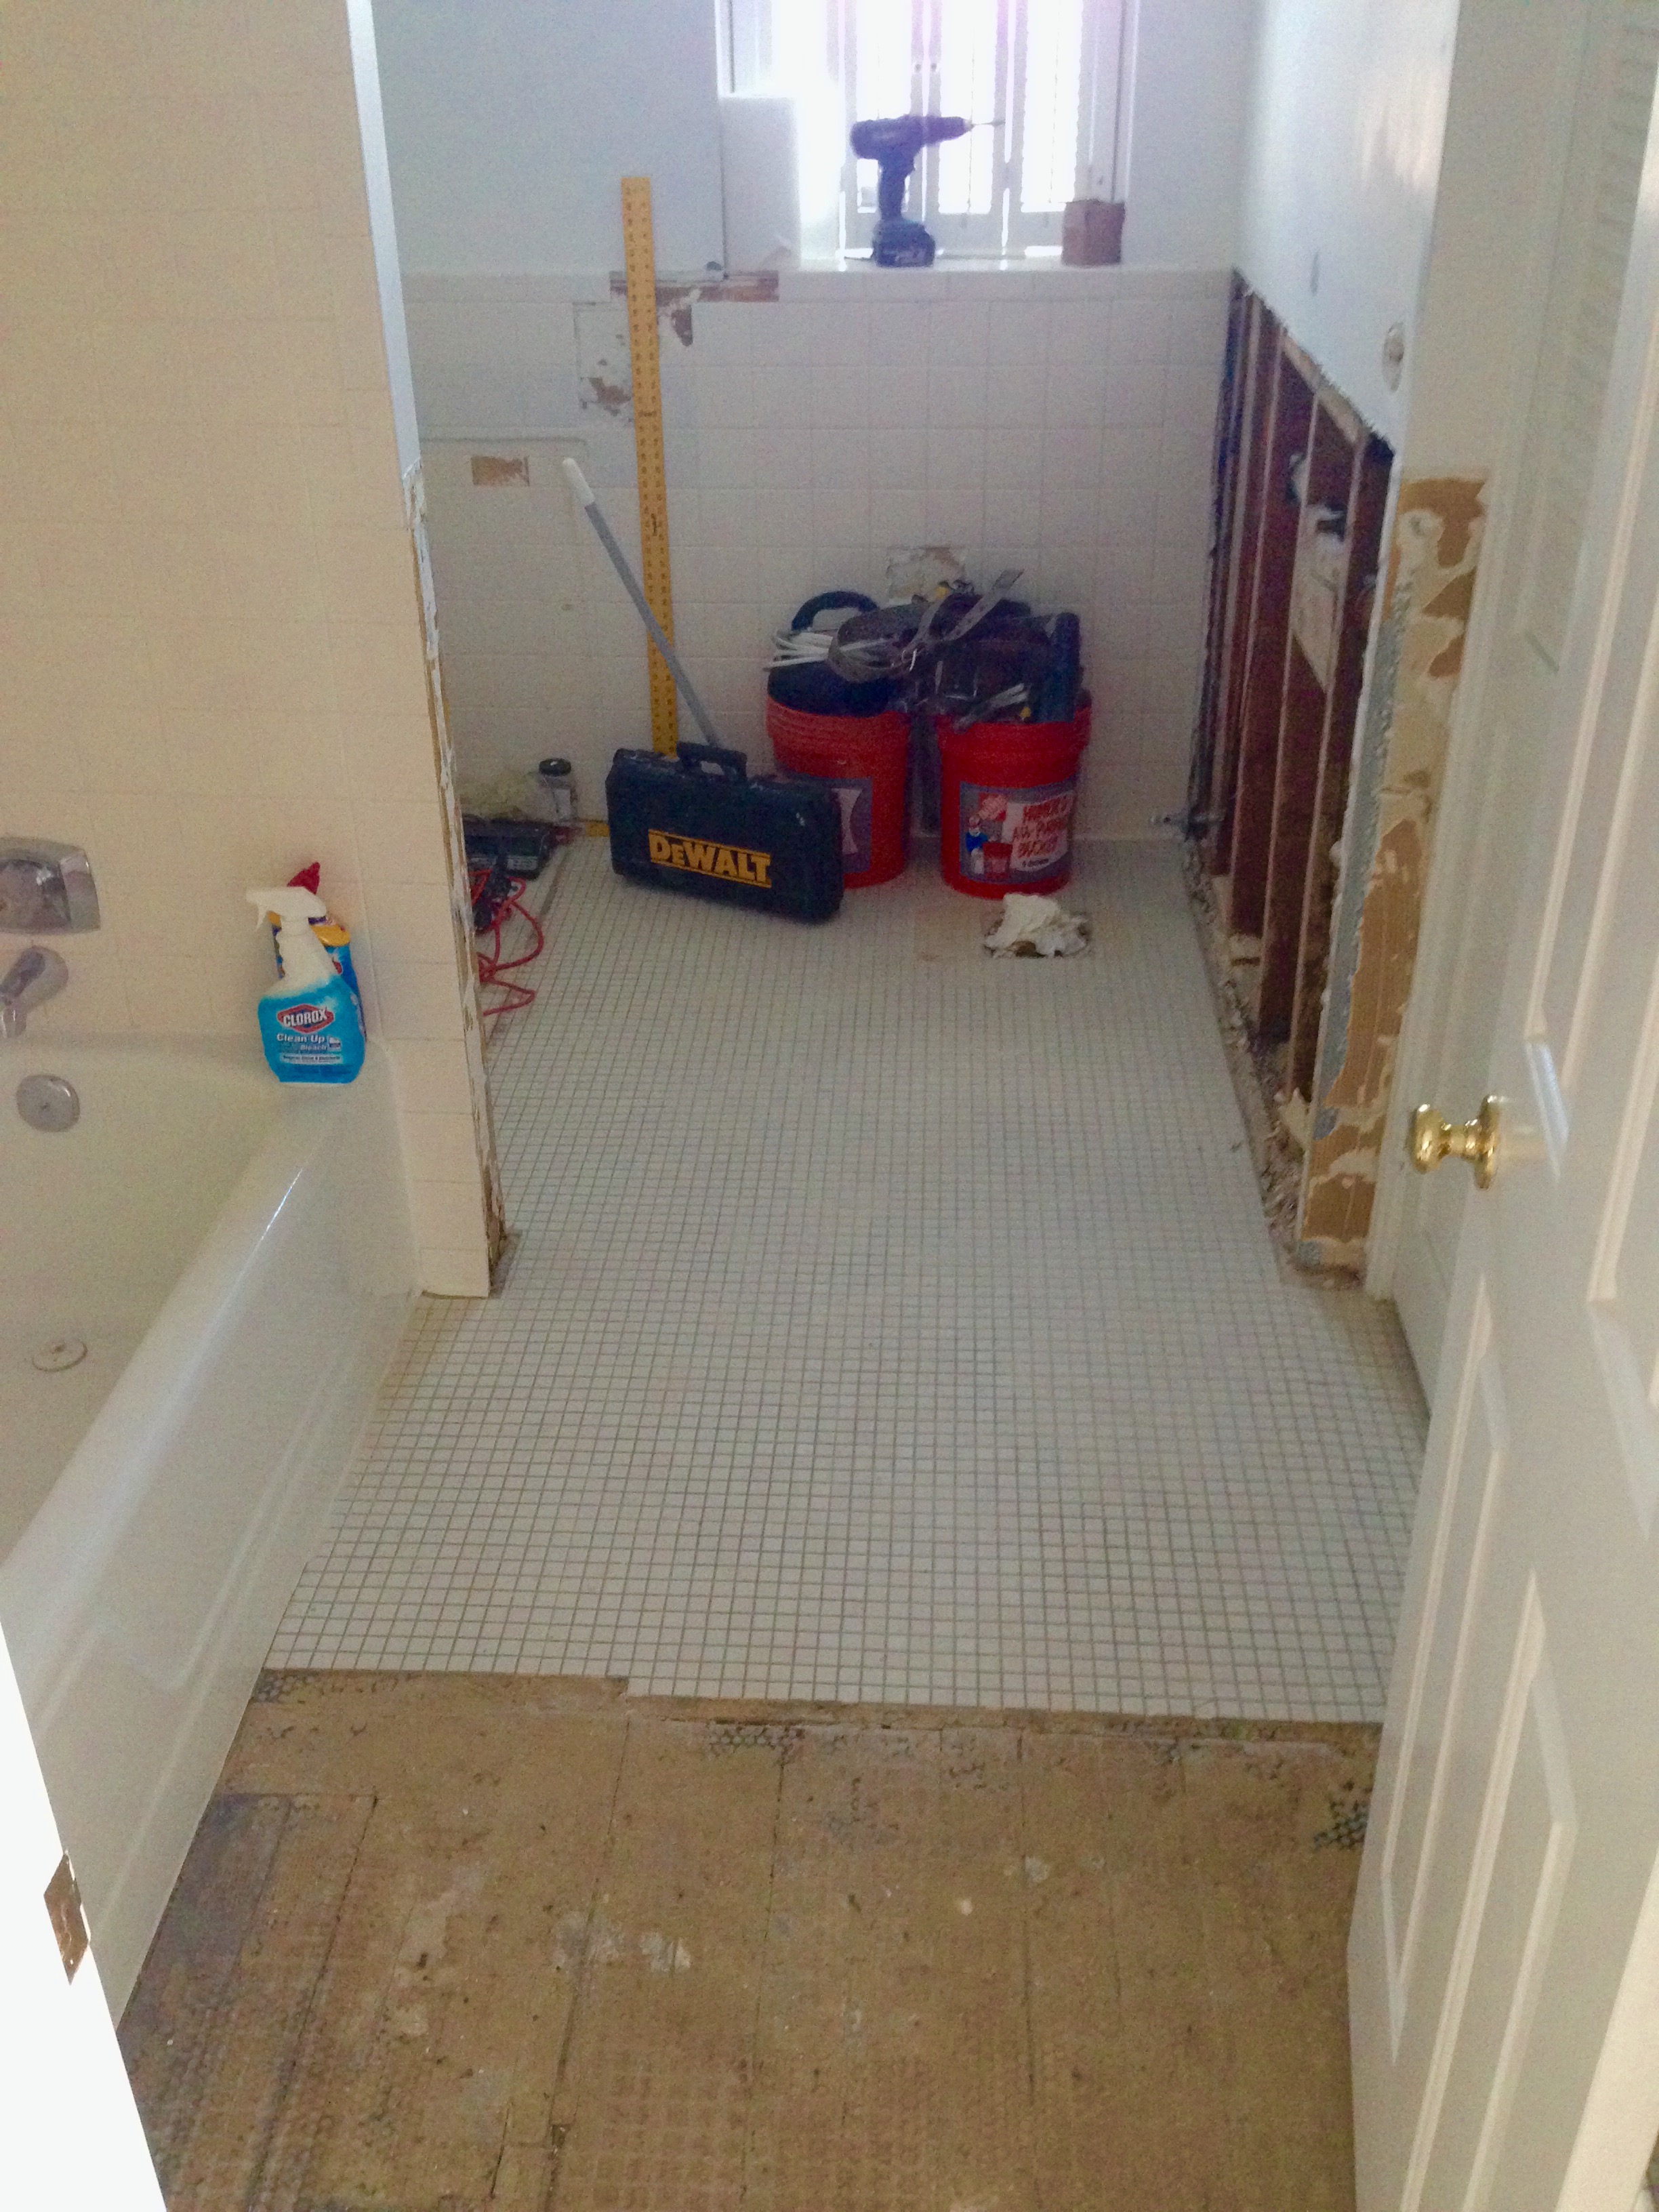
As I have mentioned in previous posts, we renovated our bathroom prior to moving in last Spring. Reason being, re-doing the flooring in a bathroom requires 3 days to complete (the demolition has to take place, new tile needs to be laid, grouted and sealed) and our bathroom would have been off limits for that entire time. When you only have one bathroom in your home, you quickly realize that this type of a renovation needs to take place either before you move in or while you are away on vacation. Since we were using all of our vacation time to move in, we needed to go with the first option and have our bathroom renovated prior to our move-in date.
As soon as we had a ratified contract, I began planning out all of the work that needed to take place prior to our move-in date. I had decided that I would paint the bedroom and living room to save on expenses, but between painting the two rooms, working full time, my husband traveling 6 days a week for work and moving, there was no way that I would have time to re-tile and renovate the bathroom myself, so we had to hire a contractor.
Even with a contractor, I knew I wanted to be involved in the renovation process for a few reasons.
- Stretching my dollar as far as possible- Always looking to get the best deal/save money, I purchased the materials that the contractor would need.
- Being an informed consumer- Even though the contractor was doing the work, I wanted to make sure that it was being done properly.
- My husband and I have to live with the final product- I needed to make sure I had the opportunity to speak up regarding design decisions.
There is so much to share regarding bathroom renovations (and over time I will definitely impart all of my knowledge), but for this post I am going to keep it to just talking about flooring. Below I have compiled a list of my best tips/information when it comes to re-doing your bathroom floor that can help with saving money and ensuring quality work.
Shop Around
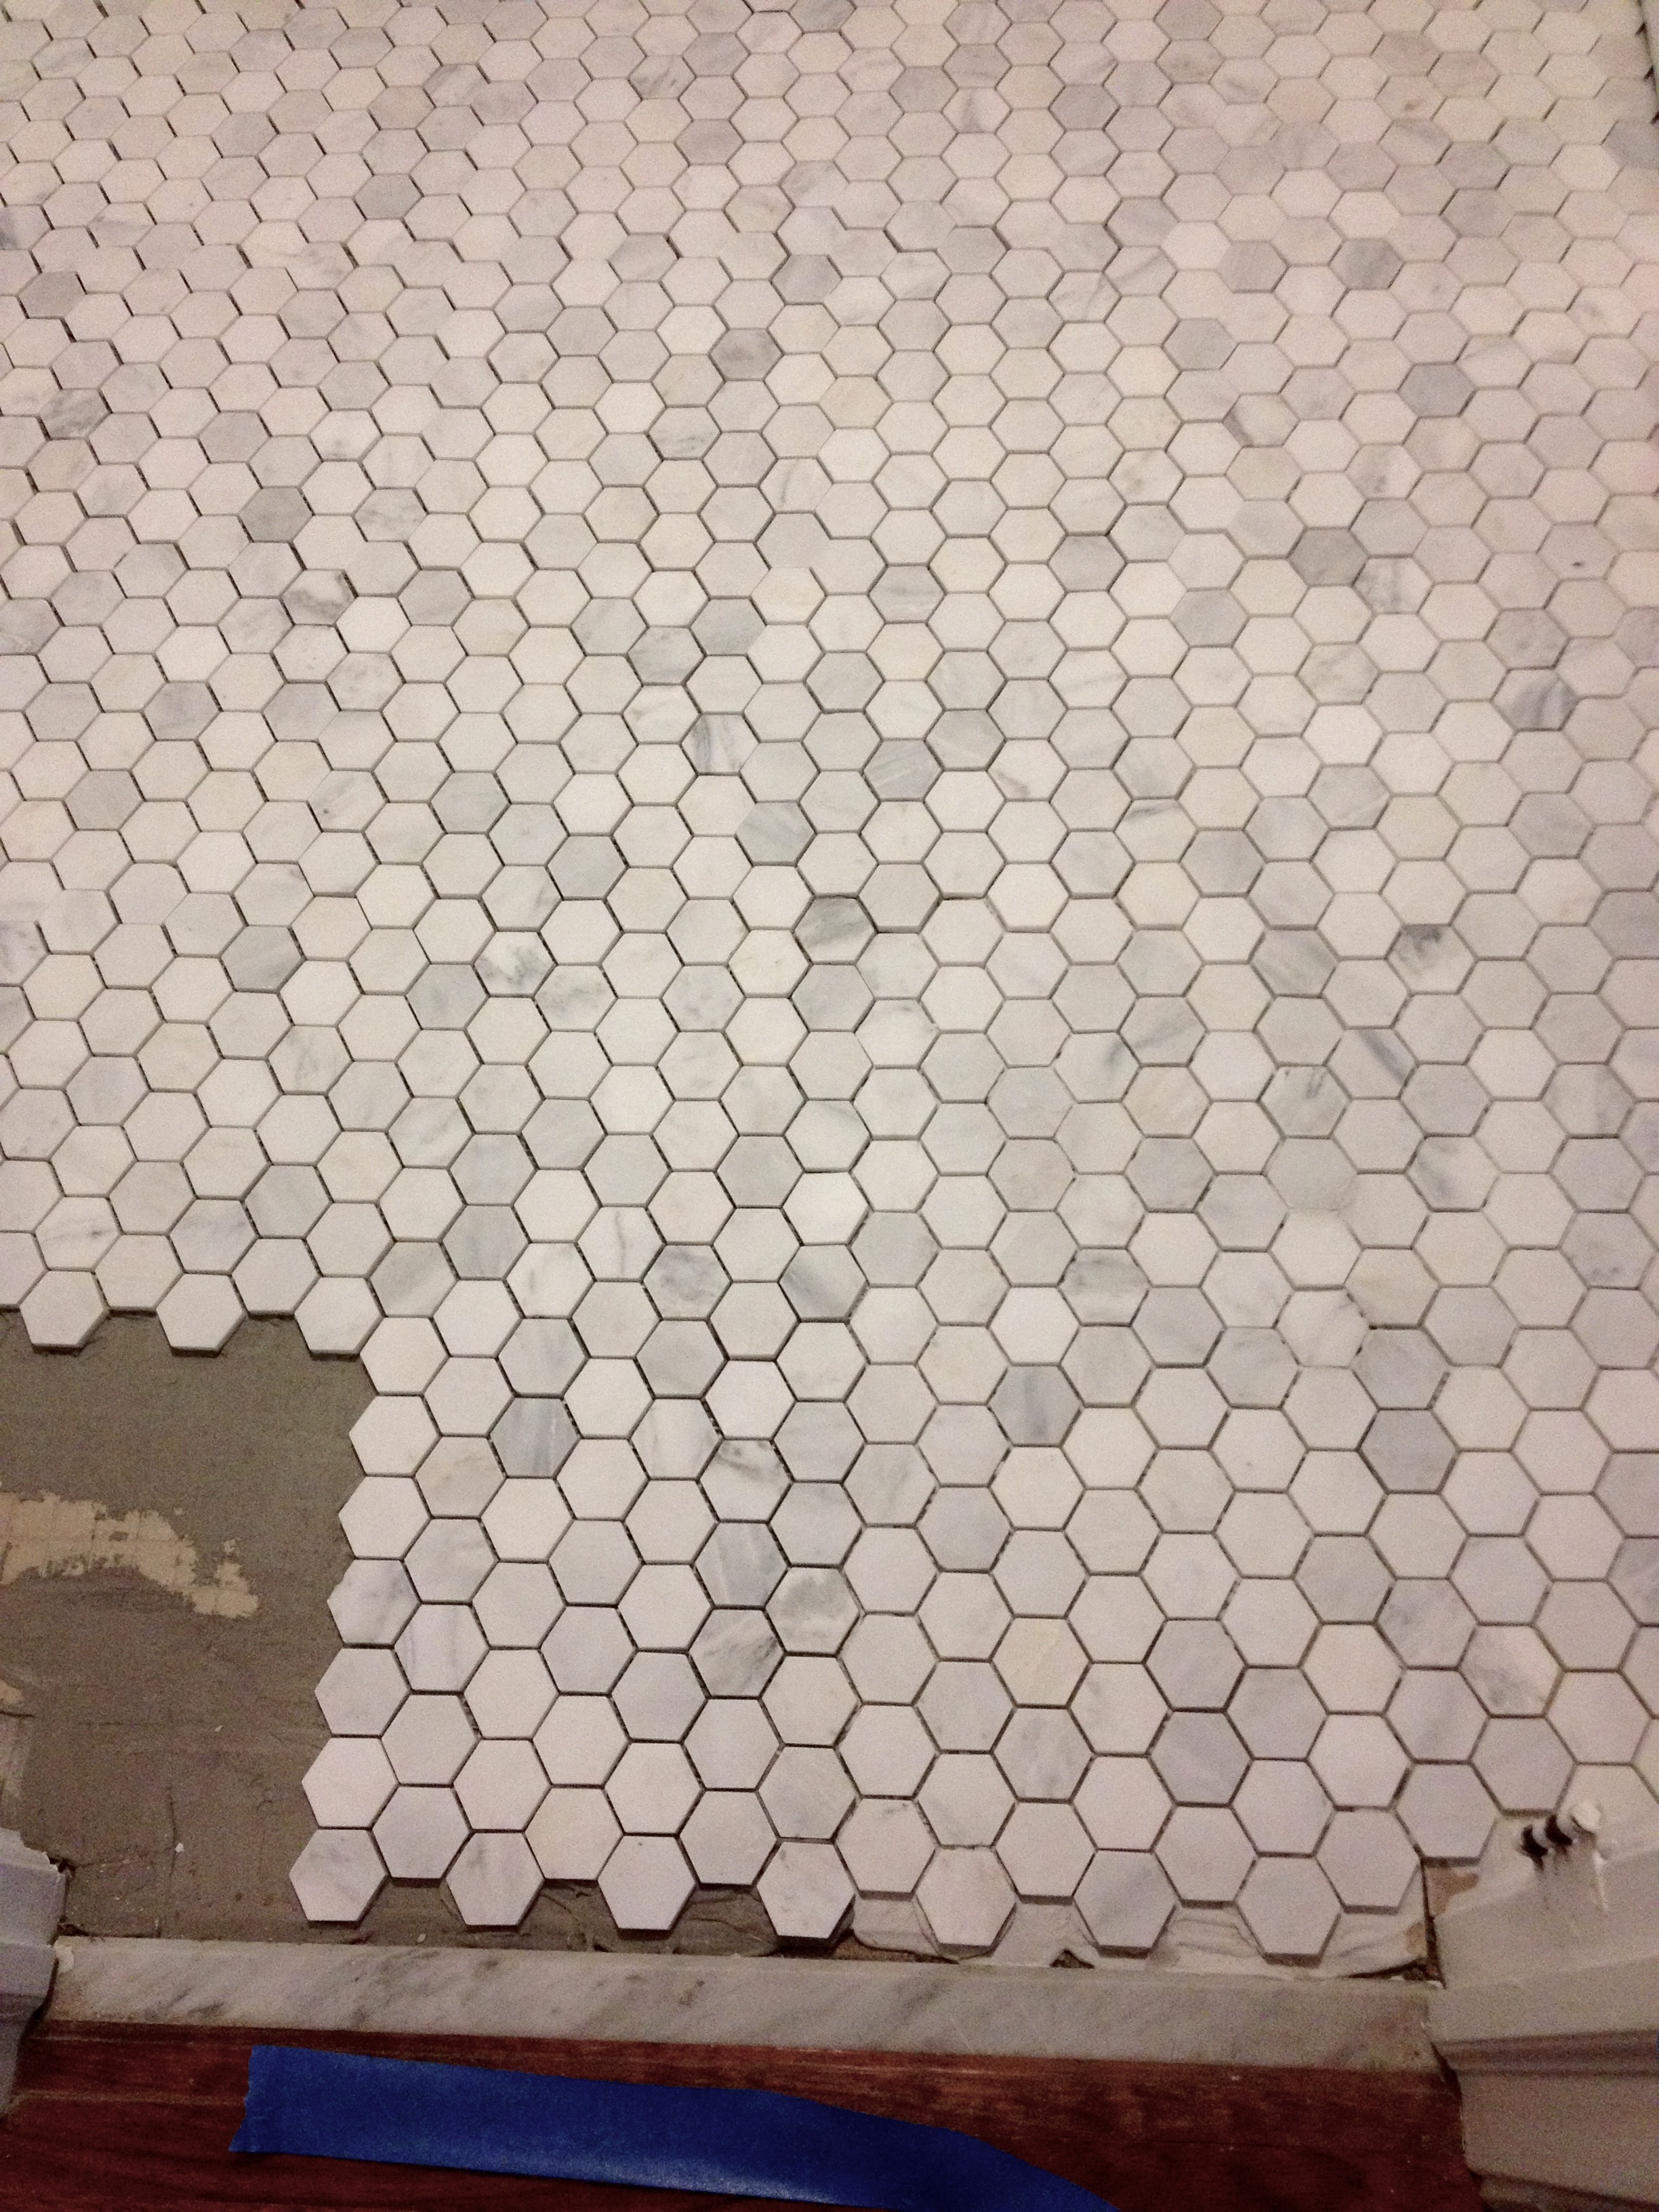
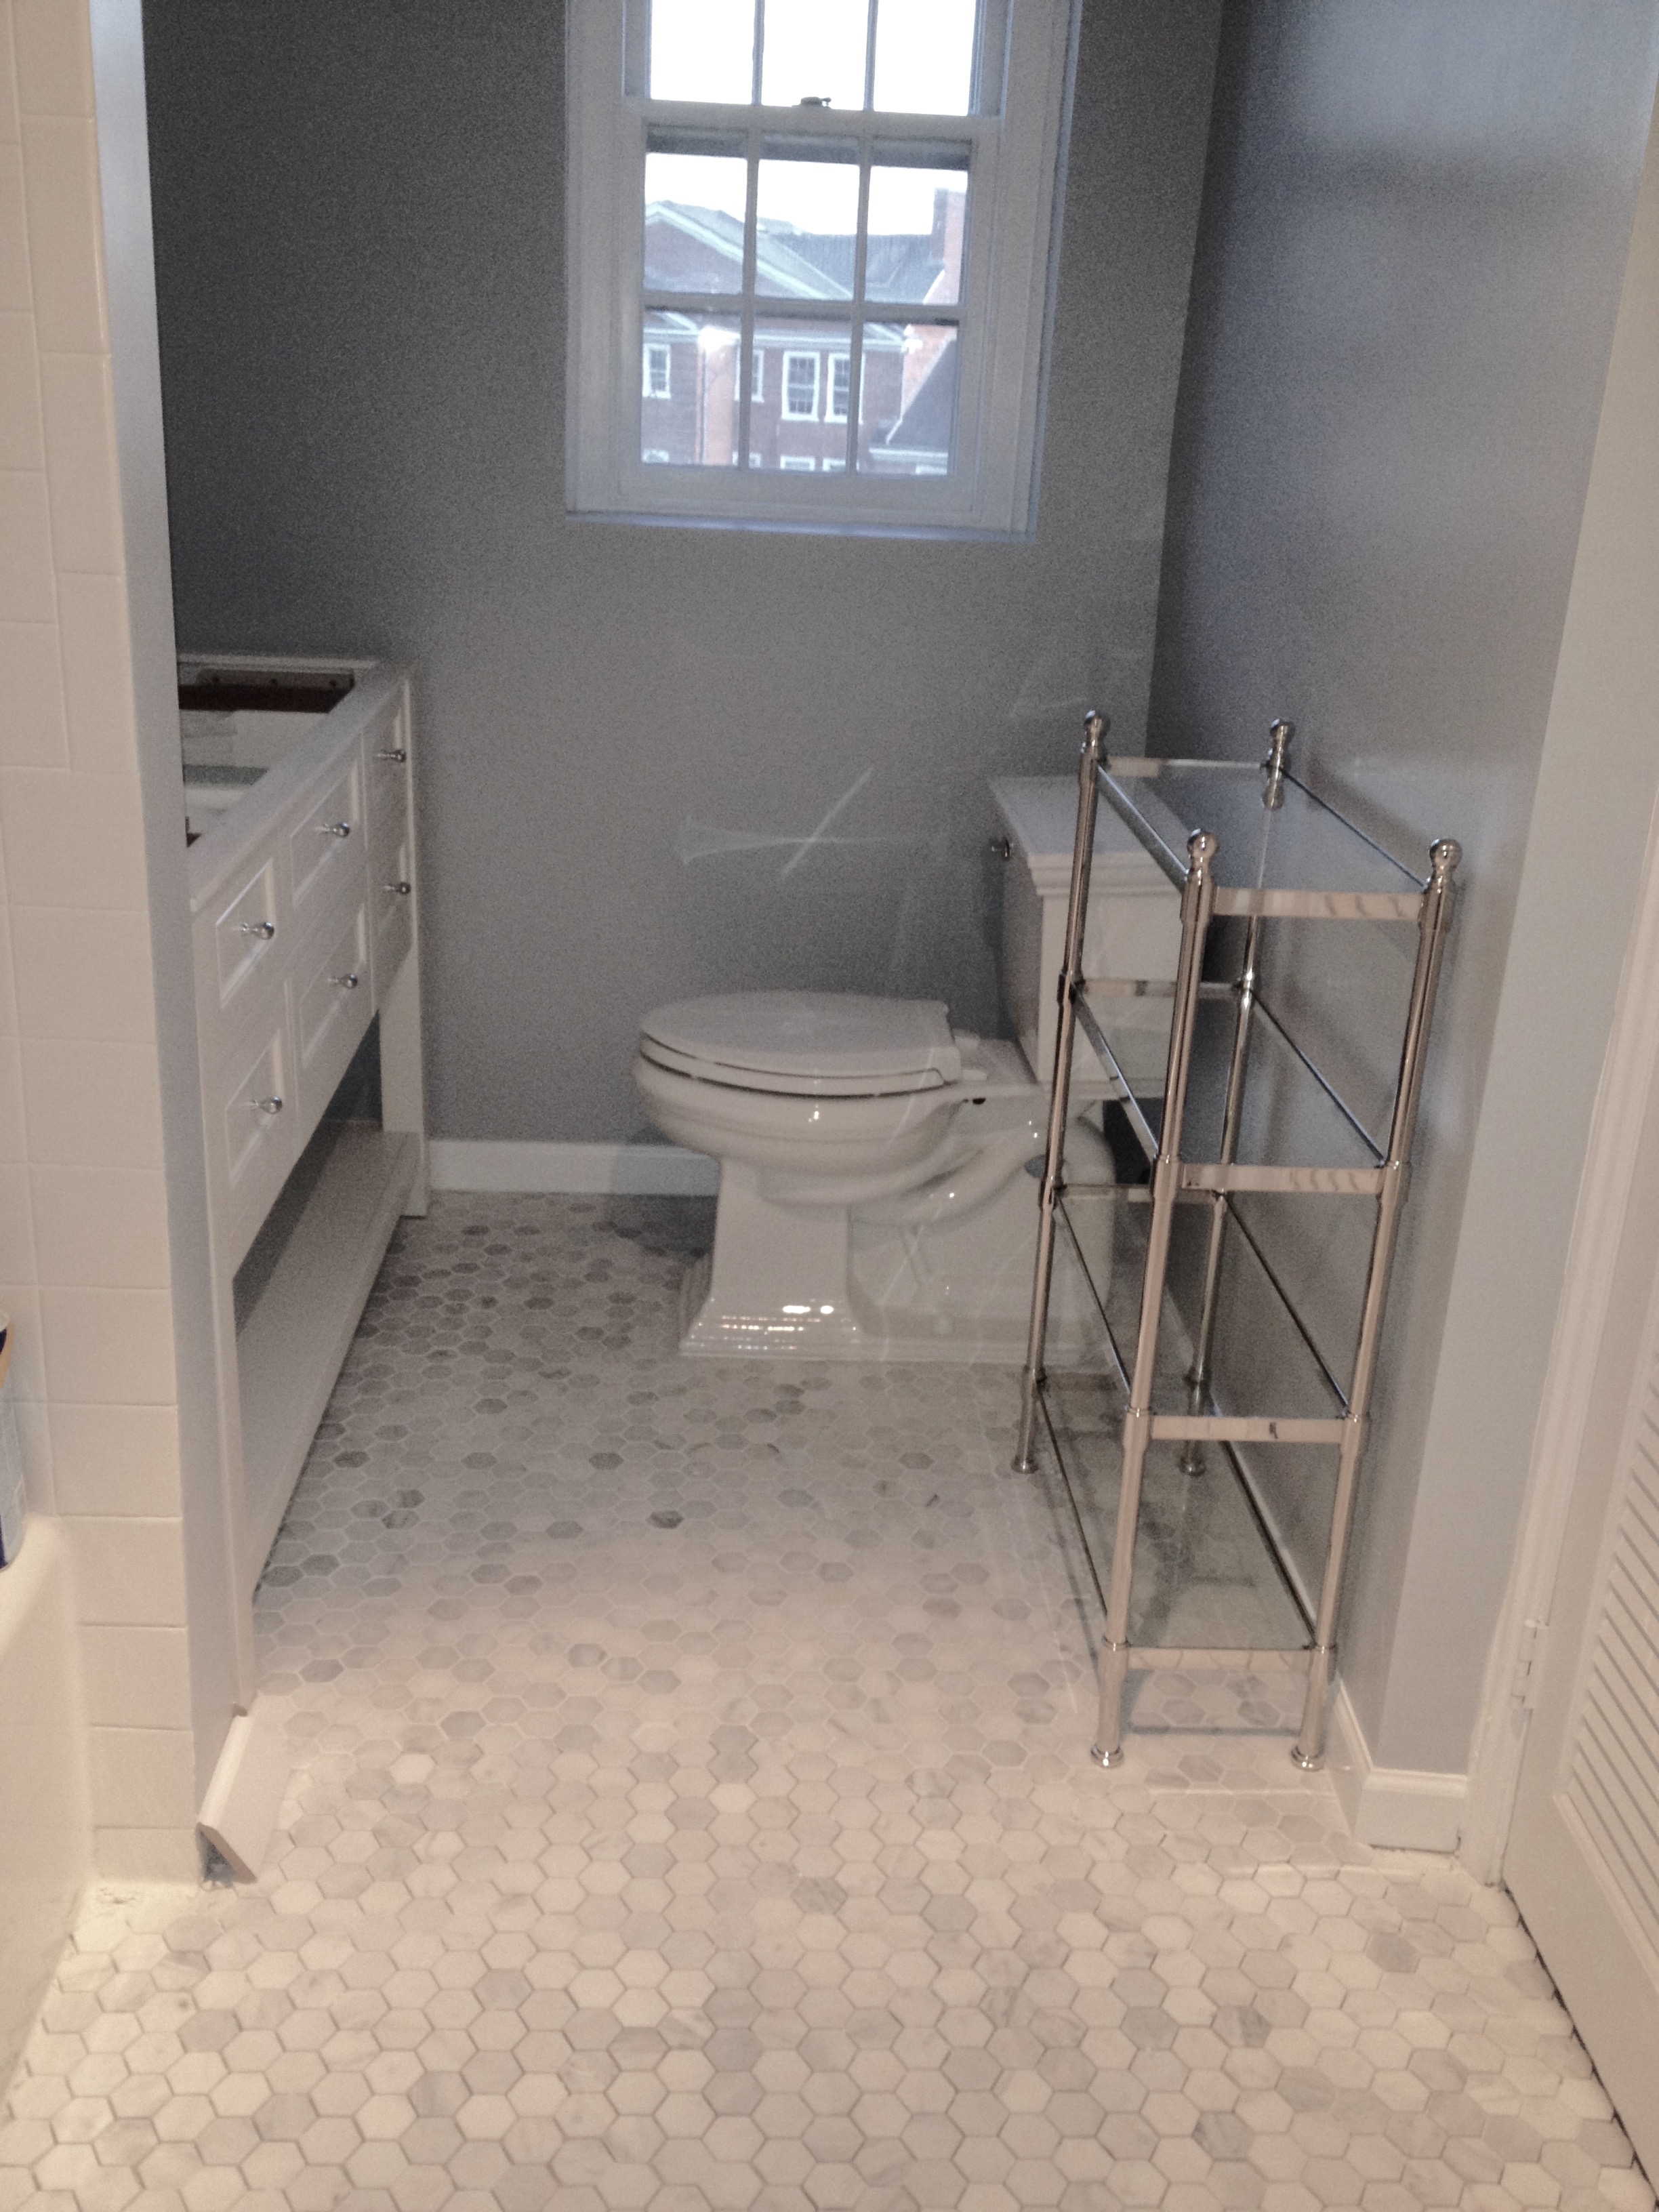
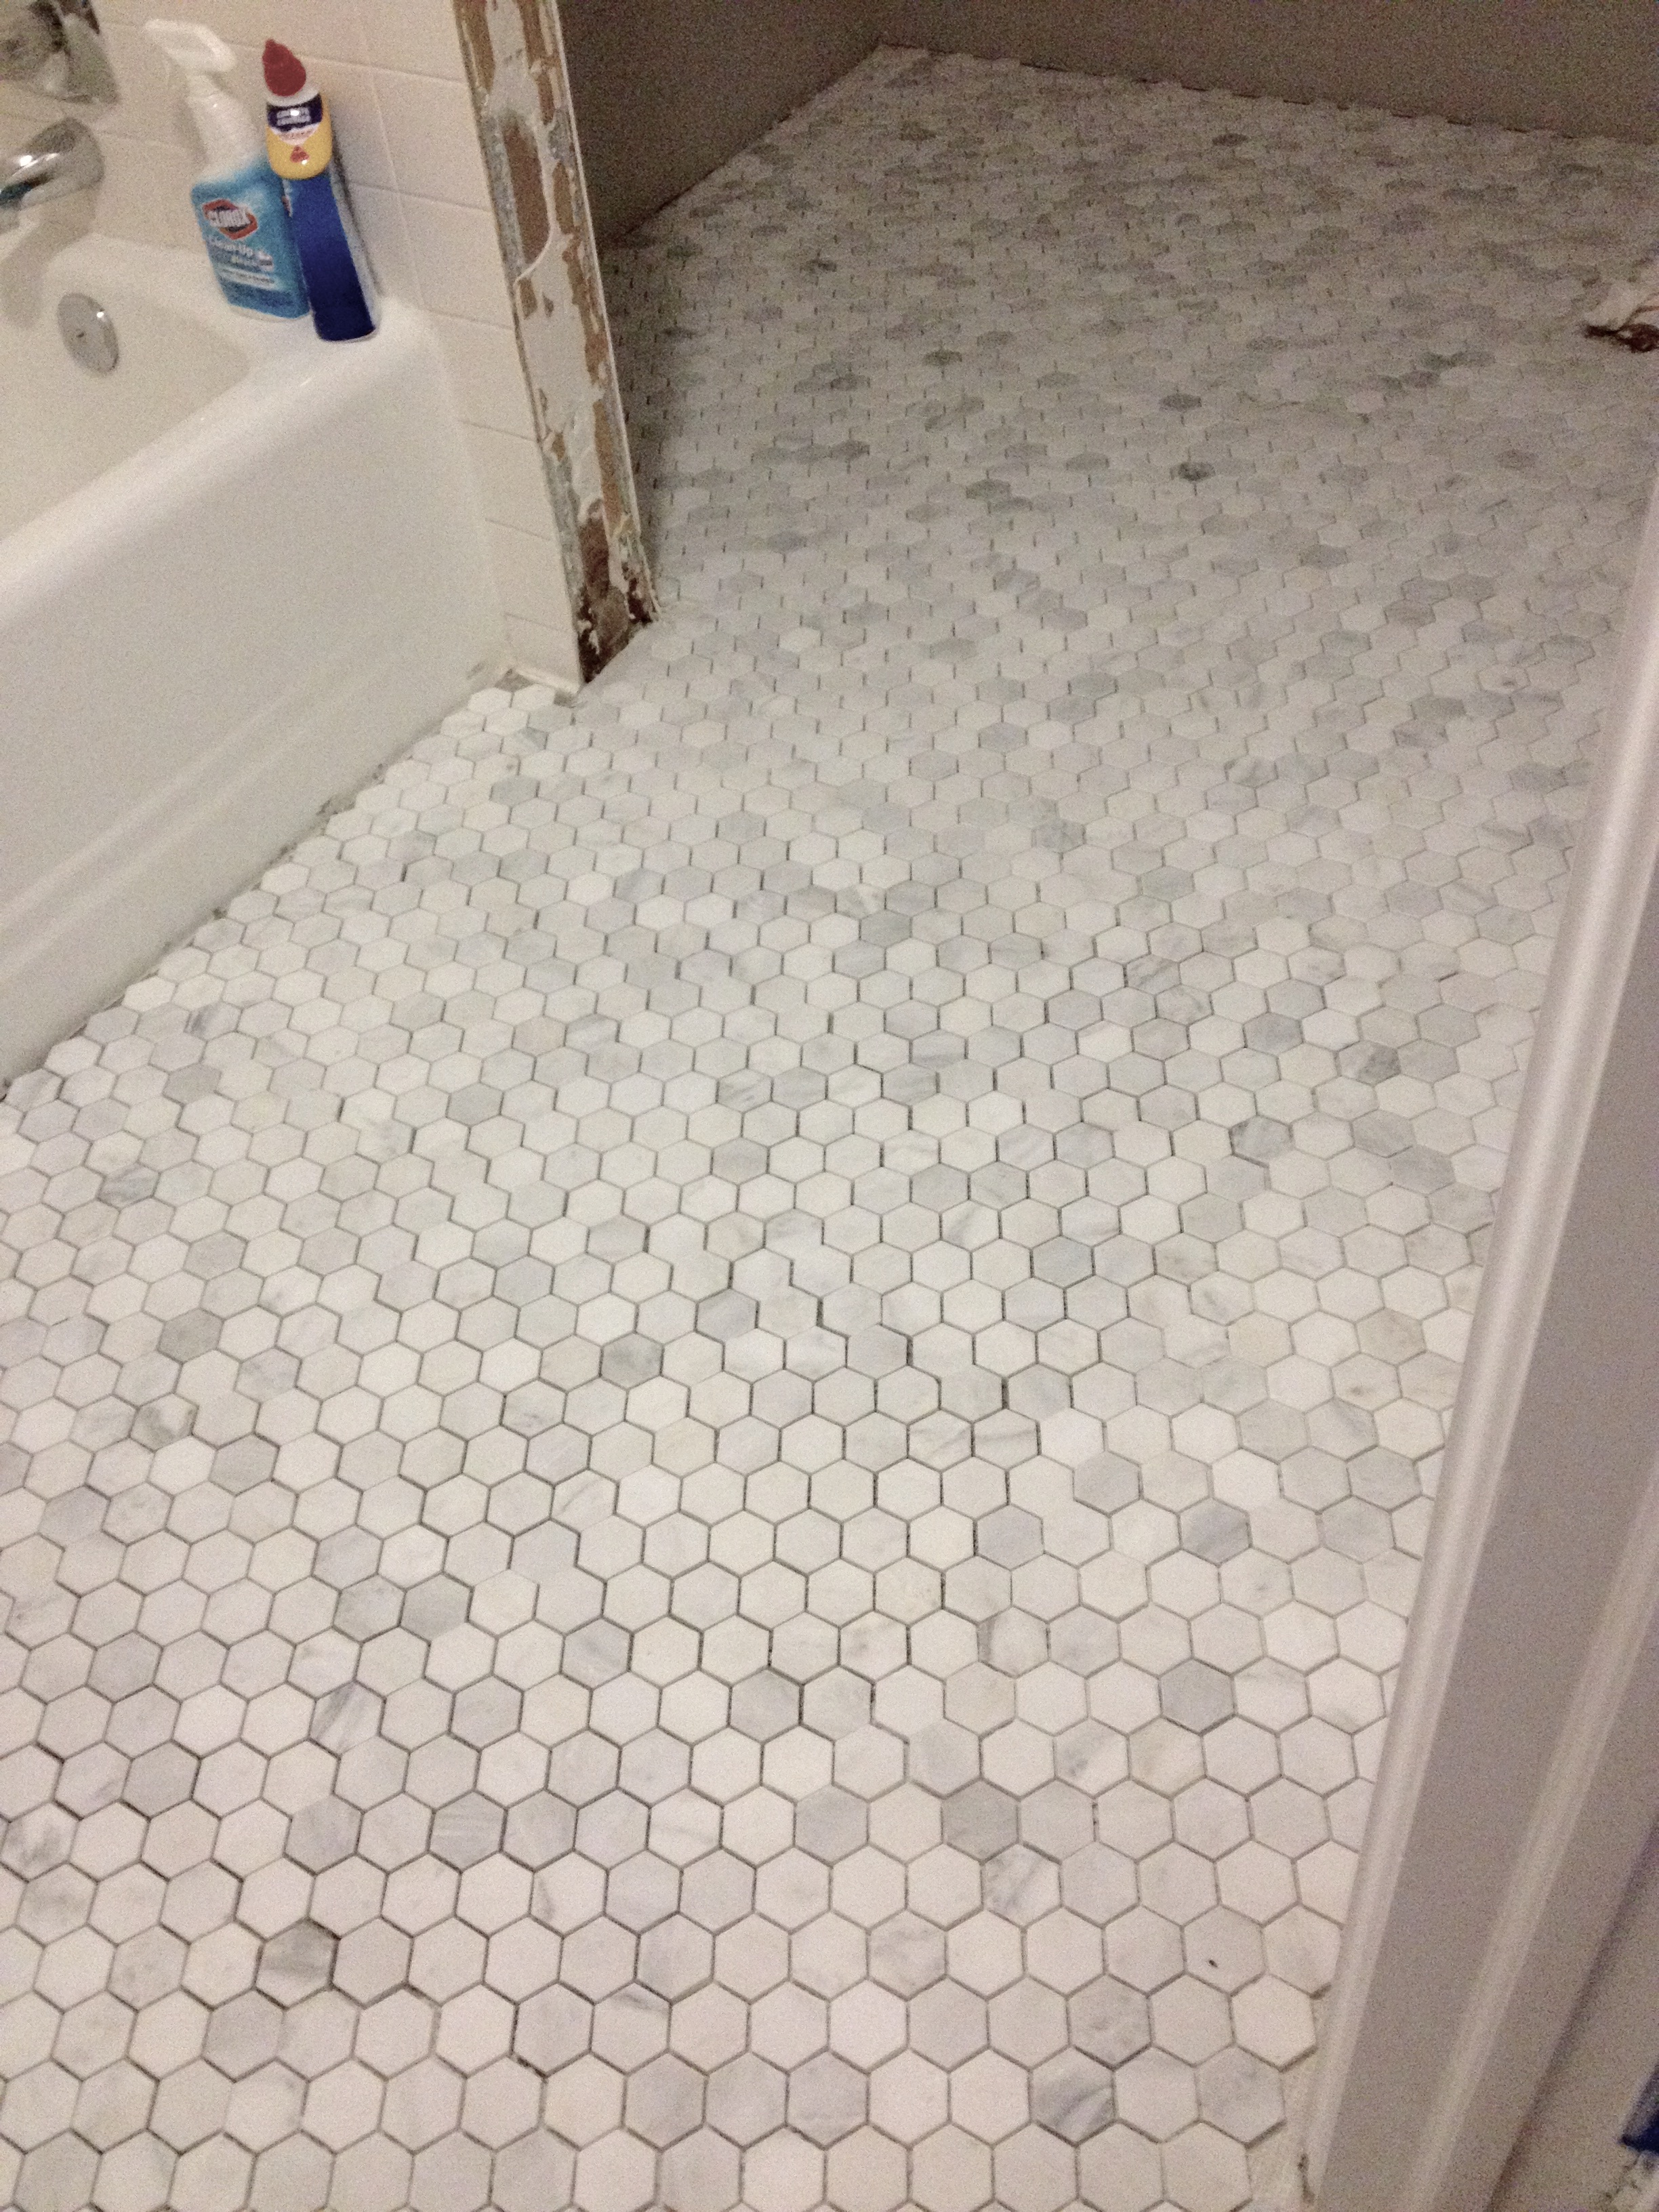
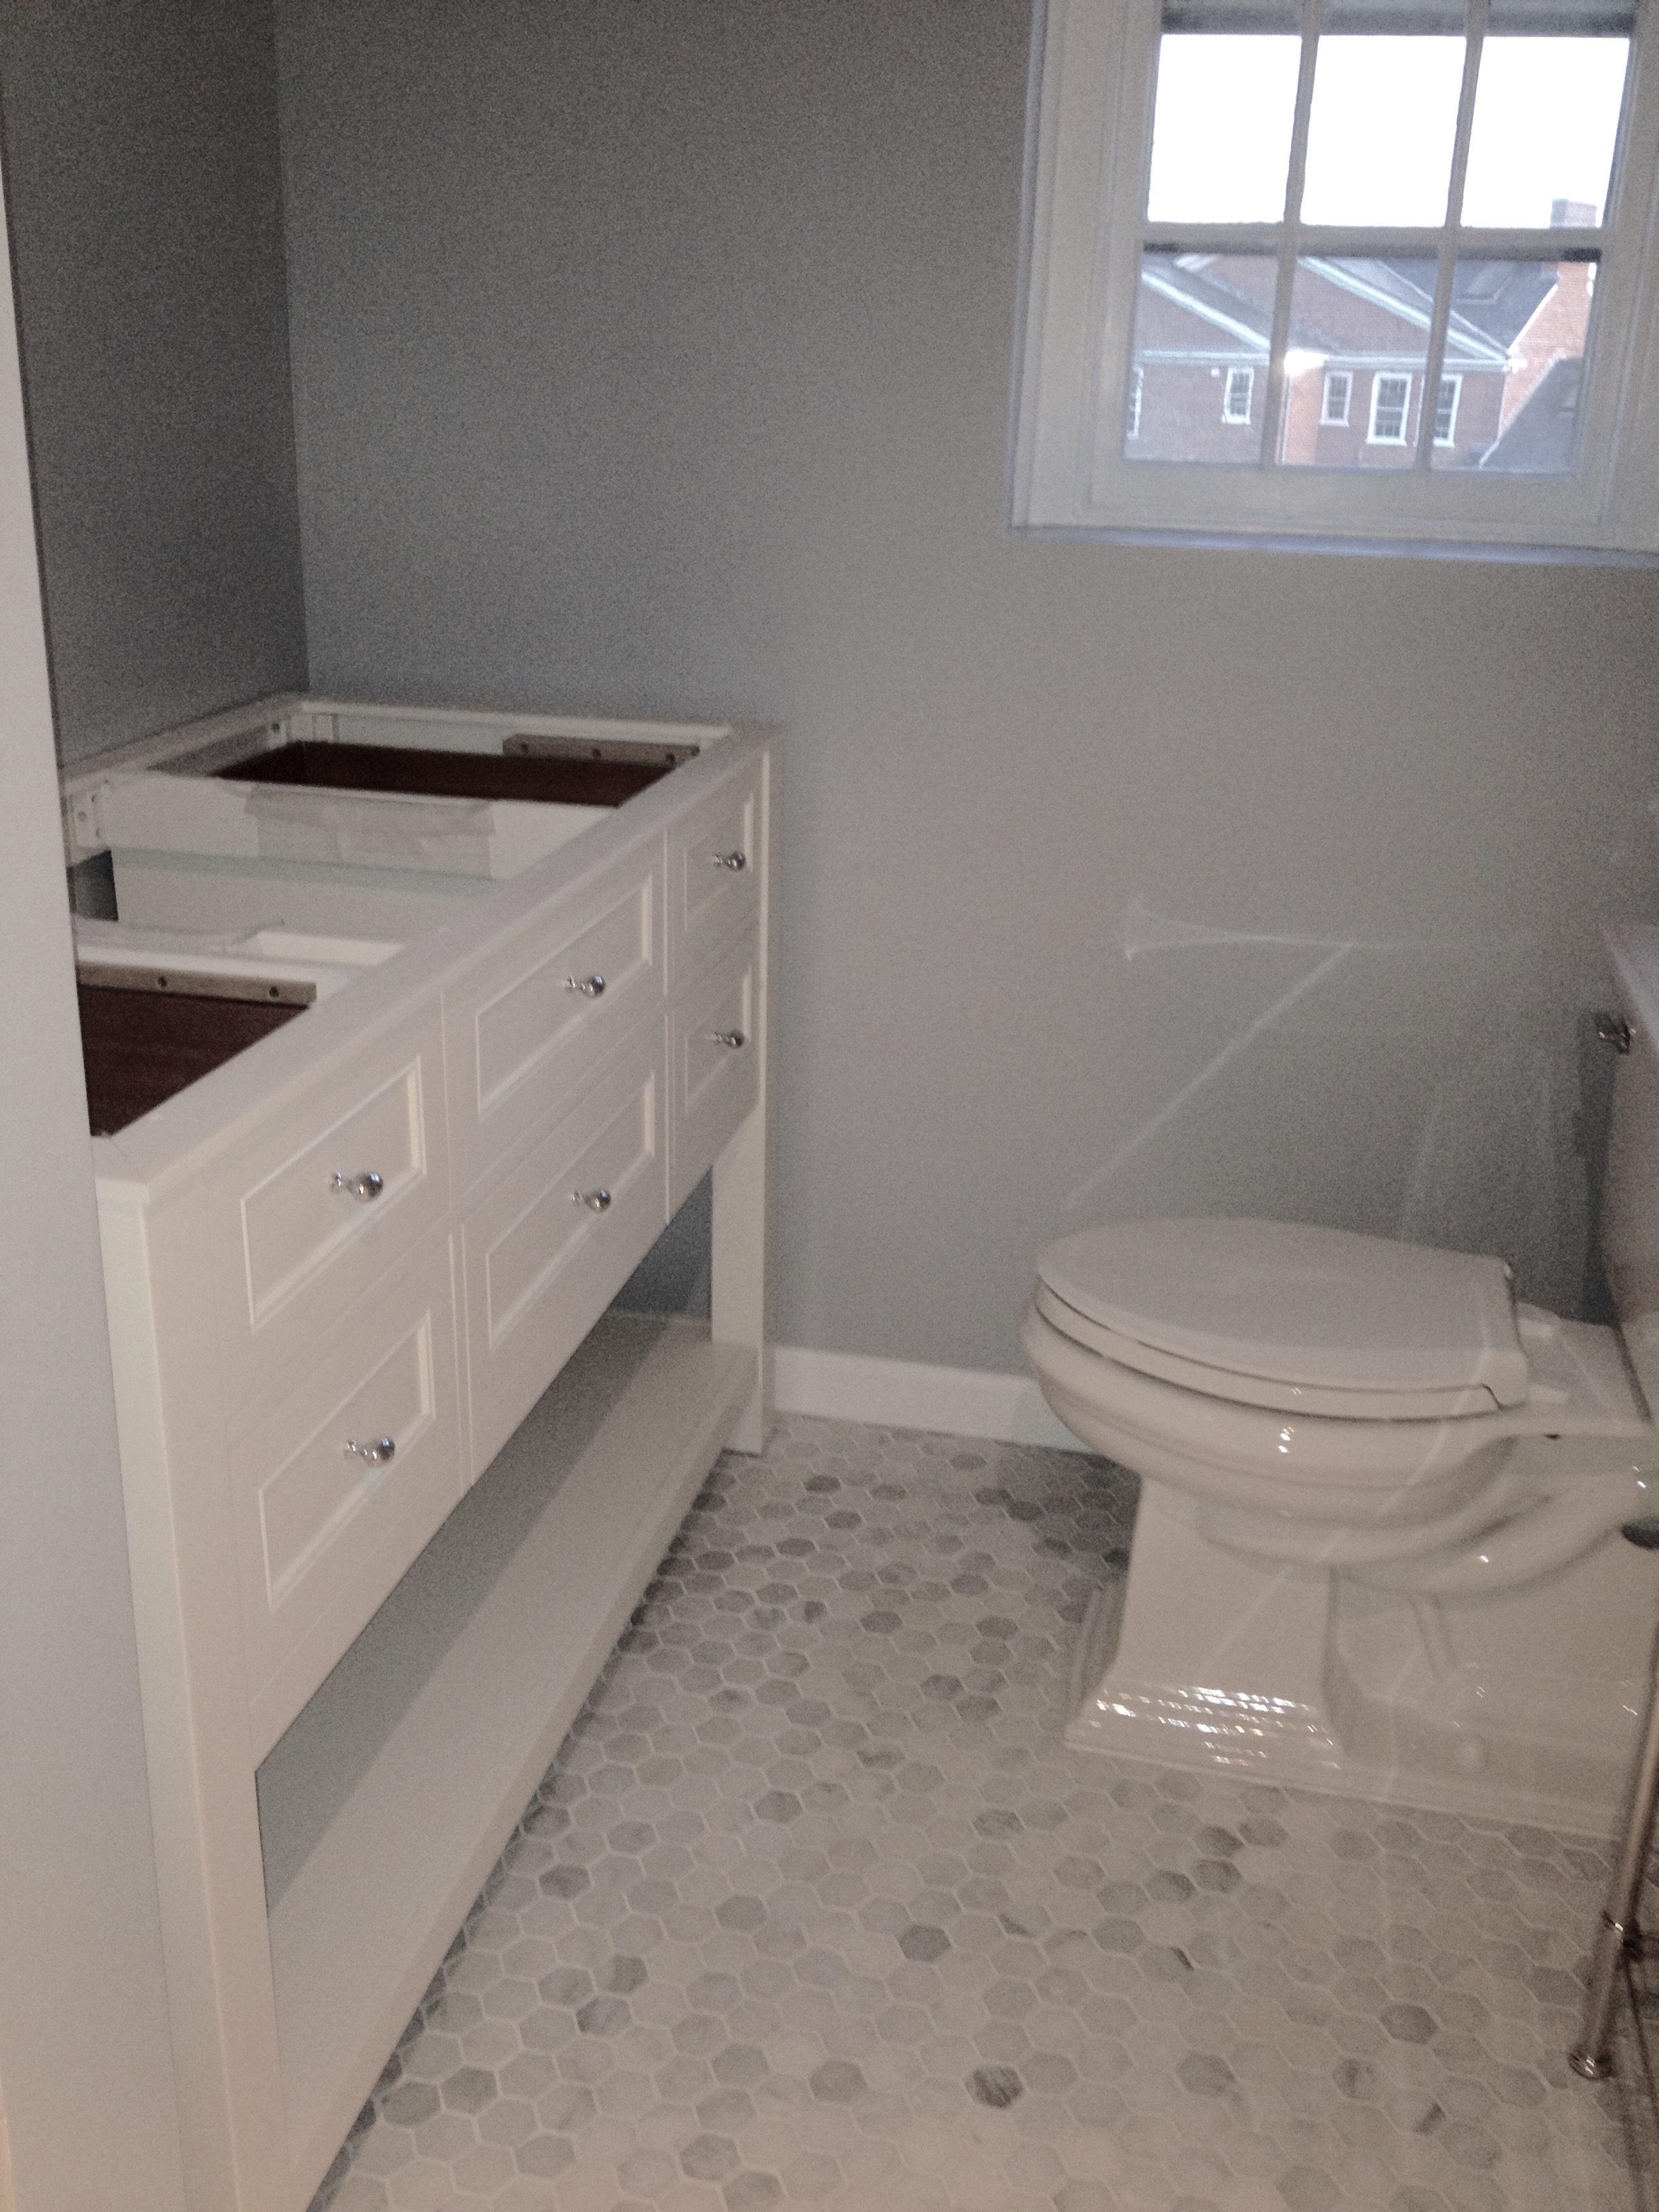
When it came to selecting tile for the bathroom, I knew I wanted to keep with my neutral color scheme of whites and greys and did not want to use standard traditional tile. I became more aware of the different tiles used in my friends and family's bathrooms and fell in love with the look of carrara marble. The white stone with grey veining was perfectly in line with my color scheme and overall vision for the bathroom. The only problem- carrara marble can be a bit pricey (yikes!). Determined to achieve my desired aesthetic while staying within the budget, I started shopping around. Of all places, I ended up having success on Amazon.com! I found the Carrara Marble Hexagon Tiles I had been searching for at a cost of $9.75/sqft and the best part? Free shipping and no tax!

How Much to Buy?
There are plenty of online tools to help you figure out exactly what square footage of tile is required for your space (*this tile calculator is a great tool). The most important tip I can share here is to buy 10-20% more tile than you think you need. Reason being- tile damage during transport is inevitable (the average is 3% of your order) and you have to account for all of the tile that needs to be cut to fill in the edges along the perimeter. Purchasing an adequate amount of tile before you start the renovation will also aid in keeping delays to a minimum. Here is another resource that I found to be extremely helpful when trying to determine the amount of tile to purchase.
Be an Informed Consumer
I can't stress enough how important it is to be an informed consumer. Whether you are using basic ceramic tile or fancy Italian marble, renovating your bathroom is a significant investment. The last thing you want is to find out down the road that there is a problem with the craftsmanship because your contractor cut corners.
Understand the process for re-tiling. Before our contractor started work on our bathroom I watched dozens of videos like this one and this one, so that I would know everything involved in properly tiling our bathroom floor. Had it not been for this research, I wouldn't have know that the porous stone I had selected for our floor needed to be sealed after the grouting had been completed. Researching ahead of time empowered me with the information to talk to our contractor knowledgeably during the process.

Account for Time
Re-tiling a floor takes 3 days from start to finish if you have ample materials and everything goes according to plan. Our bathroom renovation came with lots of surprises and setbacks, which drew out the process significantly (like not having purchased enough tile initially and our contractor was working multiple jobs at the time of our bathroom renovation). This is more of an important reminder for those who only have one bathroom or if you are planning on doing the work yourself. Ideally this project should only take 3 days, but be prepared for the possibility that it could take longer.
The Devil is in the Details: Grout
Who knew that there were so many color options when it came to grout!?! This was my "first time at the rodeo" so to speak, and at the time I had thought that selecting white grout seemed like the logical choice. If I had it to do over again, I would probably go with an off-white grout because bright white grout shows dirt easily. Here is a post from Apartment Therapy that I found to be very helpful for selecting grout. As well, if you are doing your own grout work, this post from Better Homes and Garden is a great resource.
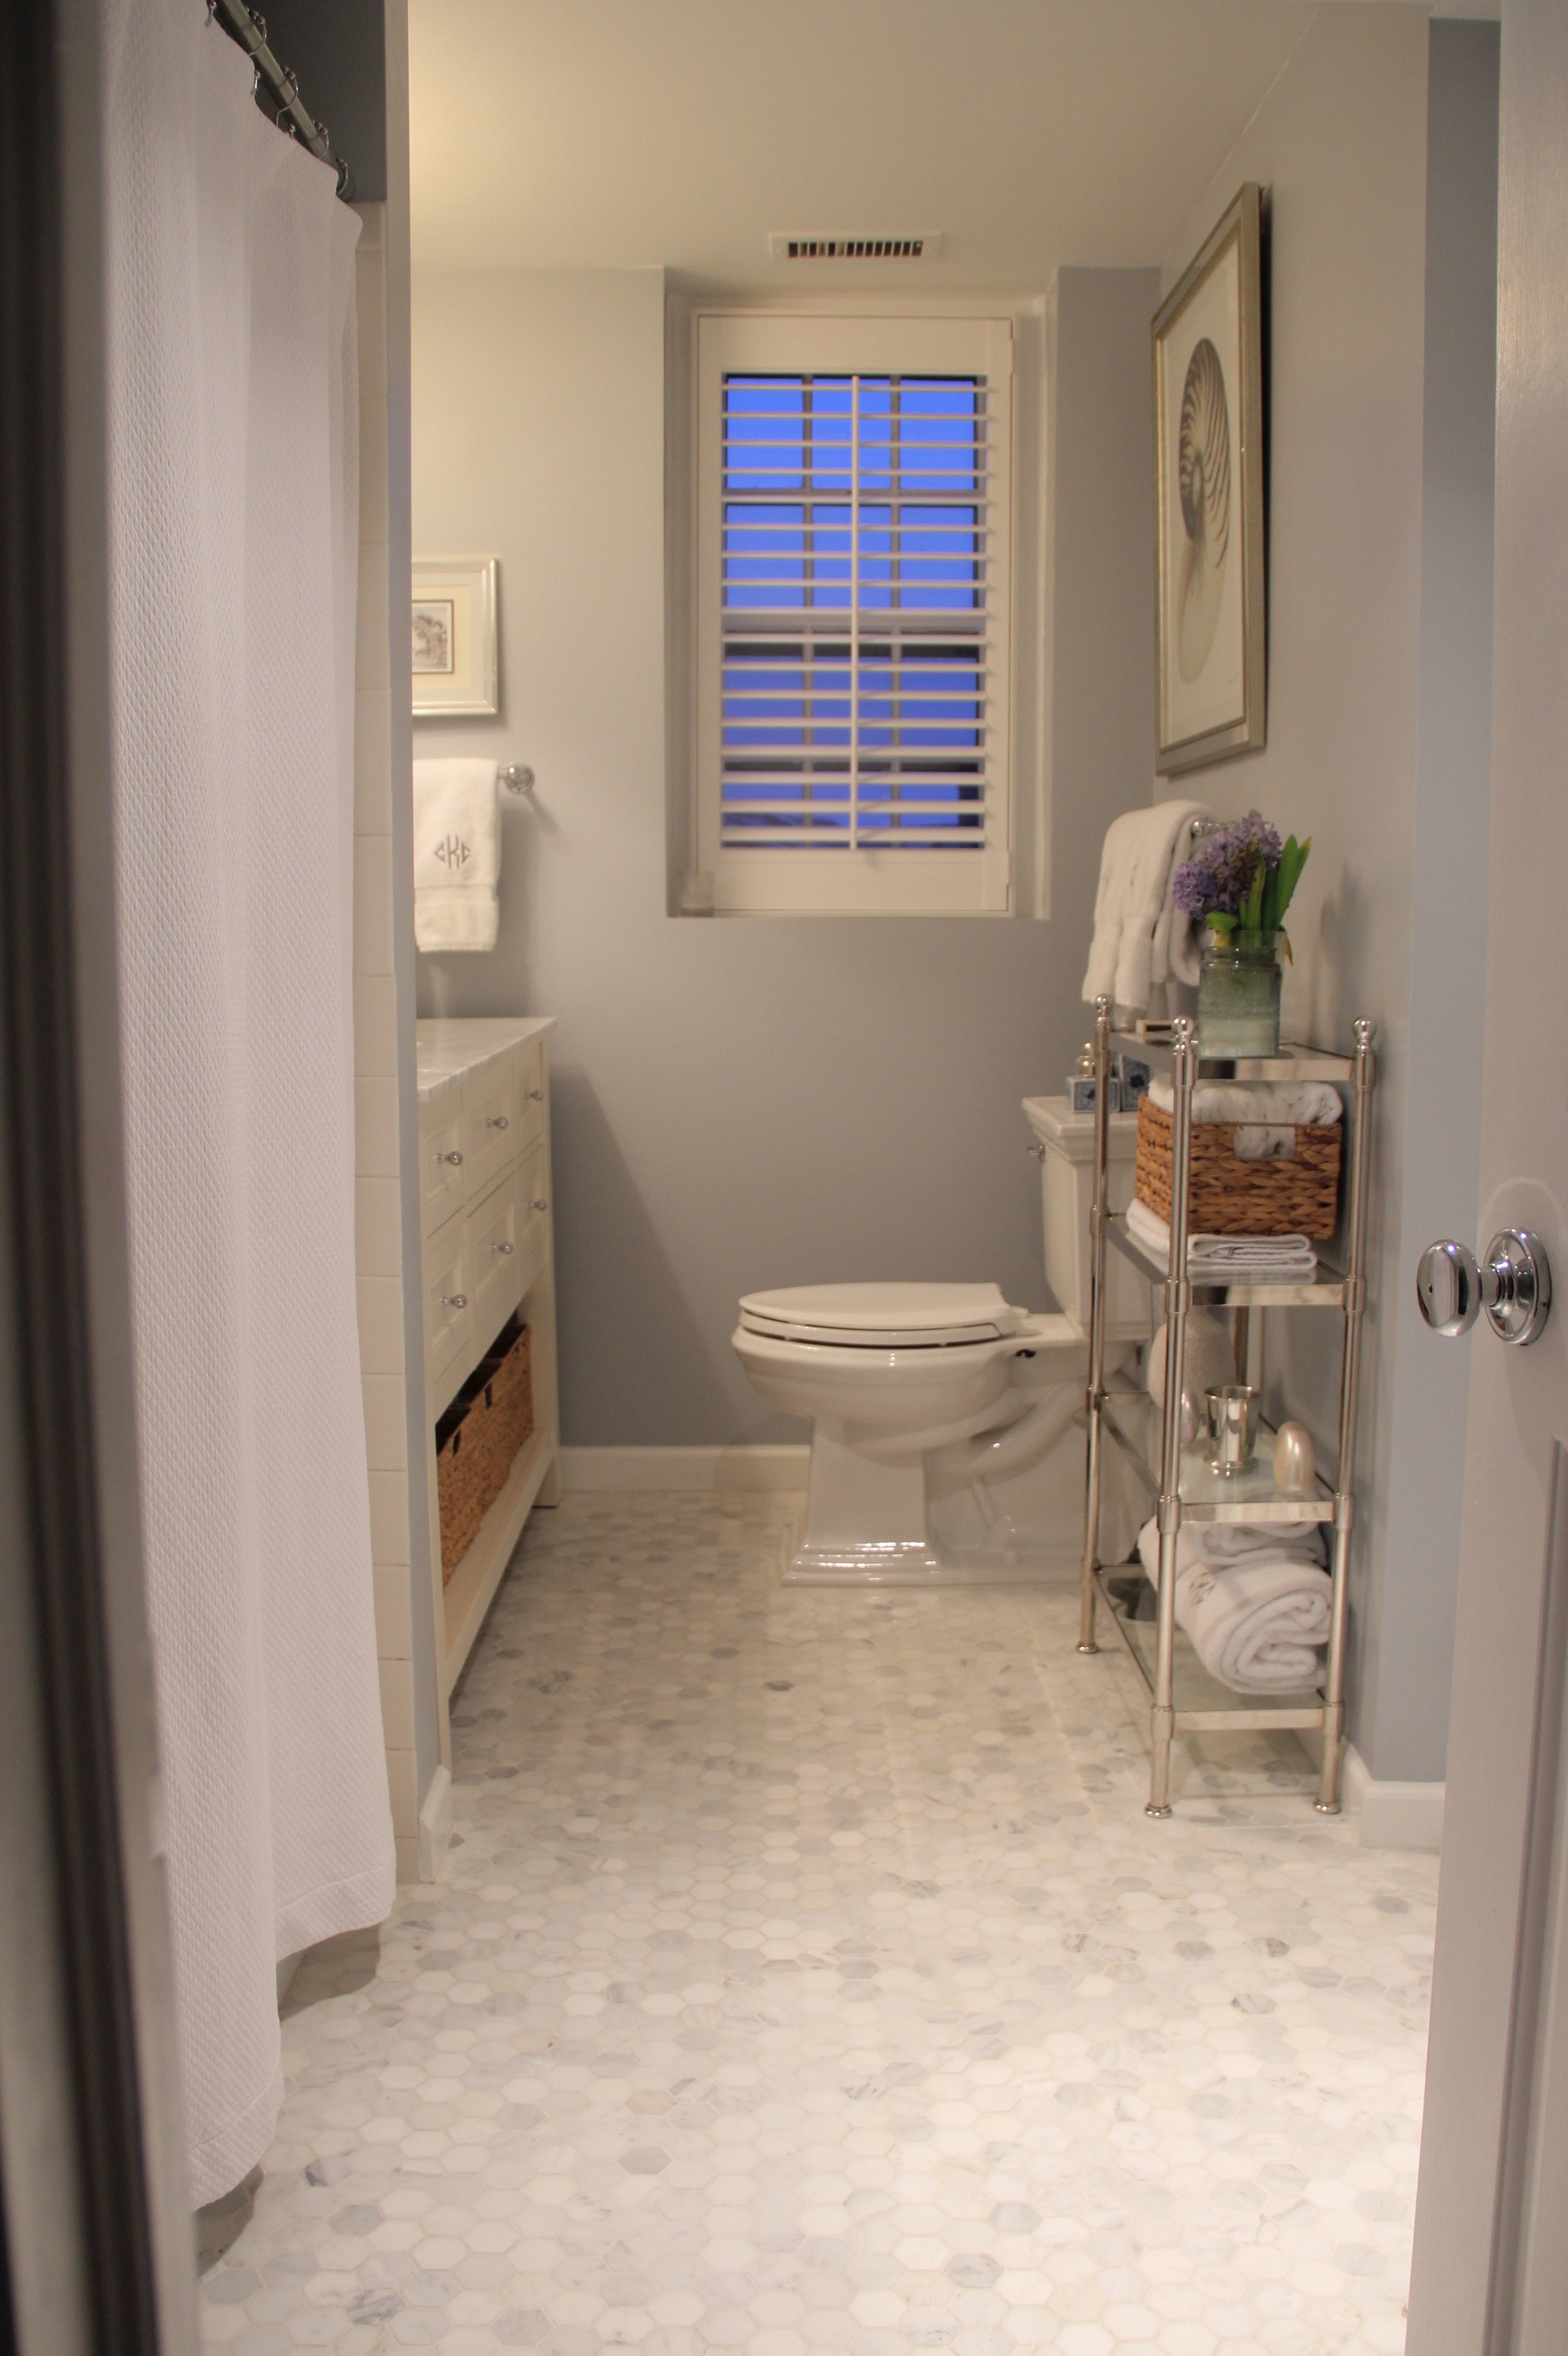
While flooring is definitely "Step 1," there is still so much to cover when it comes to renovating your bathroom. I have plenty of great tips and lessons learned from my own experience that I plan on sharing with you all in the future. If you have any questions regarding this post or other bathroom renovation questions, please feel free to contact me. Always happy to help!