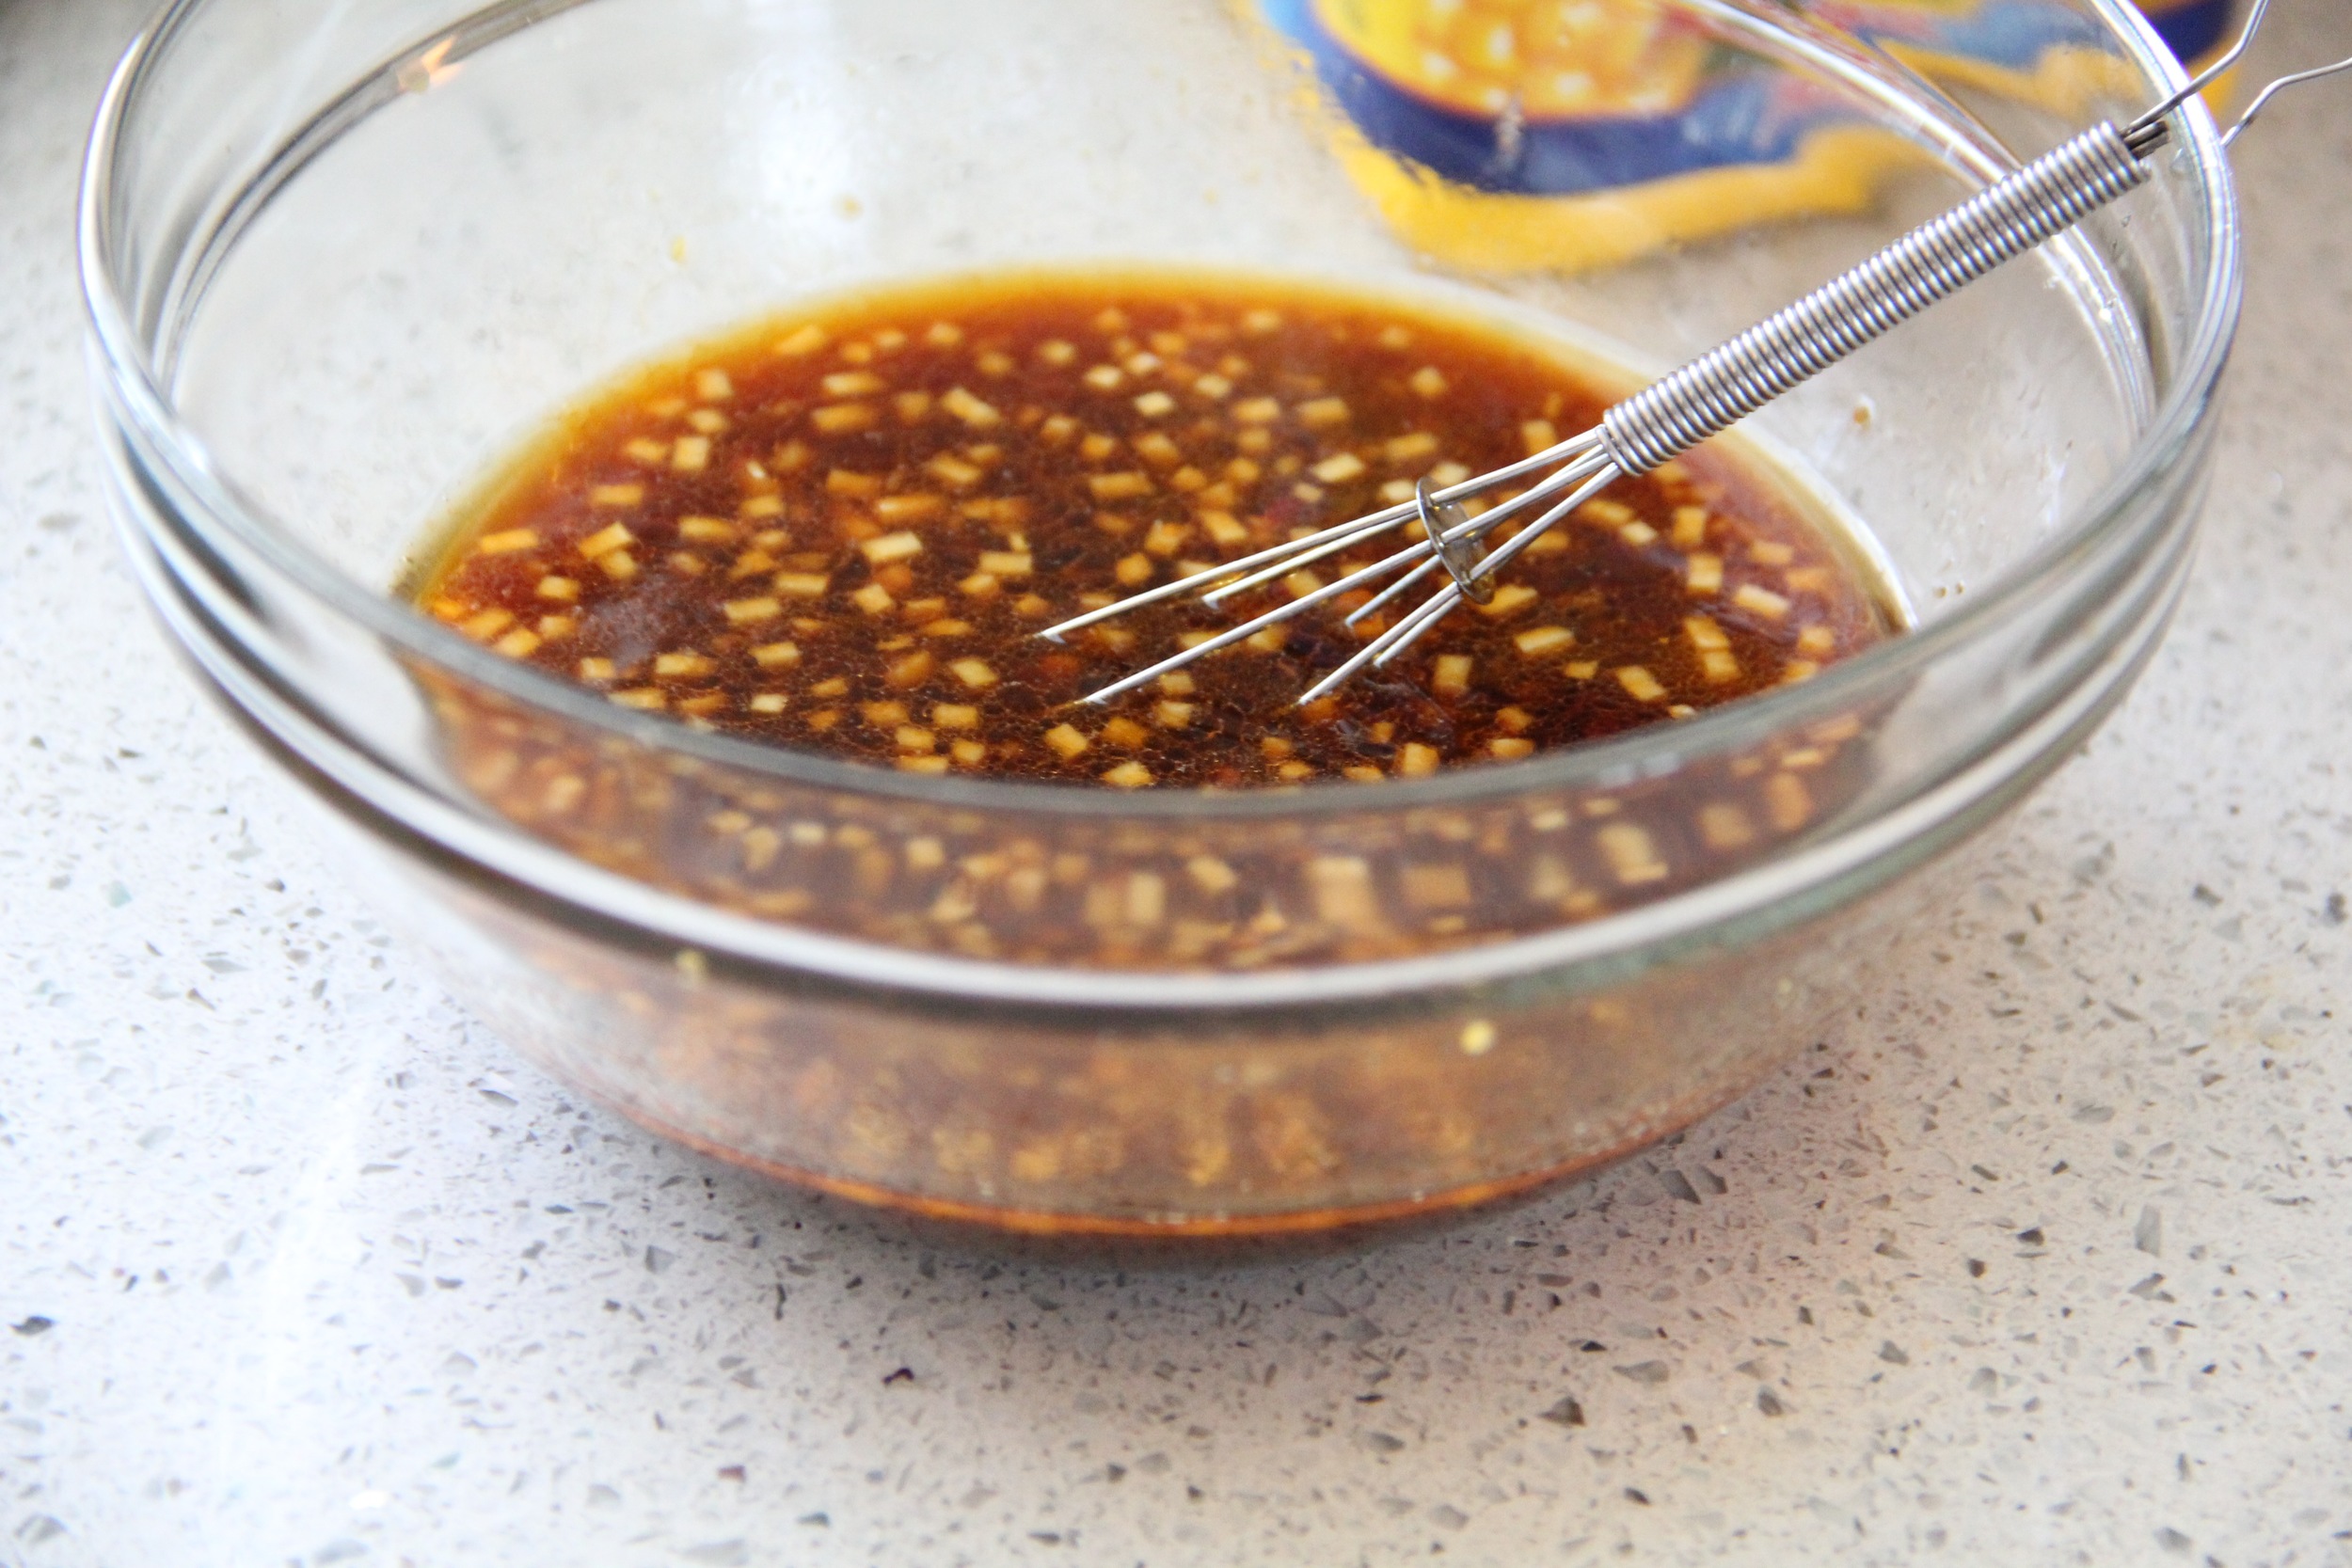
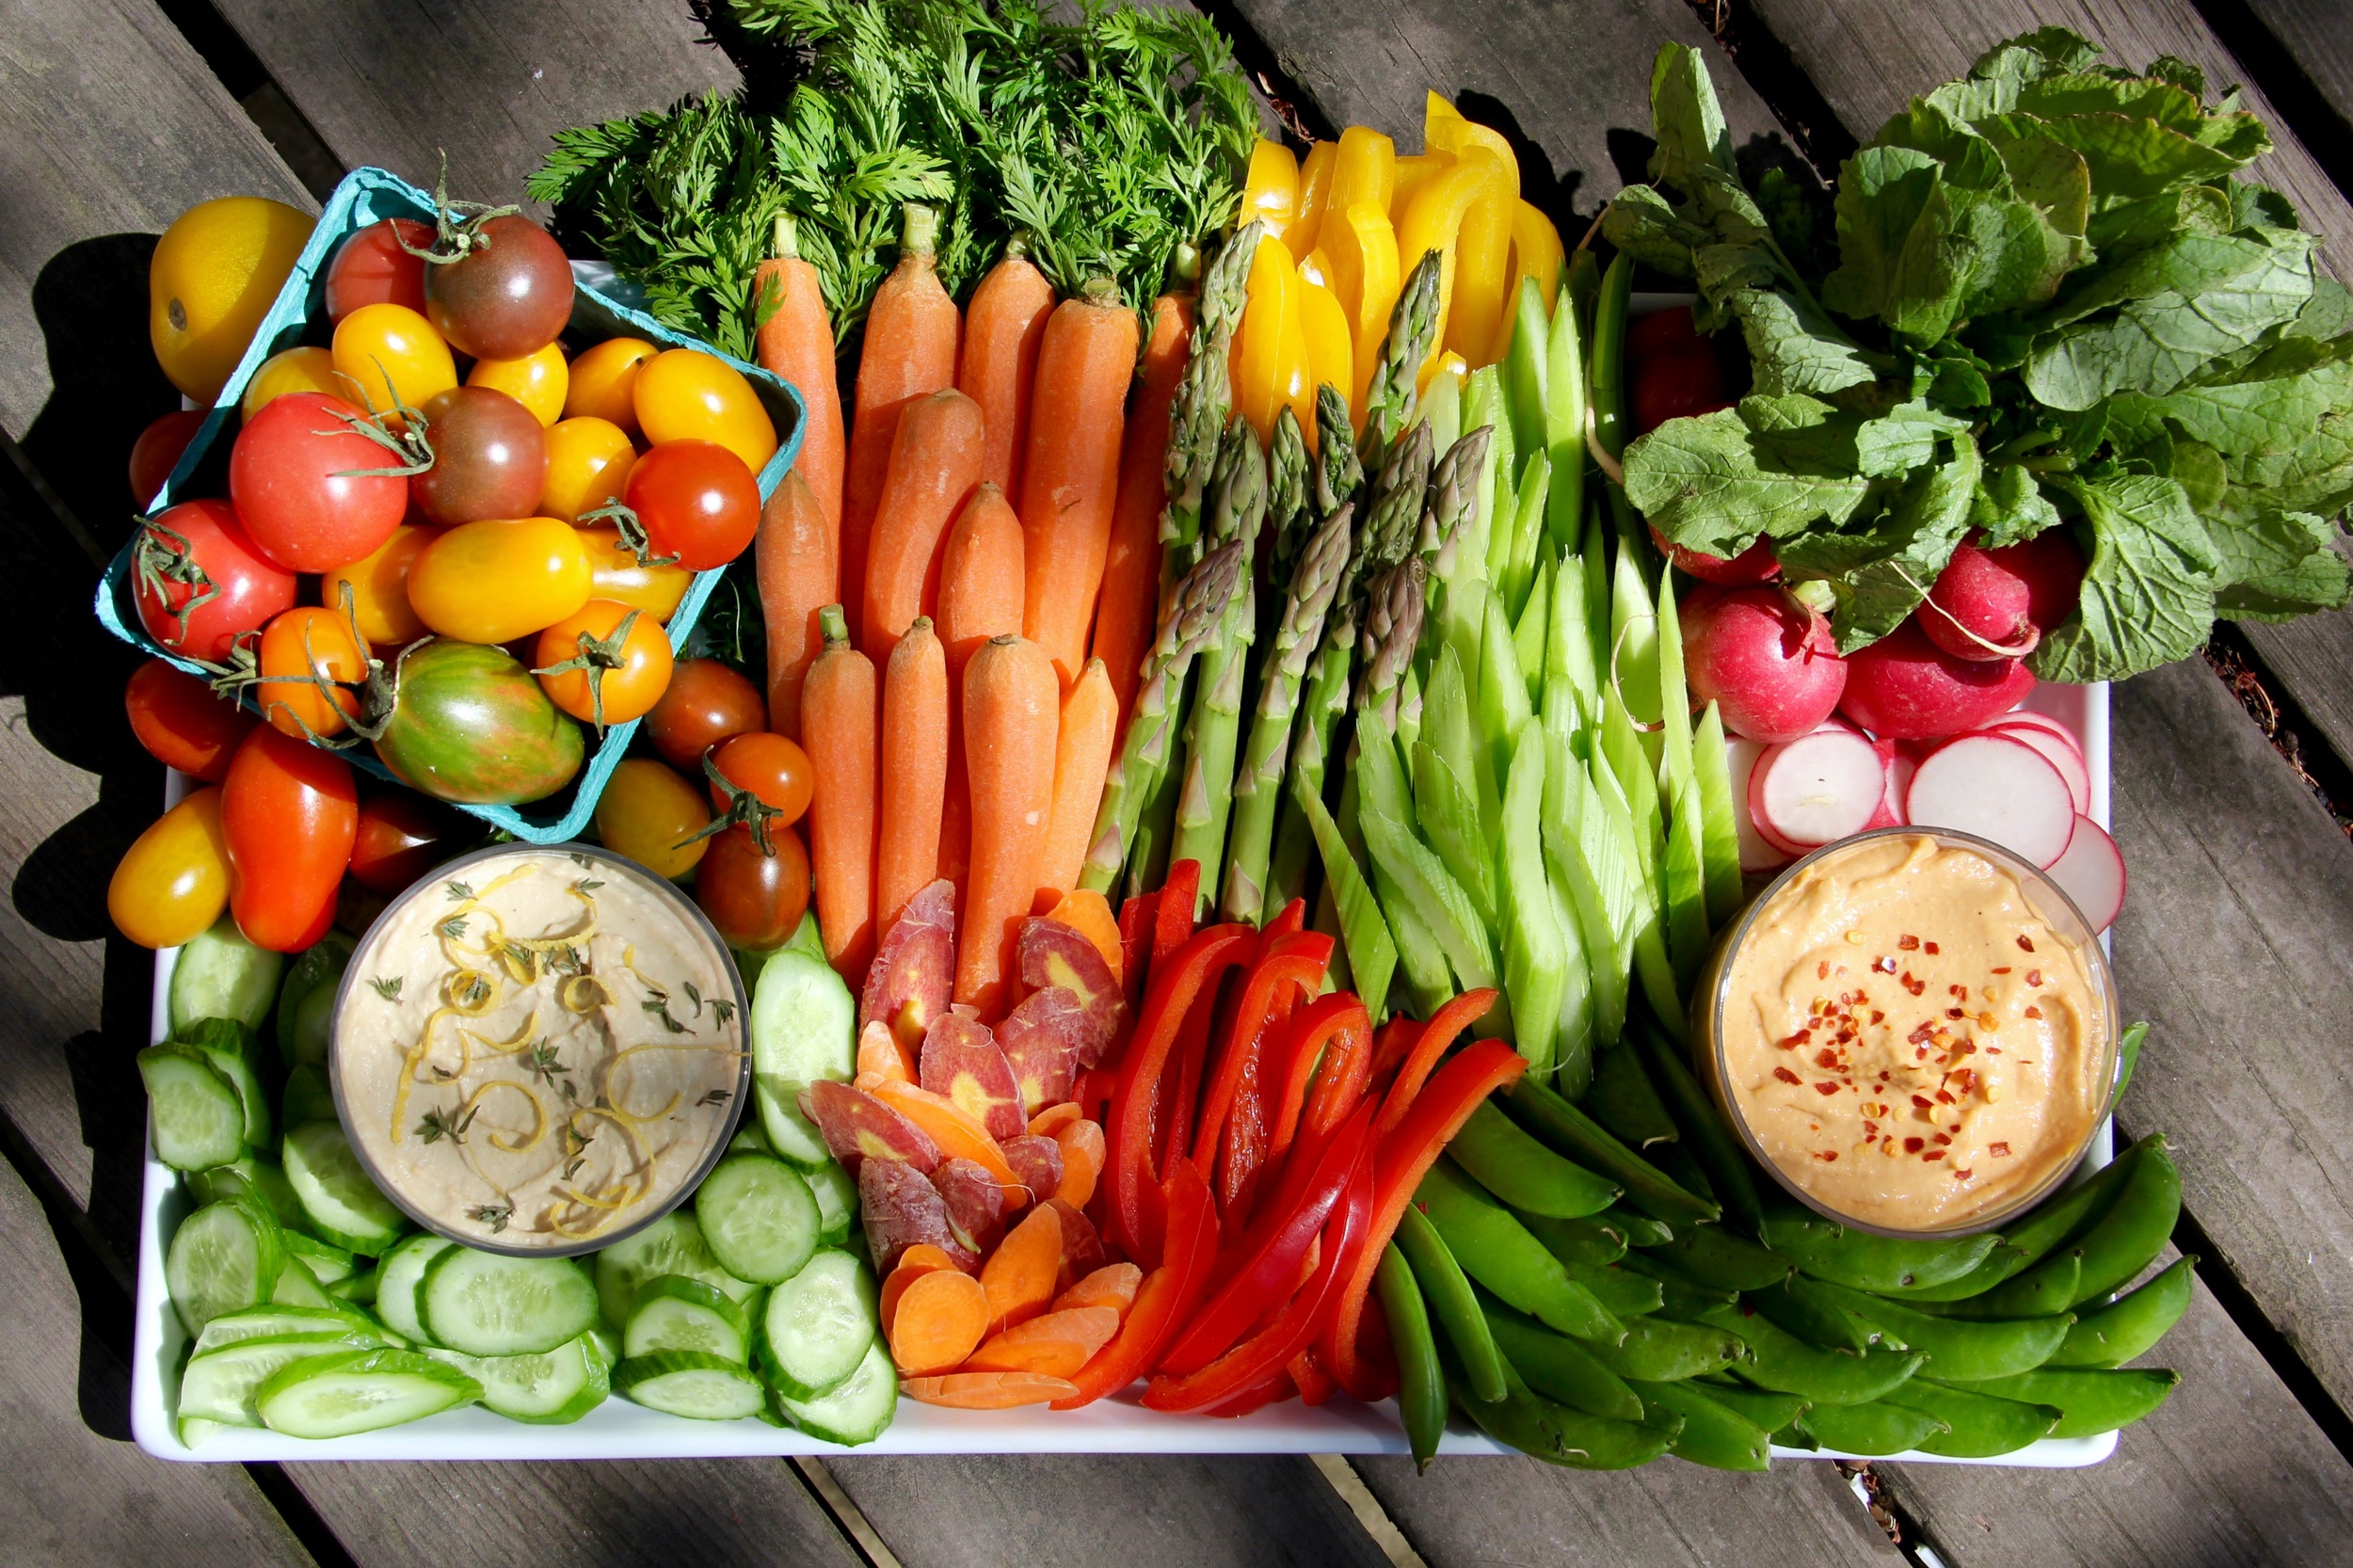
This weekend we are having close friends over for a fun DIY pizza party. This type of occasion naturally means -- a perfect opportunity to tablescape! With all of the traveling I have been doing so far this year, it occurred to me that my last dinner party and tablescape was Christmas! I cannot believe that it is almost May and I have been tablescapeless. Needless to say, I am thrilled to have the chance to finally create my first tablescape of 2016!
While the full tablescape and menu details will be on the blog next week, I wanted to use today's post to share the details on the DIY project included in this latest table creation - Herb Bouquet Place Cards.
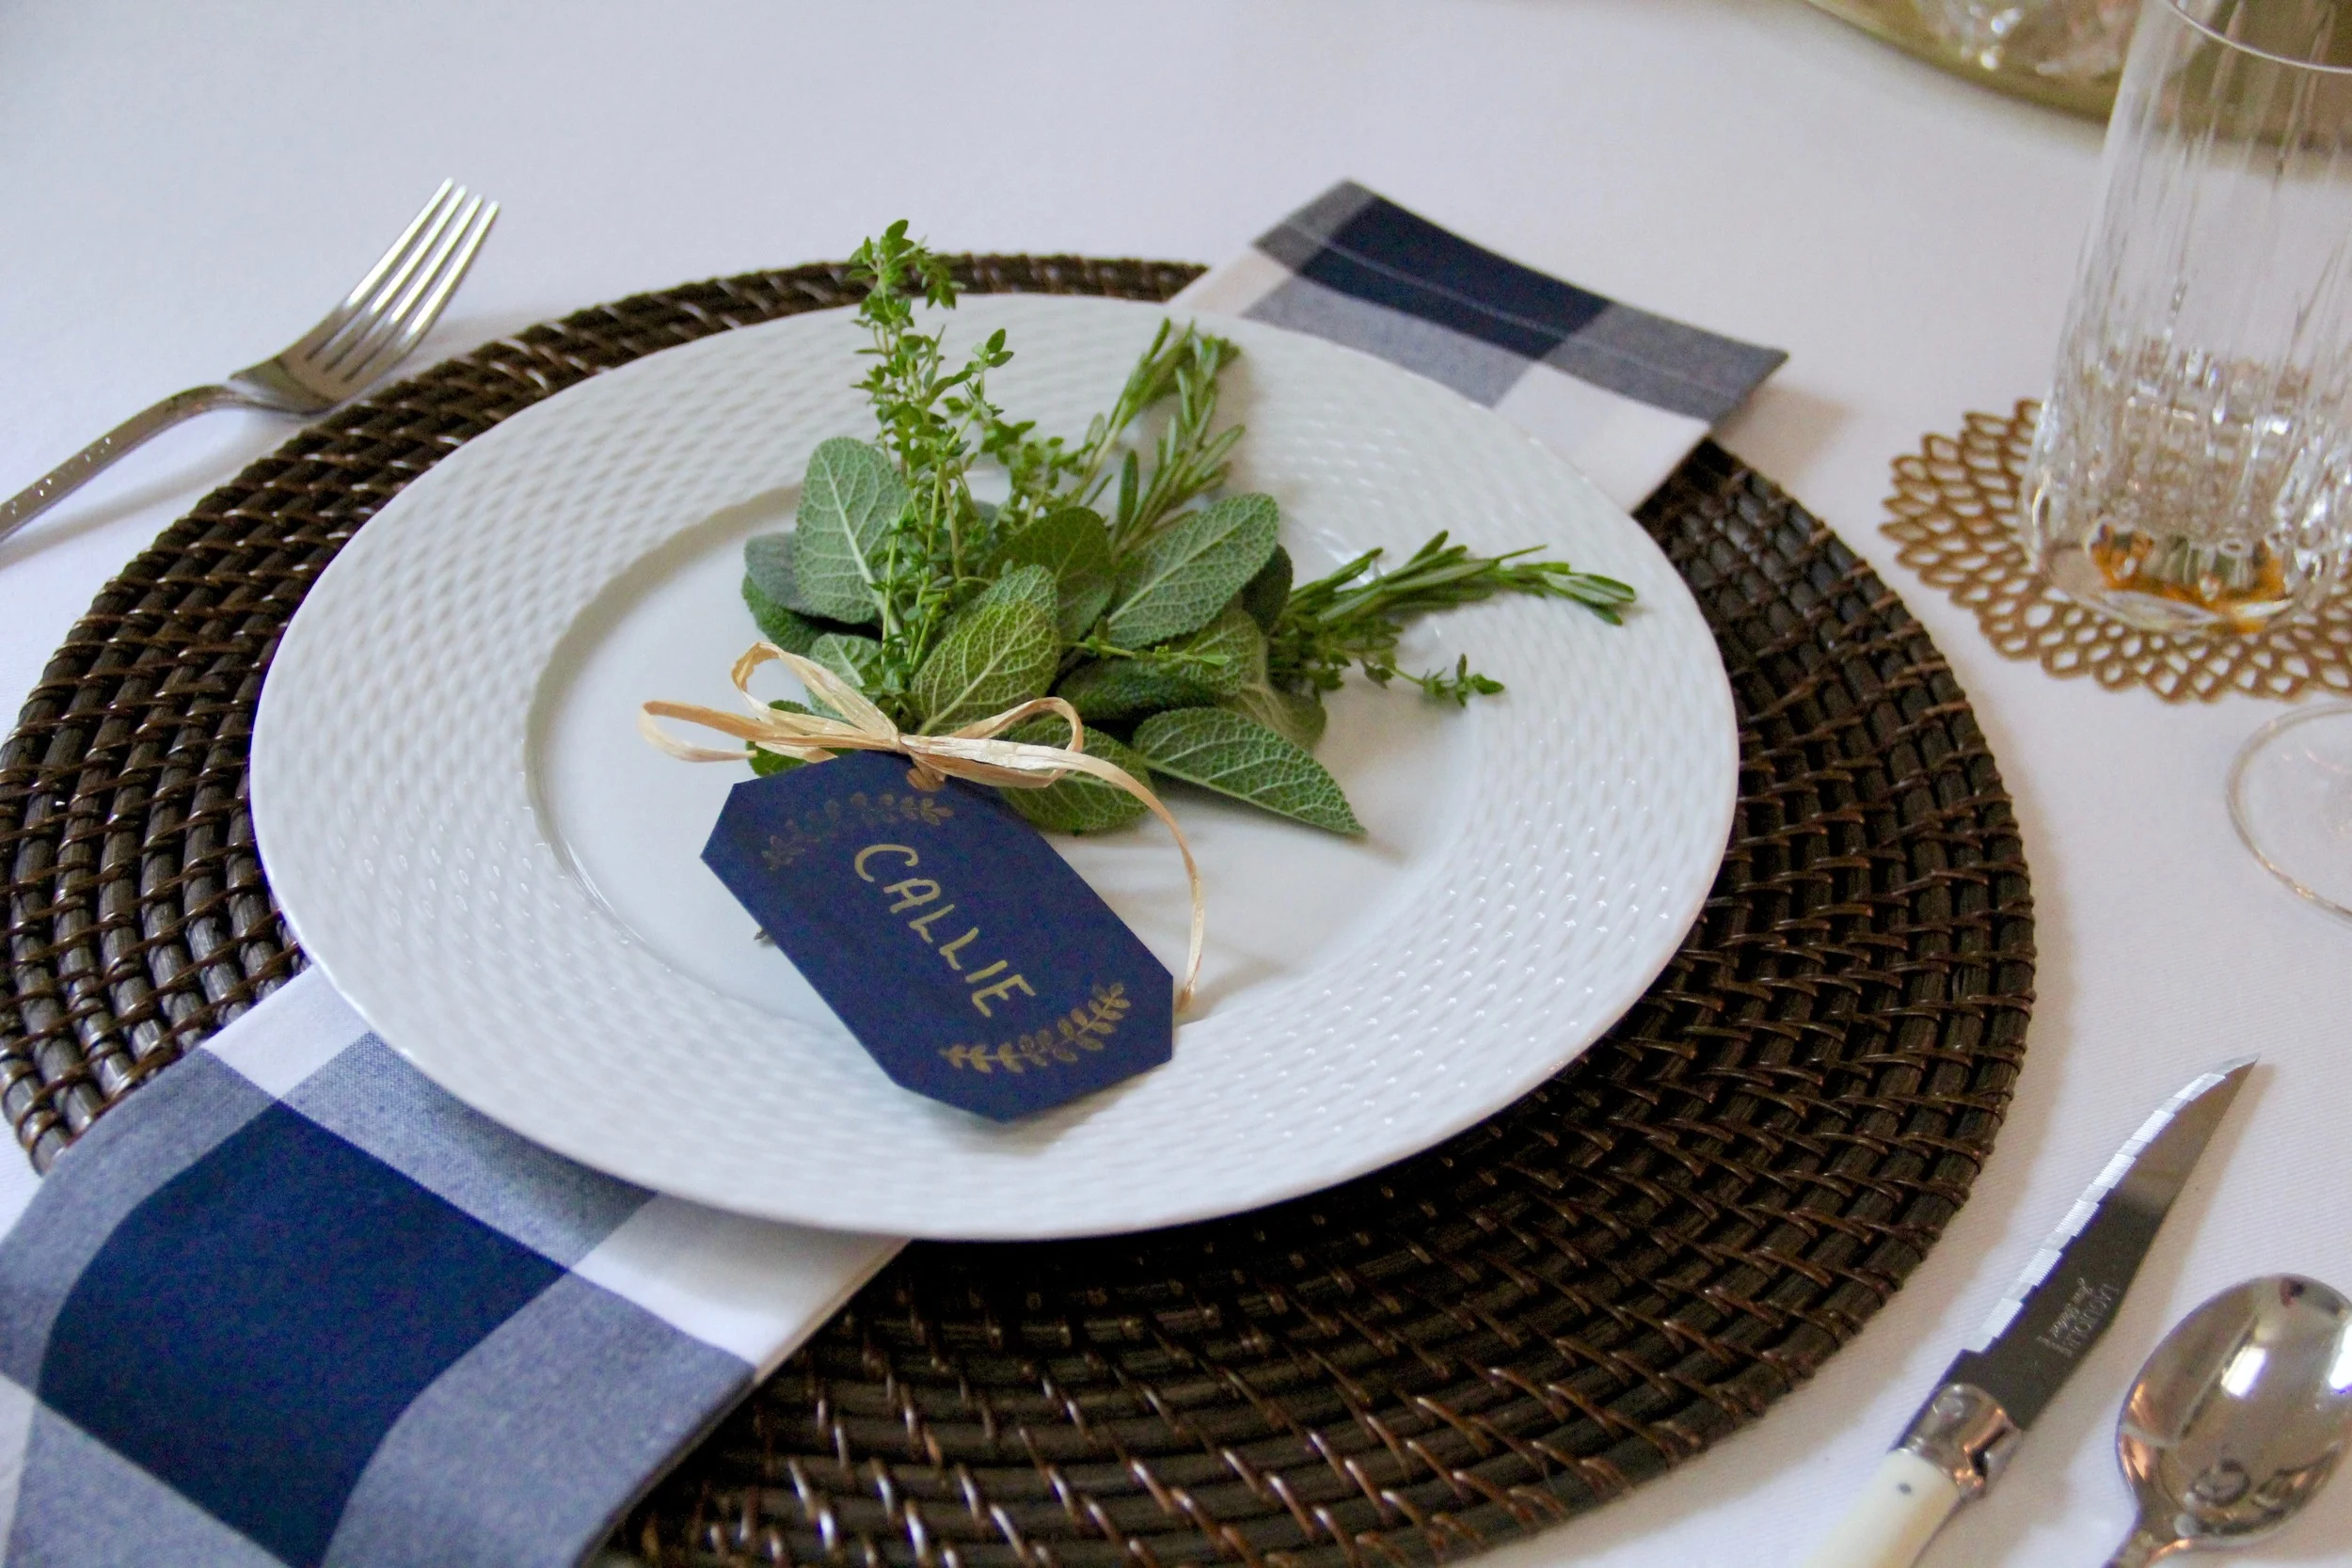
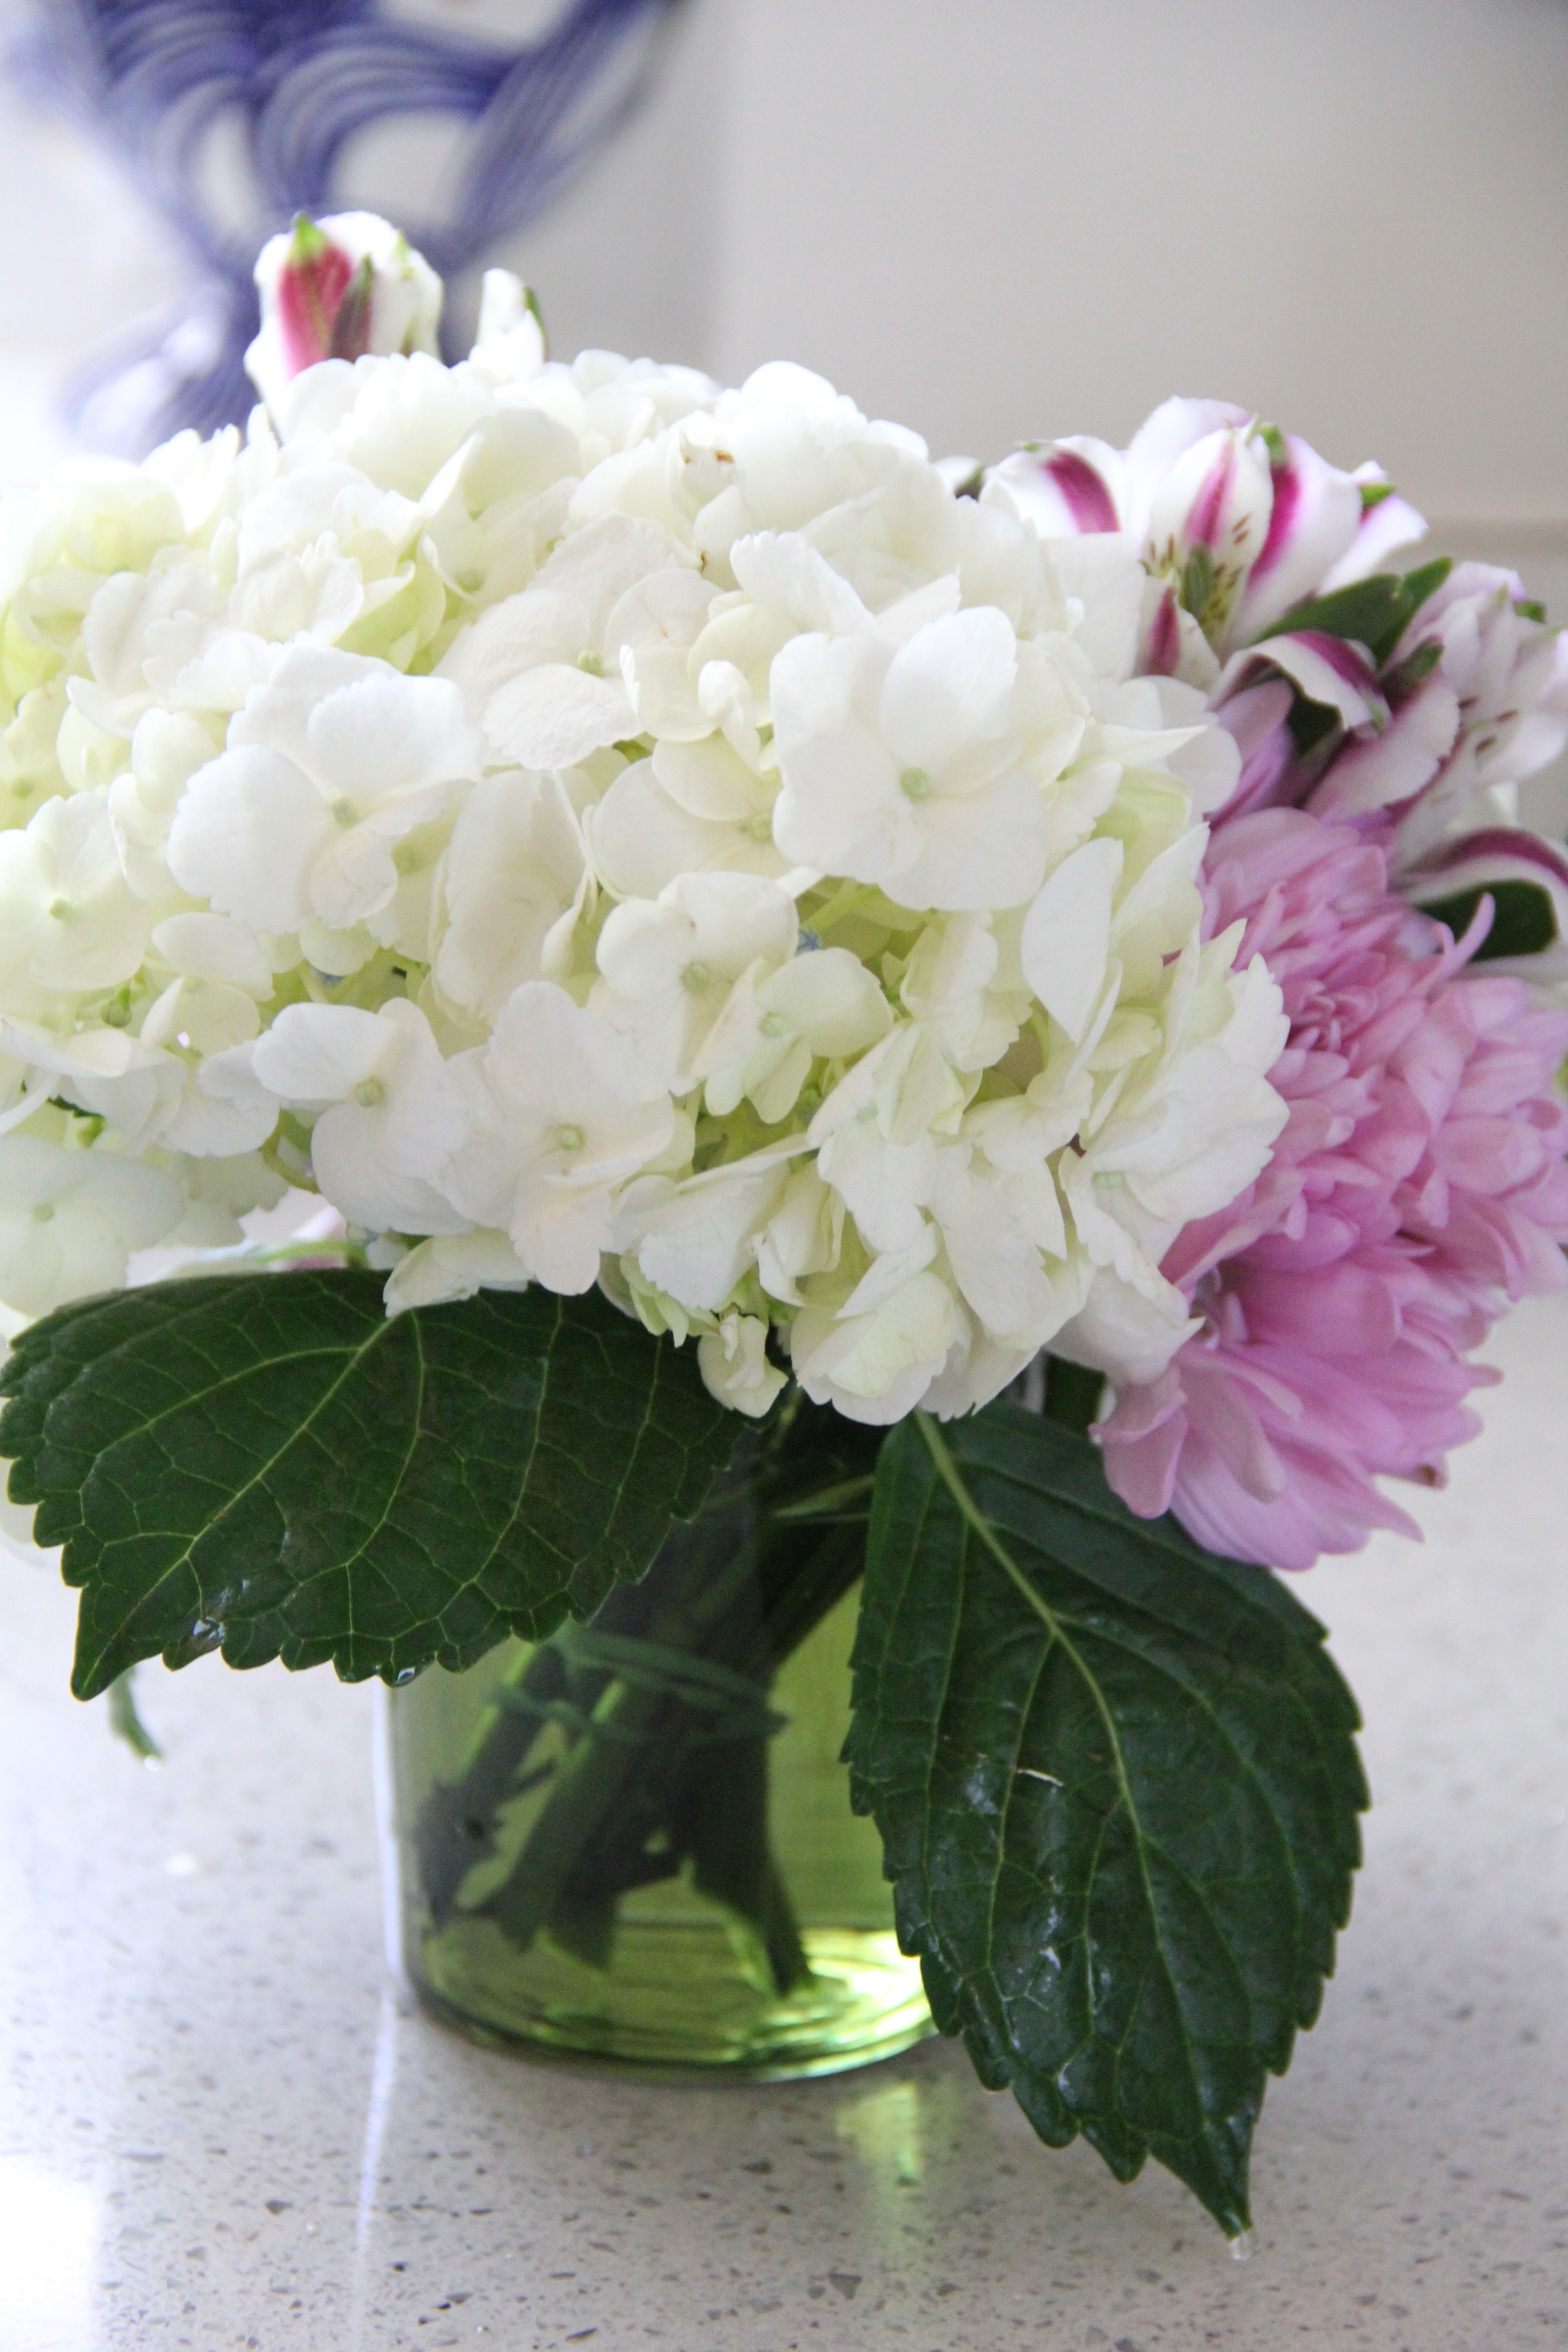
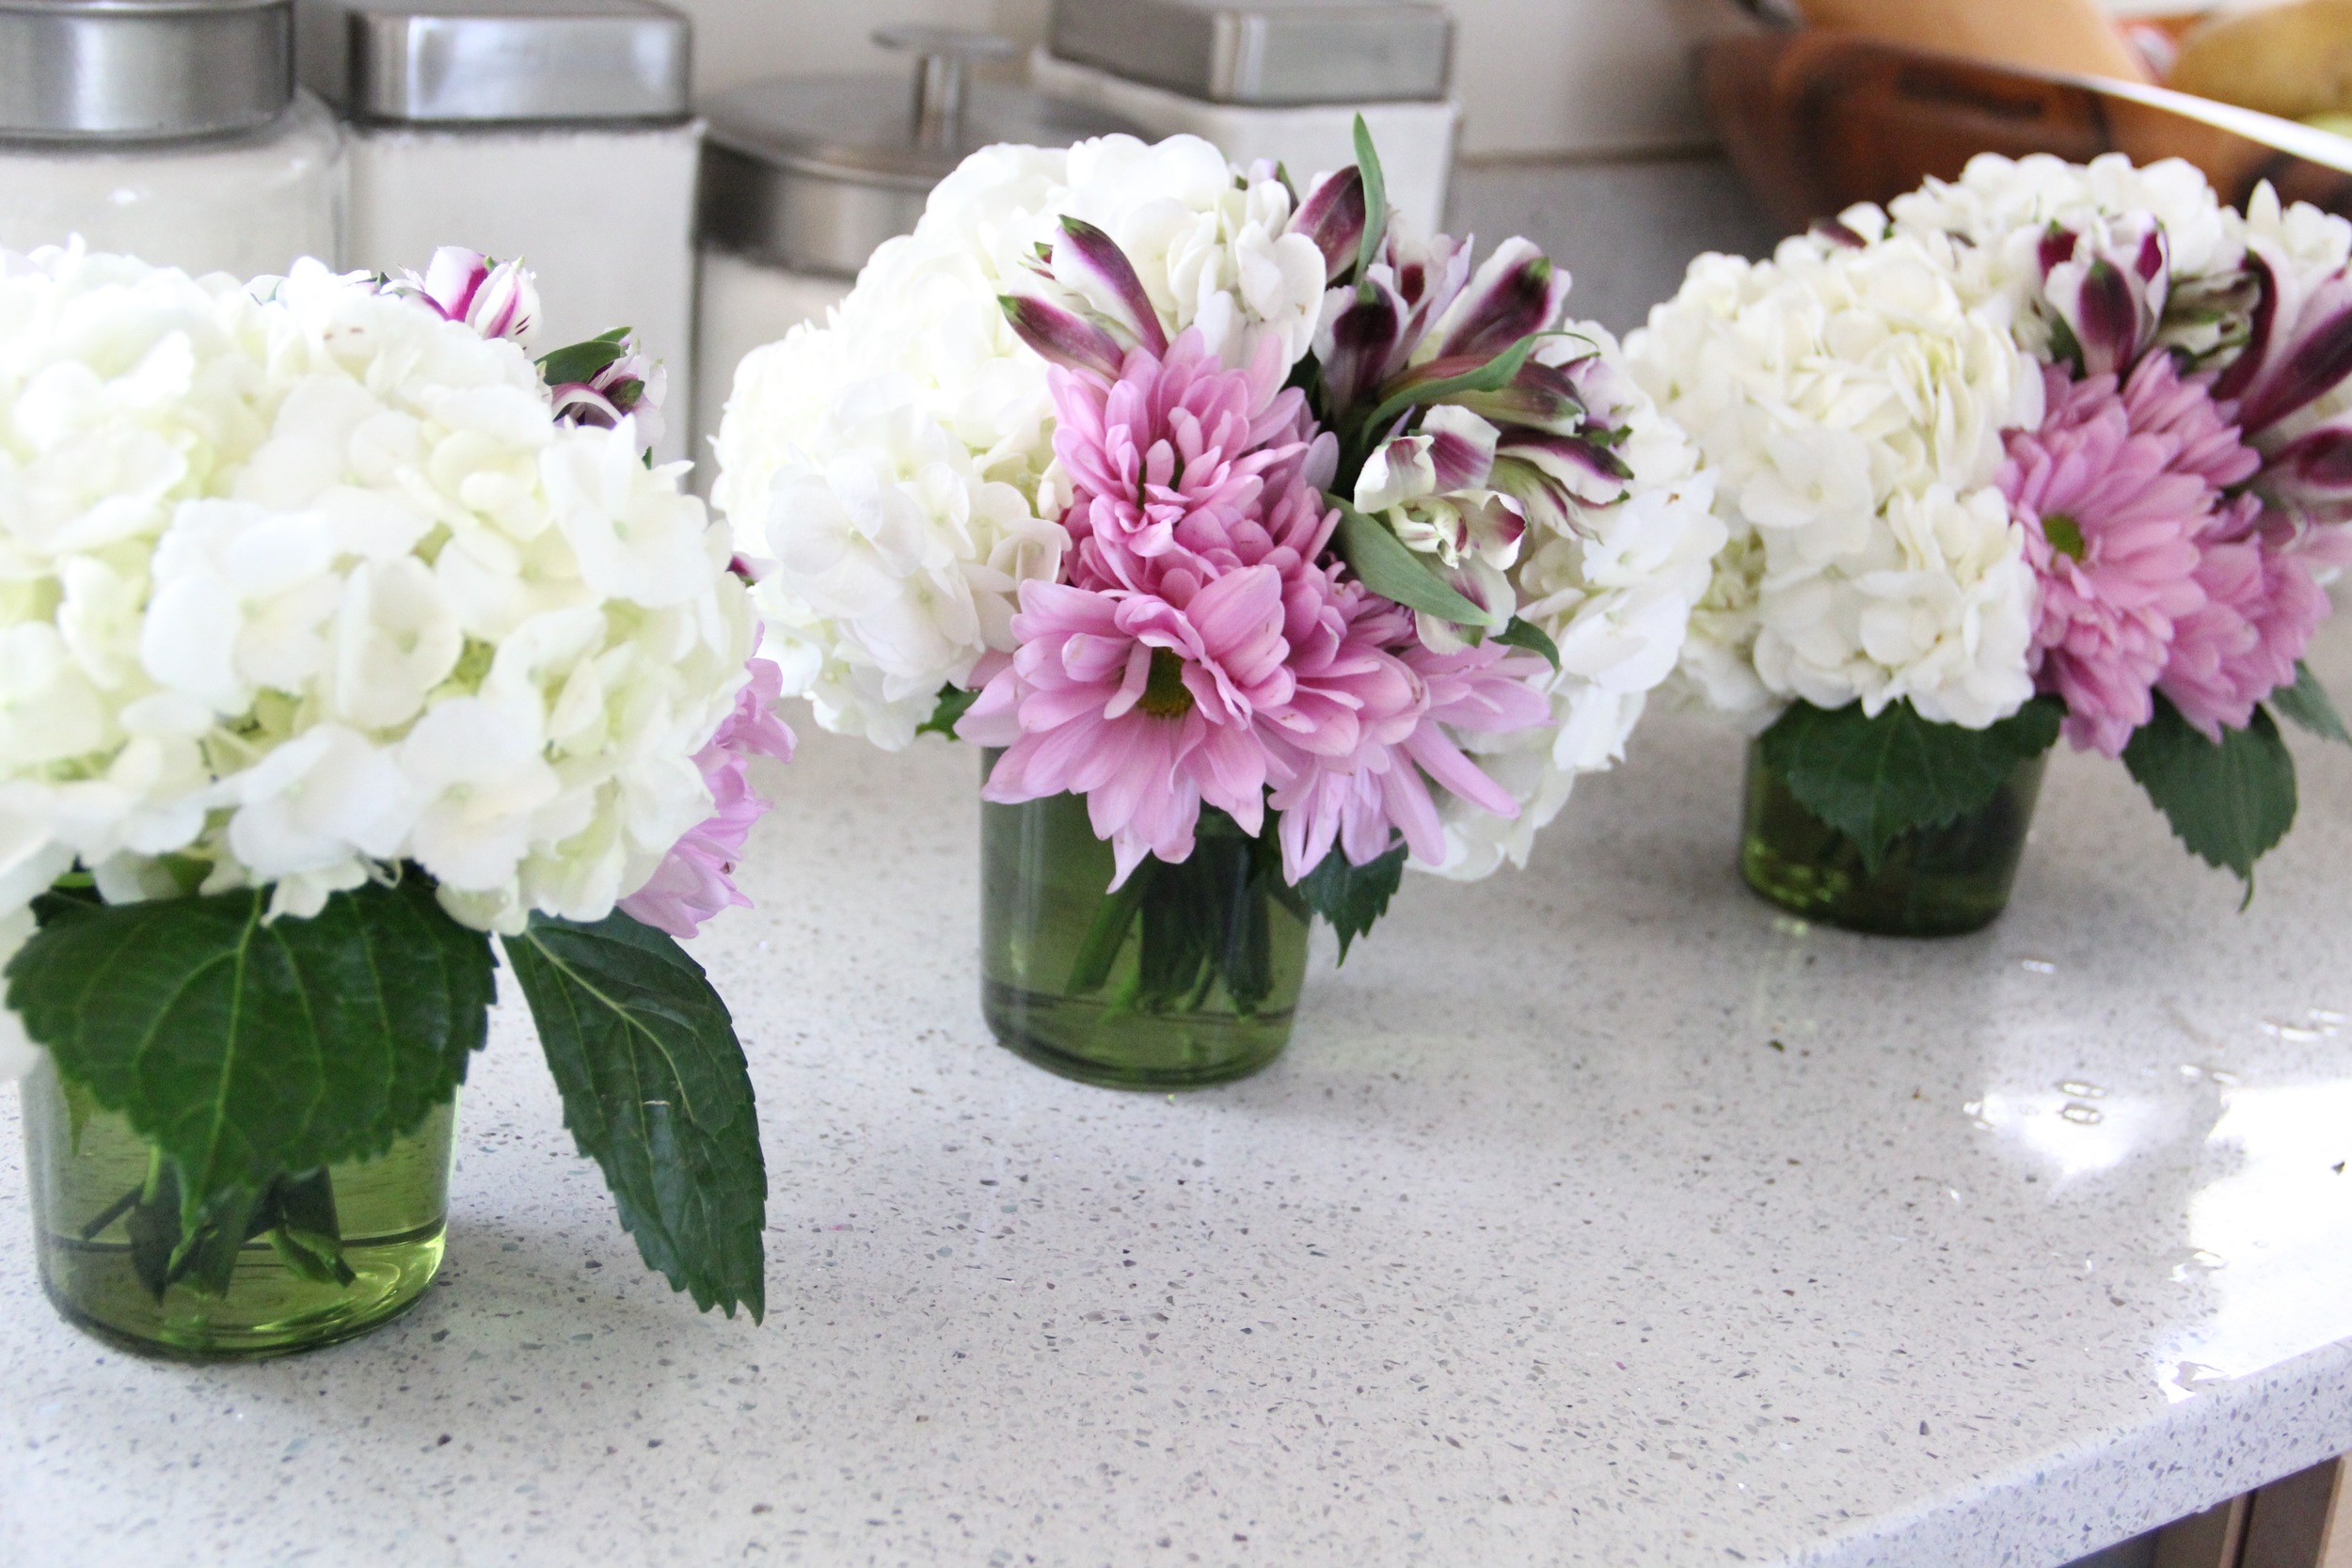
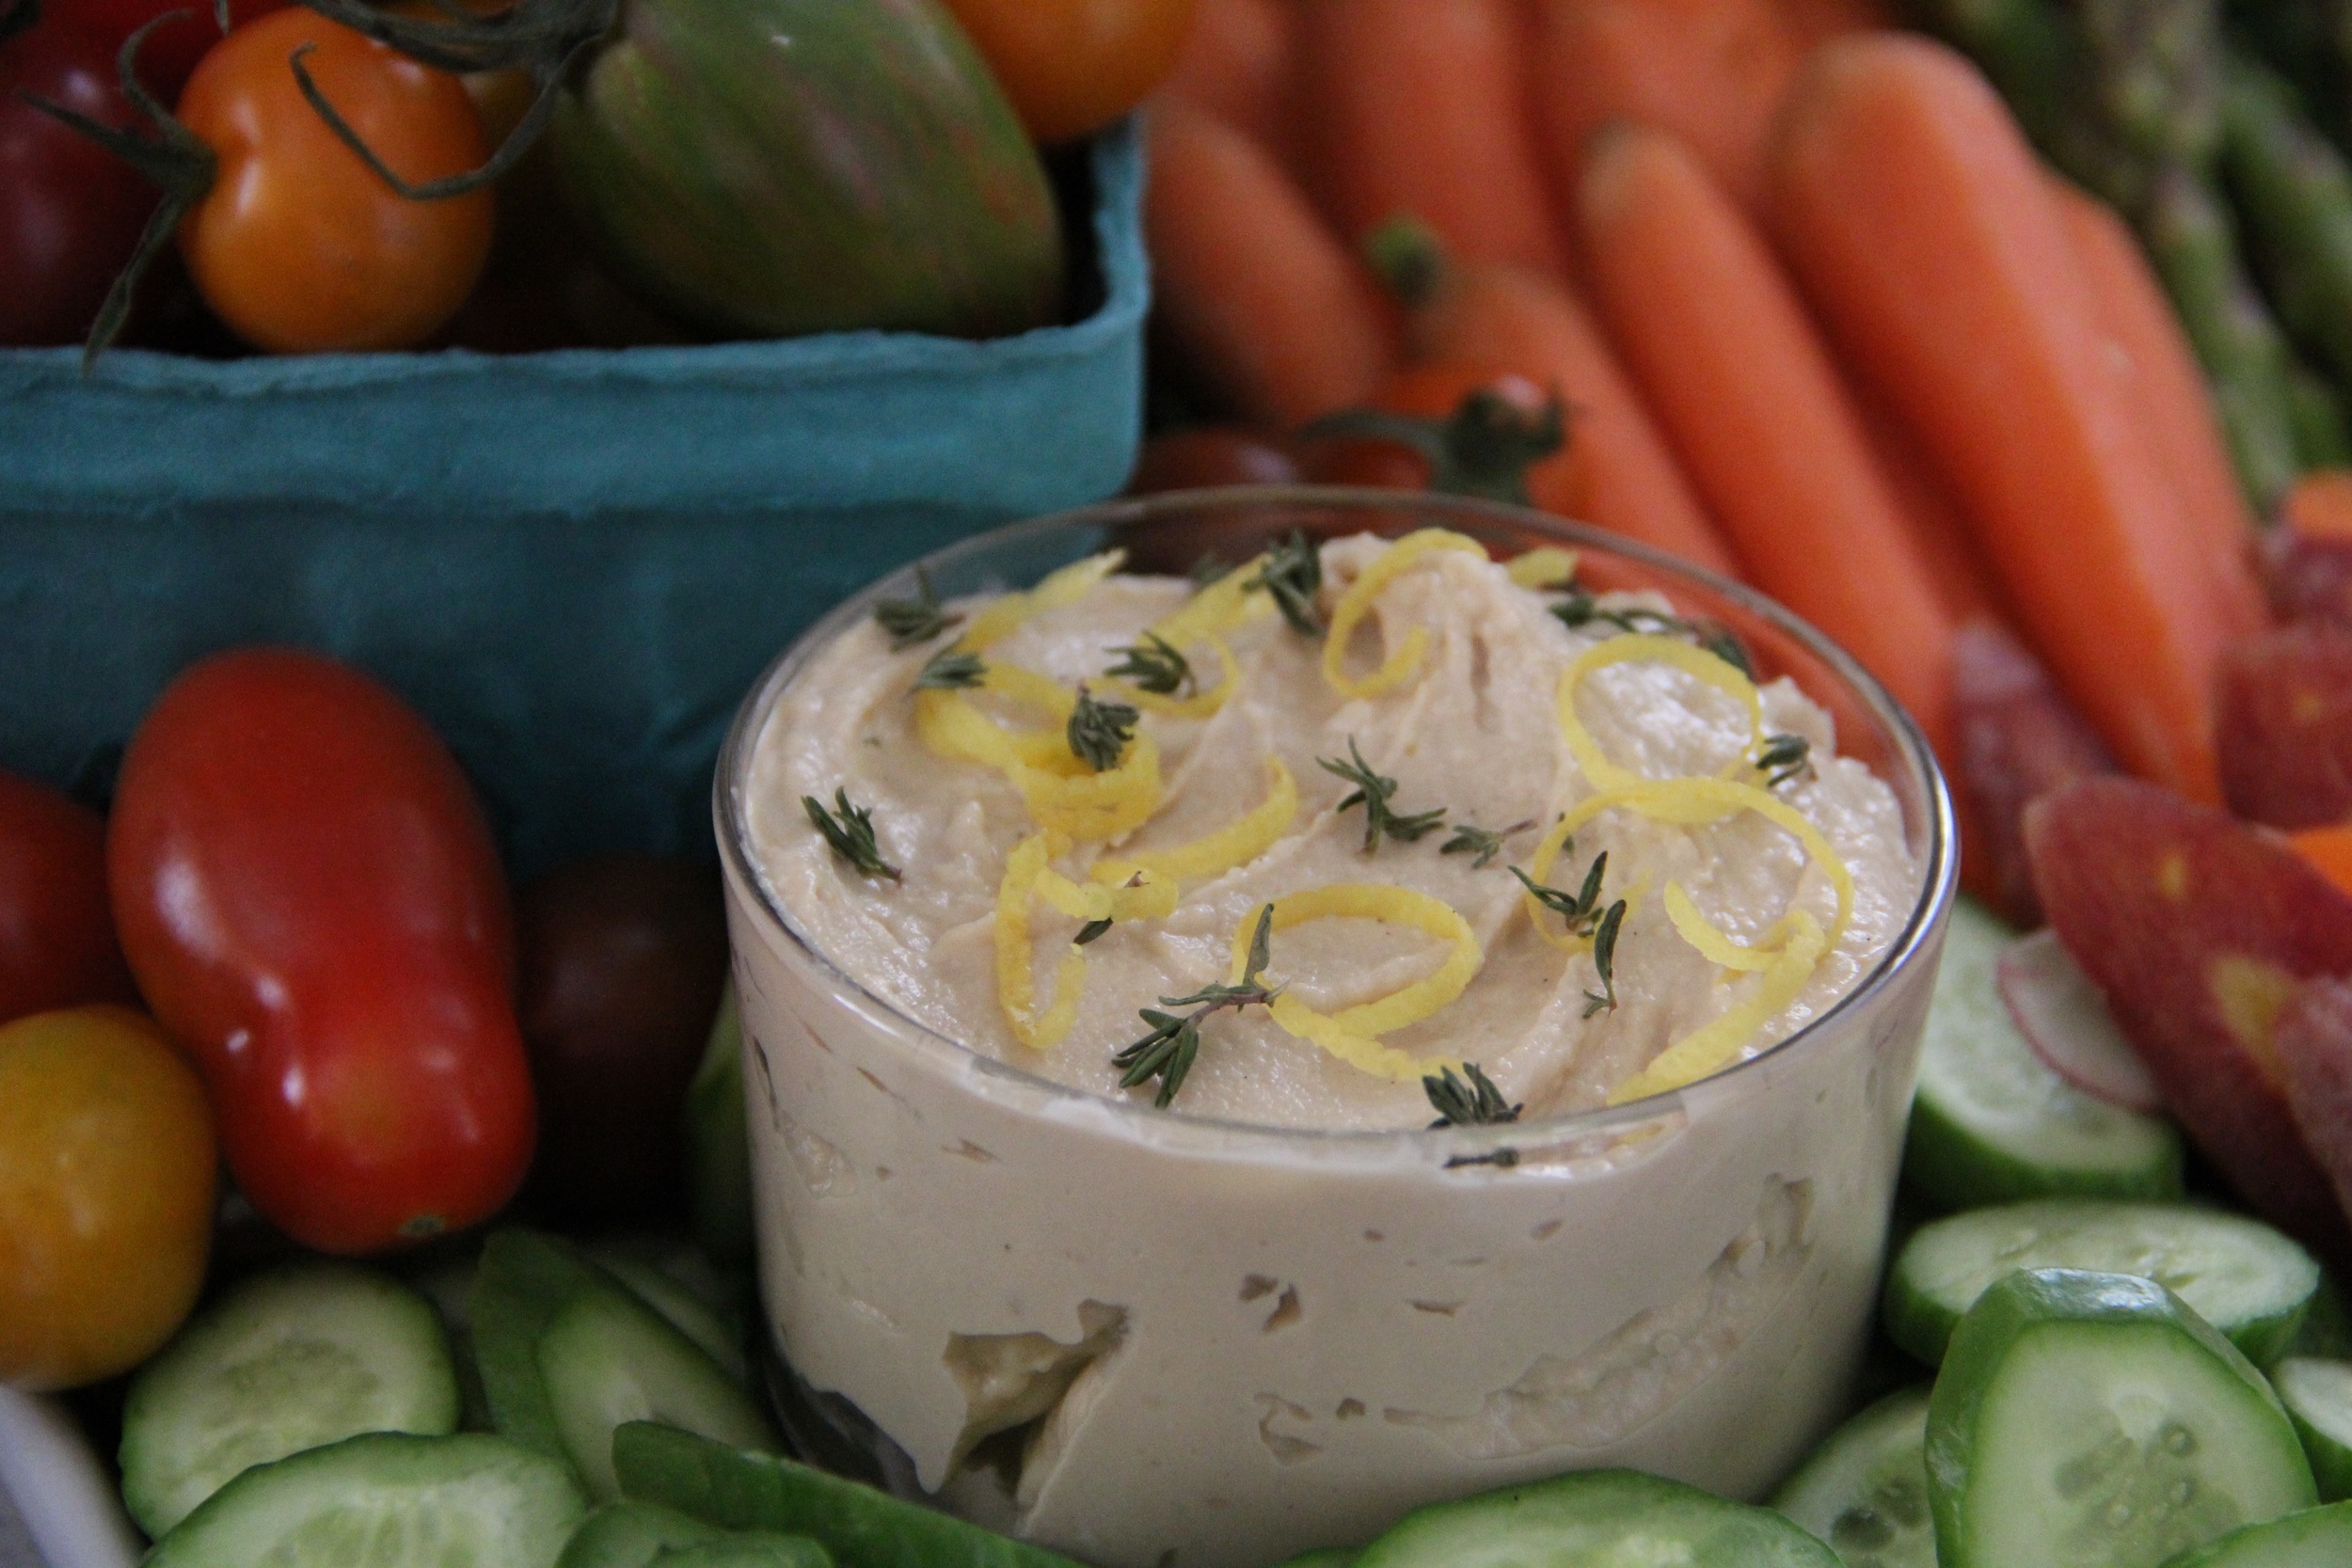
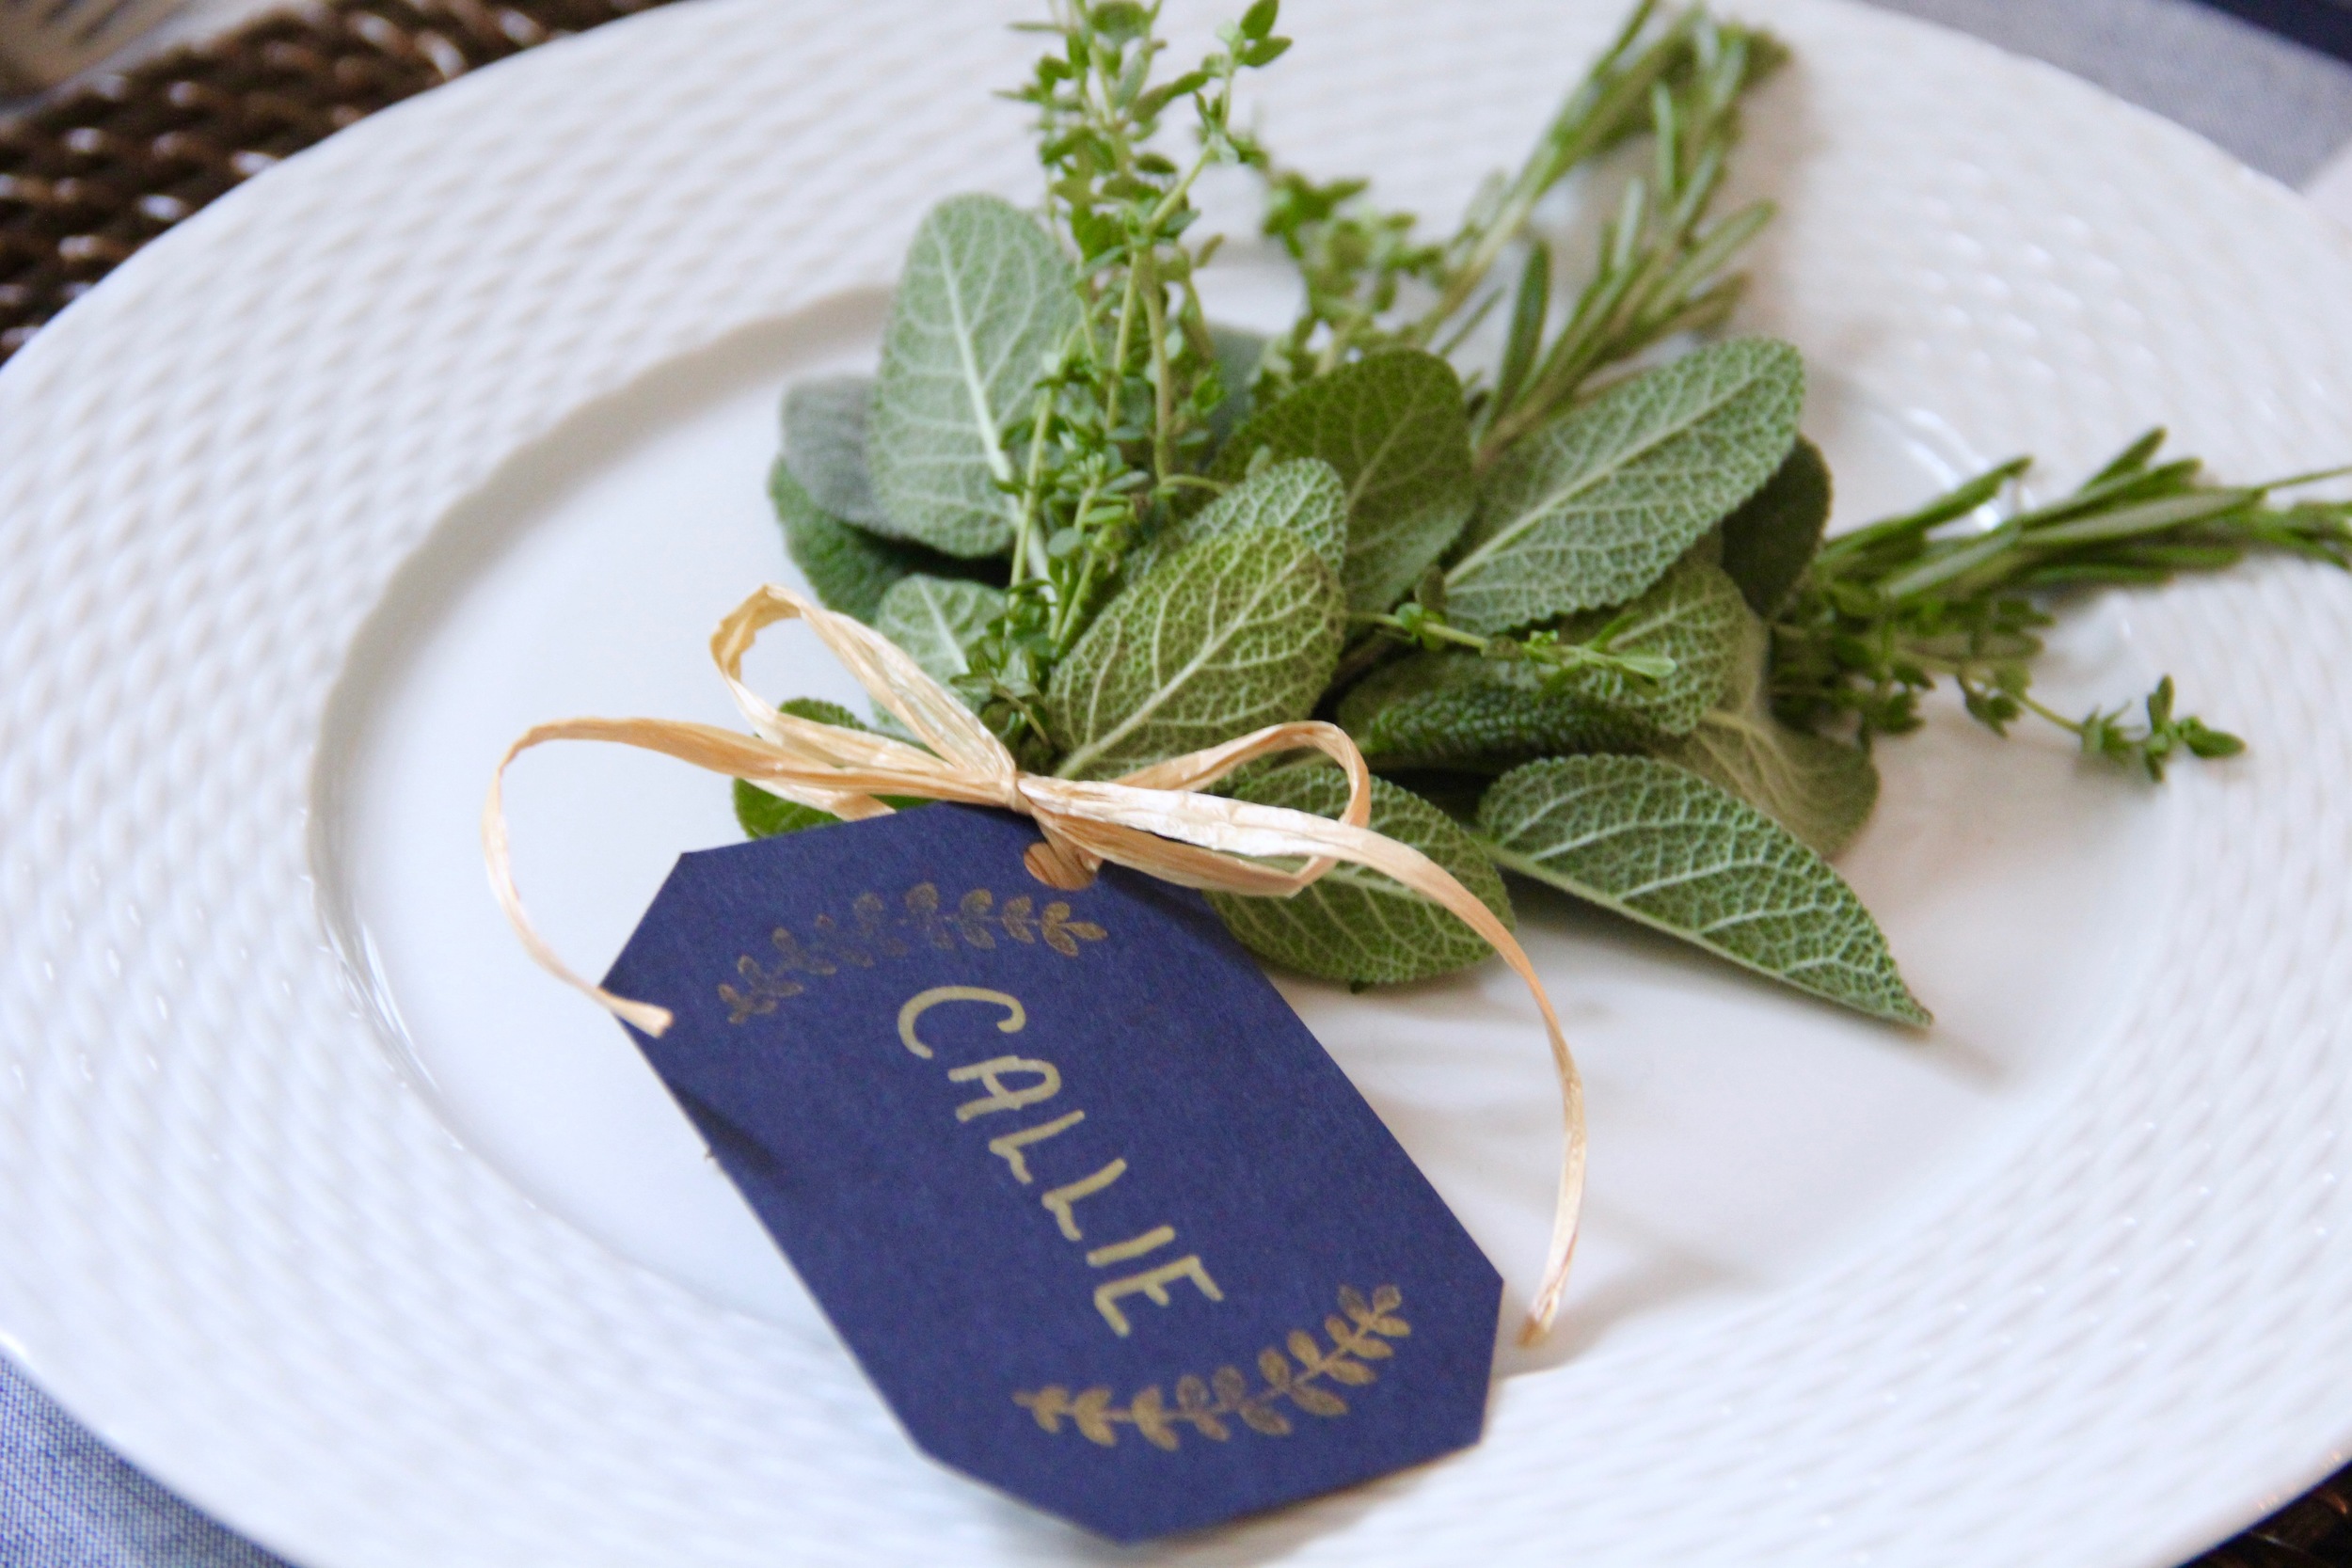
Place cards are a tablescape essential for my parties because I find that they are a great way to insure that your guests have the opportunity to chat with new people. In addition to mixing up table conversation, they can also add an extra pop of color or decor to your table setting. I absolutely love the fresh pop of green these herb bouquets add to each place setting and the blue cards tie in perfectly with my buffalo check napkins. These bouquets are super easy to make and relatively inexpensive. Fragrant and very fitting for entertaining during the warmer months, these place cards are a fabulous tablescape addition.

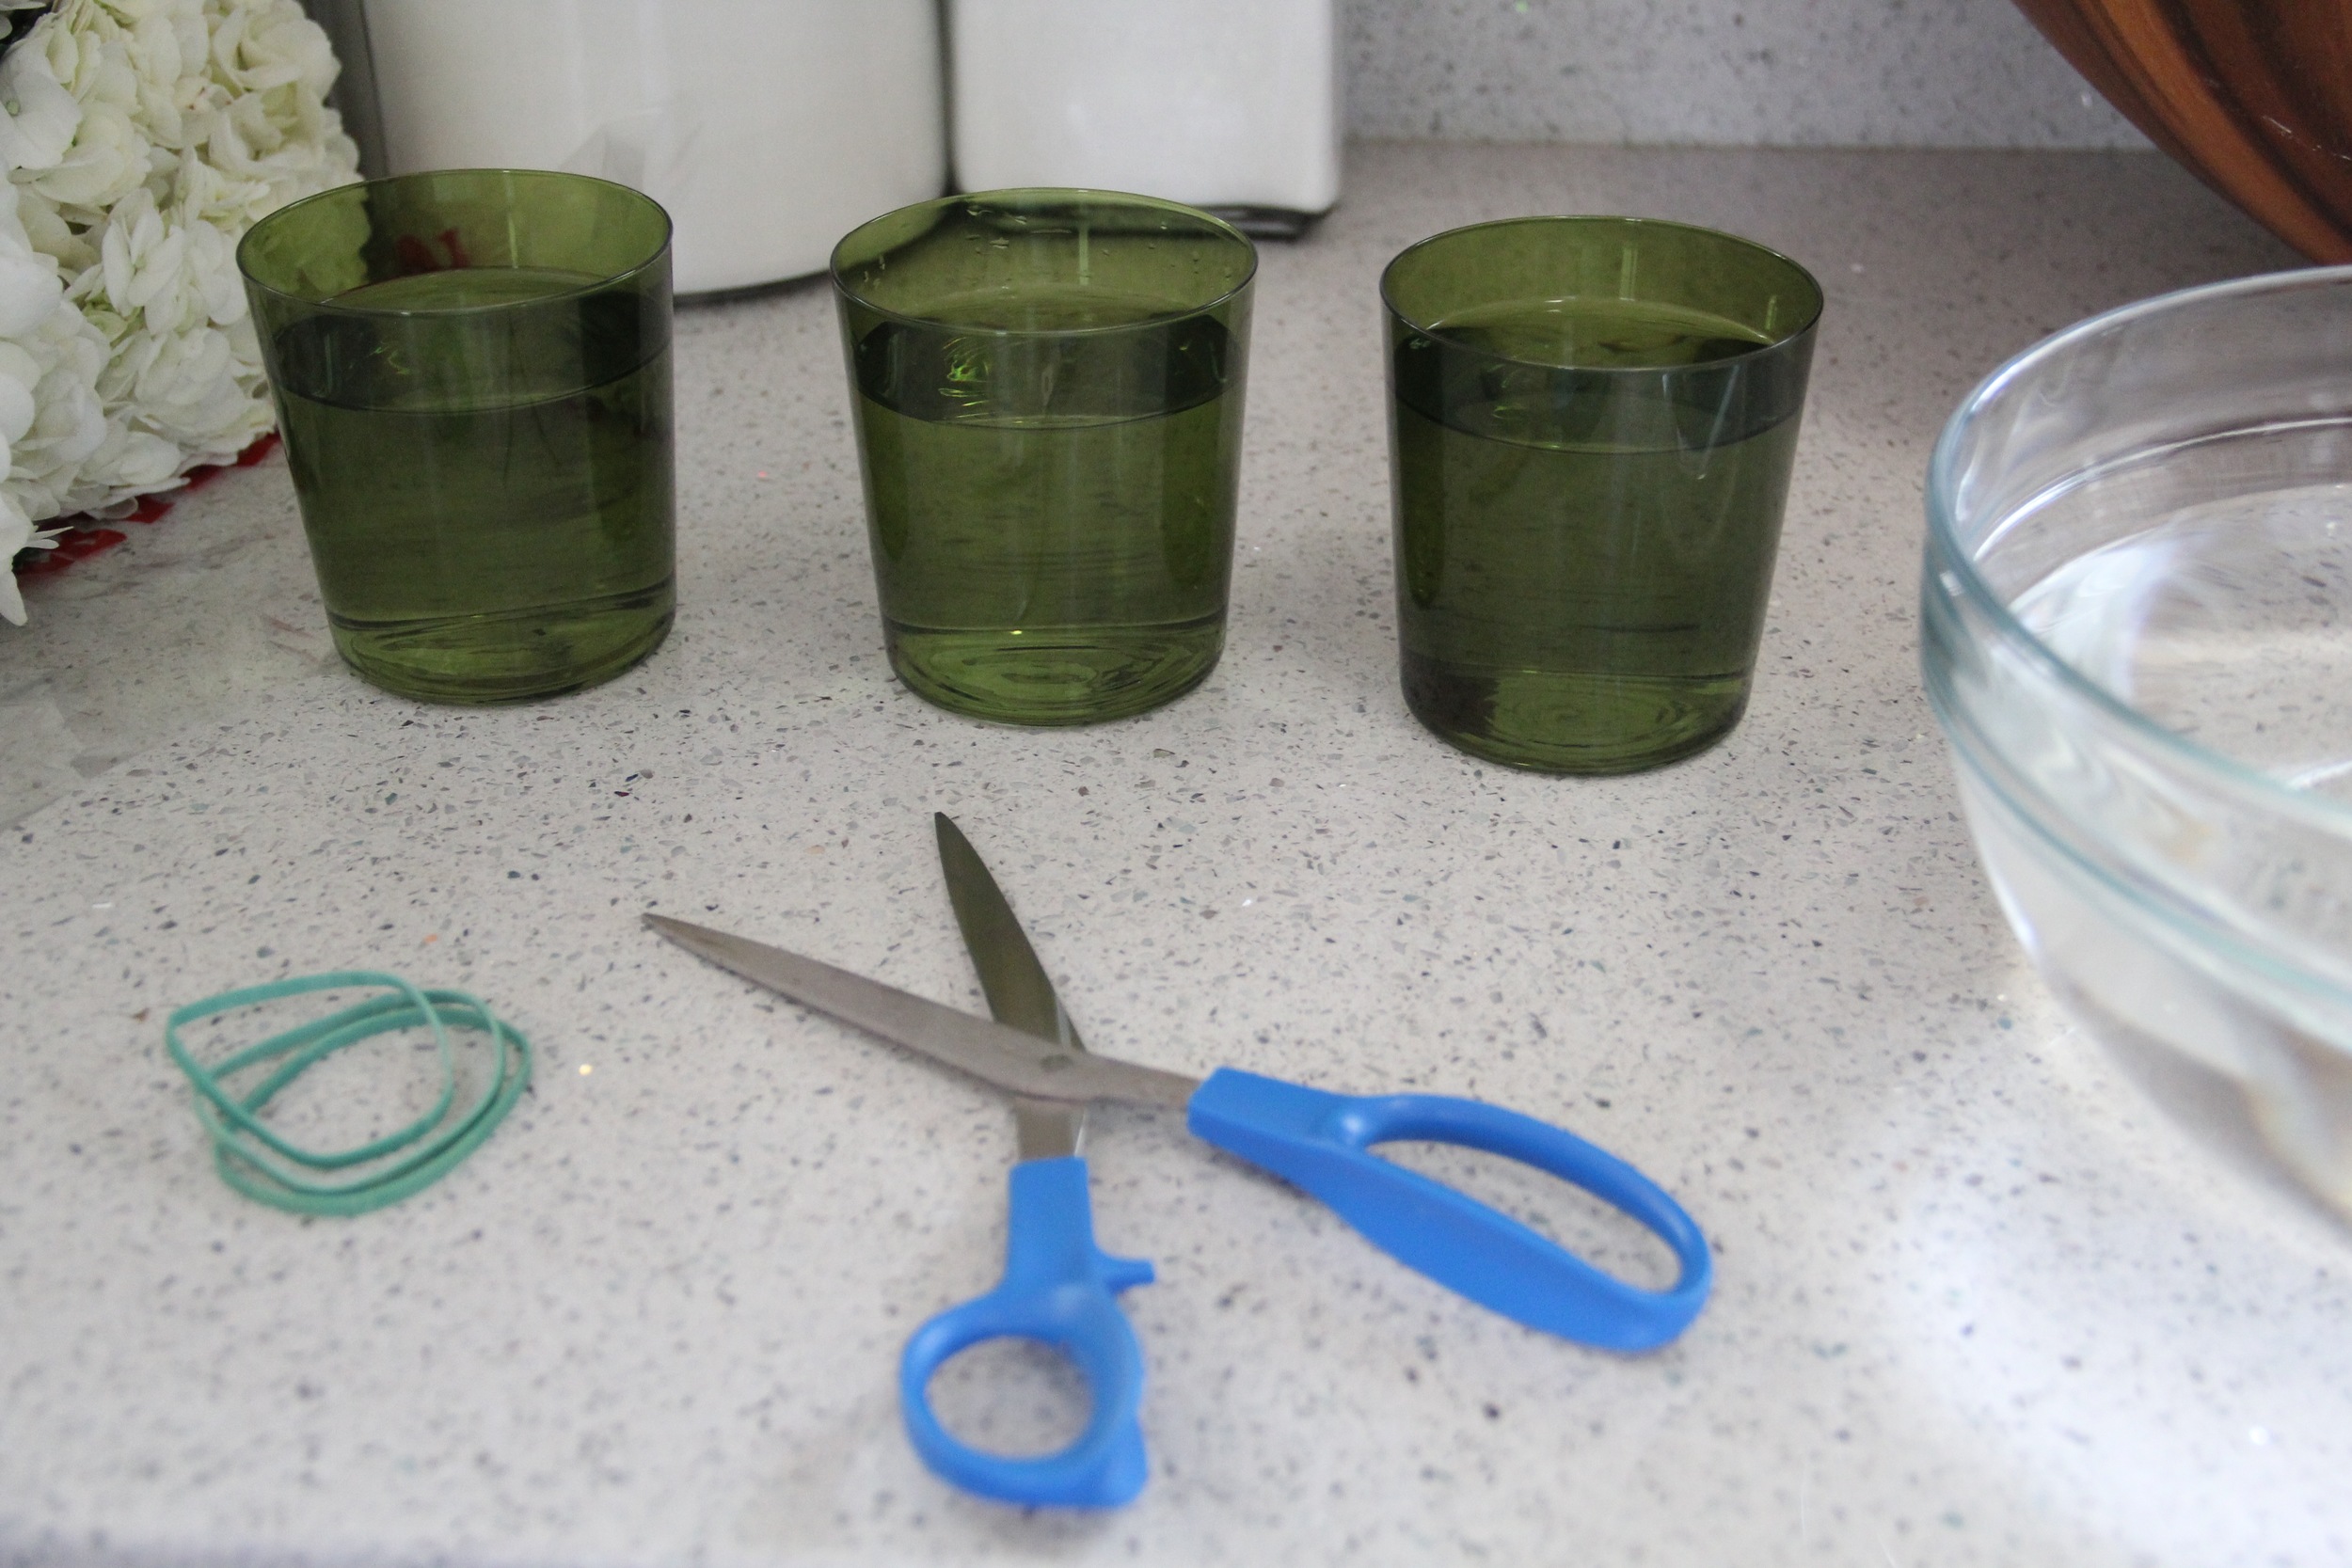
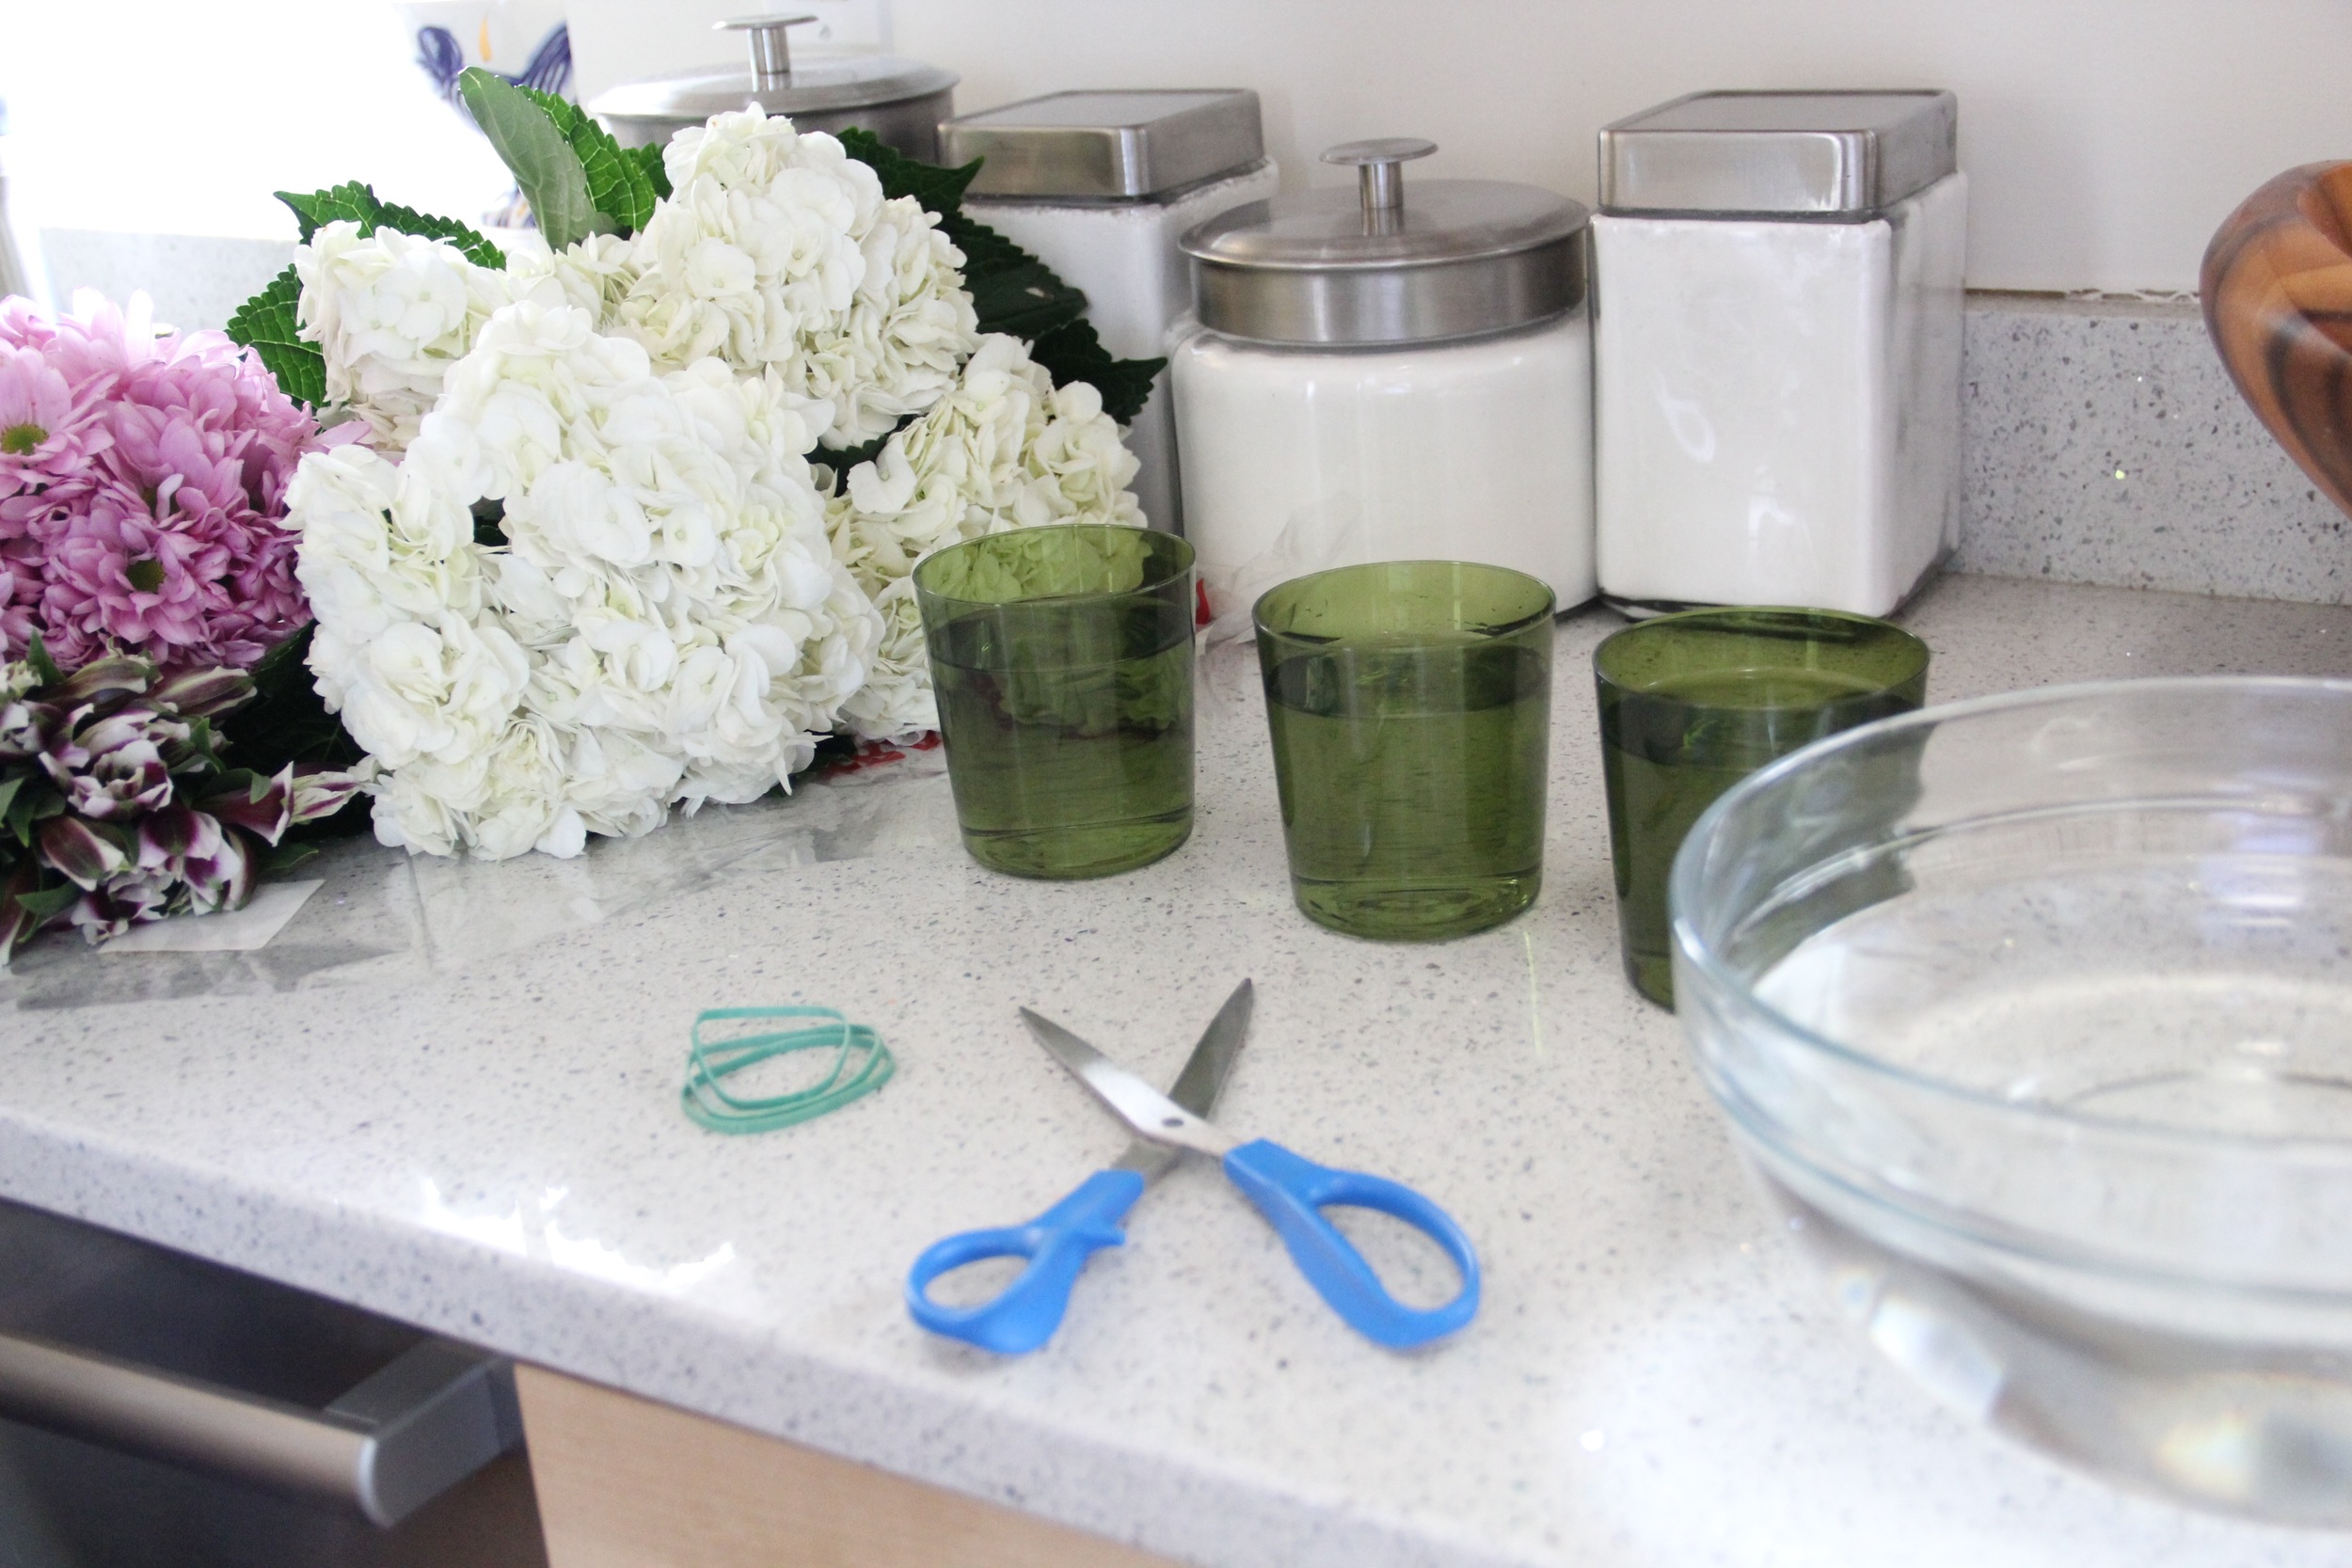
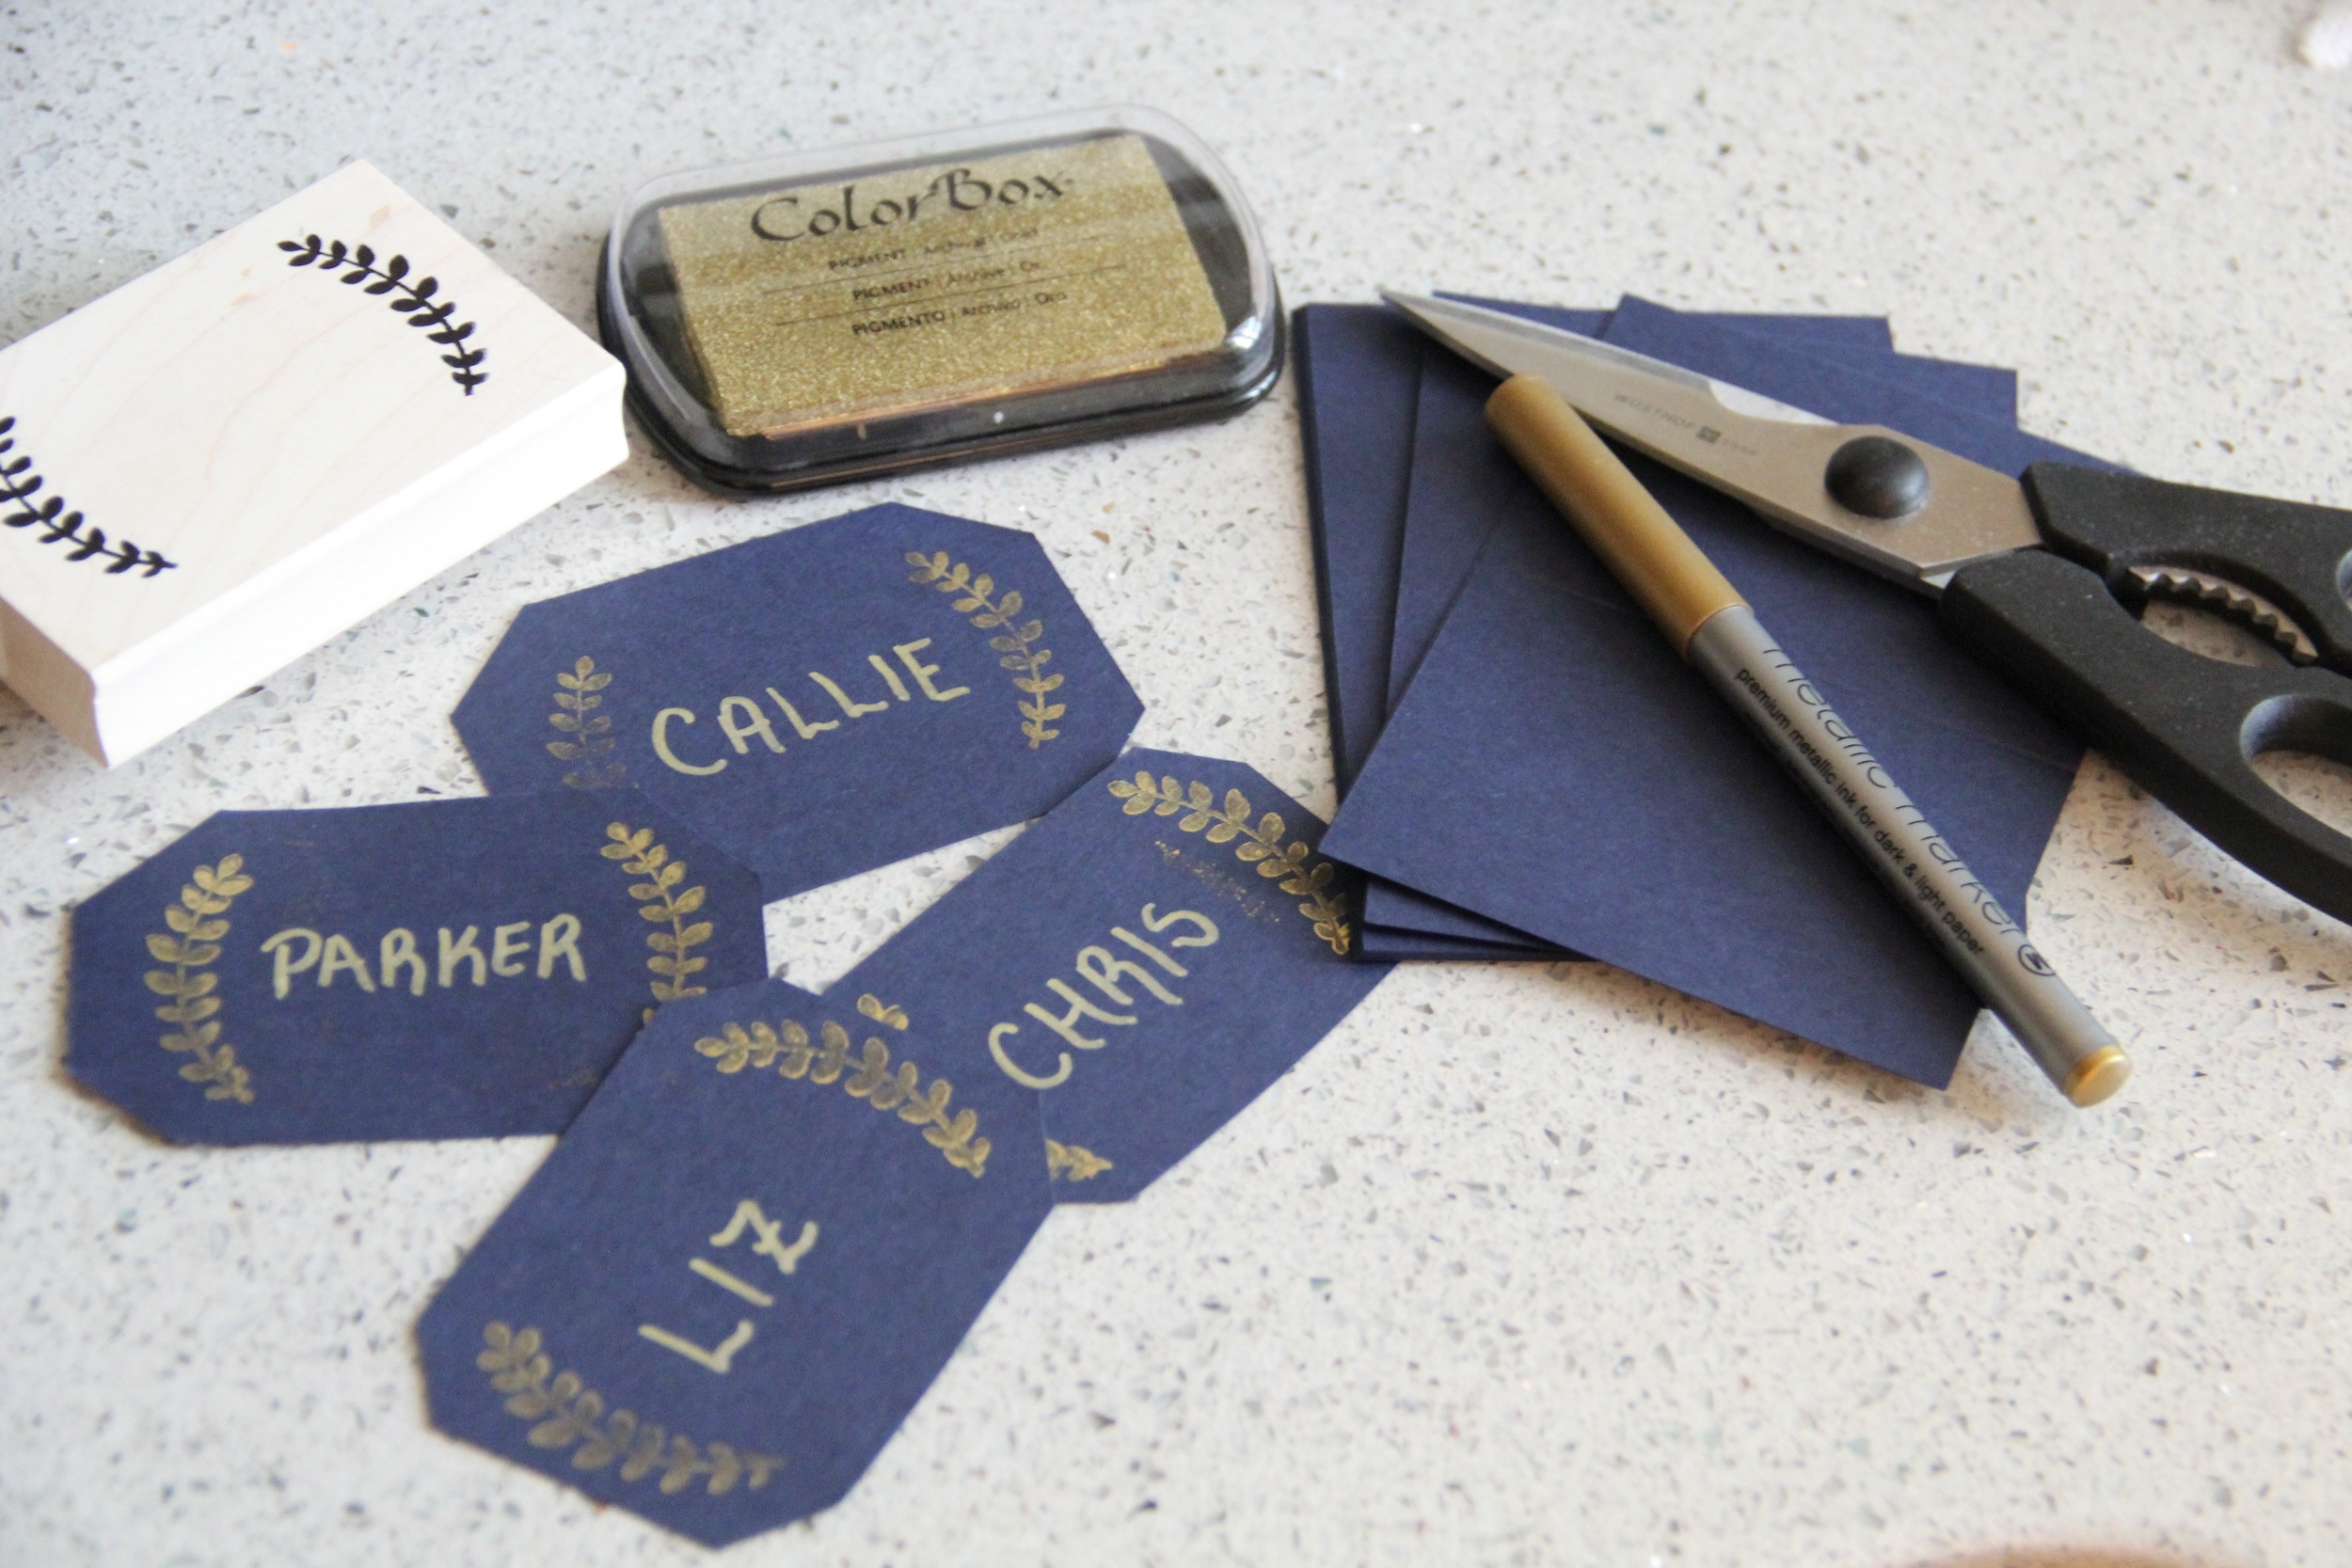
Supplies (Makes 4 Bouquets)
- Package of Place Cards (pictured in Night)
- Gold Marker Pen (medium-thick point)
- Scissors
- Gold Ink Pad
- Laurel Rubber Stamp
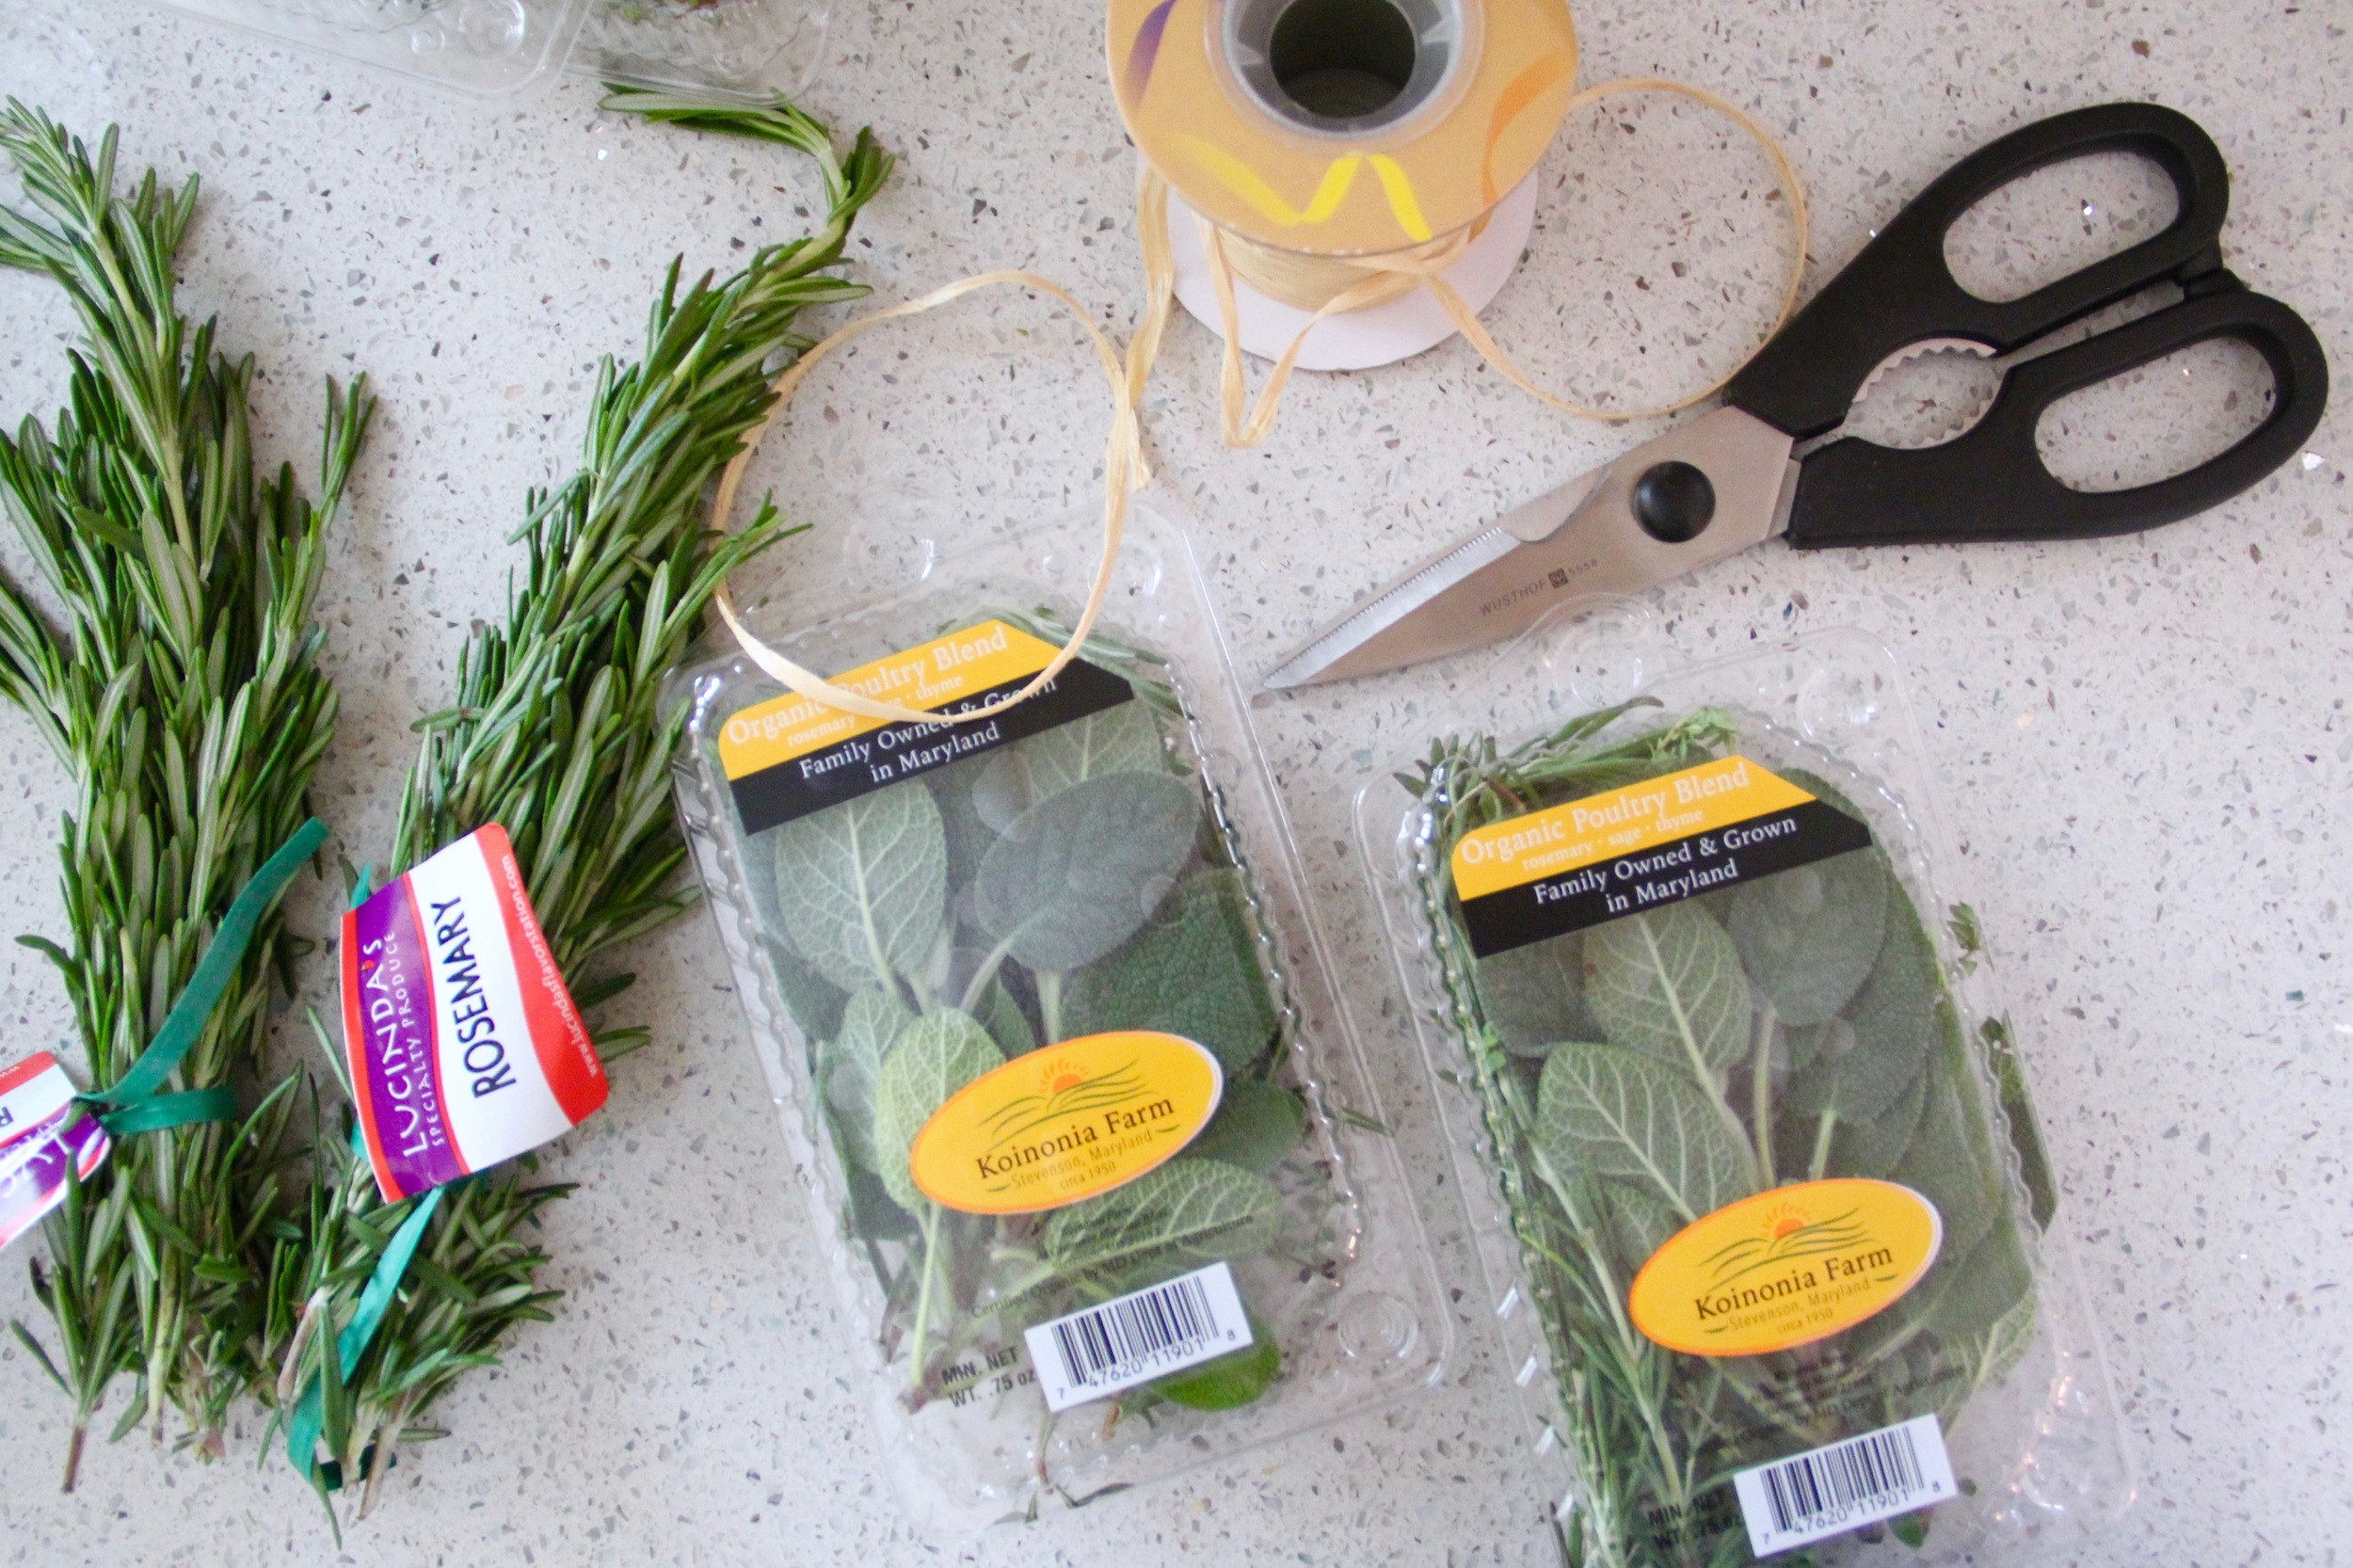
- Raffia Ribbon
- 4 Packages of Fresh Poultry Herbs
- 1 Package of Fresh Rosemary
- Hole Punch
Instructions
- Cut each place card on the fold crease to create 2 individual cards
- Stamp each cut piece and fill in each guest's name
- Trim the edges of each card
- Hole punch the top right corner of each card and then set cards aside
- Cut raffia ribbon into eight 12" long pieces
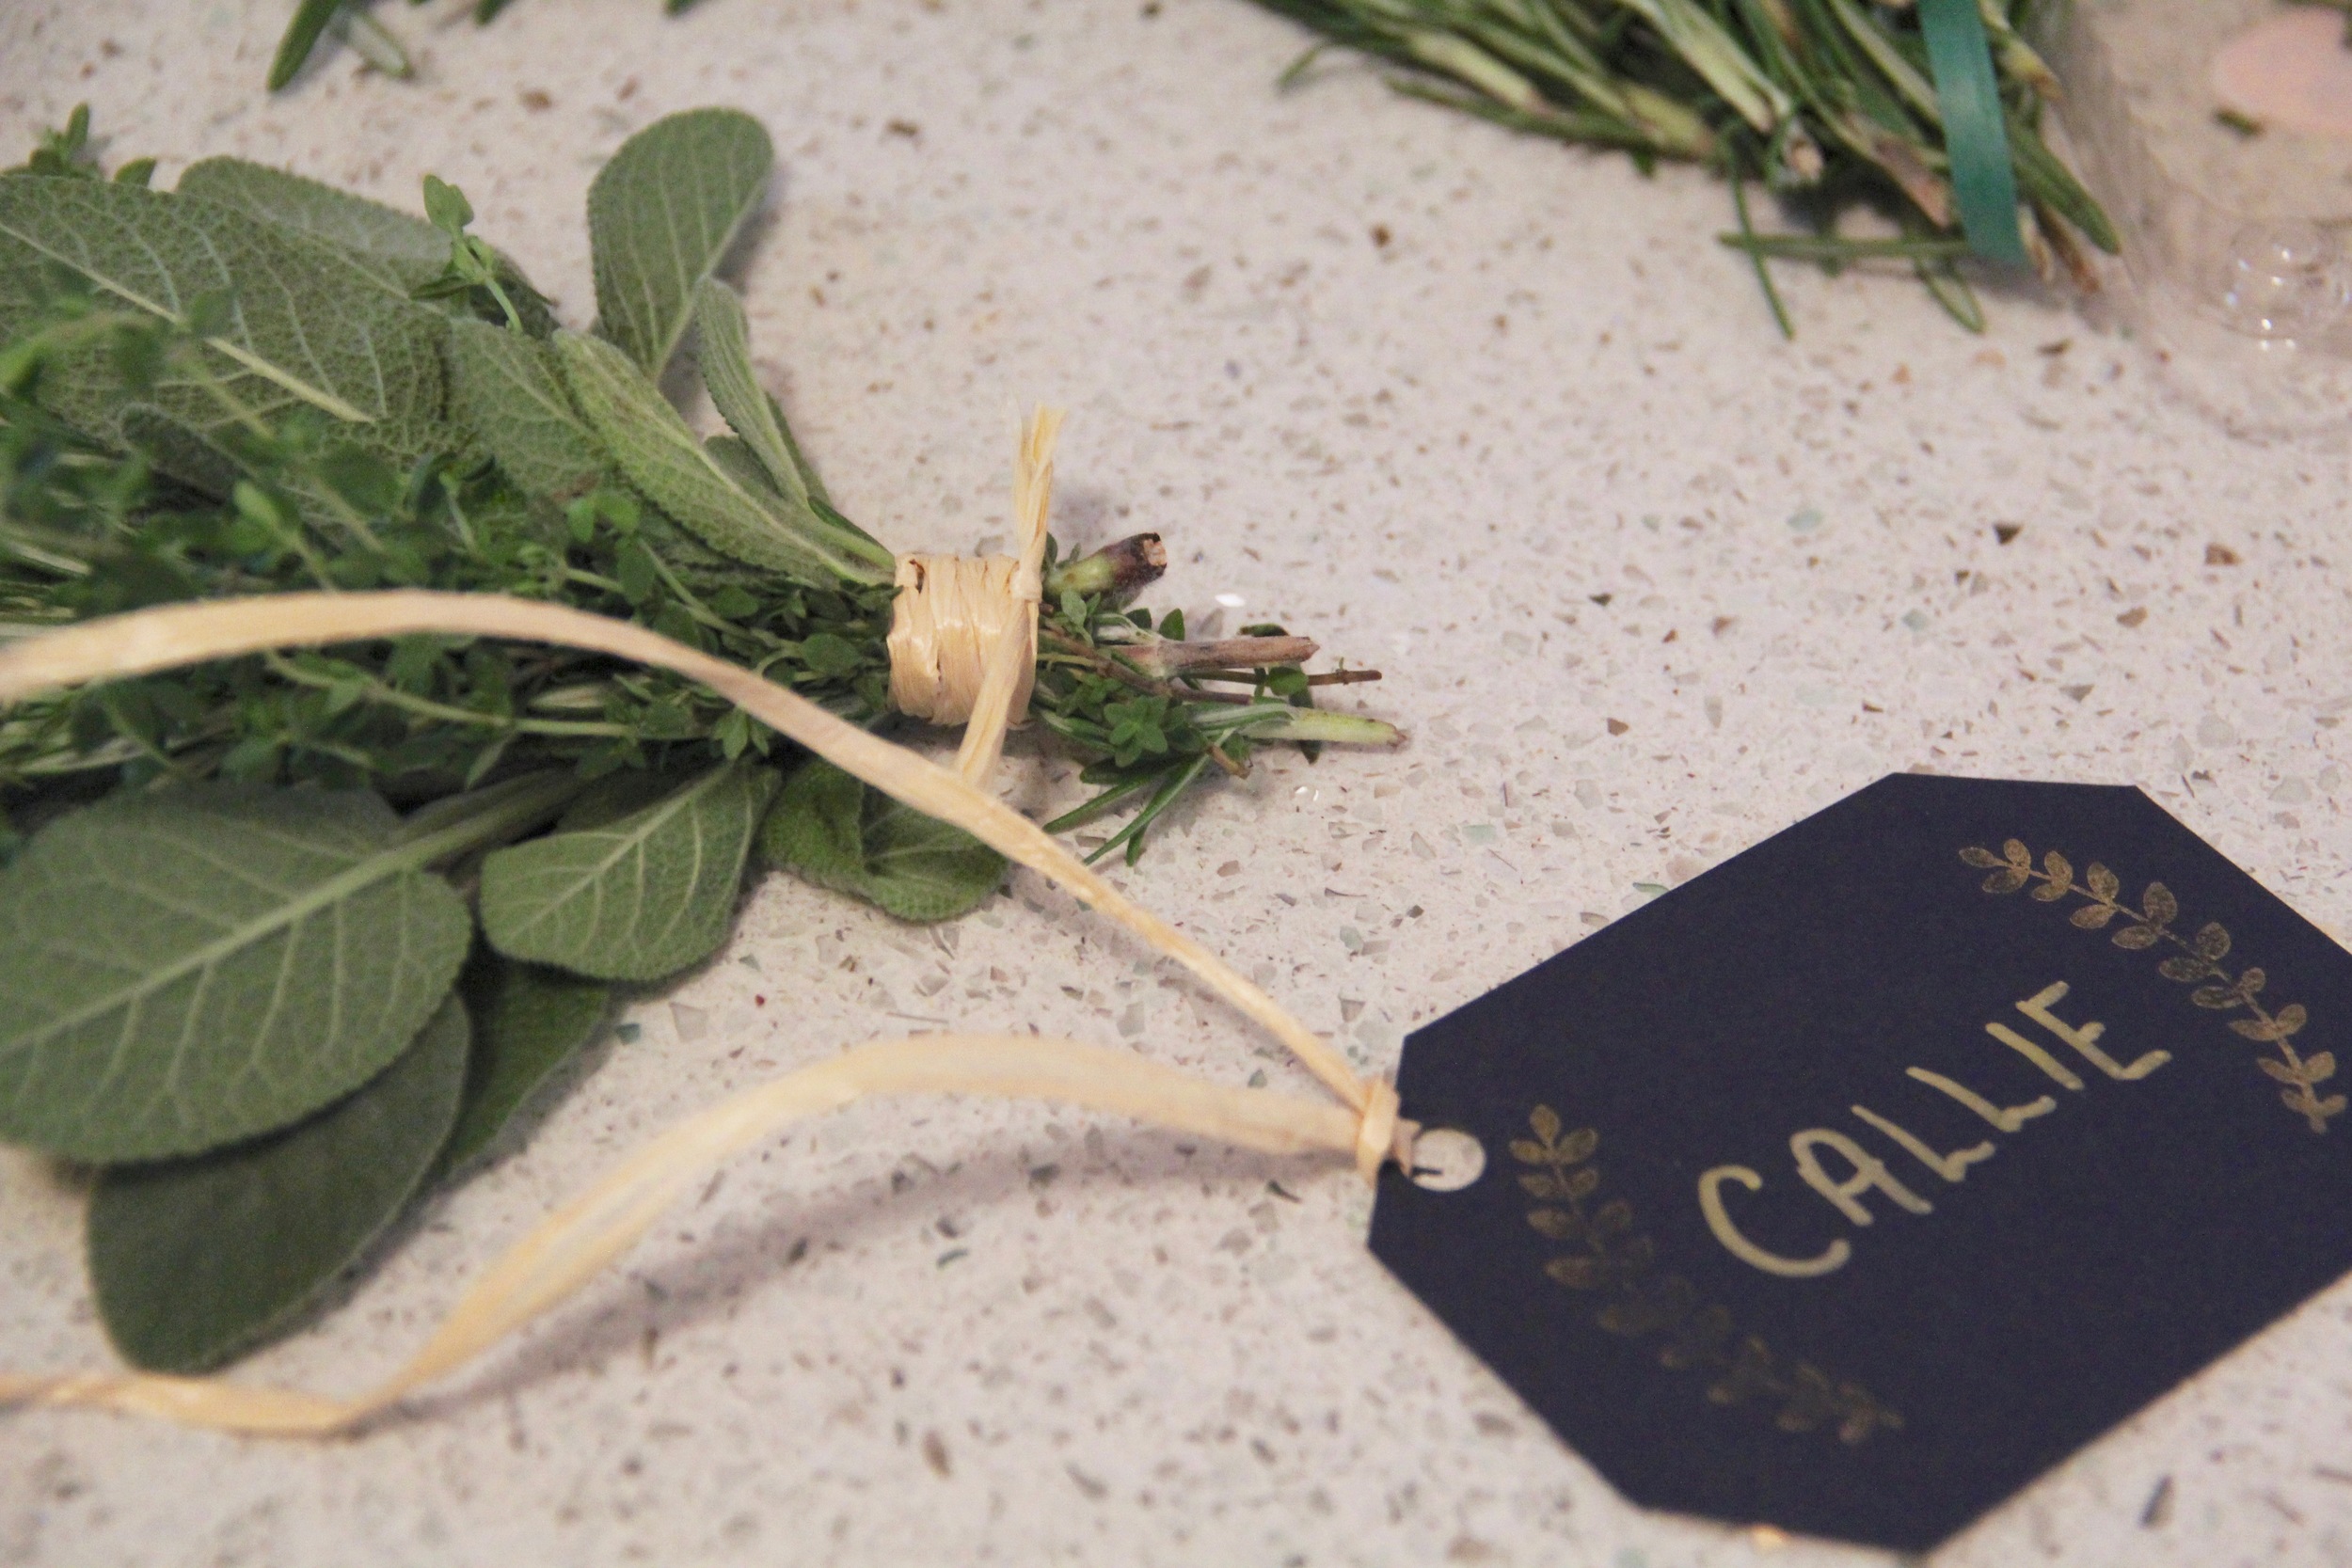
- Arrange one package of poultry herbs into a bouquet adding extra sprigs of rosemary or thyme where needed in order to create a beautiful mini bouquet
- Wrap an entire piece of cut raffia ribbon tightly around the base and secure the ribbon by making a small knot
- Loop a second piece of ribbon through the hole punched place card and secure the card to the bouquet by tying a bow
- I recommend keeping these bouquets in the refrigerator until right before you are ready to use them in order to keep them looking fresh and crisp.