• Welcome
  • Entertain
  • Decorate
  • Food & Drink
  • About
  • Contact
Menu

Redefining Domestics

Street Address
Washington, DC
Phone Number

Practical applications for turning your house into a home.   

Redefining Domestics

  • Welcome
  • Entertain
  • Decorate
  • Food & Drink
  • About
  • Contact

Lemon Gingersnap Cupcakes

September 28, 2015 Callie Cagney
IMG_7249.JPG

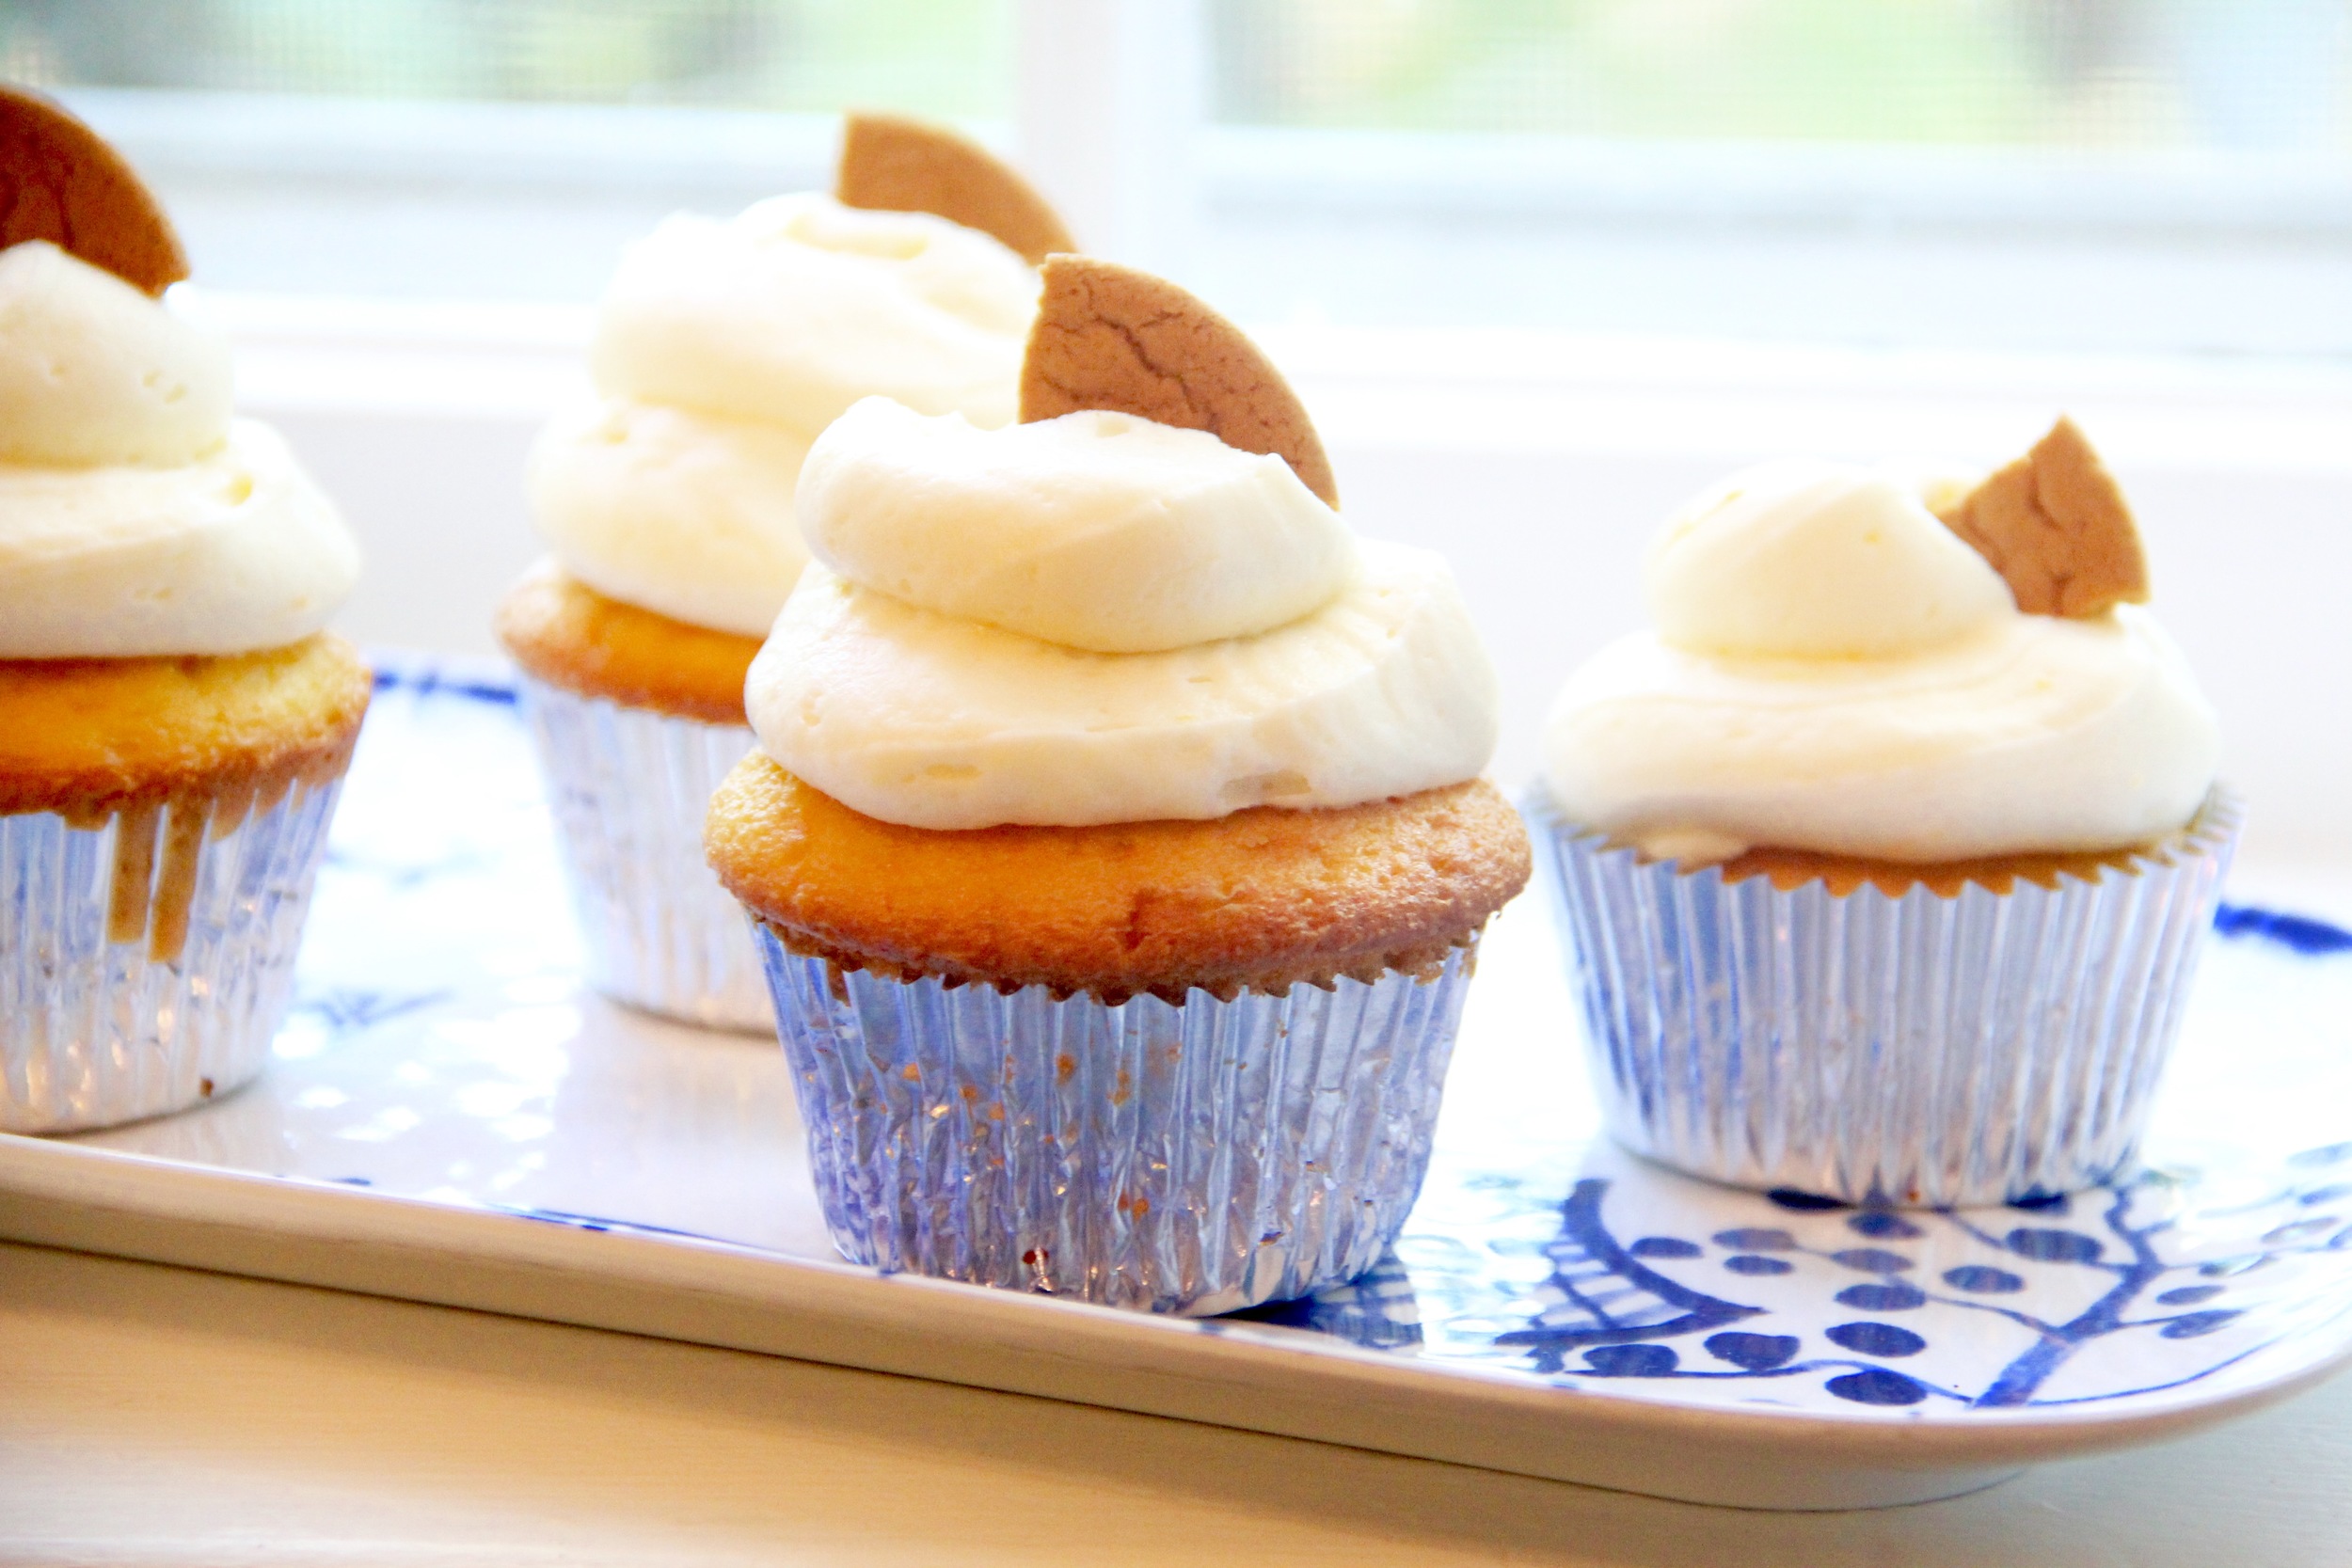
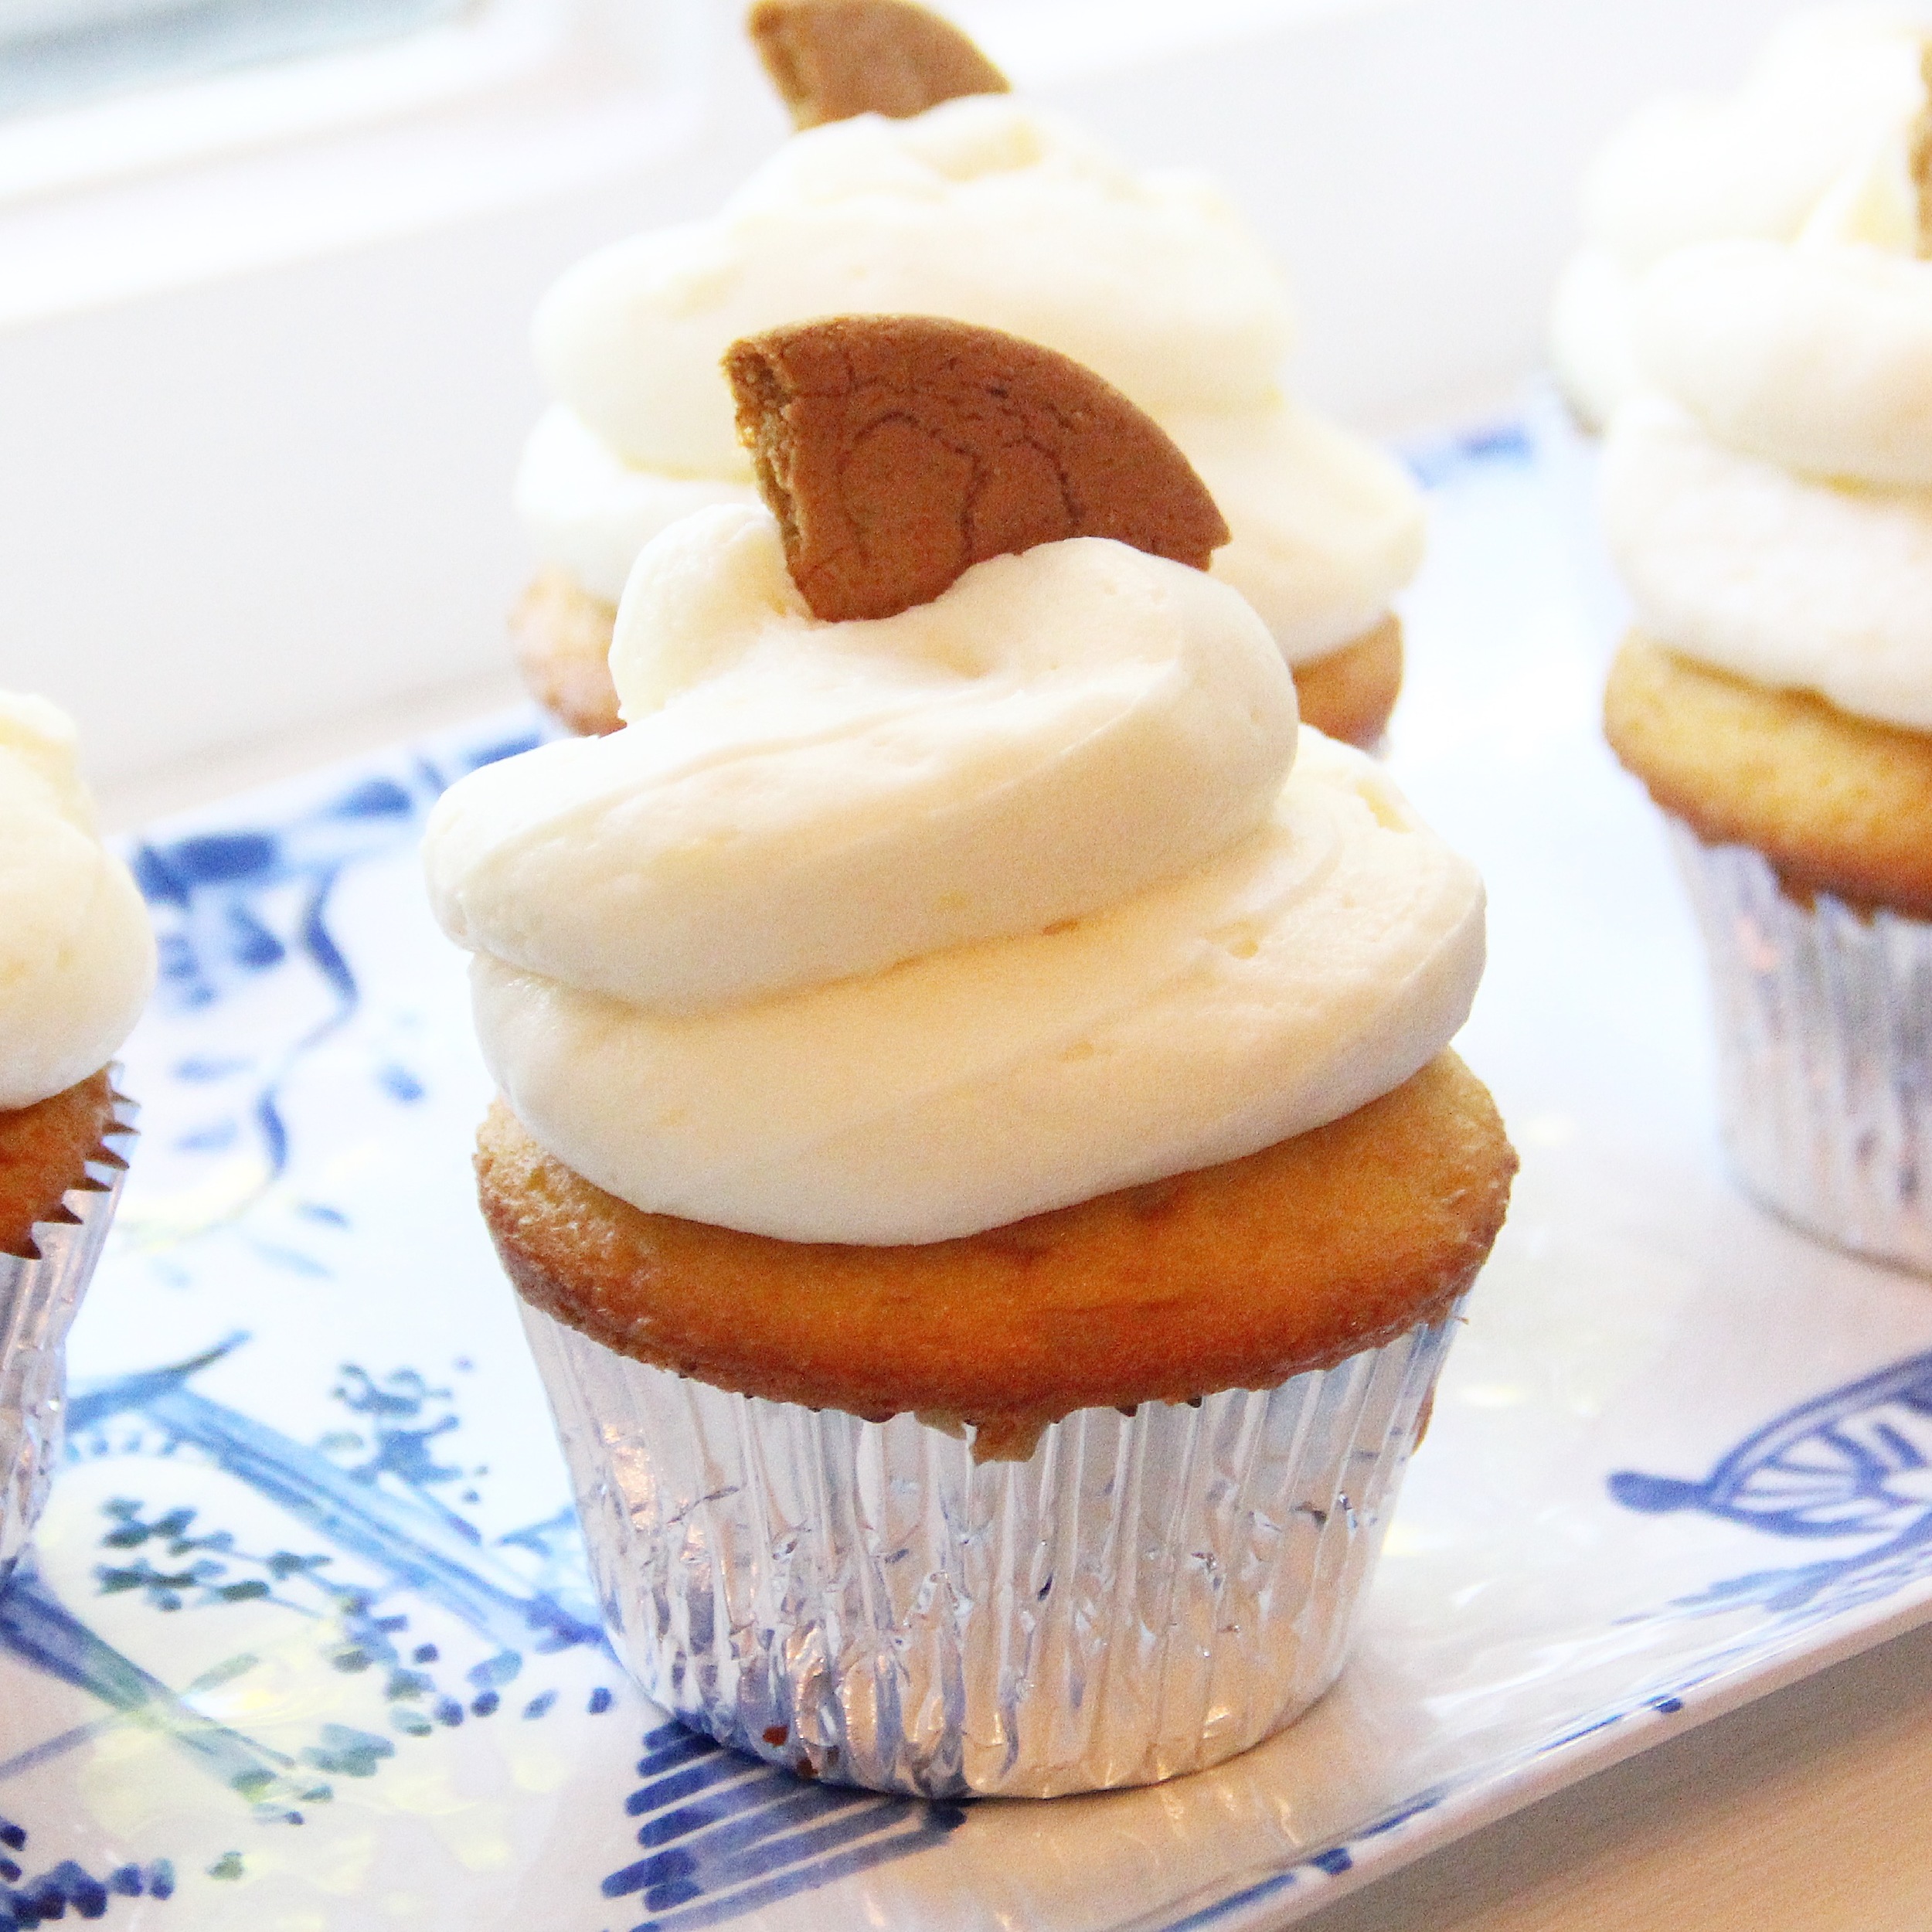
This cupcake recipe is one that I had been dreaming up ever since the creation of my S'more cupcakes.  Taking a flavor combination that you love like chocolate, marshmallow and graham crackers, then transposing that flavor profile into an entirely new form is a challenge that I happen to love.  For as long as I can remember, I have loved Carr's Ginger Lemon Creme Cookies.  The flavor combination of lemon and gingersnap is absolute perfection, so when I began to think about the possibilities for cupcake creations beyond the S'more, Lemon Gingersnap was a no-brainer.  

Beyond the fabulous taste of these cupcakes, I love that this recipe is a combination of both homemade and store bought (very Sandra Lee).  You are still achieving that homemade product, but saving time during the baking process by incorporating a few pre-made steps (love that!).  This is definitely a fabulous and easy dessert idea that I would recommend adding to your recipe arsenal.  A crowd pleaser for sure!  
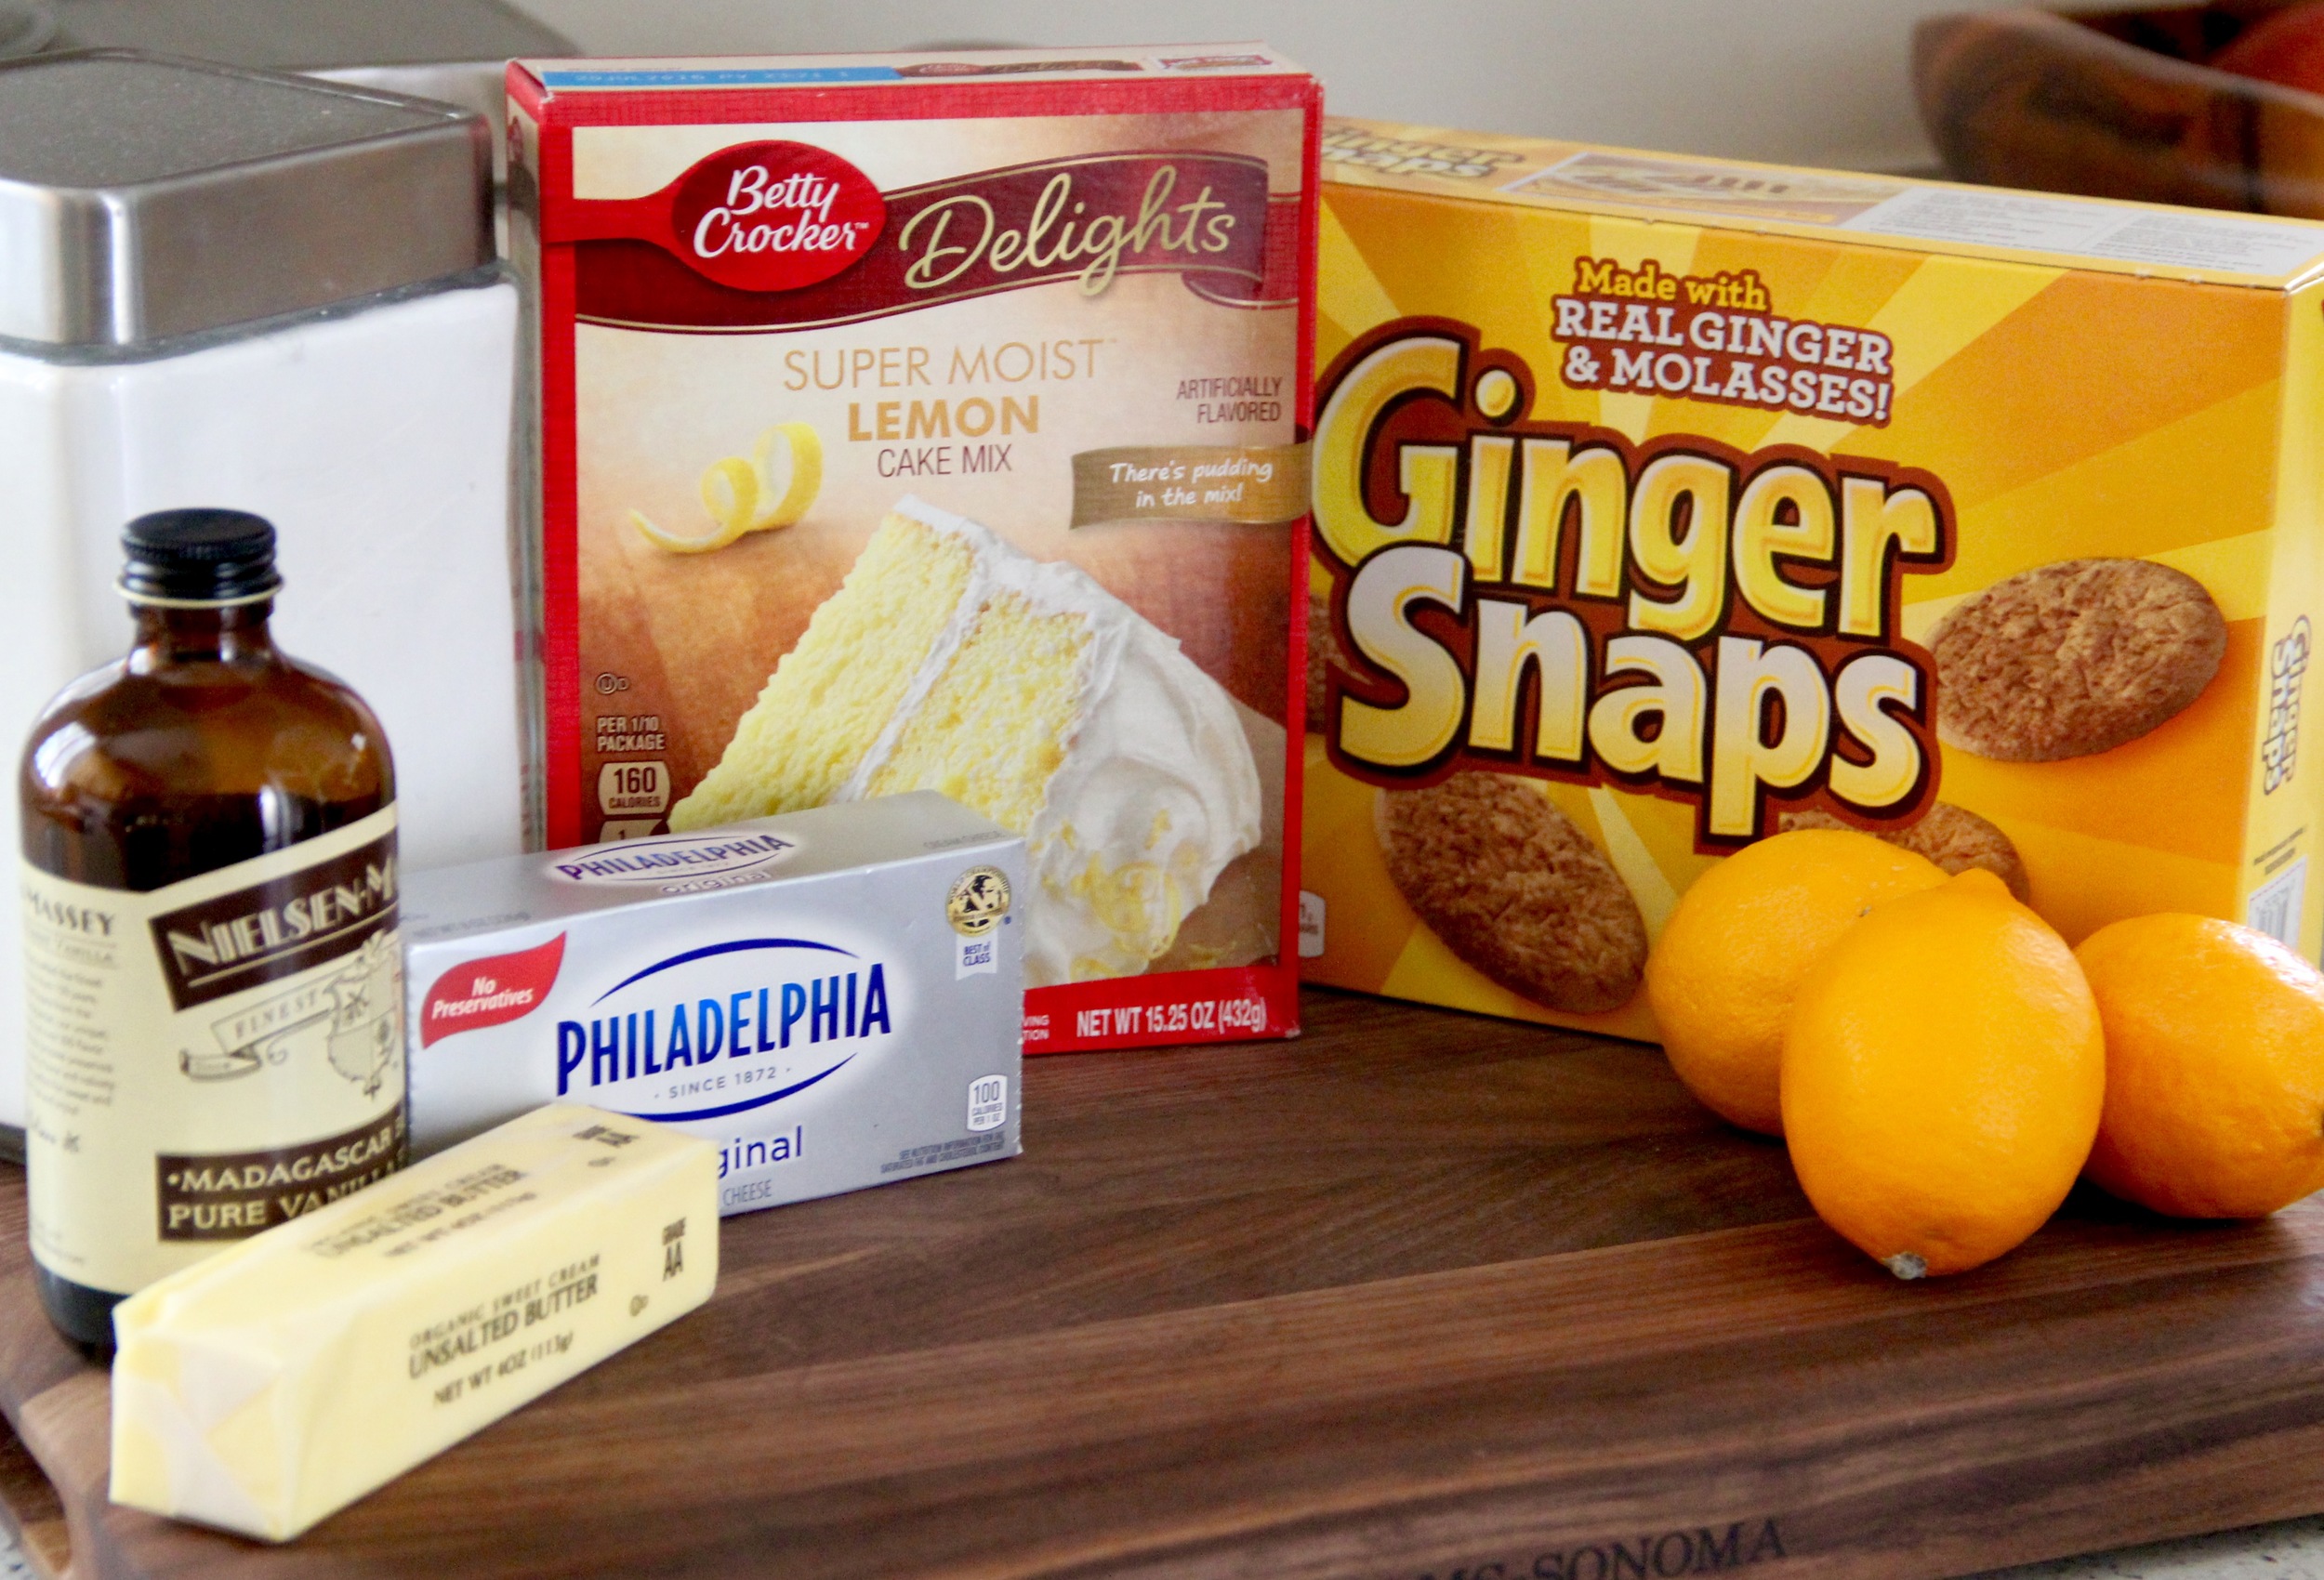
Lemon Gingersnap Cupcake Ingredients.jpg

Ingredients

IMG_0847.JPG

For the Crust:

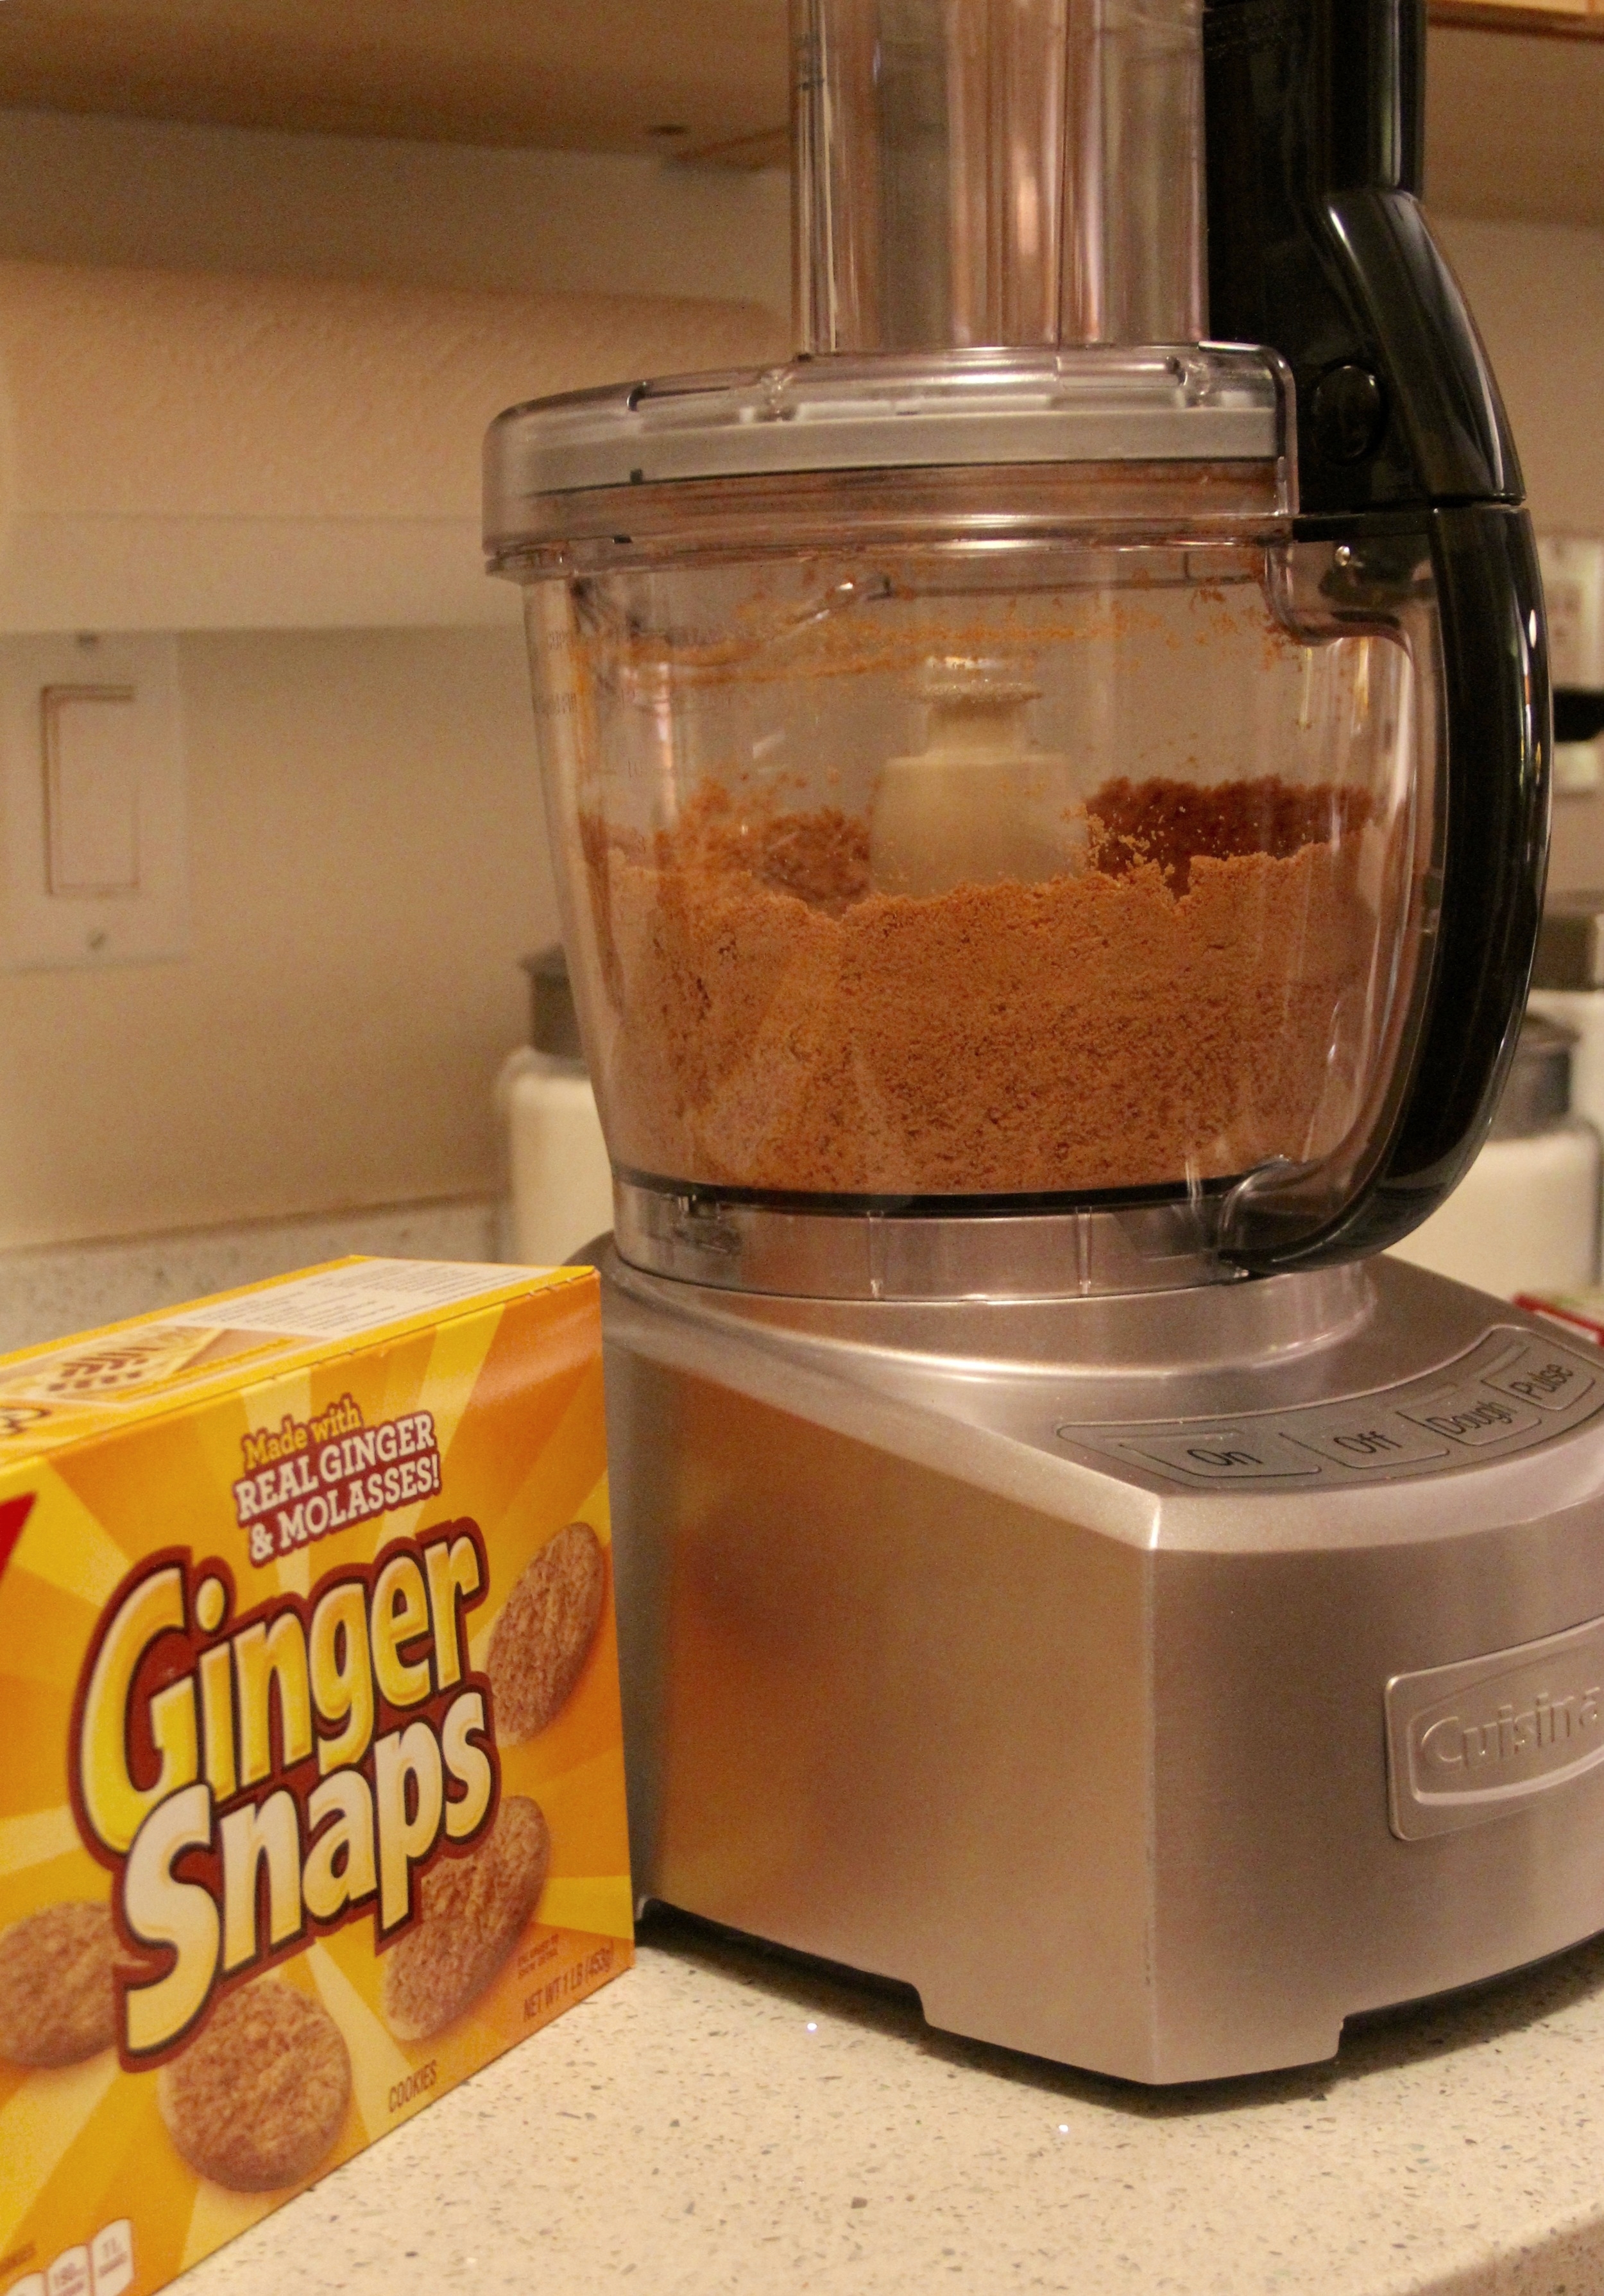
  • 1 Box Nabisco Gingersnaps (*Set 10 cookies aside to use for garnishing)
  • 3 Tbs Granulated Sugar
  • 1 1/2 Sticks Butter (Melted)
  • 1/4 tsp Kosher Salt

For the Cake:

  • 2 Boxes Betty Crocker Super Moist Lemon Cake Mix
  • Water, Vegetable Oil and Eggs (according to box instructions)

For the Frosting:

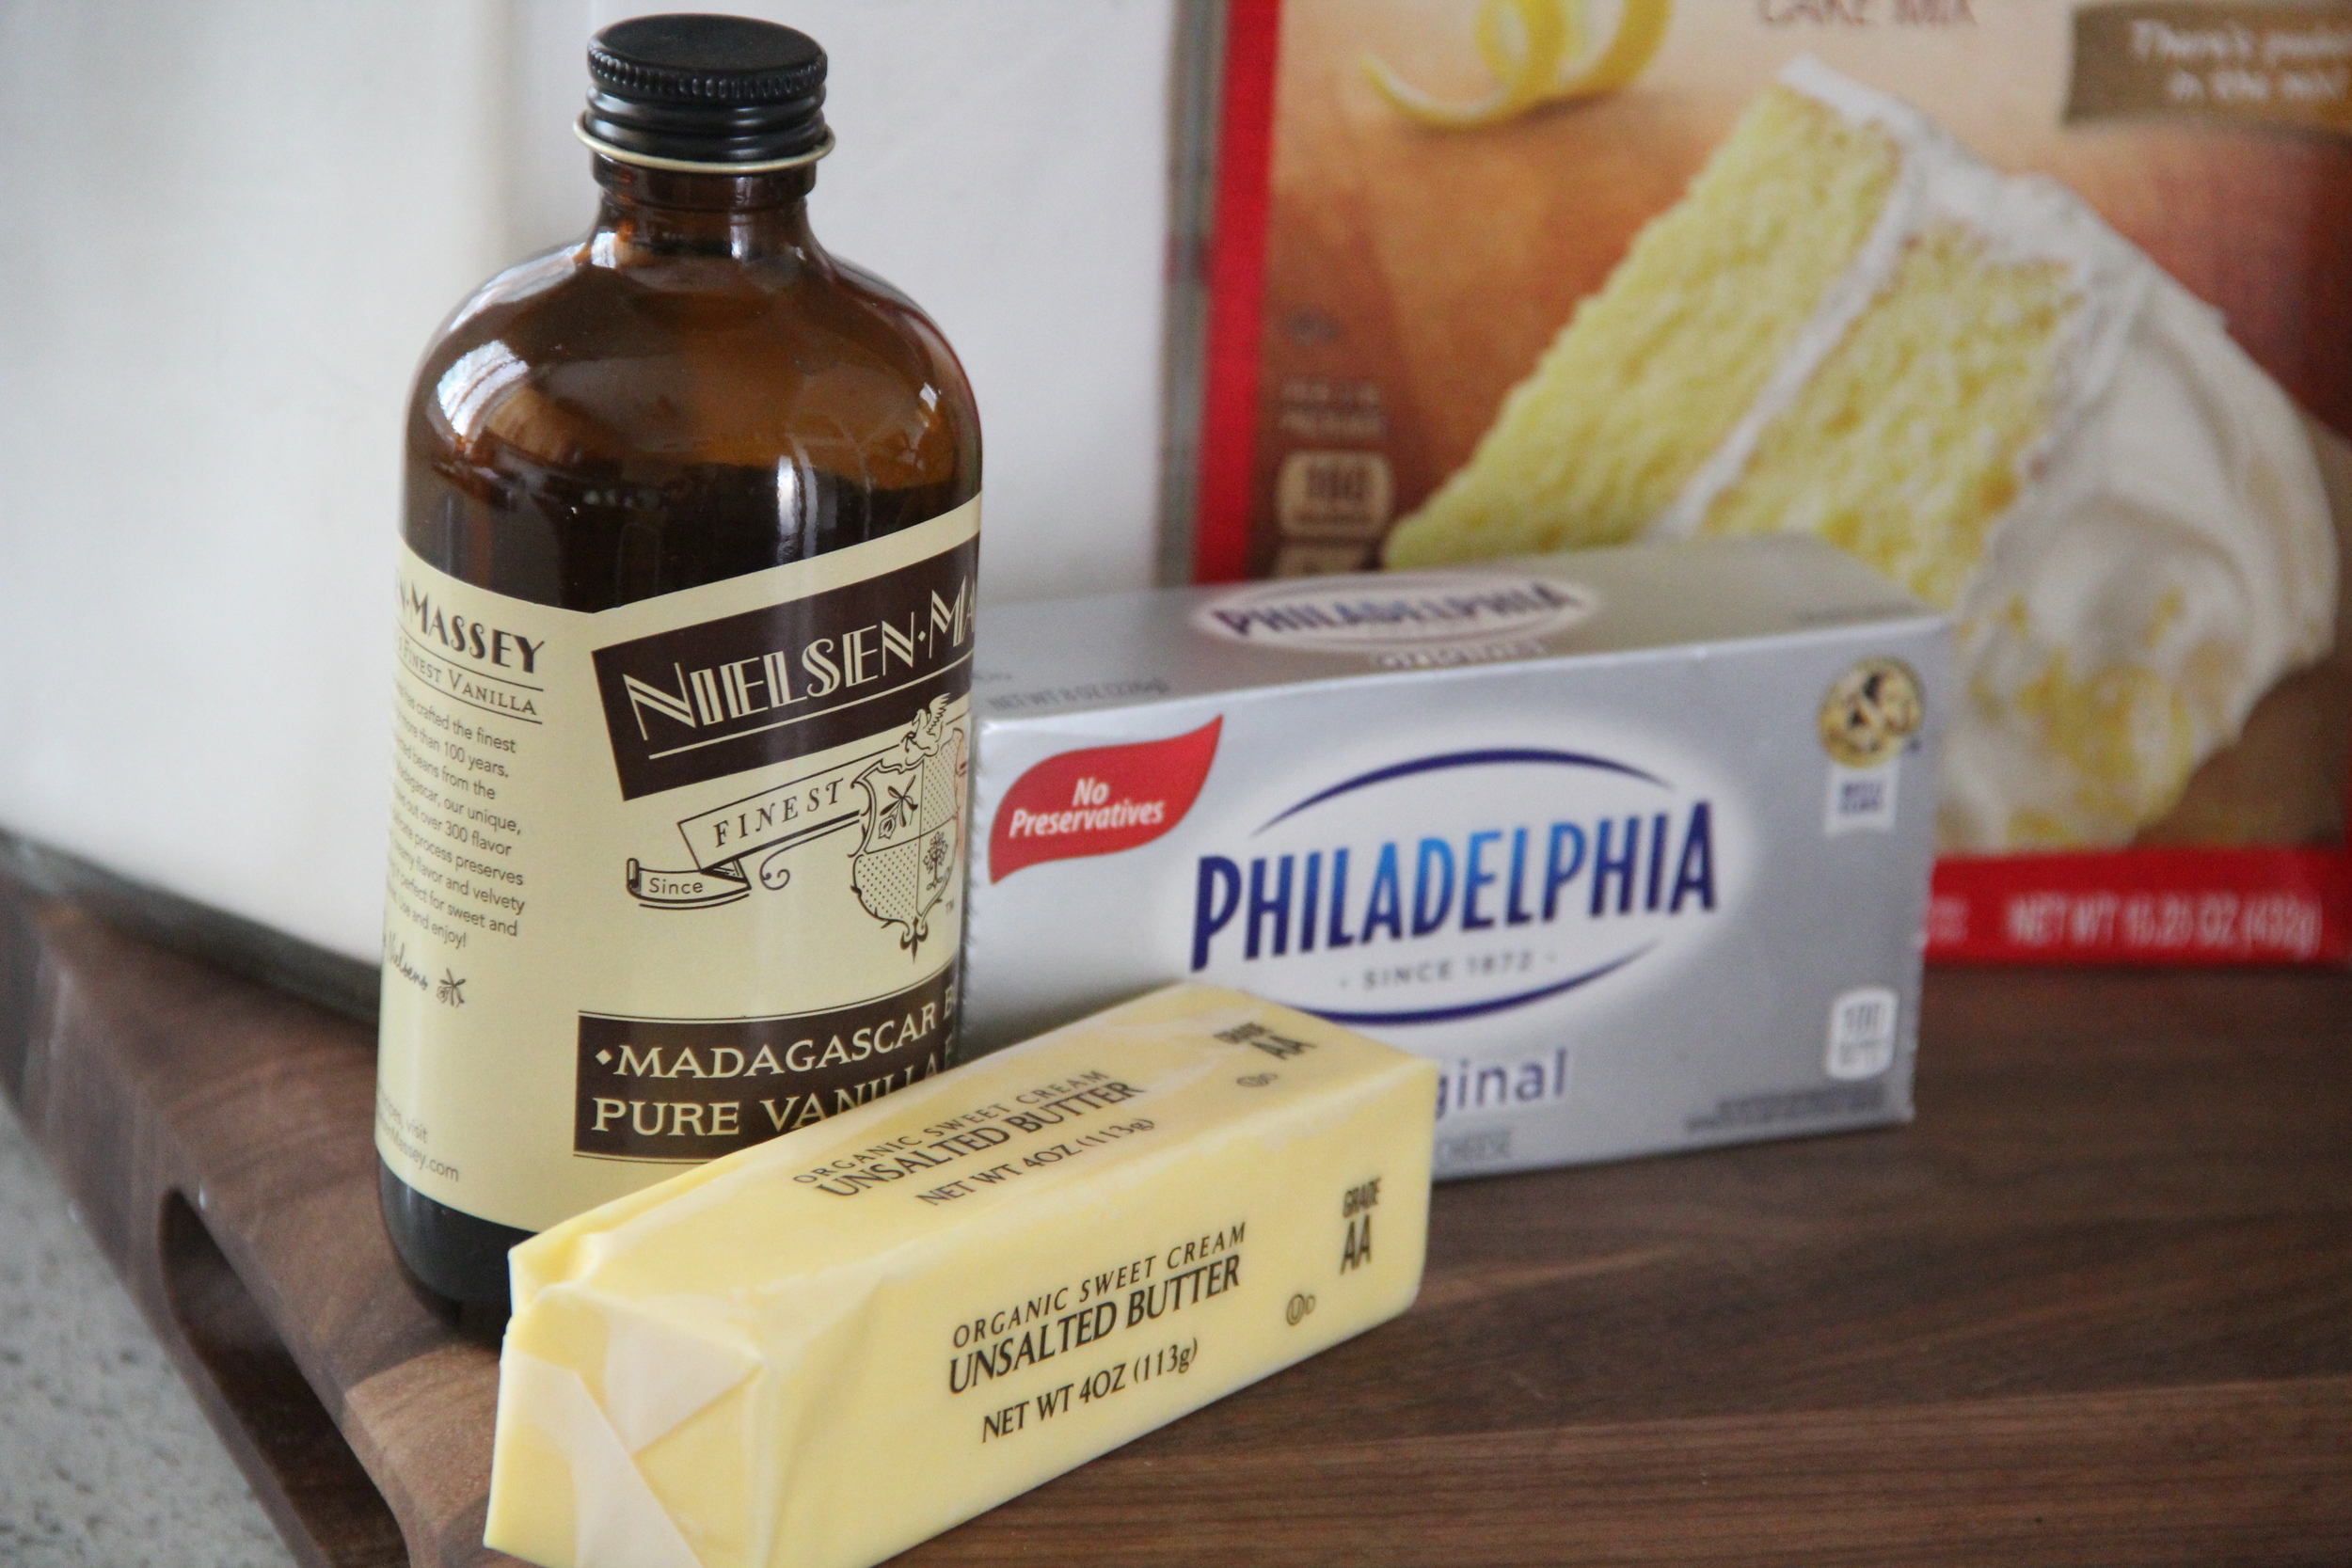
  • 1 8oz Package of Cream Cheese (Softened to Room Temperature)
  • 1 Stick Unsalted Butter (Softened to Room Temperature)
  • 1.5lbs Confectioners Sugar
  • 1/2 tsp Vanilla Extract
  • Zest of 1/2 a Lemon
  • Juice of 1/2 Lemon (plus more as needed)


Gingersnaps Food Processor.jpg
IMG_6462.JPG
IMG_6470.JPG
IMG_6474.JPG
IMG_0441.JPG

Instructions

  1. Preheat oven to 325 degrees fahrenheit and place oven racks on bottom  third section of oven
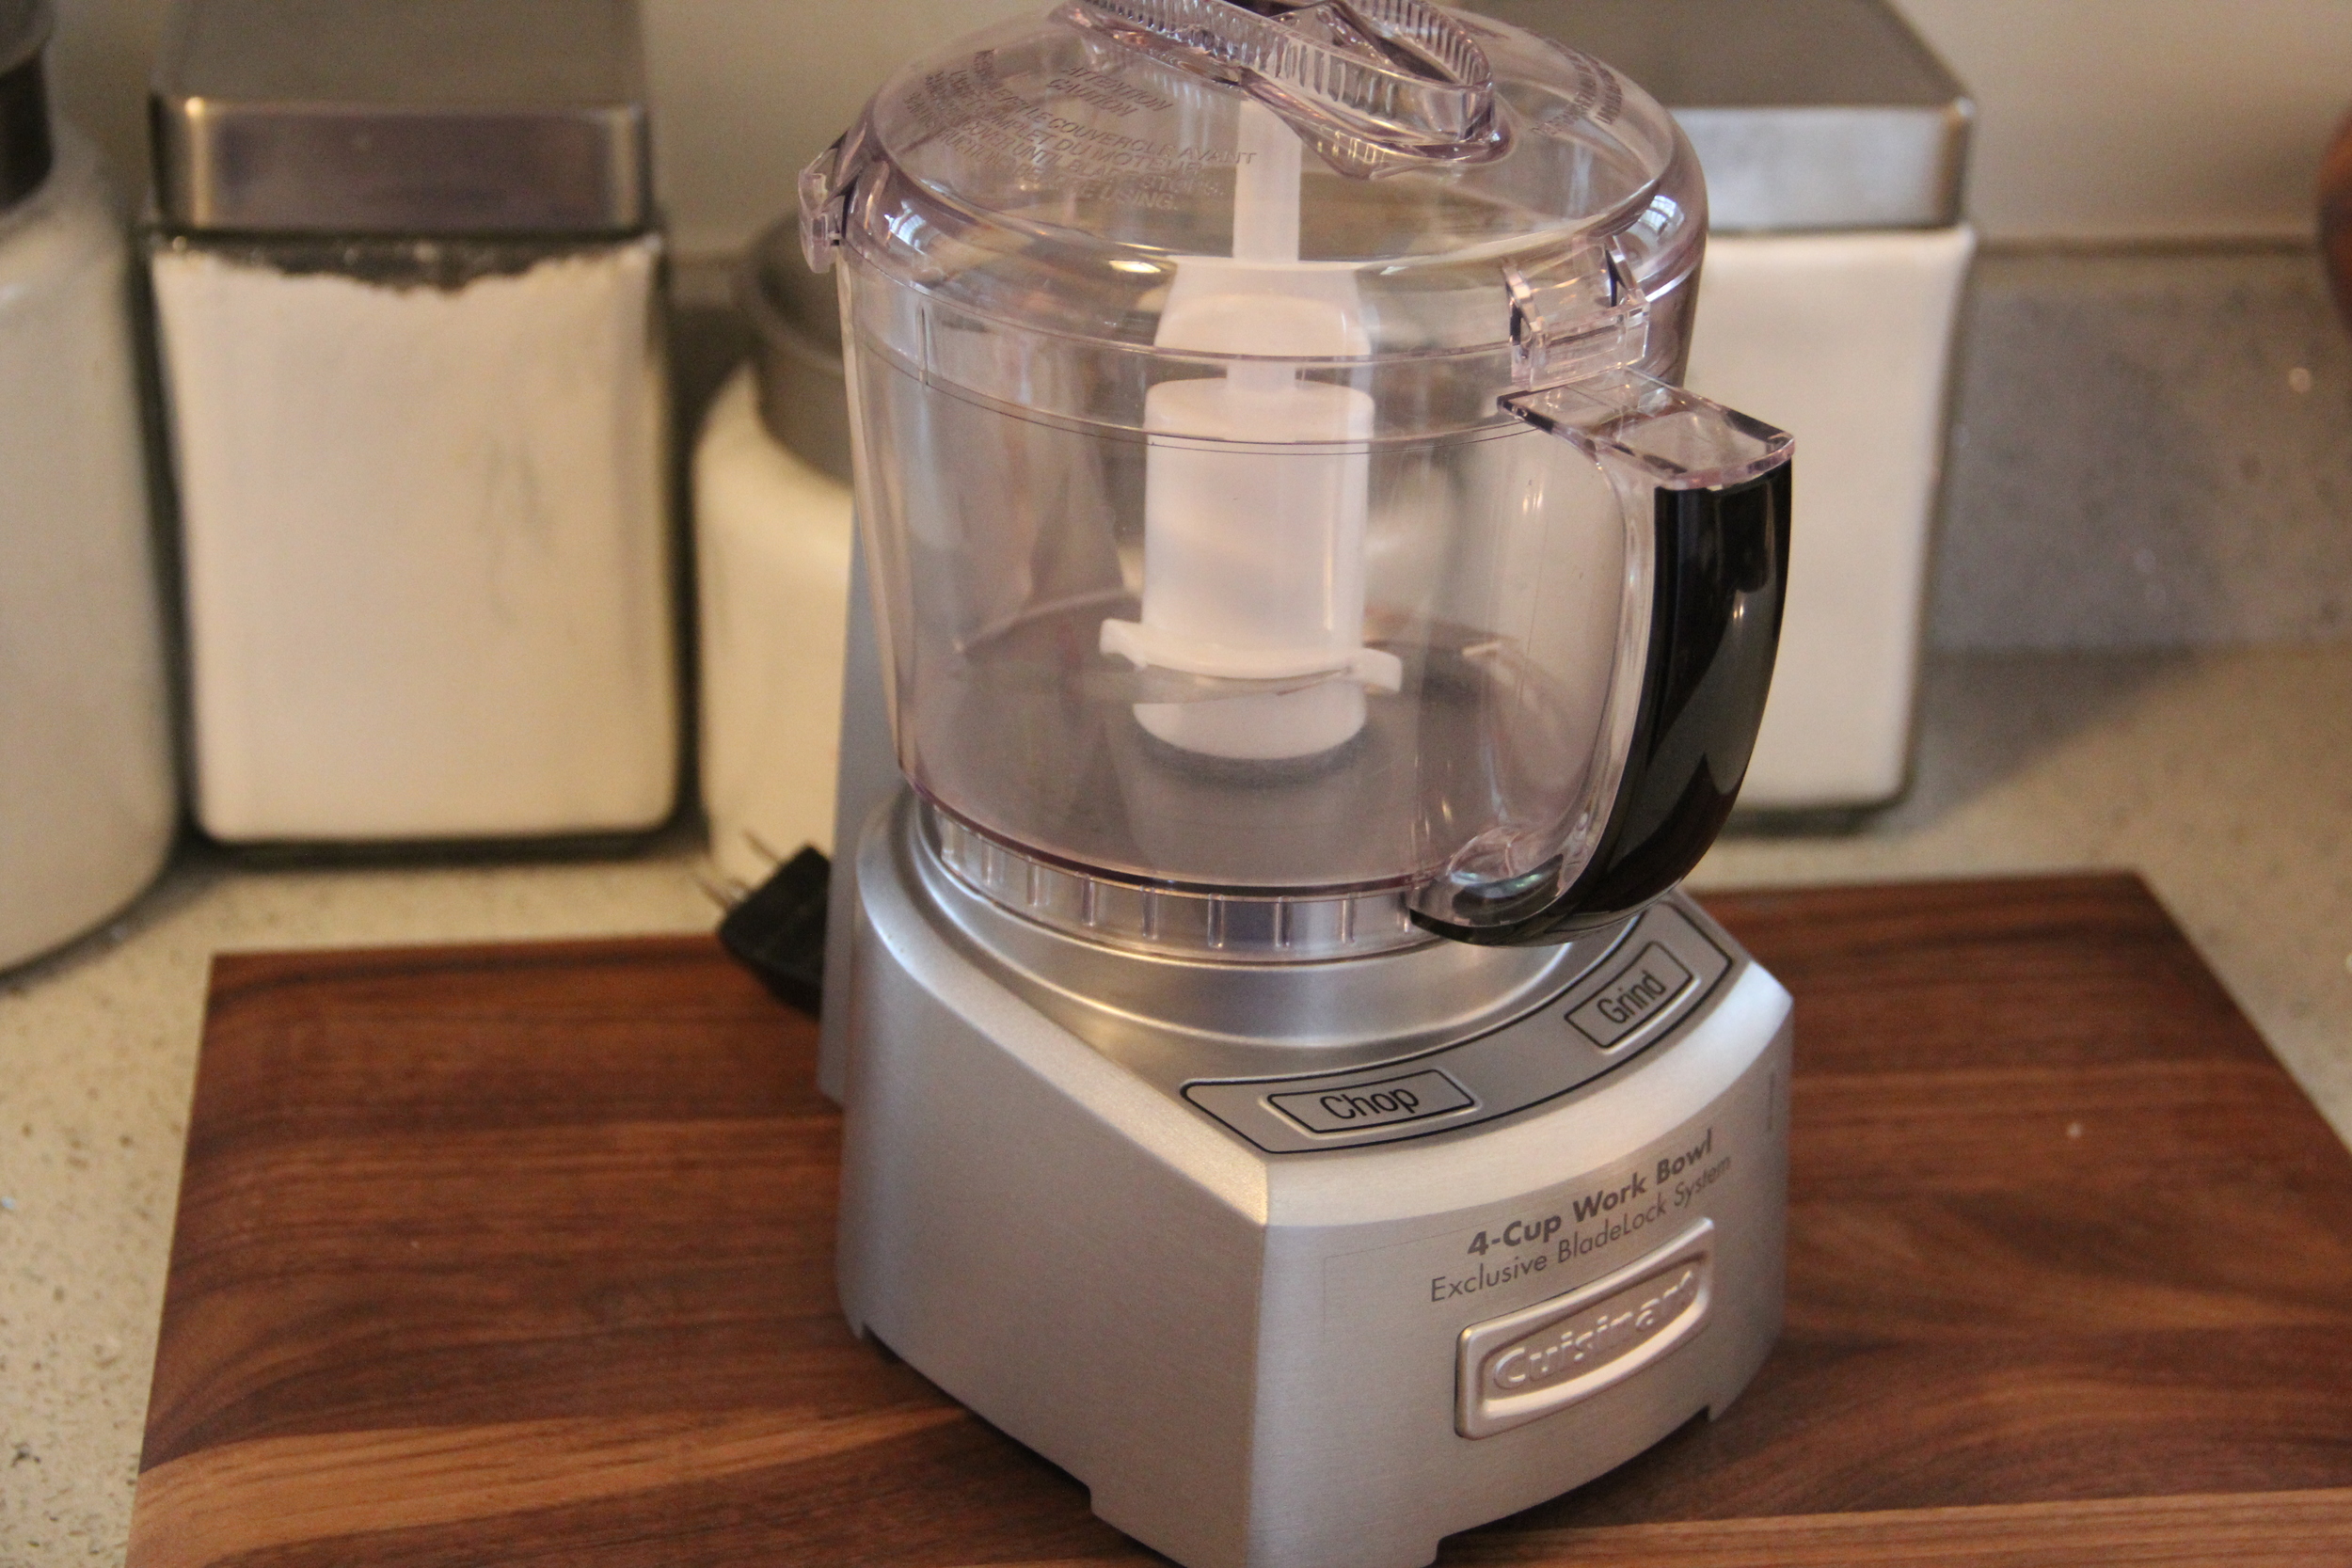
  2. In a food processor, break down one box of ginger snap cookies until they reach the consistency of crumbs
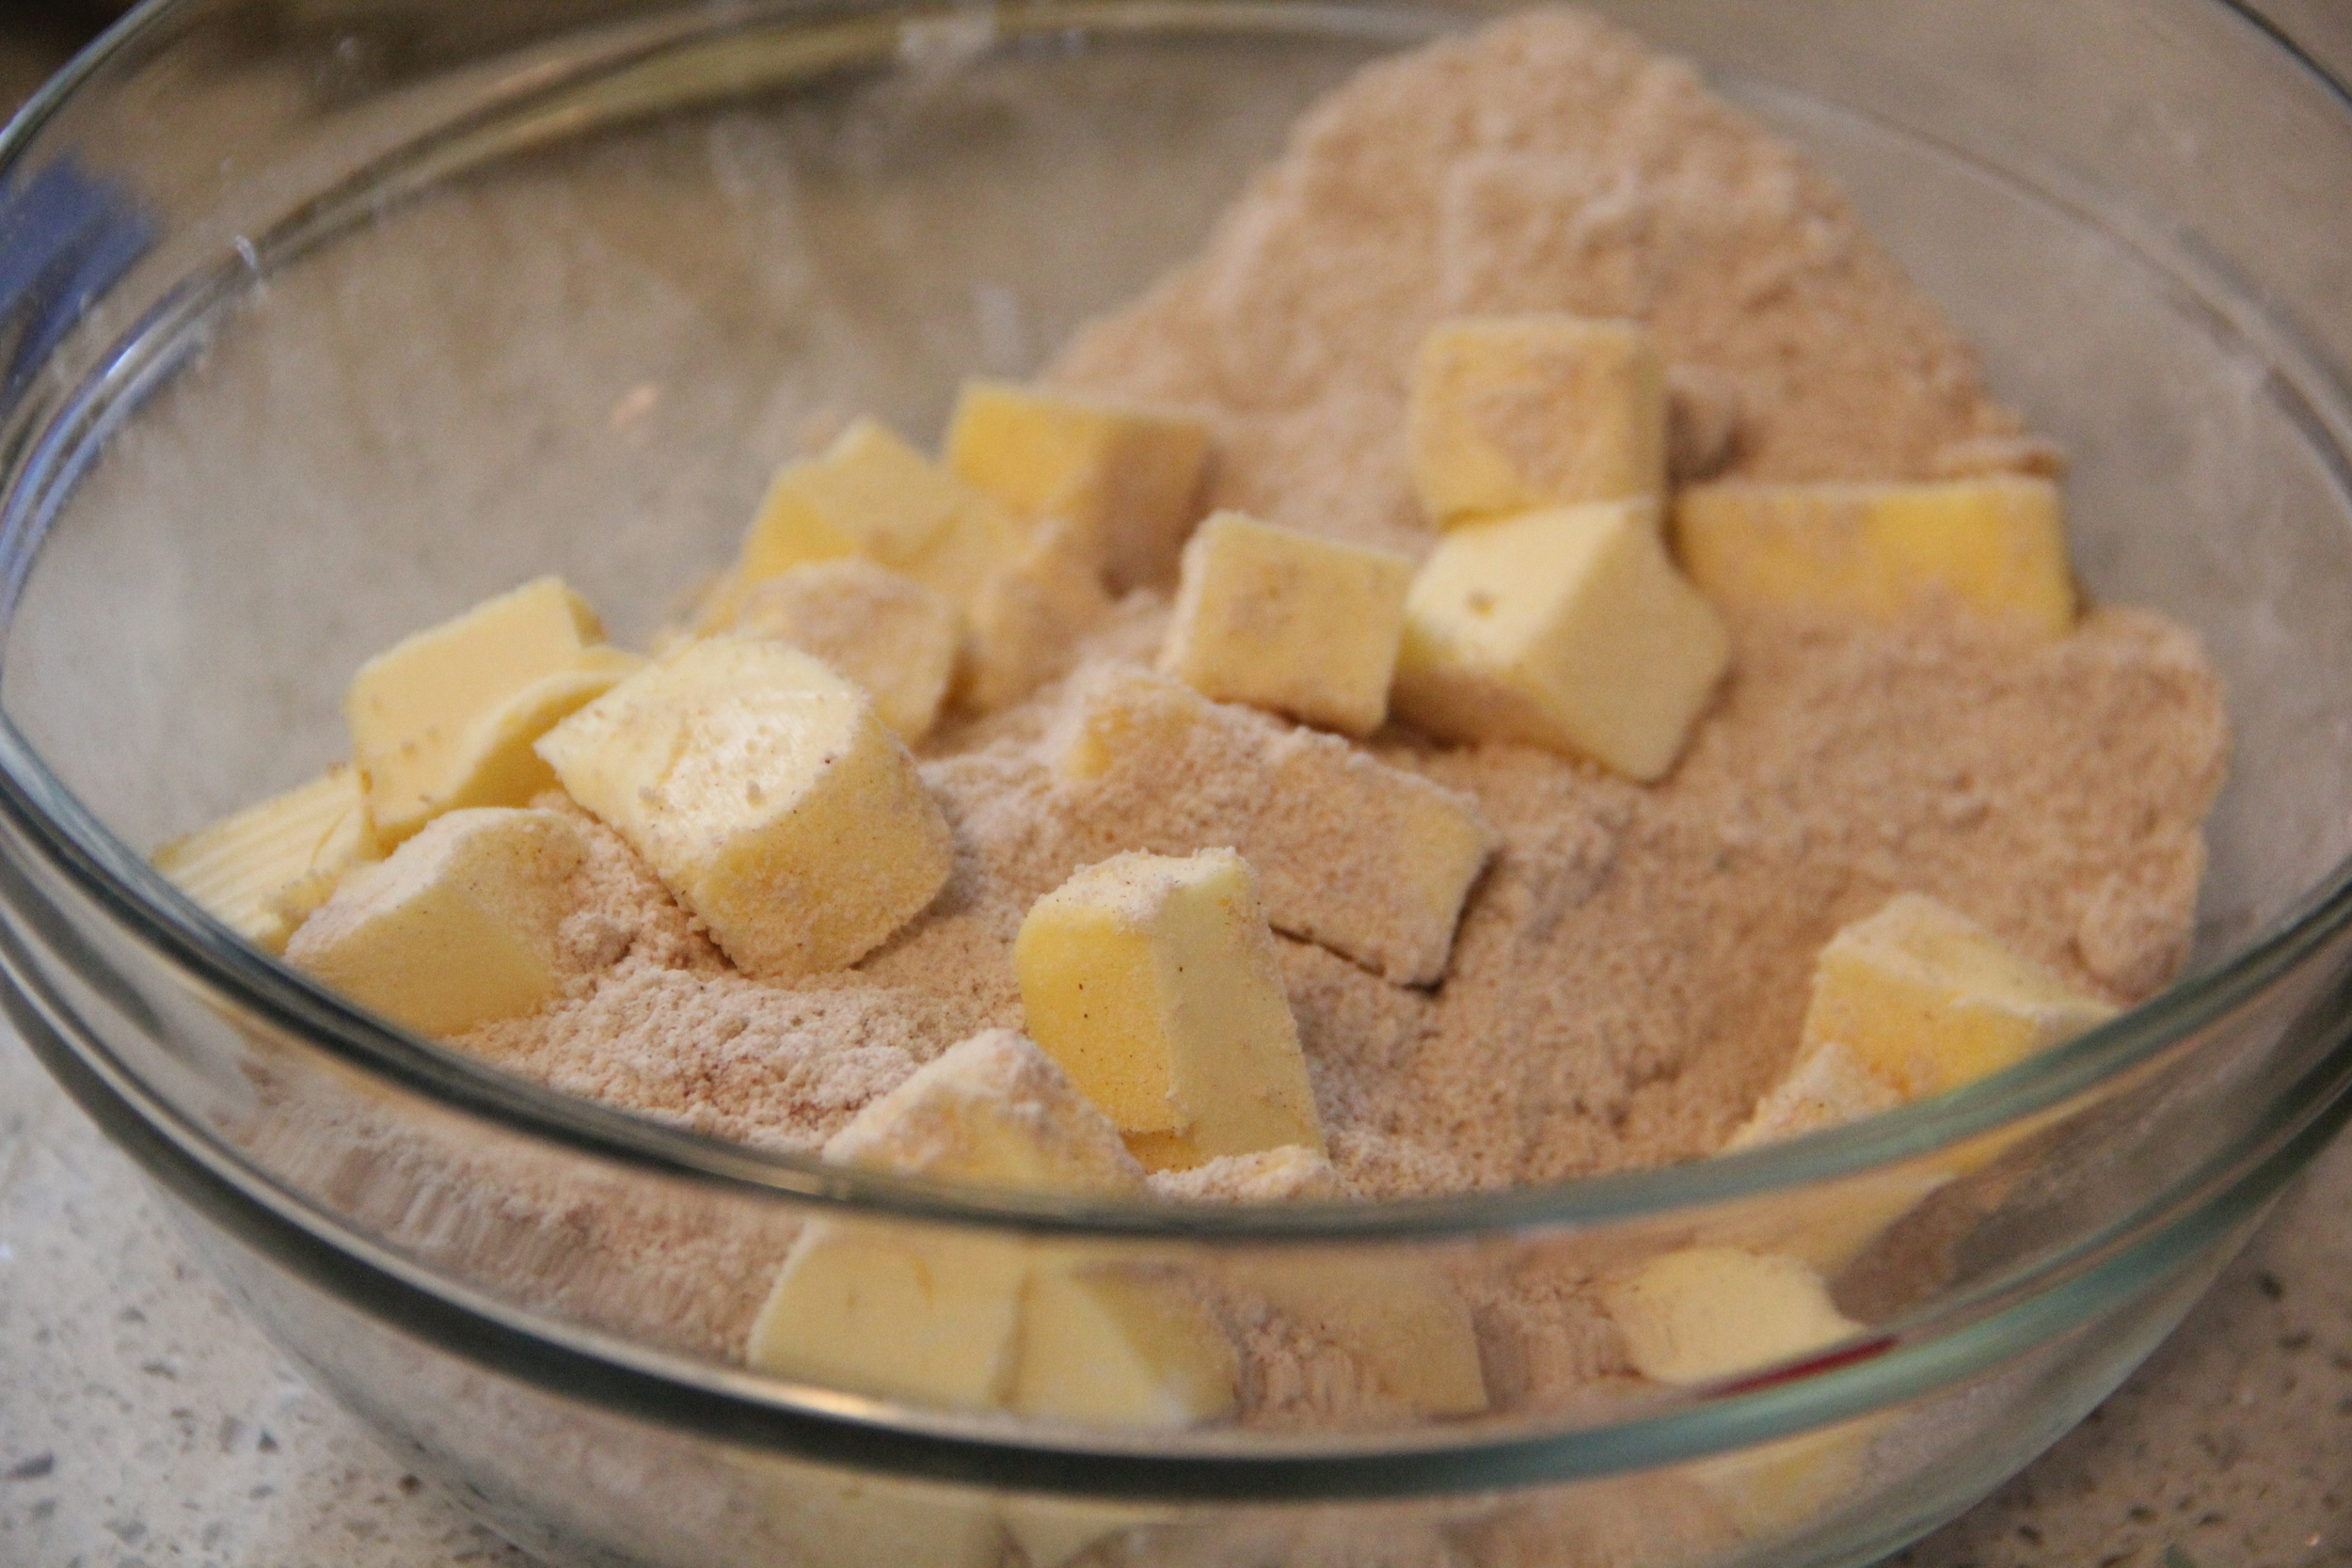
  3. Combine Crumbs, Sugar and Salt in a bowl with a fork
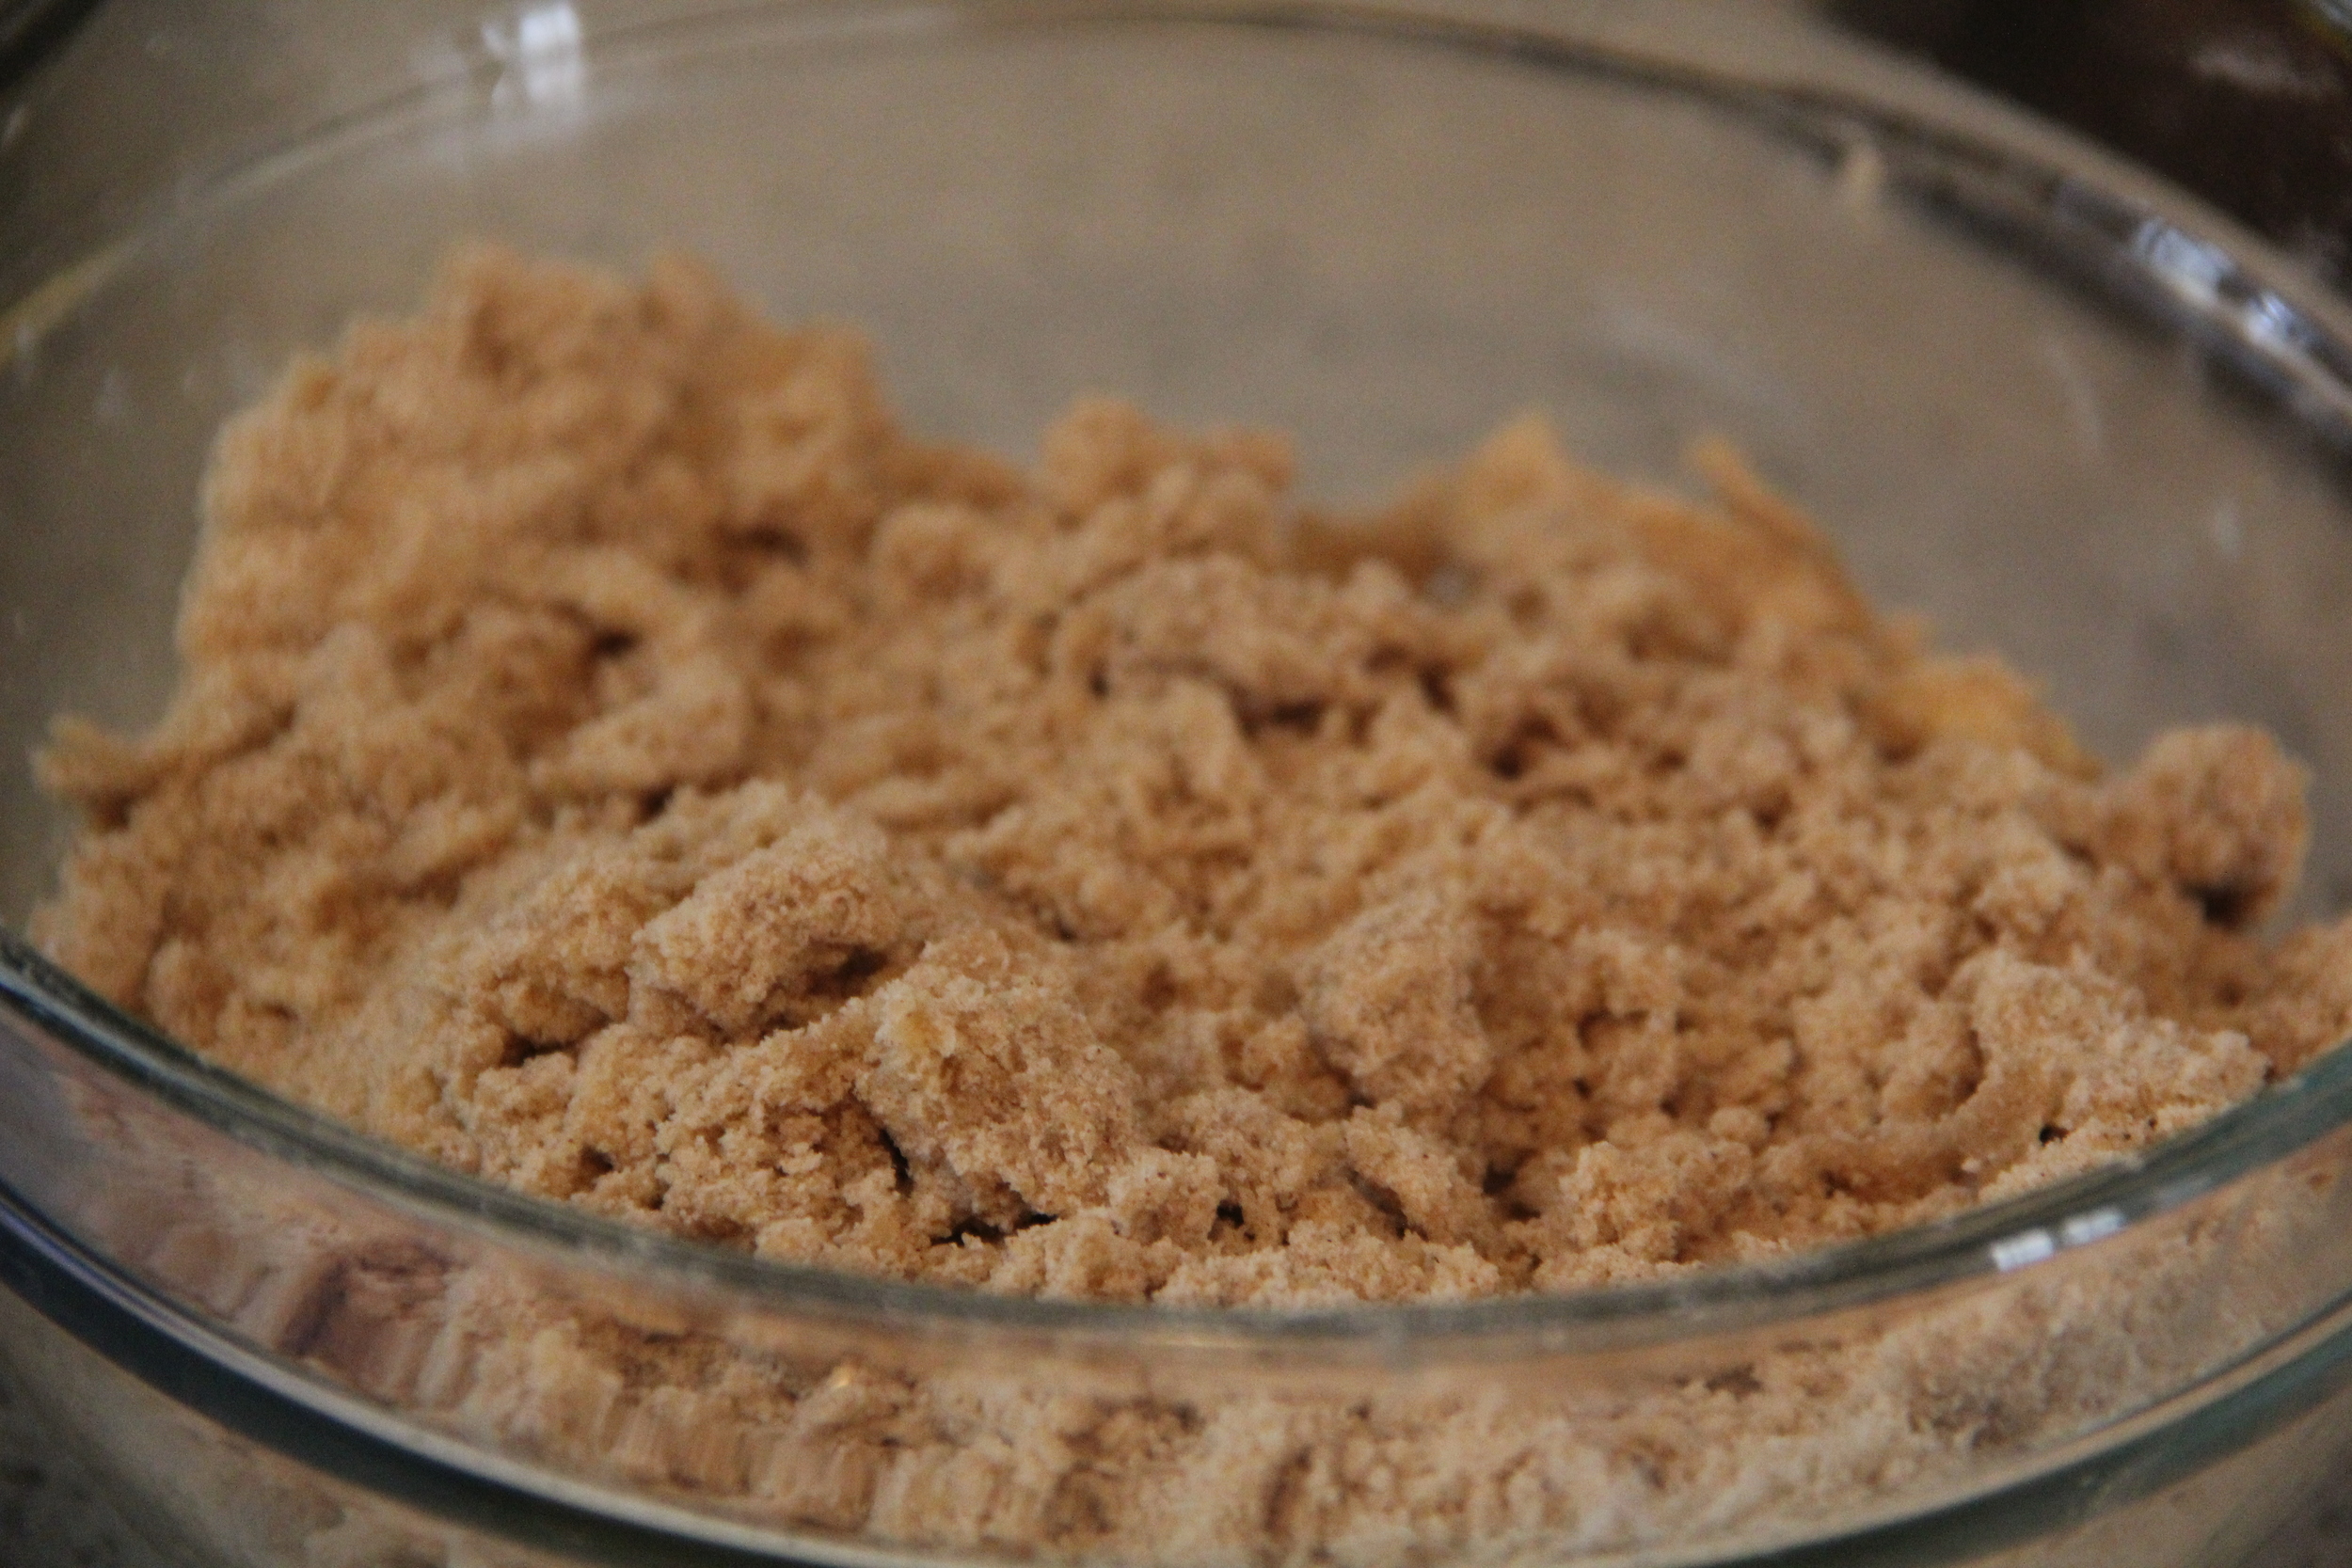
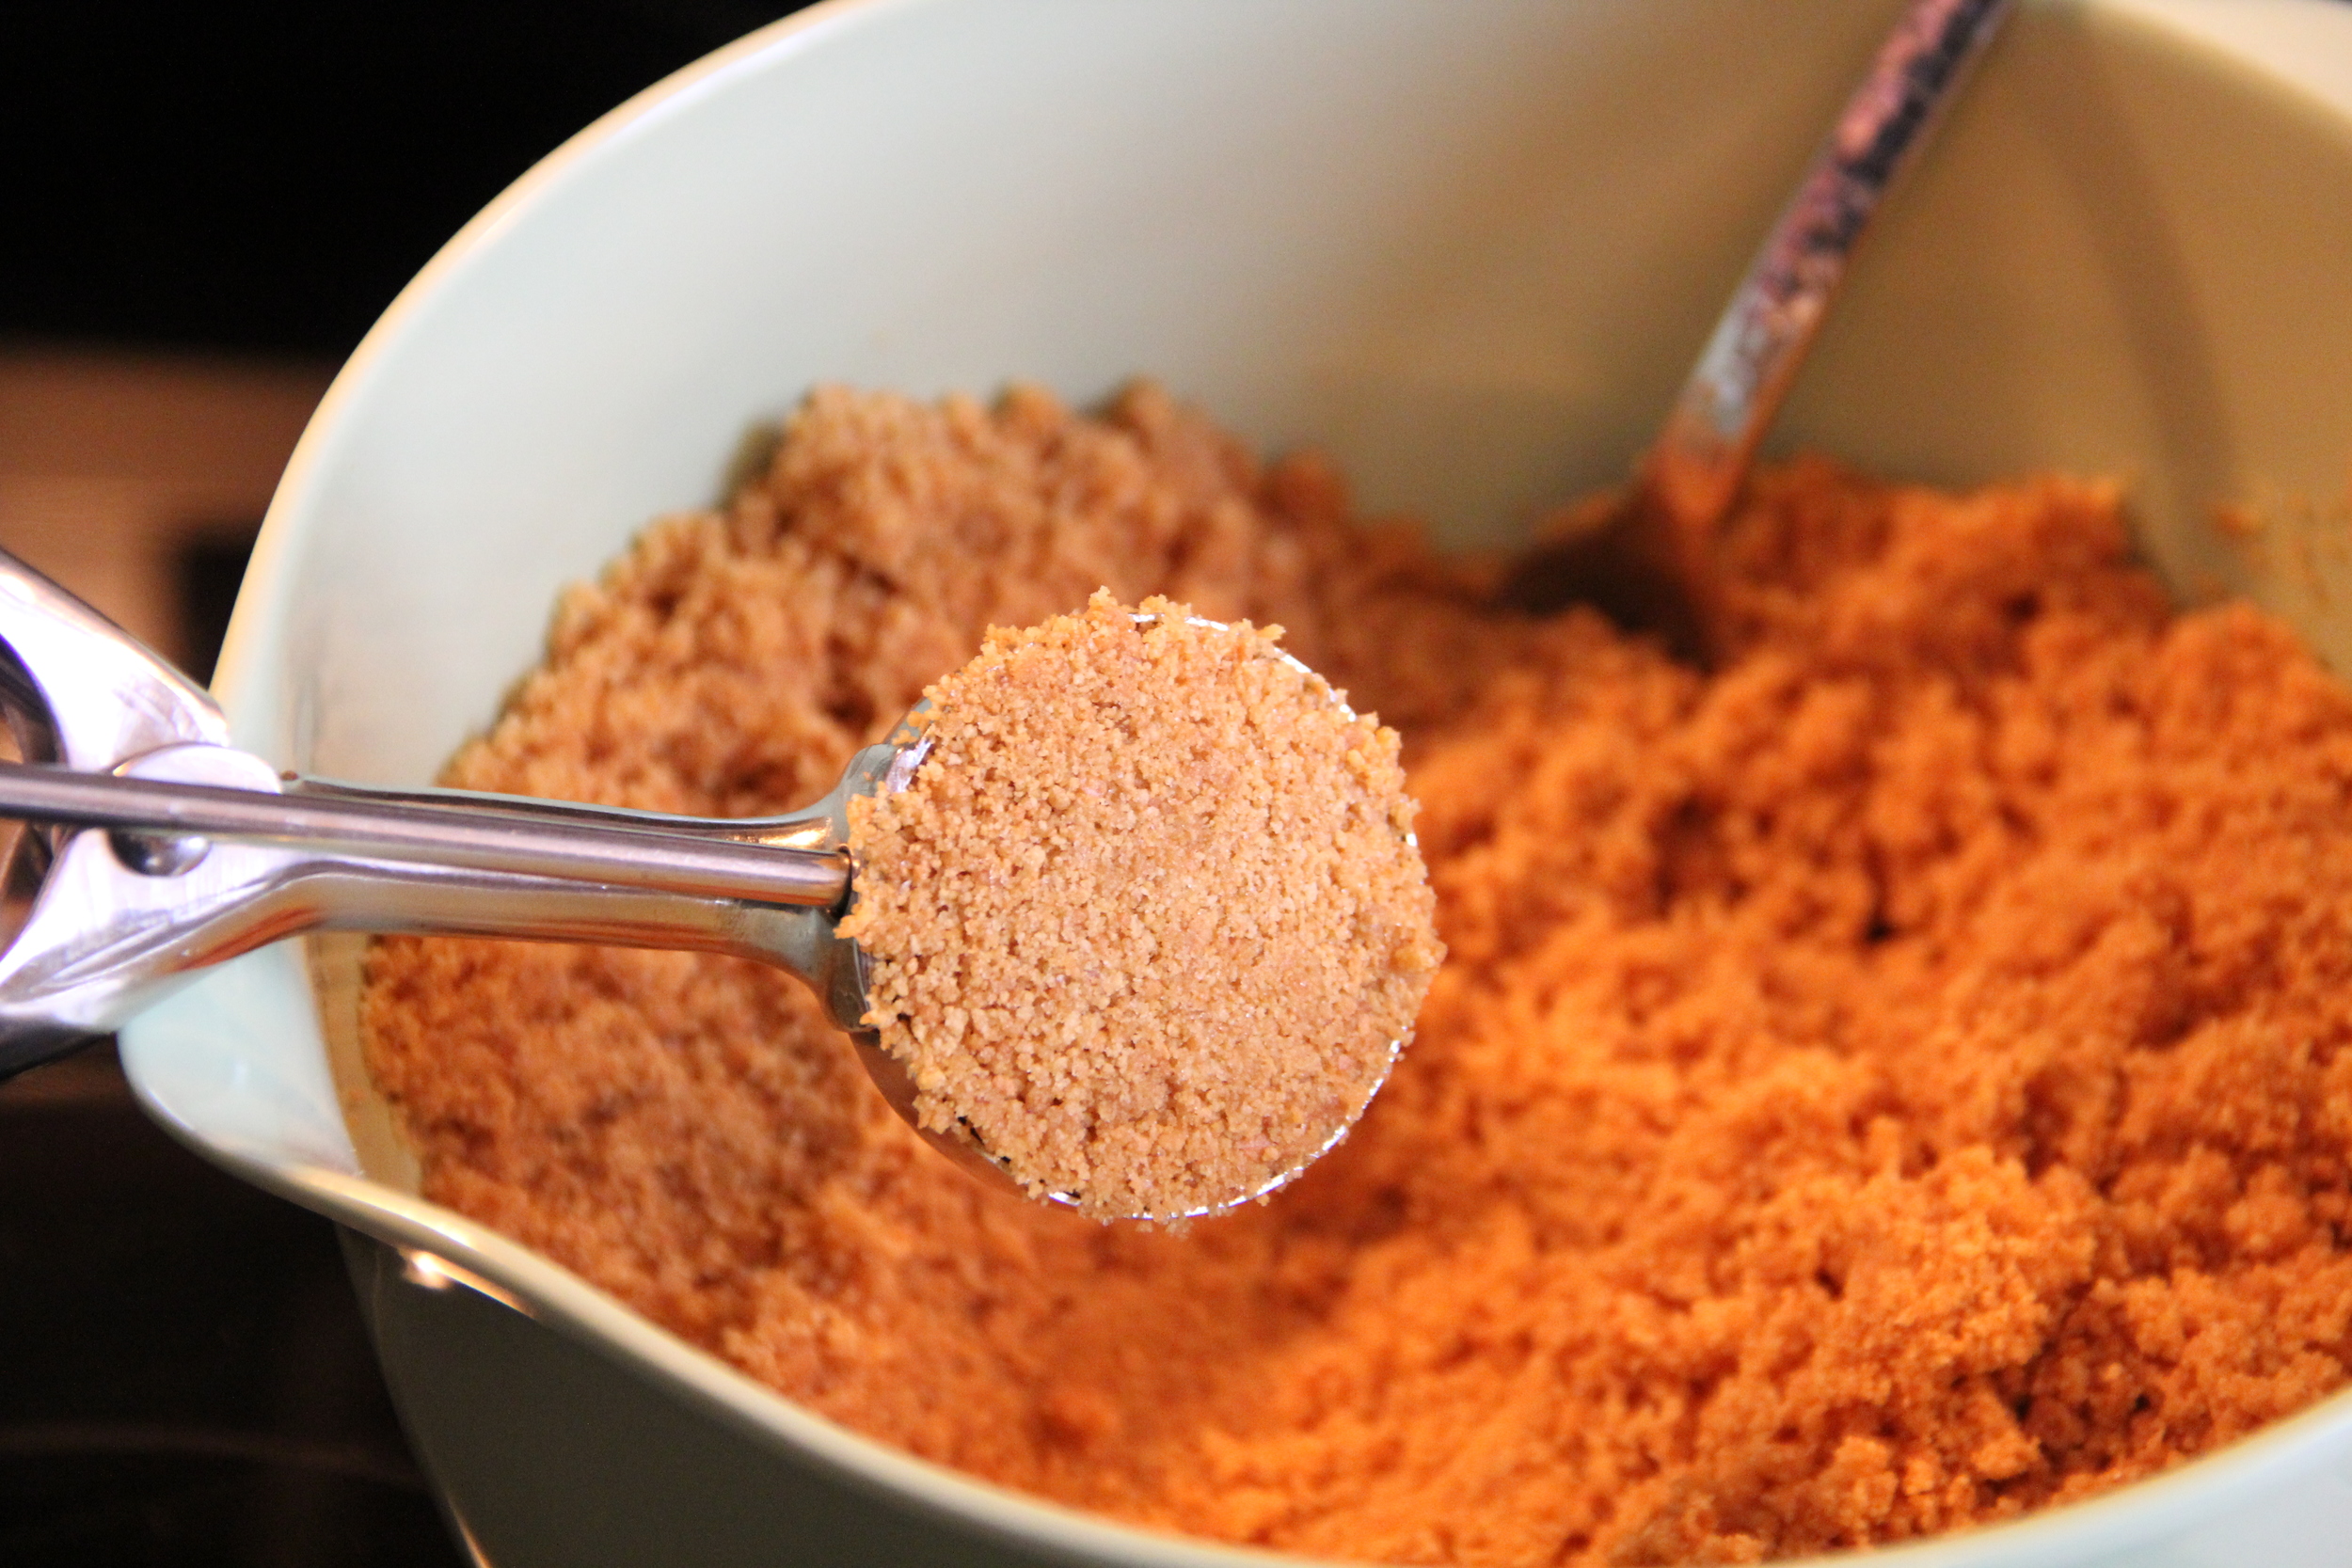
  4. Once dry ingredients are combined, add melted butter and continue to combine until mixture resembles wet sand
  5. Use a cookie scoop (or similar to achieve uniformity) and add one scoop (approximately 1 Tbs) to each muffin cup that has been lined with a  cupcake paper
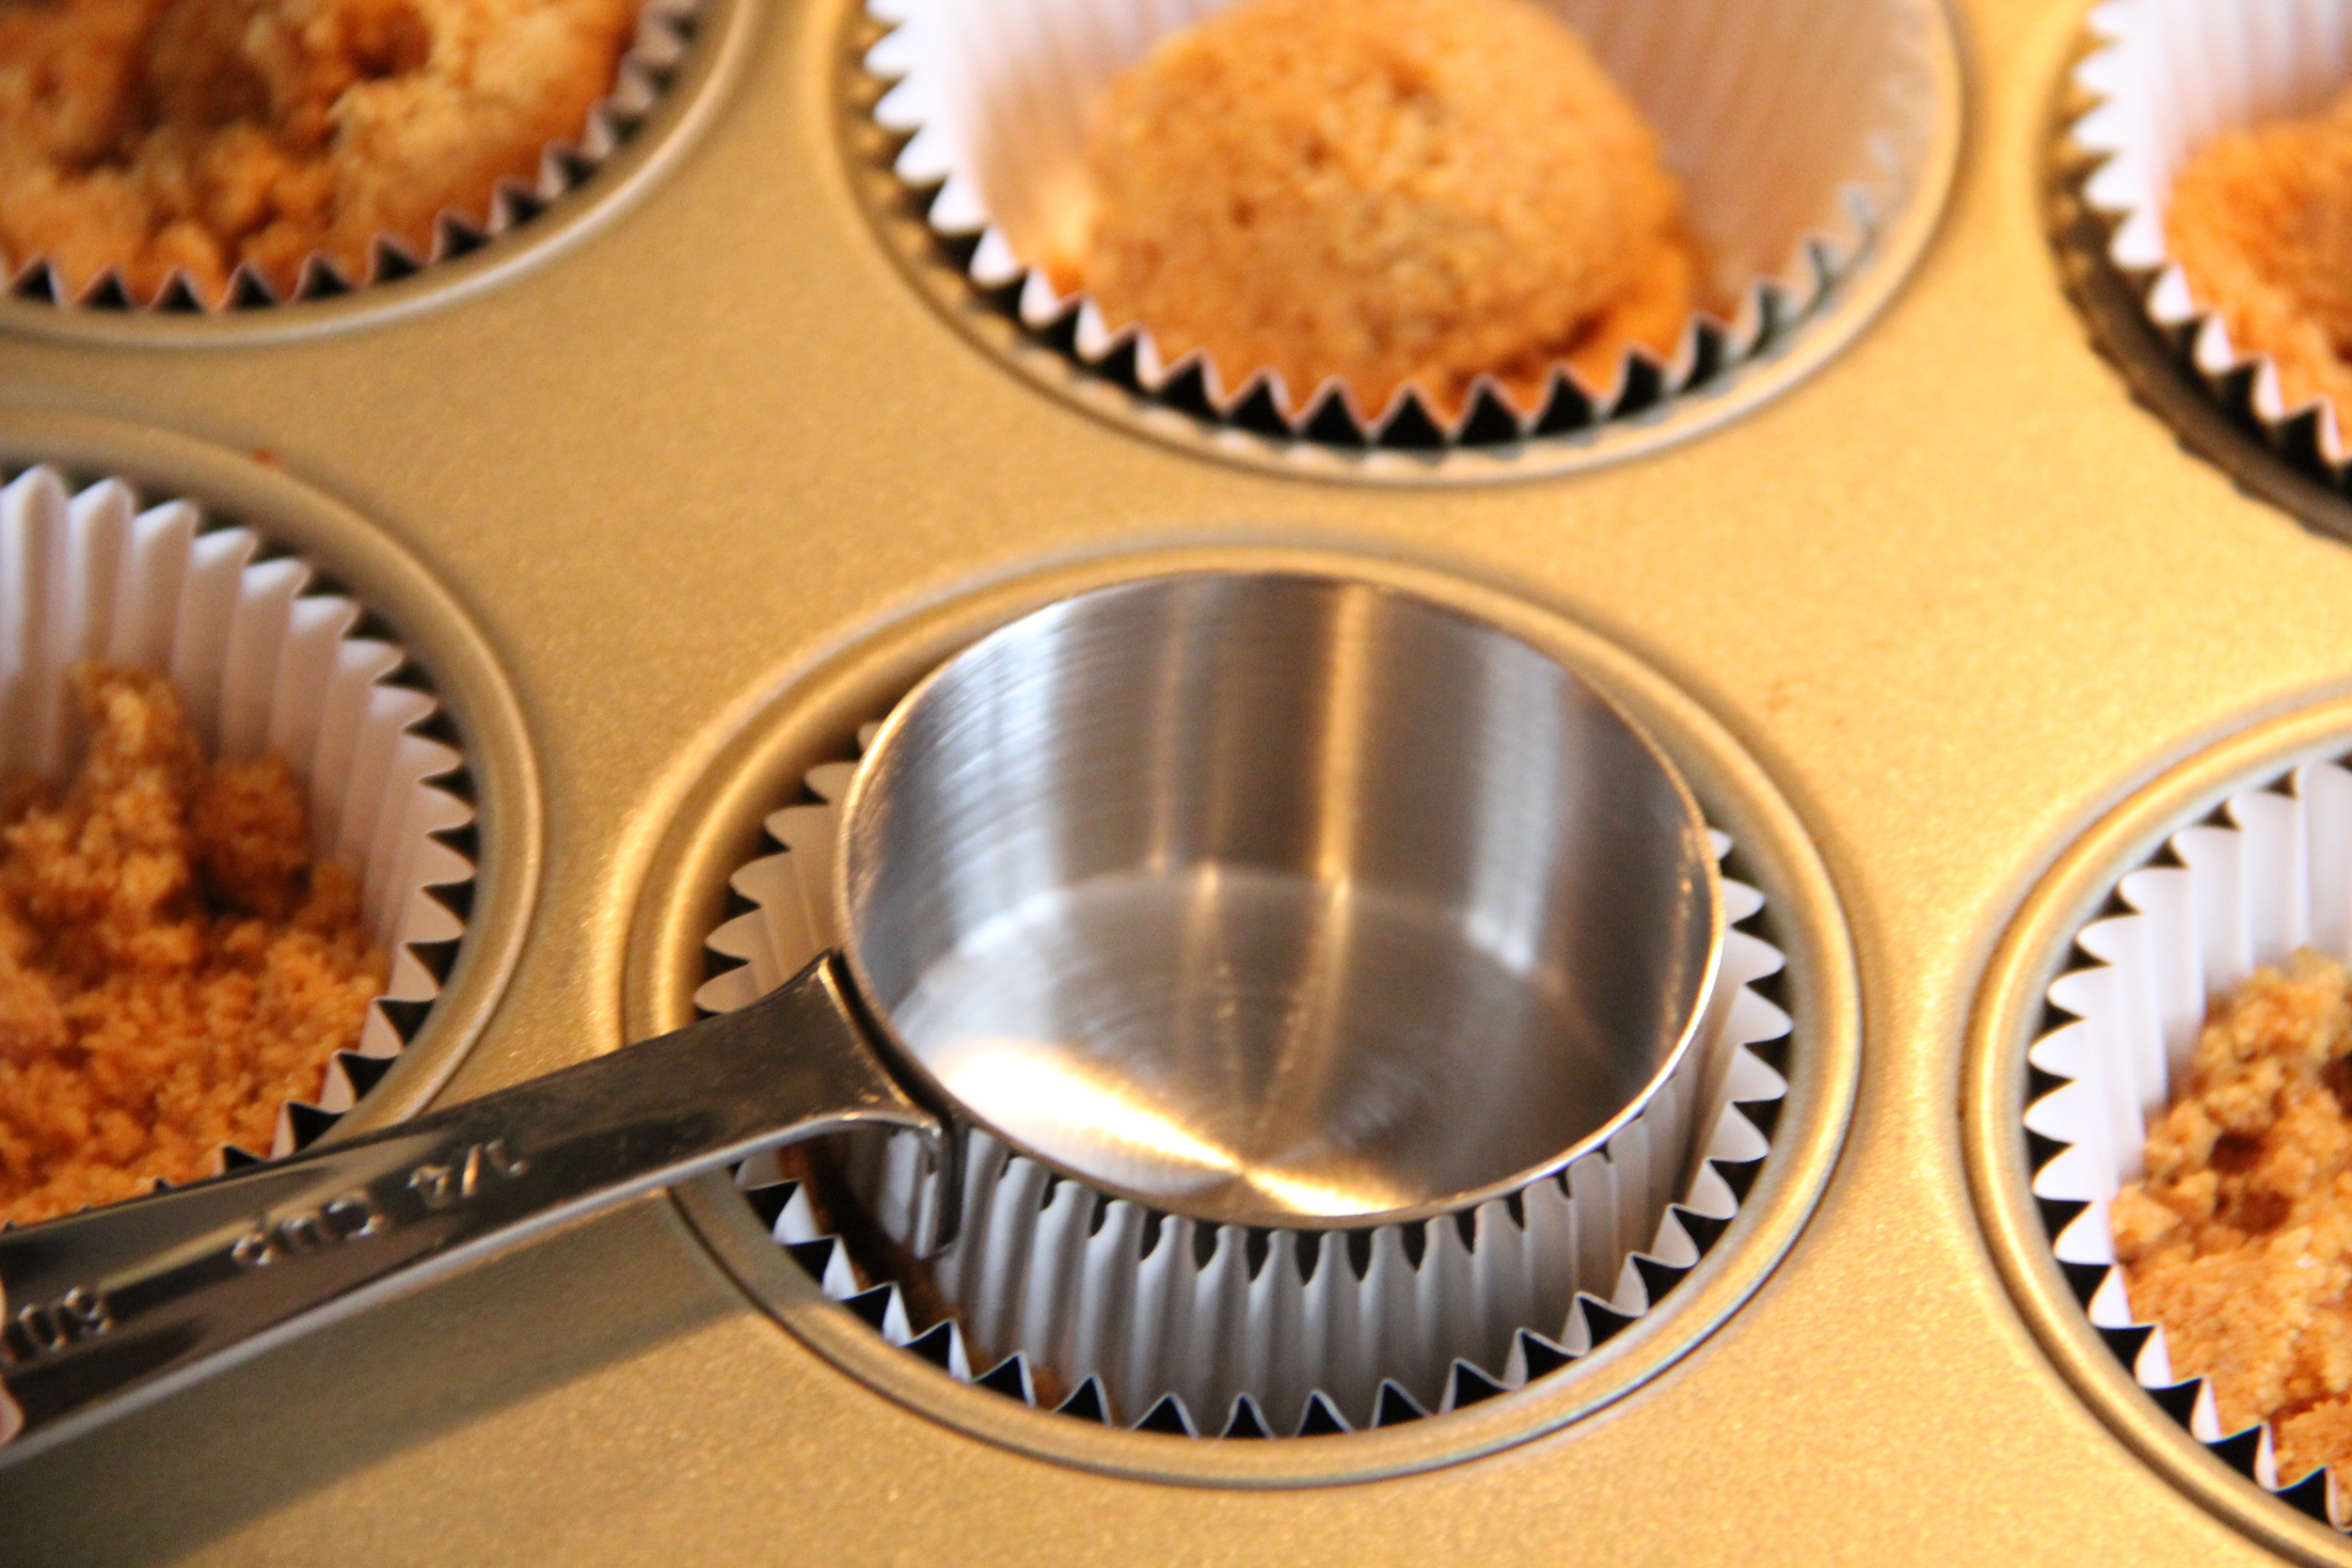
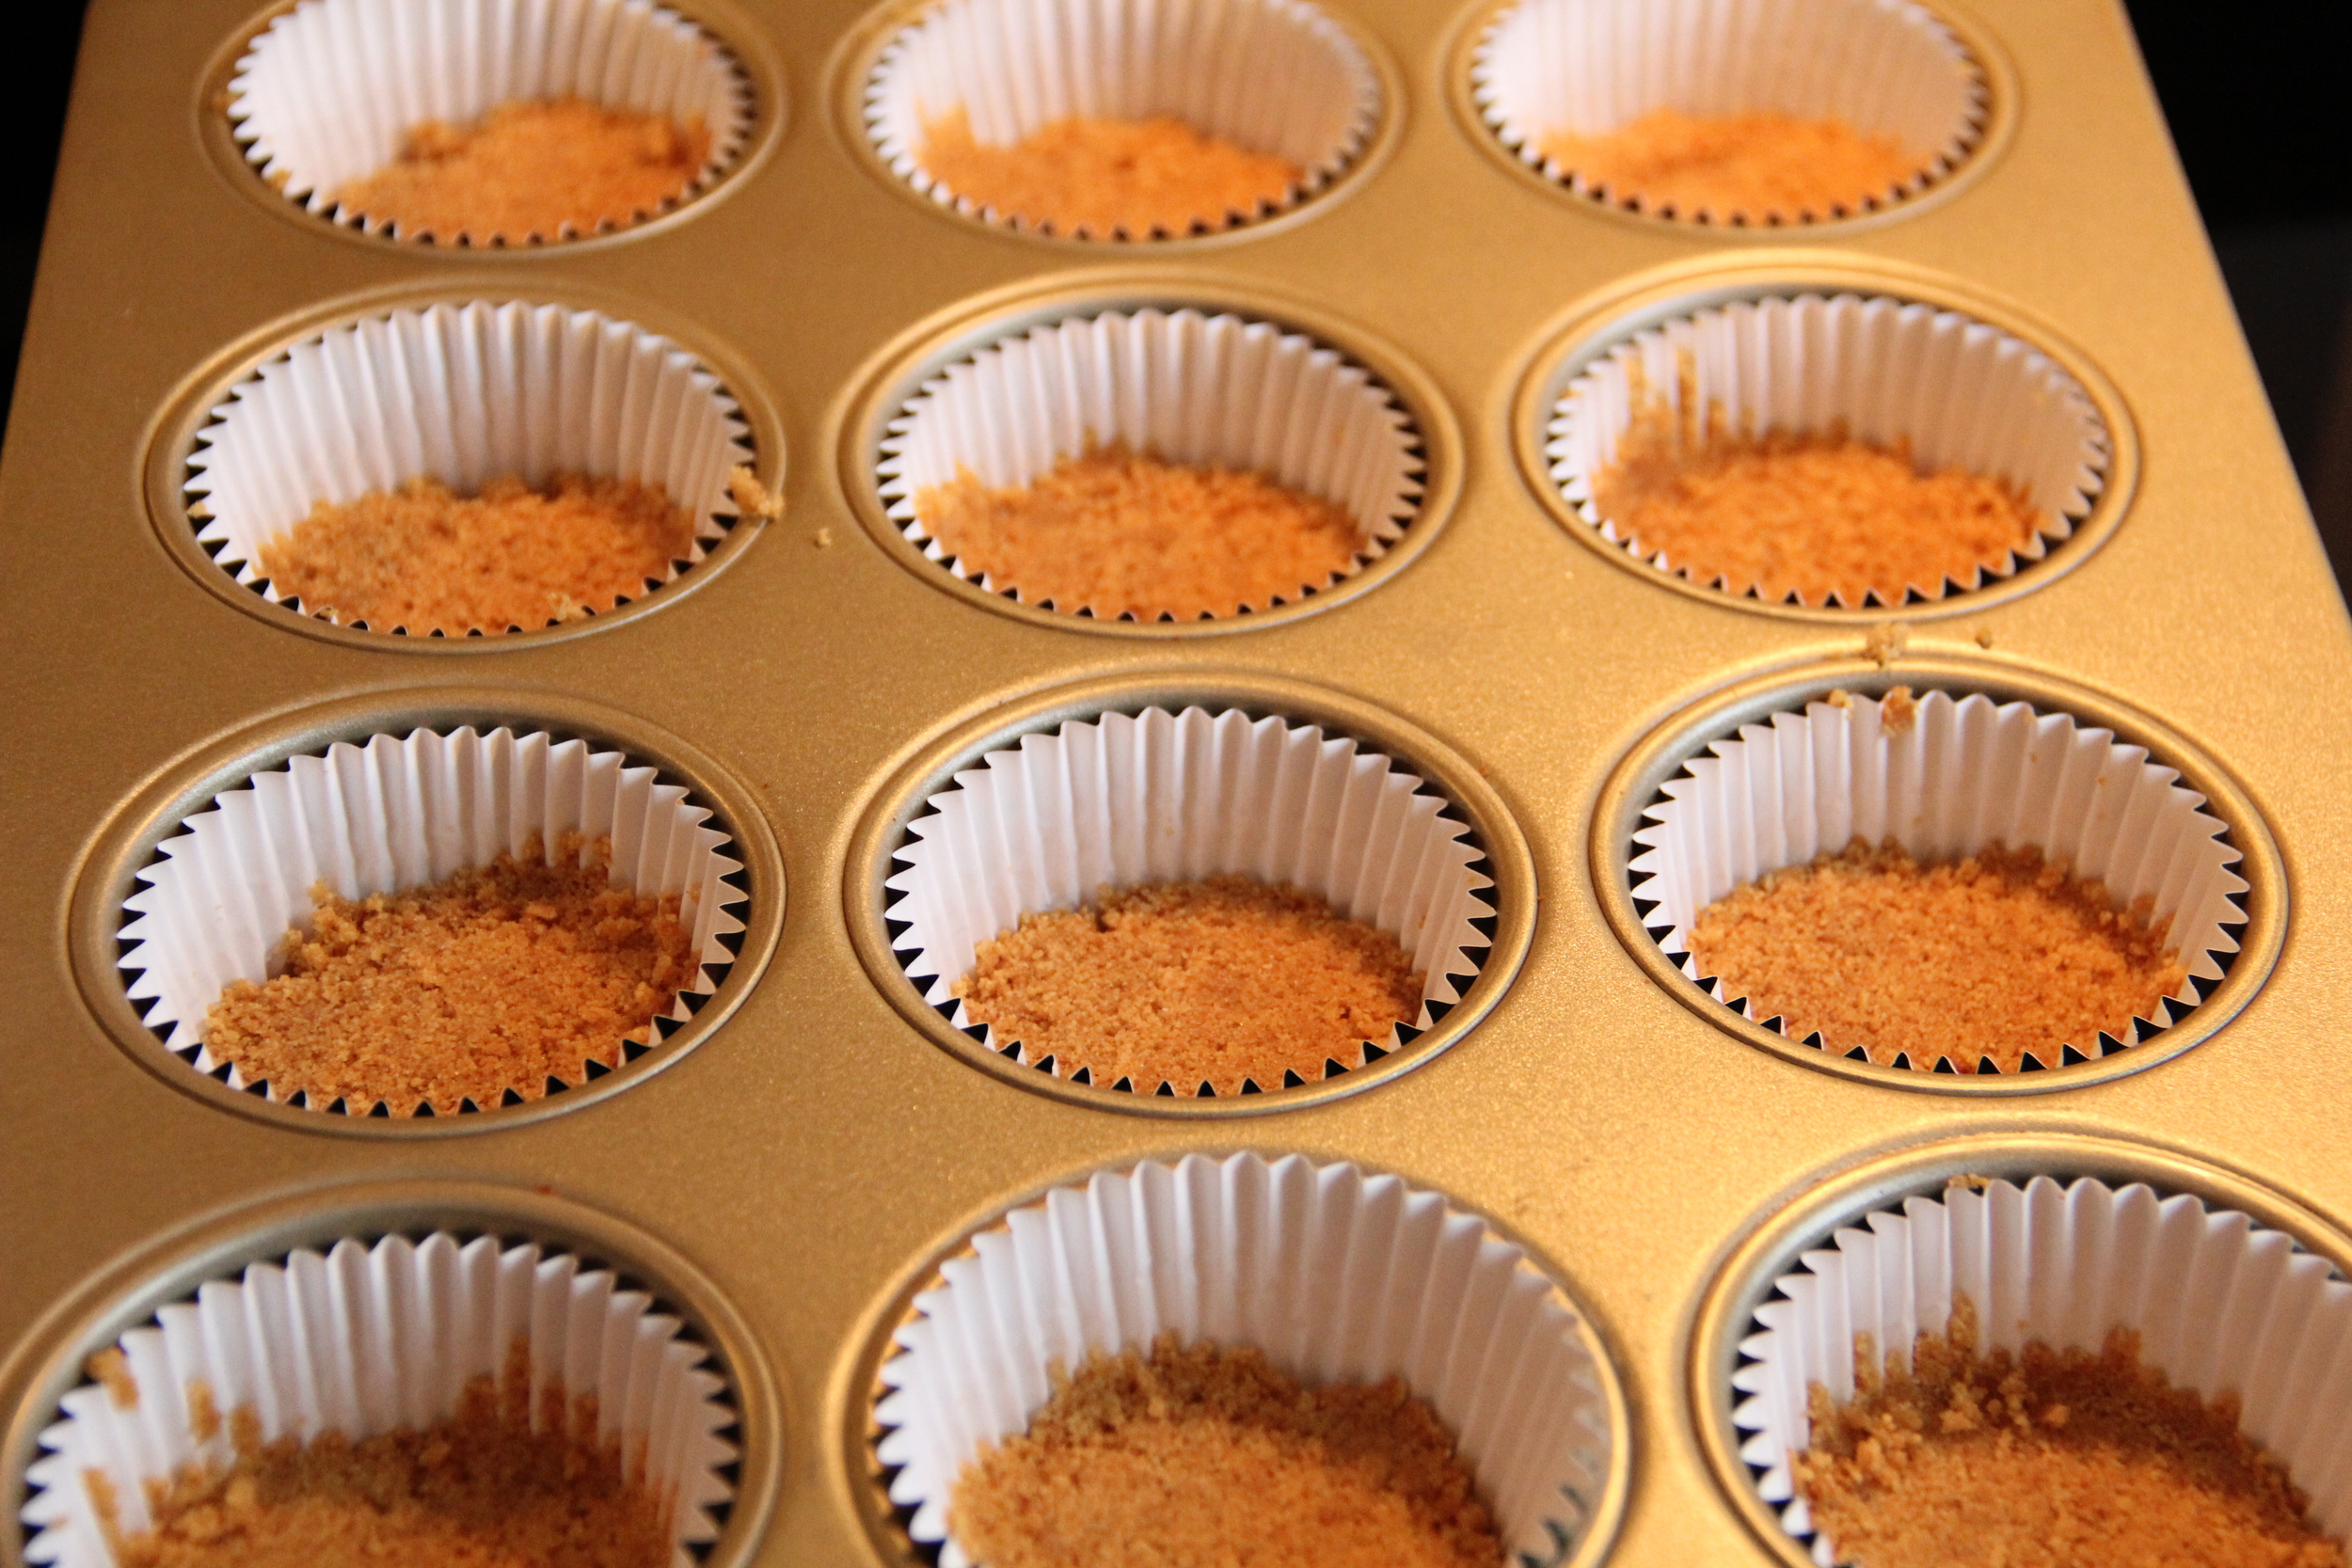
  6. Press mixture down to create a packed crust (I like to use a 1/4 cup measuring cup with a flat bottom because it fits the space perfectly and I don't have to get my hands dirty)
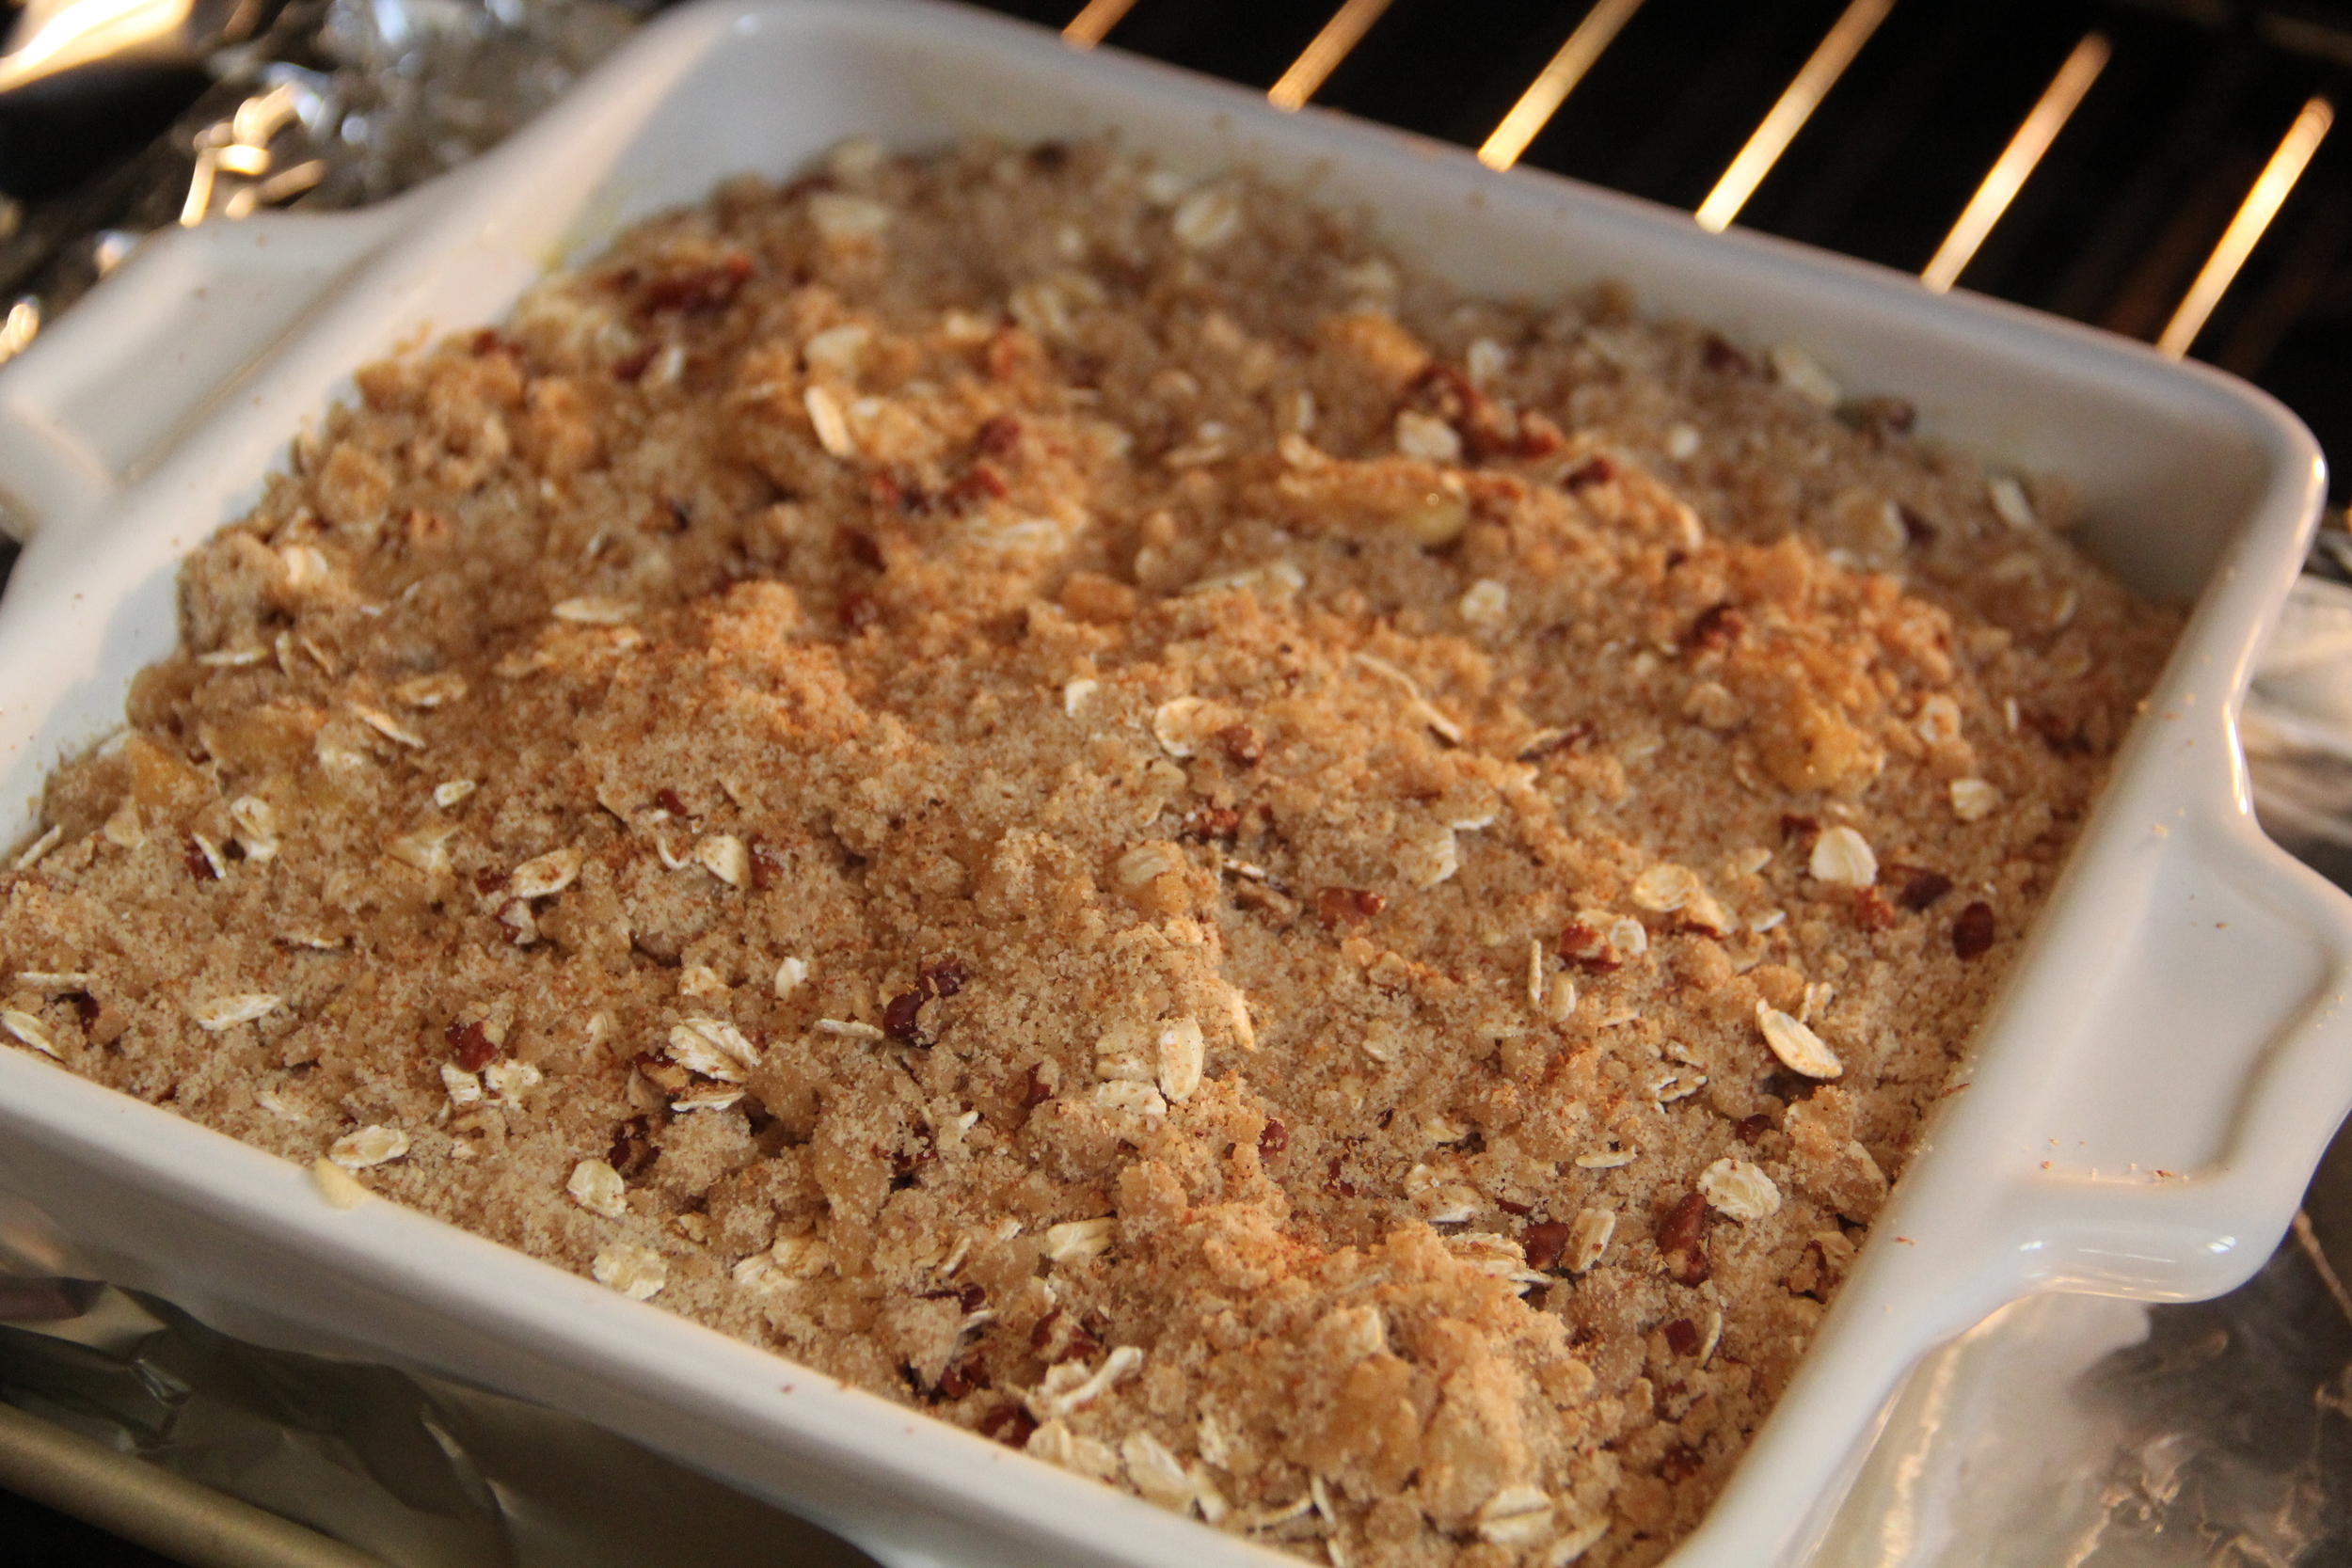
  7. Bake in oven for about 15 minutes
  8. While the crust is baking, make the cake batter per the instructions on the cake box
  9. When crust is finished baking, remove from oven, move oven rack back to mid-level and increase baking temperature to 350 degrees fahrenheit
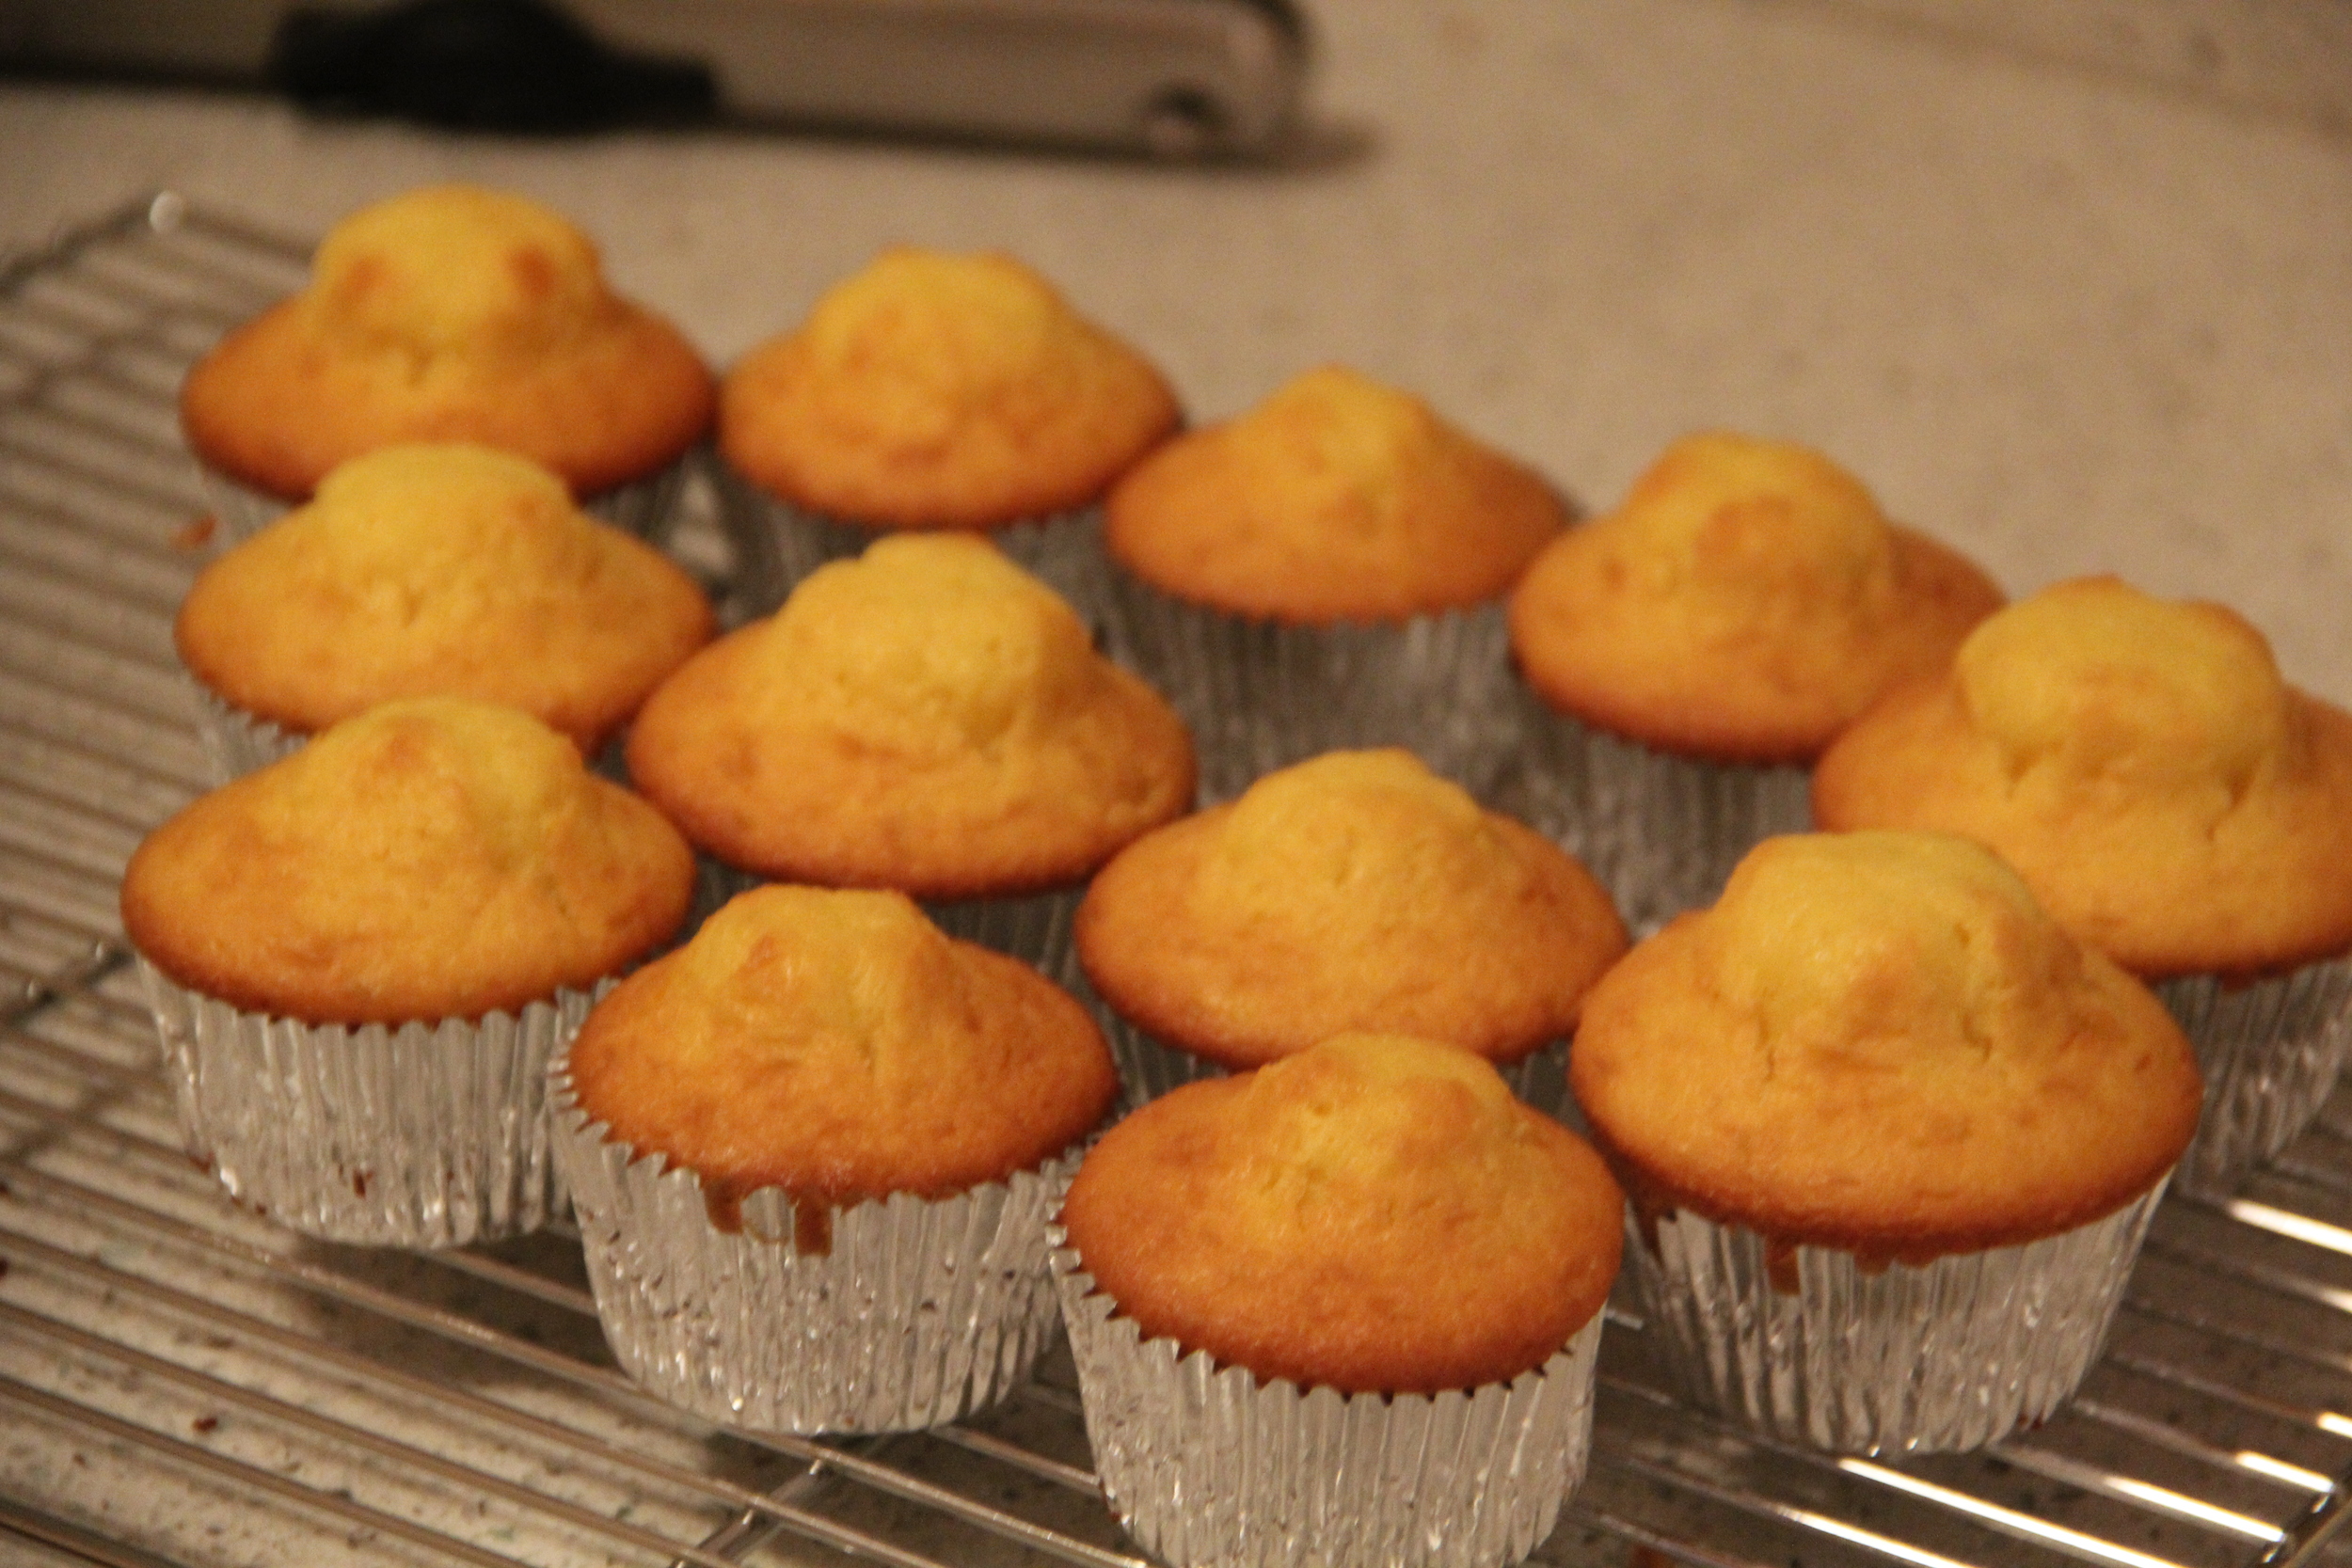
  10. Fill each ginger snap crust cupcake cup with batter and then bake in oven for approximately 20-25minutes.  
  11. Test cakes with toothpick for doneness.  When toothpick comes out clean the cakes are done.  **Note- Start with less time and then add extra cooking minutes as needed. You can always bake for additional time but you can "unbake" something that has been over baked.    
IMG_0465.JPG

For the Frosting:

  1. In a bowl, combine cream cheese, butter and vanilla extract with a hand mixer until smooth. 
  2. Add Confectioners Sugar in batches until well incorporated (it will be a little thick)
  3. Add the lemon zest and lemon juice
  4. You want to achieve a thicker frosting so that it is easier to pipe, but if too thick/dry simply add more lemon juice (1tsp at a time) until you achieve a smooth consistency
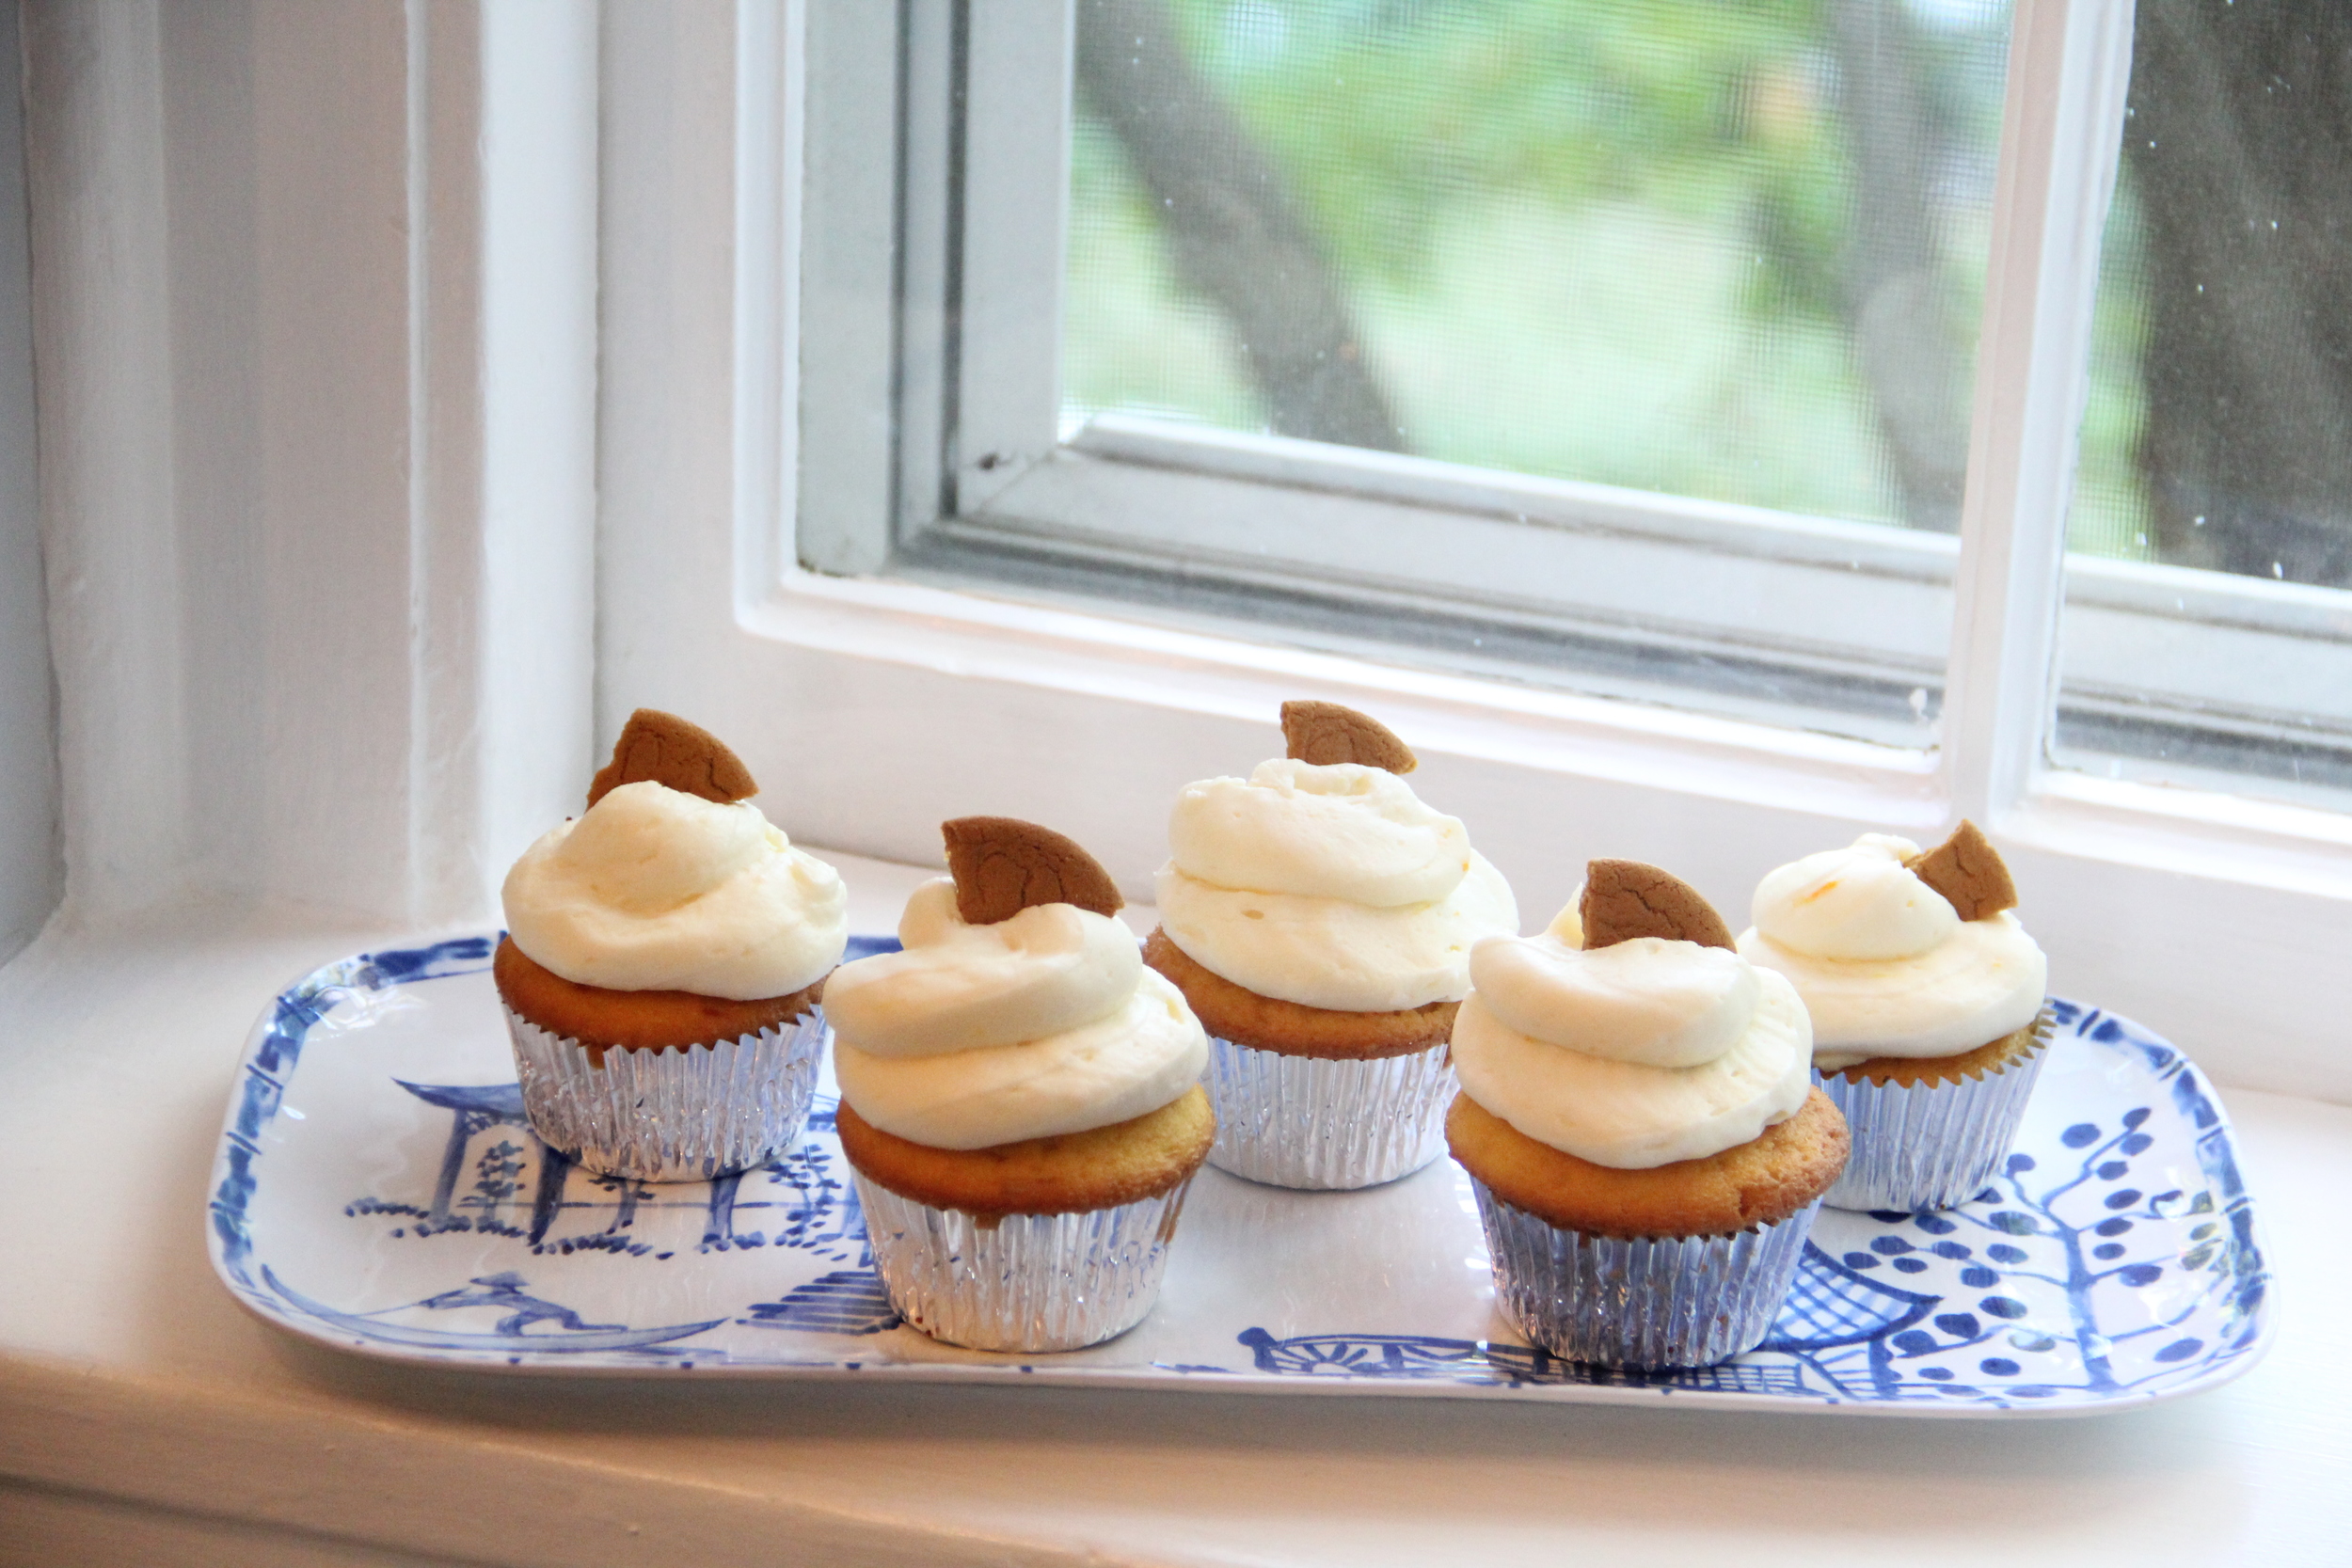
  5. Using a large spatula, scoop the frosting in a gallon size ziplock bag, cut the tip off of one corner of the bag and squeeze the frosting through that cut opening to pipe onto the cupcakes.  I didn't use piping tips, but if you have them, here is a video on how to use a piping tip with a ziplock bag.  
  6. Garnish with a rustic piece of gingersnap cookie. 
Lemon Gingersnap Cupcakes.jpg
In Food and Drink Tags Recipe, Dessert, Nabisco Gingersnaps, Betty Crocker Super Moist Lemon Cake, Lemon, Gingersnaps, Cookies
Comment

Healthy Balsamic Stuffed Mushrooms

September 18, 2015 Callie Cagney
Healthy Portobello Mushroom Recipe 12.jpg

Every time I visit my parents in Florida, it never fails that I find myself making at least one or two trips to the most fabulous local market near their house.  This market has the most impeccable produce, an extensive cheese selection and a mouth-watering prepared foods section.  All items are at great prices, so as you might have guessed it is ALWAYS packed with customers (I mean complete chaos every time I go there).  Of course it is totally worth fighting your way through the crowds, because of what you can get from this market.  

Among my favorite go to items in their prepared section would have to be their stuffed portobello mushrooms.  I really look forward to these mushrooms every time I visit my parents because they are that delicious!  Lately I have been missing/seriously craving those mushrooms, so I decided to try my hand at recreating them.  The result?  Major success!  So much so that I have decided to share this latest recipe creation/recreation with you all today.  

This is a great way to expand your culinary horizons and venture beyond the typical steamed vegetable side dish. Plus-- This recipe is packed with flavor, easy to make and a great side or main dish to serve at your next dinner party or family dinner.   I will definitely be serving up this delicious side/taste of home at my next gathering and I hope you will too!

IMG_0491.JPG
Cheese.jpg
Healthy Portobello Mushroom Recipe 1 .JPG

Ingredients

  • 5 Portobello Mushroom Caps (cleaned with stems removed)
  • 2 5oz-Bags of Baby Spinach
  • 3 Cloves Fresh Garlic, Minced
  • Crumbled Cheese (Feta, Blue or Goat)
  • Balsamic Vinegar
  • Extra Virgin Olive Oil
  • Kosher Salt
  • Fresh Cracked Pepper
Healthy Portobello Mushroom Recipe 1 .JPG
Healthy Portobello Mushroom Recipe 3.JPG
Healthy Portobello Mushroom Recipe 5.JPG
Healthy Portobello Mushroom Recipe 4.JPG
Healthy Portobello Mushroom Recipe 6.JPG
Healthy Portobello Mushroom Recipe 7.JPG
Healthy Portobello Mushroom Recipe 8.JPG

Instructions

  1. Preheat oven to 350 degrees fahrenheit
  2. Brush the tops of the mushroom caps with olive oil and lightly sprinkle with salt
  3. Place the the oiled caps on a parchment lined baking sheet top side down
  4. Drizzle about a teaspoon of olive oil on bottom side (which should now be facing up), then add a tablespoon of Balsamic Vinegar to each cap and a sprinkle of salt and pepper 
  5. Bake in the oven for 30 minutes
  6. Meanwhile, heat 2 tablespoons of olive oil in a large skillet on medium-high heat
  7. When the oil is flaccid, add the minced garlic and cook until just turning brown (approx. 2-3minutes)
  8. Once garlic begins to brown, add the spinach and teaspoon of salt and allow to wilt down, stirring occasionally (*2 bags may seem like a lot but it reduces down to a very small amount)
  9. Once spinach is wilted, remove from heat and set aside
  10. When the mushrooms are done cooking, remove from oven and up the oven heat to BROIL
  11. Transfer mushroom caps to an aluminum lined baking sheet, shaking off the excess liquid prior to transferring
  12. Evenly divide spinach mixture onto the mushroom caps and sprinkle crumbled cheese on top (I opted to use Feta, but all three cheeses listed in the ingredients work well with this recipe)
  13. Place the mushrooms back in the oven for 3-5 minutes until cheese is slightly melted/turns golden brown
  14. Remove from oven, serve and enjoy!
Healthy Portobello Mushroom Recipe 11.jpg
Healthy Portobello Mushroom Recipe 10.jpg
In Food and Drink Tags Recipe, Vegetarian, Healthy, Portobello Mushrooms, Spinach, Balsamic Vinegar, Side Dish, Vegetable, Entree
Comment

Apple Crisp

September 14, 2015 Callie Cagney
Apple Crisp 4.JPG

Im slightly ritualistic when it comes to fall baking, apple dishes always kick off the season followed by pumpkin and cranberry.  Reason being is simple, this time of year is prime apple picking season and I am not really in need of a pumpkin until late October.  In an effort to gear up for our upcoming apple orchard trip, I wanted to come up with a new dessert recipe that was as tasty as an apple pie, but way less labor intensive (see my apple pie baking tips here).  As I was perusing various websites and recipe books I kept seeing recipes for cobblers, crisps and crumbles.  Prior to  researching, I always thought that the three (cobbler, crisp and crumble) were synonymous (well I was wrong!).  Here is the difference:

  • Cobbler - Fruit base with a  biscuit/cake-like top layer
  • Crisp- Fruit base with a top layer consisting of sugar, flour, butter and oats
  • Crumble- Fruit base with a top layer consisting of sugar, flour and butter

I love oats, so I opted to create an apple crisp for today's recipe.  This dessert couldn't be easier to make and is a great way to get the most out of your orchard bounty.  Definitely a sweet way to kick off the start of the Fall season.

Apple Crisp Ingredients.JPG

Ingredients

  • 1/4c cold butter (cut into 1/2in cubes)
  • 1/2 c flour
  • 1/2 c light brown sugar
  • 1/4 tsp salt
  • 1/4c old fashioned rolled oats
  • 1/2tsp + 1/4 tsp cinnamon
  • 1/4c chopped toasted pecans
  • Juice of 1 Lemon
  • 4 Granny Smith Apples
  • 2 Tbs sugar
  • More butter for greasing
  • Whole Nutmeg
IMG_0214.JPG
IMG_0218.JPG
IMG_0220.JPG
IMG_0221.JPG
Apple Crisp 3.JPG

Instructions

  1. Preheat oven to 375 degrees fahrenheit
  2. Butter an 8x8 inch square baking dish
  3. In a large bowl, add the juice of a lemon
  4. Peel, core and slice apples into 1/4in thick slices
  5. Place the apple slices in the bowl with the lemon juice, toss the slices until coated
  6. Add the granulated sugar and 1/4tsp of cinnamon to the slices, toss until combined and set bowl aside
  7. In a separate bowl, combine the flour, brown sugar, salt and 1/2tsp of cinnamon
  8. Once combined, add the cold butter and cut it into the flour/sugar mixture with a pastry cutter (or your hands) until the texture resembles coarse sand
  9. Add the oats and toasted pecans to the mixture, mix until combined
  10. Take the apple slices and place them (somewhat tightly packing) in the greased baking sheet
  11. Cover apples with the crumble mixture, lightly grate fresh nutmeg over mixture before placing in the oven.
  12. Bake for 30min in the oven uncovered, then cover baking dish with aluminum foil loosely and cook for another 15 minutes until you are able to stick a toothpick/bamboo skewer straight through the center to the bottom of the dish without any resistance.  
  13. Serve warm with a scoop of good vanilla ice-cream 

**Note- To make this in a rectangular dish, double the ingredients and bake for approximately 1hr 15min (give or take). 

Apple Crisp Recipe.JPG
Apple Crisp 2.JPG
In Food and Drink Tags Recipe, Dessert, Apples, cobbler, crumble, fall dessert, Emile Henry
Comment

September Kitchen Tools

September 11, 2015 Callie Cagney
September Kitchen Tools.jpg

September always feels like a month where everyone is getting organized, back to school and into their normal routines.  Thinking about getting organized reminded me that the kitchen is no exception.  In addition to having those meticulously labeled tupperware containers and a stocked pantry, there are also certain kitchen accessories that will help to set you up for cooking success in the year ahead.  These items are the often overlooked pieces that have made cooking infinitely easier and more enjoyable for me, so today I wanted to share my favorite practical kitchen essentials with you all.    

Spoon Rest

Spoon Rest 1.JPG
Spoon Rest 2.JPG

A spoon rest is one of those practical kitchen tools that no one ever thinks about needing until they are in the midst of cooking and can't find a place to safely place their cooking utensil.  There are so many spoon rest options on the market (like this one and this one- both are fab!), but I have to say that my favorite spoon rest would have to be the basic Stainless Steel Spoon Rest from Williams-Sonoma.  It holds a variety of cooking utensils, has a clean/sleek appearance, it's dishwasher safe and cost $10!  Love this spoon rest and highly recommend outfitting your kitchen with one to keep your kitchen surfaces protected and looking great.  

Cookbook Stand

Cookbook Stand.JPG
Measurements.jpg

Whether I am working from a recipe out of one of Ina Garten's cookbooks, a magazine, printout recipe or even my iPad/iphone, I have found my Glass & Stainless Steel Cookbook Holder to be an invaluable kitchen accessory.  The tempered glass cover is heavy enough to hold down even a thicker cookbook, it's scratch resistant and comes with a measurement conversion chart (which I find myself referencing often).  This cookbook holder has a sleek neutral design that will blend in with almost any kitchen and is very easy to clean.  My cookbook stand is another great example of something I wouldn't have necessarily thought I needed, but oh how it has made my time in the kitchen so much easier/more enjoyable.  

Salt Cellar

Williams Sonoma Salt Holder.JPG

I would have to say that the two most common ingredients I find myself using when cooking are oil and salt.  Since my kitchen has a cabinet next to the stove that I use to house my oils, vinegars and other condiments, I haven't had a need for an oil dispenser (but if you are in the market for one, I do love this French Porcelain Oil Cruet).  On the other hand, salt storage was initially an issue for me because my spice cabinet is not near my stove.  The solution was purchasing a salt crock (aka salt holder, salt cellar or salt pig).  Salt crocks are great because they provide you with a way to keep your salt easily accessible when cooking without the unsightly store packaging.  I have this salt crock because it matches my pasta bowl set and I absolutely love its rustic design.   Here are a few other salt crock options I happen to love as well: Option 1, Option 2 and Option 3. 

In Food and Drink Tags Williams-Sonoma, Salt Crock, Cookbook Stand, Spoon Rest, Organize
Comment

End of Summer Pesto

August 31, 2015 Callie Cagney
Basil Pesto Gift.JPG

Since today is the last day of August (the unofficial last day of summer), I wanted to share a great DIY idea for closing out the summer months…make your own pesto!  There are so many individuals who enjoy taking advantage of summer to grow fabulous herb gardens.  Come the end of Summer, many are often left with large hauls of herbs and other produce that need to be used to prevent any waste.  Pesto is a great solution for using up all of your excess summer produce because it's not only easy to make and super delicious, but it also can be made using an array of ingredients (kale, mint, basil, any type of nut, etc..). Making pesto is really all about adhering (roughly not exactly) to the ratio formula and from there, you can go wild with the endless possibilities.  Today I am sharing my take on classic pesto.  This recipe can be used right away, stored in a freezer and even makes for a fabulous gift.  

Basil Pesto Ingredients.jpg

Ingredients

  • 2c. Tightly Packed Fresh Basil Leaves (if you run out of basil, spinach leaves are a great substitute)
  • 1/2c. Grated Parmesan Cheese
  • 2-4 Cloves Fresh Garlic
  • 1/2c. Olive Oil (+up to 1/4c. more if consistency is too thick)
  • 1/4c. Toasted Pine Nuts
  • 1/2 tsp Lemon Zest (*I prefer to use a meyer lemon, but any lemon is fine)
  • Juice of 1/2 of a Lemon
  • Salt and Pepper to Taste
Ball Mason Jars.JPG
Mini Cuisinart Food Processor.JPG
Chopped Garlic.JPG
Pesto2.JPG
Pesto 3.JPG

Instructions

  1. In a food processor (or blender), add fresh garlic and pulse a few times until minced.
  2. Add Basil leaves and pulse until chopped
  3. Add Olive oil, cheese, pine nuts, lemon zest and juice, pulse until well combined
  4. Add salt and pepper to taste
  5. Divide into three 4oz-mason jars and refrigerate or freeze until ready to serve and/or gift

**If gifting pesto, I recommend adding a cute gift tag and ribbon for a personalized/finished look.  

Basil Pesto.JPG
Basil Pesto Gift 3.JPG

While I am still dreaming of the day when I can make pesto grown from basil in my backyard, the bulk basil from the grocery store works just fine.  In addition, it gave me the opportunity to use up a bunch of ingredients I already had in my fridge.  I really couldn't think of a better way to close out the summer season than with such a delicious and very versatile recipe.  And now, on to Fall! 

Basil Pesto Gift 2.JPG
In Food and Drink Tags Cuisinart, DIY, Gift Ideas, Basil, Mason Jars
Comment
← Newer Posts Older Posts →

Subscribe to the Redefining Domestics Blog:

Thank you!

Categories:

  • Decorate (64)
  • Entertain (71)
  • Food and Drink (103)


Latest Posts by Category:

Featured
IMG_1993.JPG
Entertain
Pinterest Worthy Halloween DIYs
Entertain
Entertain
Featured
IMG_8787.jpg
Decorate
How to Hang a Lighting Fixture
Decorate
Decorate
Featured
IMG_1694.JPG
Food and Drink
A Healthy Recipe for Homemade Granola
Food and Drink
Food and Drink

Instagram 

http://instagram.com/calliecagney

View fullsize We are lucky to have you in our sphere Chris Kalna!❤️ #happyfathersday #girldad #cookiebaking #suttonbutton #lovethem
View fullsize National Puppy Day with my two toddlers❤️ #suttonbutton #jolene #nationalpuppyday #jojosbathtubfomo😂
View fullsize Bibbidi Bobbidi Boo, she’s 2! Happy Birthday Sweet Girl💙 #suttonbutton #halloween #cinderella #happybirthday #shestwo!
View fullsize Fourth of July Vacay is already off to a fun start❤️💙⛱ #fourthofjuly #mountains #thesetwo #ggccsummer2019
View fullsize This little girl turned 1 on Halloween! Sutton, you are pure joy! Happy Birthday sweet girl! #suttonbutton #happybirthday #halloweenbaby #birthdaycake #diy #beaufortbonnet
View fullsize Our first 4th of July as a trio❤️💙 #happyfourth #familyphoto #skr #suttonbutton #vacation #northcarolina
View fullsize First day of vacation with these two loves💙 #thecutest #vacation #july4th #mountains #sKr #suttonbutton #beachingit #waterbaby
View fullsize Happy First Father’s Day to this stud muffin! You bring a lot of joy and sports watching to our lives. The Ladies Kalna are lucky to have you!❤️ #Fathersday2018 #chrissums #sKr #socute #luckyus #moreusopenplease
View fullsize Girlfriends kicking off MDW together💕🐳🛁 #suttonandmadden #mdw #littlebesties #bathtime #toocute
View fullsize Baby’s first Christmas tree 🎄 #deckthehalls #sKr #christmastree #happysunday
View fullsize Baby sKr’s jammie game is on point🙌🏻❤️ #thingstodo #retailtherapy #stillpregnant #petiteplume #potterybarnkids #babyclothes #toocute #babygirl #pajamaparty
View fullsize My husband and I joke about Baby K’s “master suite.” Clearly we’re both struggling with a case of bedroom envy😂 #stillpregnant #babynursery #iviebaby #glitterguide #mypotterybarn #serenaandlily #babygirl #skr #projectnursery

Pinterest

http://www.pinterest.com/calliecagney/

Follow Callie Cagney's board Home Decorating on Pinterest.
Welcome RSS

© 2016 Redefining Domestics. All Rights Reserved.