• Welcome
  • Entertain
  • Decorate
  • Food & Drink
  • About
  • Contact
Menu

Redefining Domestics

Street Address
Washington, DC
Phone Number

Practical applications for turning your house into a home.   

Redefining Domestics

  • Welcome
  • Entertain
  • Decorate
  • Food & Drink
  • About
  • Contact

DIY Valentine's Day Garland

February 3, 2016 Callie Cagney
Valentines Day Garland Step 6.JPG
Valentines Day Garland 2.jpg
Valentines Day Garland 3.jpg

With Valentine's Day less than two weeks away, preparations for this day of romance have officially commenced!  I know that many disregard Valentine's Day as the "Hallmark Holiday," but I really enjoy having fun with this holiday.  Sure you should celebrate your significant other all year long, but it's still fun to have a day that's strictly devoted to love and romance.  

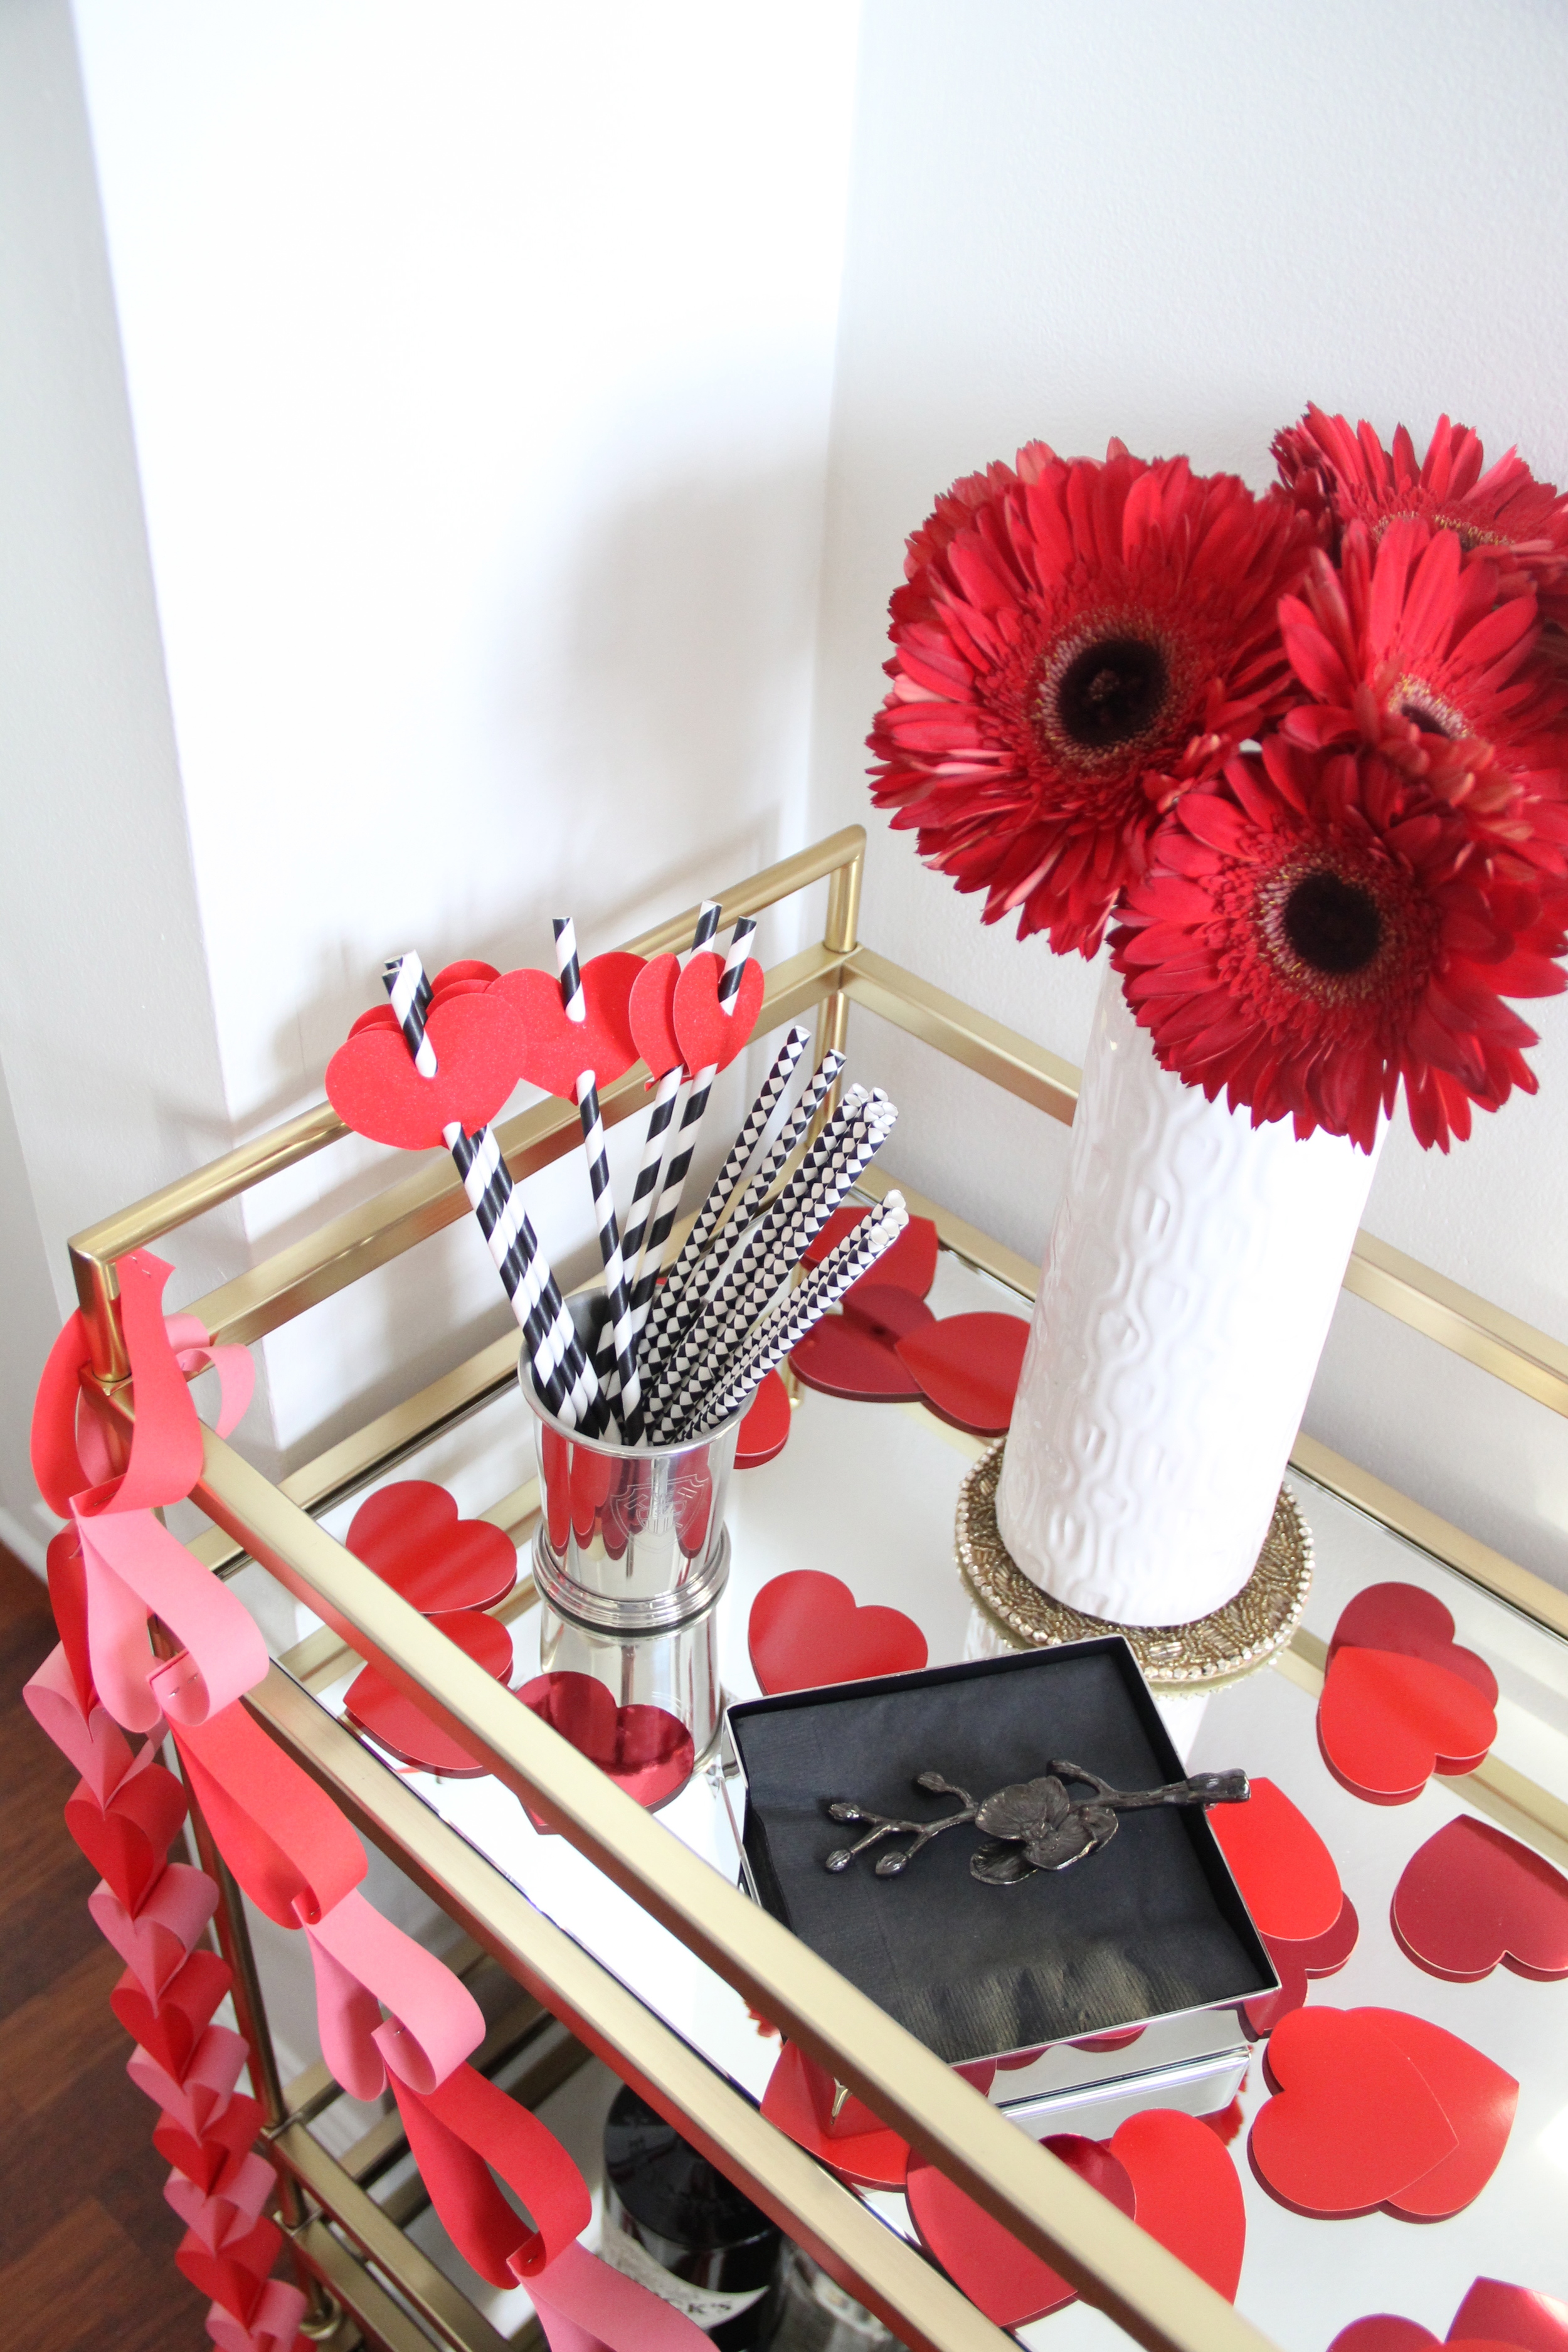
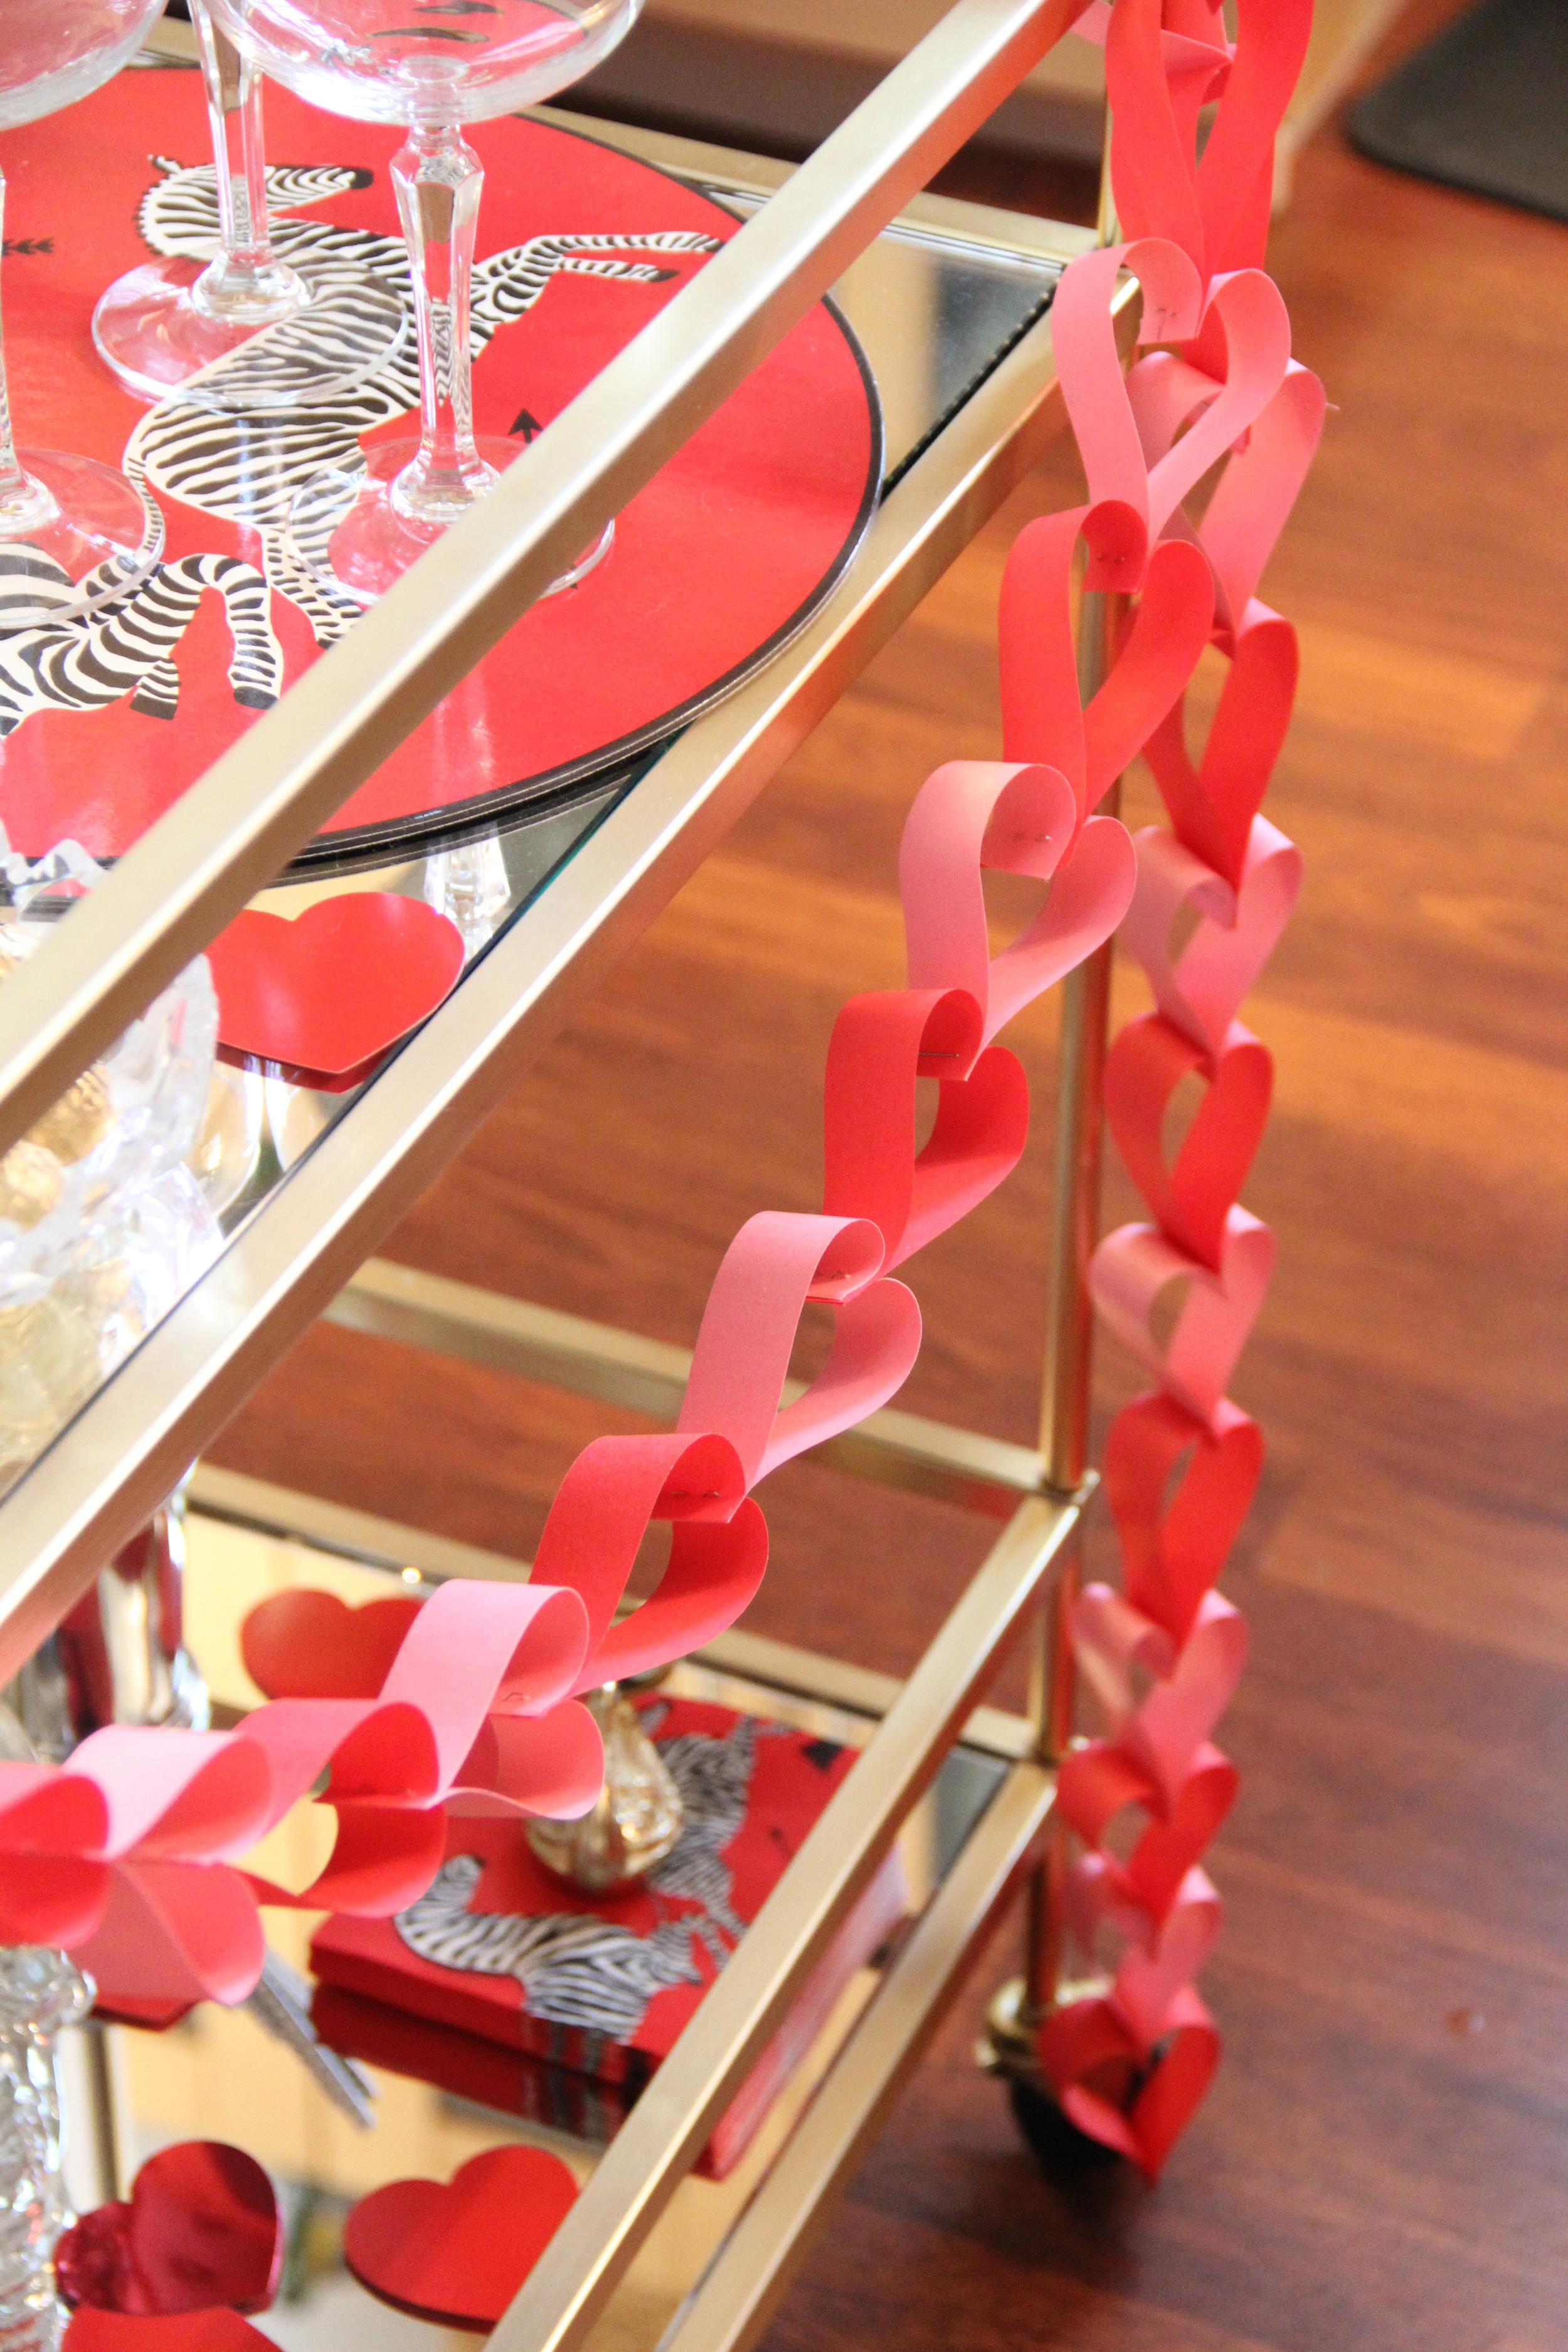
This Valentine's Day I have a few fun and festive projects planned, starting with the most basic and essential…decorating my bar cart!  I know this sounds a little ridiculous (and maybe it is), but I plan on serving up a very special champagne bar cart on Valentine's Day to enjoy with my husband before dinner.  There is nothing more romantic and elegant (in my opinion) than enjoying a delicious bottle of champagne together.  To get my bar cart holiday ready, I am going to start with the decorations.  Specifically, this adorable DIY Valentine's Day garland made out of colored paper.  It's easy to make and really adds a festive feel to any space.   

Valentines Day Garland Step 1.JPG

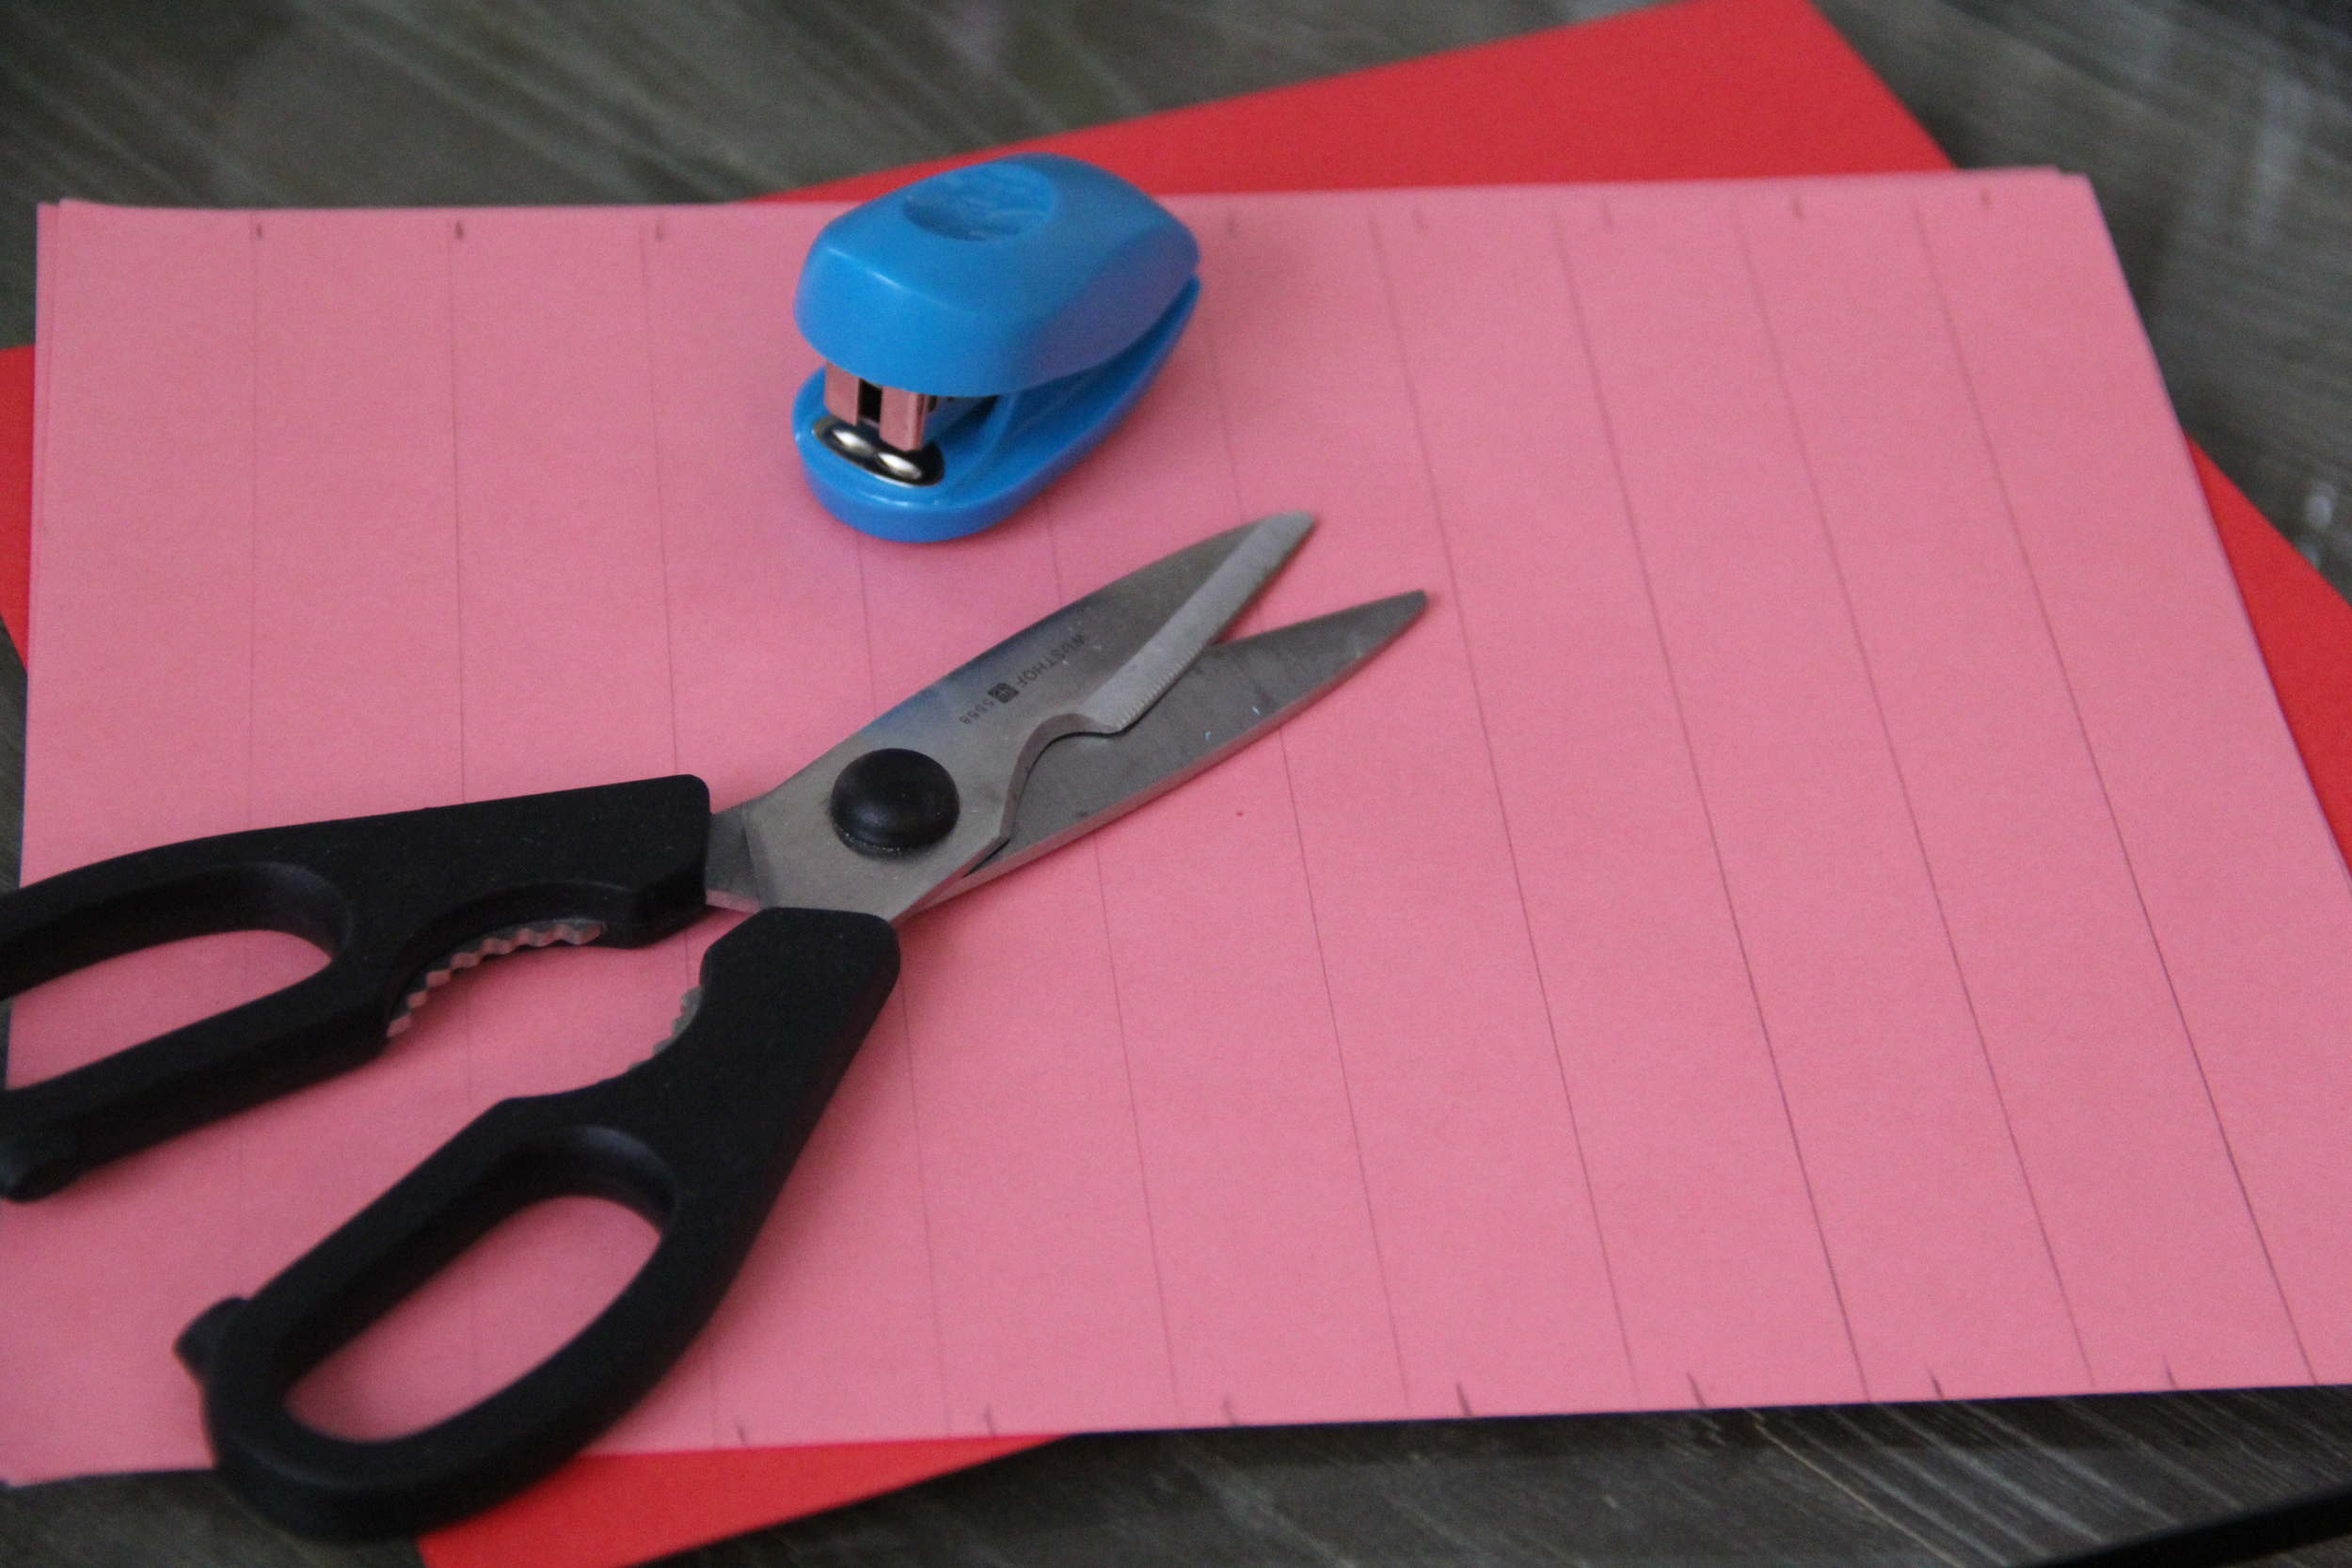
What you will need... 

  • Stapler
  • Ruler
  • Pencil
  • Scissors
  • Red and Pink Printer Paper
Valentines Day Garland Step 2.JPG
Valentines Day Garland Step 3.JPG
Valentines Day Garland Step 4.JPG
Valentines Day Garland Step 5.JPG
Valentines Day Garland Step 7.JPG
Valentines Day Garland 4.jpg
IMG_4734.jpg

Instructions

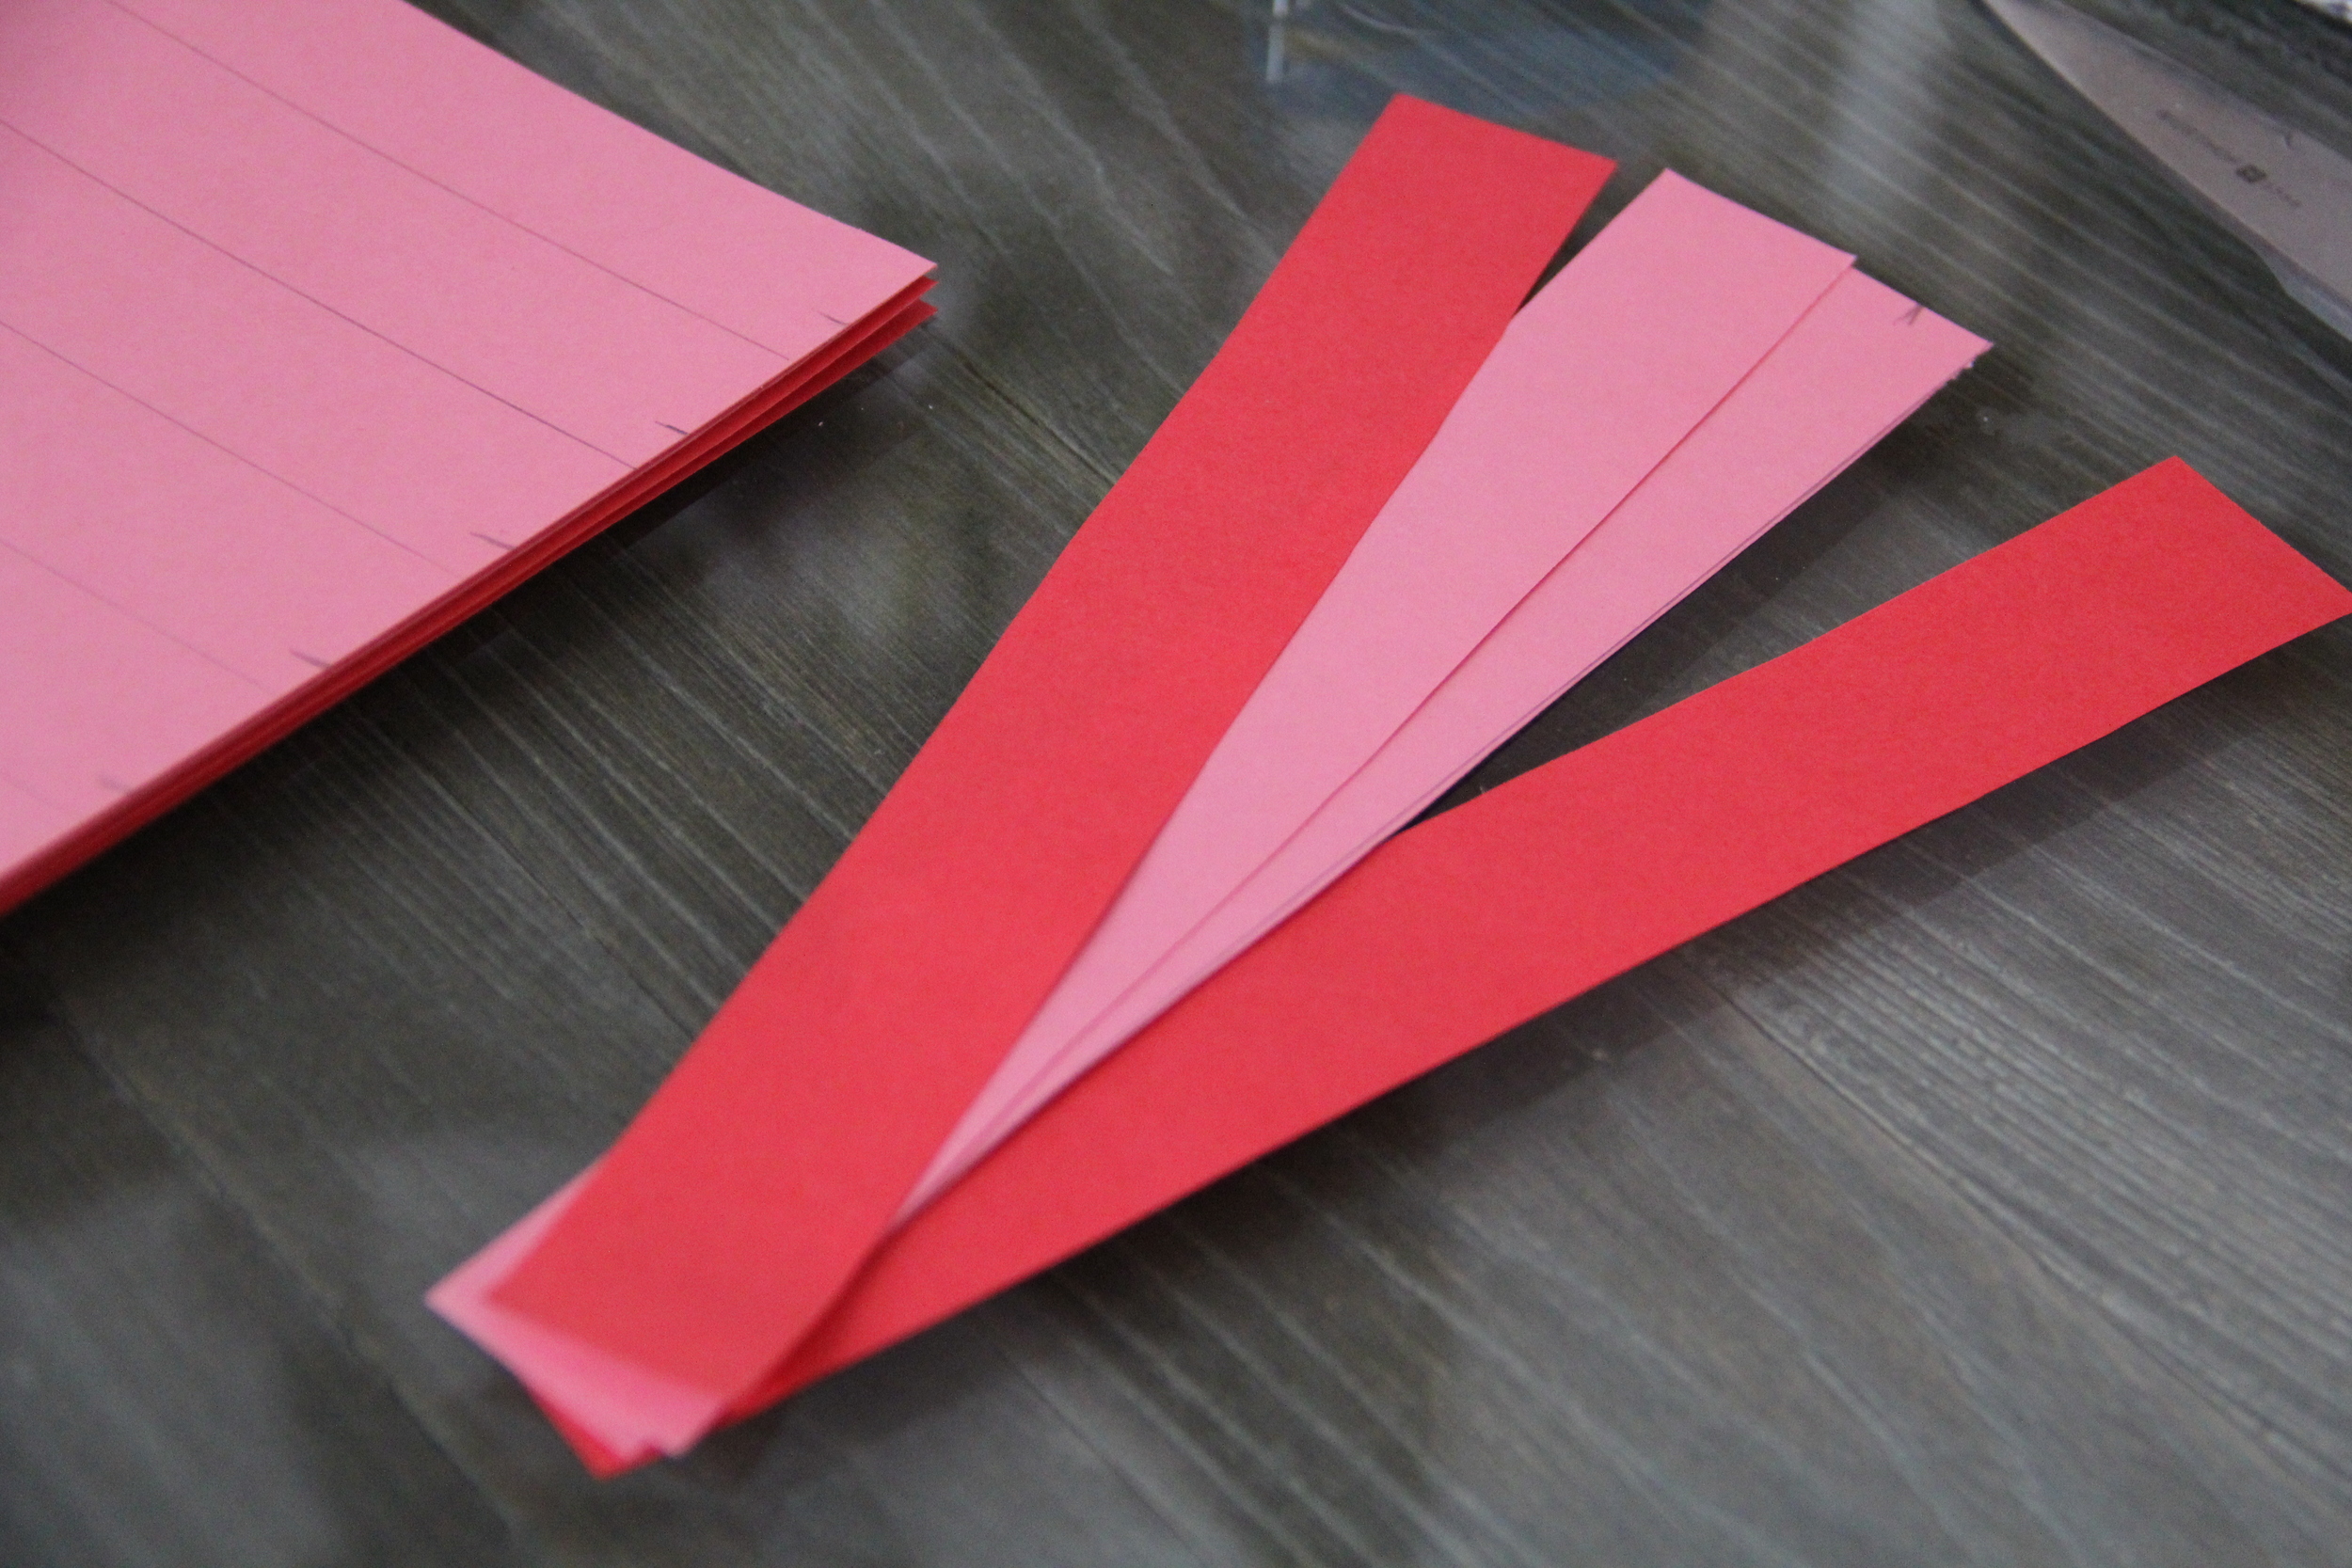
  1. Stack 2 sheets of red paper and 2 sheets of pink paper together, ordering them either pink-red-red-pink or red-pink-pink-red
  2. With a pencil and ruler, draw straight lines across the width of the paper on top of the stack, spacing the lines approximately 1 inch apart. 
  3. Keeping the stack together, cut into strips 
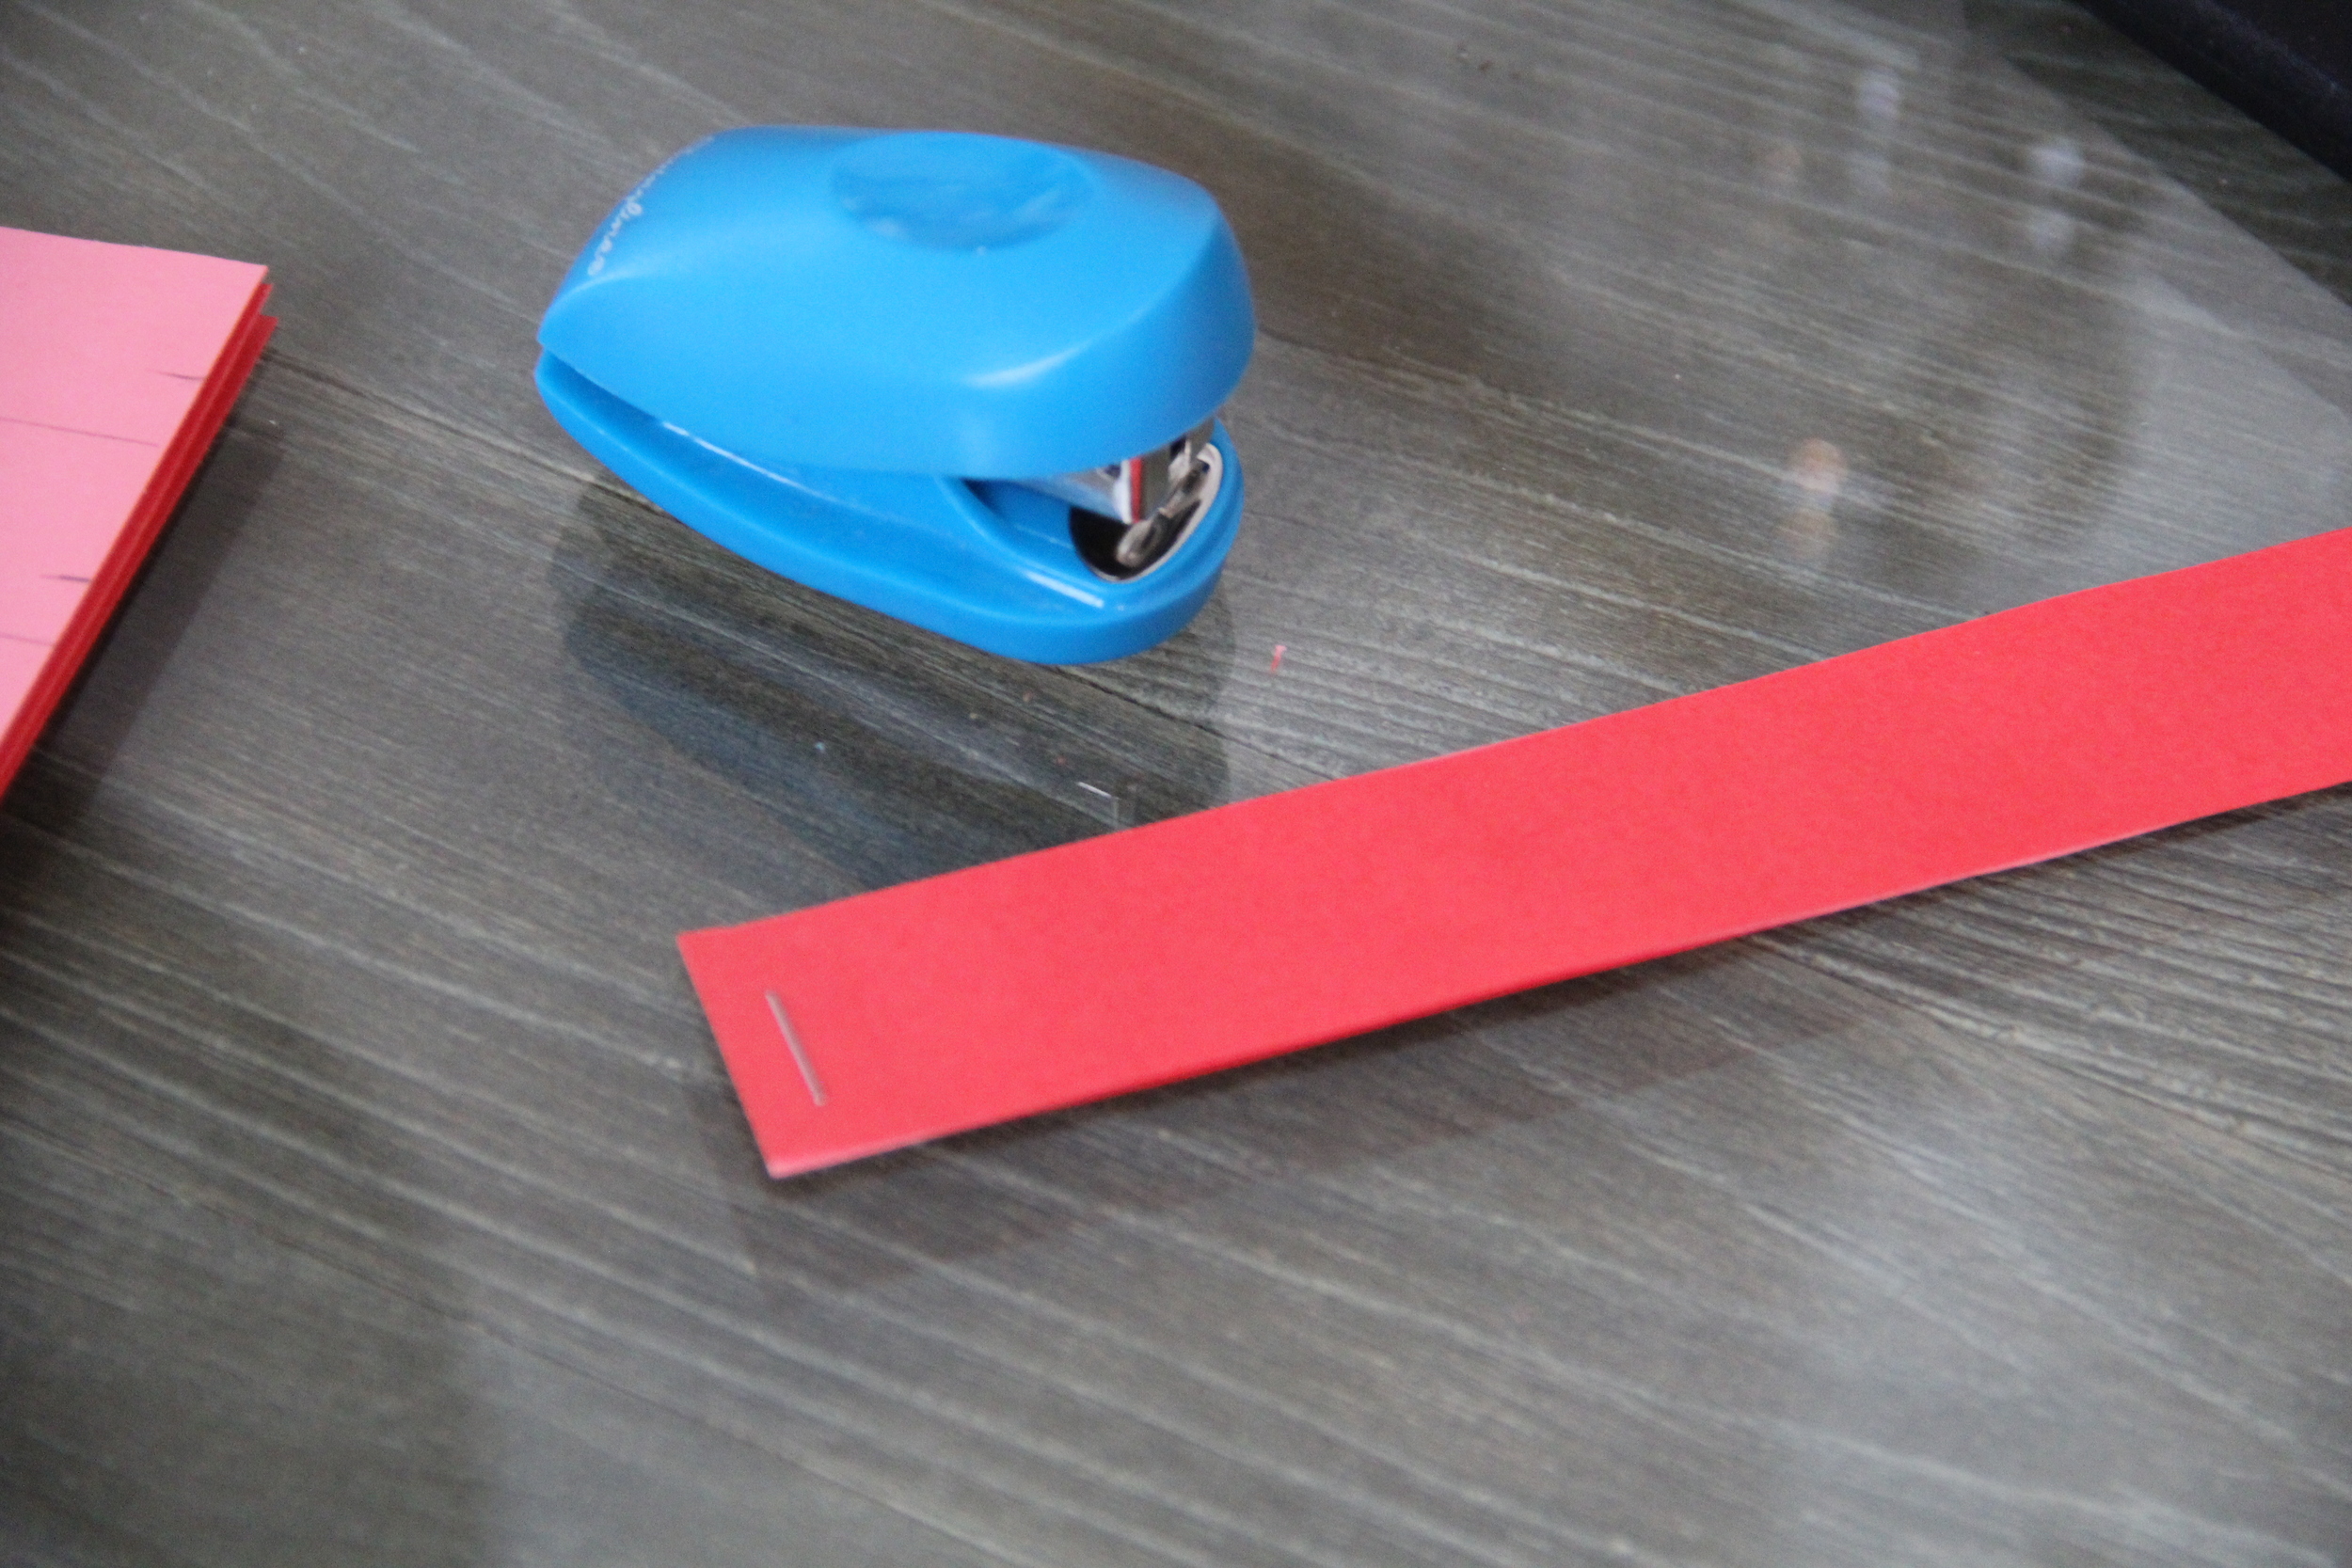
  4. Take one stack of strips and staple each end together, thus collating the 4 pieces together
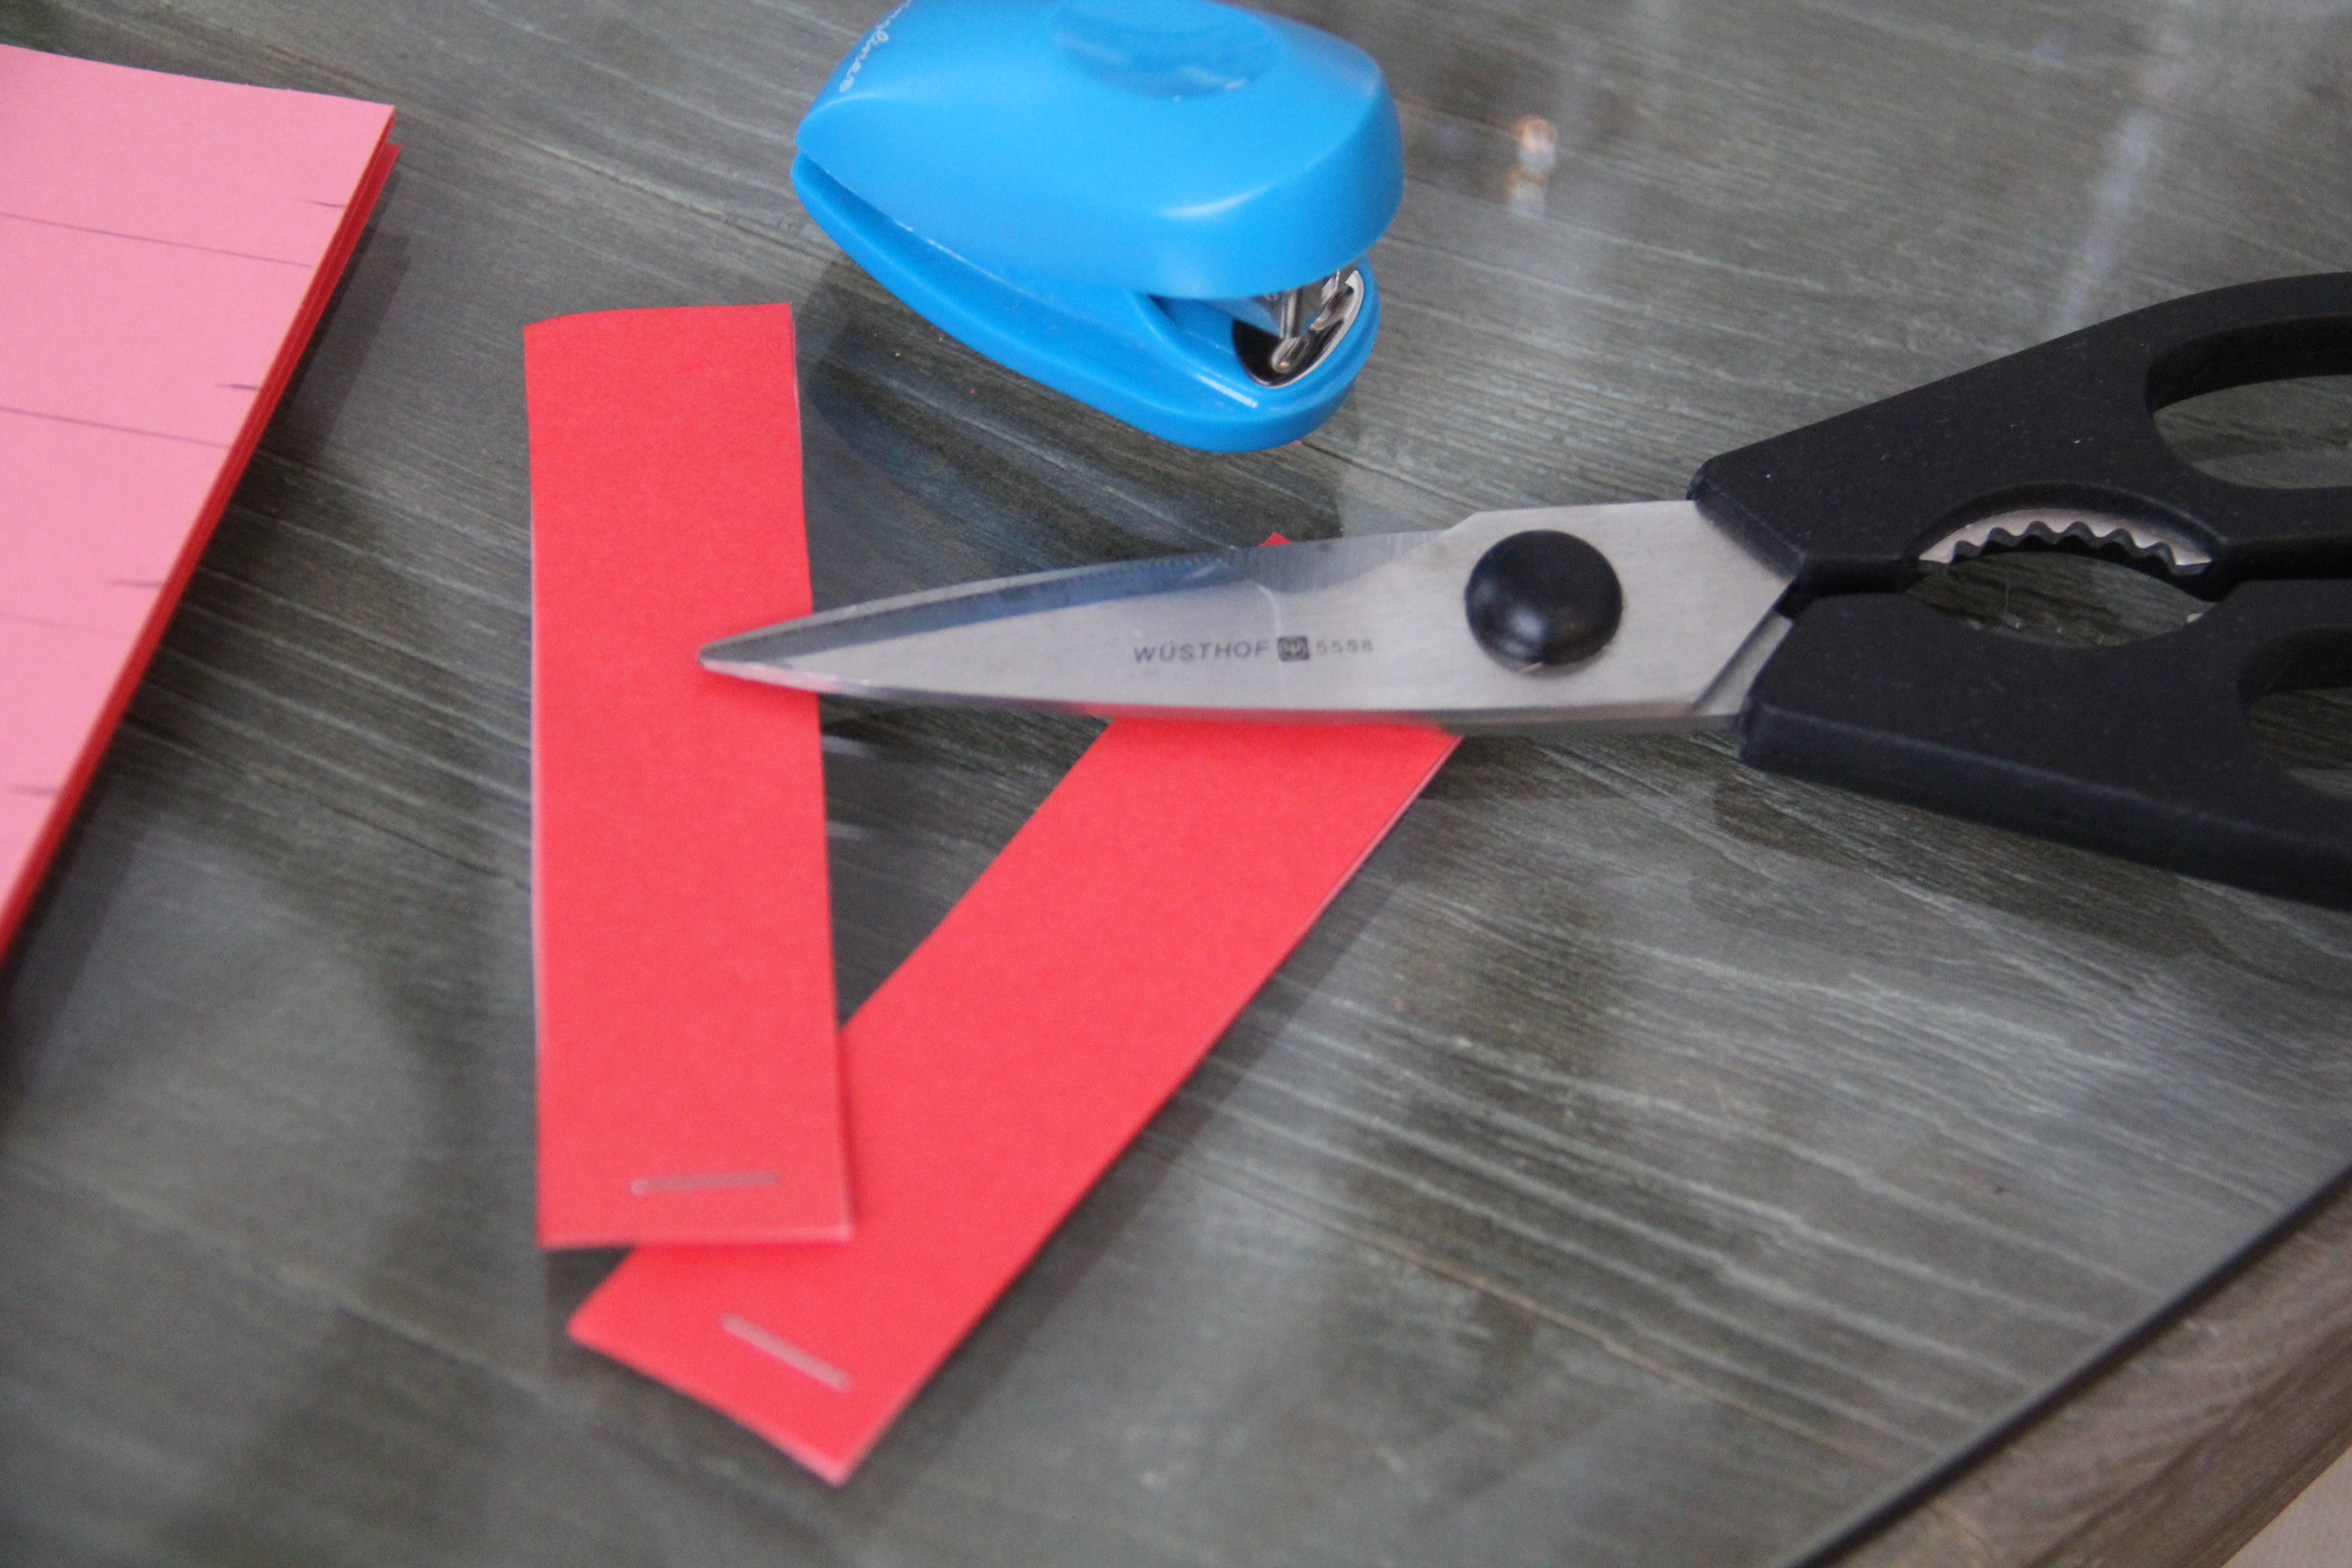
  5. Using scissors, cut the strip in half so that you have two 4 1/4" collated stacks
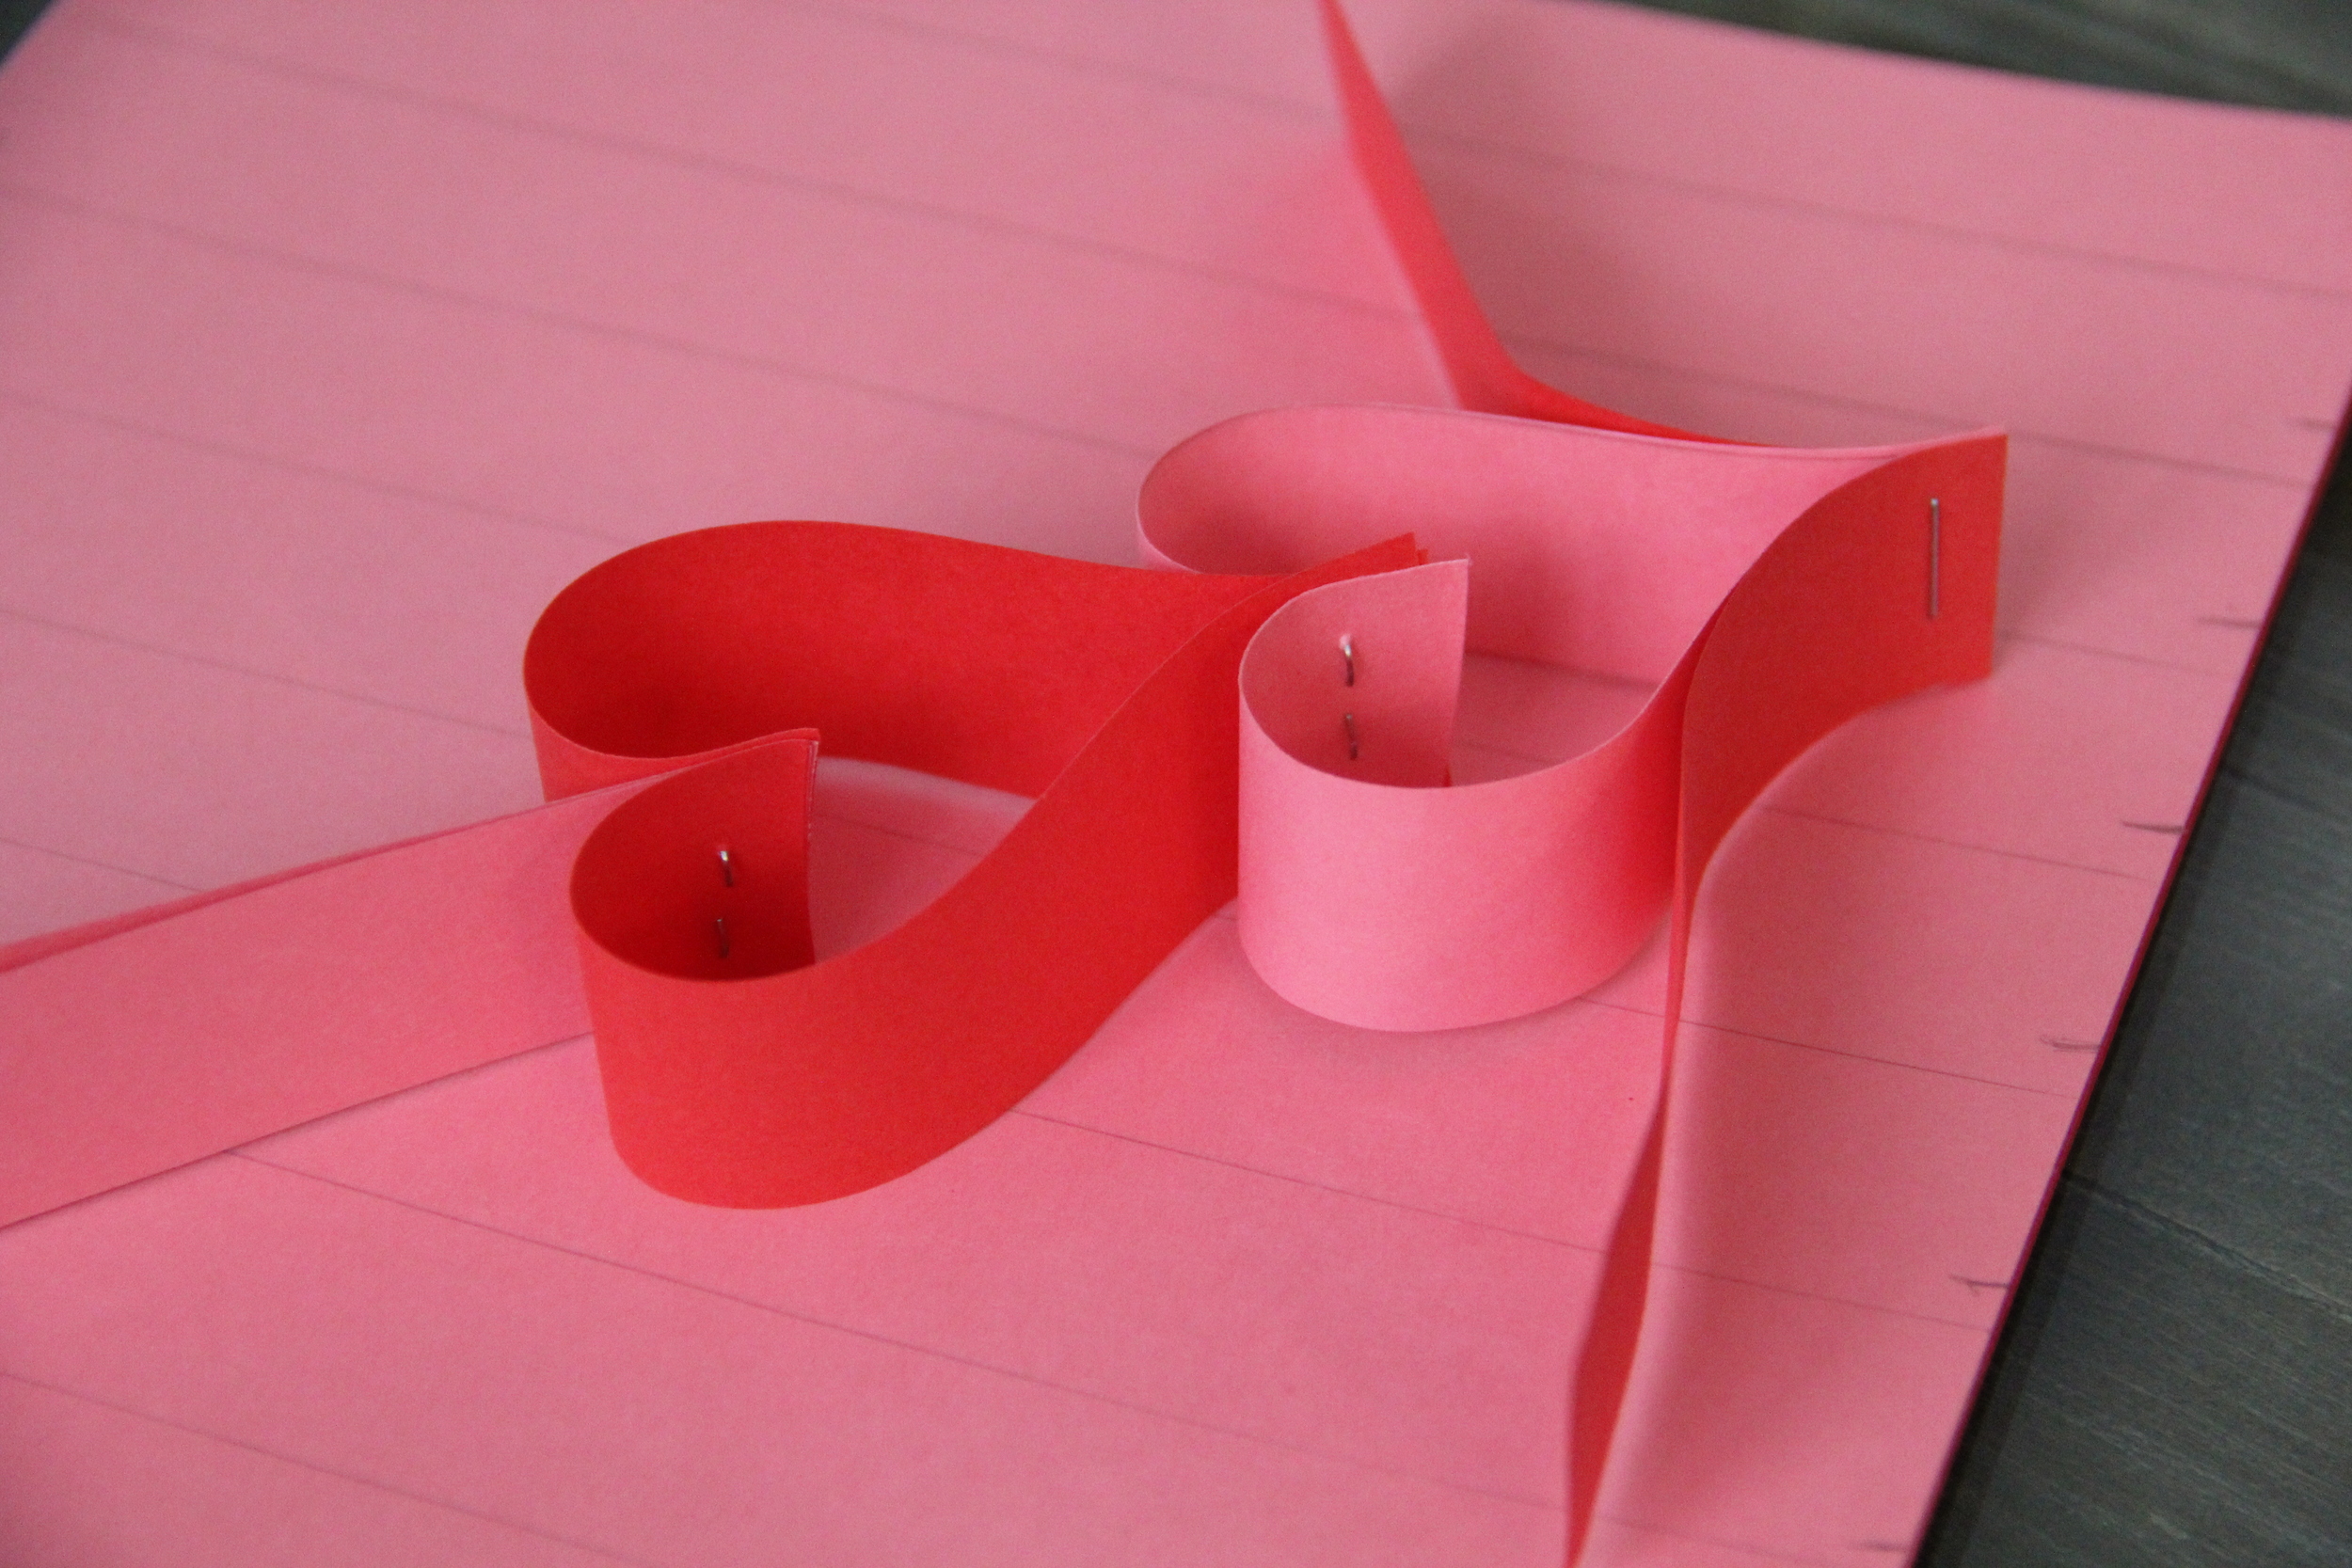
  6. Take one mini stack (Stack #1), peel down the two exterior strips and staple them together at the base and set aside
  7. Repeat step #6 with a second mini stack
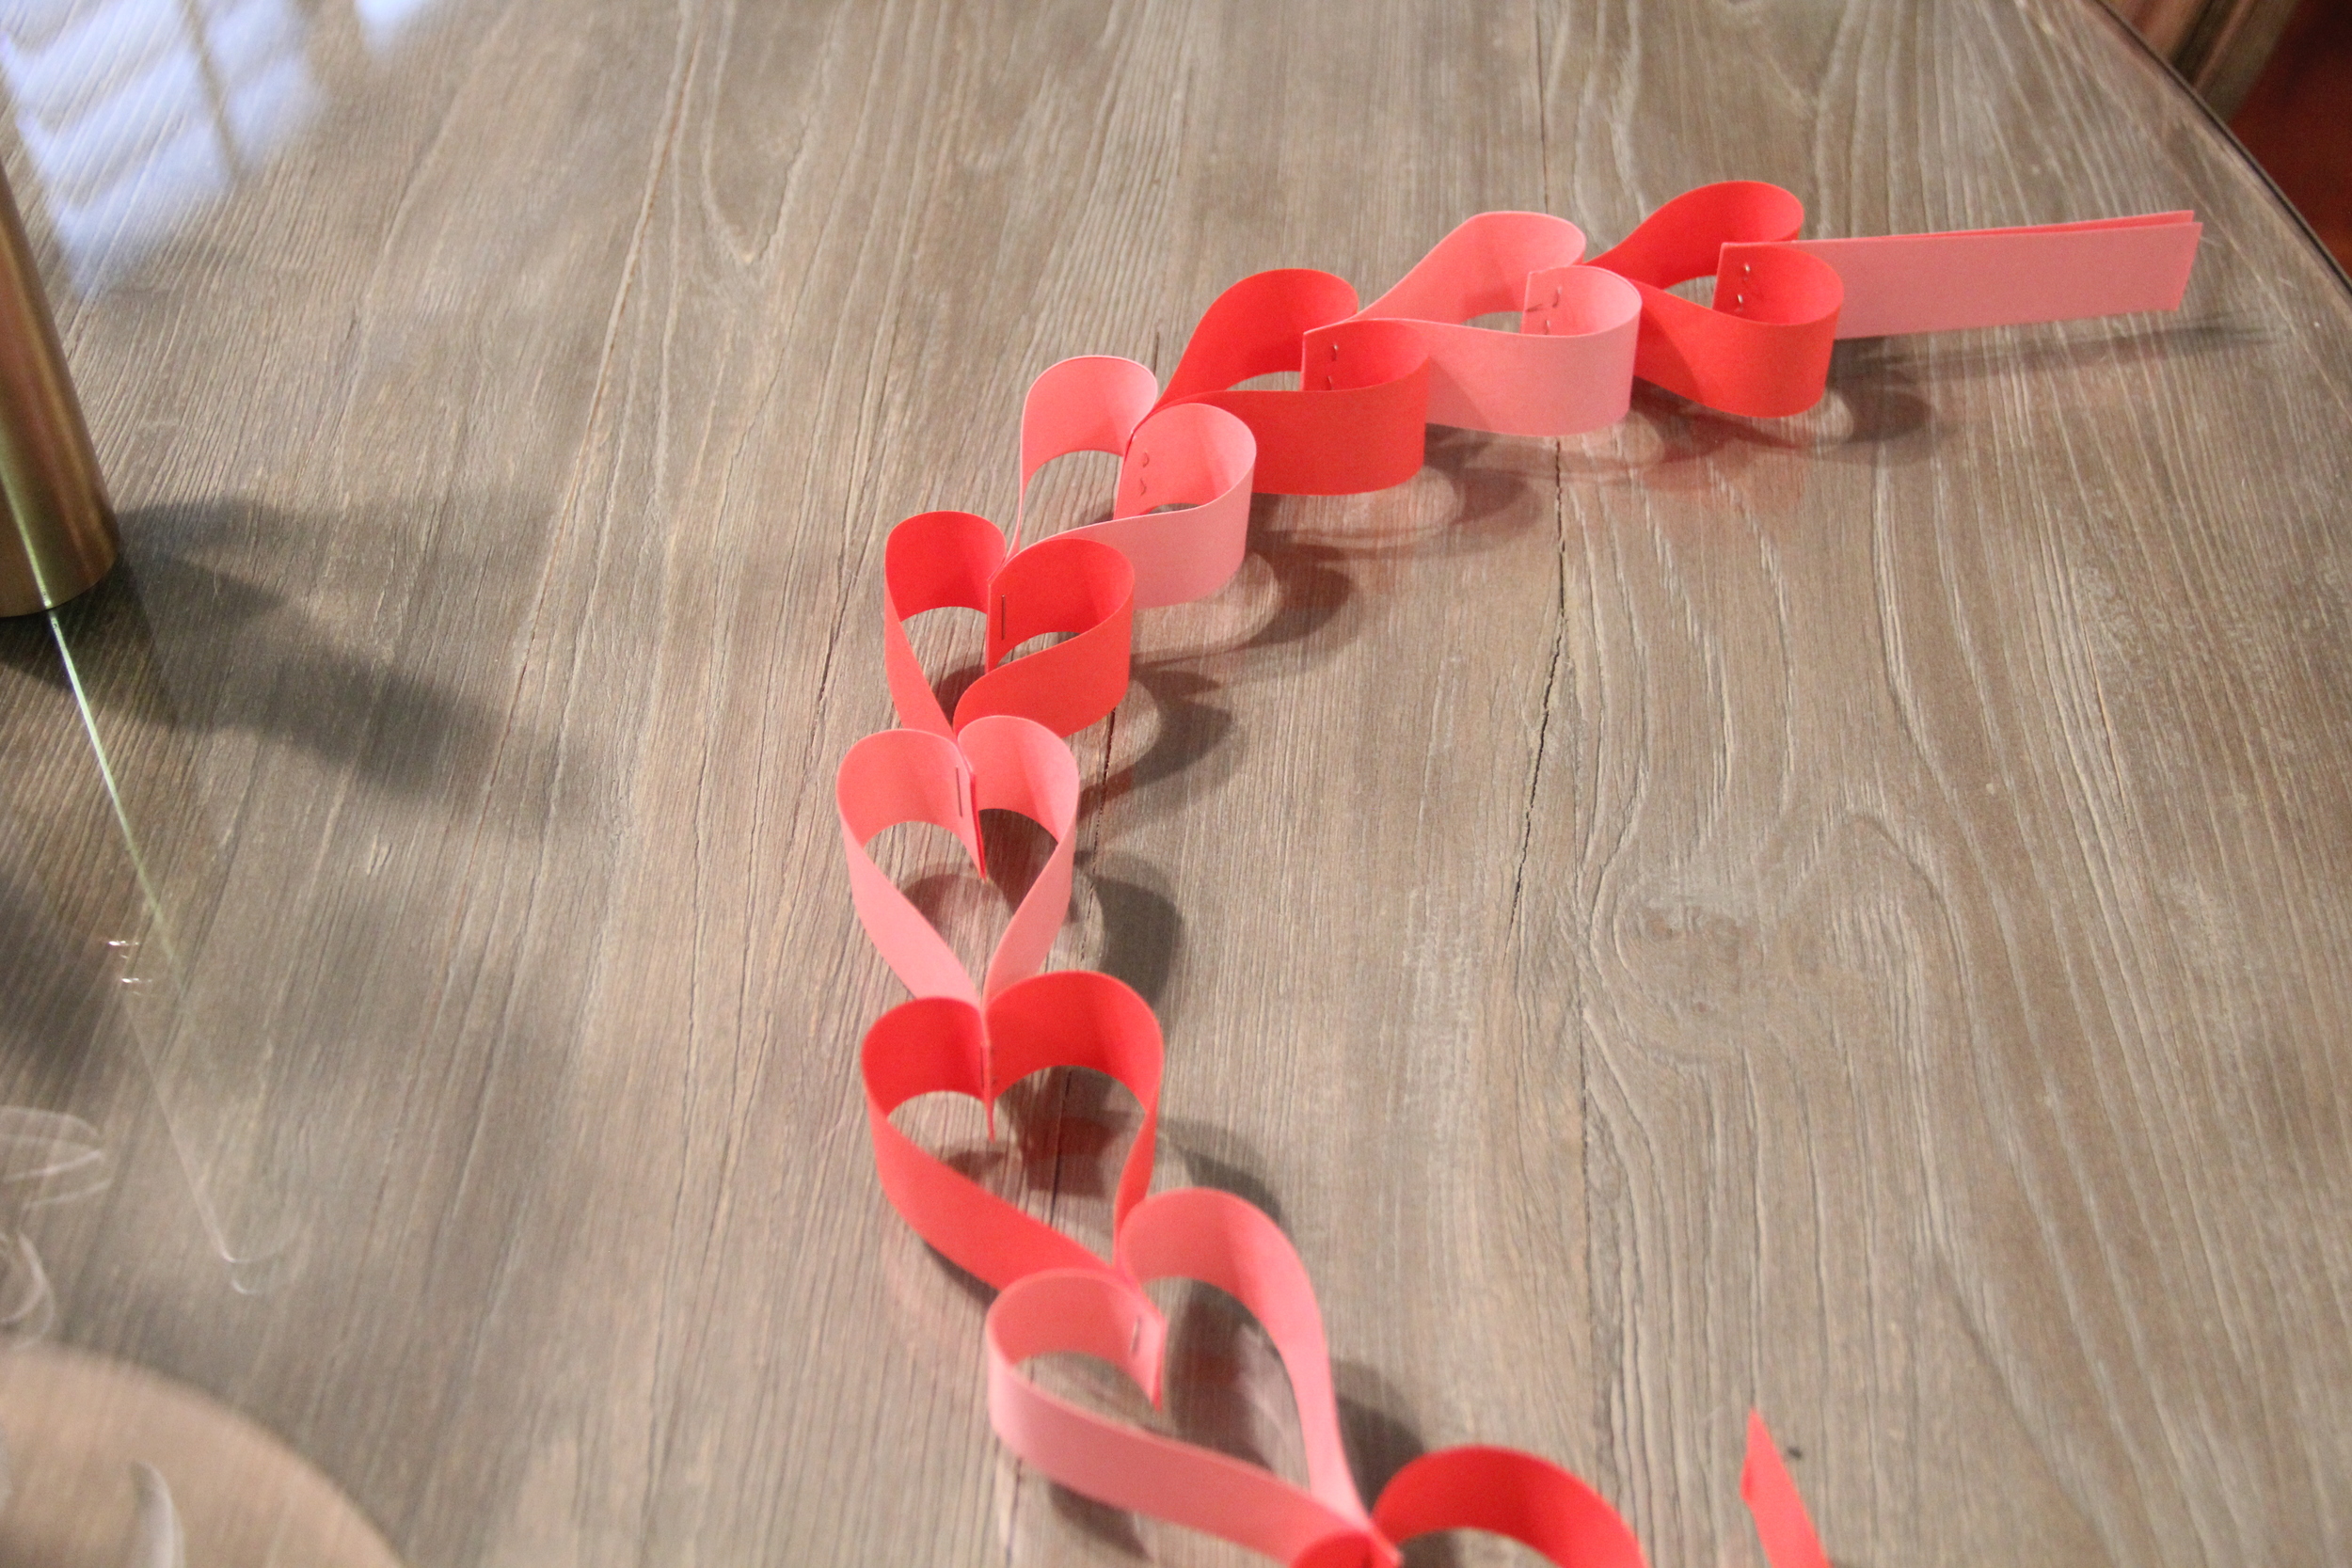
  8. Take Stack #1, bend the ends of the two interior strips inward, insert the tail of Stack #2 in-between the inverted ends from Stack #1 and staple together
  9. Repeat this process until desired length is achieved.  Reference images for more explicit directions on how to assemble garland.  

**Next week I will be unveiling my Valentine's Day Edition Bar Cart on the blog!  So stay tuned!

Valentines Day Garland 1.jpg
In Decorate Tags Valentine's Day, Garland, Decorations, Holiday Decorations, Crafts, Hearts
Comment

Holiday Recap

December 25, 2015 Callie Cagney
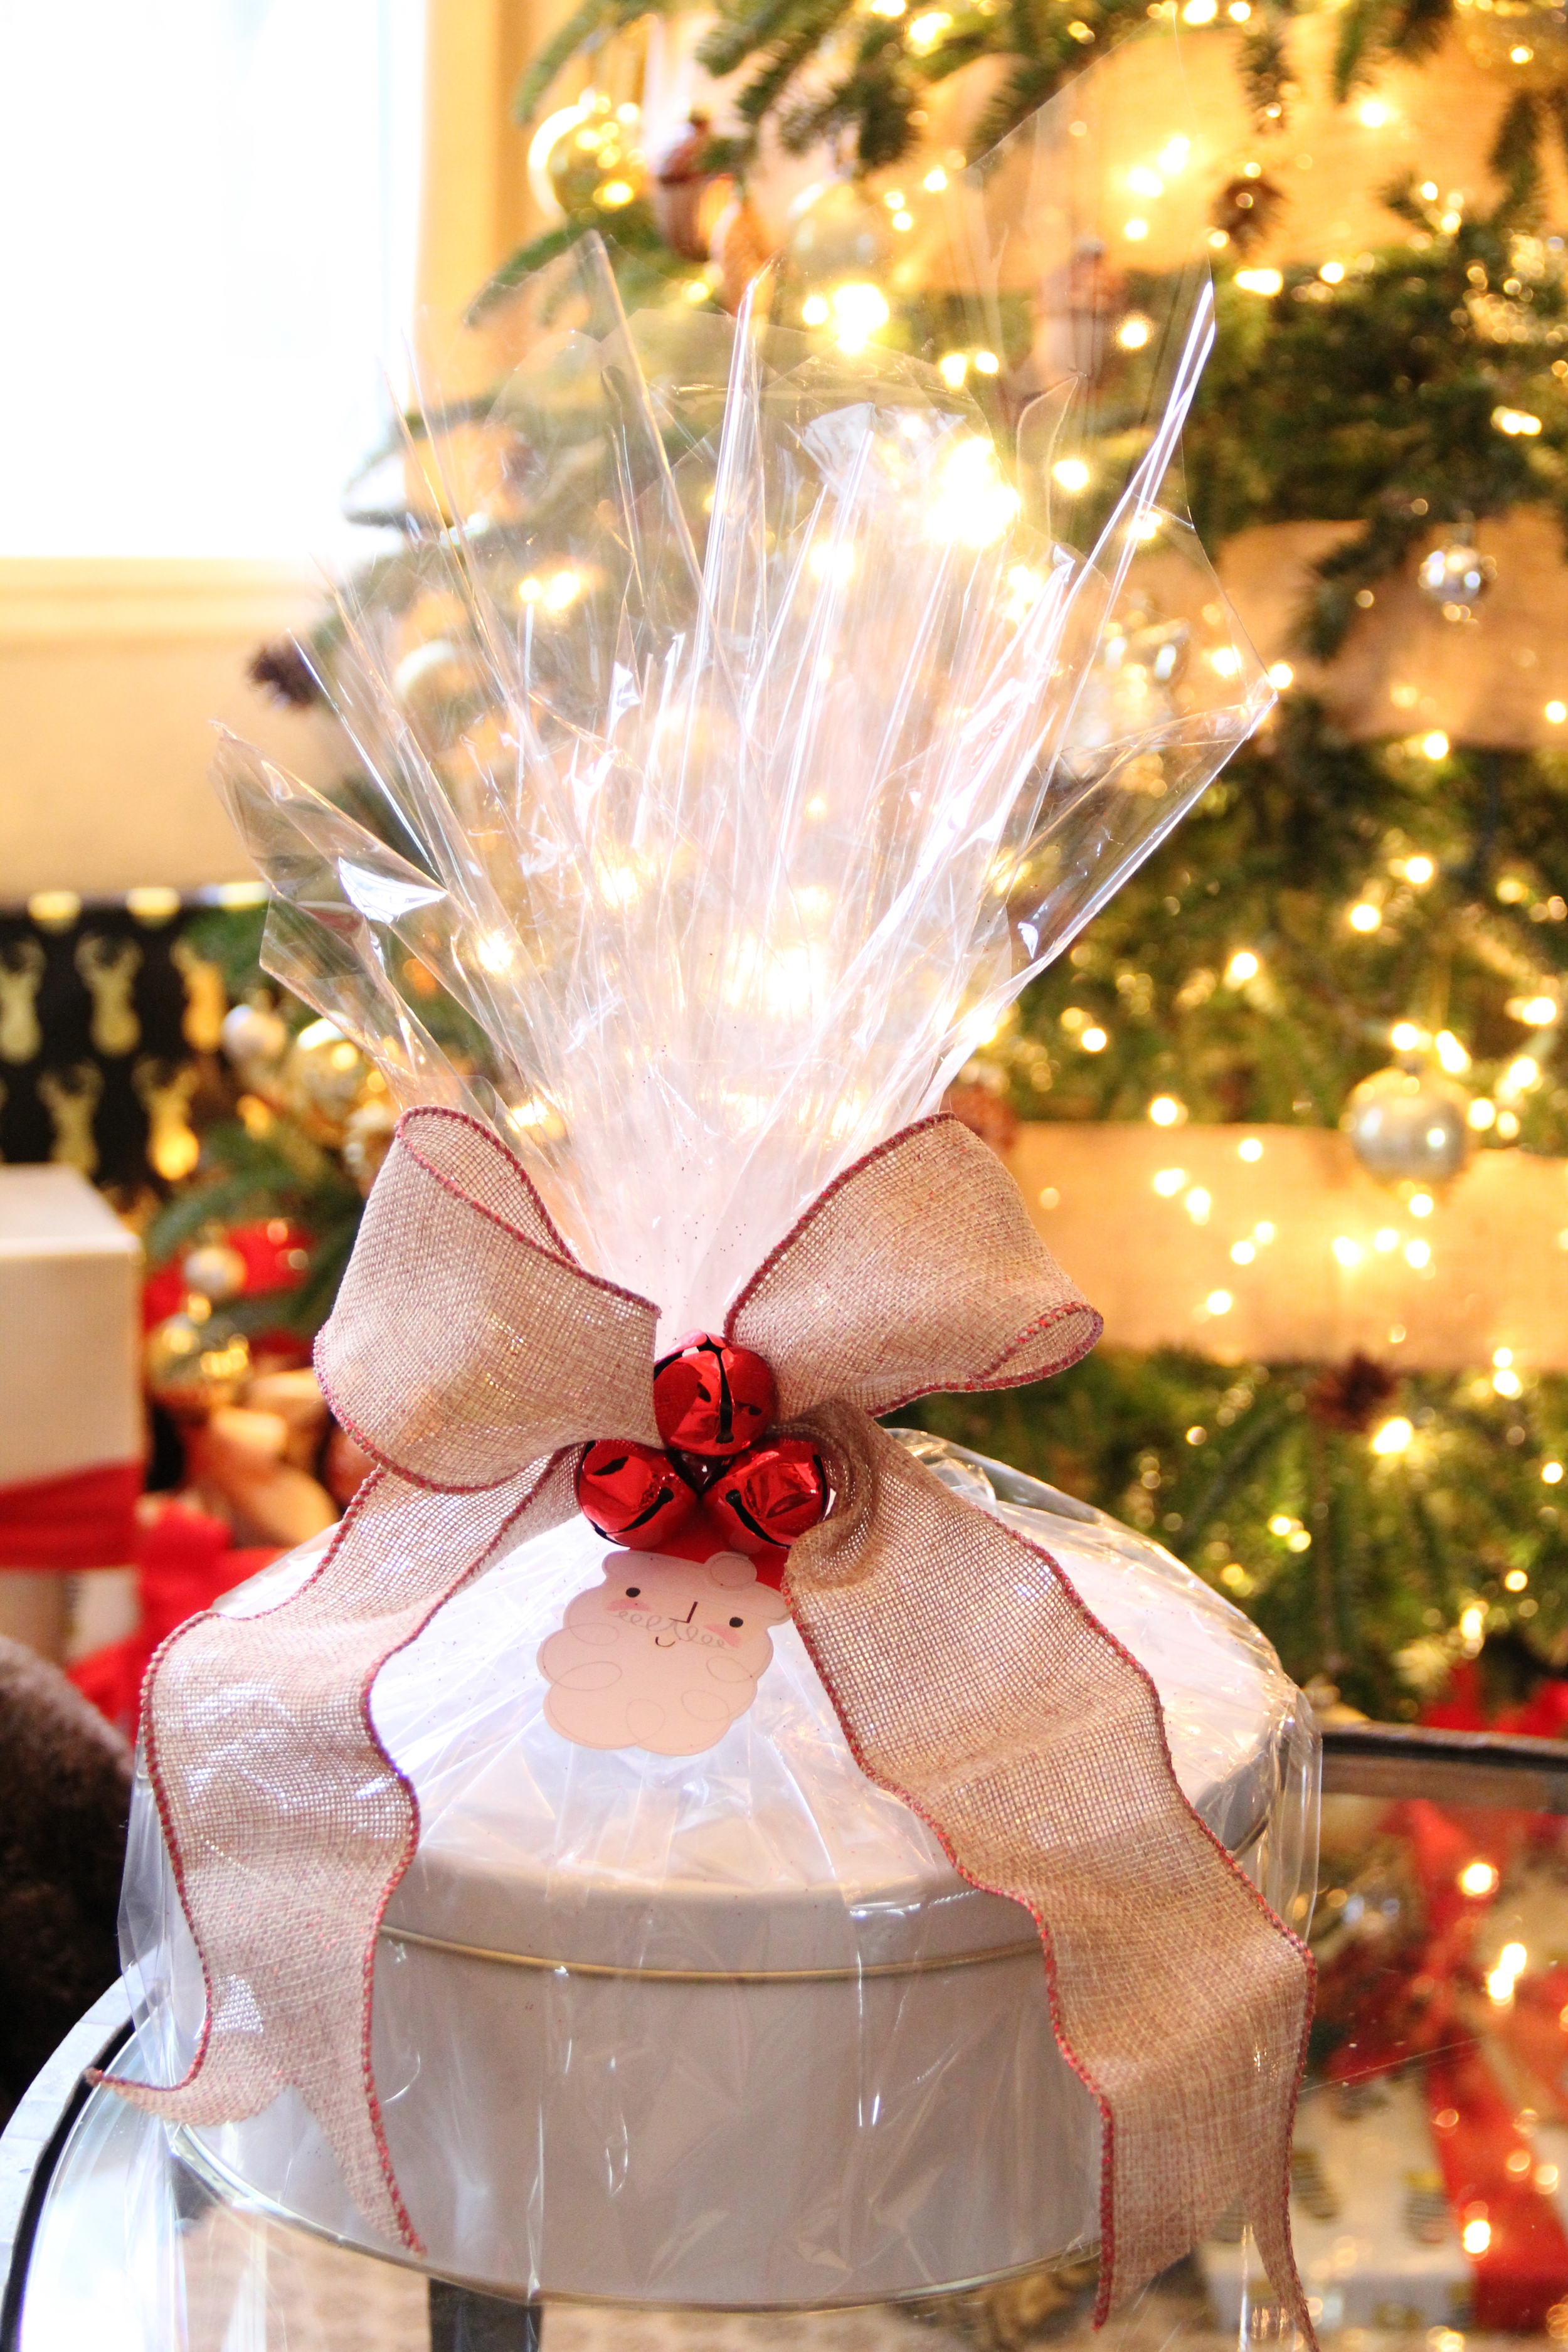
Holiday Baking.JPG

For today's Christmas post I wanted to share a quick recap of some of my favorite holiday moments over the past month.  I've shared posts covering an array of holiday activities and now that I am officially done with all of my preparations, I can sit back, enjoy the fruits of my labor and of course this very merry holiday!  

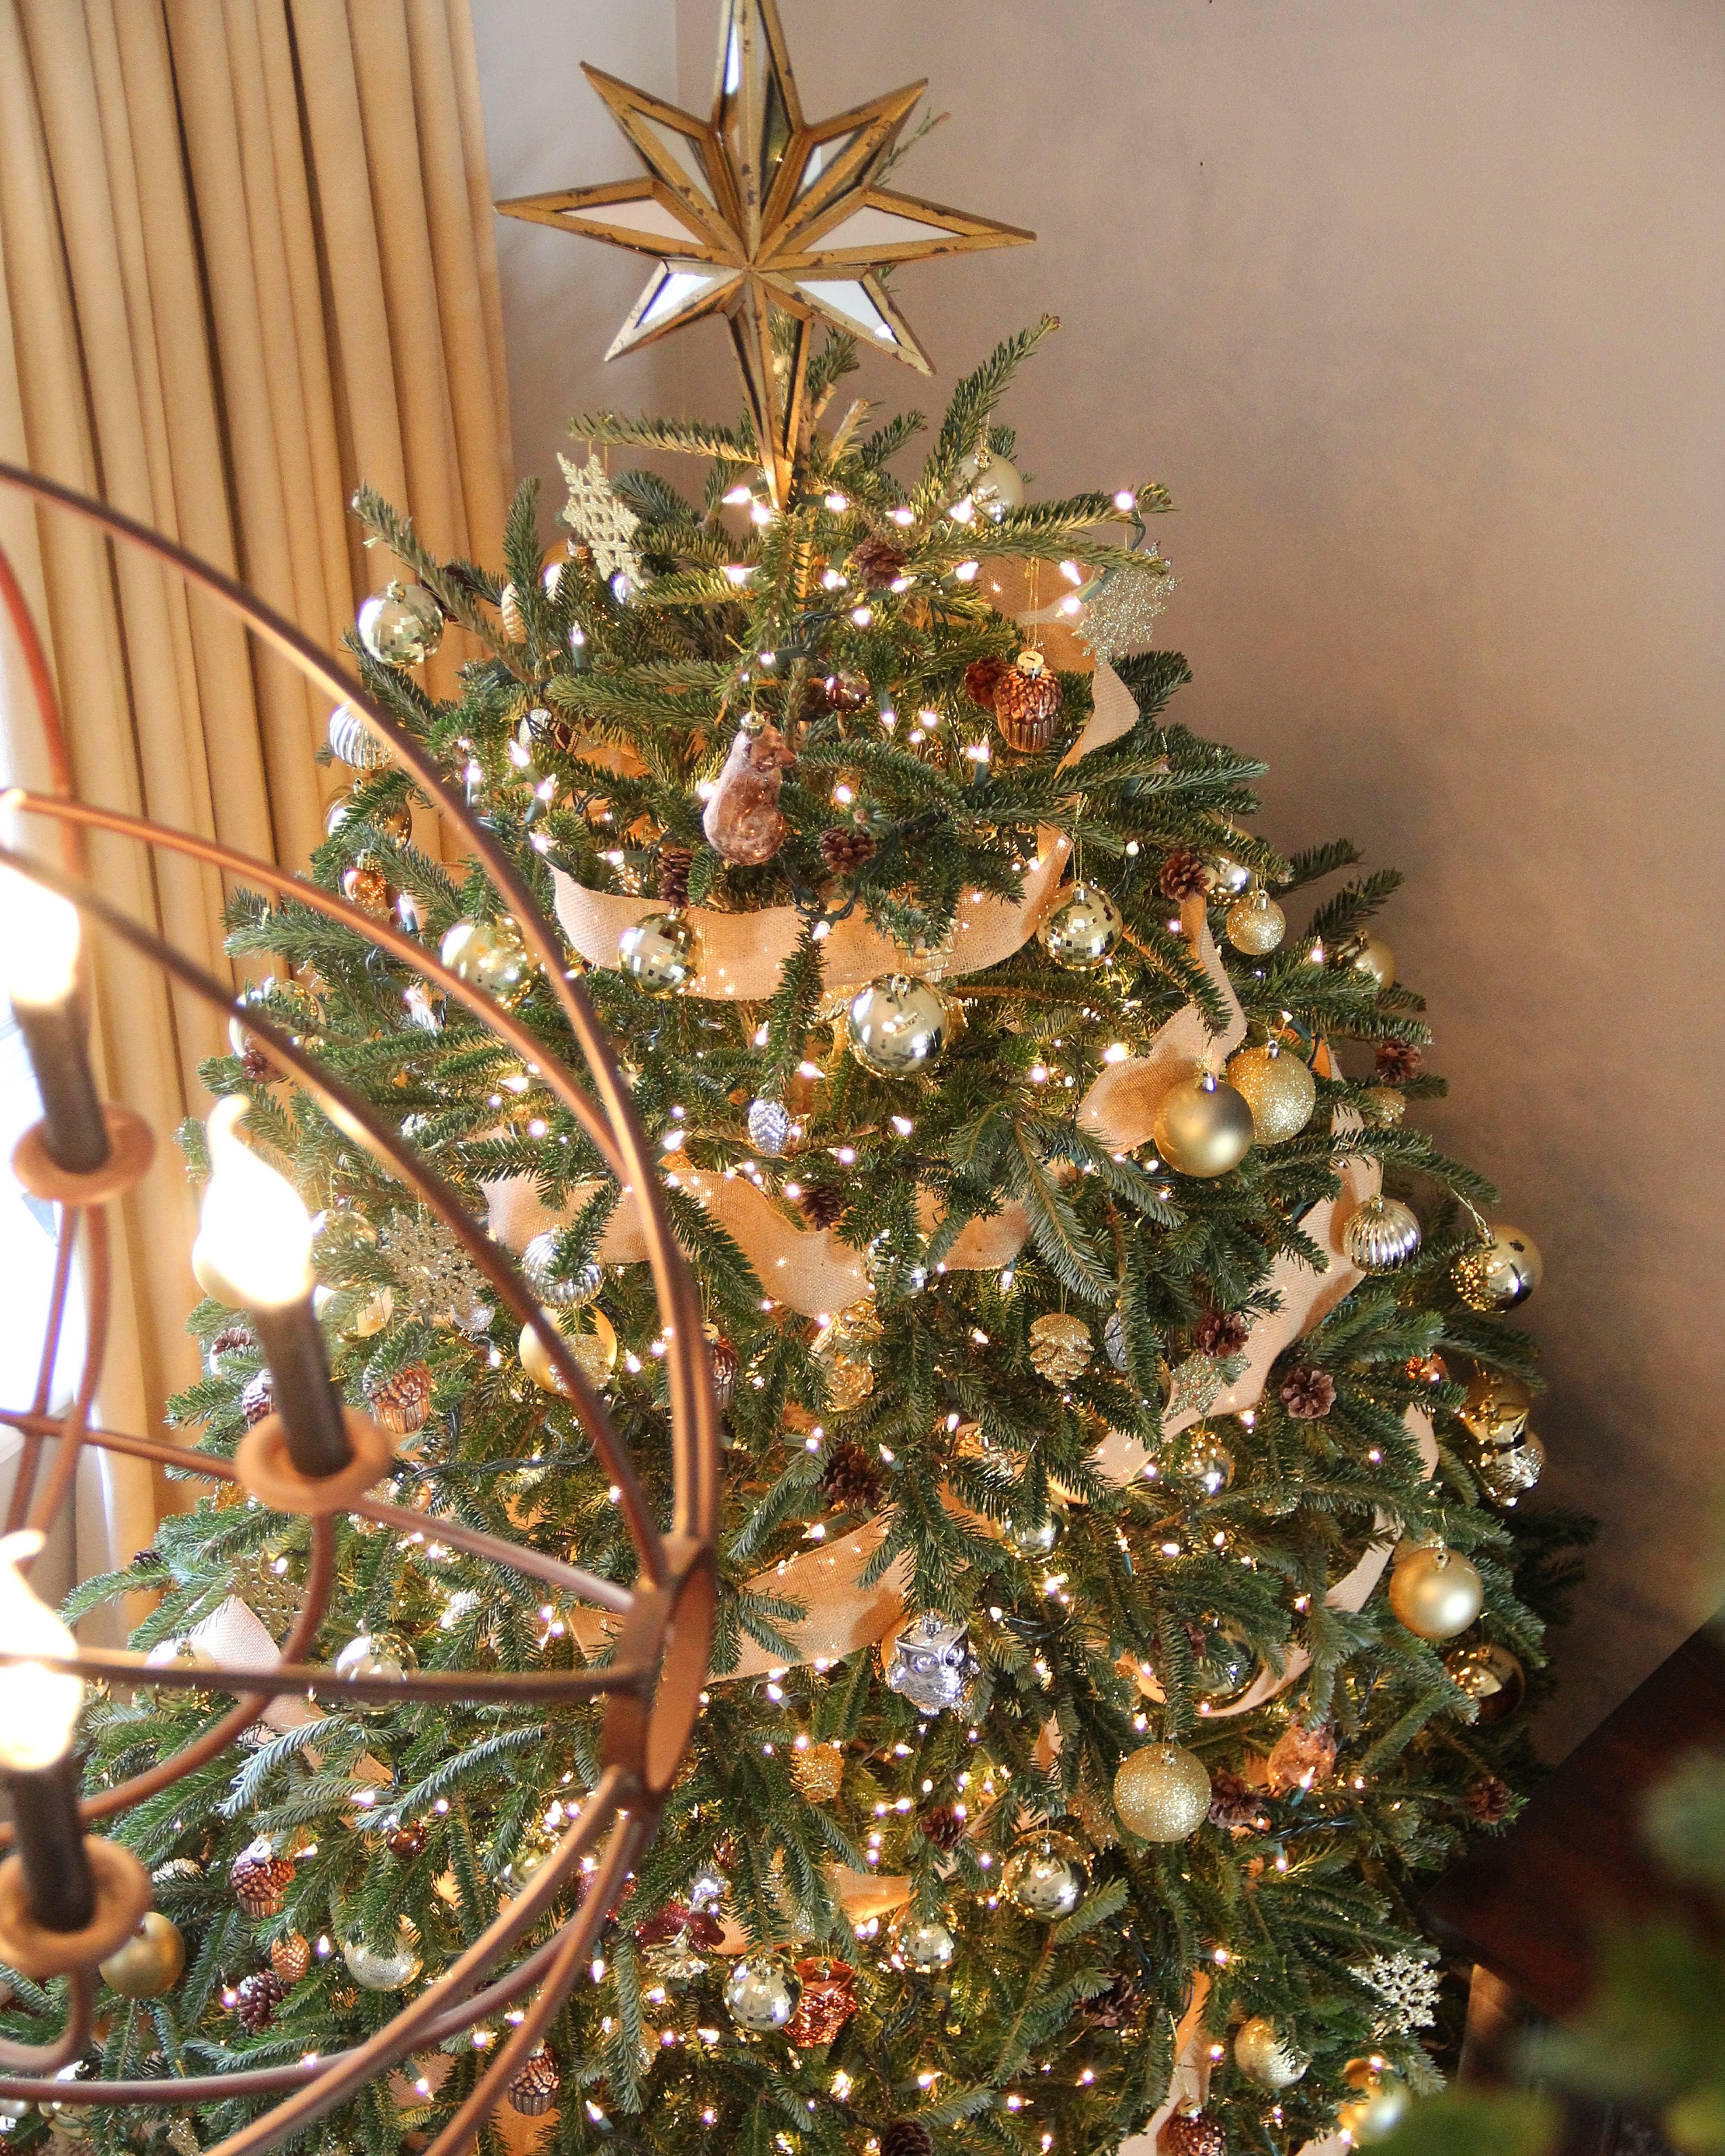
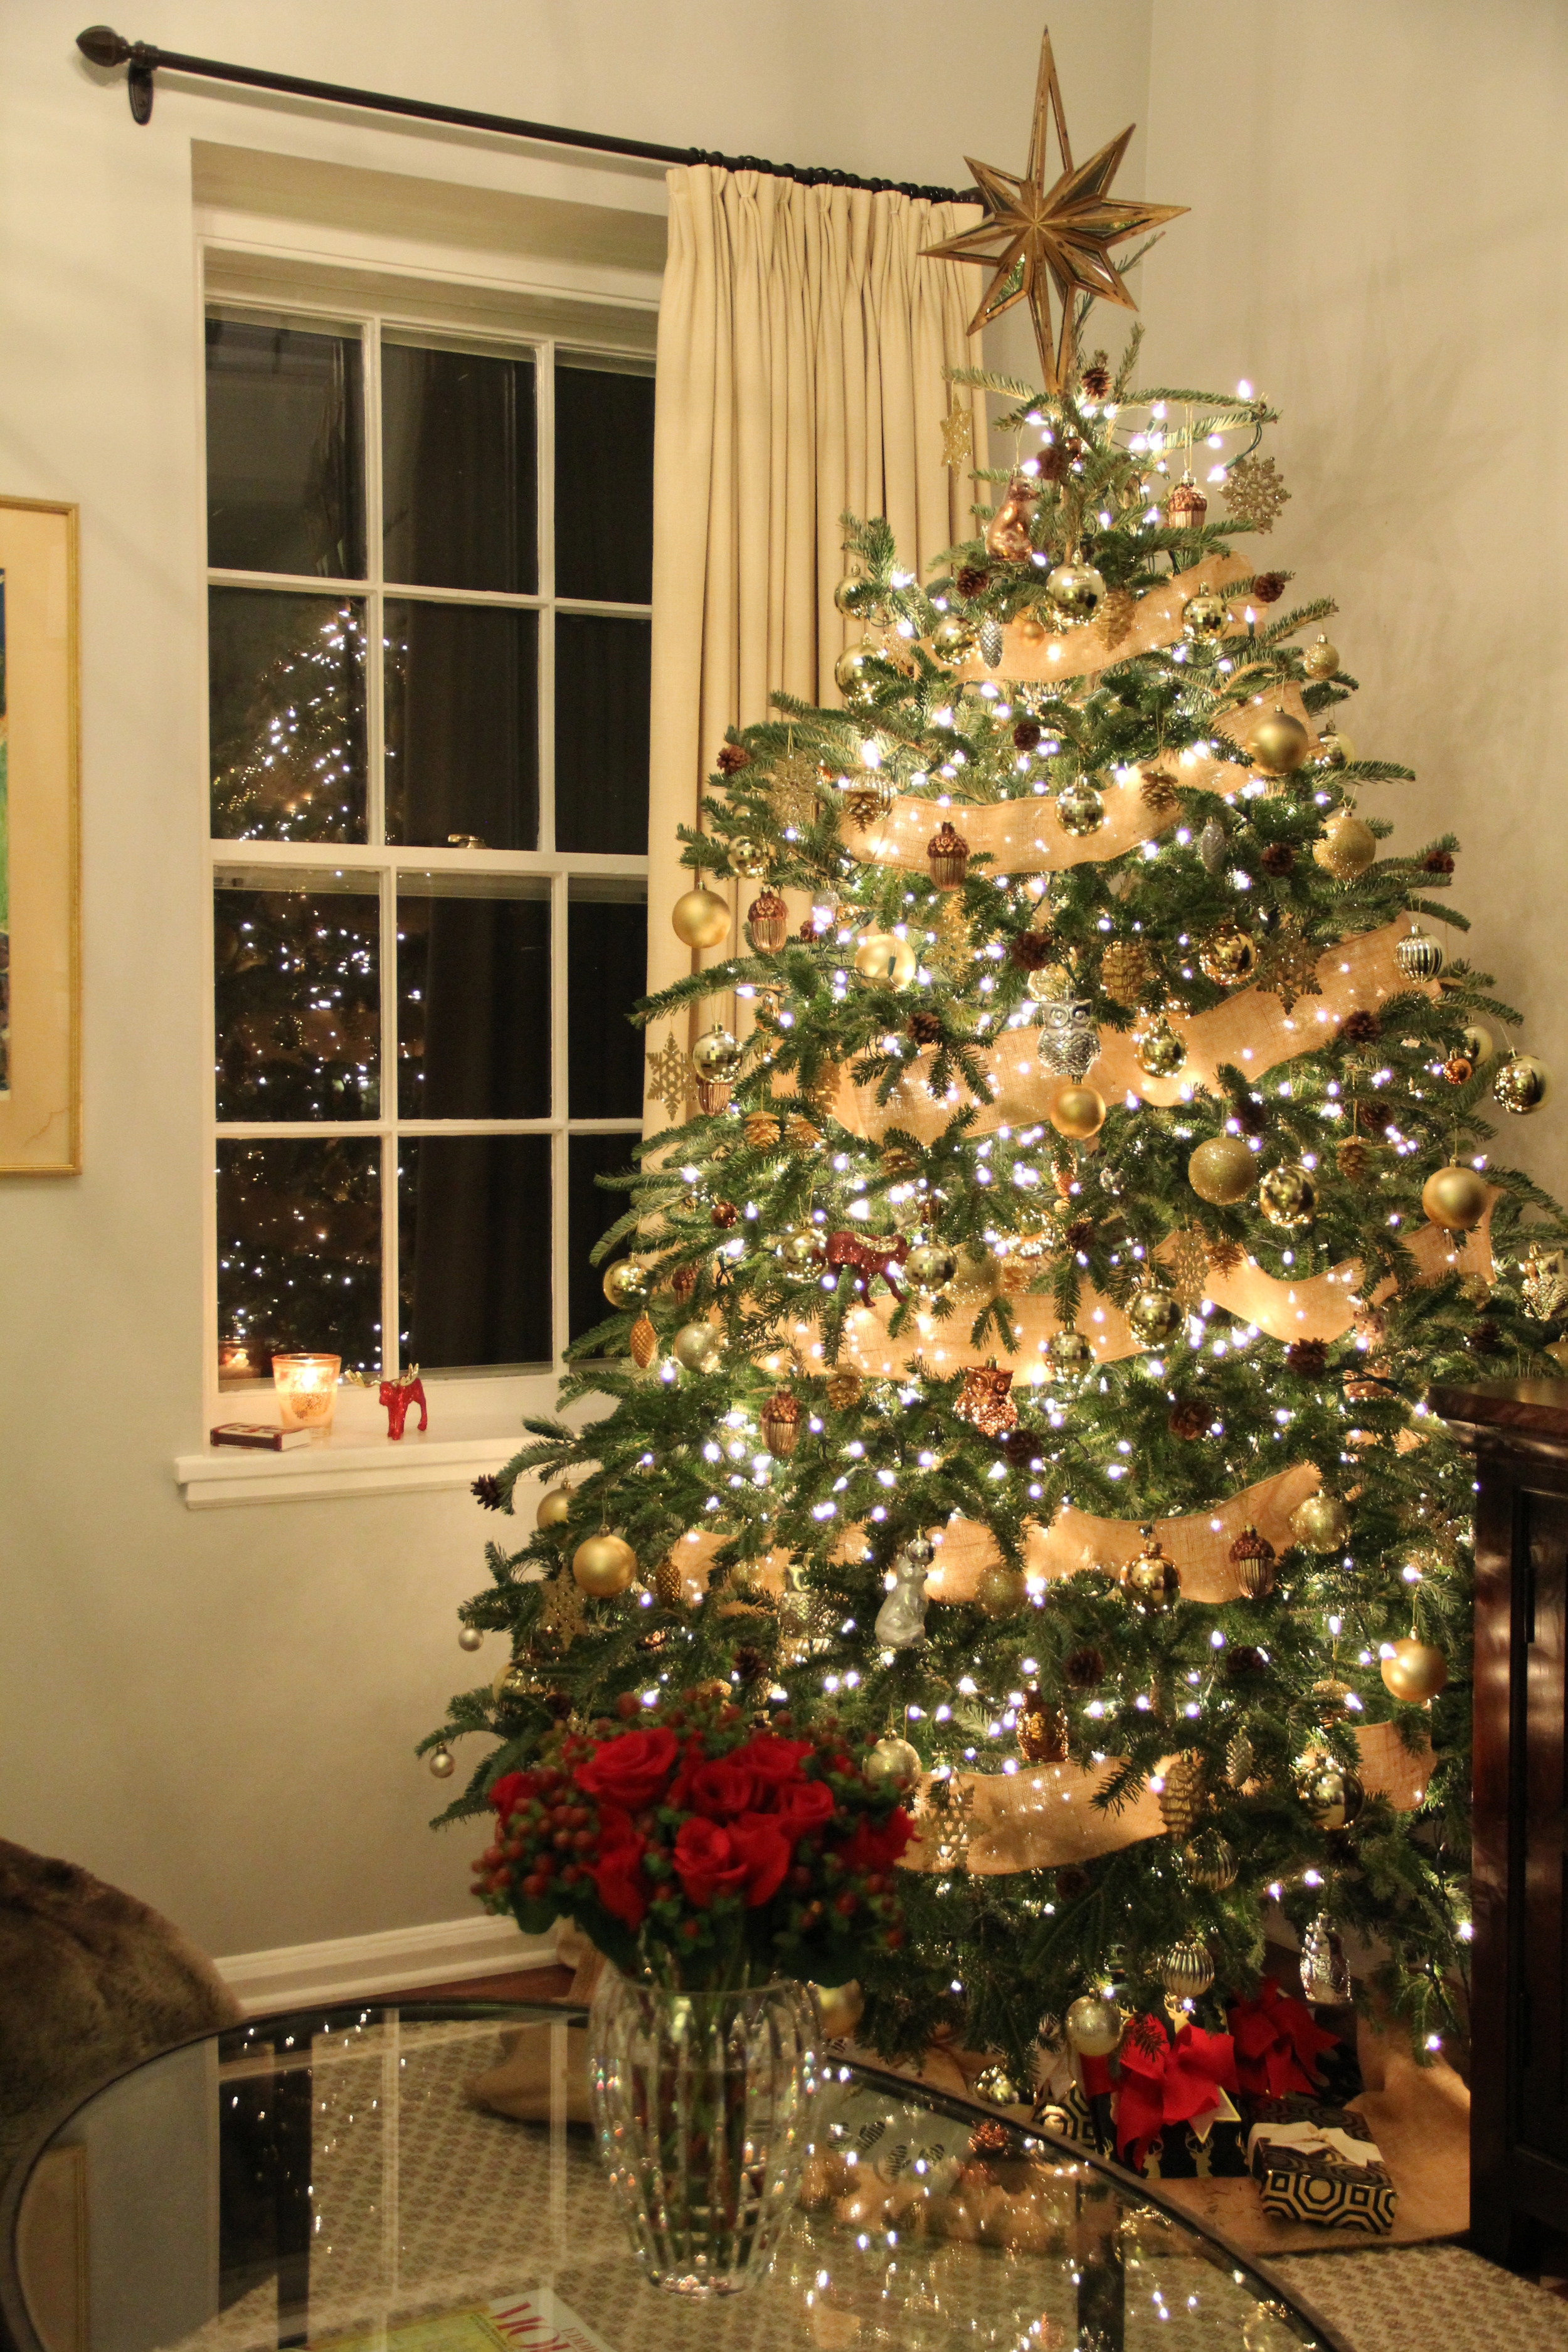
Trimming My Christmas Tree

Redefining Domestics Christmas Tree.JPG
Redefining Domestics Christmas Tree 2.JPG

My husband and brother both announced that this year's Christmas tree is my best to date.  I would have to agree!  I love the way this "Woodland Chic" - themed tree glitters in my living room and I can't tell you what a difference it has made using green floral wire to aid in decorating my tree.  I think you should always push yourself do your very best.  Even though I am taking a moment to enjoy the way this beautiful tree came together, I have to admit that I have already started thinking up new ideas for next year!

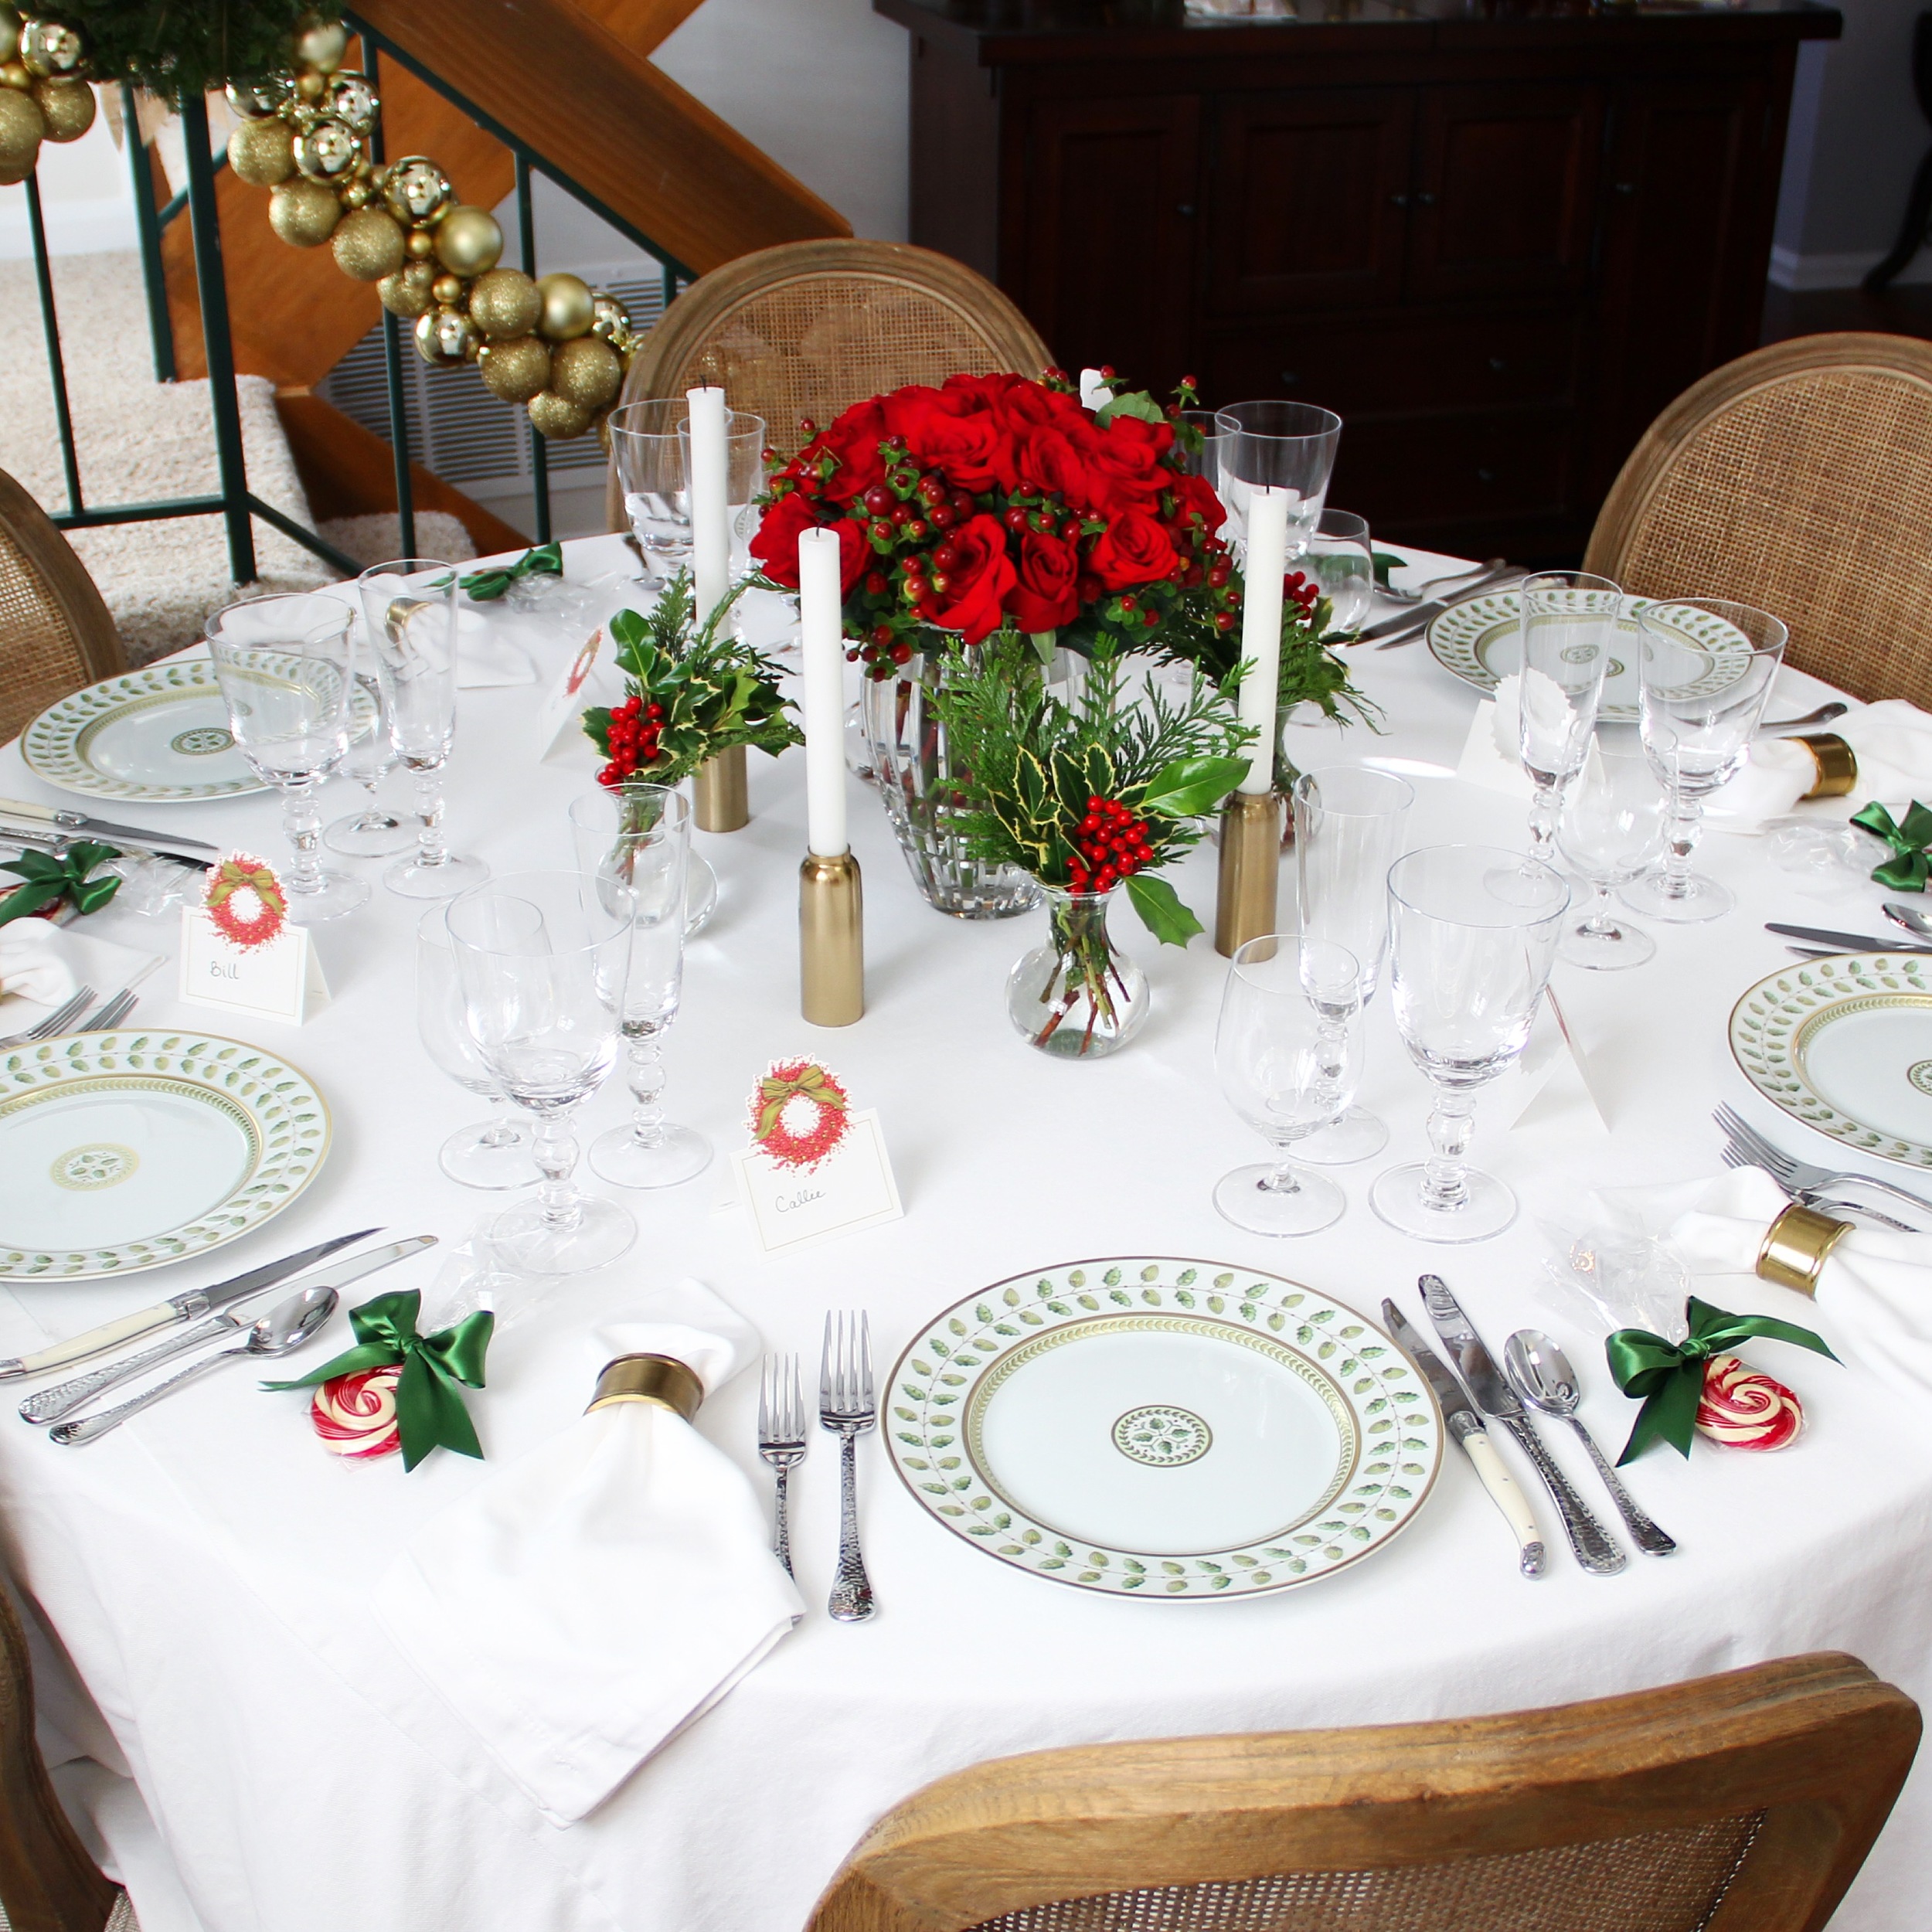
Christmas Tablescape

Christmas Tablescape.JPG
Christmas Tablescape 2.JPG

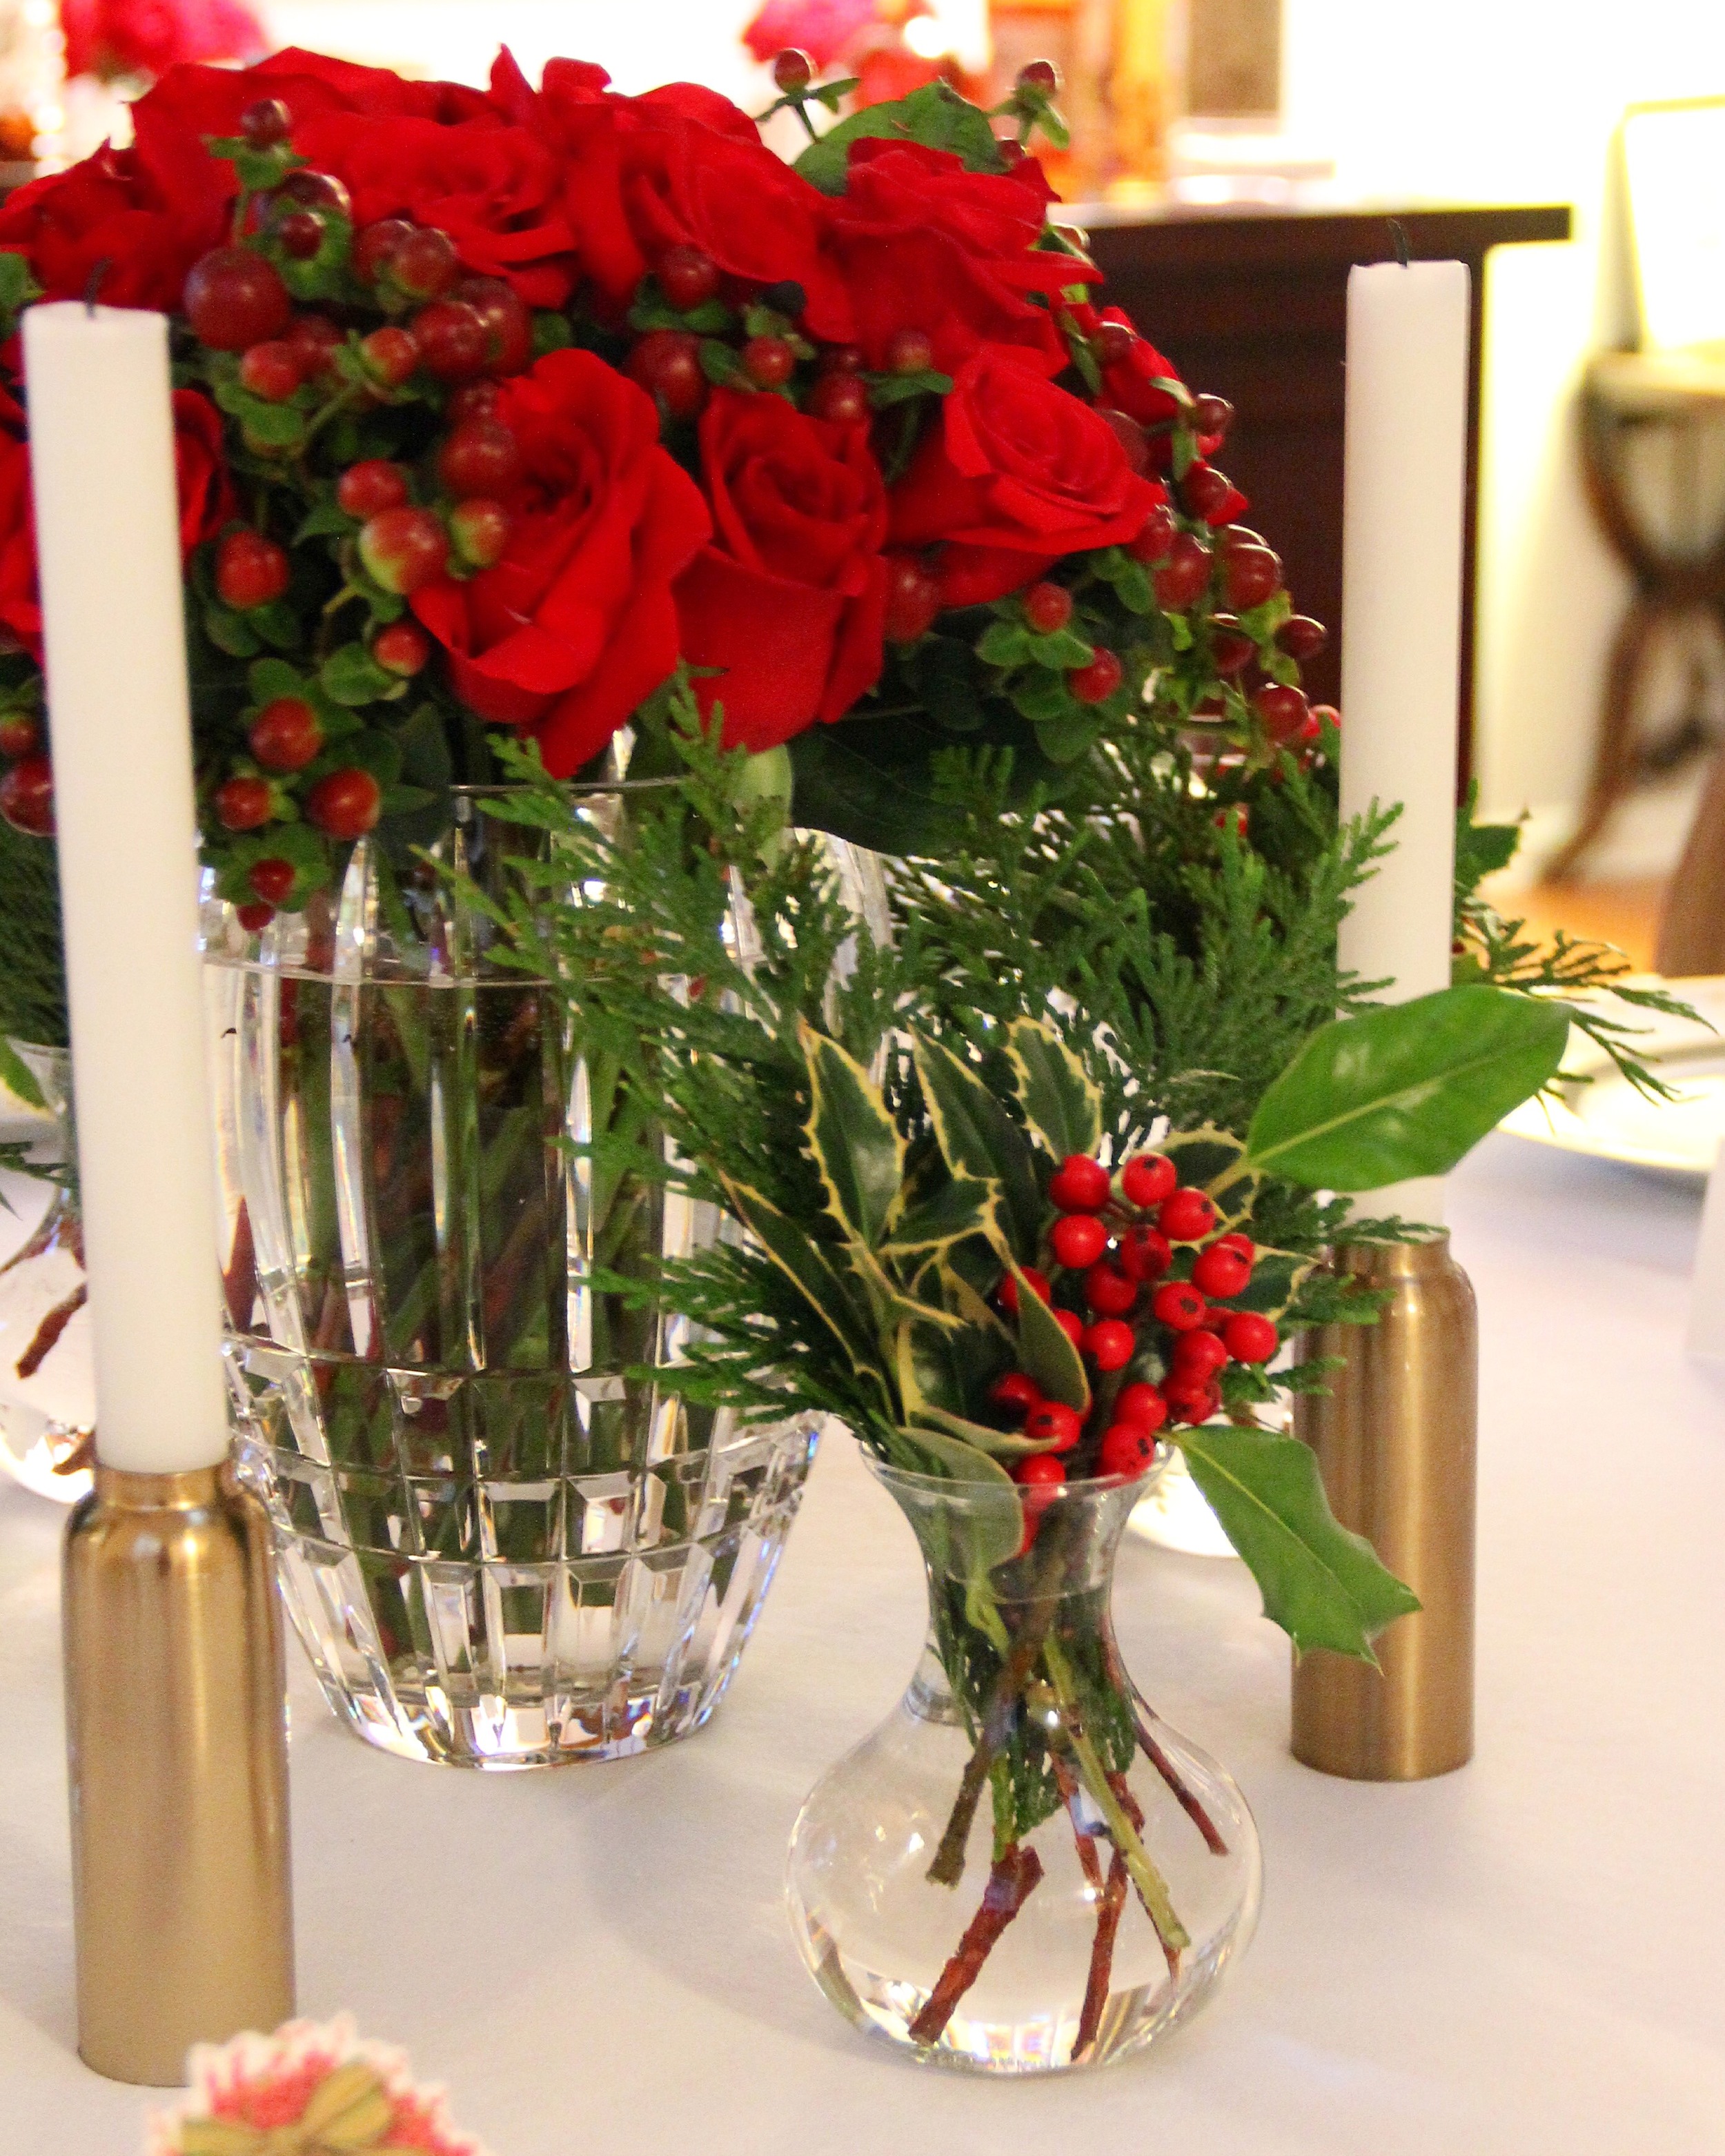
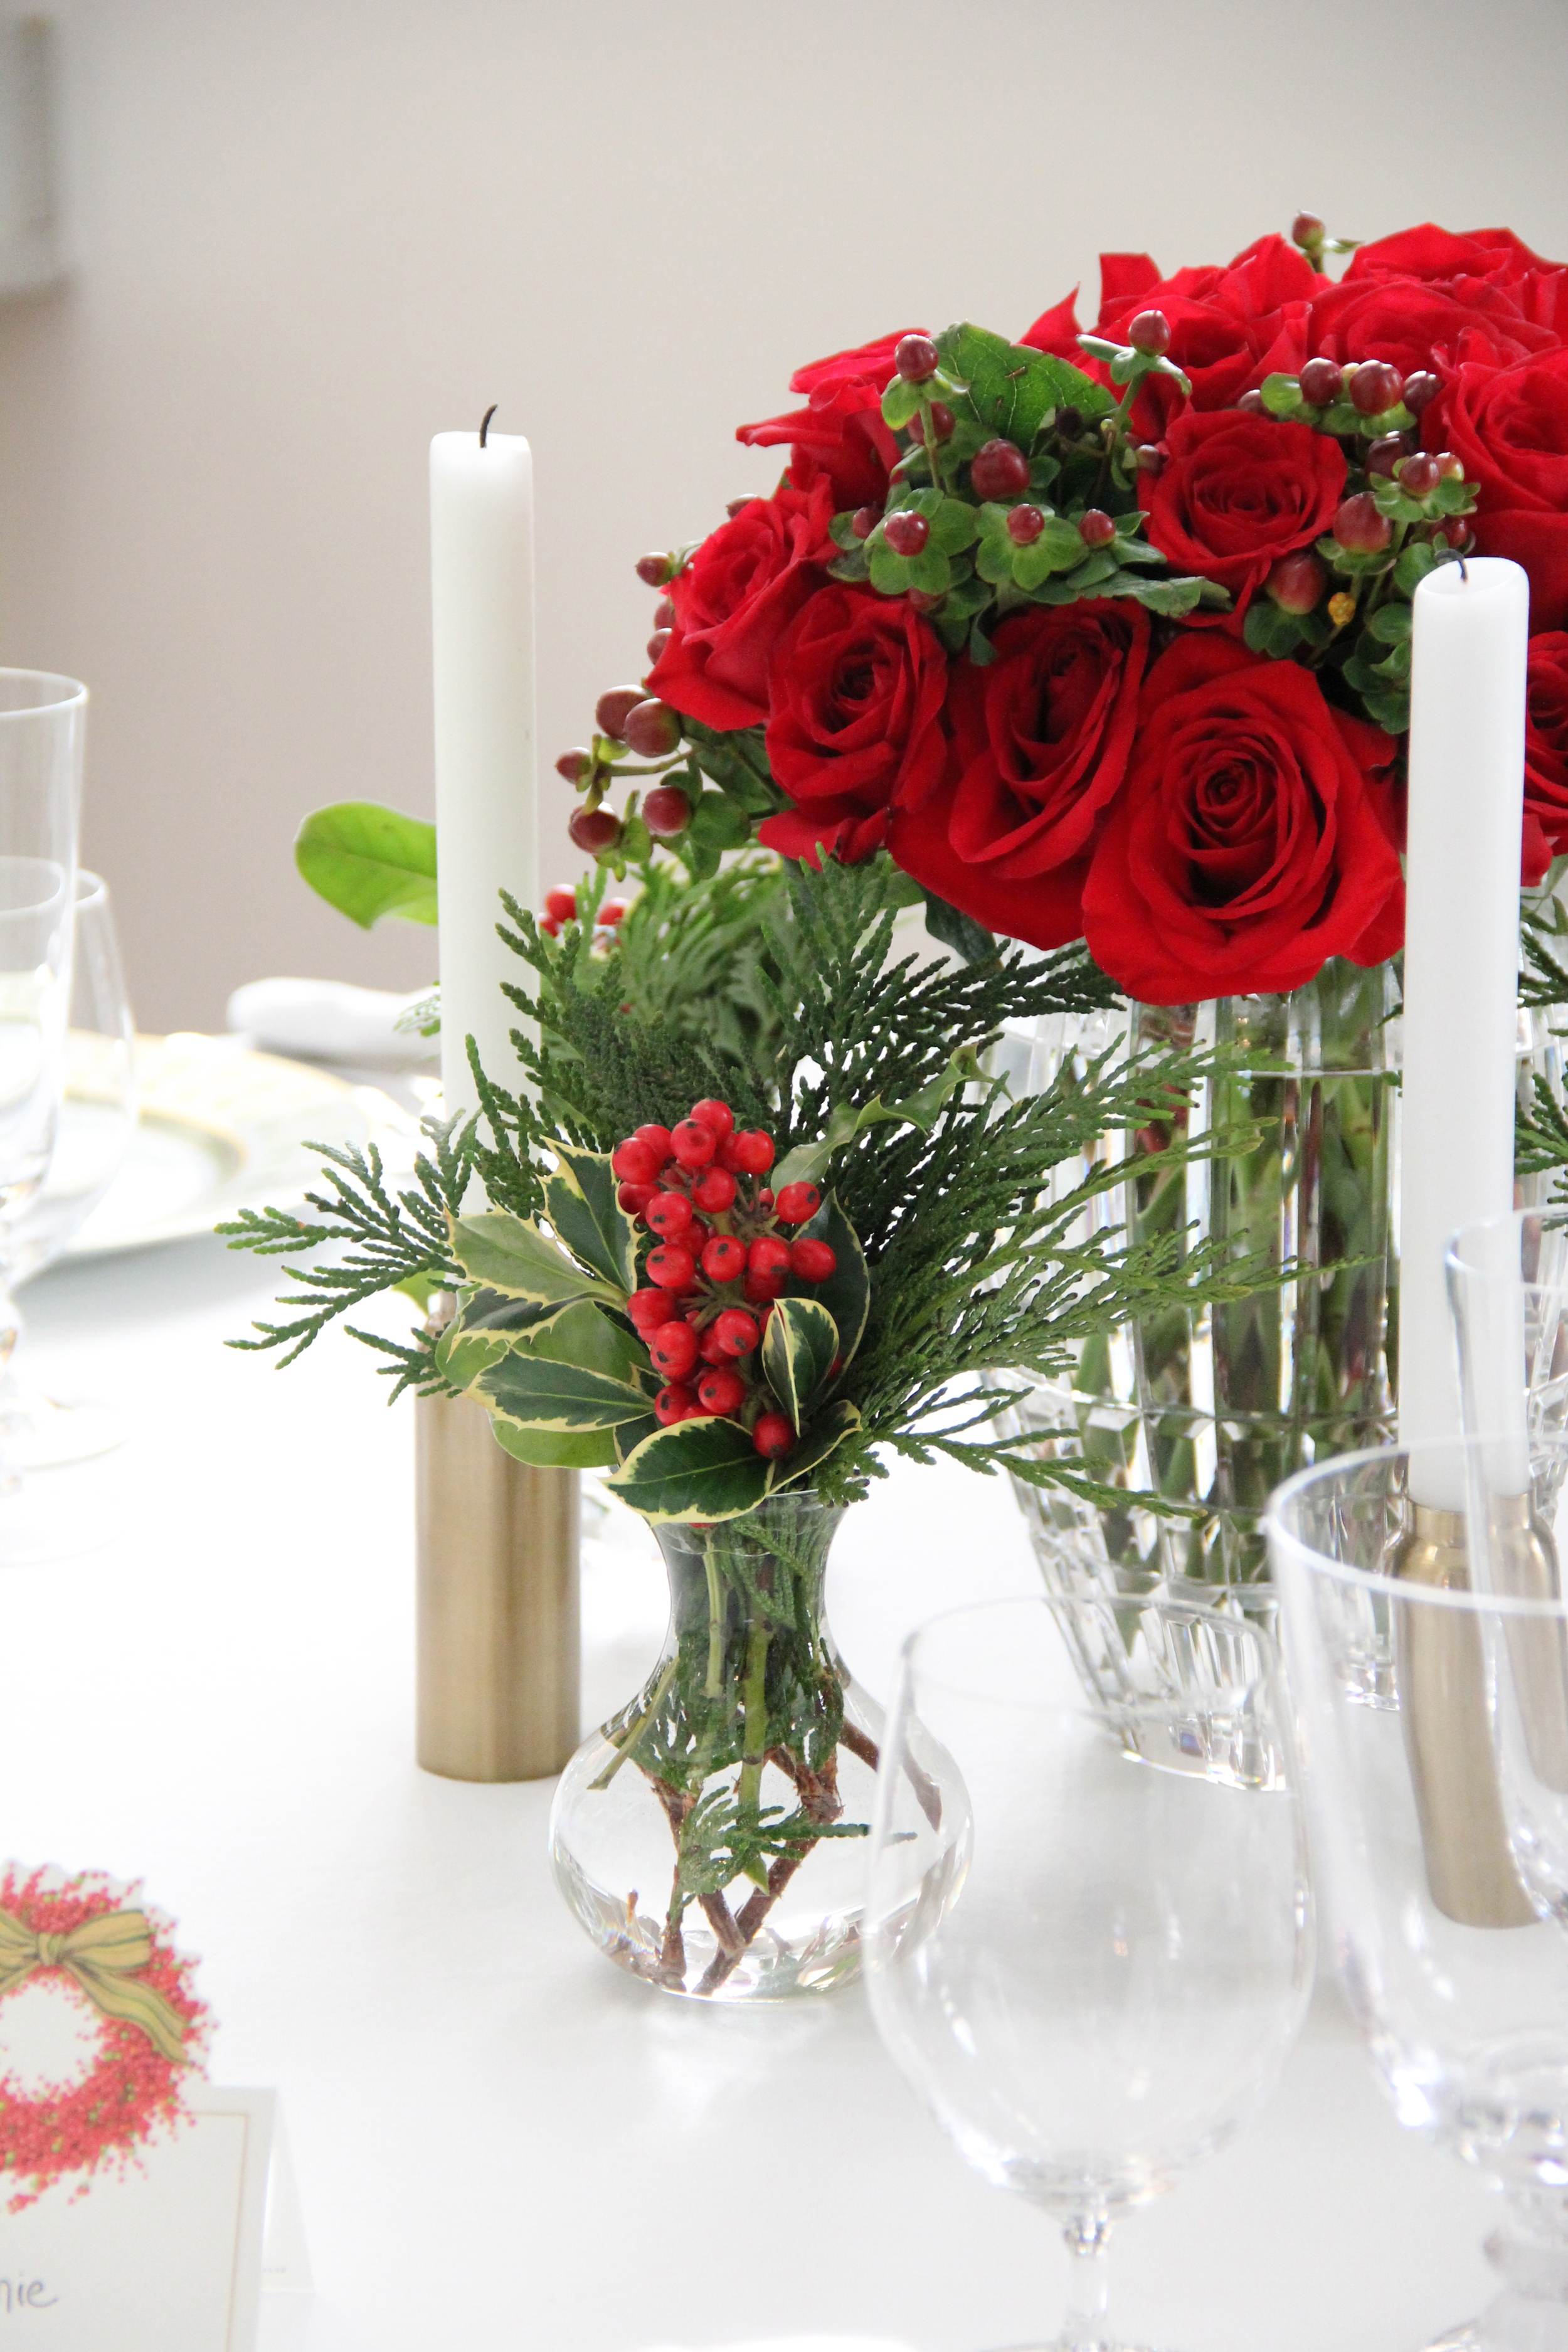
I hosted a Christmas dinner for both my parents and my in-laws this past Wednesday.  We had a delicious dinner complete with Beef Tenderloin, Scalloped Potatoes Au Gratin, Roasted Asparagus and a Sticky Toffee Date Cake soaked in a bourbon sauce for dessert.  While the dinner was a big success, I have to say that I was especially proud of my Christmas Tablescape.  It was pretty, festive and the only new pieces I purchased to create this scape came from the grocery store (flowers, ribbon, peppermint candies)!  It was a good lesson for me to keep in mind with future tablescapes-- assess what you already have before going out to the store to buy more merchandise you may not even need.  

The second and probably most important lesson I learned from hosting this most recent dinner party is to refrain from taking on too much.  Yes, I ended up hosting a lovely and delicious party, but I was a little bummed that I wasn't able to spend as much time being with my family because I was too busy in the kitchen.  When hosting a party in the future, I am going to make a conscious effort to keep it both simple and delicious so that I can have more time to spend with the people who matter most. 

My Holiday Baking Marathon

Redefining Domestics Peppermint Bark.JPG
Redefining Domestics Kentucky Bourbon Balls.JPG
Spritz Cookie Baking.JPG

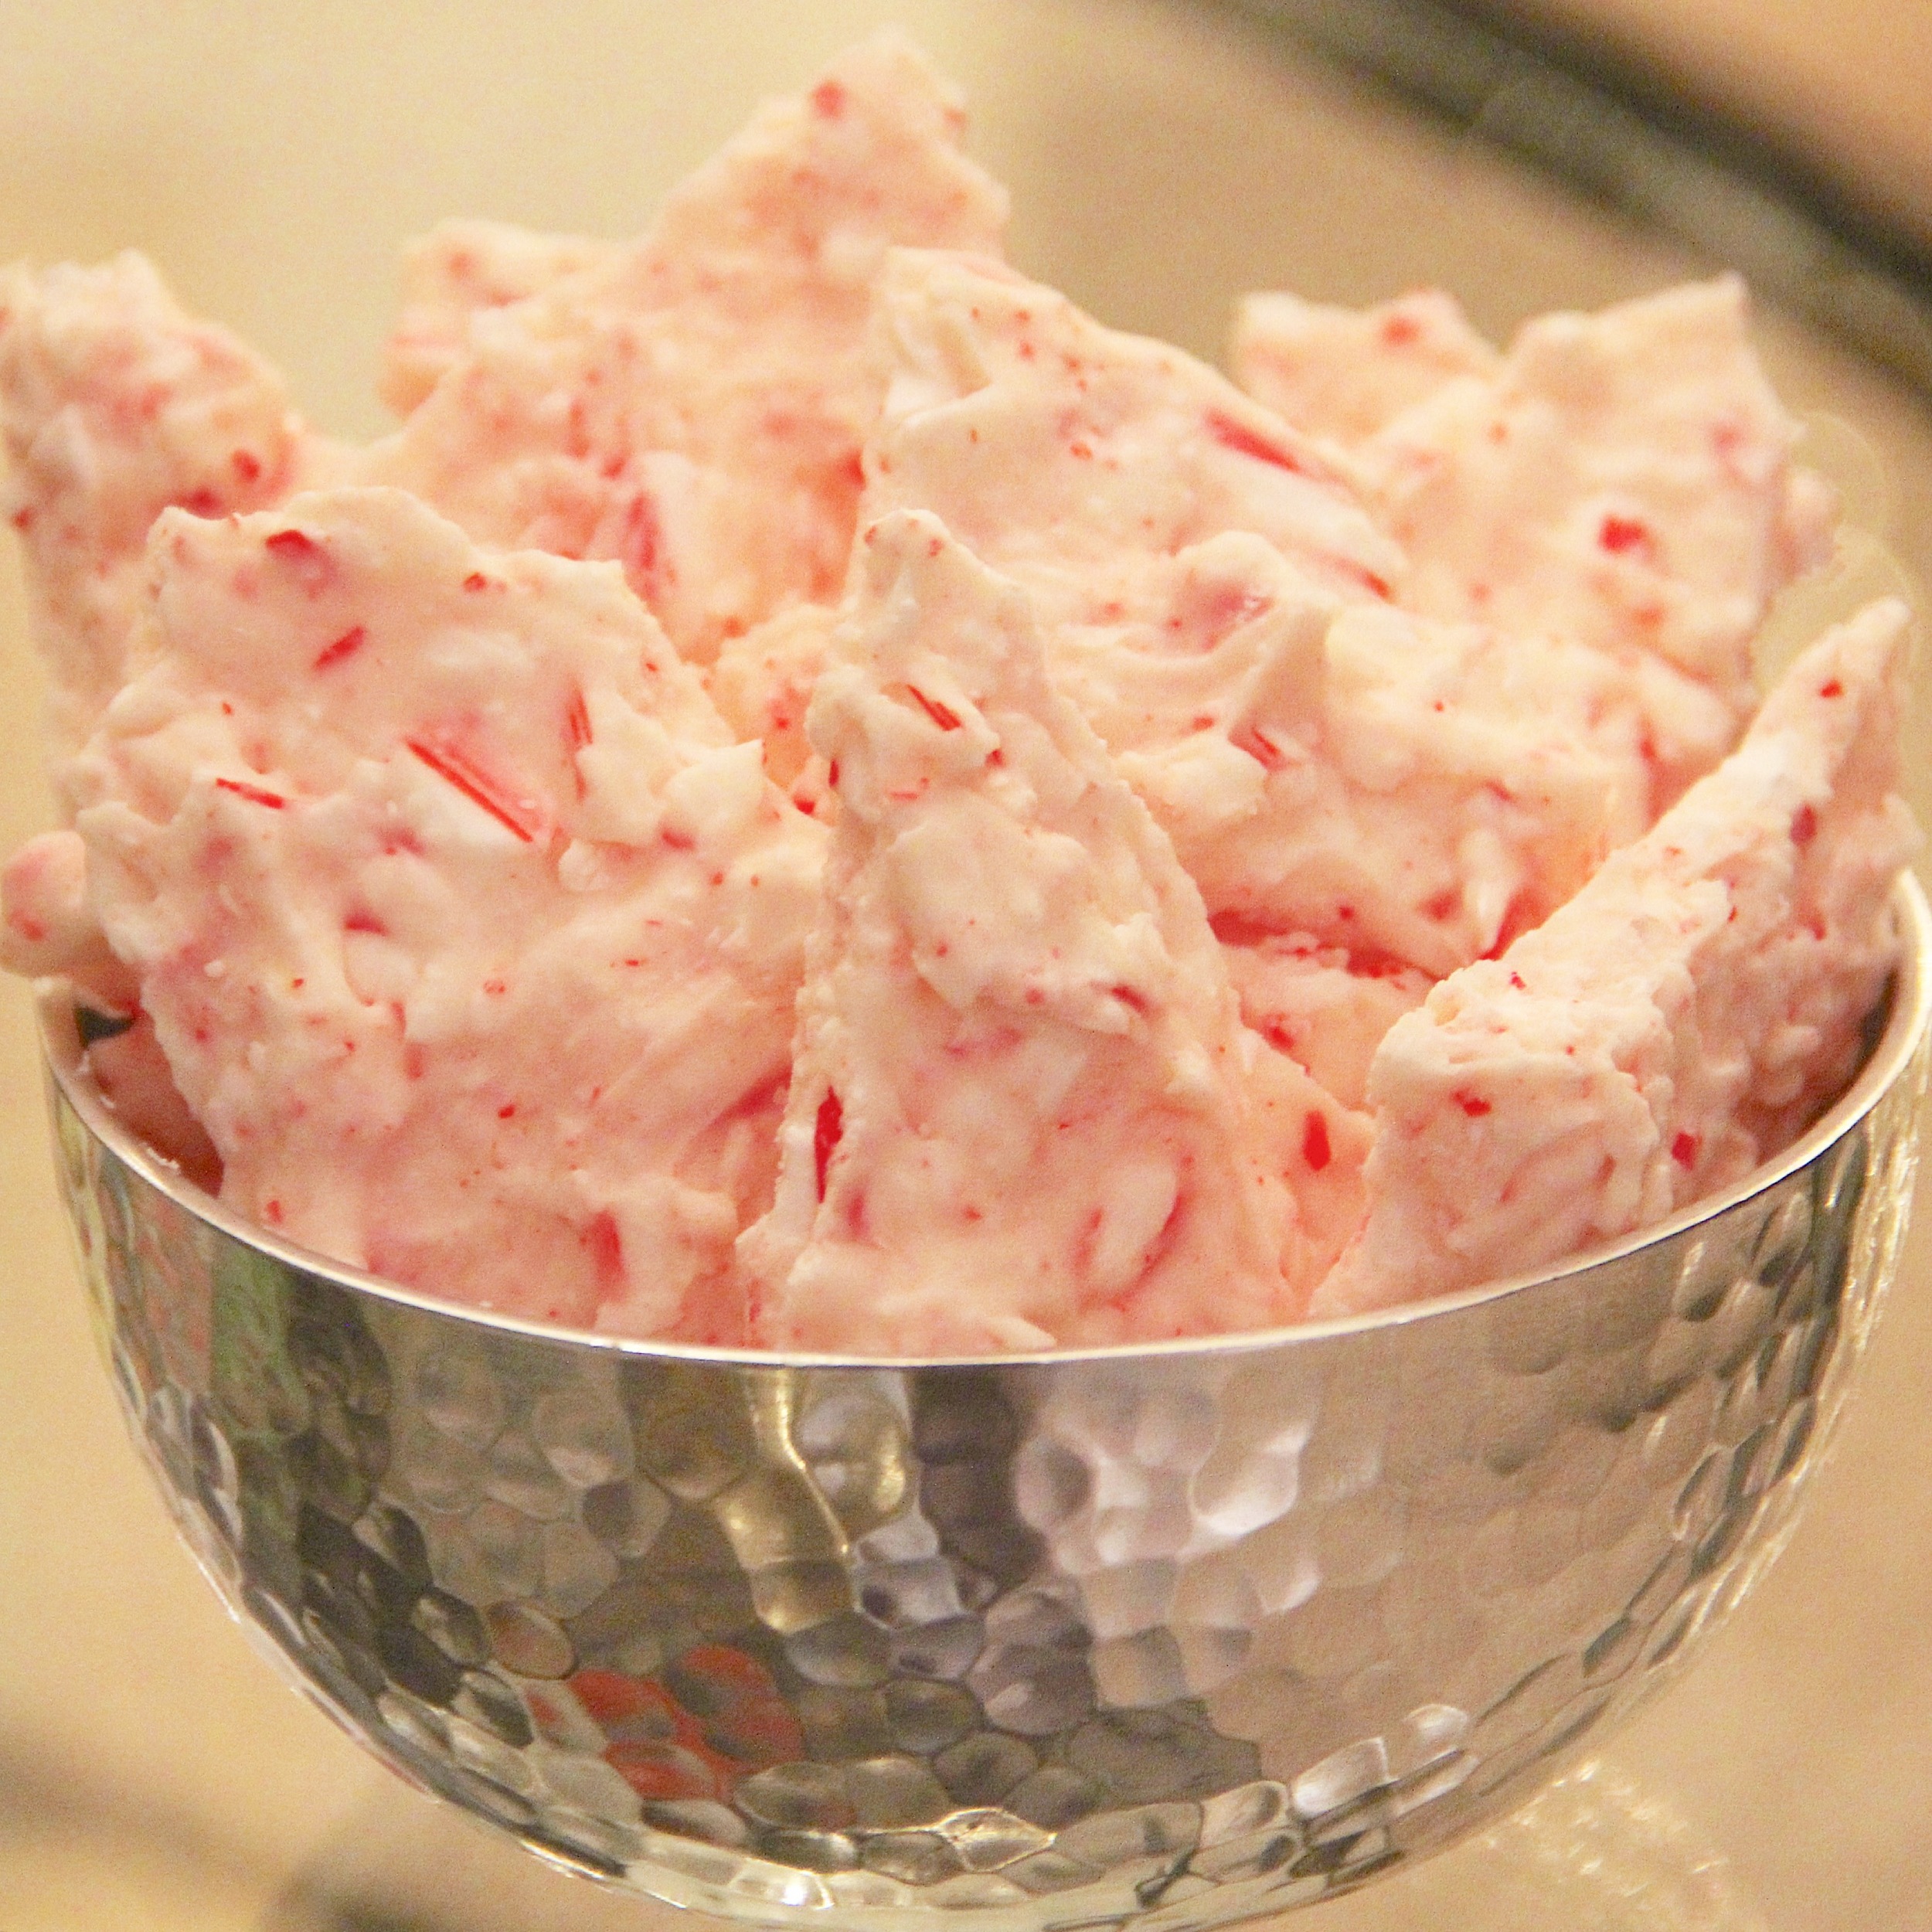
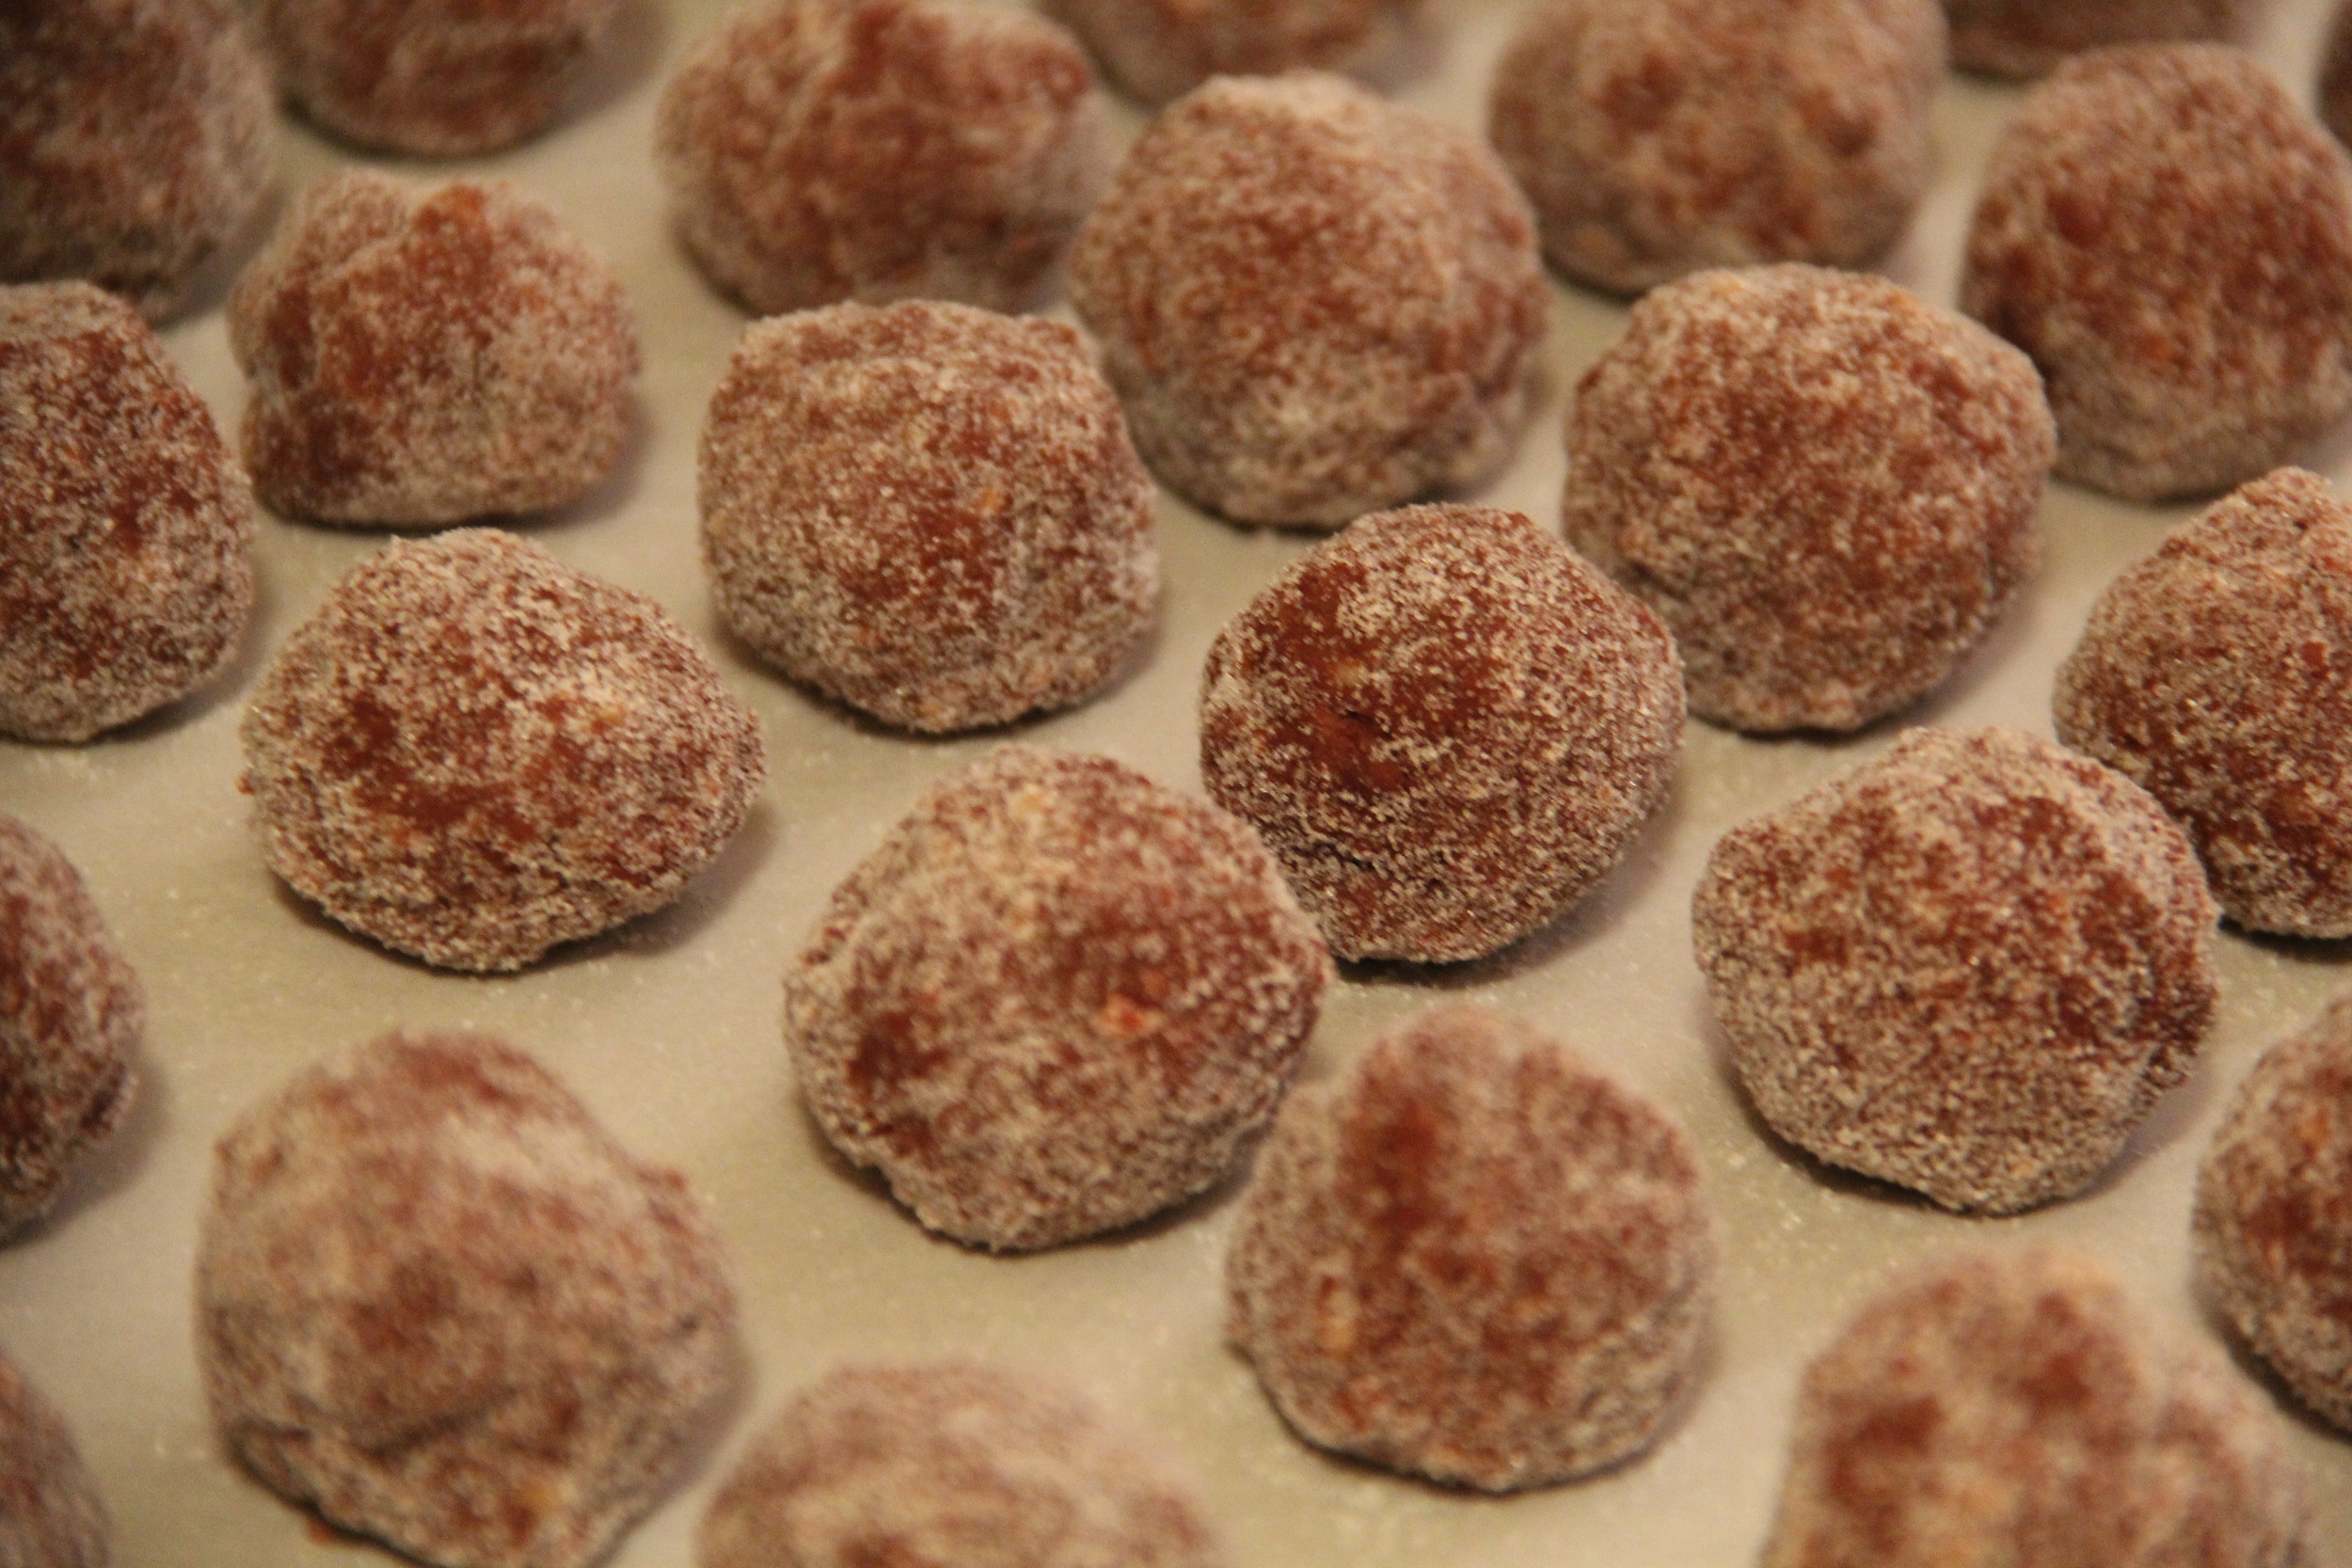
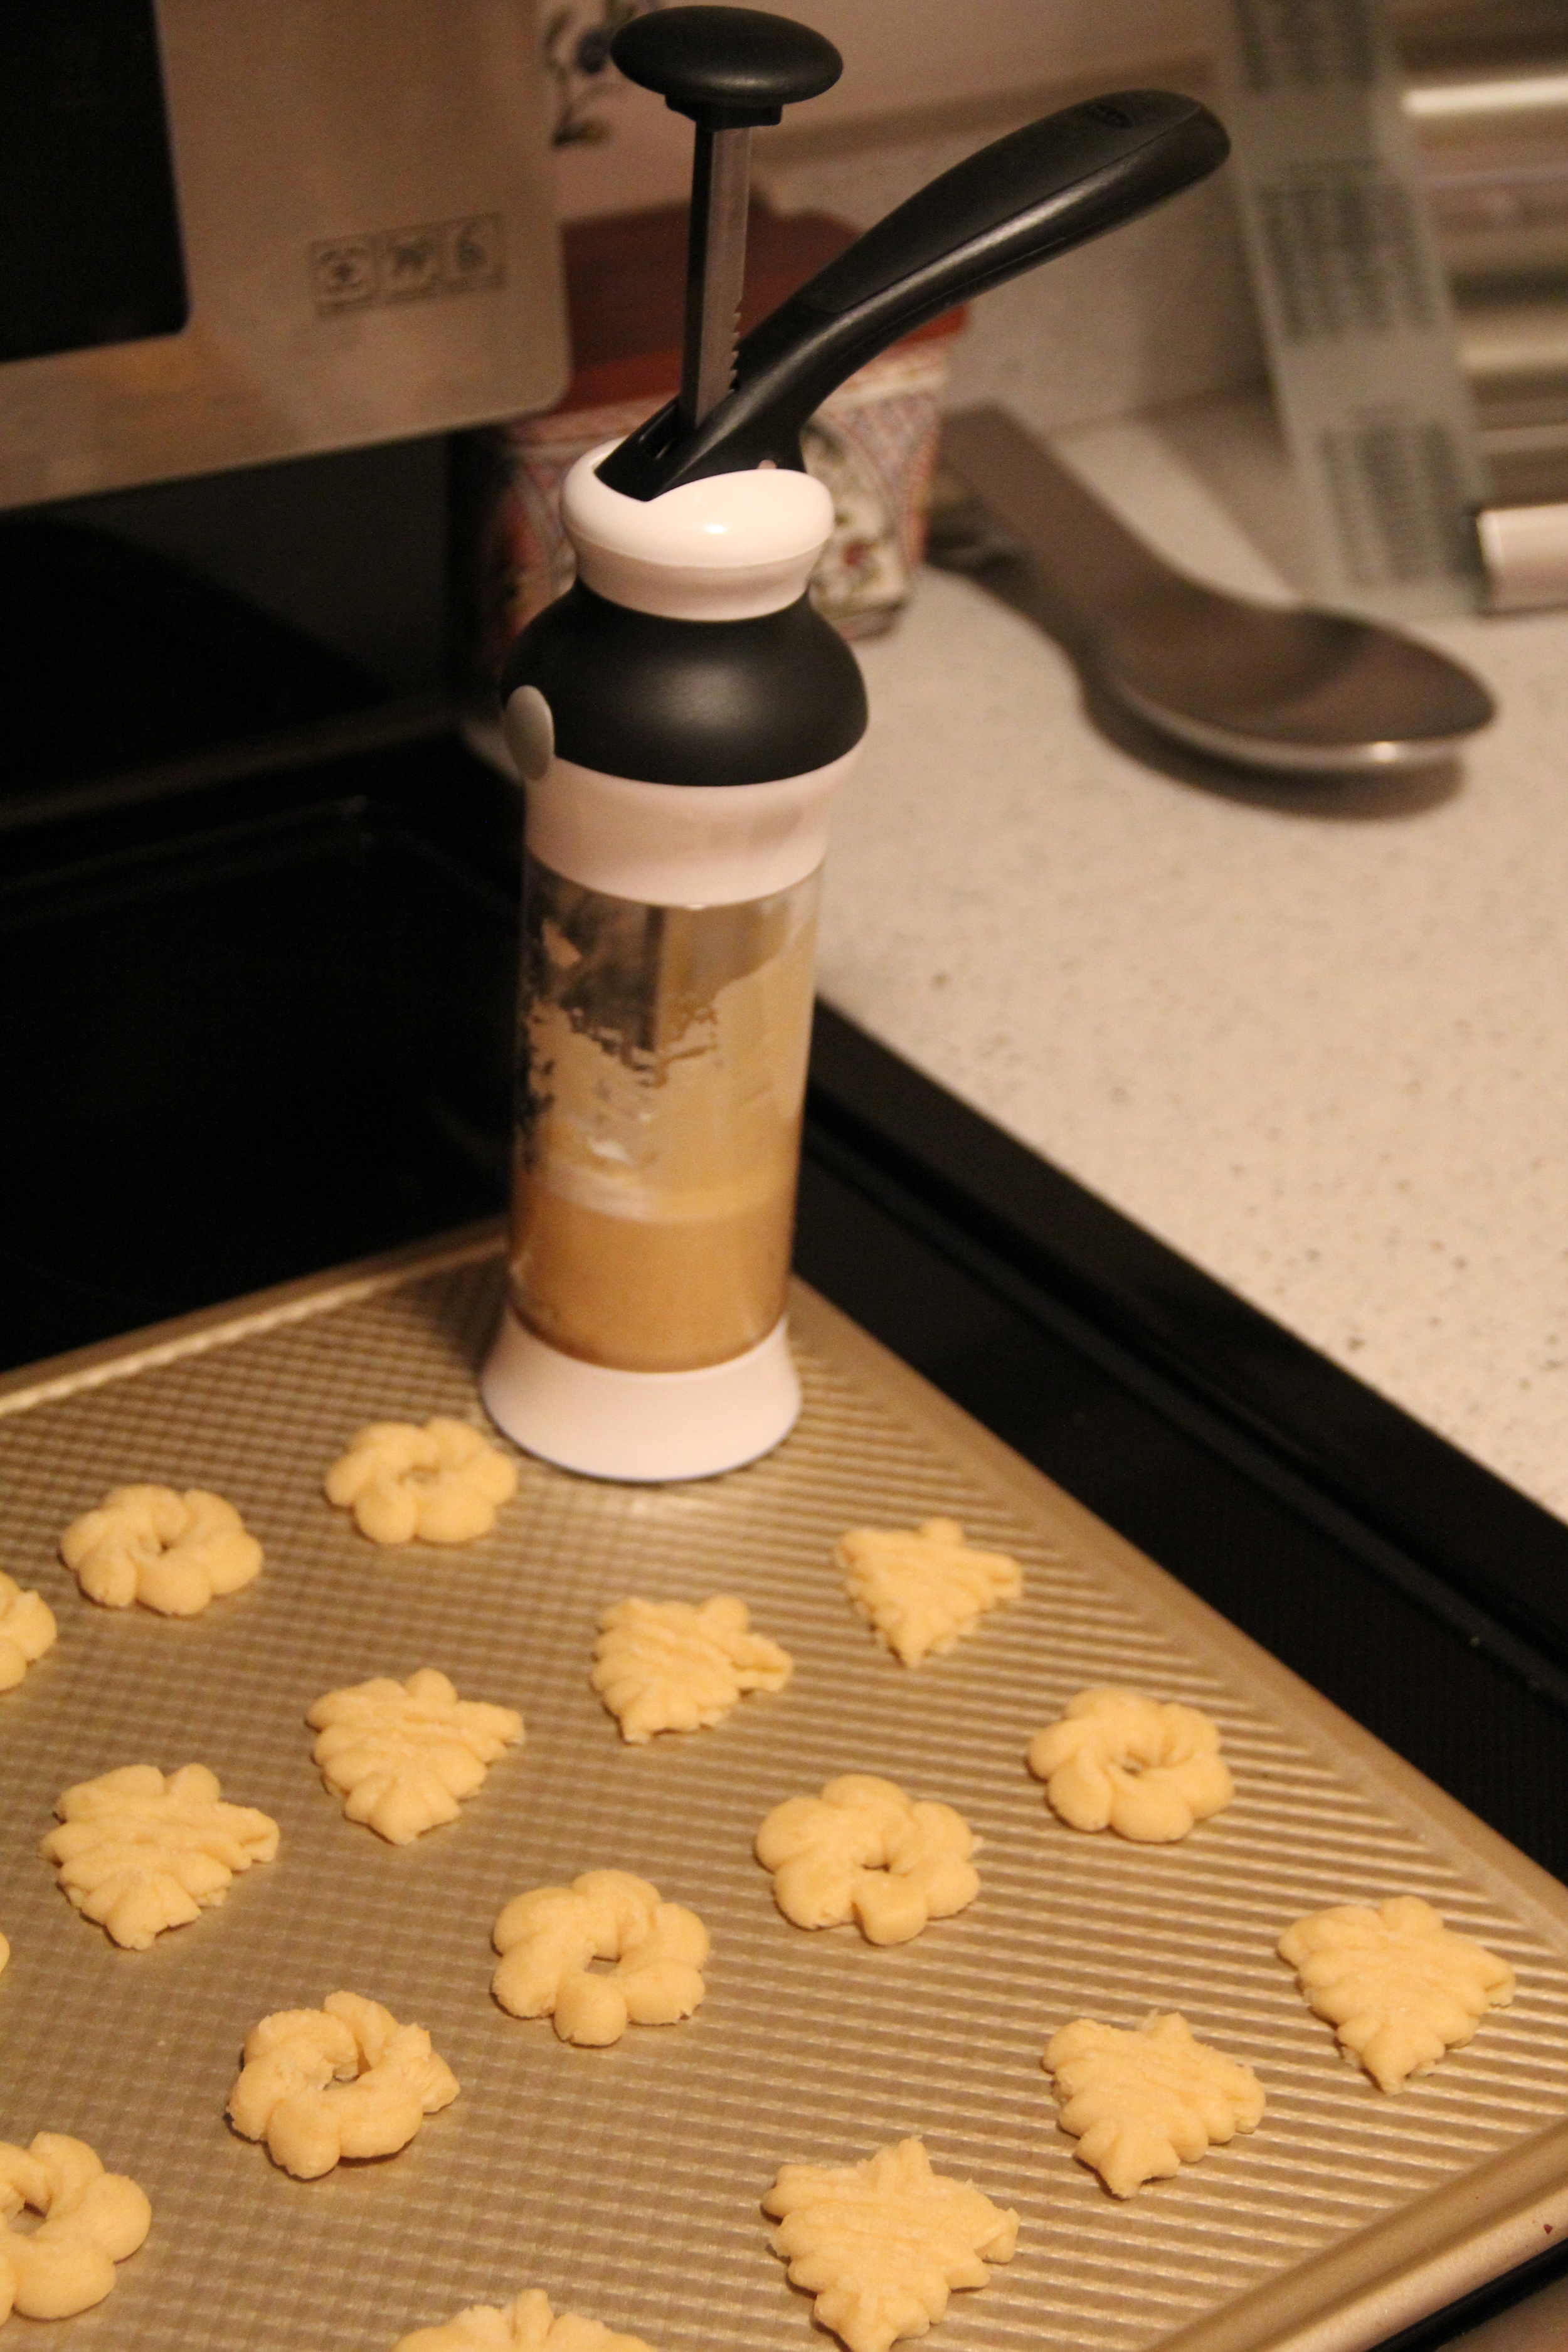
From my homemade peppermint bark recipe to the dozens upon dozens of bourbon balls I rolled for my colleagues at work, this month has been quite the baking marathon.  So happy to have successfully delivered all of these treats and to finally have the many delicious temptations out of my house (cookie intervention please)!  

Homemade Eggnog

IMG_3715.JPG

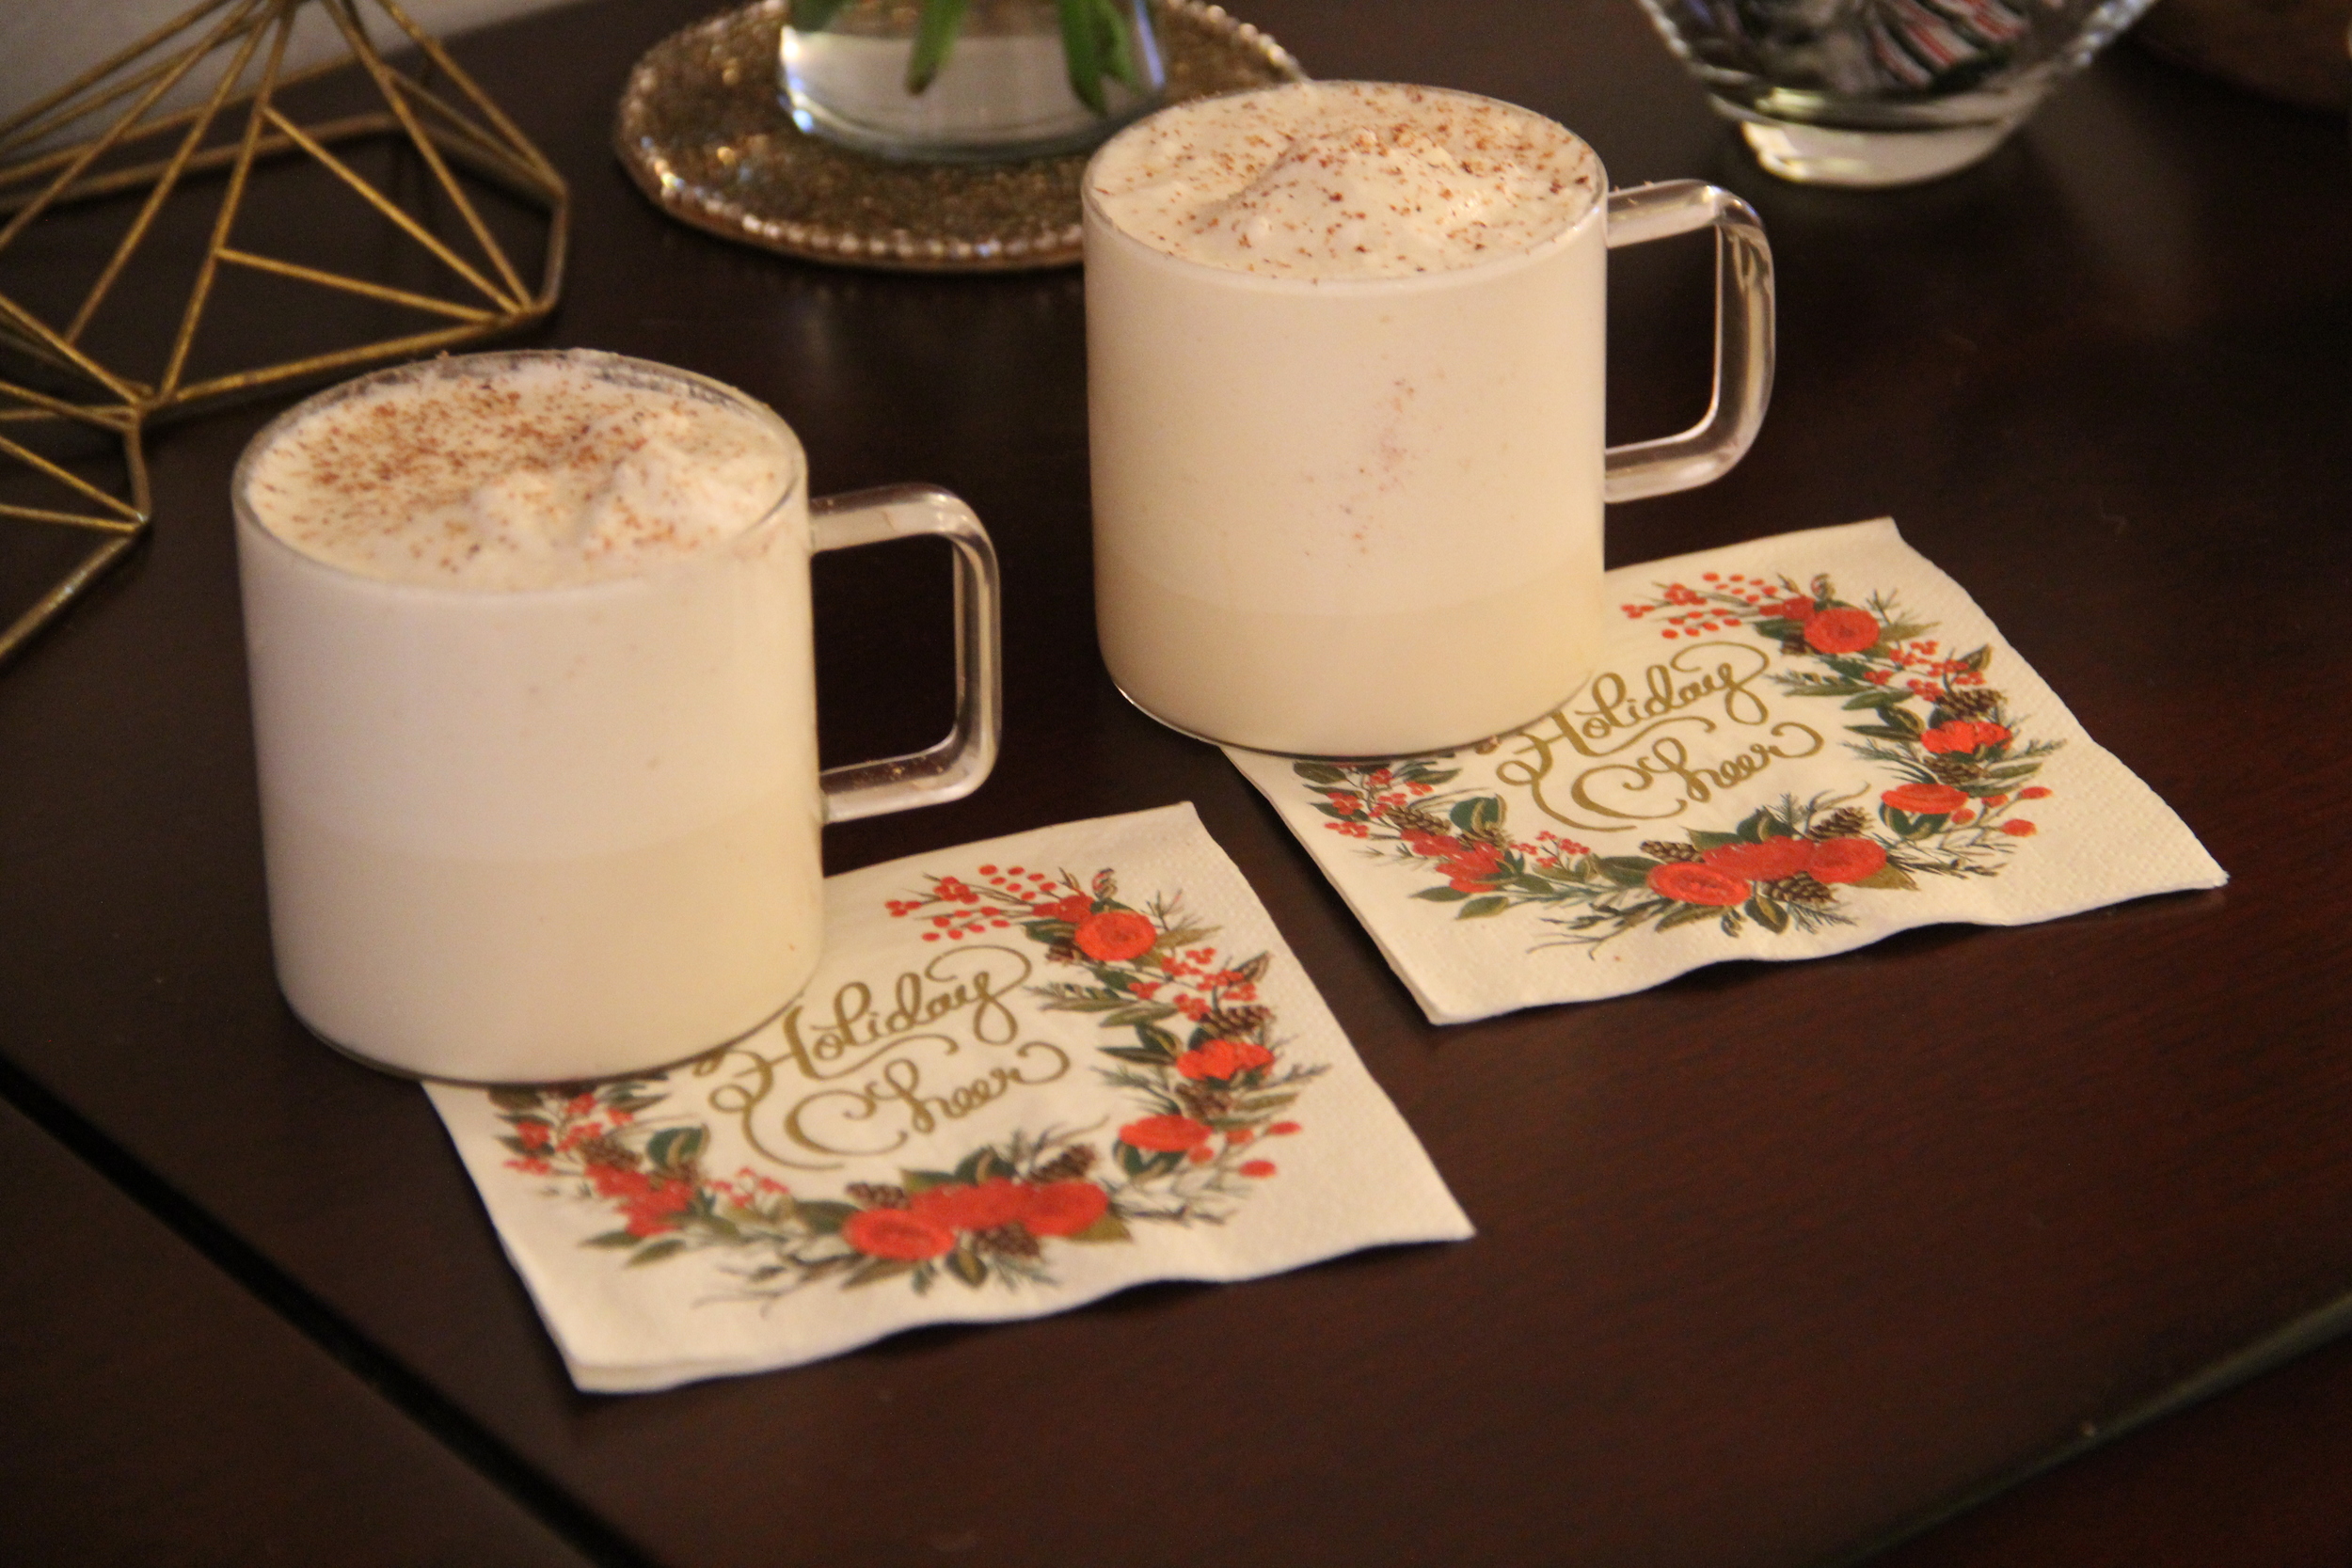
Last night I served this recipe for holiday eggnog while we opened up gifts.  Whatever feelings you may have had about eggnog, just forget them because this recipe is fabulous and a definite must try.  

Redefining Domestics Merry Christmas.JPG

While my holiday hostess duties may finally be complete, the holiday celebrating continues!  My husband and I are currently on our way to Utah for a fun and snowy ski adventure with my sister and brother-in-law.  Stay tuned for Redefining Domestics "Utah Edition" coming to the blog next week!  

Have a wonderful Christmas everyone!

In Decorate Tags Christmas, Christmas Tree, Baking, Home, Holiday Decorations, Entertaining
Comment

Christmas Tablescape

December 21, 2015 Callie Cagney
Christmas Tablescape 1.JPG
Christmas Tablescape 2.JPG

We are officially in the home stretch of the Christmas Countdown (thank goodness)!  I don't know if you all feel the same way, but hosting back to back holidays has definitely contributed to my overwhelming feeling of fatigue.  Don't get me wrong, I absolutely love hosting and am so happy to have my family coming into town for both holidays.  However, what I think I have learned from this experience is that it takes a lot of work (and money) to host, and when you are working full time on top of all of this holiday prep, it can leave you feeling completely wiped out.  So maybe next year I might scale back a bit (of course I say this now...).   Ultimately, my point is that everyone who is hosting one or both holidays this season should be commended for taking on such an insanely tall order.  I know that I have certainly gained a profound appreciation for what it takes and I laud all of you who have decided to take on this task as well!

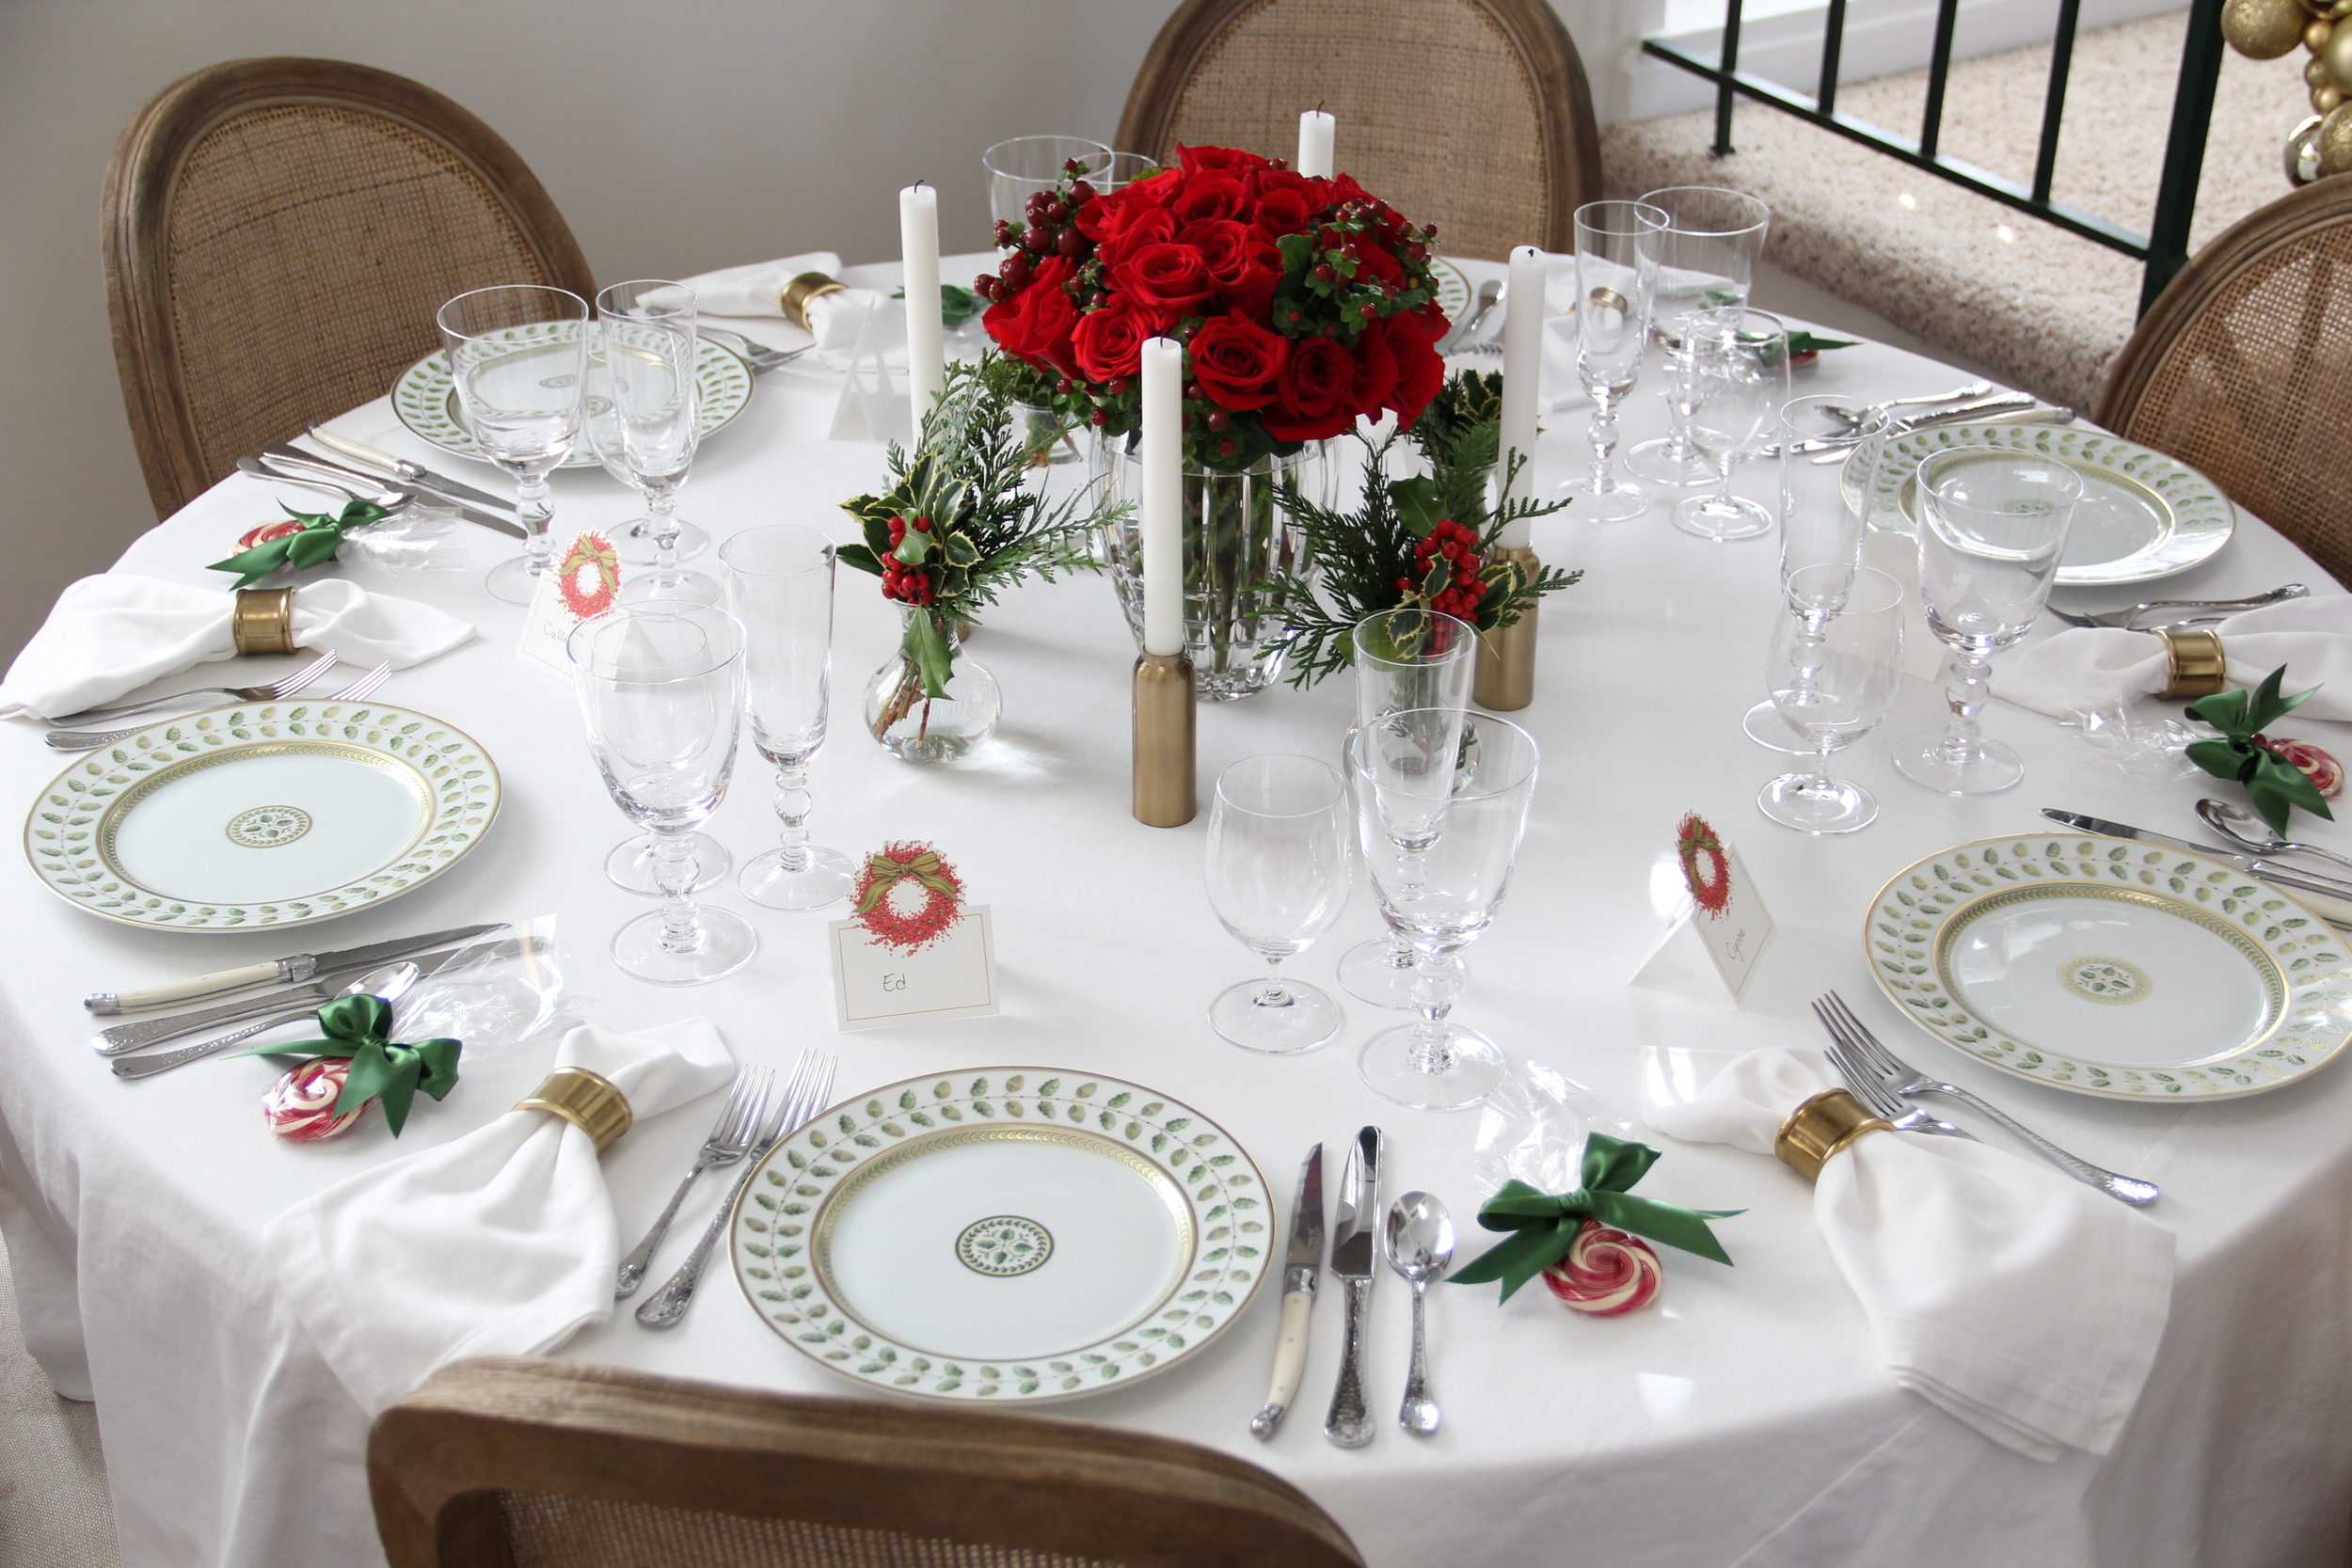
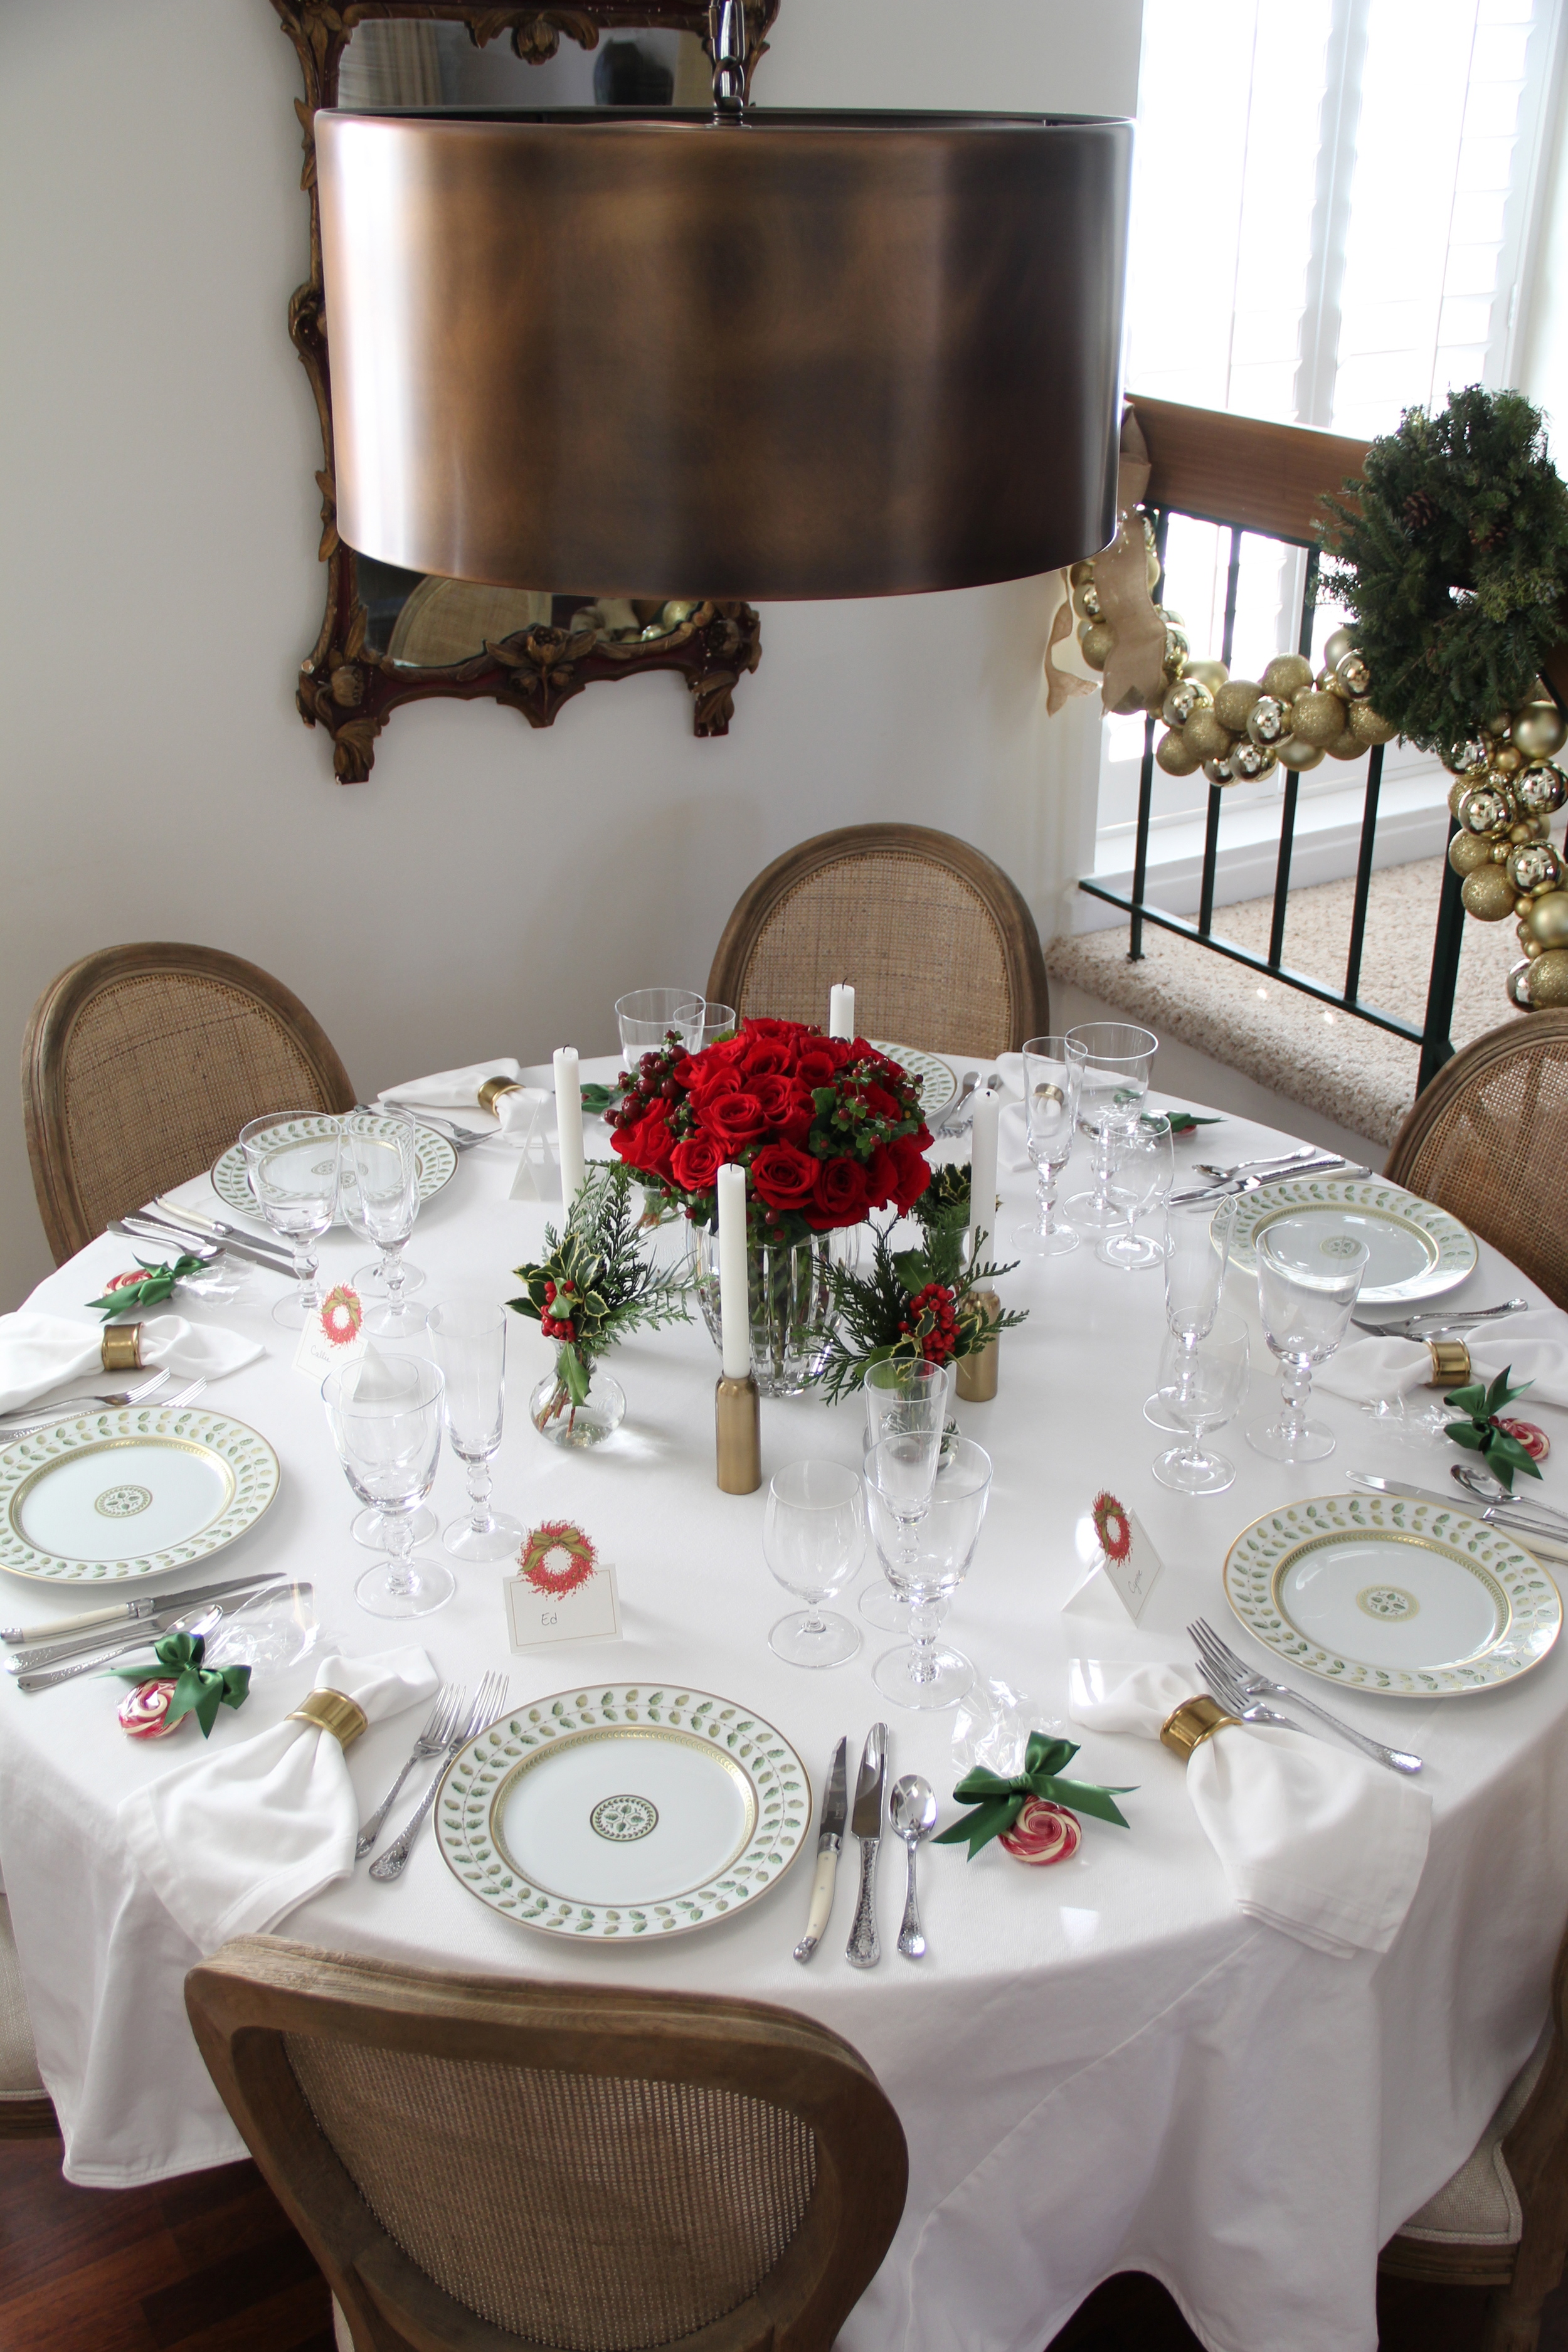
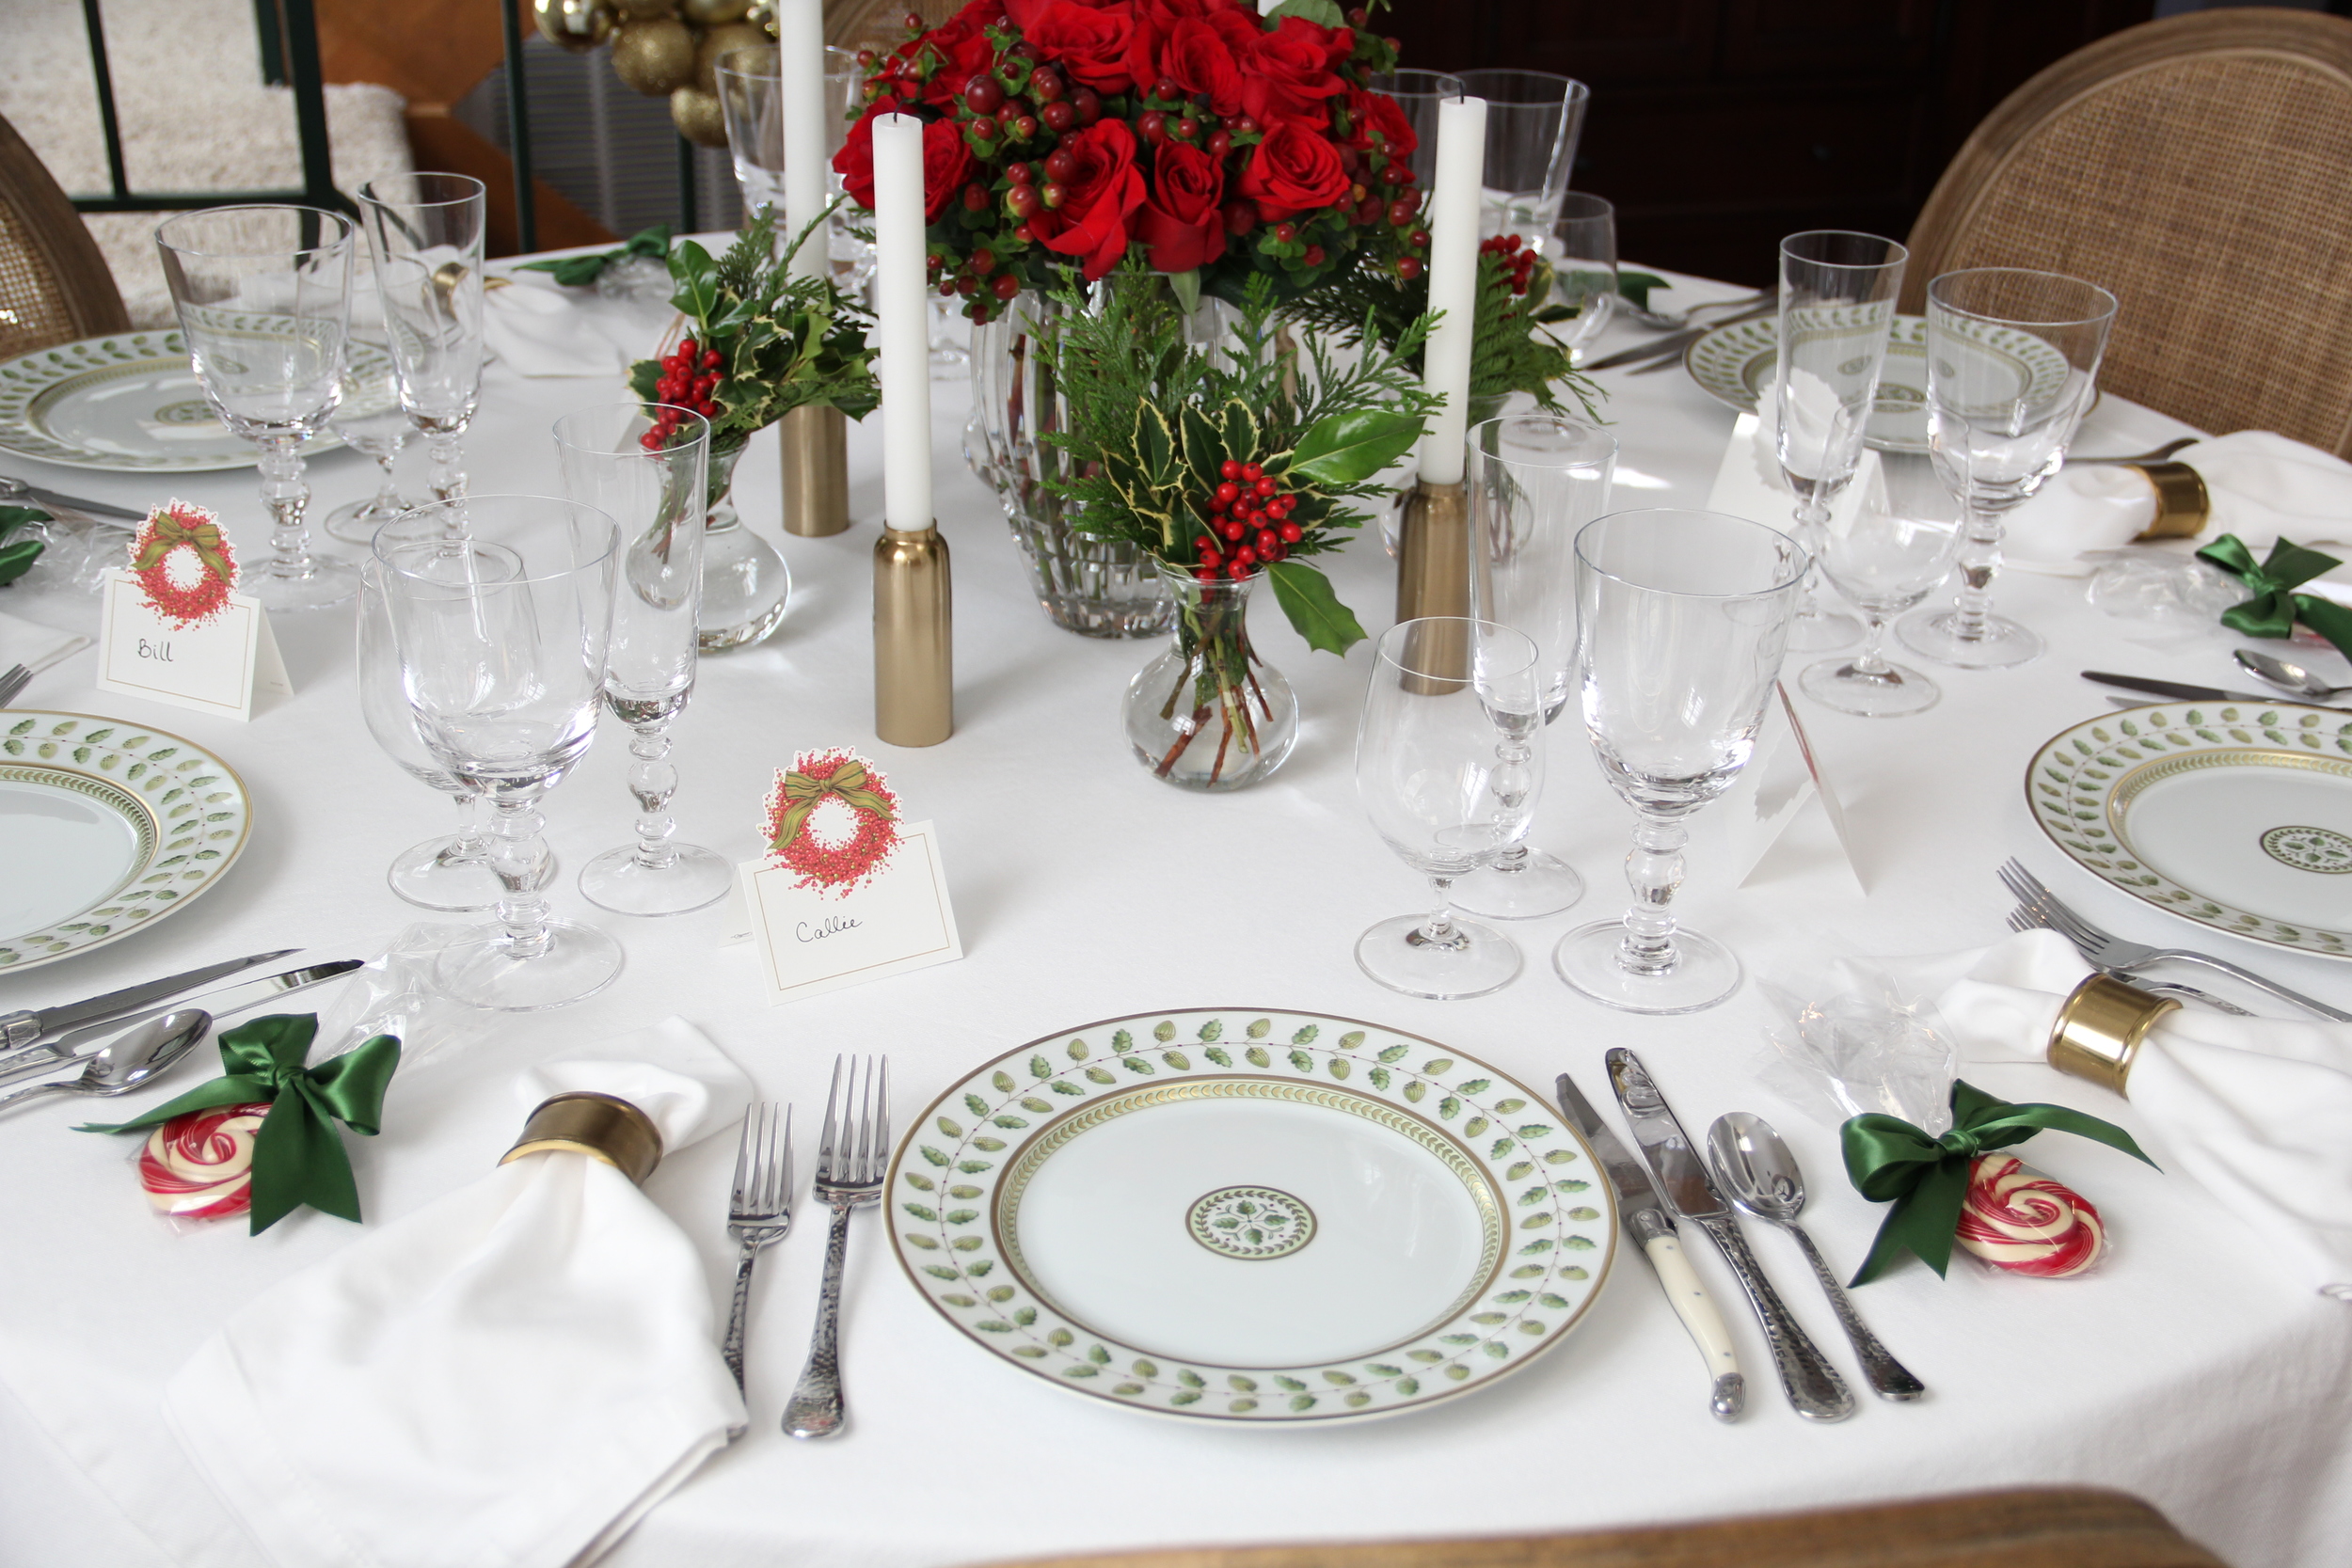
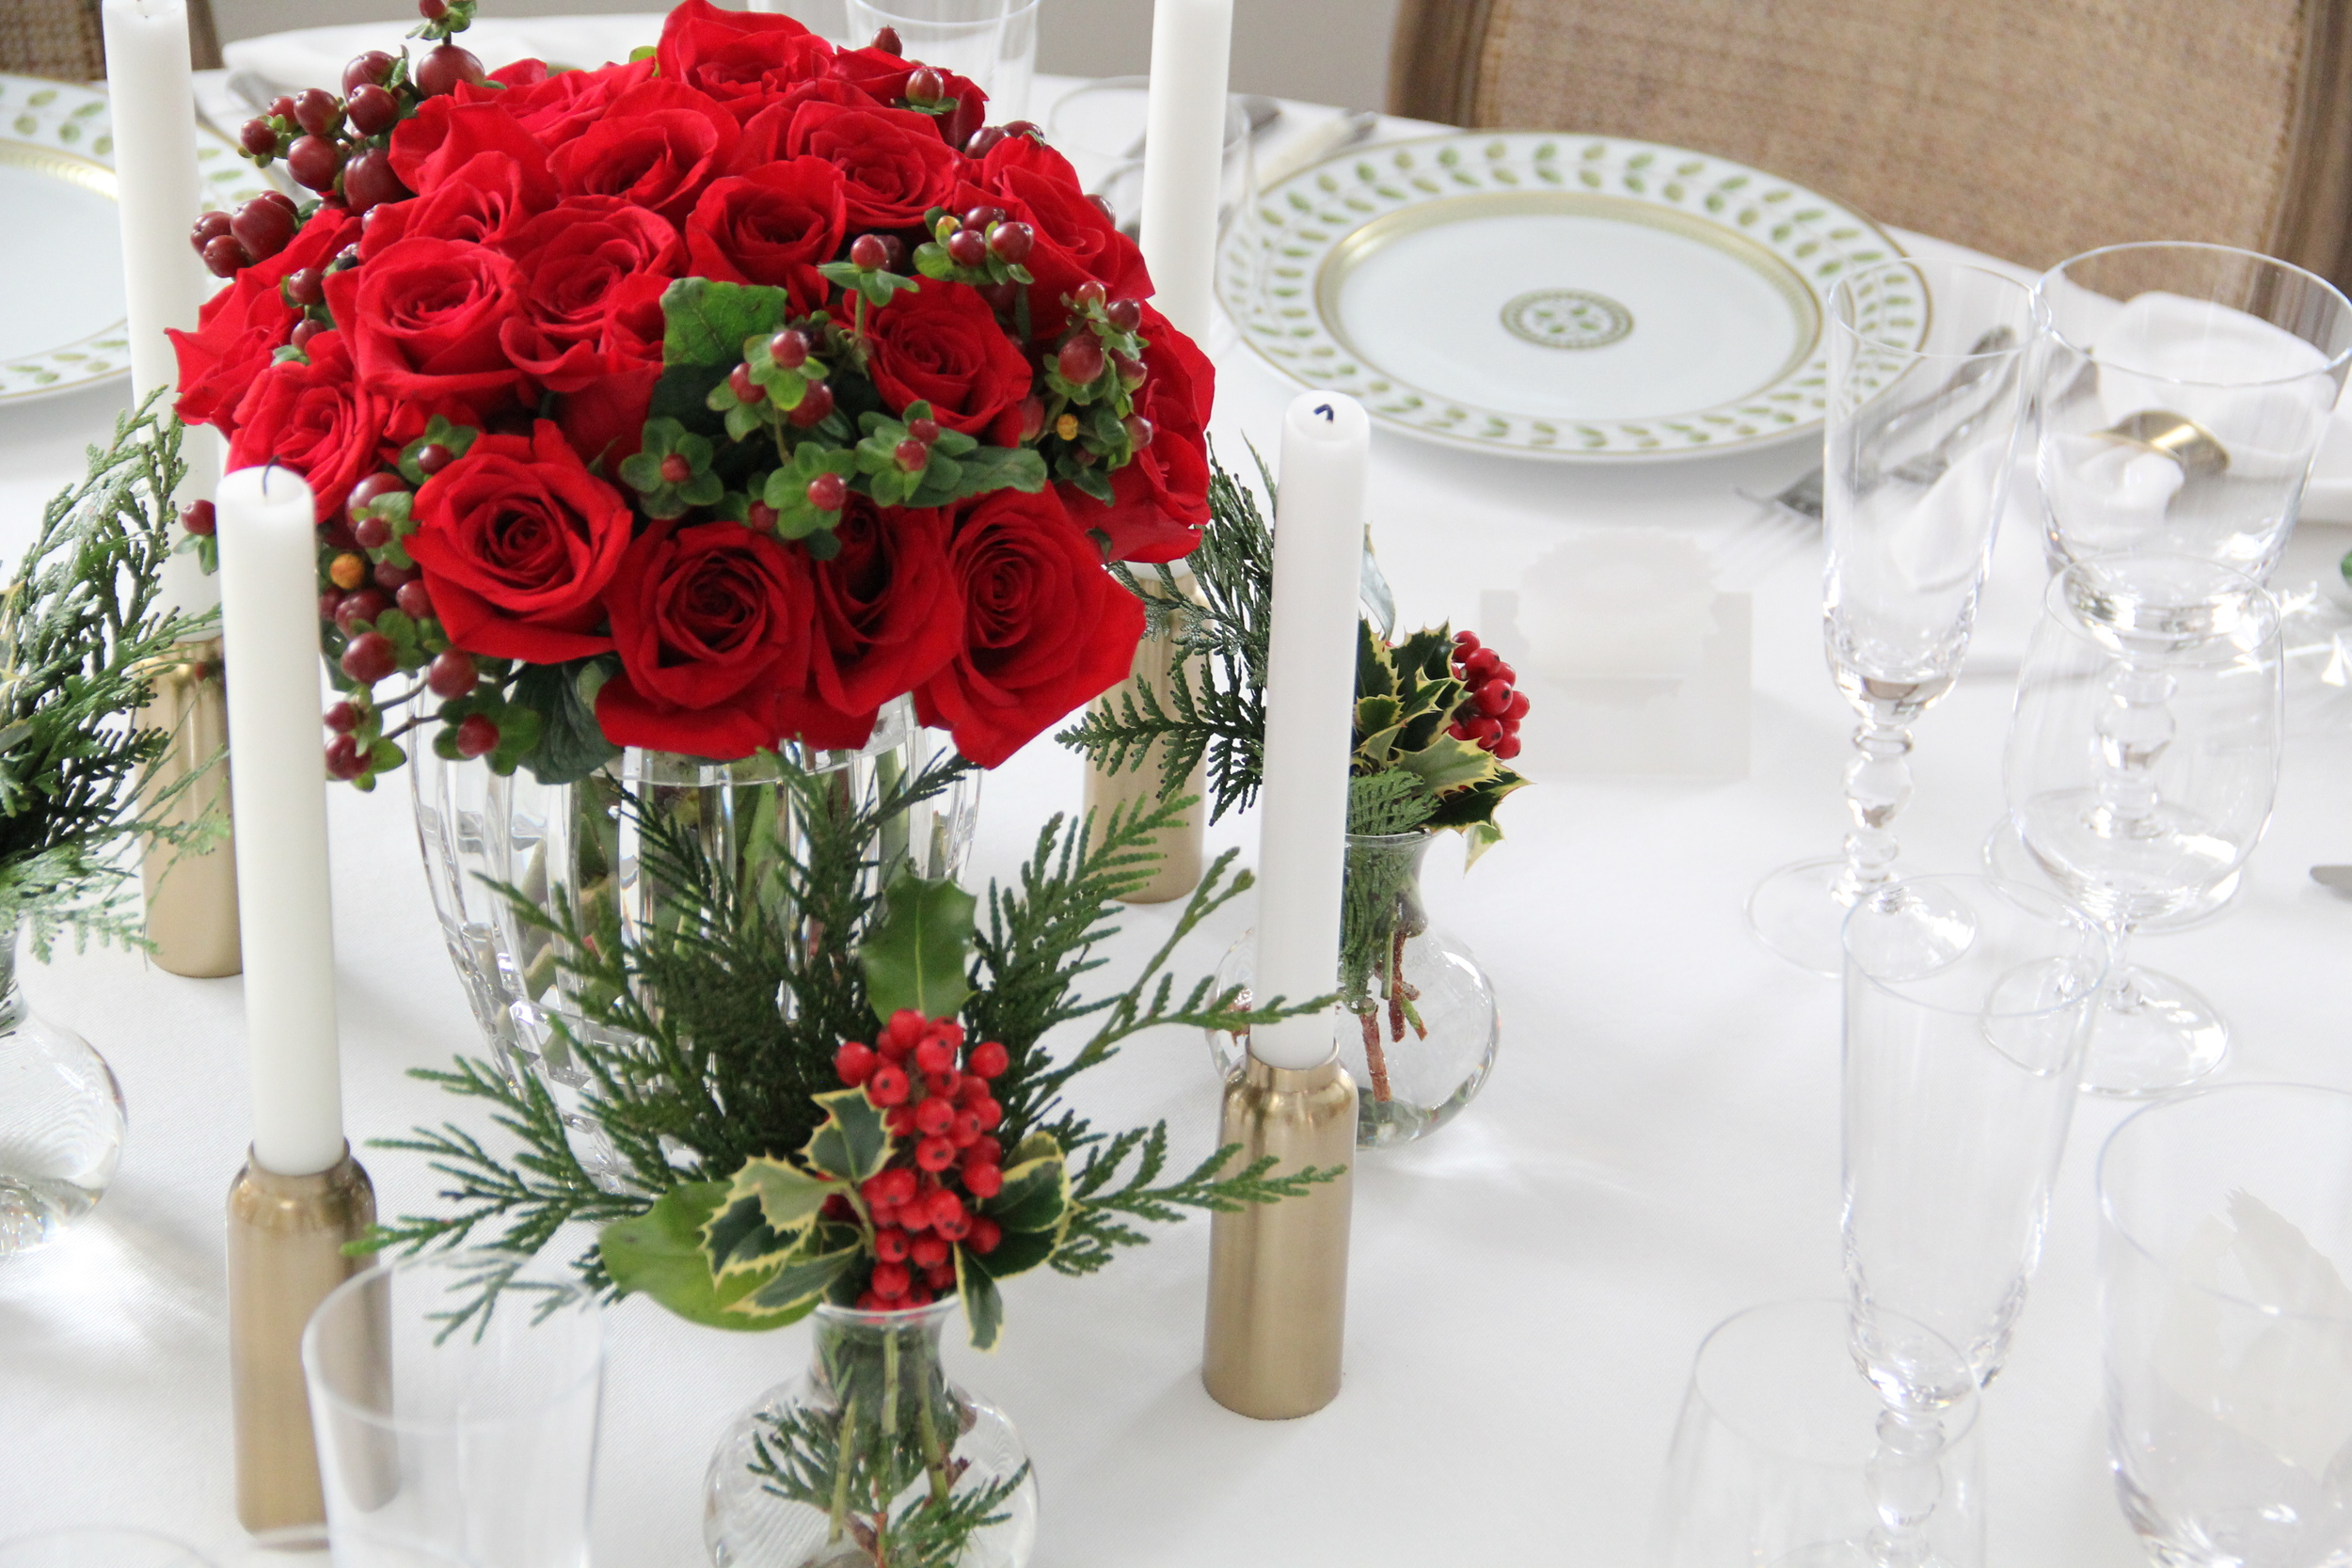
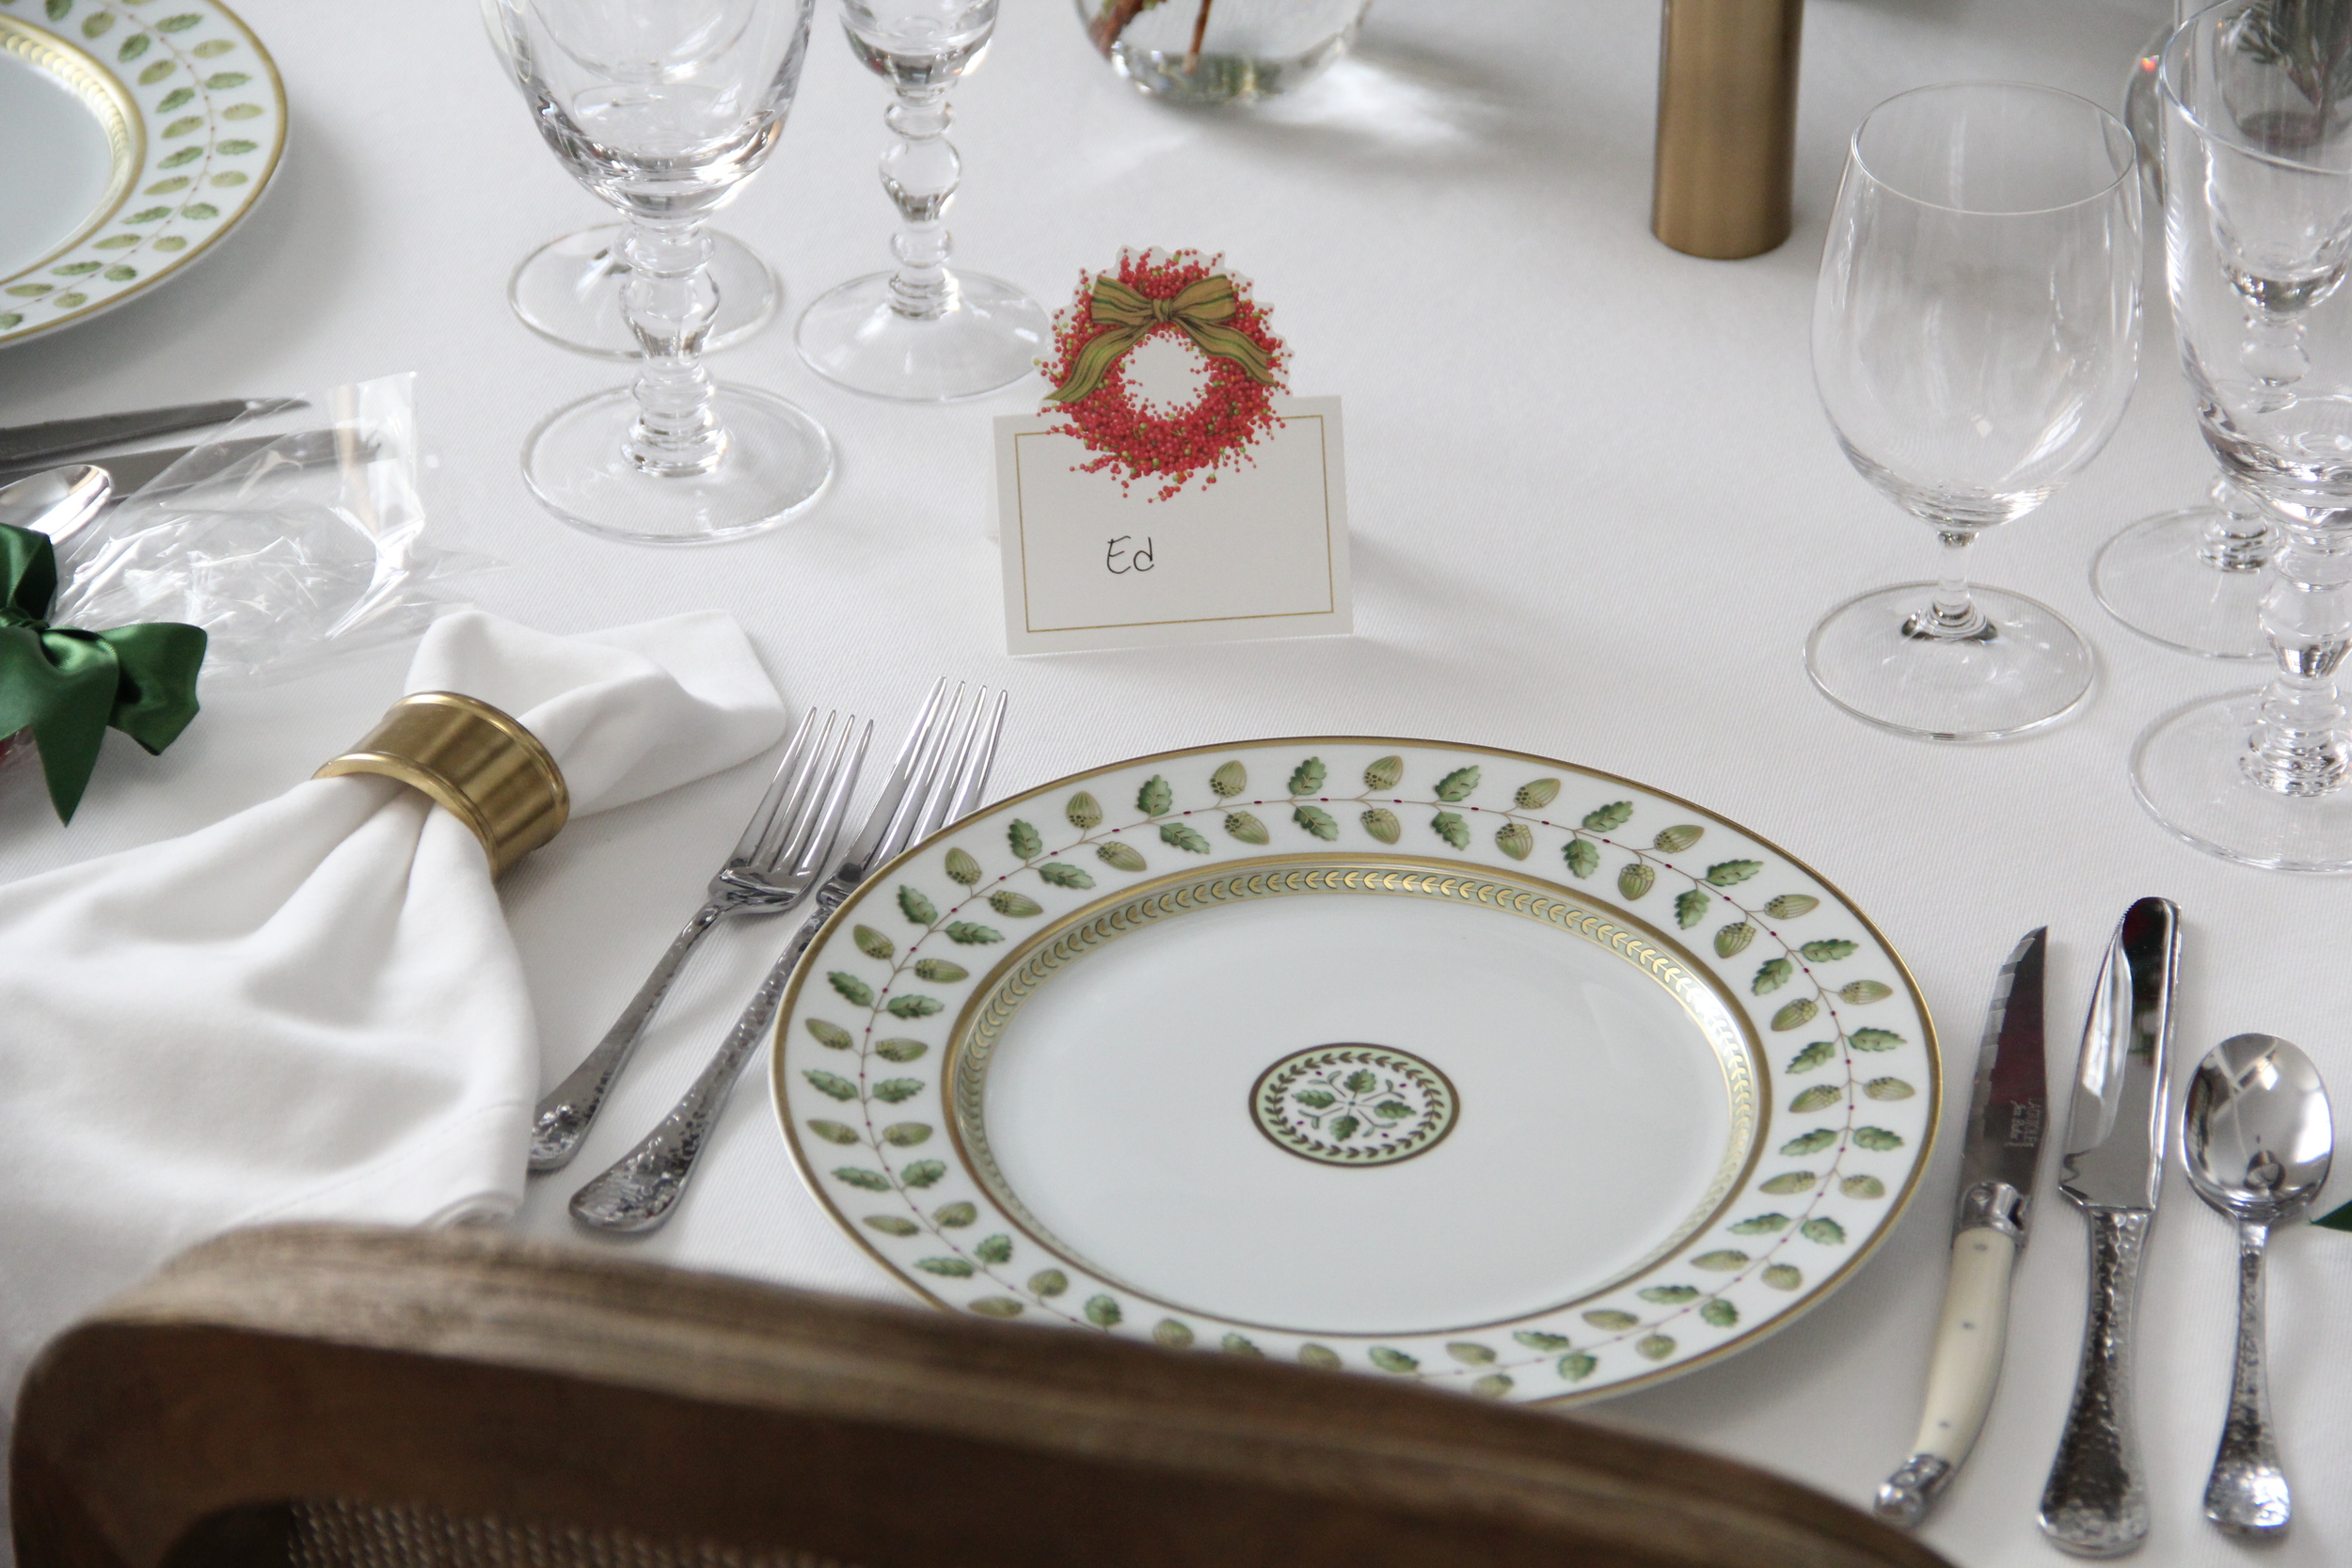
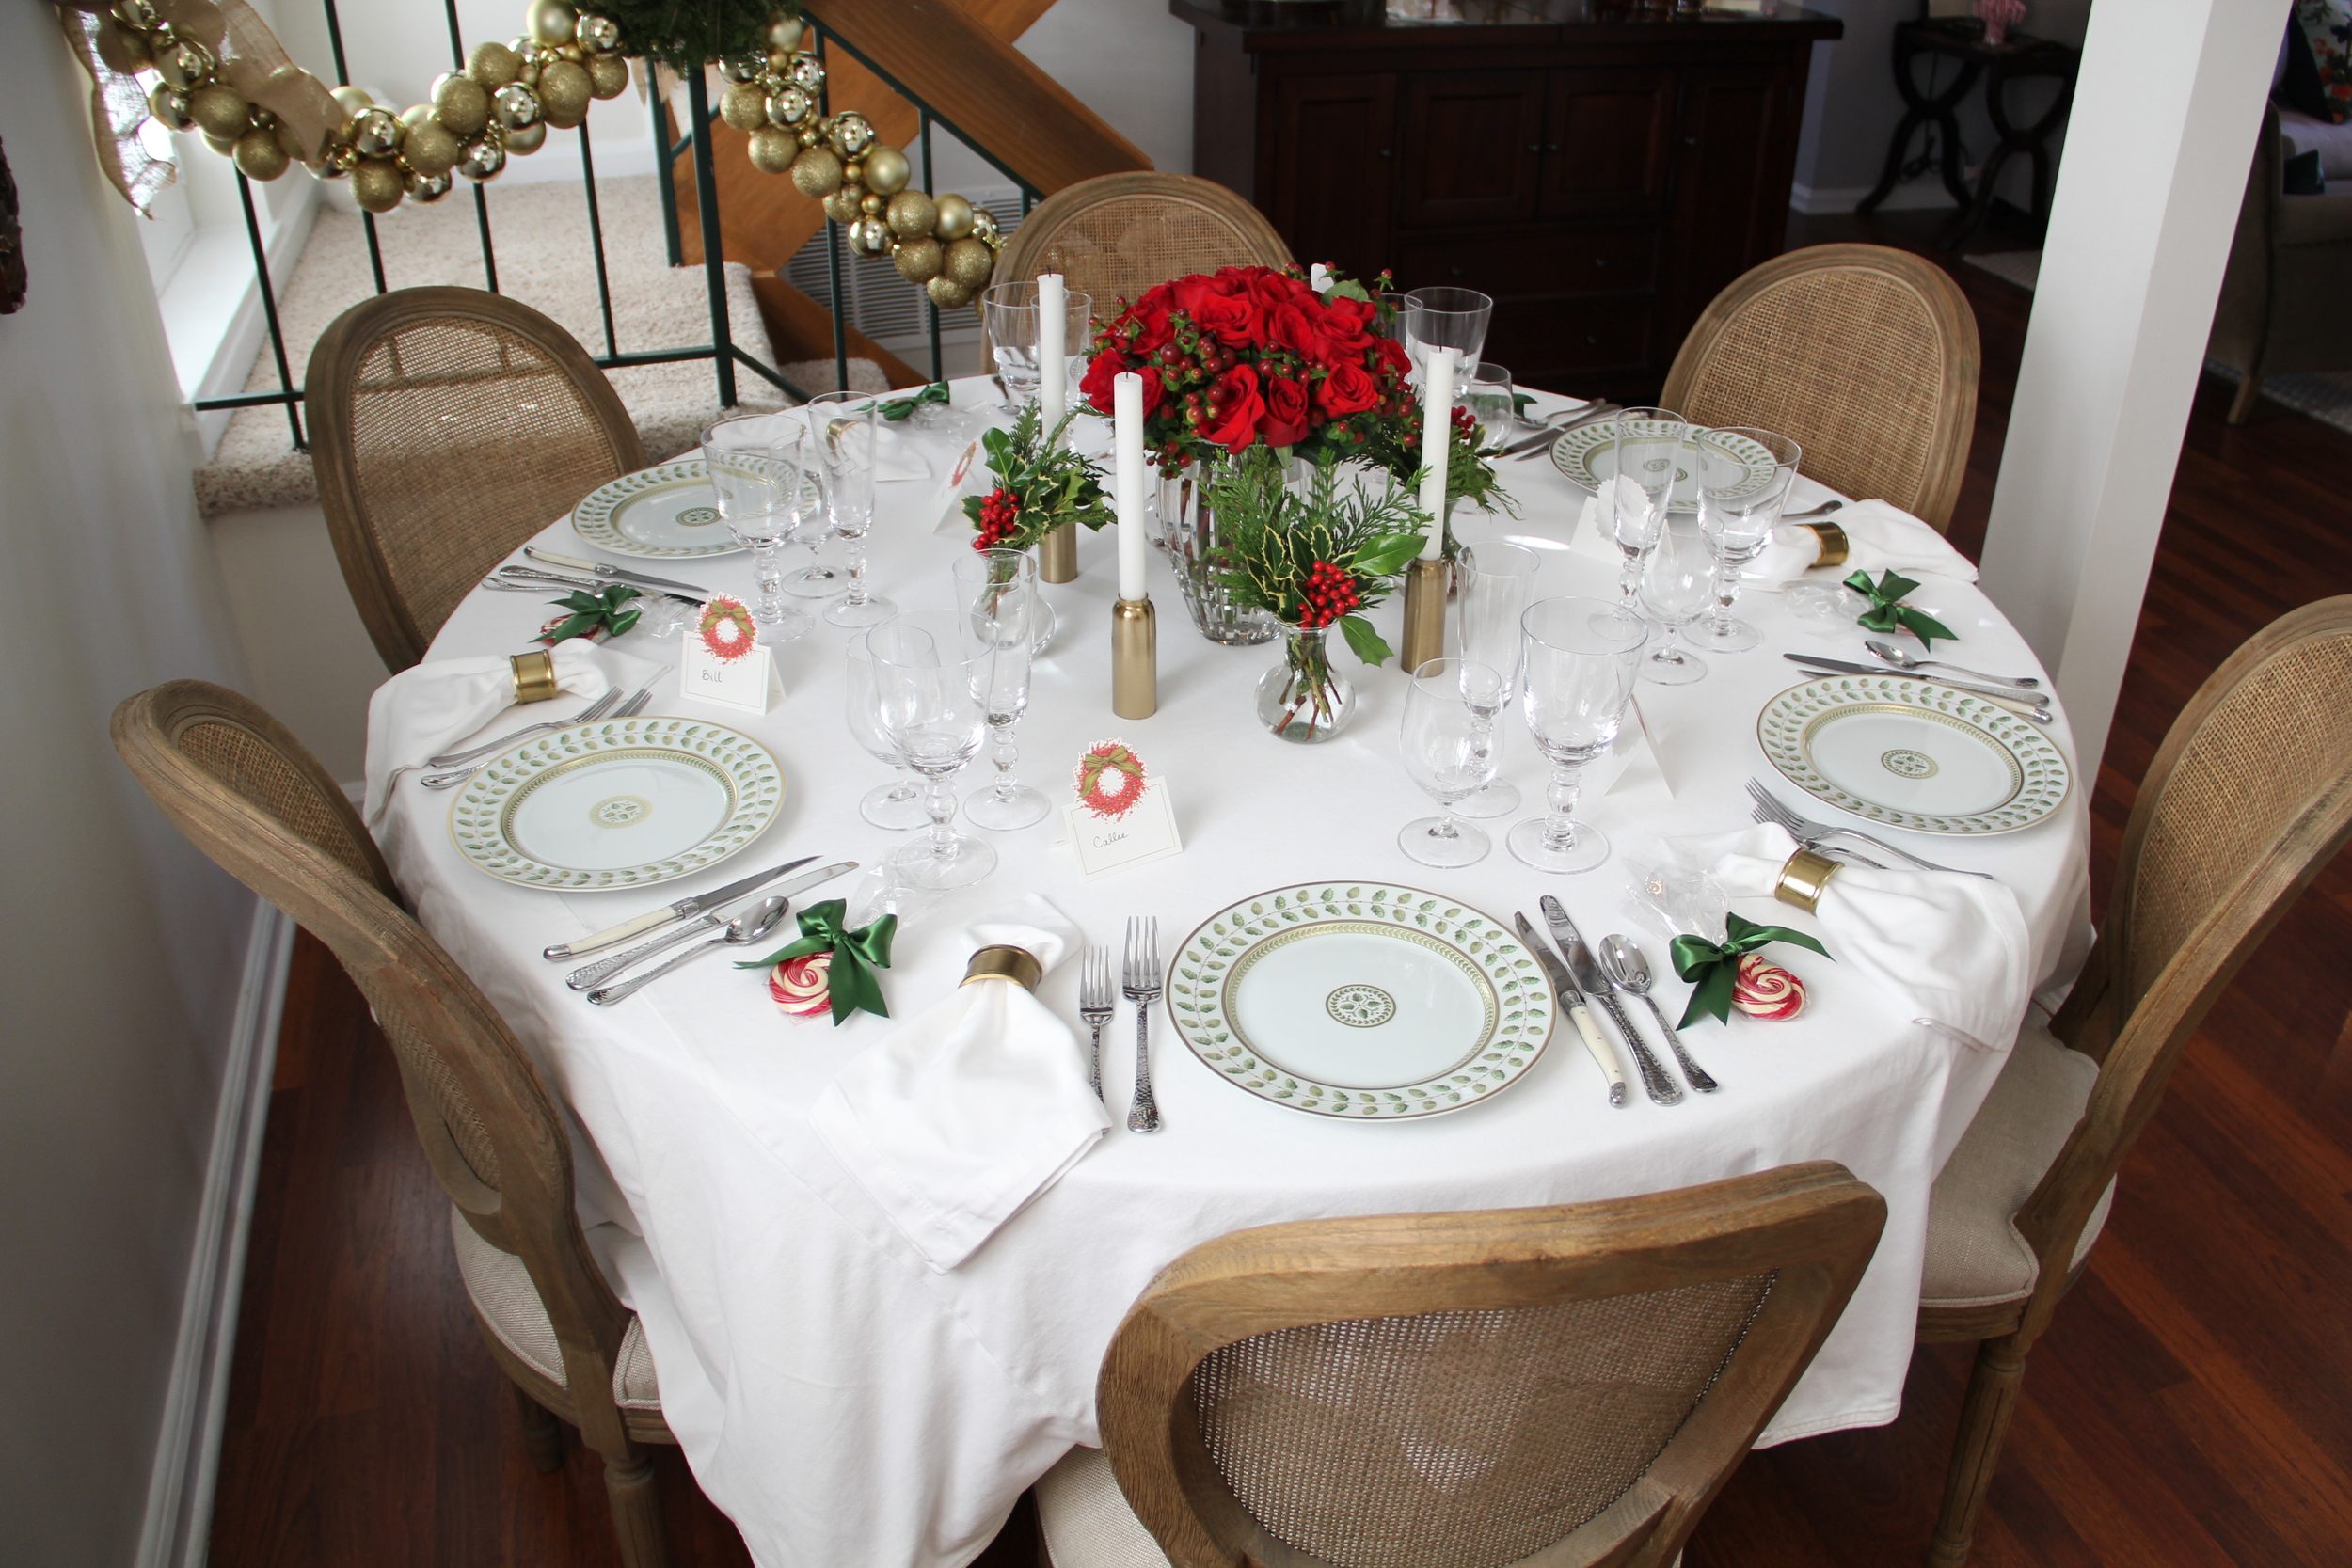
Okay, enough of my little self reflections. Onto my Christmas tablescape! This concept was actually inspired by a Martha Stewart Christmas table setting I had come across last year.  She had created a simple elegant tablescape using my wedding china pattern, white linens and red amaryllis flowers encircling tall white tapers.  It was STUNNING to say the least and I knew that it would be the inspiration for my future Christmas tablescape when the time came for me to host.  Plus, who doesn't love an opportunity to use their nice china??  Since there seem to only be a handful of occasions throughout the year where fancy china is appropriate for dinner, I like to take complete advantage of every opportunity!  Below are the details on what I used to create this festive table setting as well as what I plan on serving for dinner.  

Christmas Tablescape 3.JPG
Christmas Tablescape 5.JPG
Christmas Tablescape 4.jpg

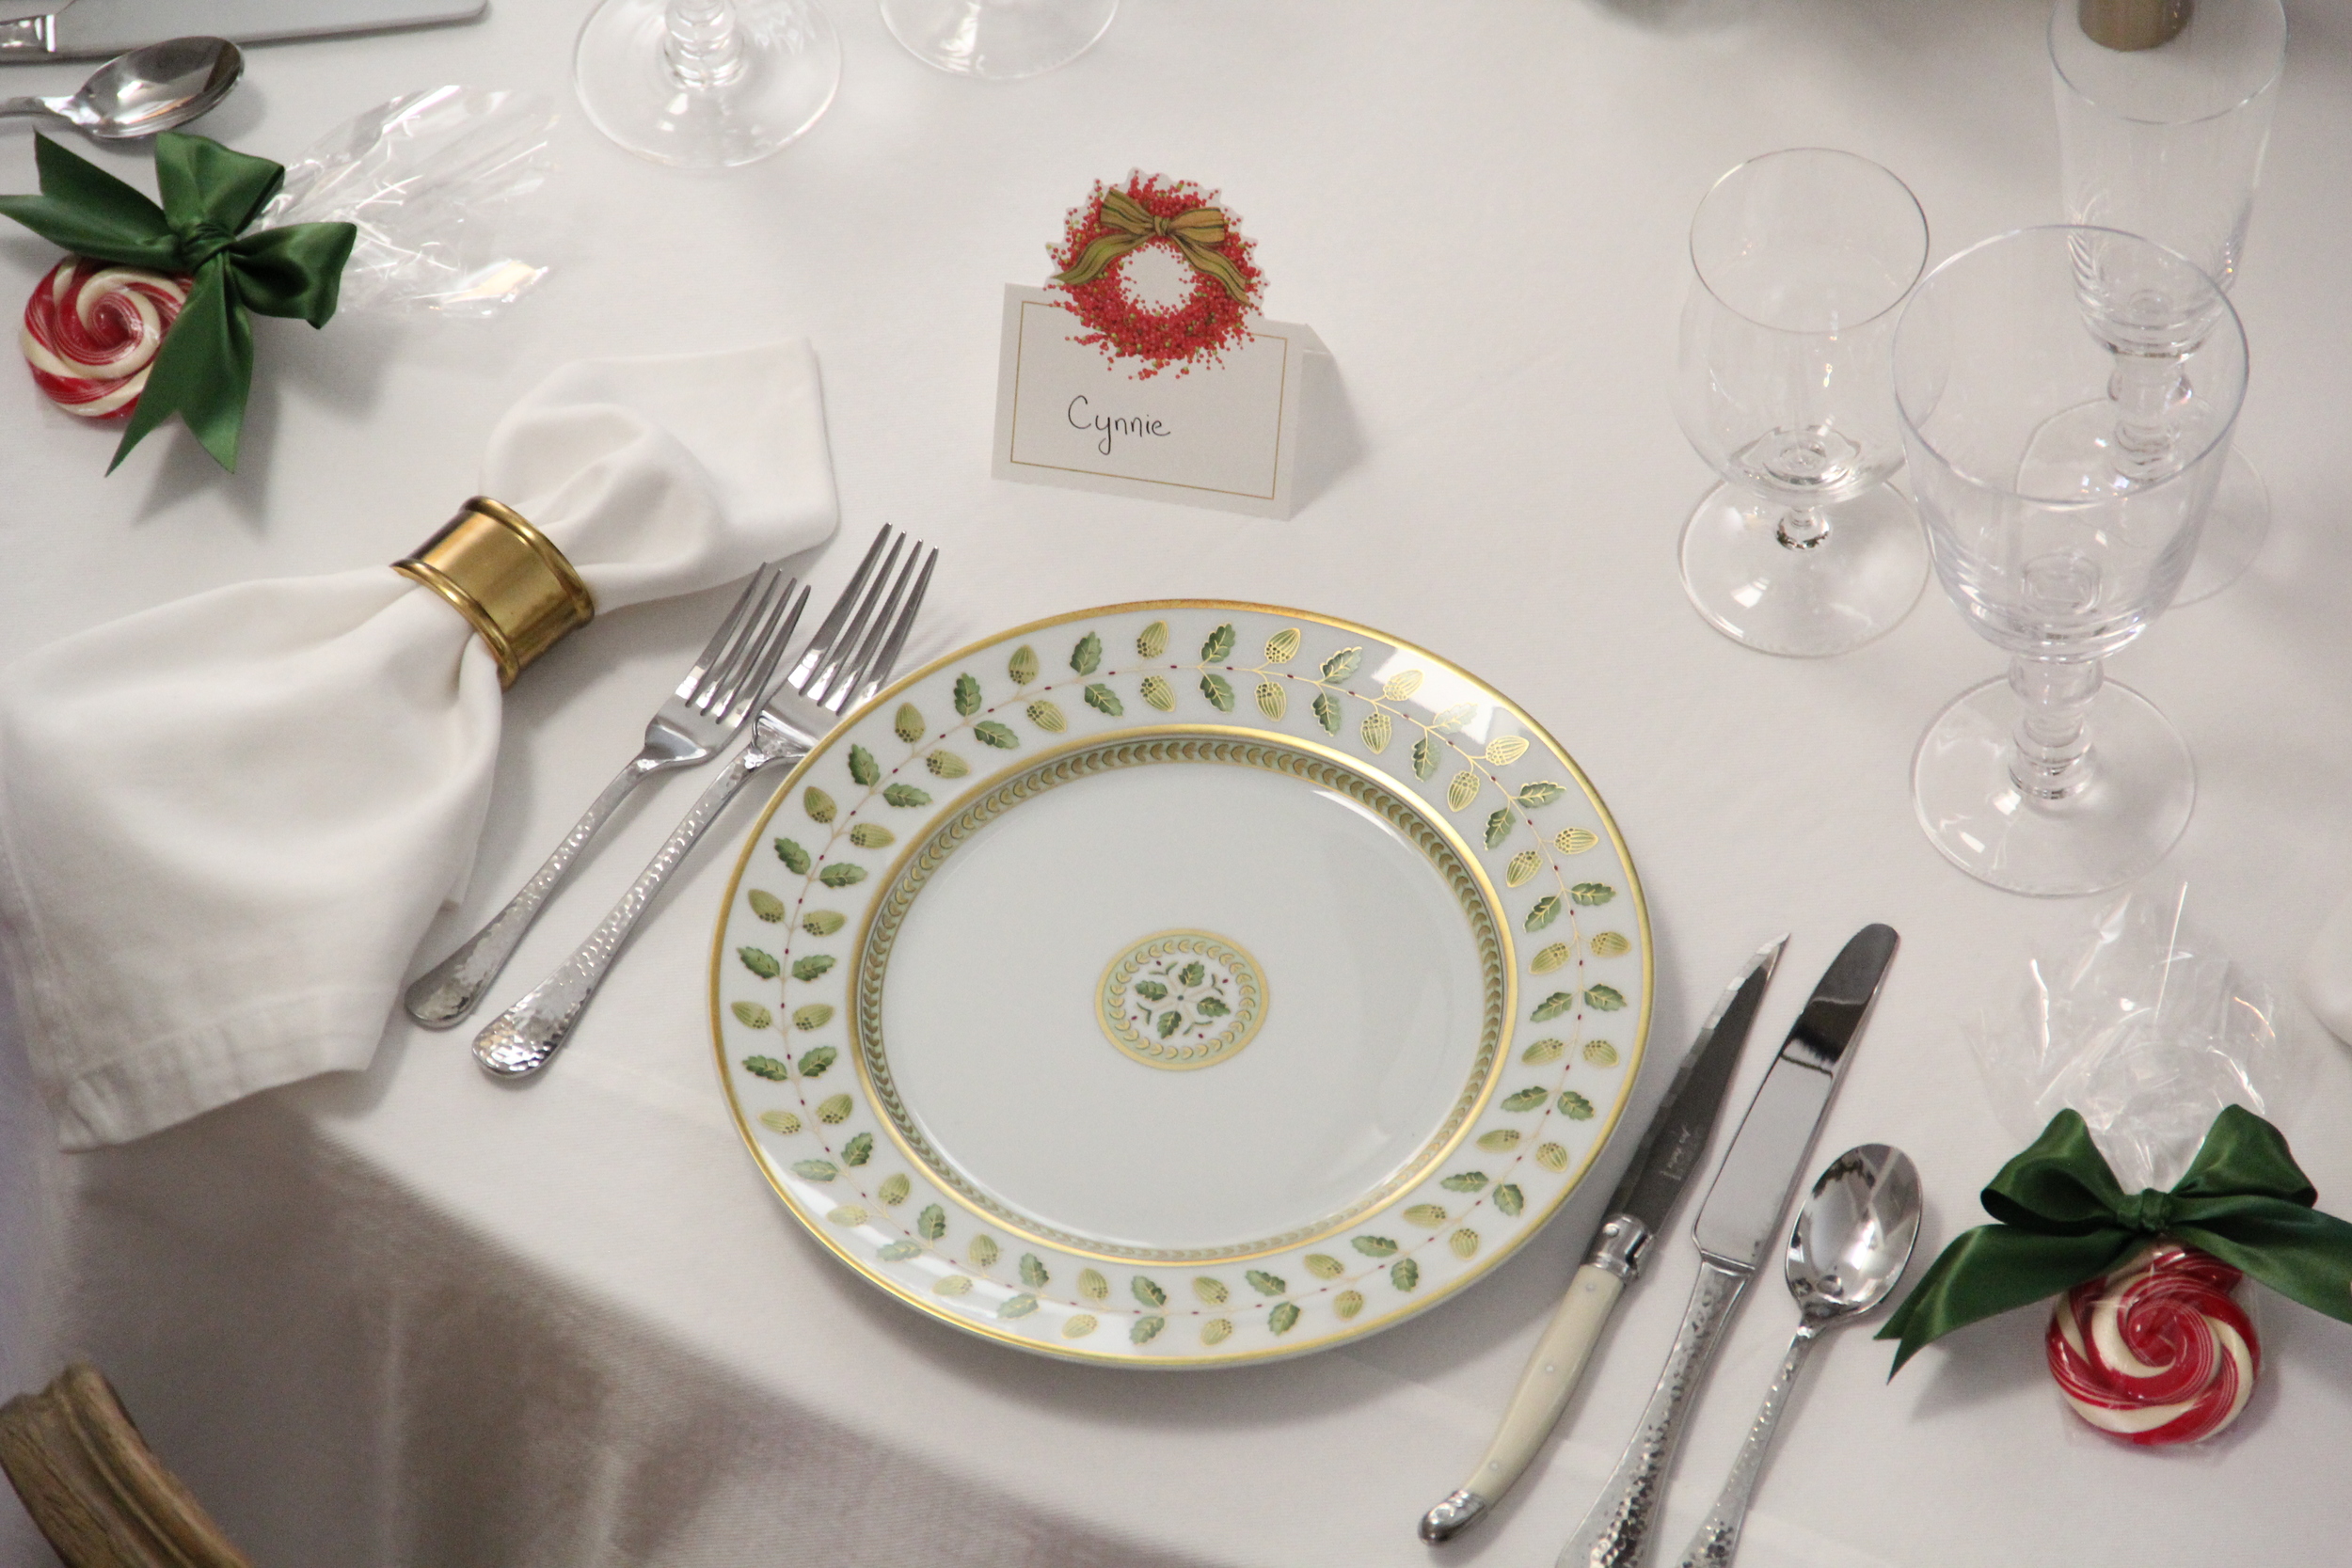
Tablescape Details

  • Dinner Plates: Bernardaud Constance 
  • Napkins: CB2 Restaurant Napkins, Set of 4
  • Napkin Rings: Sur La Table (*similar here)
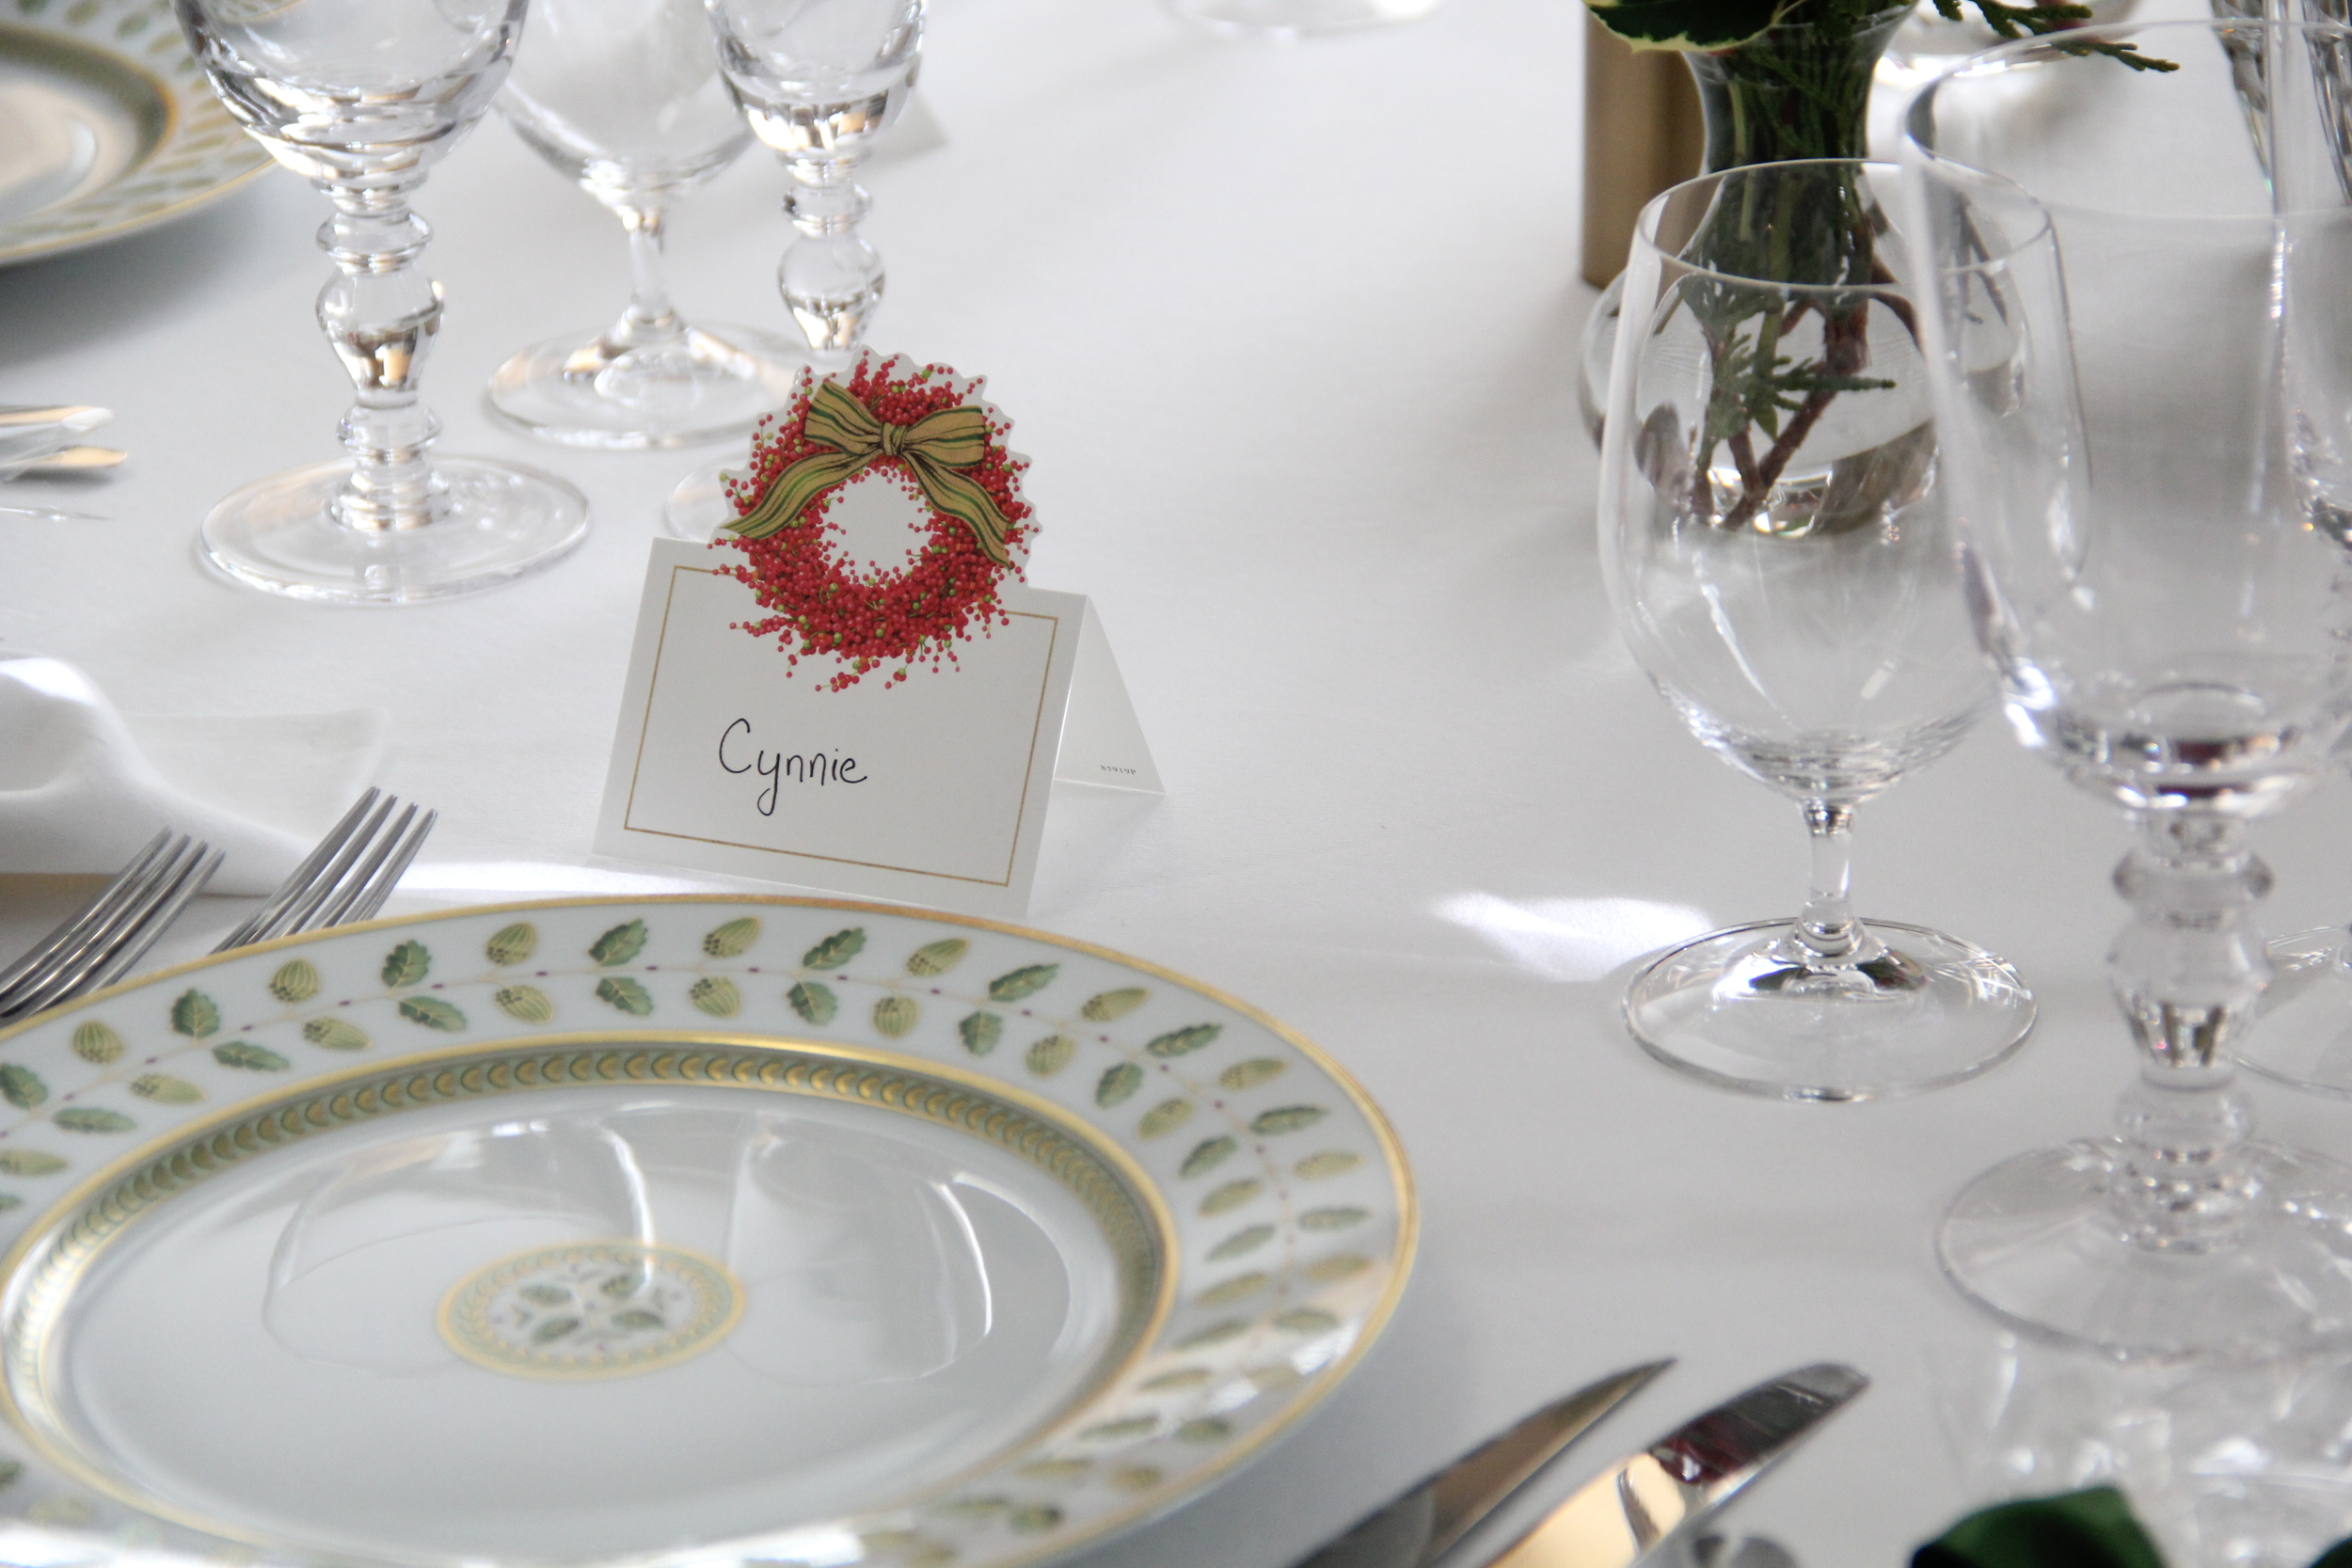
  • Place Cards: Caspari Berries & Bow Die Cut Place Cards 
  • Wine Goblets: William Yeoward "Fanny"
  • Water Glasses: Riedel Vinum Water Glass
  • Champagne Flutes: William Yeoward "Fanny"
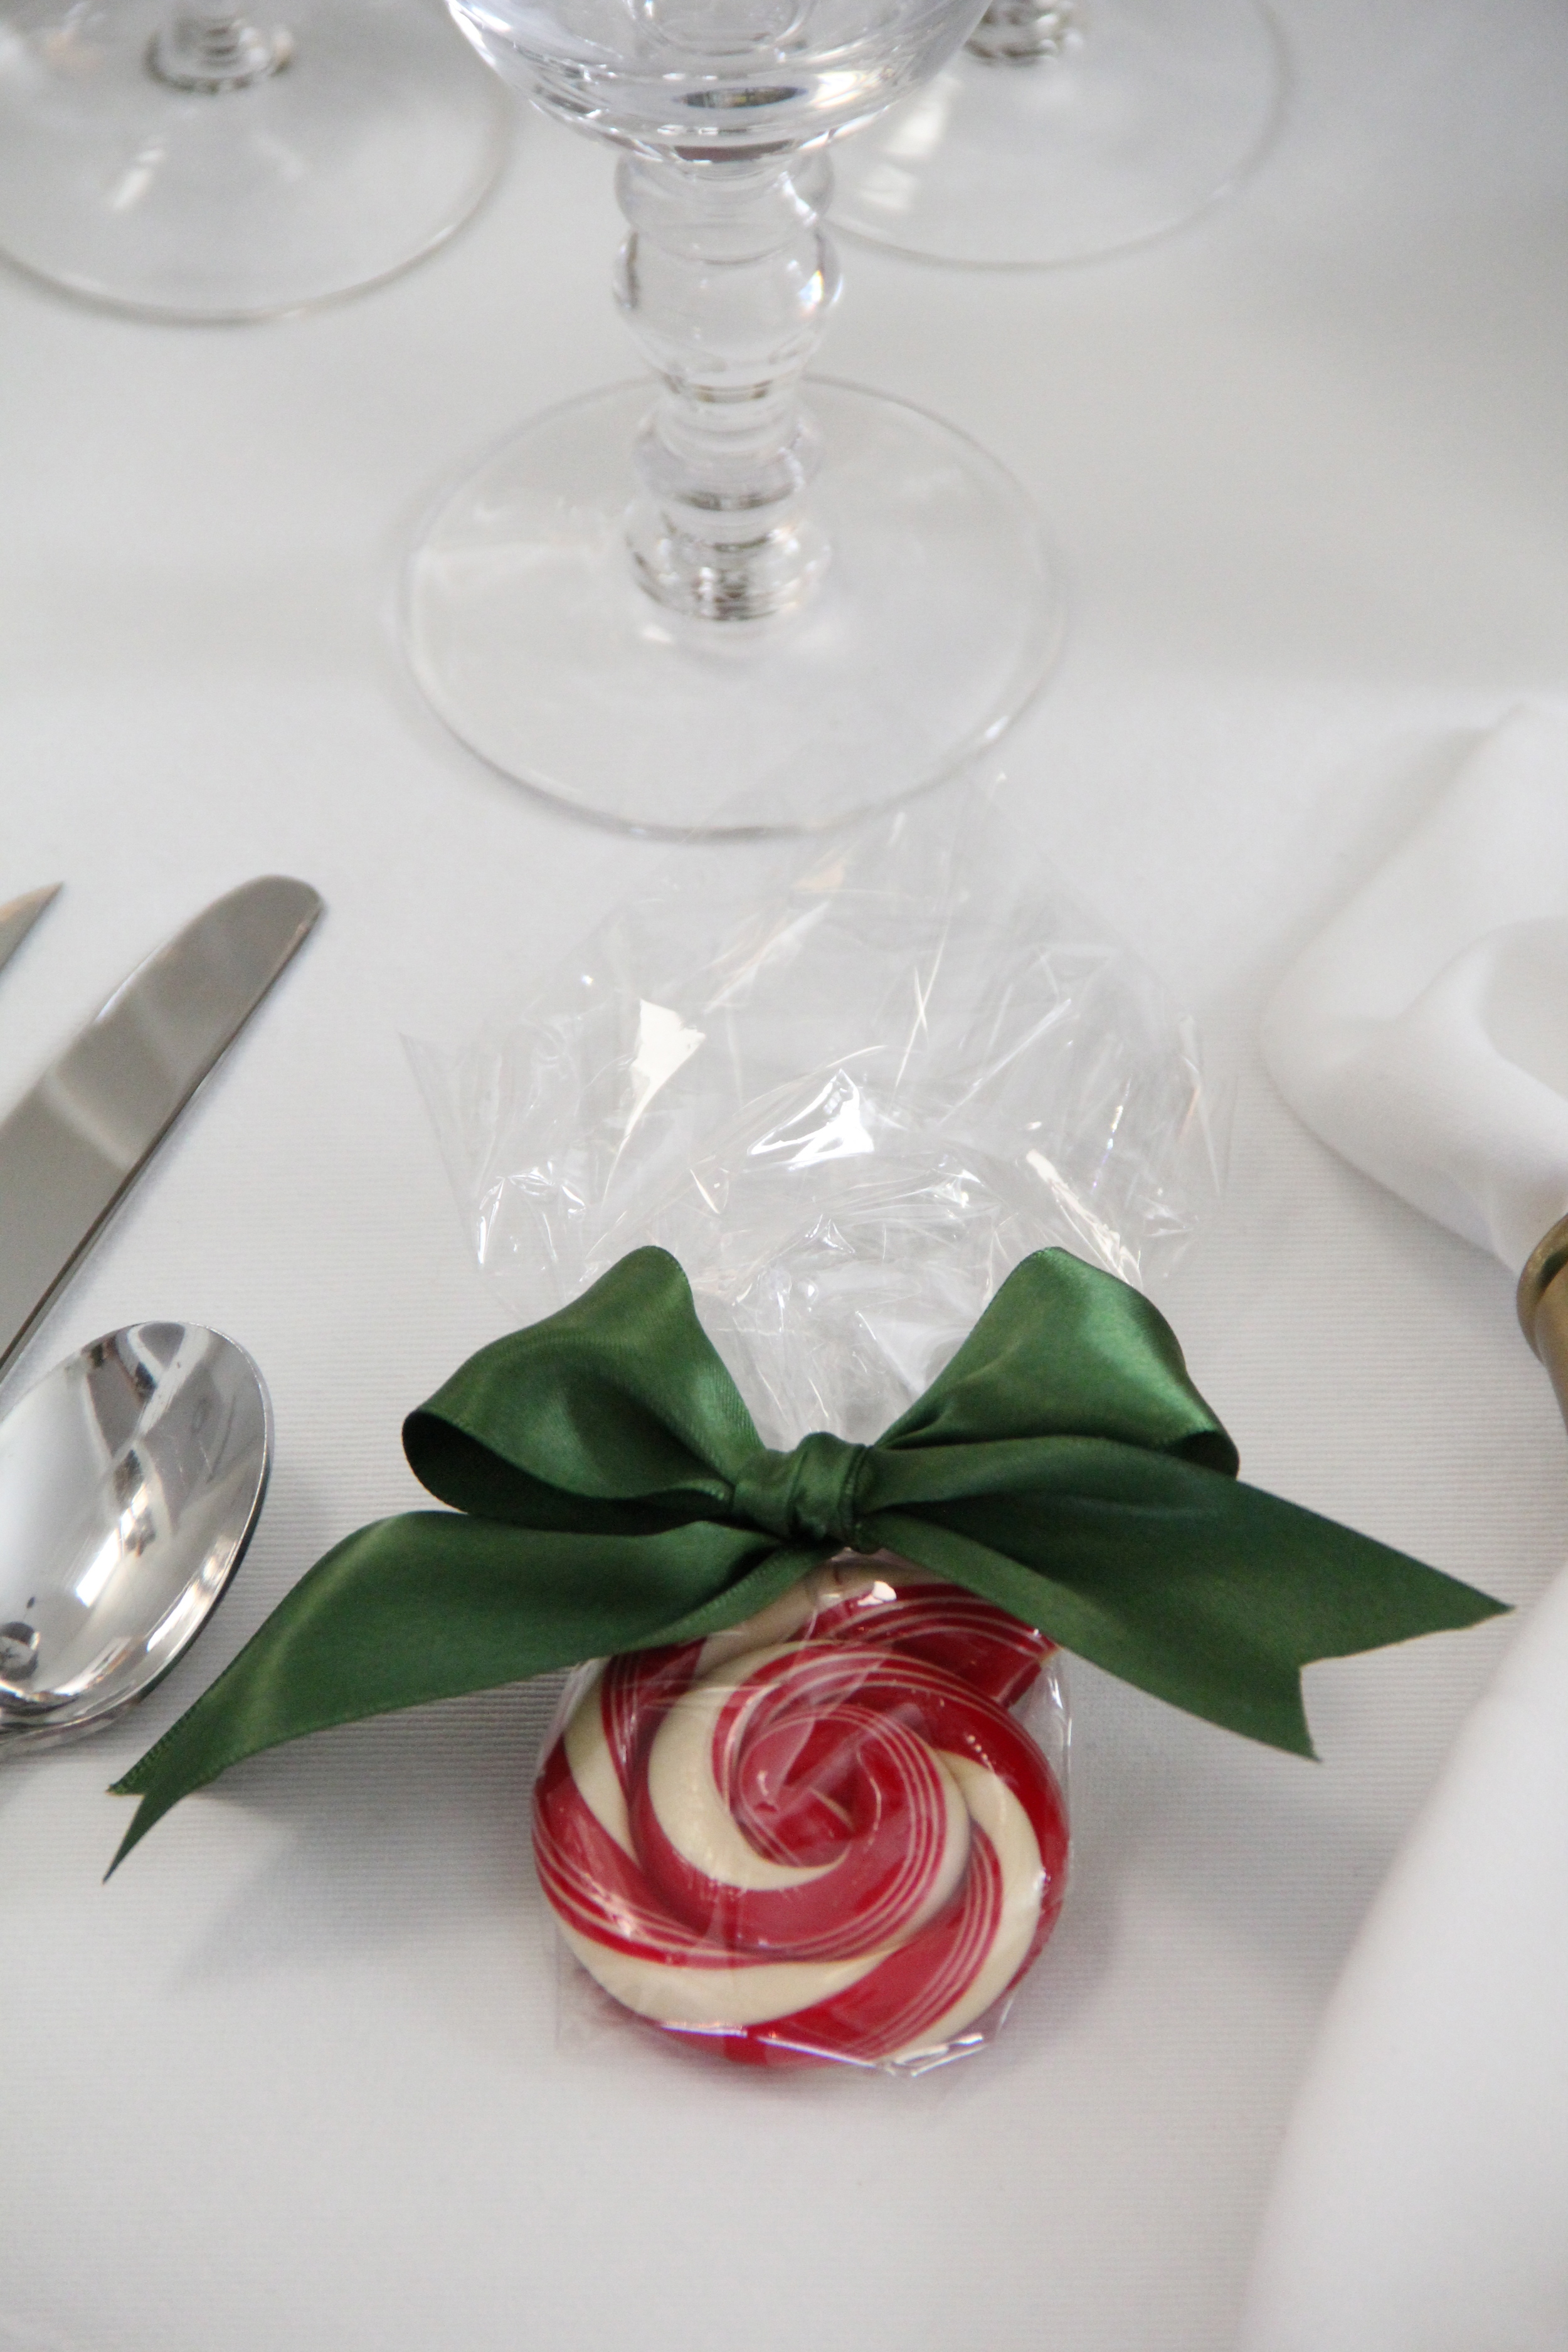
  • Table Gifts: Hammonds Candy Ornaments 
  • Candles: CB2 Tapers and CB2 Bronn Candle Holders
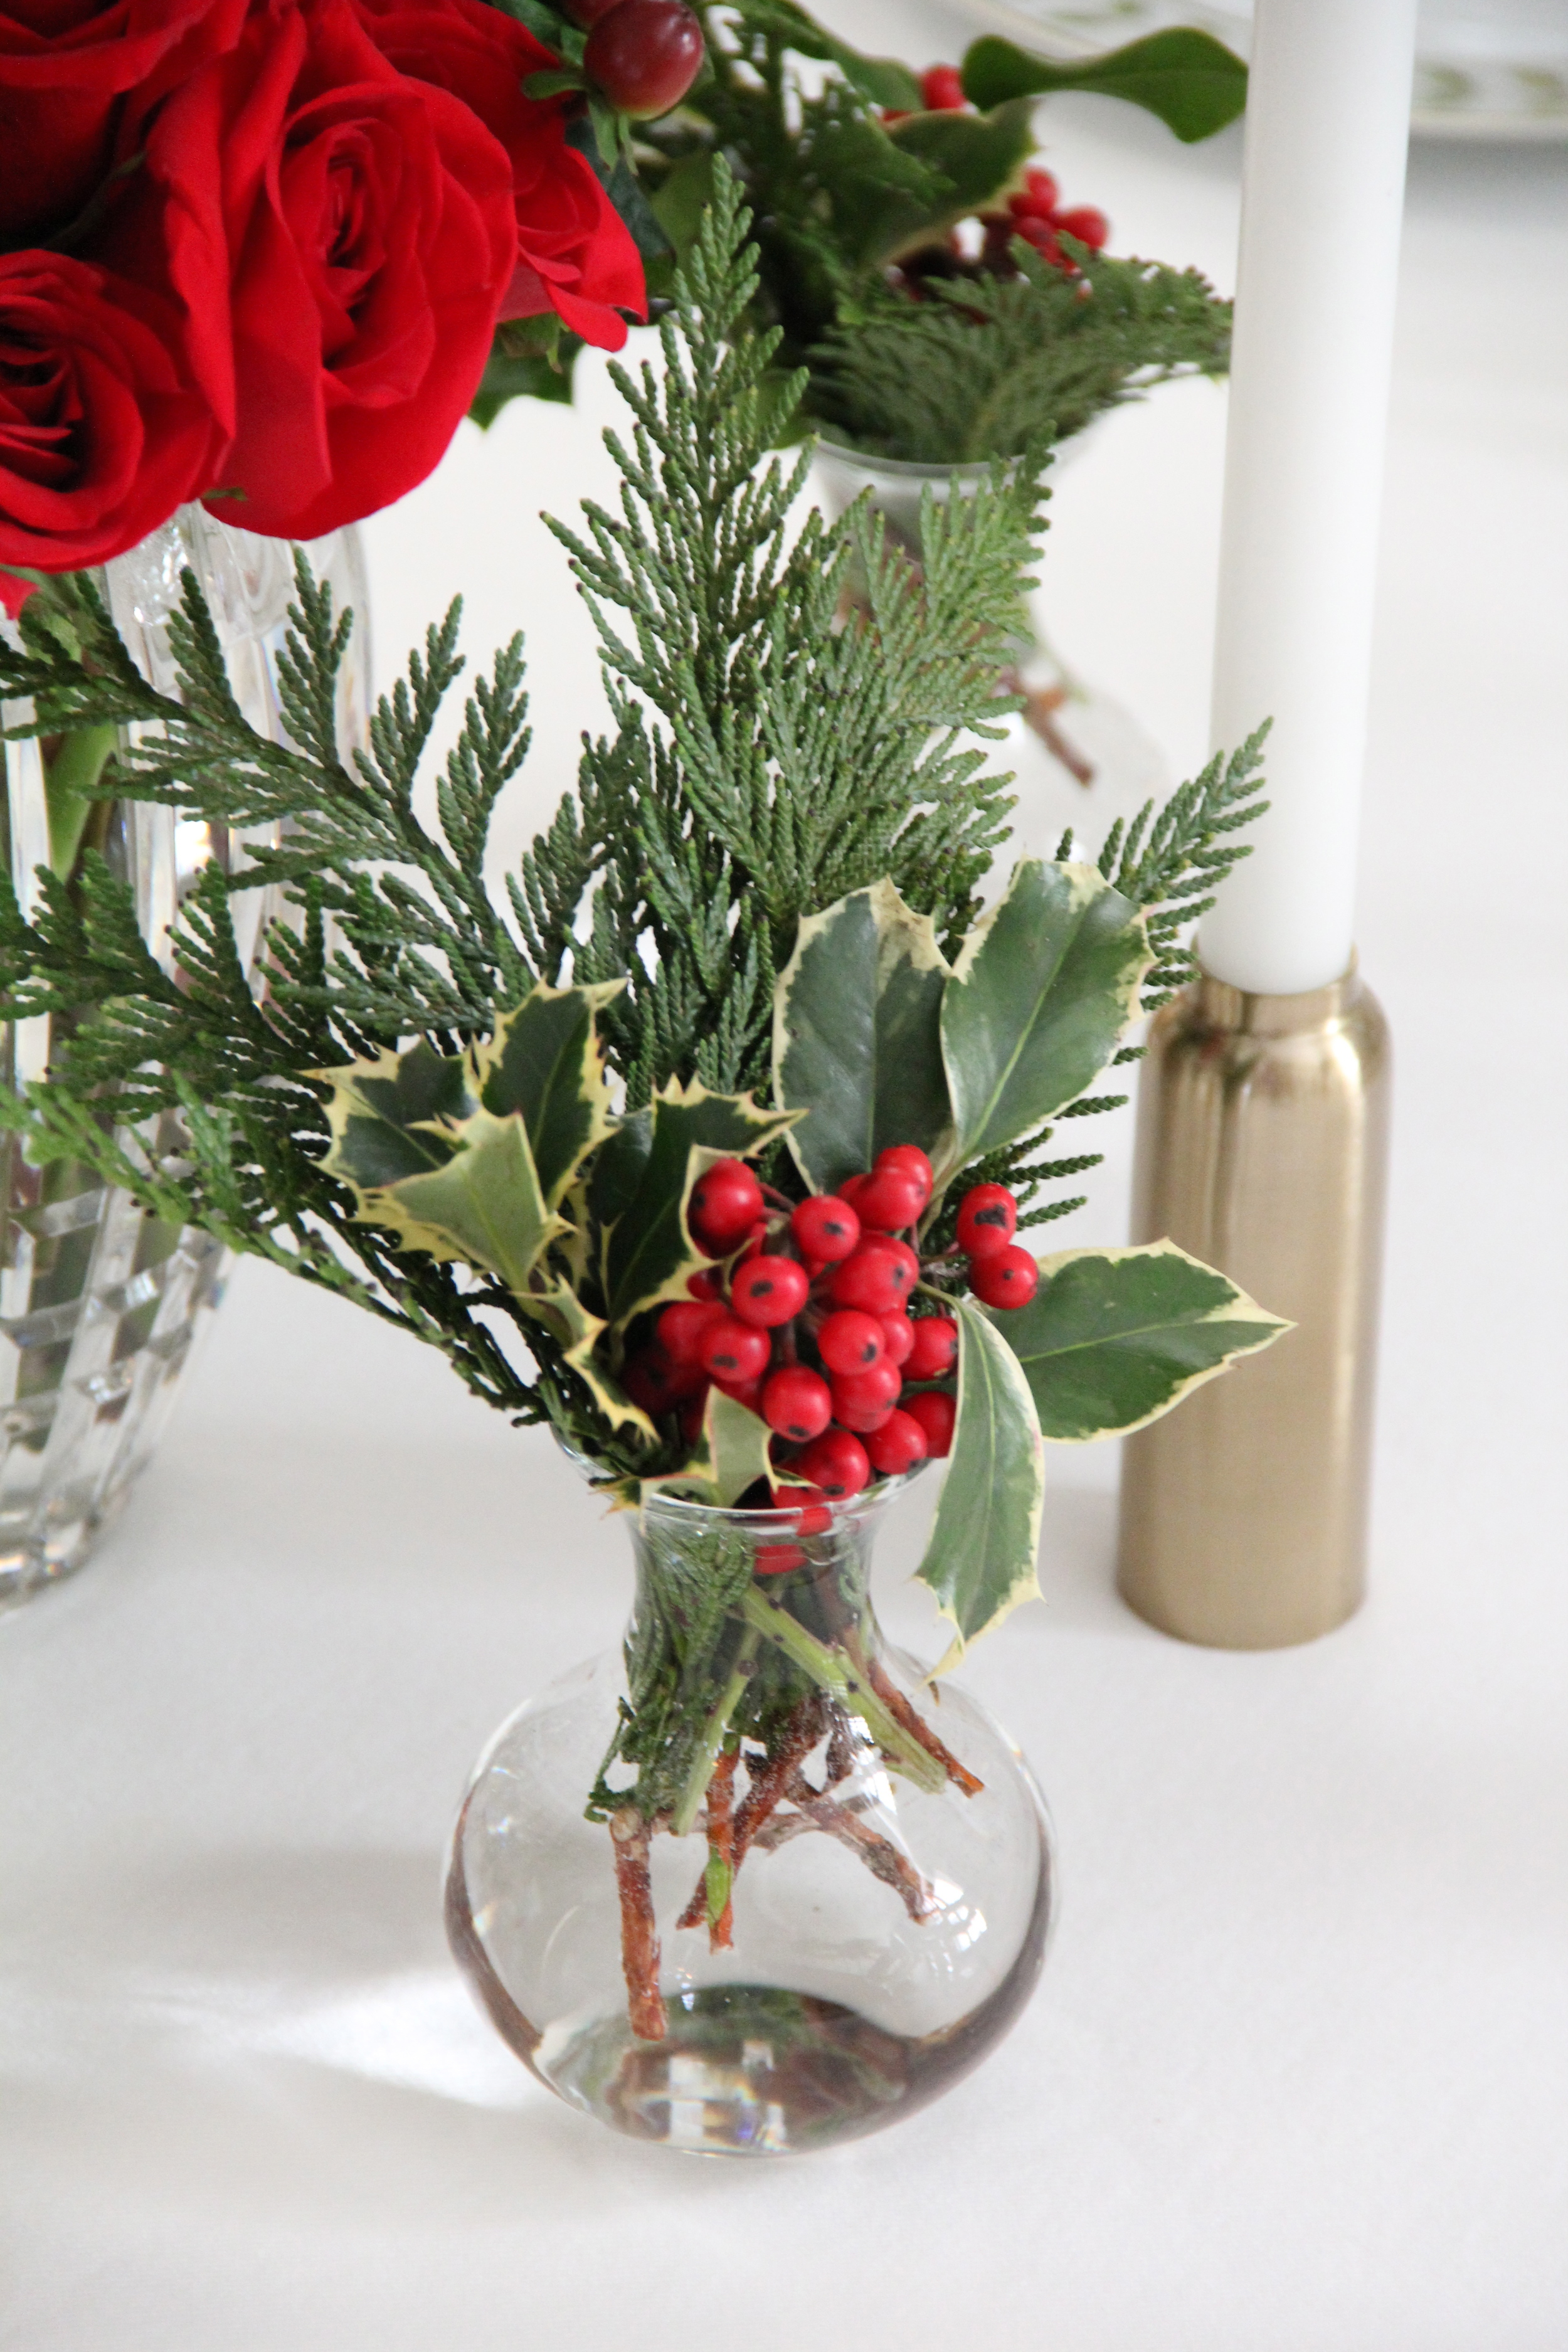
  • Flowers: Trader Joe's Mixed Holiday Greens

My Christmas Dinner Menu

  • Entree: Ina Garten's Filet of Beef Tenderloin
  • Side Dish: Tyler Florence's Scalloped Potatoes Au Gratin
  • Vegetable: Ina Garten's Roasted Asparagus
  • Dessert: Ina Garten's Sticky Toffee Date Cake with Bourbon Glaze
  • Specialty Cocktail: Martha Stewart's Classic Eggnog
Christmas Tablescape 6.jpg
Christmas Tablescape 7.JPG
Christmas Tablescape 8.jpg
Christmas Tablescape 9.jpg

This table is a relatively simple scape but I am in love with the way it has come together and totally thrilled to have this preparation task checked off of my to-do list!  While I am a little tired, I have to say that seeing these photos and thinking about sharing this holiday with my family has gotten me reinvigorated to keep going with the remaining preparations.  More holiday prep tips and ideas are coming to the blog on Wednesday, so stay tuned!
Christmas Tablescape 10.JPG
Christmas Tablescape 12.JPG
Christmas Tablescape 11.JPG
In Entertain Tags CB2, Bernardaud Constance, Holiday Decorations, Caspari, Ina Garten, Tyler Florence, Martha Stewart
Comment

Making Garland for Under $30

December 11, 2015 Callie Cagney
IMG_3344.JPG

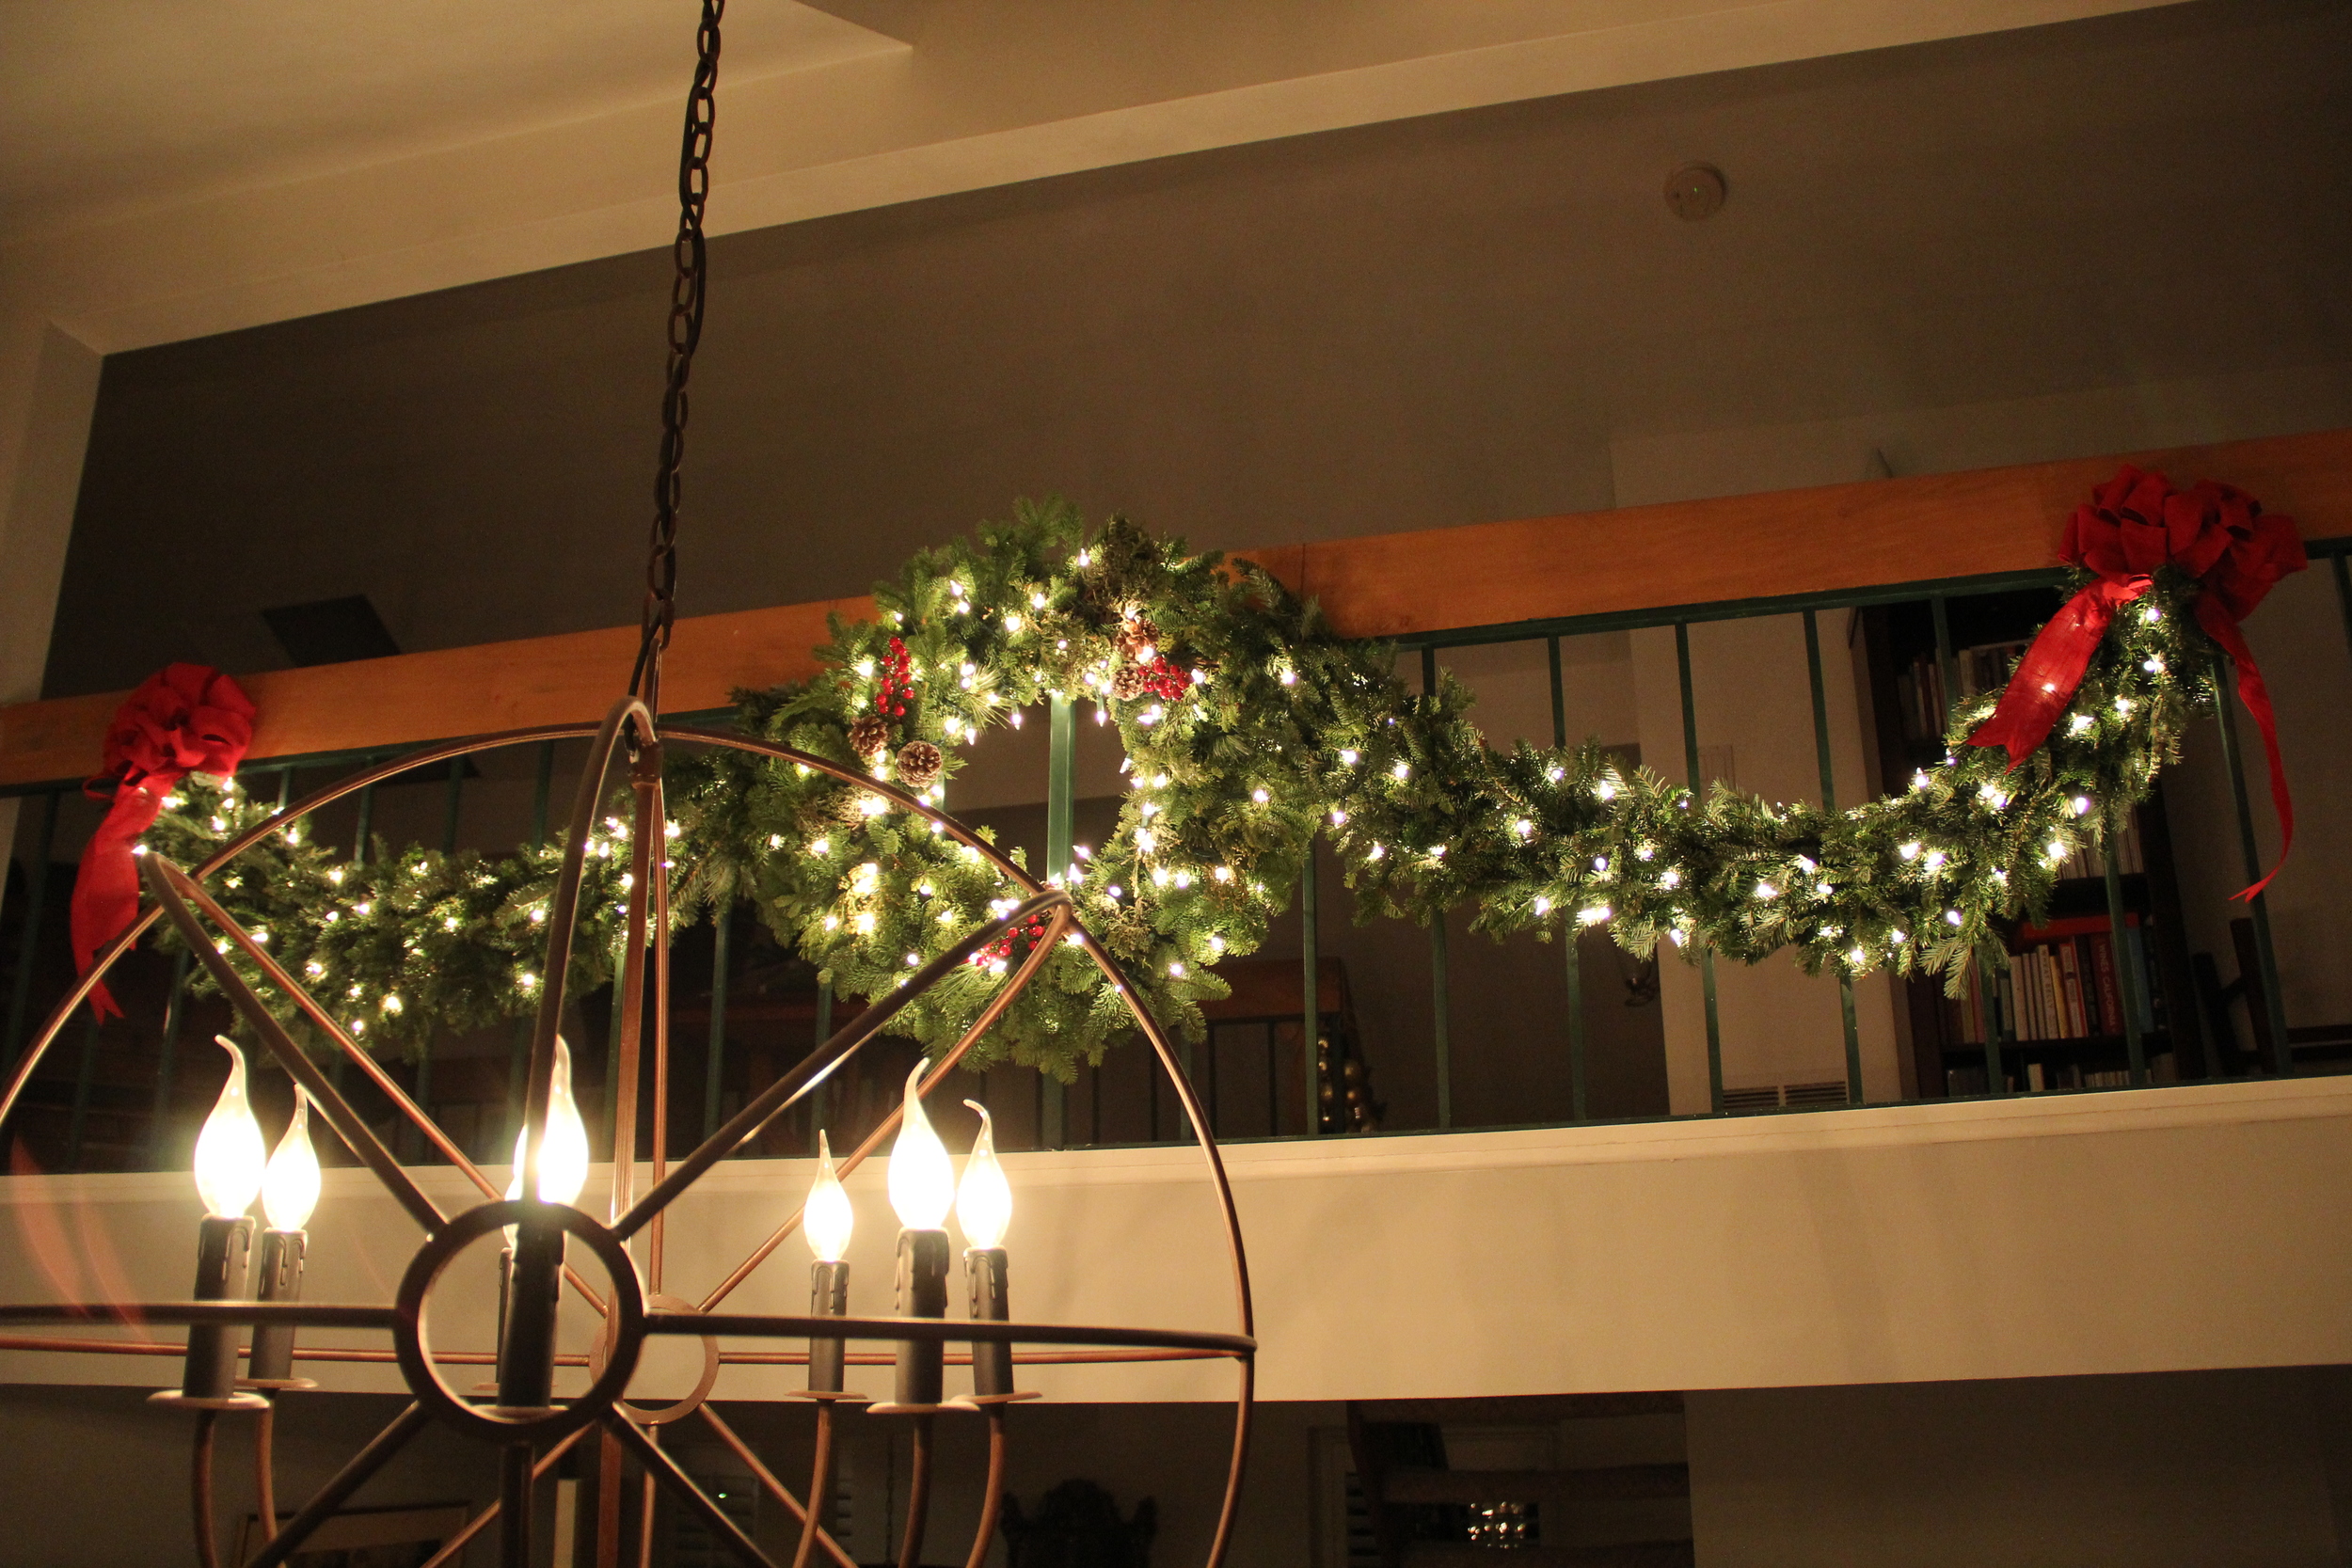
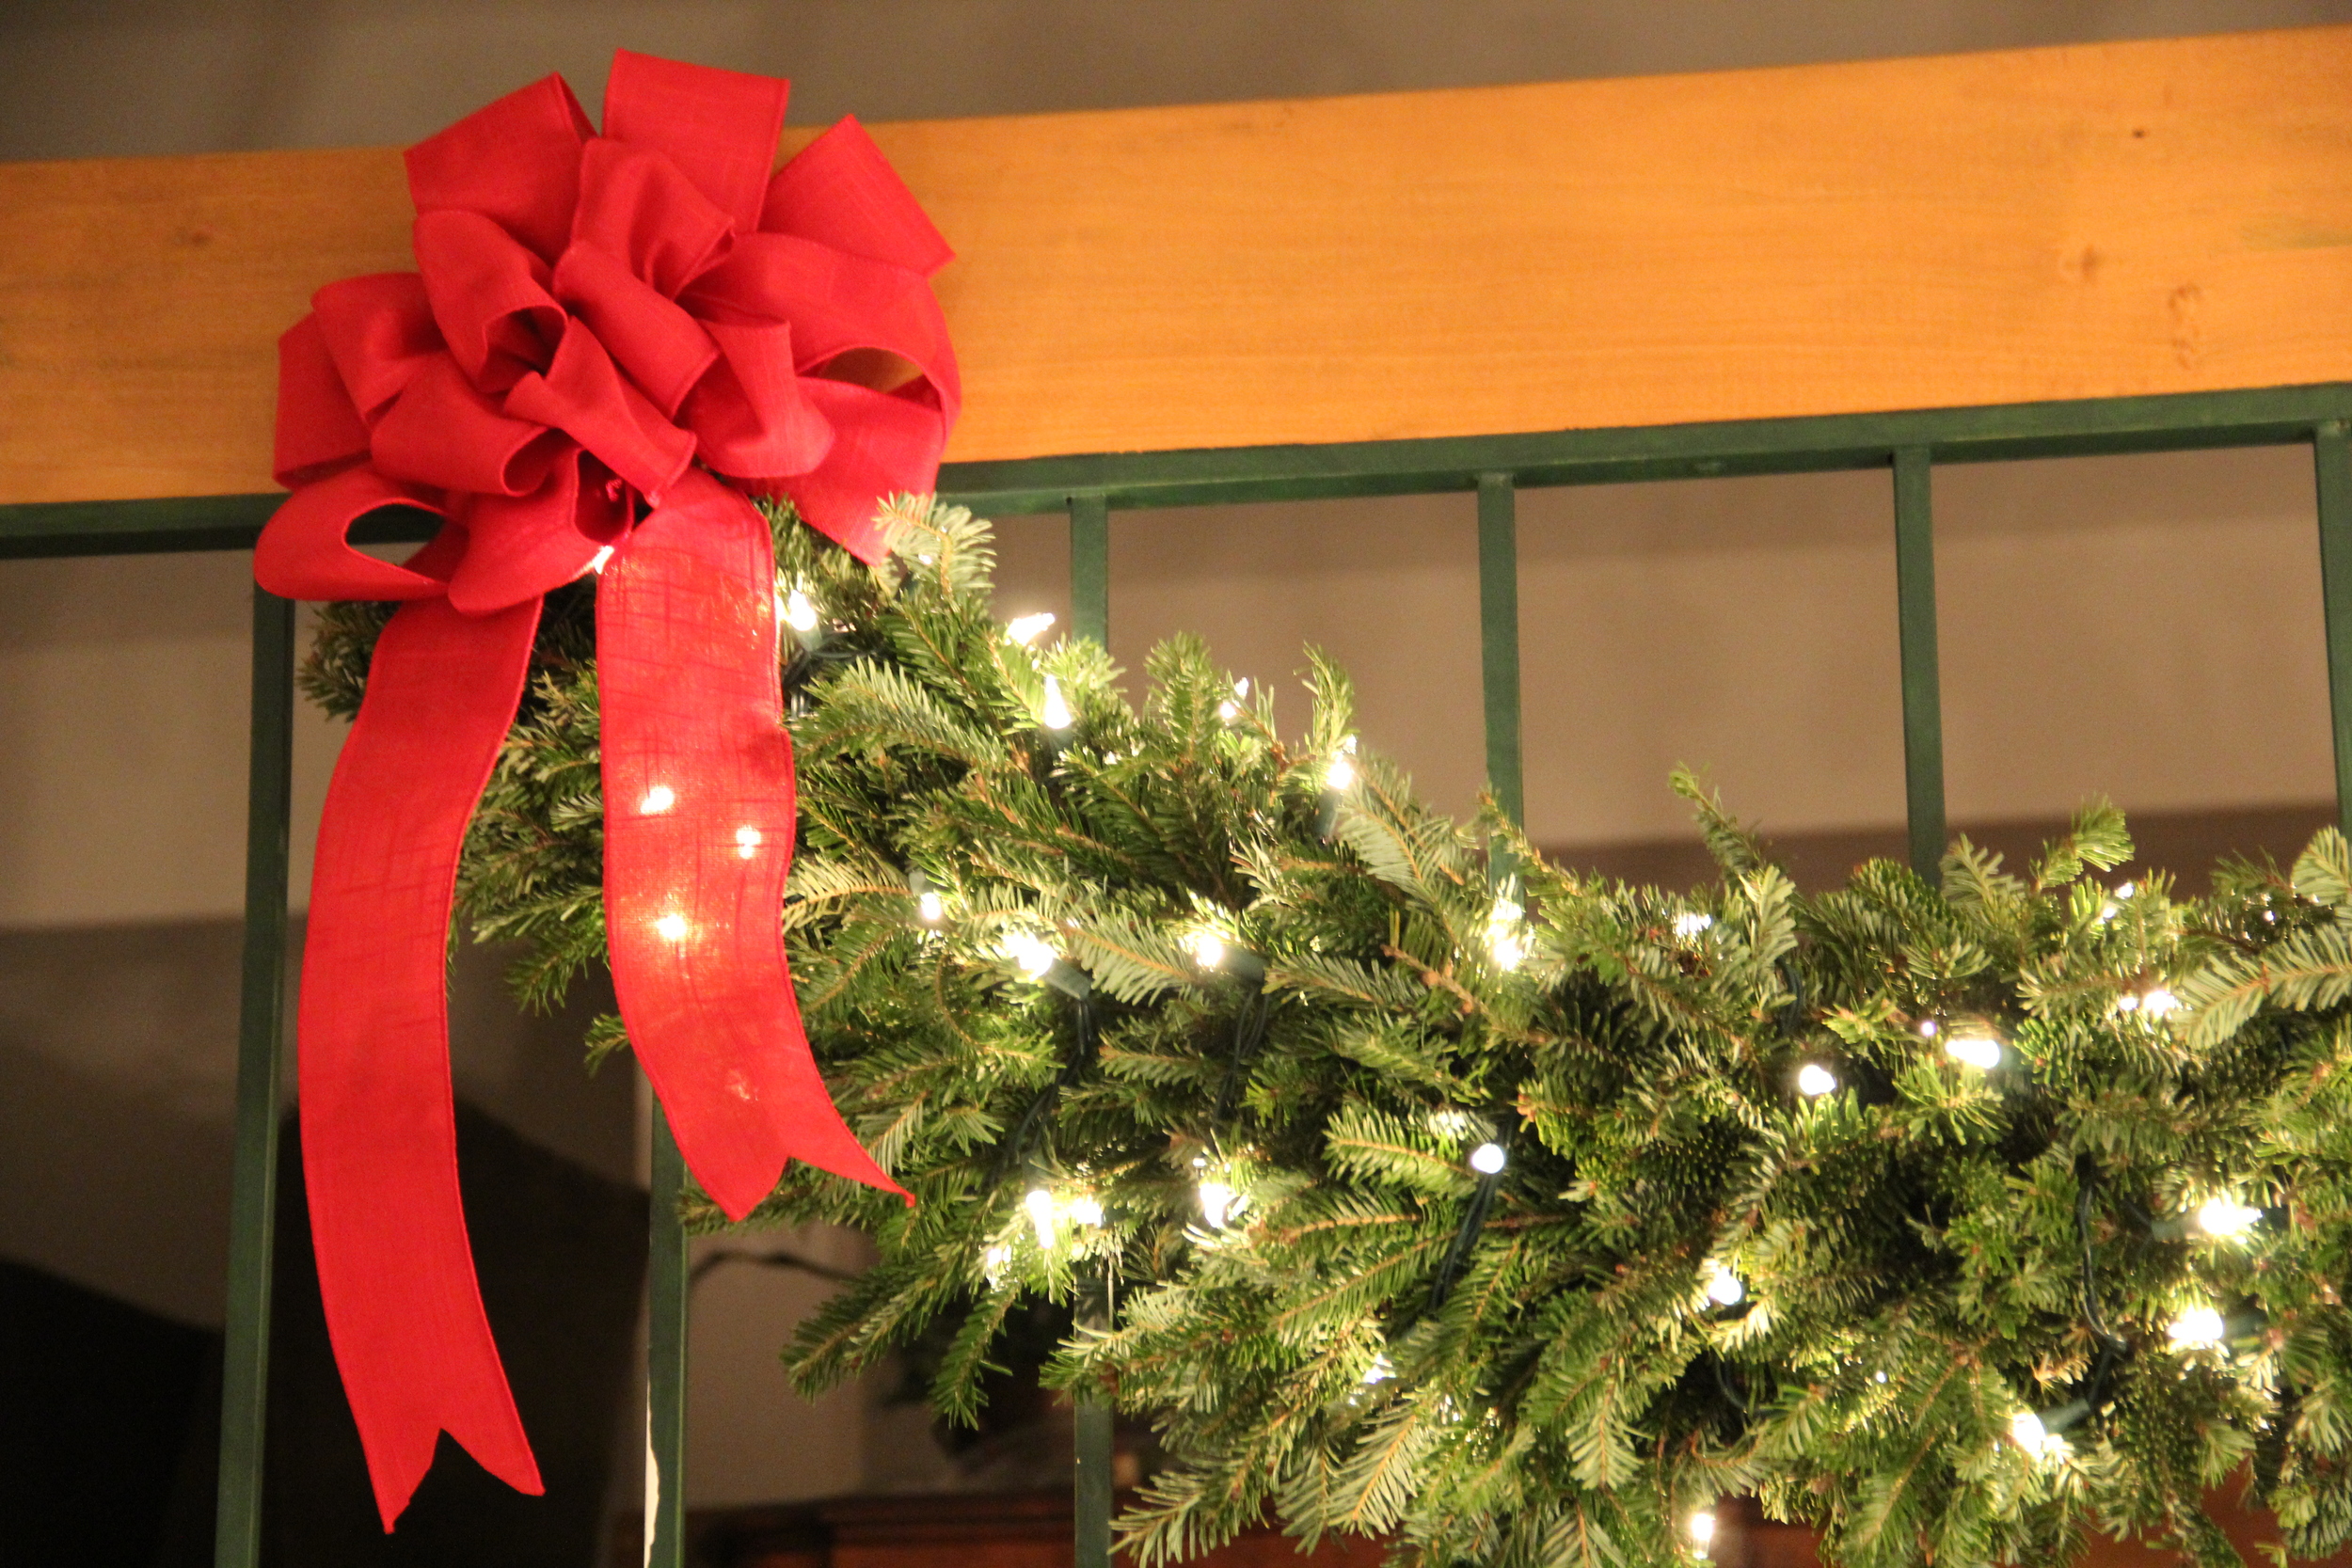
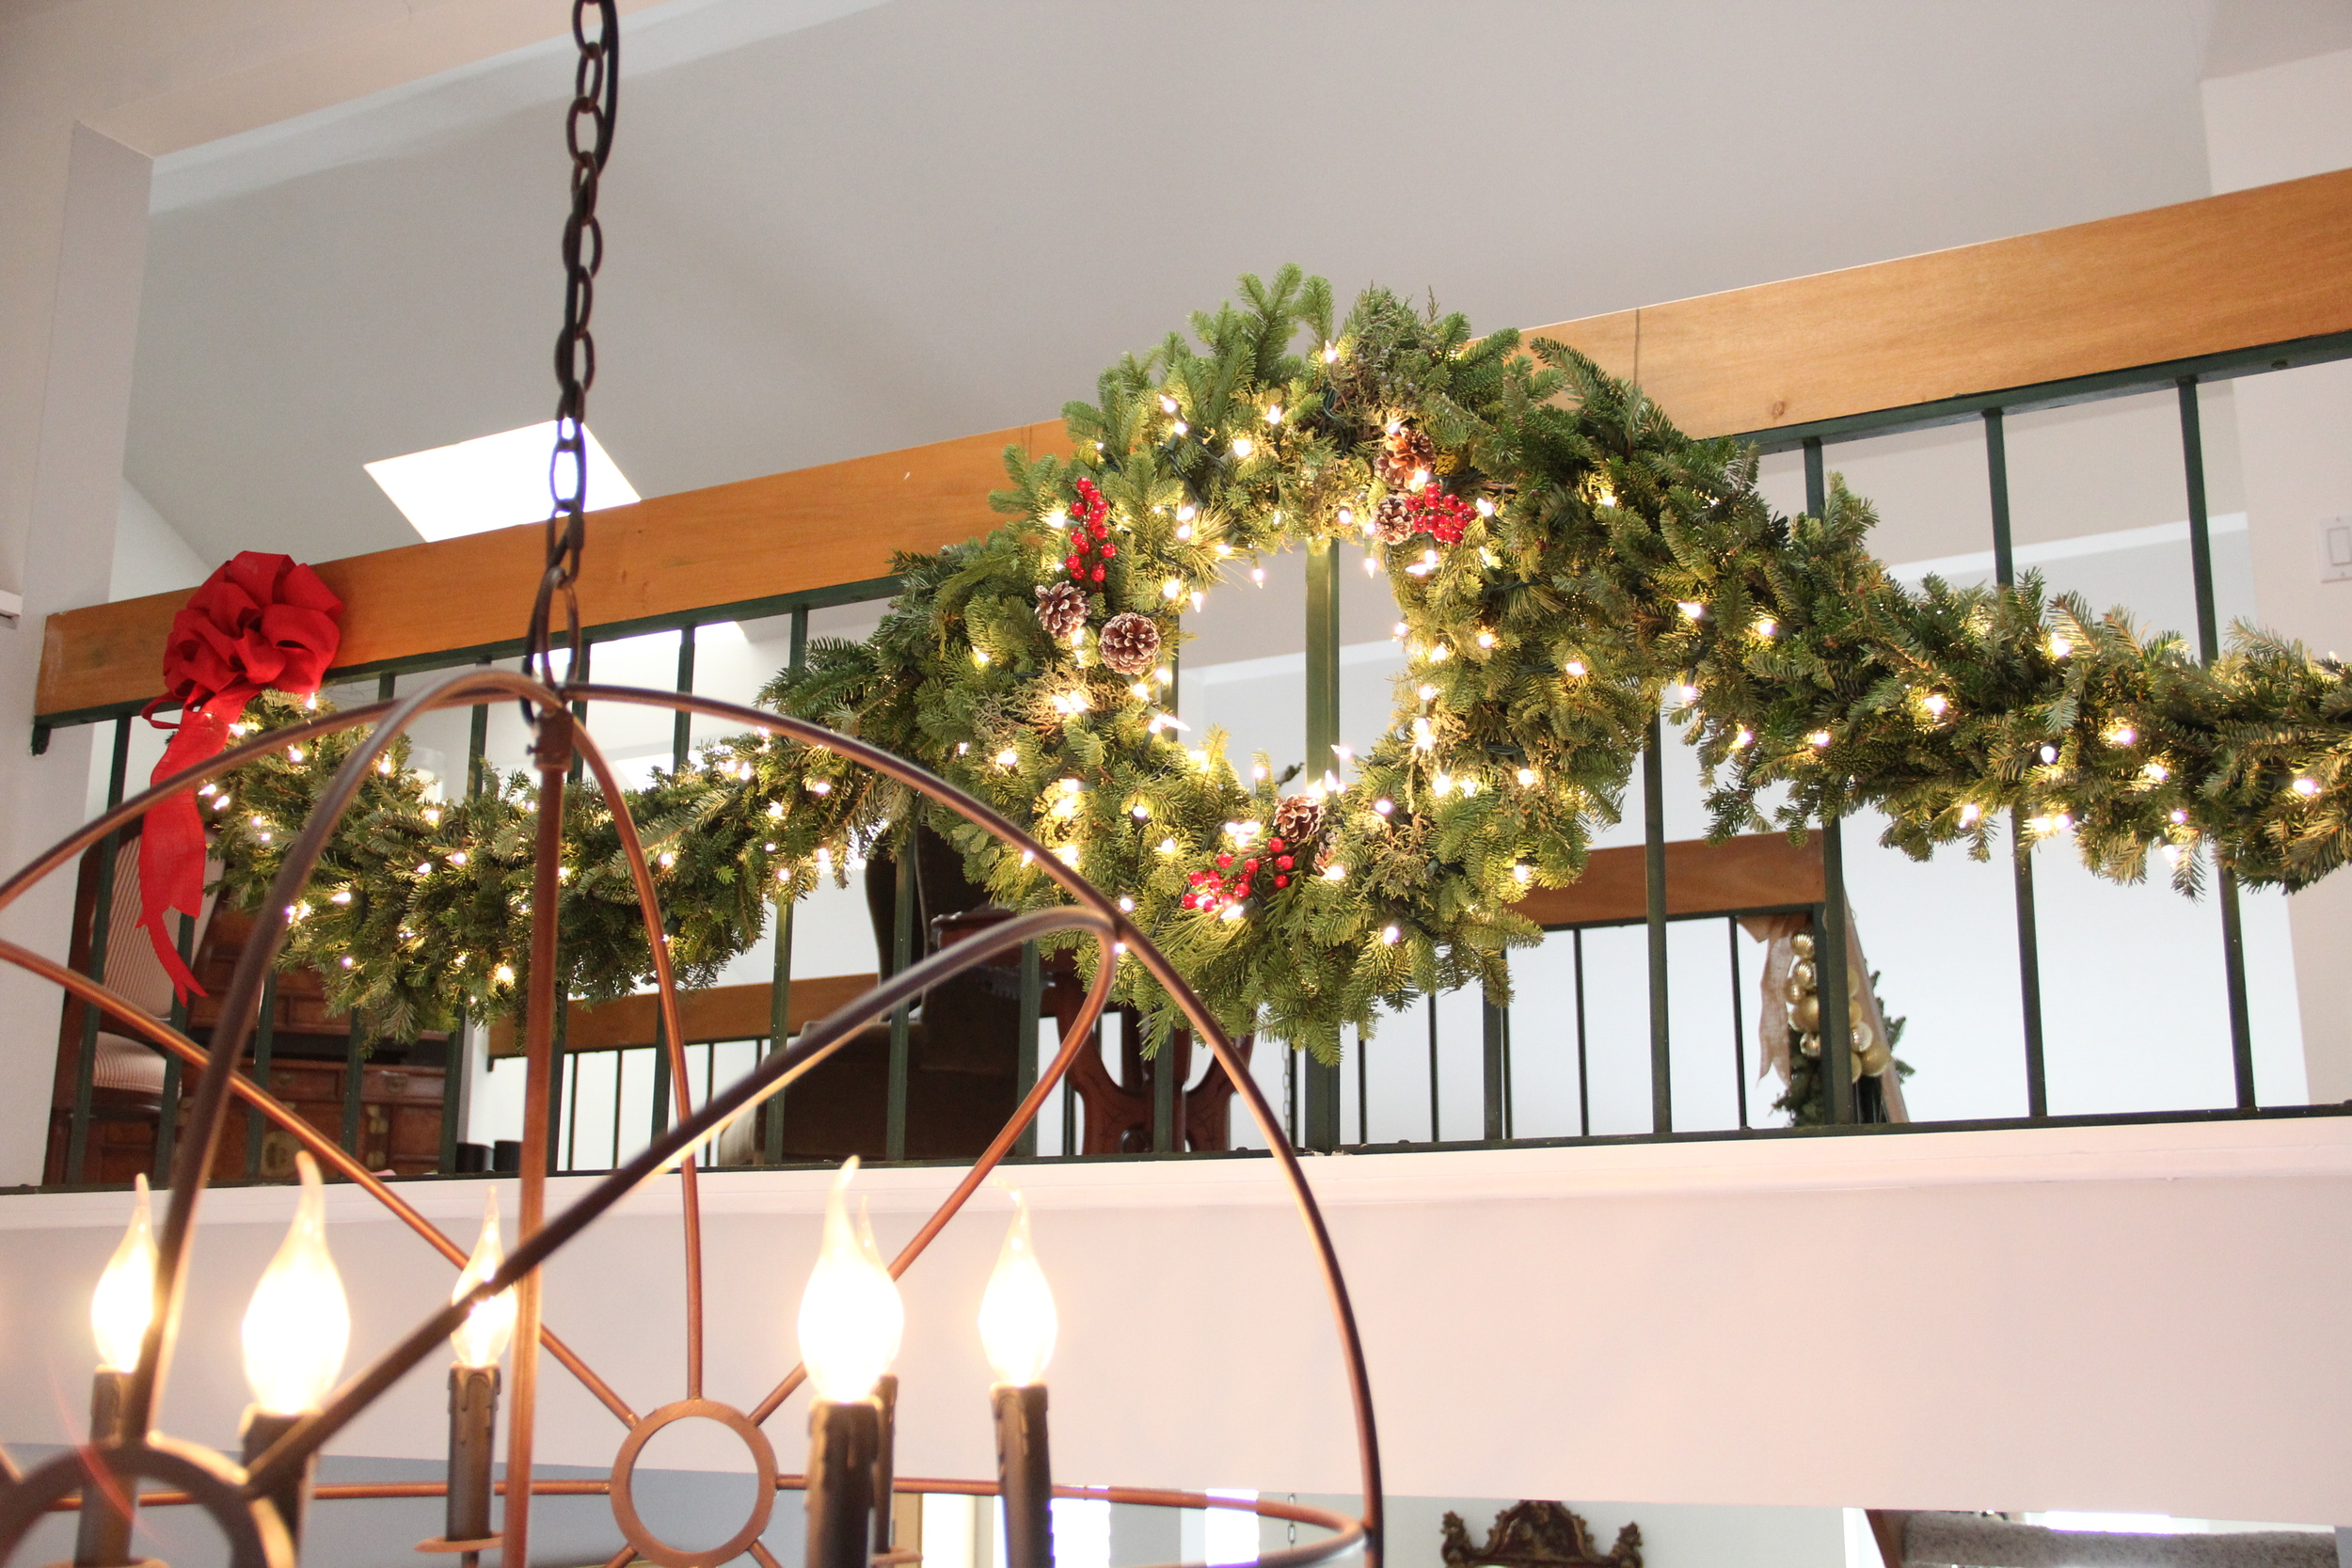
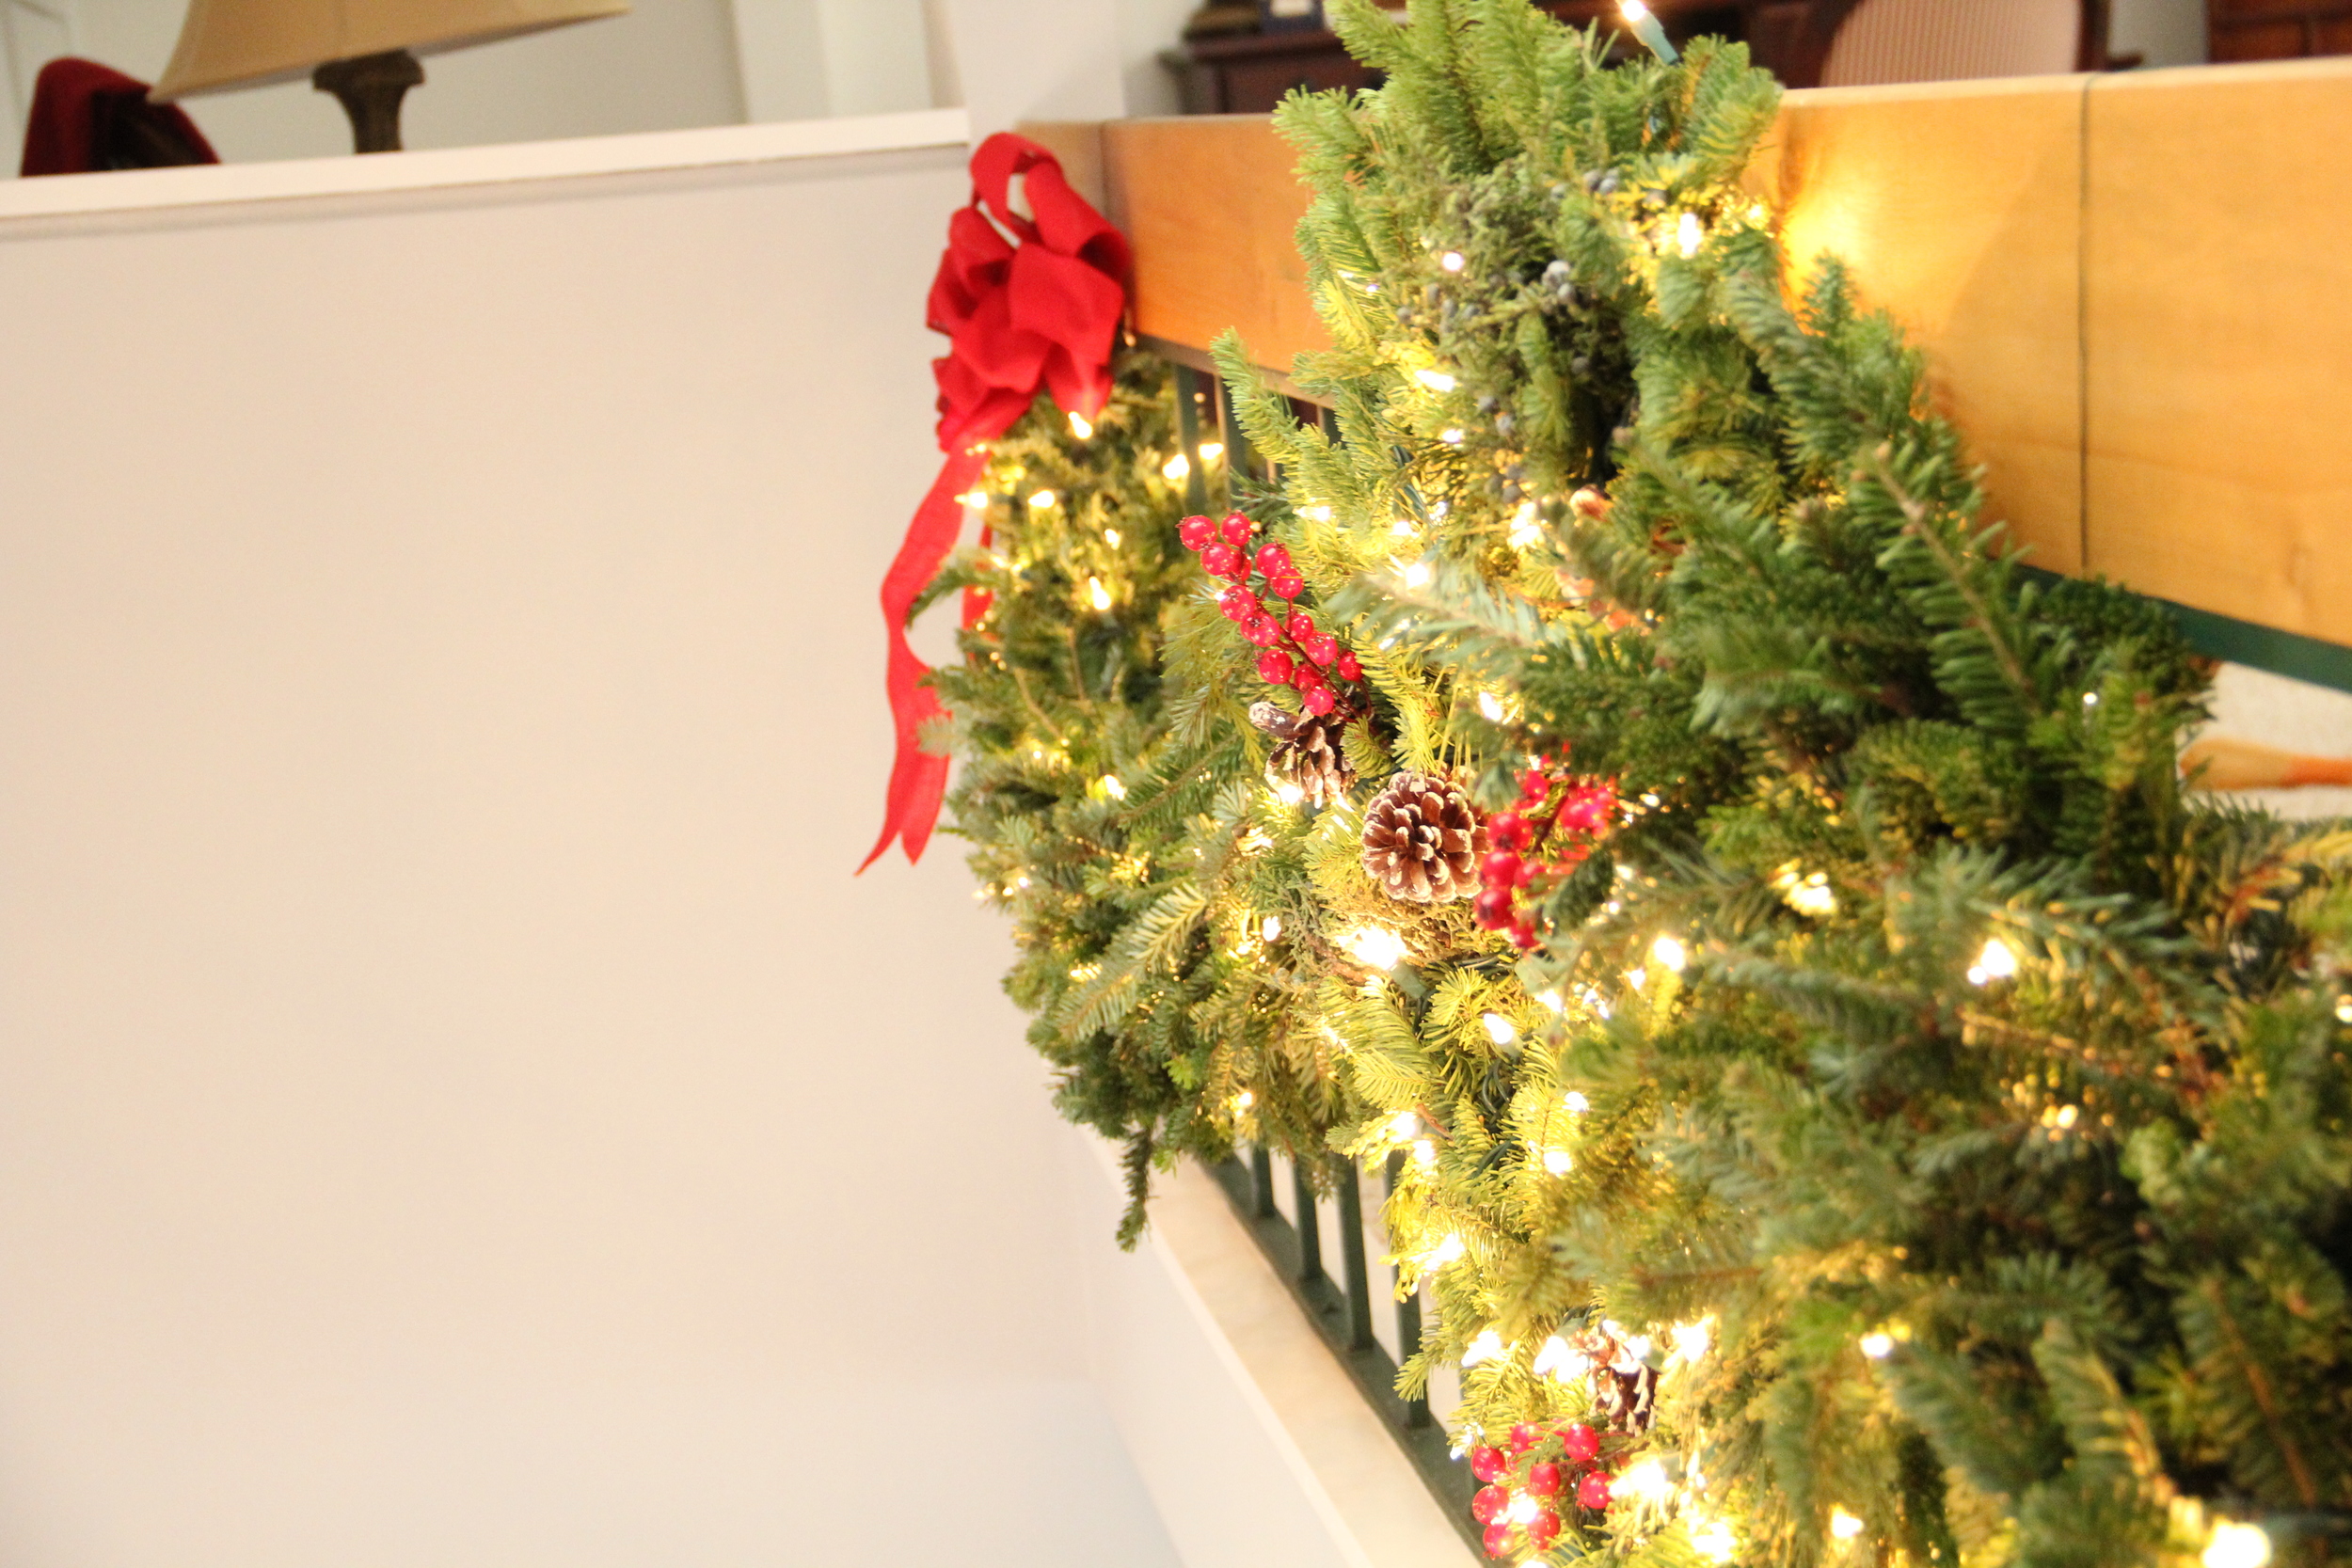
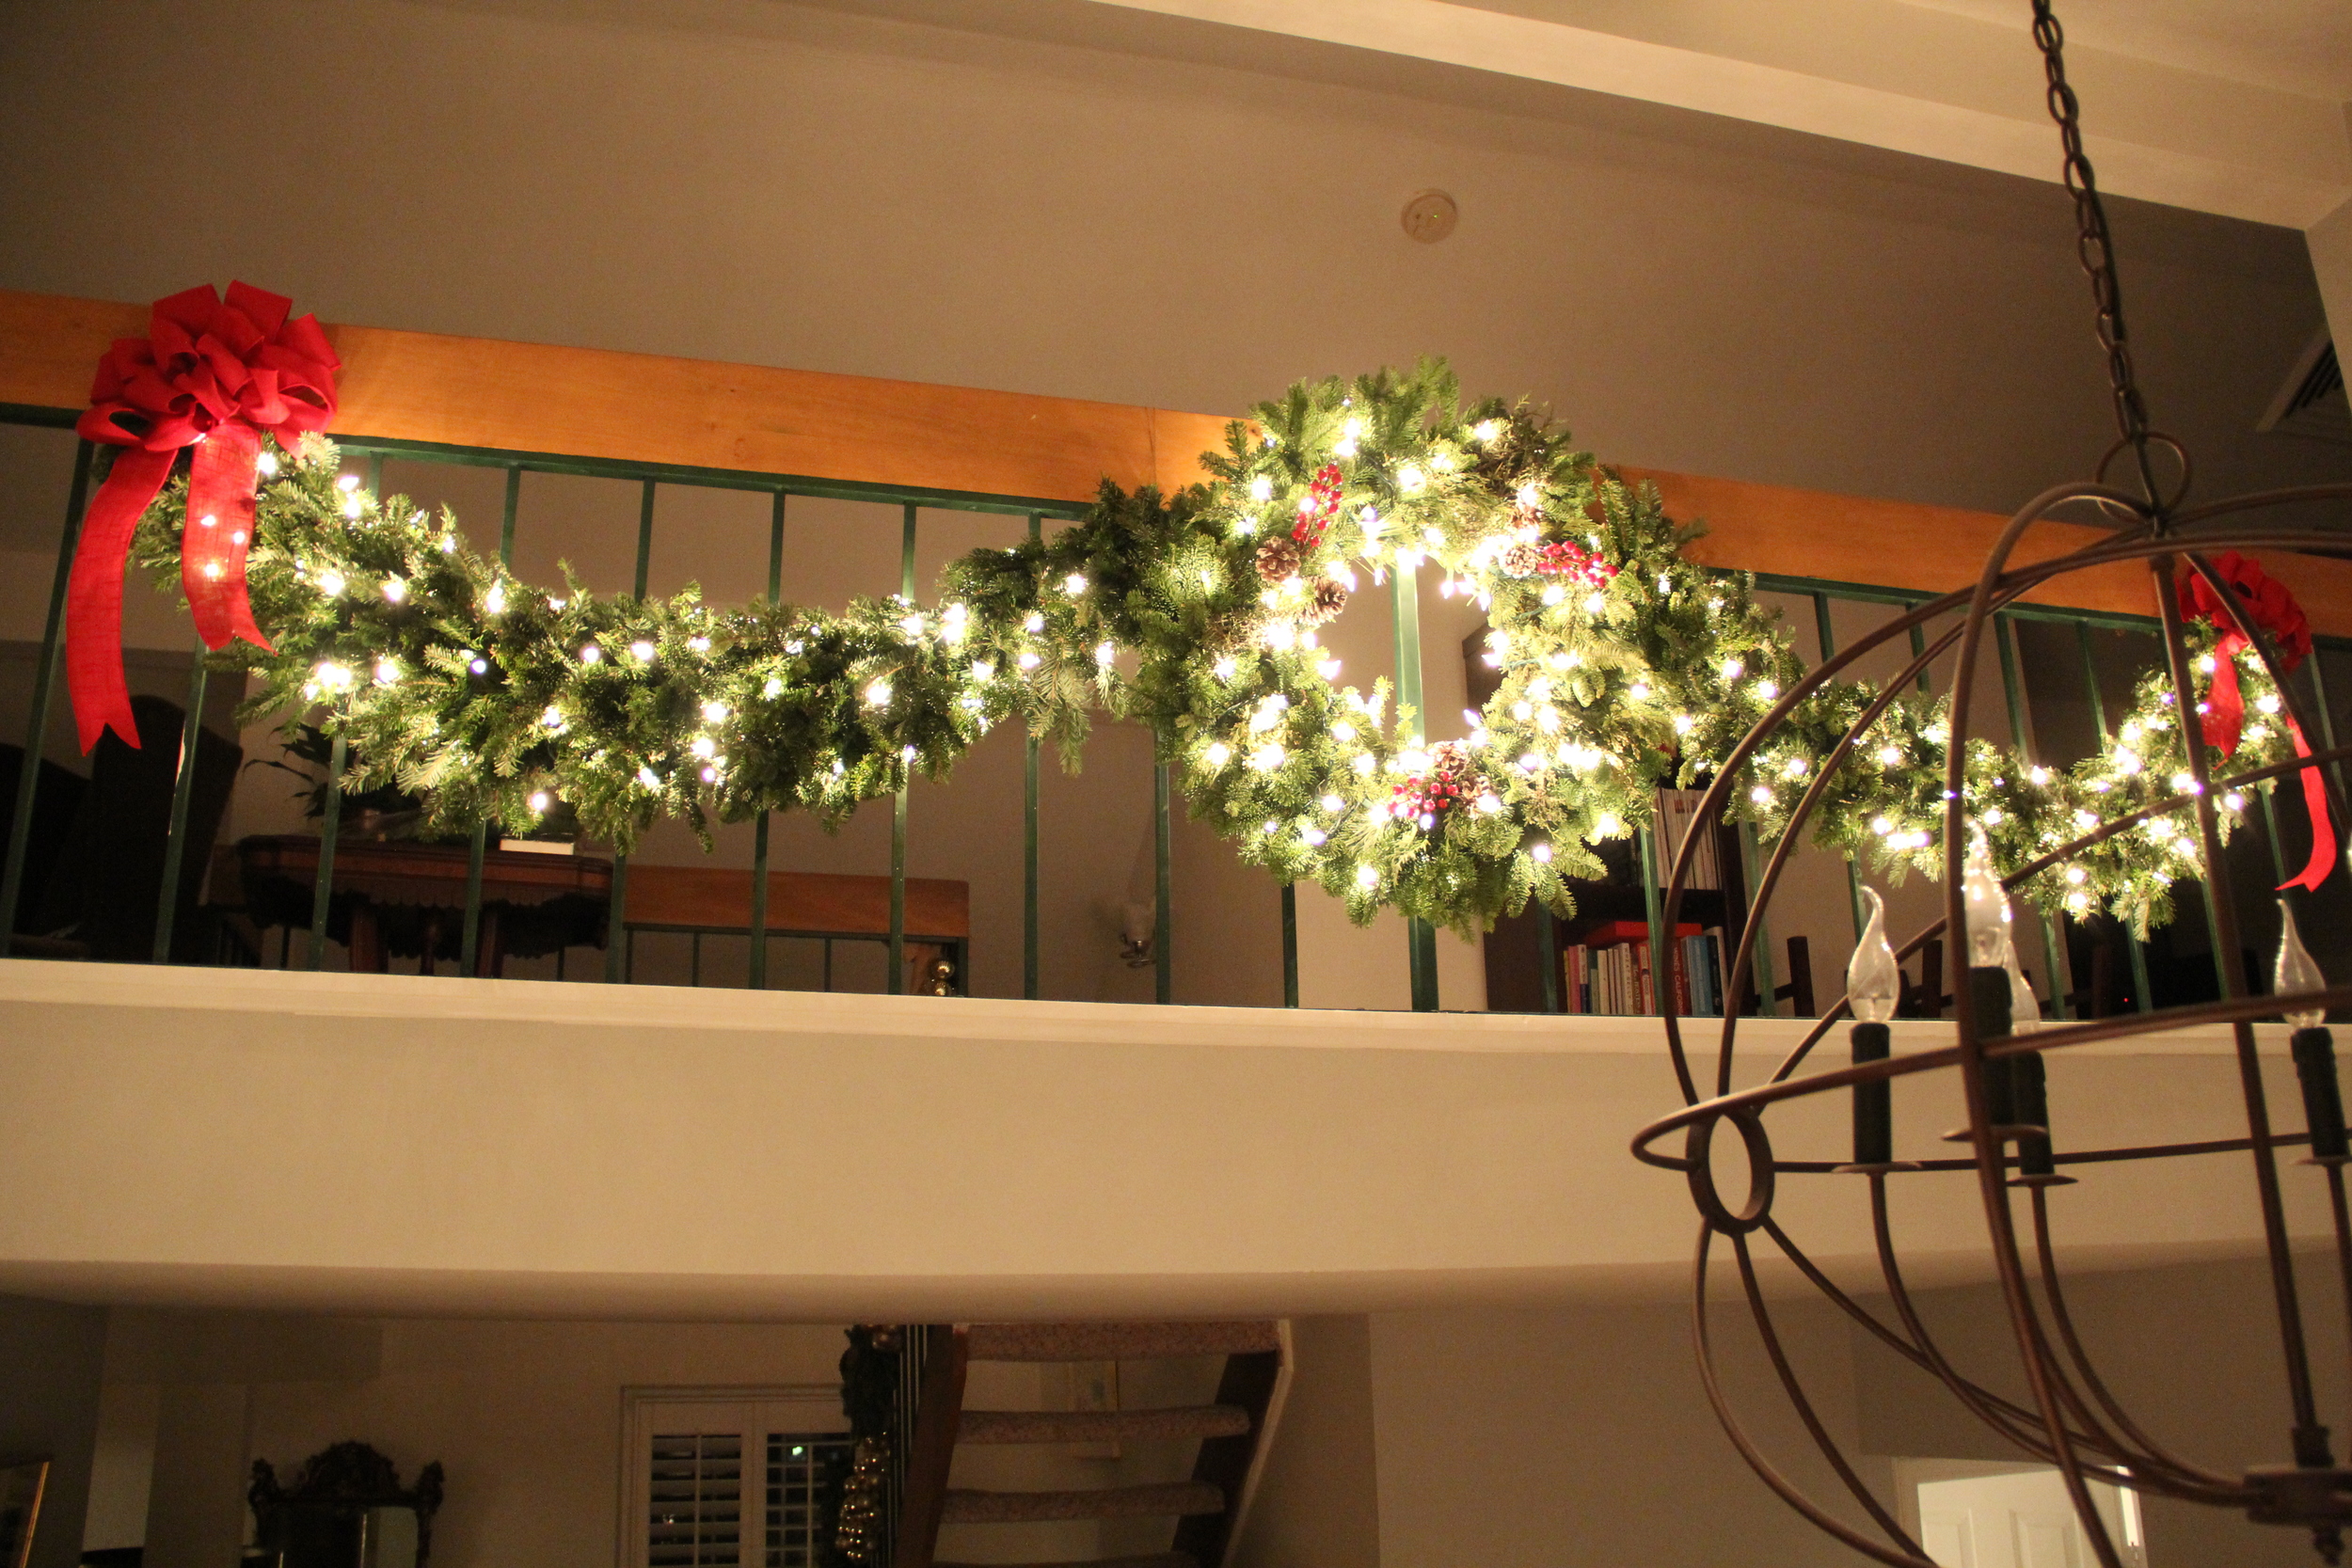
My holiday decorating is officially complete!  Over the past week I have been working on this final project, which I personally think is a show stopper.  Yes, I have adorned my staircase with gorgeous gold ornament garland and my woodland chic tree is a wonderful, but my illuminated homemade fresh garland really takes the cake.   Why?  In addition to being a fragrant and very attractive piece of holiday decor, it is actually made from waste!  Well not really waste, but trimmings that would have gone to waste had I not rescued them.  This garland is made from the tree trimmings found in the discard bin at Home Depot!  Additional fun fact- I scored these trimmings for a grand total of $0.  Yep, FOR FREE!!! So fabulous and really speaks to the saying "one man's trash is another man's treasure."  Here is how I went about turning these perfectly good trimmings/waste into a gorgeous masterpiece.
IMG_3334.JPG

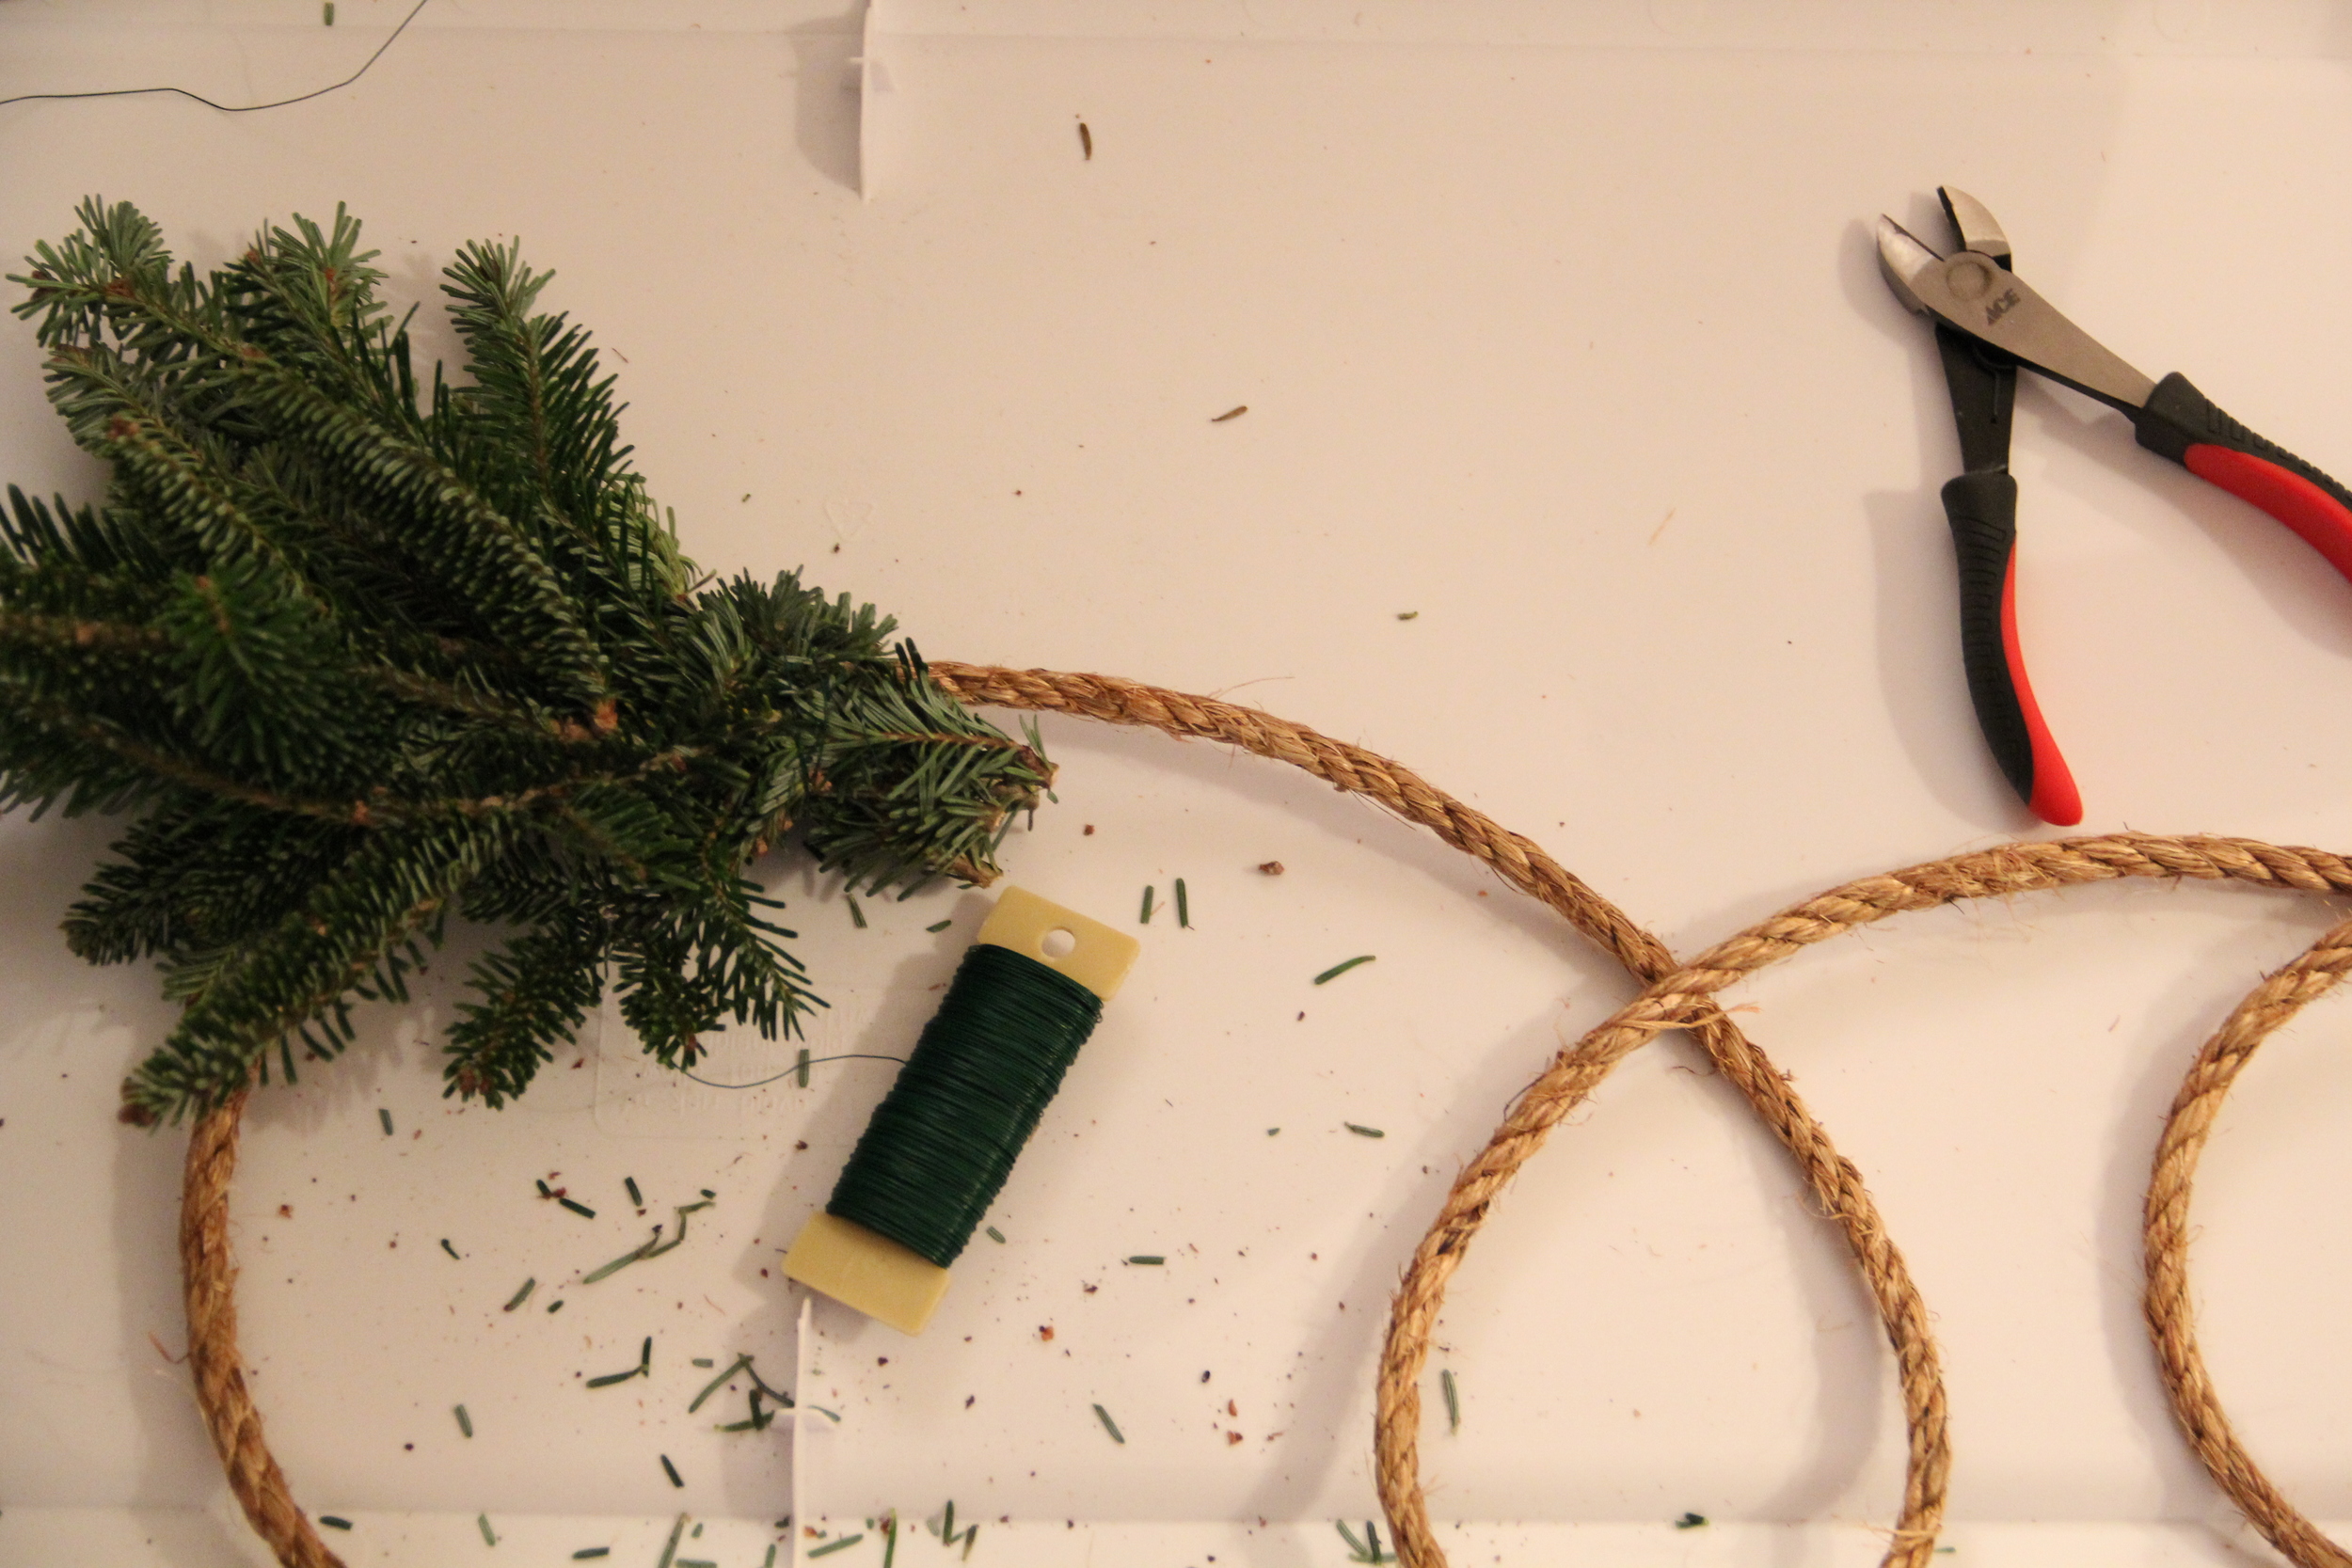
Supplies

  • Natural Fiber Rope
  • Green Floral Wire
  • 2 - 100 ct Light Strands
  • Spool of Wide Ribbon (here and here)
  • Extension Cord
  • 1" Nails (Optional, but they do look cleaner than using wire)
  • Tree Trimmings from Home Depot (or equivalent)
    • *Note- You will need to get about a shopping cart full tree trimmings in order to make two strands of garland.  Just ask one of the employee tree trimmers if you can have some of the trimmings.  Most likely they are going to be more than happy to let you take whatever you want (I have never been turned down).
Garland Step 1.JPG
Garland Step 2.JPG
IMG_3362.JPG
IMG_3363.JPG
IMG_3365.JPG

Instructions

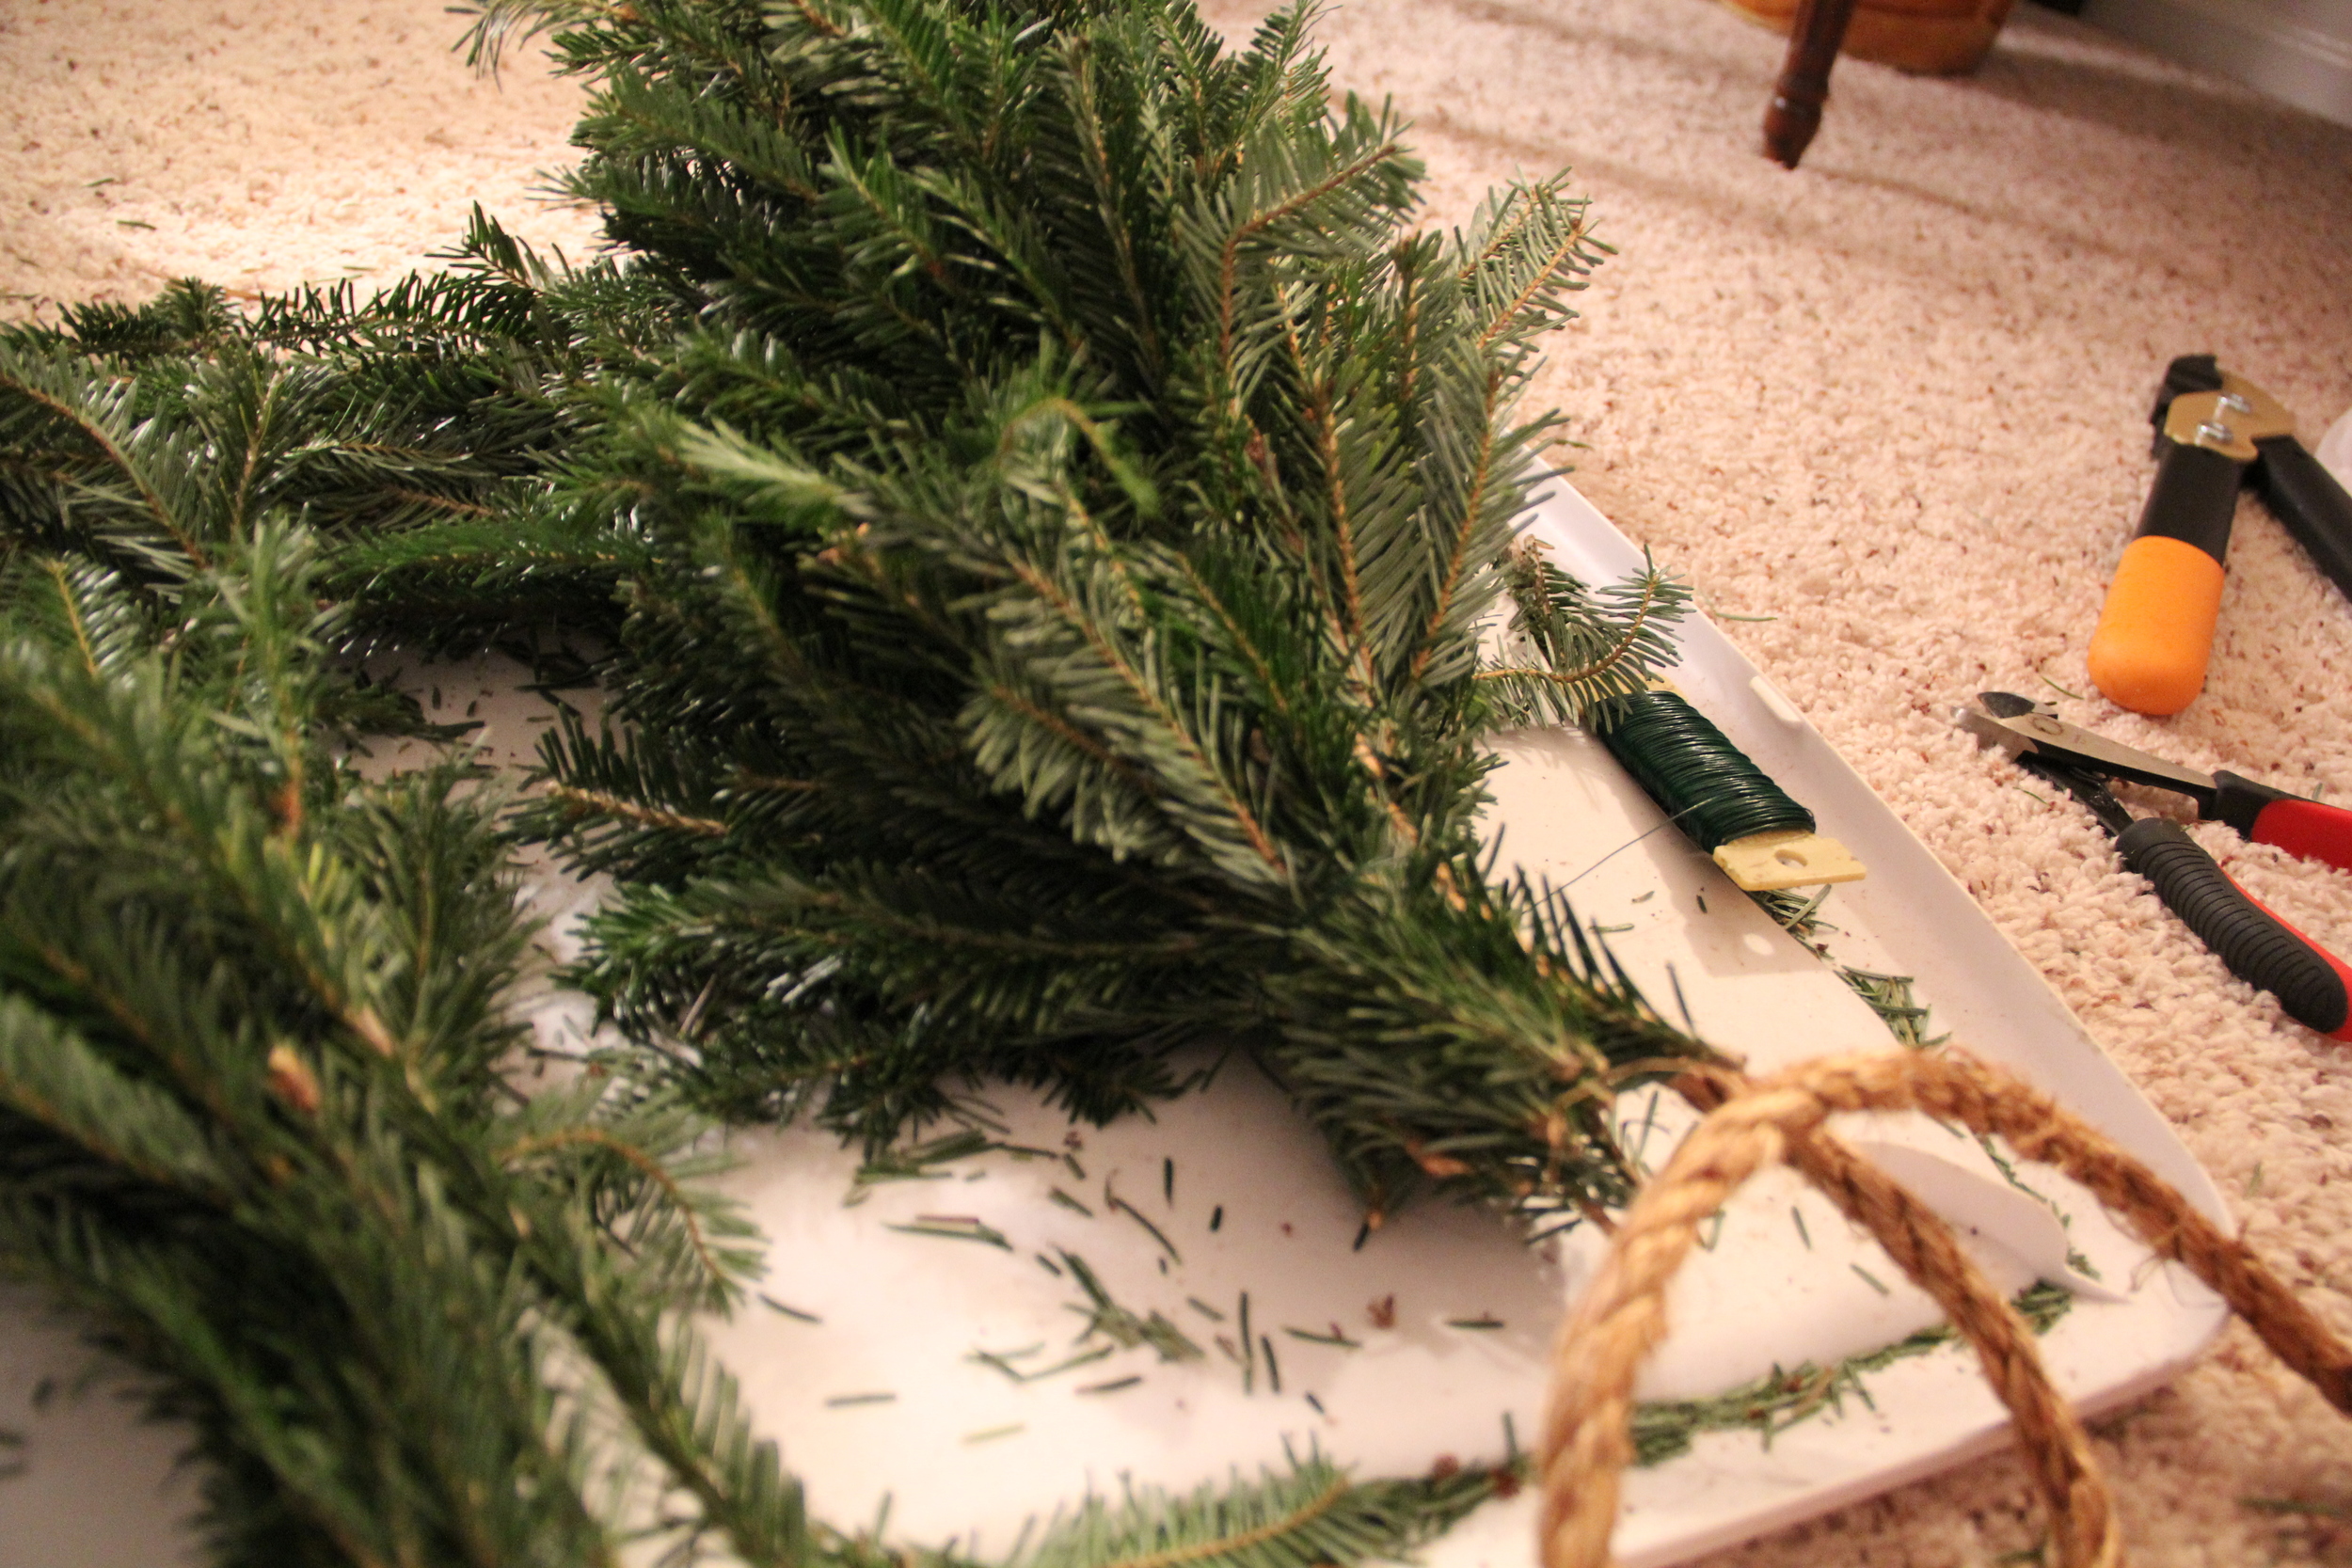
  1. Trim off 6"-8" pieces of lush pine branches (*I like to work in batches, so I will create a large pile of trimmed pieces to attach to my garland, but you can also cut pieces as you go along if you prefer)
  2. Loosely drape the rope along the space you wish to adorn with garland
  3. Add 8 inches of additional rope to each side and then cut your piece of rope using Fiskars (or similar)
  4. Starting 8 inches in on your rope, gather your first bunch of pine trimmings, wrap with green floral wire and continue to wrap onto rope, never cutting the wire
  5. Rotate the rope slightly, gather your next bunch of trimmings and attach to the rope by wrapping the trimmings and rope in the floral wire
  6. Continue this process of attaching and rotating until the garland reaches your desired length
  7. Tie off the end of the garland by wrapping wire tightly around approx. 10x
  8. Take one strand of 100ct lights and carefully wrap the strand around the garland, making sure avoid the bondage/mummy look
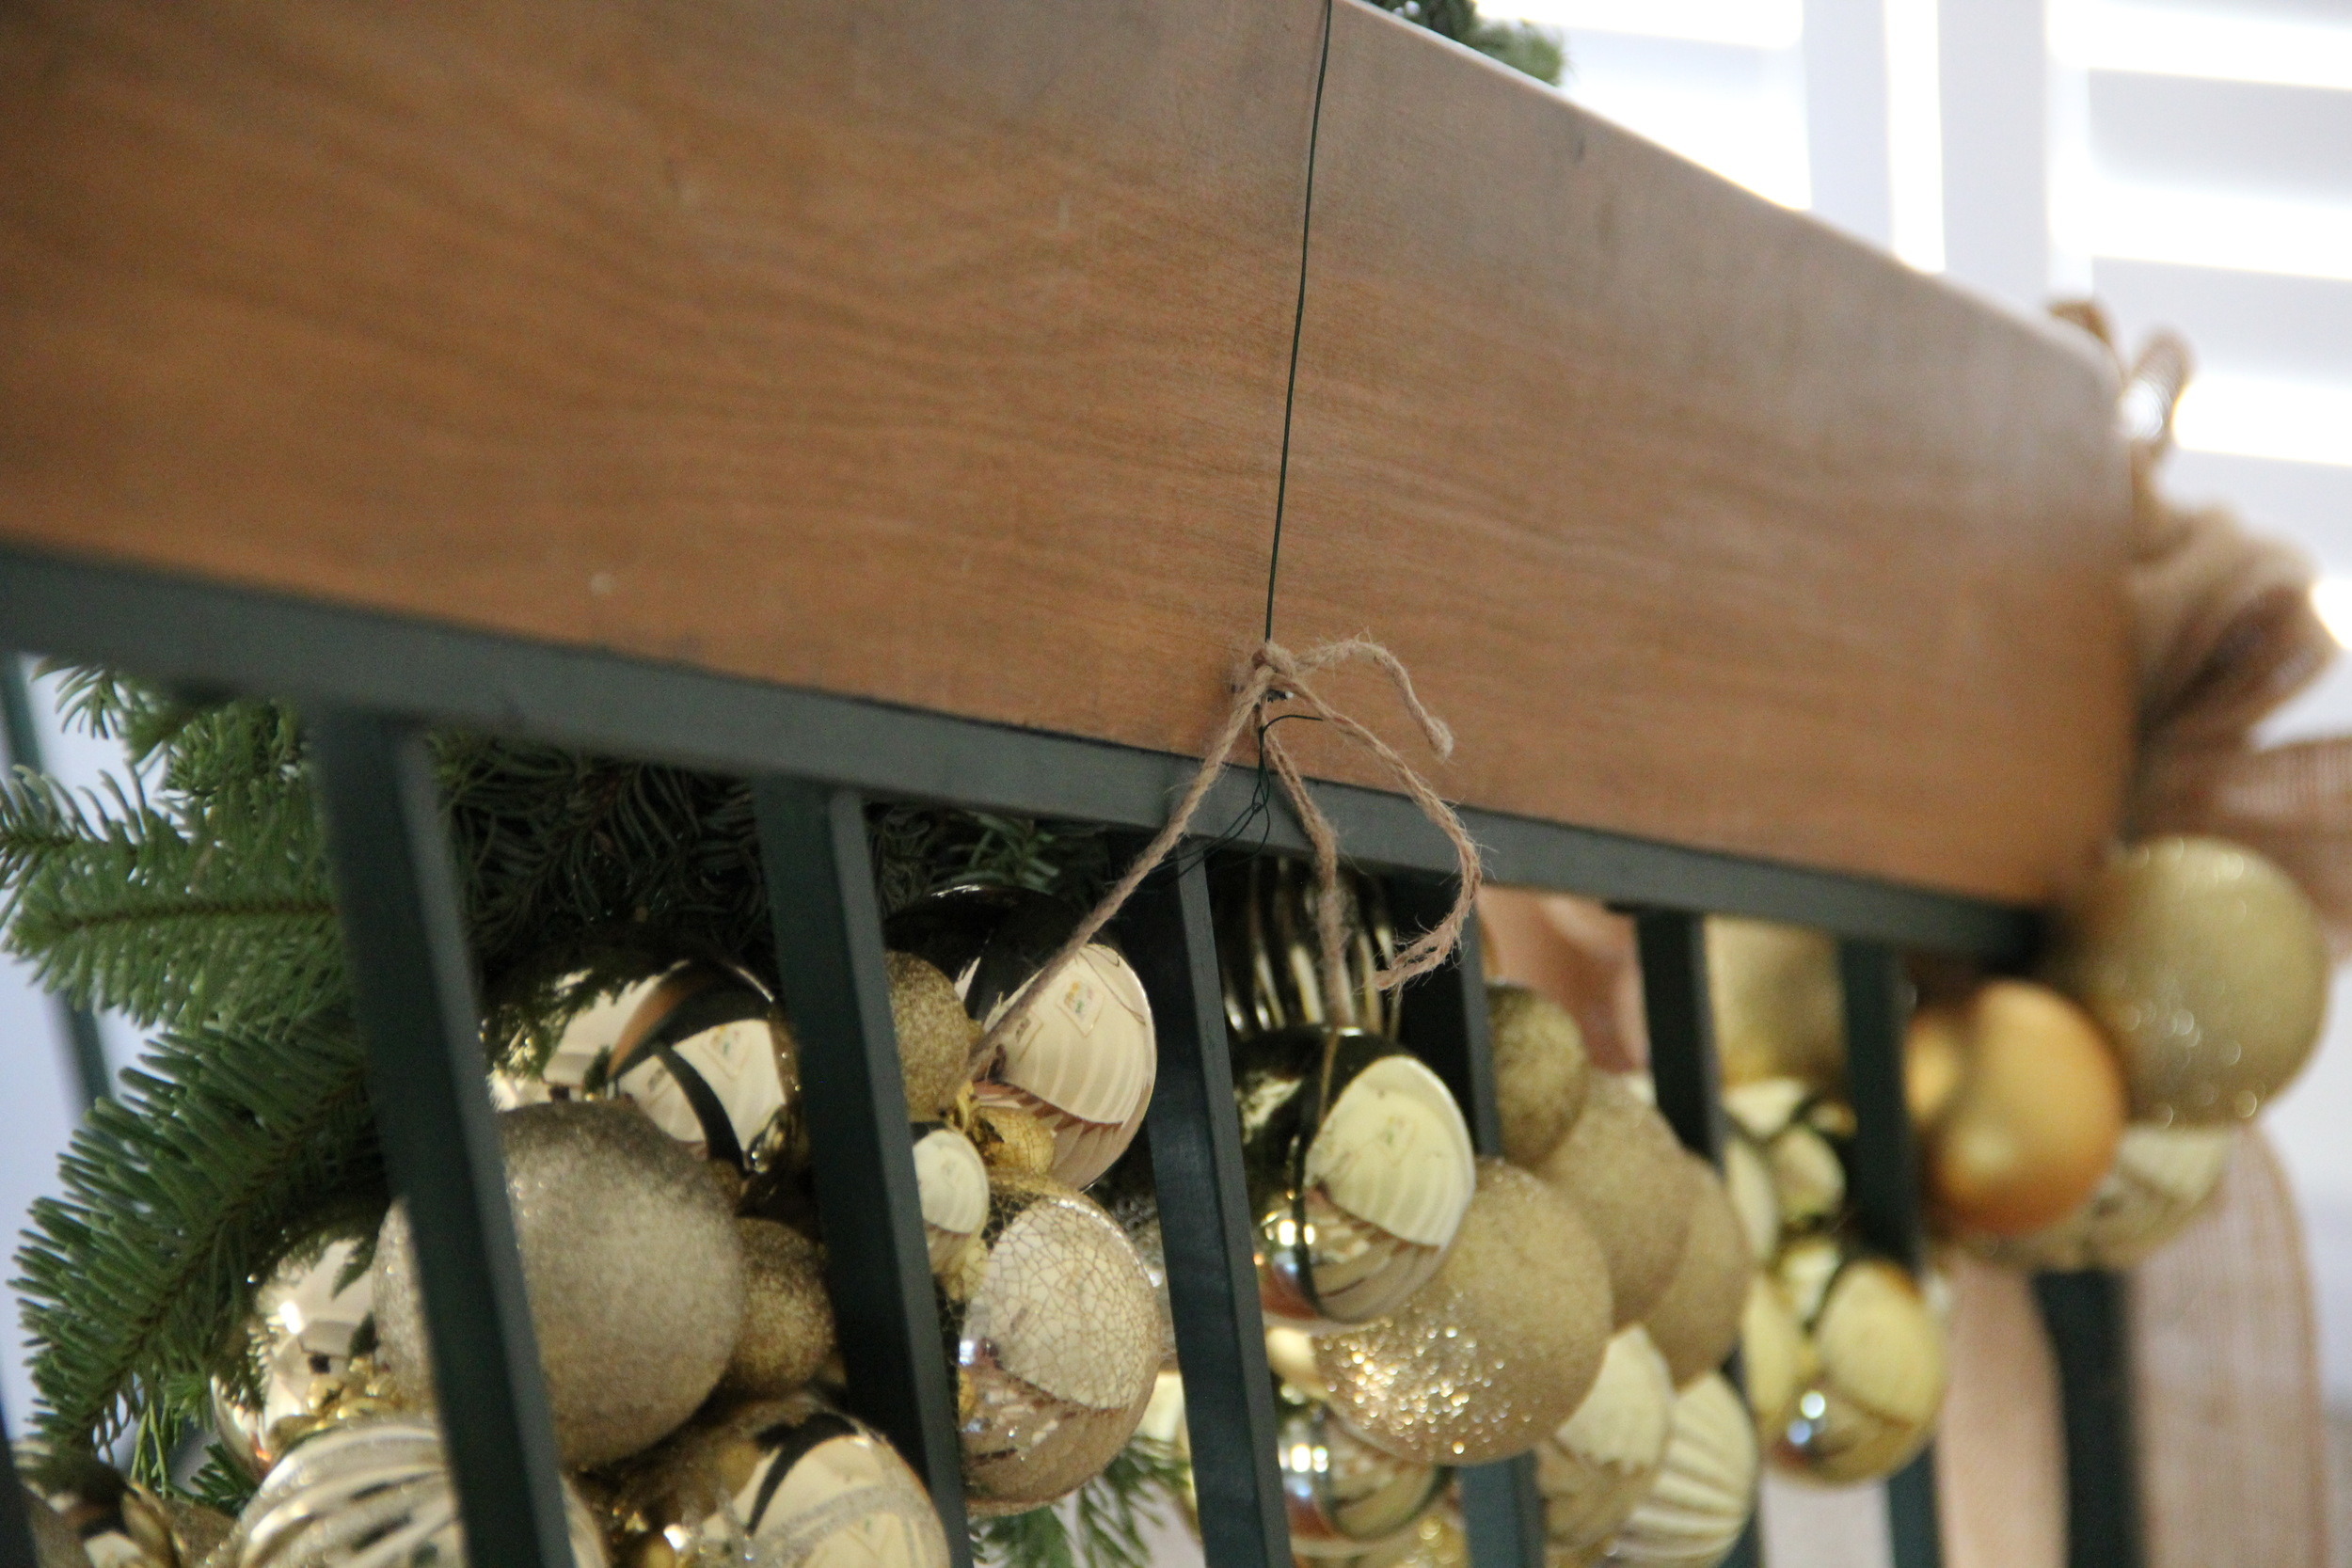
  9. Tie a knot at each loose end of the rope and use that as an anchor to wrap your wire around when securing it to your railing. (See my ornament garland post for details on attaching garland to your stair railing)
  10. To make the bows pictured in this post, see this YouTube video
  11. The wreath was purchased at Costco for $15.99 and wrapped in a 100ct Strand of White Christmas Tree Lights.
  12. **Make to wrap your garland and wreath with the light plugs all on the same side and the light sockets all on the same side so that they can seamlessly connect when you go to install your garland/wreath masterpiece. 
IMG_3369.JPG
IMG_3328.JPG
IMG_3352.JPG
IMG_3330.JPG
In Decorate Tags Home Depot, DIY, Christmas, Holiday, Holiday Decorations
Comment

DIY Project: Ornament Garland

December 4, 2015 Callie Cagney
Ornament Garland Redefining Domestics.jpg

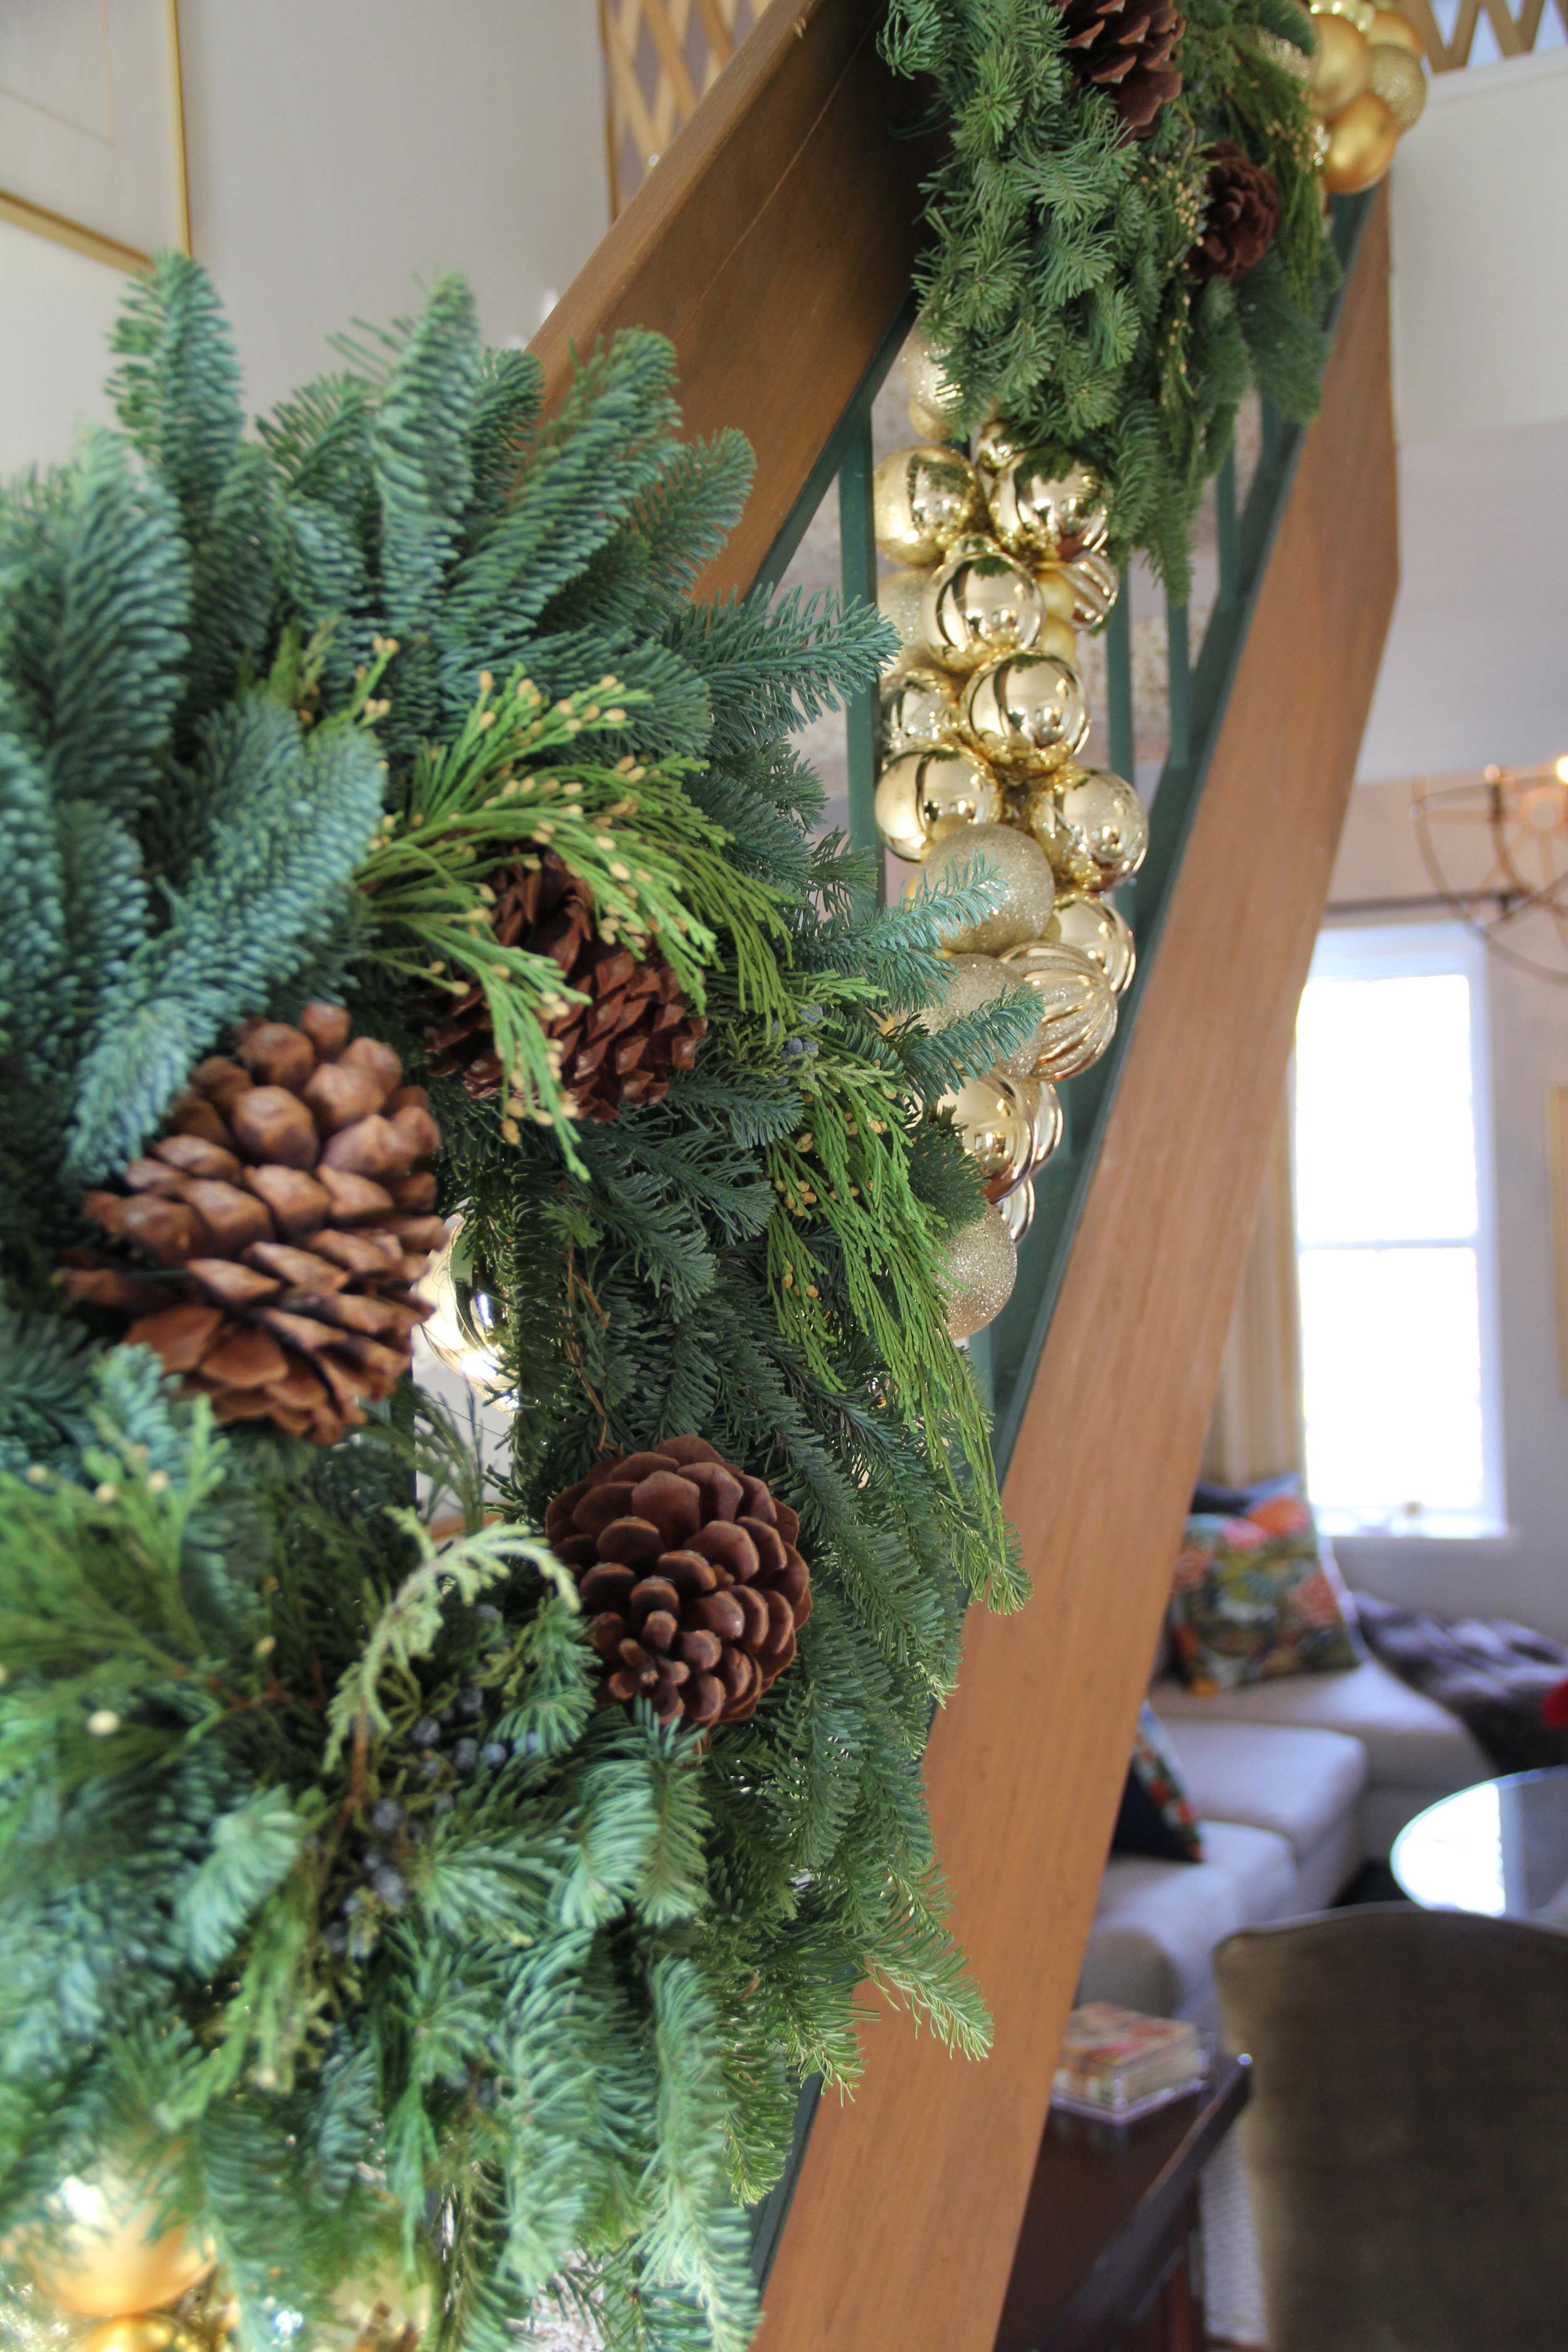
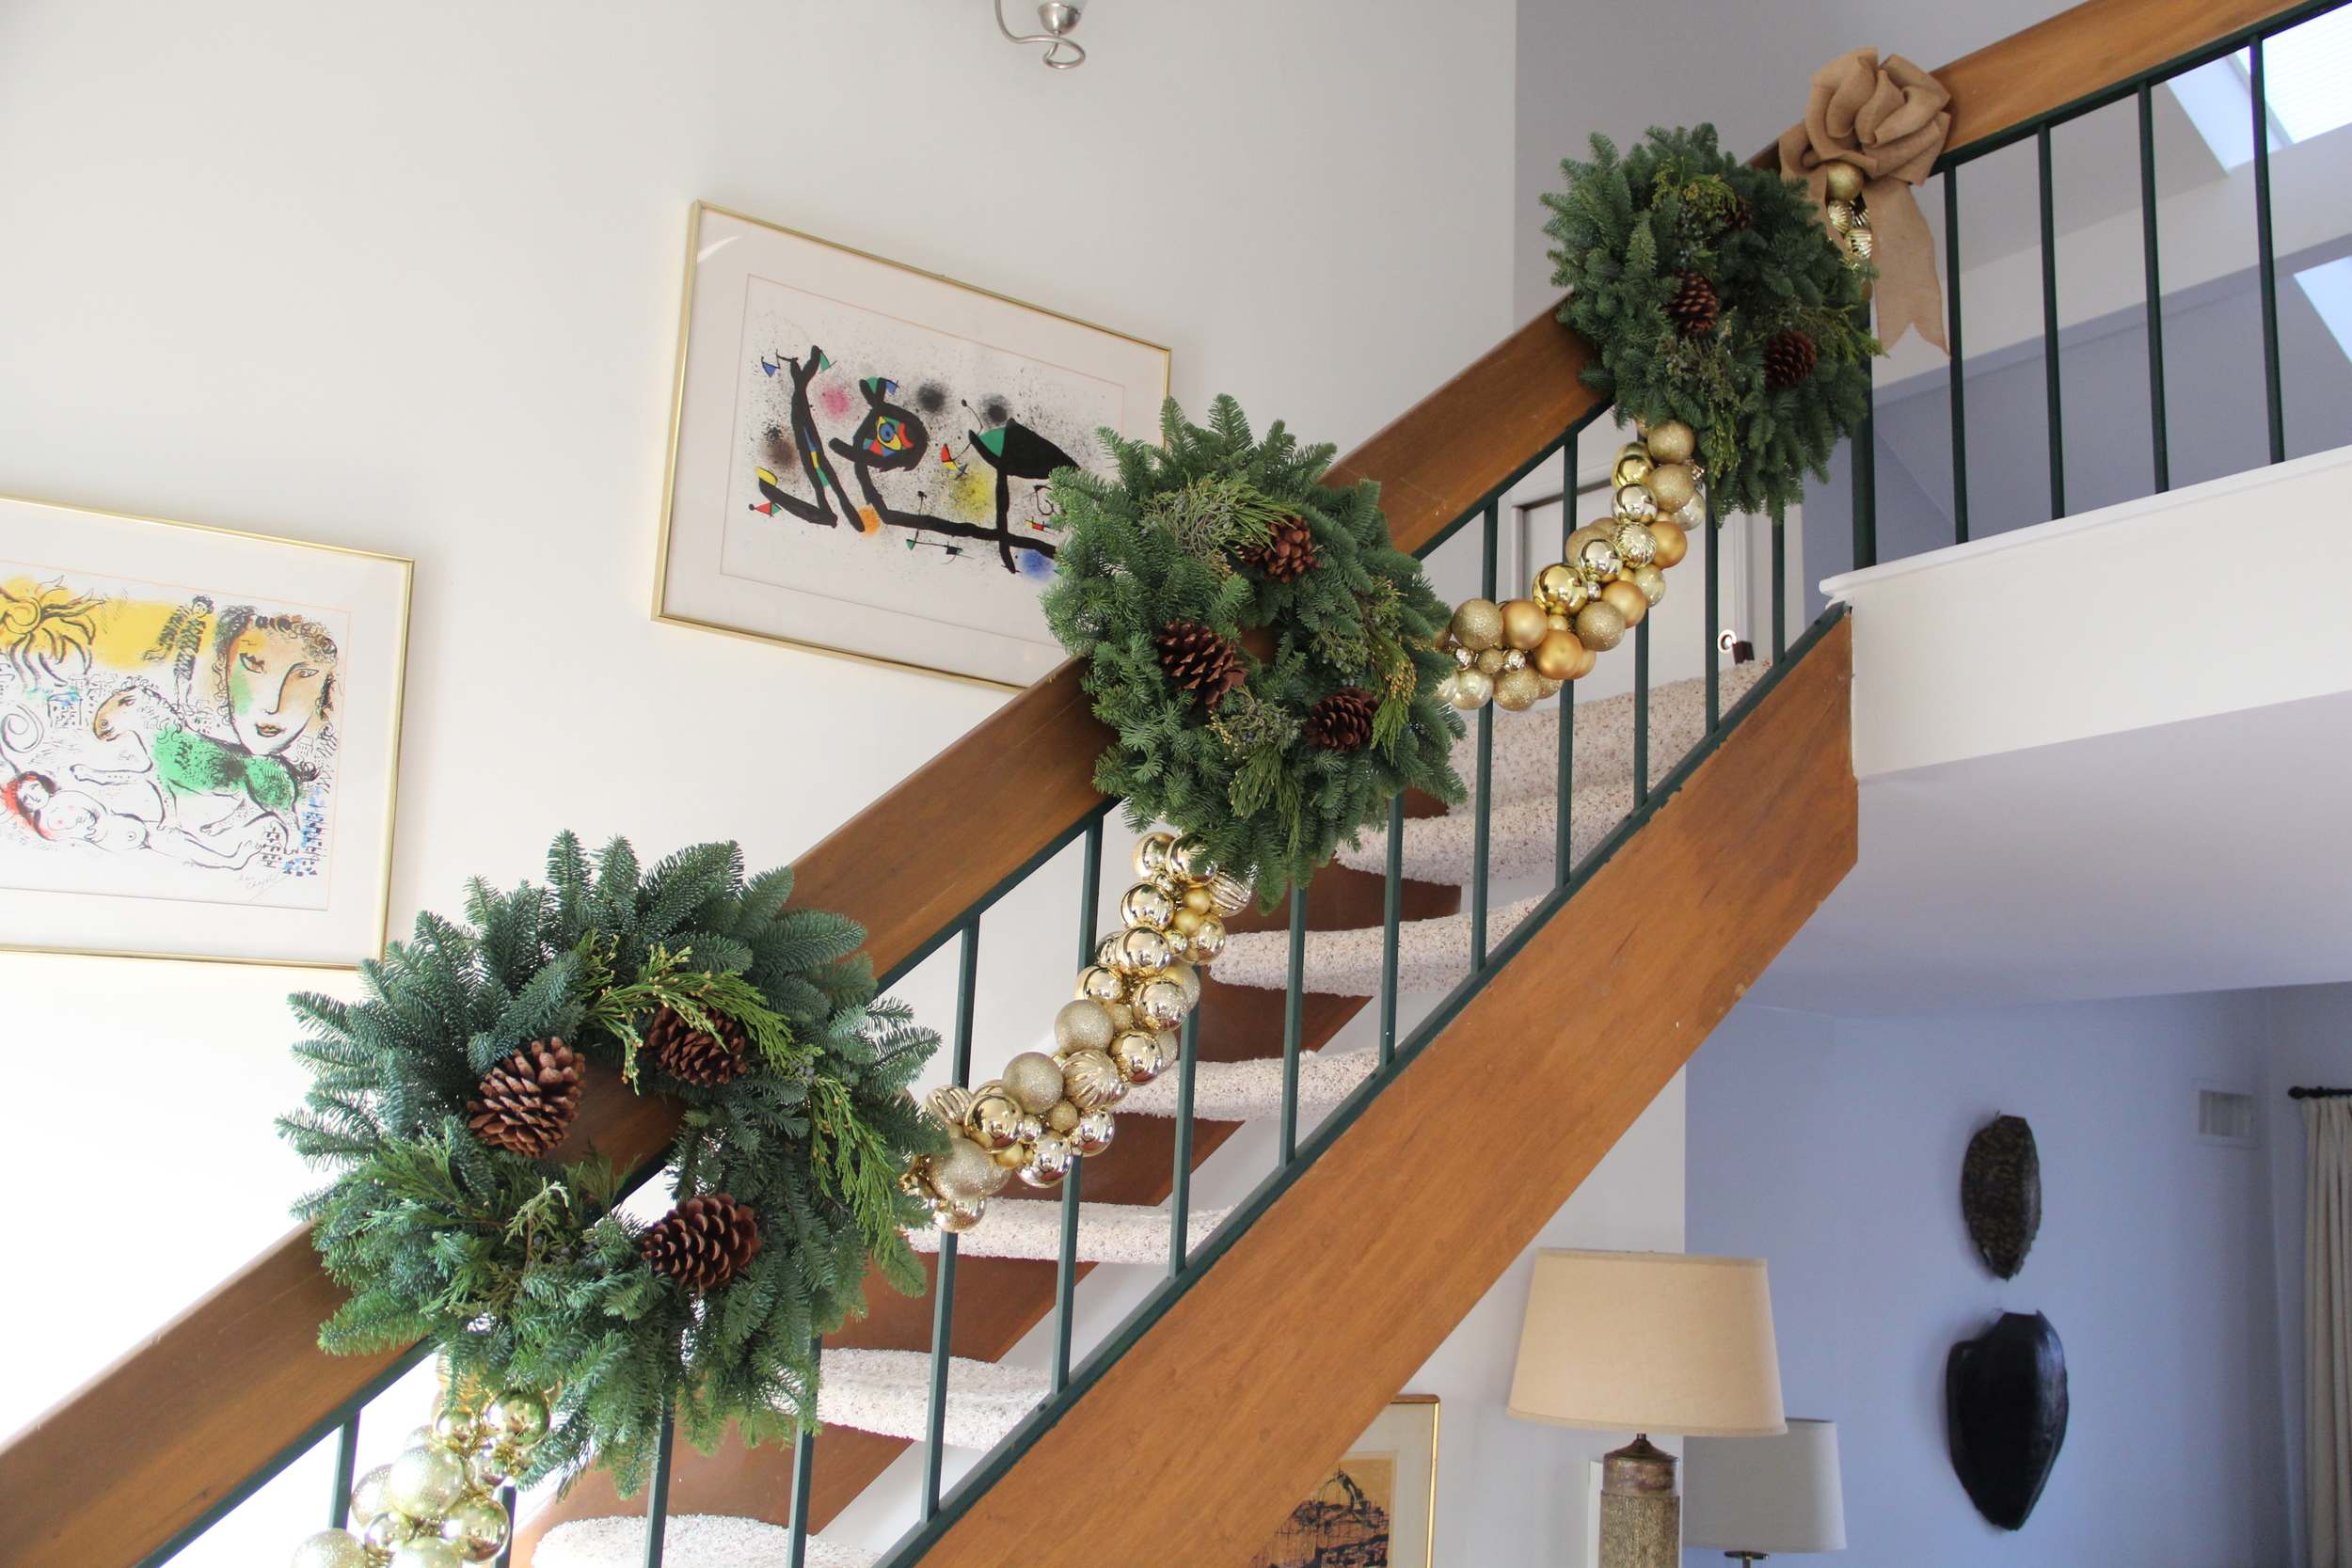
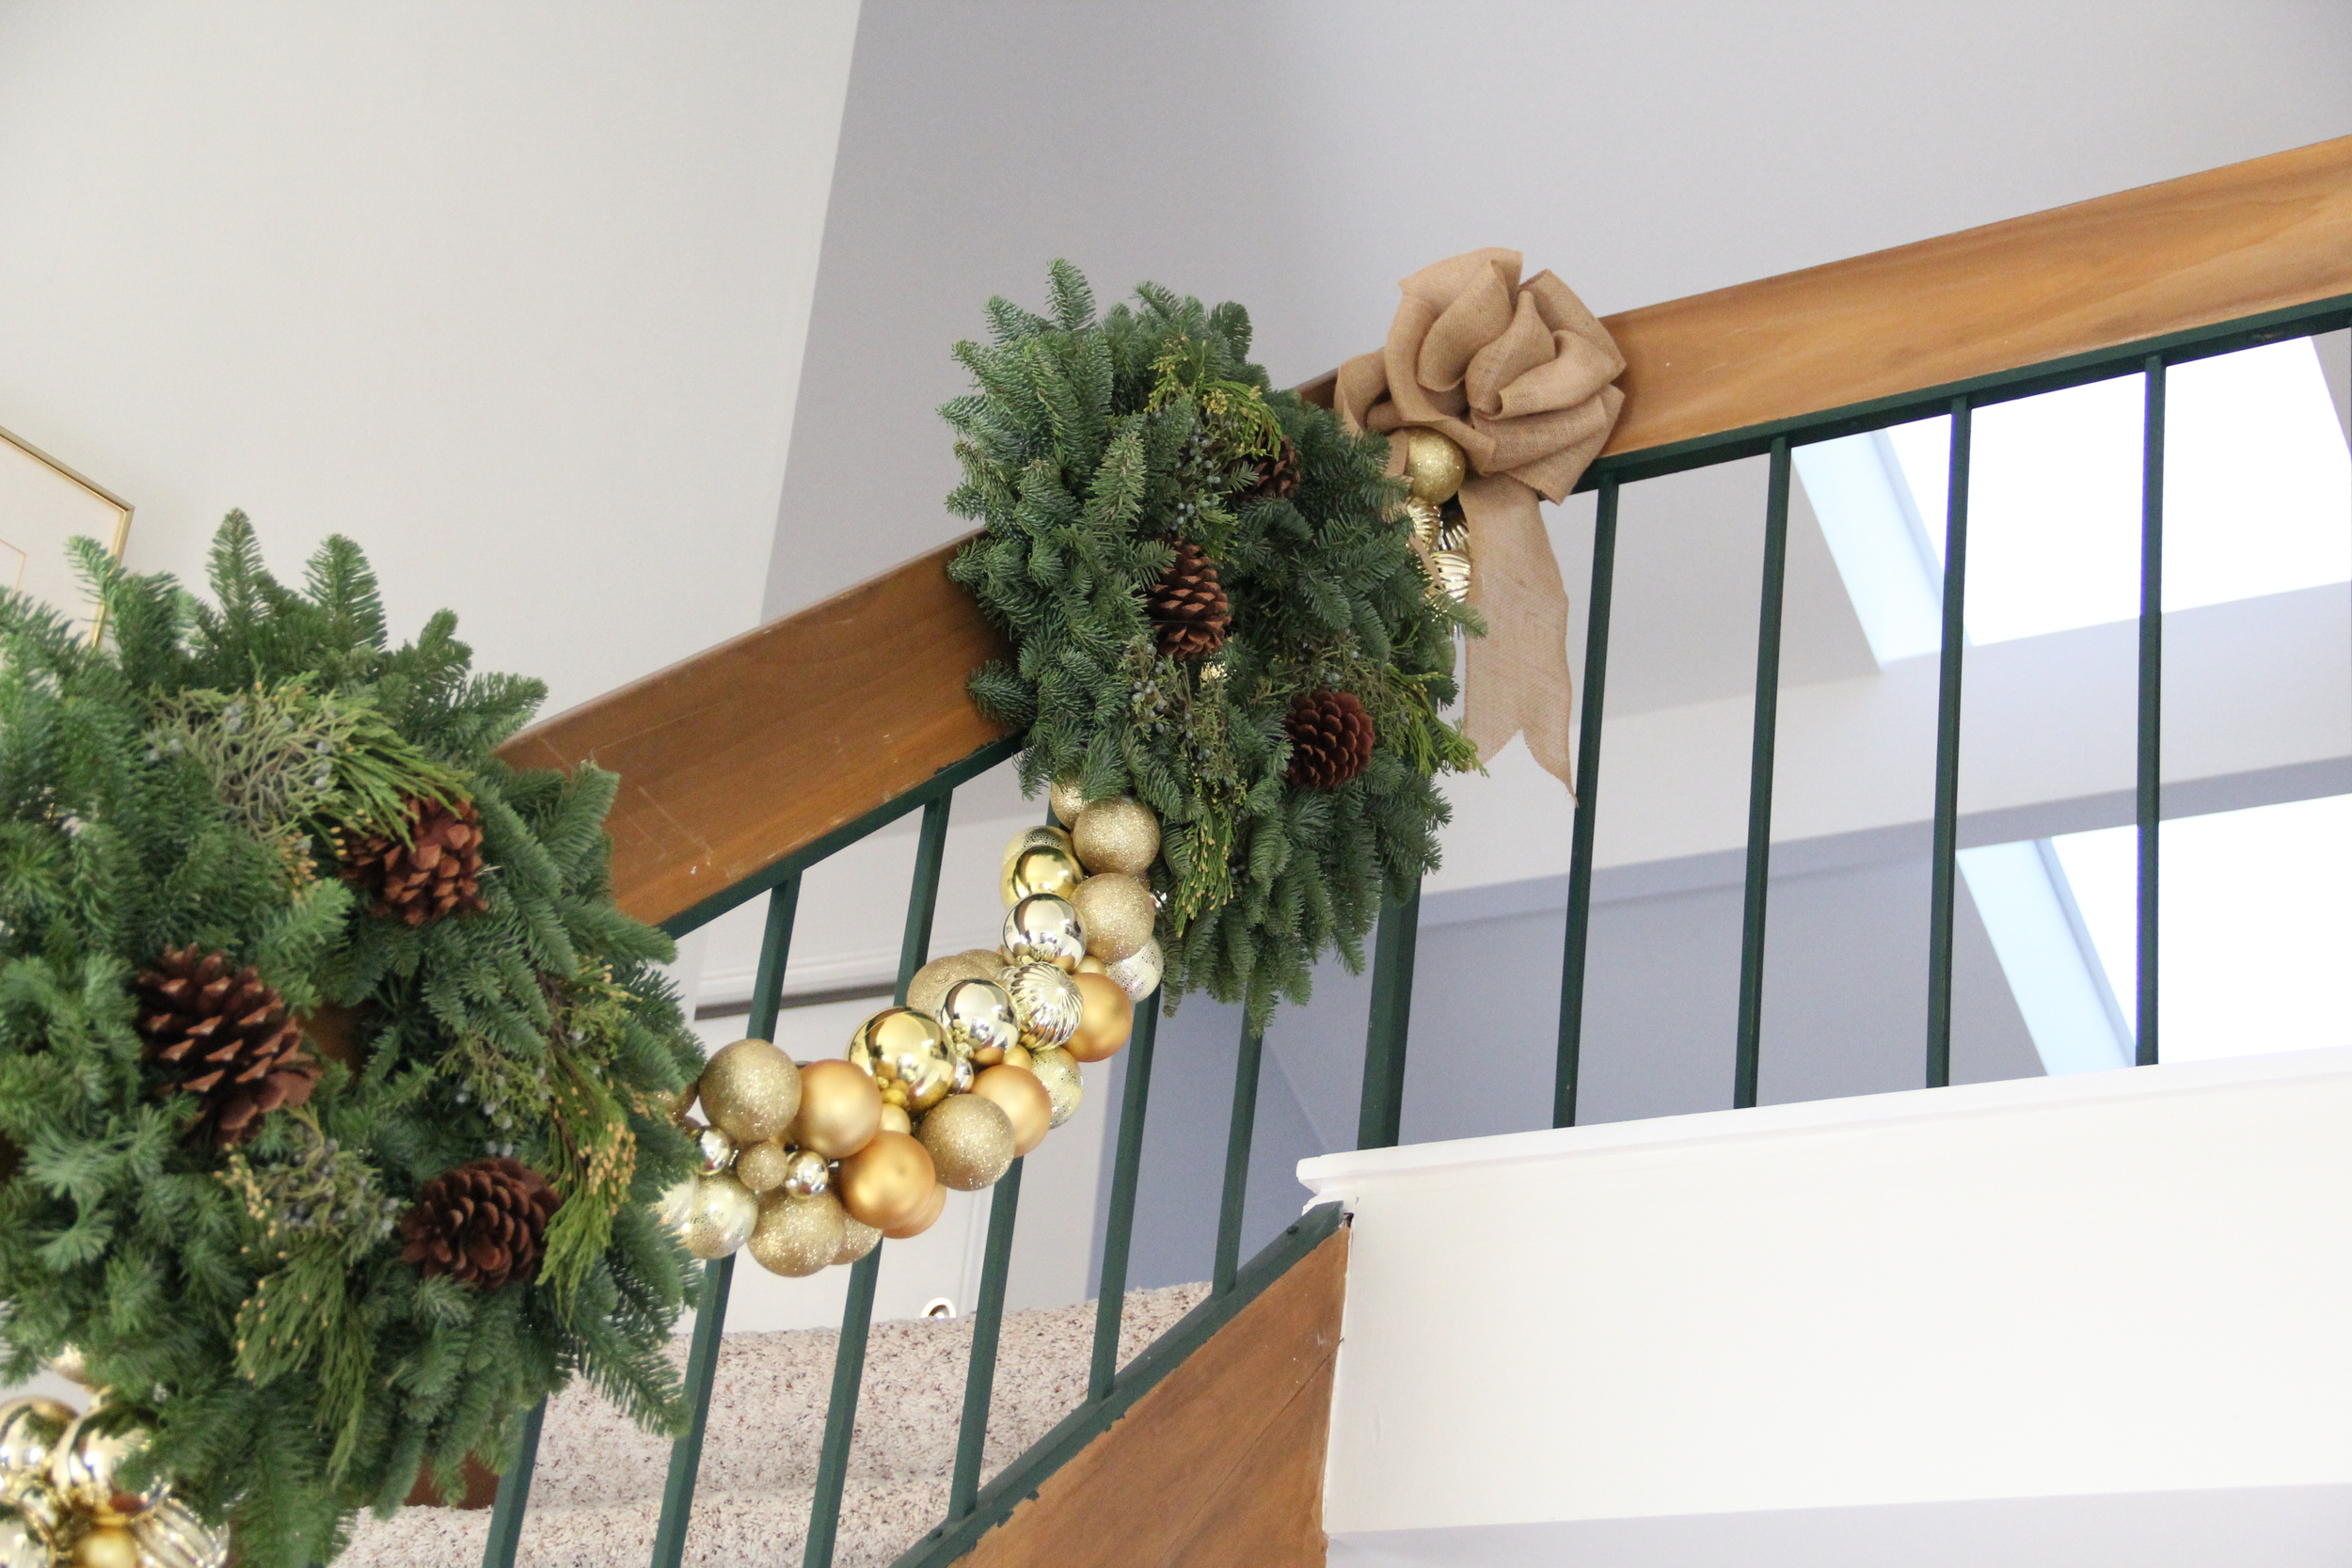
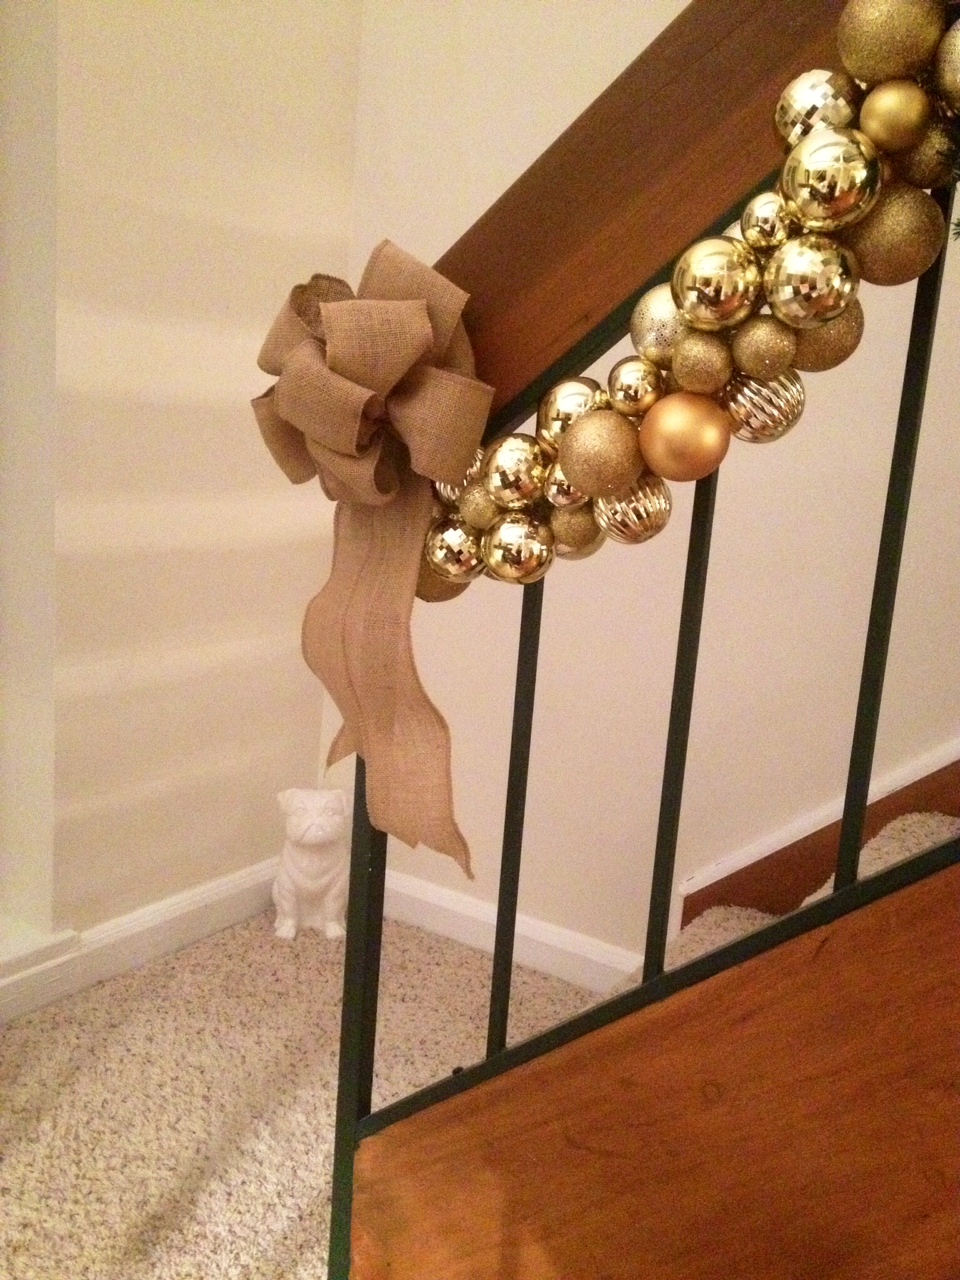
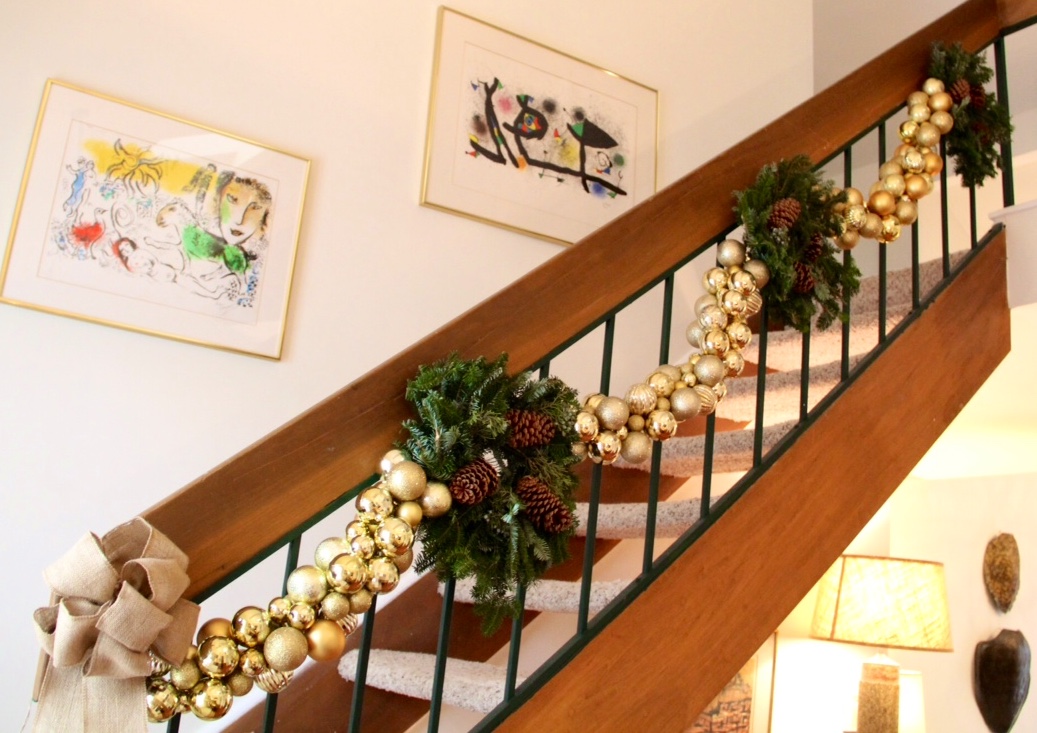
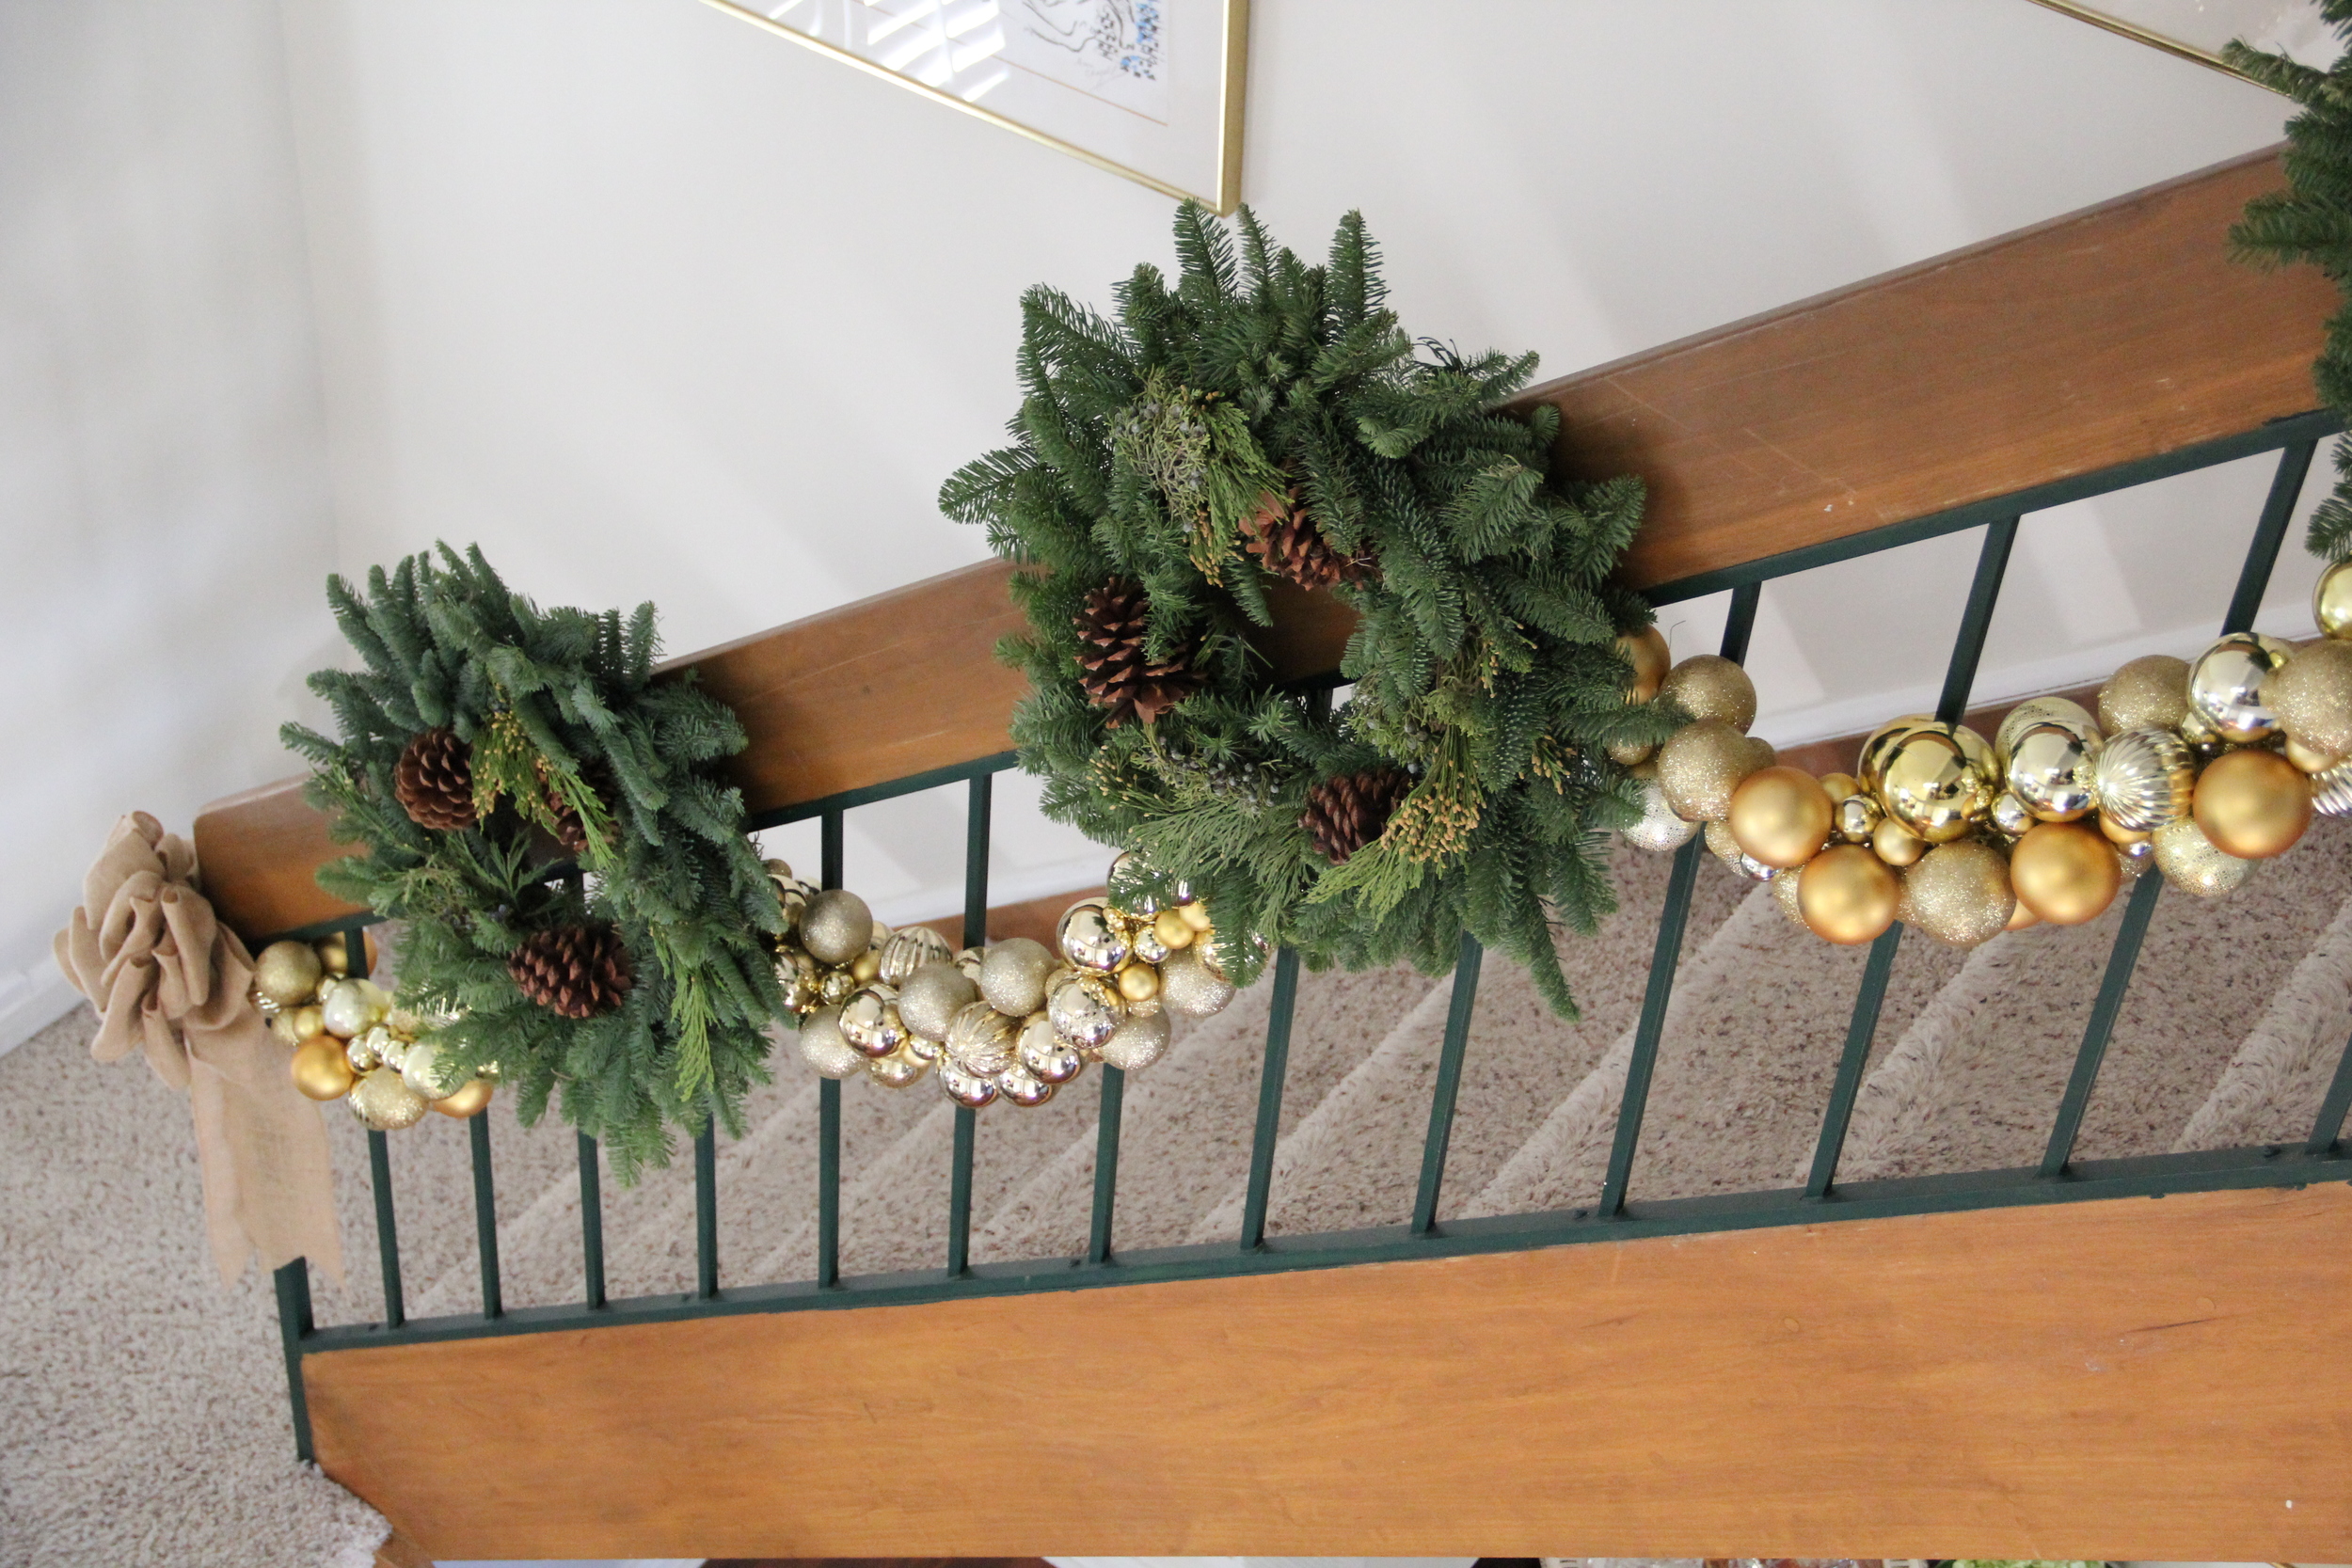
One holiday DIY project I absolutely love and honestly look forward to every year is making my own garland.   I actually love making a variety of garlands both traditional and non-traditional.  Today's garland project is one that I came up with last year.  At its core, this garland project is reminiscent of beading jewelry (very easy), and I absolutely adore the luster these shatter-proof metallic ornaments add to my staircase railing.  You can make this garland in a variety of colors and styles, so it's a great decor idea for almost any home.   Of course the best part is that once you make this garland you will have it for years to come so long as it's carefully stored throughout the year.  Here is how I make this beautifully festive holiday decor:

IMG_3178.JPG
IMG_3176.JPG

What you will need:

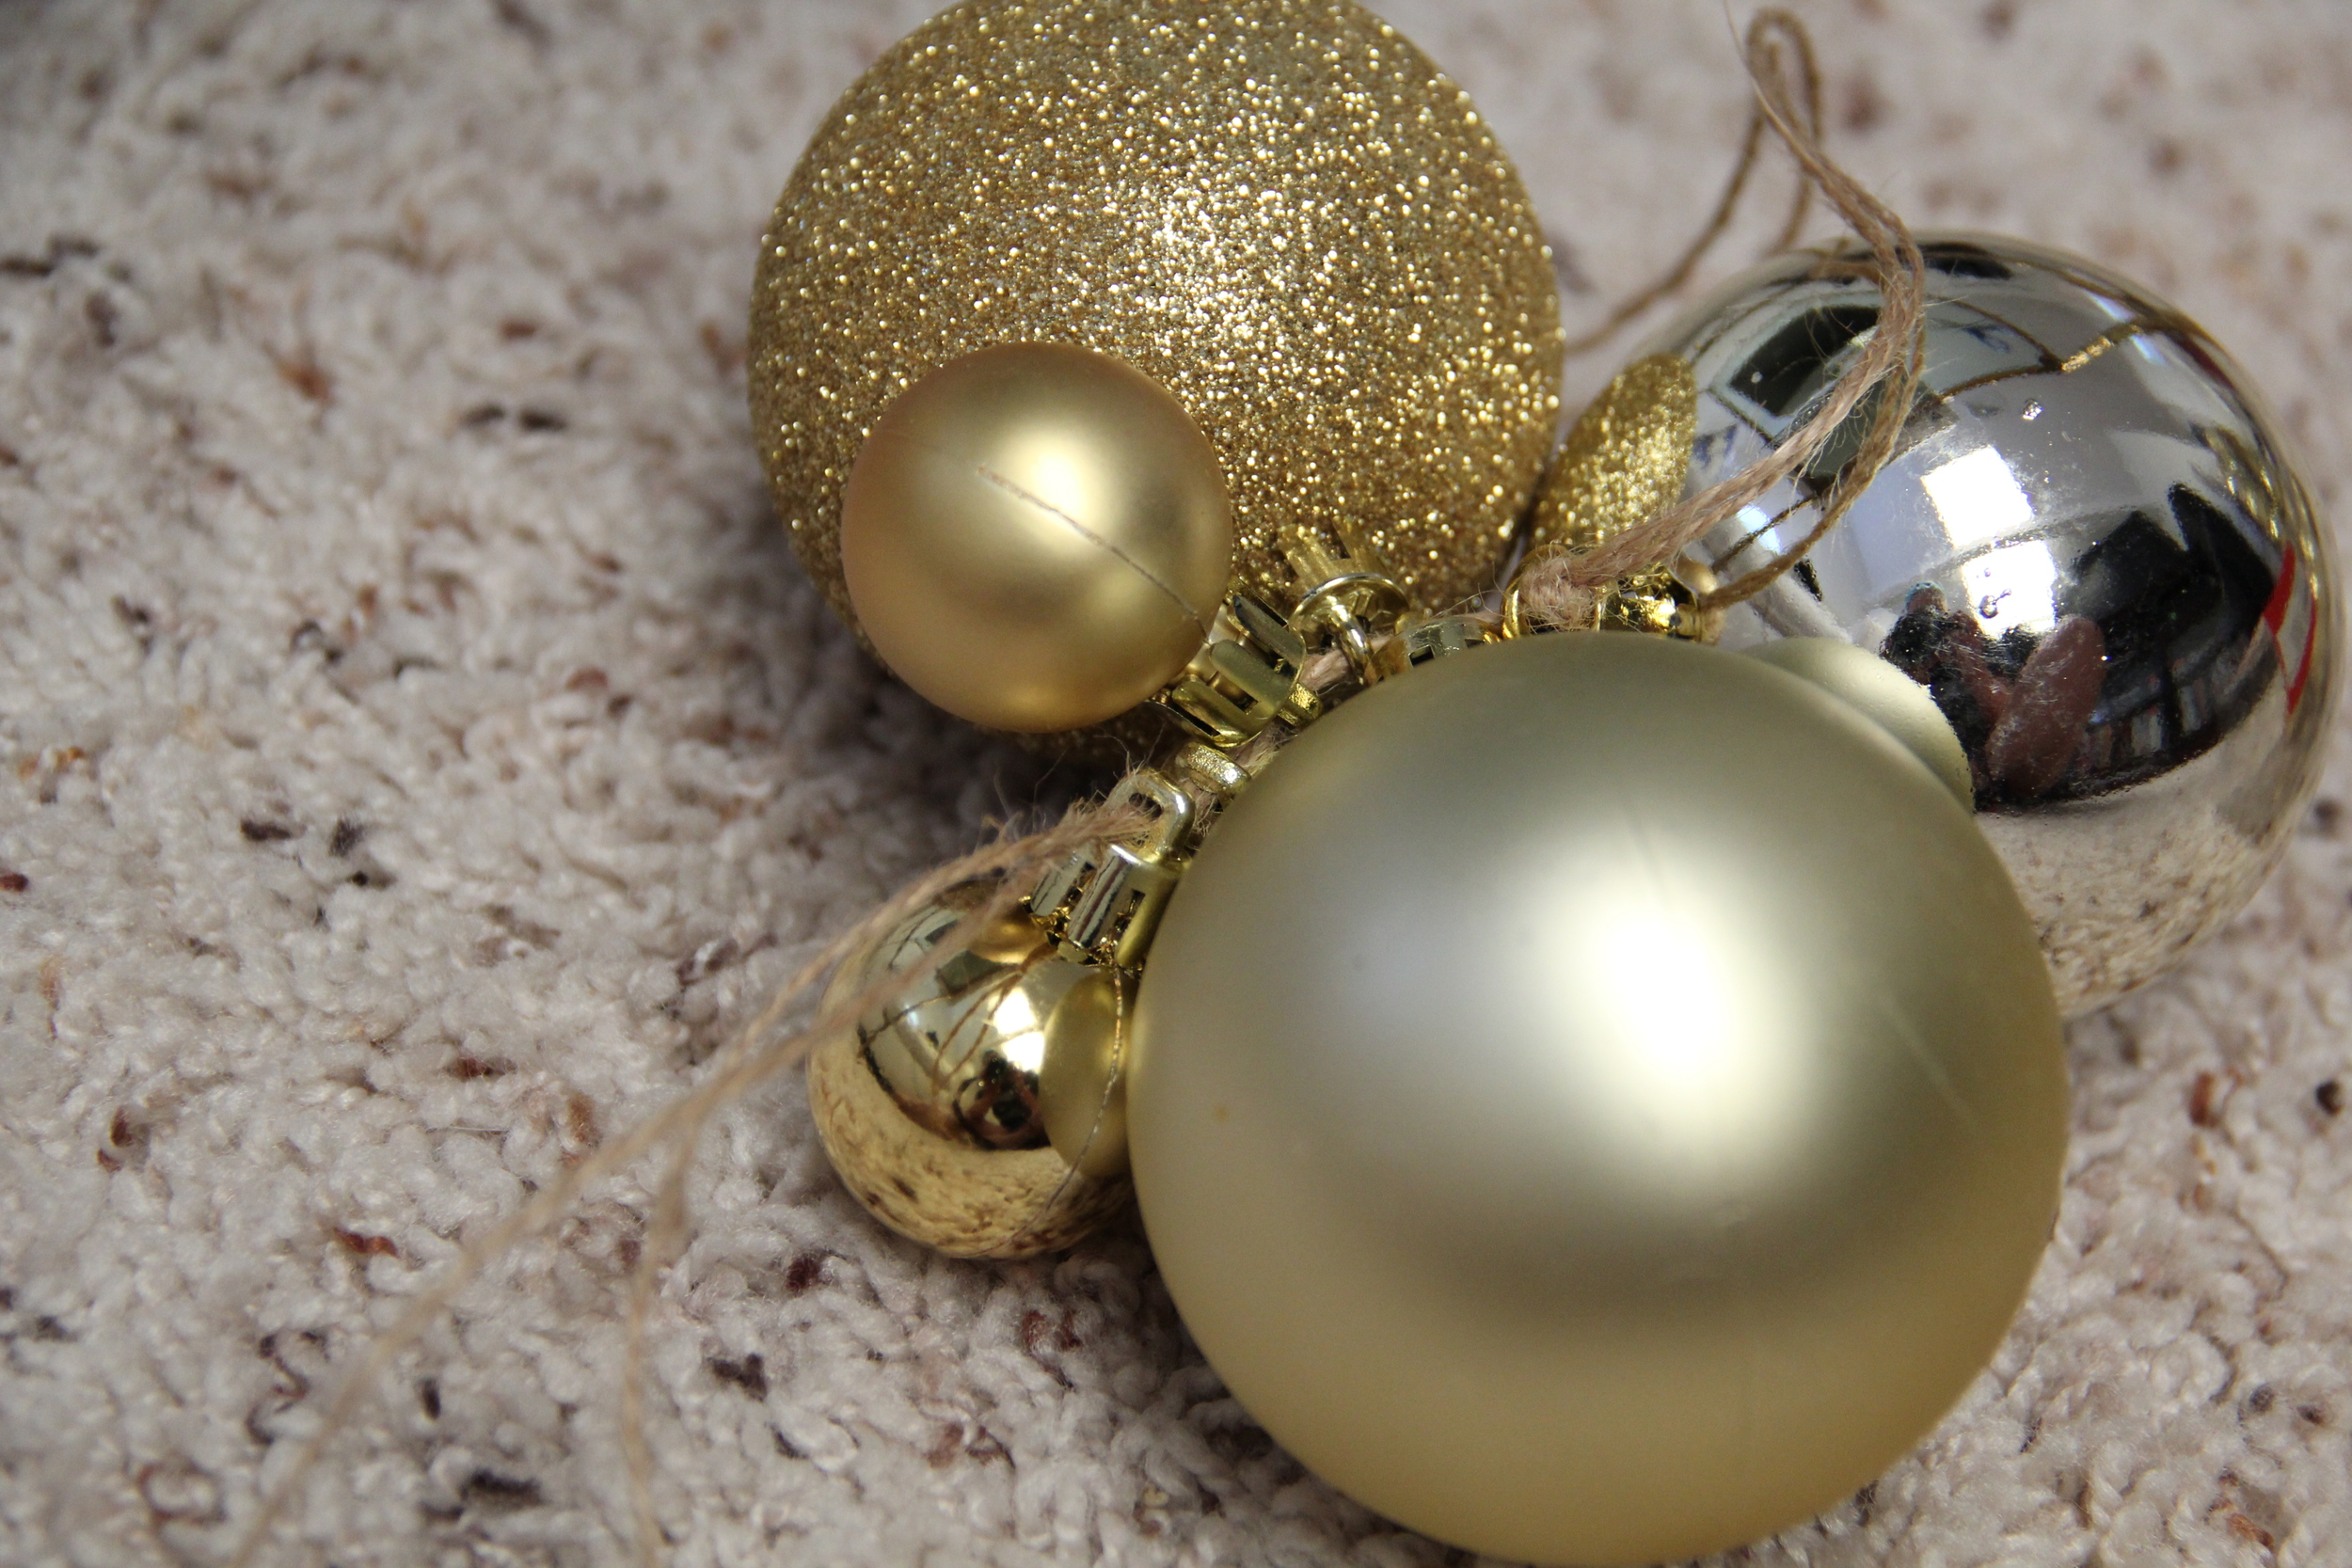
  • Shatterproof Ornament Bulbs (both Small and Medium Size)
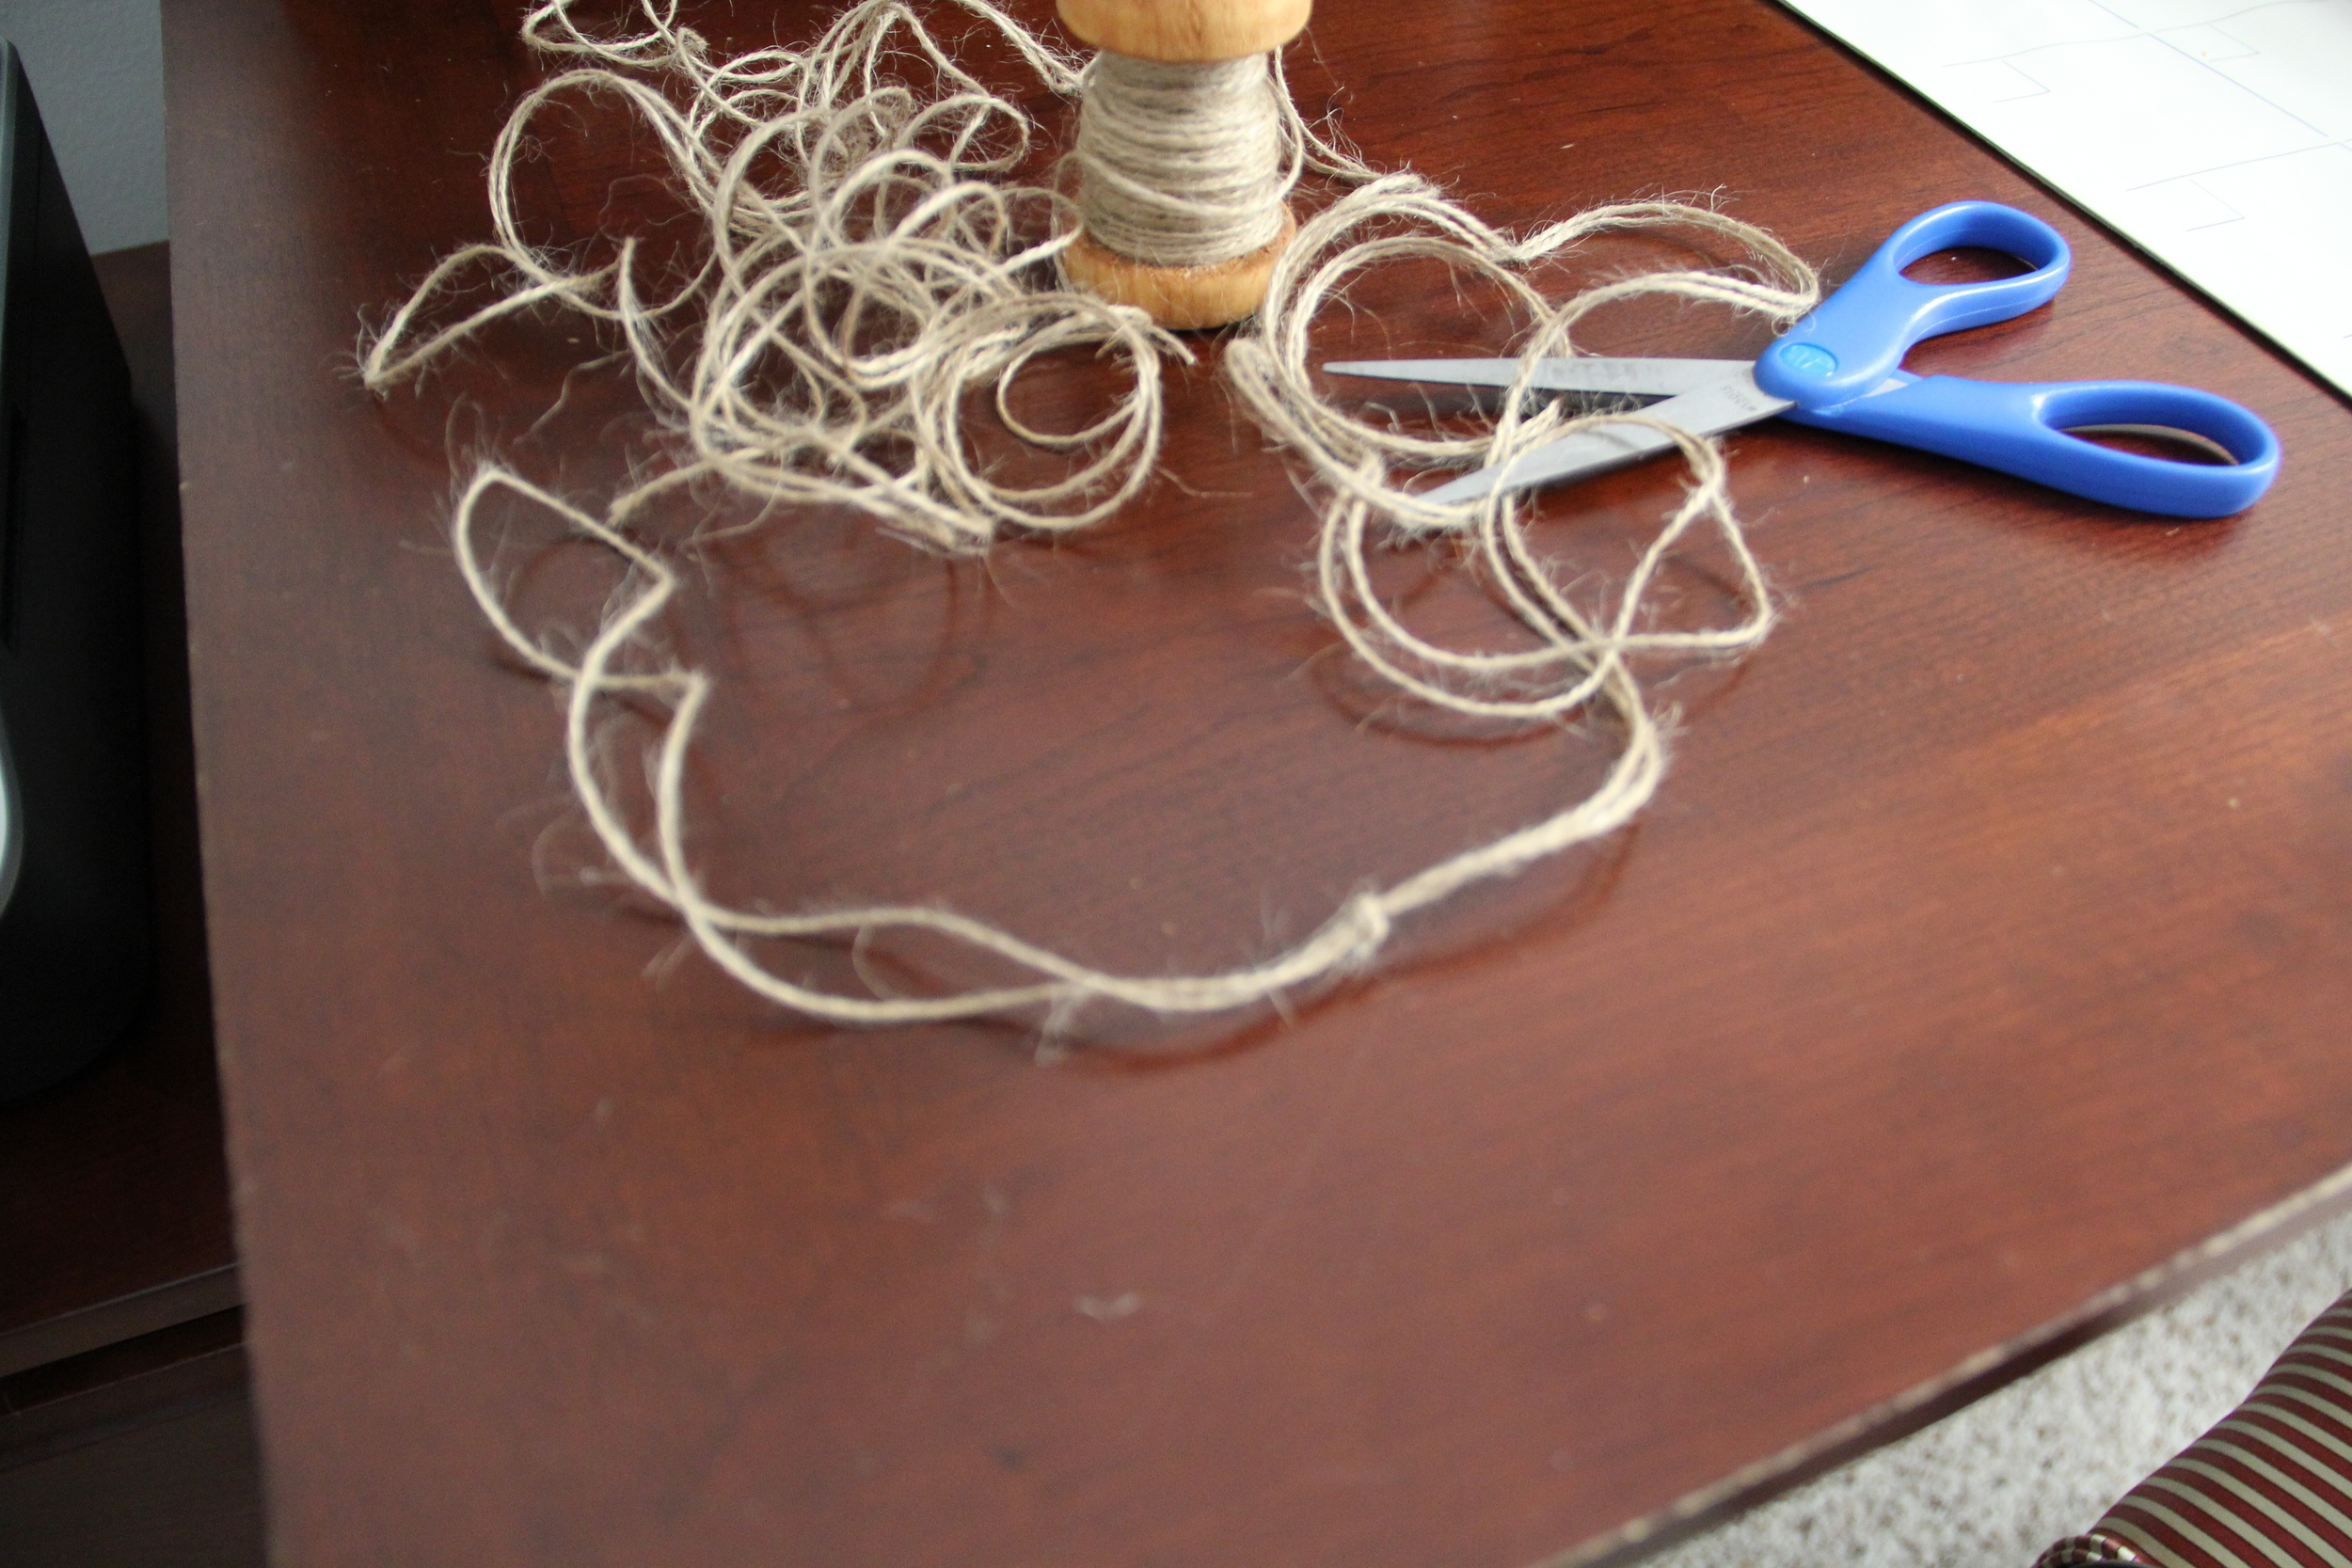
  • Twine
  • Wreaths (*I found these wreaths at Whole Foods, but also love Trader Joe's)
  • Paddle Wire
  • Holiday Bows (Store Bought or DIY Homemade Using this Ribbon)
  • Hammer and Nails (optional)
Garland Bow.JPG
Original Ornament Garland.jpg

Instructions

  1. Using your twine, loosely measure the space you wish to outfit with a single stand of garland
  2. Add an additional 16 inches to the loose total measured and cut your piece of twine
  3. Take your twine and tie a double (or even triple) knot approximately 8 inches from one of the ends
  4. On the open end begin to string ornaments onto the twine, in groups of 3 (ex.  3 medium, then 3 small ornaments and so forth).  
  5. Make sure to push the ornaments together as you string them but be careful to not pack the ornaments too tightly as you will need a little give in the strand of garland to create the loosely draped look when hung. 
  6. When you have strung enough ornaments to leave only 8 inches of twine uncovered, tie another double (or triple) knot to close off the open end
  7. Personally, I am fine using small nails on the back side of my railing to anchor the garland.   However, if you are not ok using nails on your own bannister, you can use additional twine to secure the garland.  Just make sure to always tie bows when securing so that it's easy to adjust this garland when you are decorating.
  8. You can use large holiday bows, fresh wreaths or a combination of both to accent your garland display.  
  9. When it's time to take down the garland, I label each strand in ascending order so that I know where each one goes when I decorate my bannister next year. 
IMG_3193.JPG
IMG_3190.JPG
IMG_3196.JPG
IMG_3187.JPG

Nothing like a little garland paired with a few wreaths to really get me in the holiday spirit!  I've got a busy weekend of decorating and holiday to-do's ahead of me, but at least I can feel somewhat accomplished having my staircase decked out and ready for the holiday season.  Next week I will finally be revealing our family christmas tree!  I have literally been counting down the days in anticipation for christmas tree shopping.  You really can't beat the smell of a fresh tree and oh how I love the tree lights!  Anyway, stay tuned more to come!

IMG_3184.JPG
In Decorate Tags Holiday Decorations, Target, Ornaments, Gold, Wreaths, Burlap Bows, DIY, Project, Staircase Decor
Comment

Subscribe to the Redefining Domestics Blog:

Thank you!

Categories:

  • Decorate (64)
  • Entertain (71)
  • Food and Drink (103)


Latest Posts by Category:

Featured
IMG_1993.JPG
Entertain
Pinterest Worthy Halloween DIYs
Entertain
Entertain
Featured
IMG_8787.jpg
Decorate
How to Hang a Lighting Fixture
Decorate
Decorate
Featured
IMG_1694.JPG
Food and Drink
A Healthy Recipe for Homemade Granola
Food and Drink
Food and Drink

Instagram 

http://instagram.com/calliecagney

View fullsize We are lucky to have you in our sphere Chris Kalna!❤️ #happyfathersday #girldad #cookiebaking #suttonbutton #lovethem
View fullsize National Puppy Day with my two toddlers❤️ #suttonbutton #jolene #nationalpuppyday #jojosbathtubfomo😂
View fullsize Bibbidi Bobbidi Boo, she’s 2! Happy Birthday Sweet Girl💙 #suttonbutton #halloween #cinderella #happybirthday #shestwo!
View fullsize Fourth of July Vacay is already off to a fun start❤️💙⛱ #fourthofjuly #mountains #thesetwo #ggccsummer2019
View fullsize This little girl turned 1 on Halloween! Sutton, you are pure joy! Happy Birthday sweet girl! #suttonbutton #happybirthday #halloweenbaby #birthdaycake #diy #beaufortbonnet
View fullsize Our first 4th of July as a trio❤️💙 #happyfourth #familyphoto #skr #suttonbutton #vacation #northcarolina
View fullsize First day of vacation with these two loves💙 #thecutest #vacation #july4th #mountains #sKr #suttonbutton #beachingit #waterbaby
View fullsize Happy First Father’s Day to this stud muffin! You bring a lot of joy and sports watching to our lives. The Ladies Kalna are lucky to have you!❤️ #Fathersday2018 #chrissums #sKr #socute #luckyus #moreusopenplease
View fullsize Girlfriends kicking off MDW together💕🐳🛁 #suttonandmadden #mdw #littlebesties #bathtime #toocute
View fullsize Baby’s first Christmas tree 🎄 #deckthehalls #sKr #christmastree #happysunday
View fullsize Baby sKr’s jammie game is on point🙌🏻❤️ #thingstodo #retailtherapy #stillpregnant #petiteplume #potterybarnkids #babyclothes #toocute #babygirl #pajamaparty
View fullsize My husband and I joke about Baby K’s “master suite.” Clearly we’re both struggling with a case of bedroom envy😂 #stillpregnant #babynursery #iviebaby #glitterguide #mypotterybarn #serenaandlily #babygirl #skr #projectnursery

Pinterest

http://www.pinterest.com/calliecagney/

Follow Callie Cagney's board Home Decorating on Pinterest.
Welcome RSS

© 2016 Redefining Domestics. All Rights Reserved.